LS3 Roadmaster Wagon Project: Faster Than a C5 Corvette and 50-State SMOG Legal
We’re rolling out six new LS3 Roadmaster Wagon Project episodes this week. Must-watch for GM B-Body owners and LS swap enthusiasts!
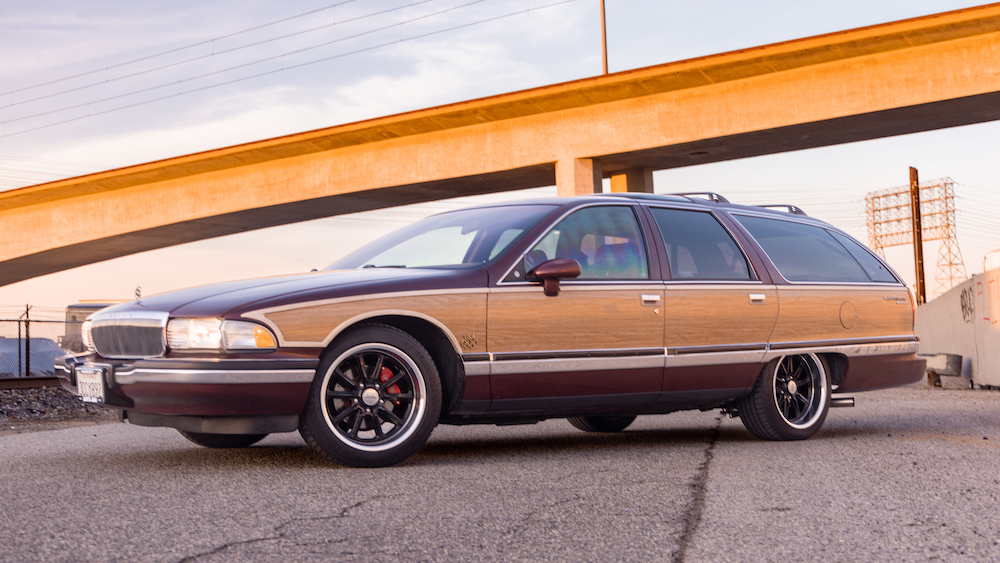
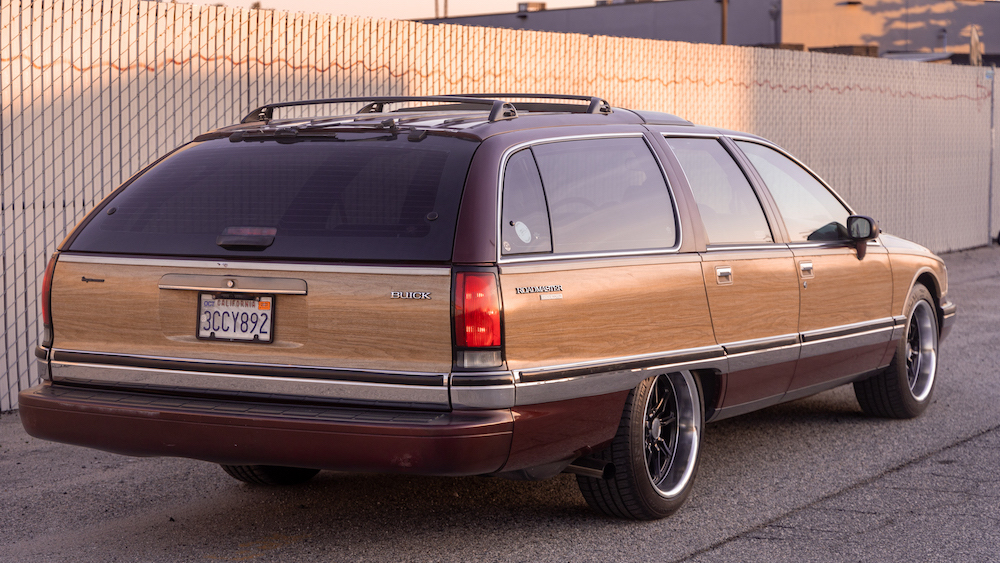
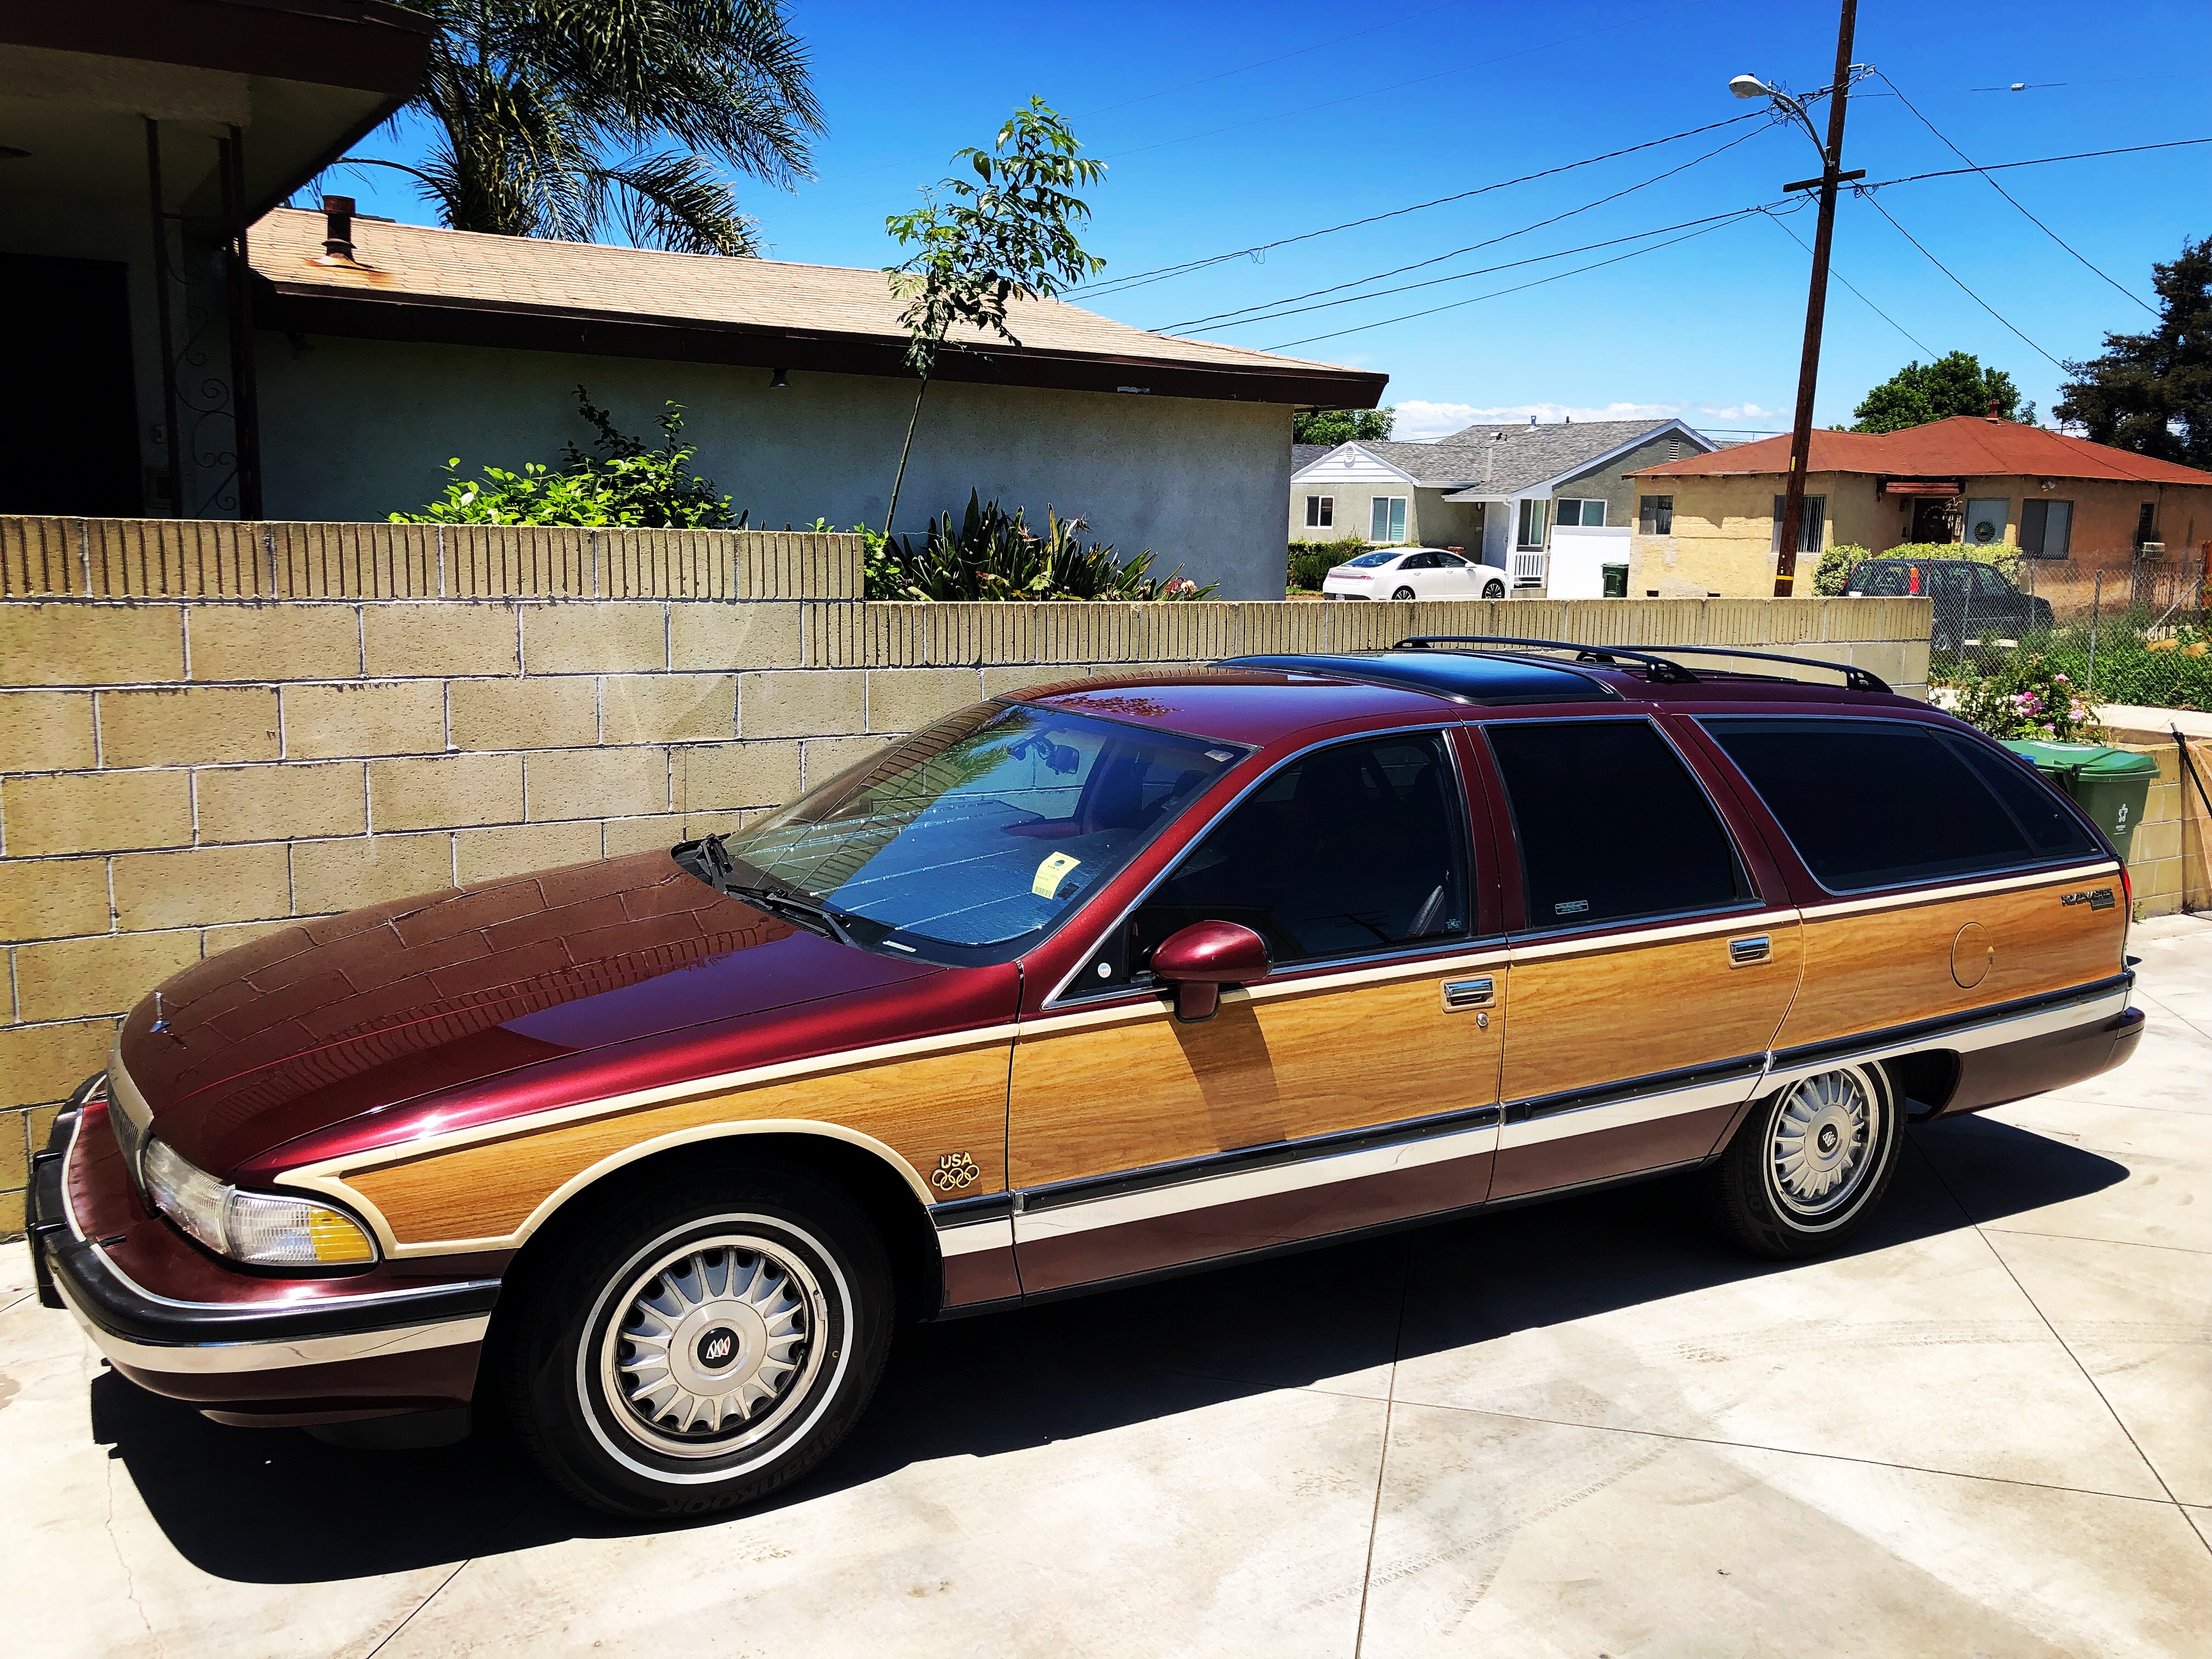
A quick heads-up for LS1Tech readers and members. We’re announcing the return of the LS3 Roadmaster Wagon Project in what we’re affectionately calling this build’s Phase 2. In this project, we teamed with some amazing companies like Guaranty Chevrolet & Chevrolet Performance Parts, Holley, Wilwood Brakes, Eaton, Dakota Digital, Michelin, Chemical Guys, and Summit Racing to stuff an LS3 E-ROD Connect & Cruise system into a humble 1992 Buick Roadmaster Wagon.
The basic premise was to figure out if we could take a 30-year-old B Body station wagon and turn it into some alternate-universe or long-lost Cadillac V project. And coupled with that premise, we also wanted to see if a relative novice could do his first swap mostly at home in a driveway. Basically, what’s it really like to do your first LS swap? (#MistakesWereMade)
Also, don’t forget to check out the LS3 Roadmaster Wagon Project Build Thread!
What to Expect This Week
As we write this, we’ve got about 1,800 miles on the LS3 Roadmaster Wagon Project and it’s running pretty well. This week you’ll get both some general LS swapping tips (that apply to all builds), some B-Body specific tips, and several episodes depicting how we got there…
Because this Roadmaster is now faster to 60 than a stock C5 Corvette… and it’s 50-state SMOG legal.
On Tuesday, April 4, we’re releasing — Every Part You NEED For Your First LS Swap — which offers a universal parts list for first-timers, a sneak peek of everything installed on the Roadmaster, and a couple of exhaust clips.
Then, on Wednesday, April 5, look for Part 6 — Installing an LS3 E-ROD & Holley Accessories in a Roadmaster Wagon!!! — which covers the installation of the motor and accessories and ends with the first start. We also gave away our TBI motor to a fellow Roadmaster owner in need with a little help from Chemical Guys.
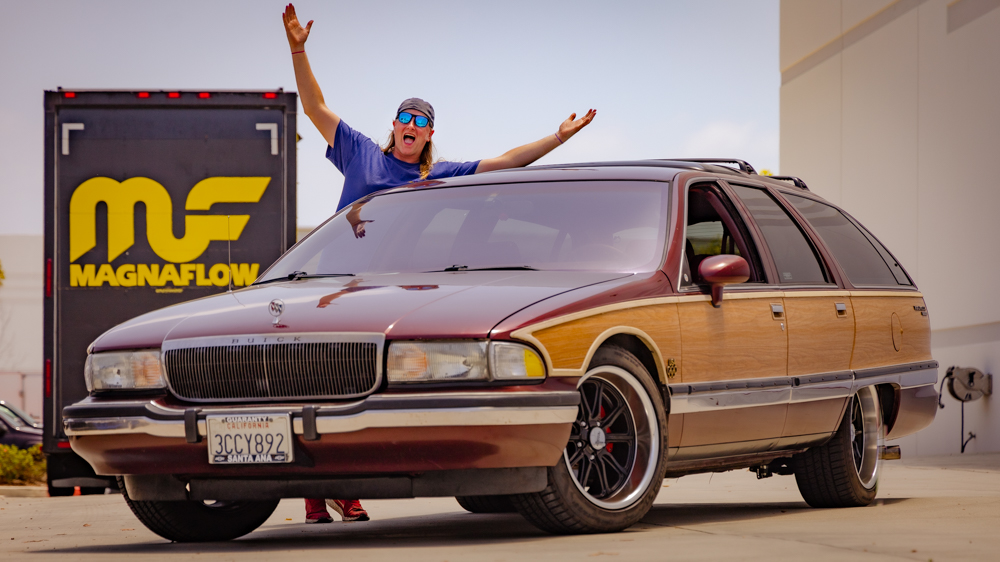
In Part 7, on Thursday, April 6, check out — This Magnaflow xMod Exhaust Made My LS3-Swapped Wagon Sound INSANE! — where we head down to Magnaflow HQ in Oceanside, CA to install a custom exhaust.
After that, in Part 8 — Dakota Digital: LS Swap Gauges & Wiring Made Easy! — we take a tour of Guaranty Chevrolet while getting rid of a Check Engine light, install Dakota Digital gauges and modules, and then clean up the car with our favorite Chemical Guys products. That episode will drop Friday, April 7.
On Saturday, April 8, Part 9 — LS Swaps Are a LOT More Expensive Than You Think!!! –– we dive into how much it would cost to do a similar build with current 2022 and 2023 pricing. (We bought most of our parts in 2021 before inflation really hit enthusiast car parts.) Granted, all-new-parts is a more premium way to do LS swaps, but our jaws dropped when the total cost was tabulated. #DontTellMyWife
And, lastly, on Sunday, April 9, look for Part 10 – 10 Tips for Surviving Your First LS Swap! More of a philosophical way to approach your first LS Swap.
After this week’s rollout, we have plans to do a final review of the car where we revisit acceleration, braking, and ride quality, but we may also be teaming up with the folks at Aldan American to do some more suspension work so we have to see how that works out first.
Until then, please check out the first half of the build below…
LS3 Roadmaster Wagon Project Phase 1
I learned a valuable lesson last year about balancing work and life responsibilities. For me, it seems the smartest way to document a long, extensive project is to finish filming… and then produce and release the content. So that’s why, if you saw Phase 1 of the project last year, there’s been an extended break. If you missed the first phase, here’s everything you need to know…
Part 1: All the Parts
In the first episode, we walk you through the car itself, the project’s goals, and our partnerships.
Part 2: Wheels & Tires & Sway Bars are the BEST Upgrades for the Money
Wheels and tires are a go-to mod for any enthusiast. But here we demonstrate how wheels and Michelin Pilot Sport tires and new sway bars absolutely transform the way the Roadmaster wagon handles… all while looking great too.
Part 3: Installing Wilwood Disc Brakes
After installing the Wilwood D52 Brake Caliper kit, we did a lot of testing. The Wagon is now slower thanks to the heavier wheels and tires… But it stops a lot quicker.
Part 4: Can Coilovers Make a 30-Year-Old Station Wagon Like a Sports Car?
In Part 4, we installed a Hotchkis steering rebuild kit along with QA1 control arms and coilovers to see what 4,500 pounds of American steel (and some glass and plastics) can really do in a corner.
Part 5: Goodbye, Old Engine; Hello, Earl’s Vapor Guard Performance Fuel System
In Part 5, we pulled the old 180 horsepower 5.7L TBI V8 from the Roadmaster, cleaned as much as we can, prepped the engine bay, and installed a new fuel system from our friends at Holley.
PARTNERS
- Guaranty Chevrolet: https://www.occhevy.com/
- Holley: https://www.holley.com/
- Magnaflow: https://www.magnaflow.com/
- Chemical Guys: https://www.chemicalguys.com/
- Dakota Digital: https://www.dakotadigital.com/
- Michelin: https://www.michelin.com/
- Wilwood Brakes: https://www.wilwood.com/
- Eaton: https://www.eaton.com/
- Sony: https://electronics.sony.com/
DISCOUNTS PROVIDED
- Summit Racing: https://www.summitracing.com/
- Muscle Rods aka BRP HotRods: http://www.brphotrods.com/
- Sikky Manufacturing: https://www.sikky.com/
- American Racing Wheels: https://www.americanracing.com/