Project Ron Burgundy: QA1 Front Suspension Swap and LS Swap Motor Mounts Installed!
Some instructions needed with our S10 front suspension upgrades.
Swapping in any LS-based engine is a straight forward process for the S10. It’s been done and the chassis hasn’t changed much since the original that replaced the LUV truck back in the 1980s. Texas Speed and Performance sent us a set of Dirty Dingo’s 2WD LS S10 adjustable conversion mounts (DD-LS-S2). The chassis mounts are based off GM’s 2.8-liter clamshell mounts, a common set to use for engine swaps from the classic 350 to the LS. It’s looked at as the better of the V6 mounts the GM had for the S10. The 4.3-liter versions were prone to ripping out the rubber isolator within the clamshell.
However, turns out our S10 frame needed some drilling out to make it work. Five of the six holes at the crossmember were not drilled out to 3/8th-inch. Not hard to remedy, just take a step bit and drill out the holes just larger than the both that needed modifying. The sixth hole, however, was tapped for the 3/8th-inch bolt. Don’t ask us why that’s the case, it may have just been dumb luck or the factory was lazy that day, who knows.
The engine mounts were much more straight forward and allow for fore and aft placement of the engine. The plan is to set it as far back as the transmission and driveshaft will allow so that the weight balance shifts rearward. Considering that the rear of the truck is the lightest part, it needs all the rearward balance it can get.
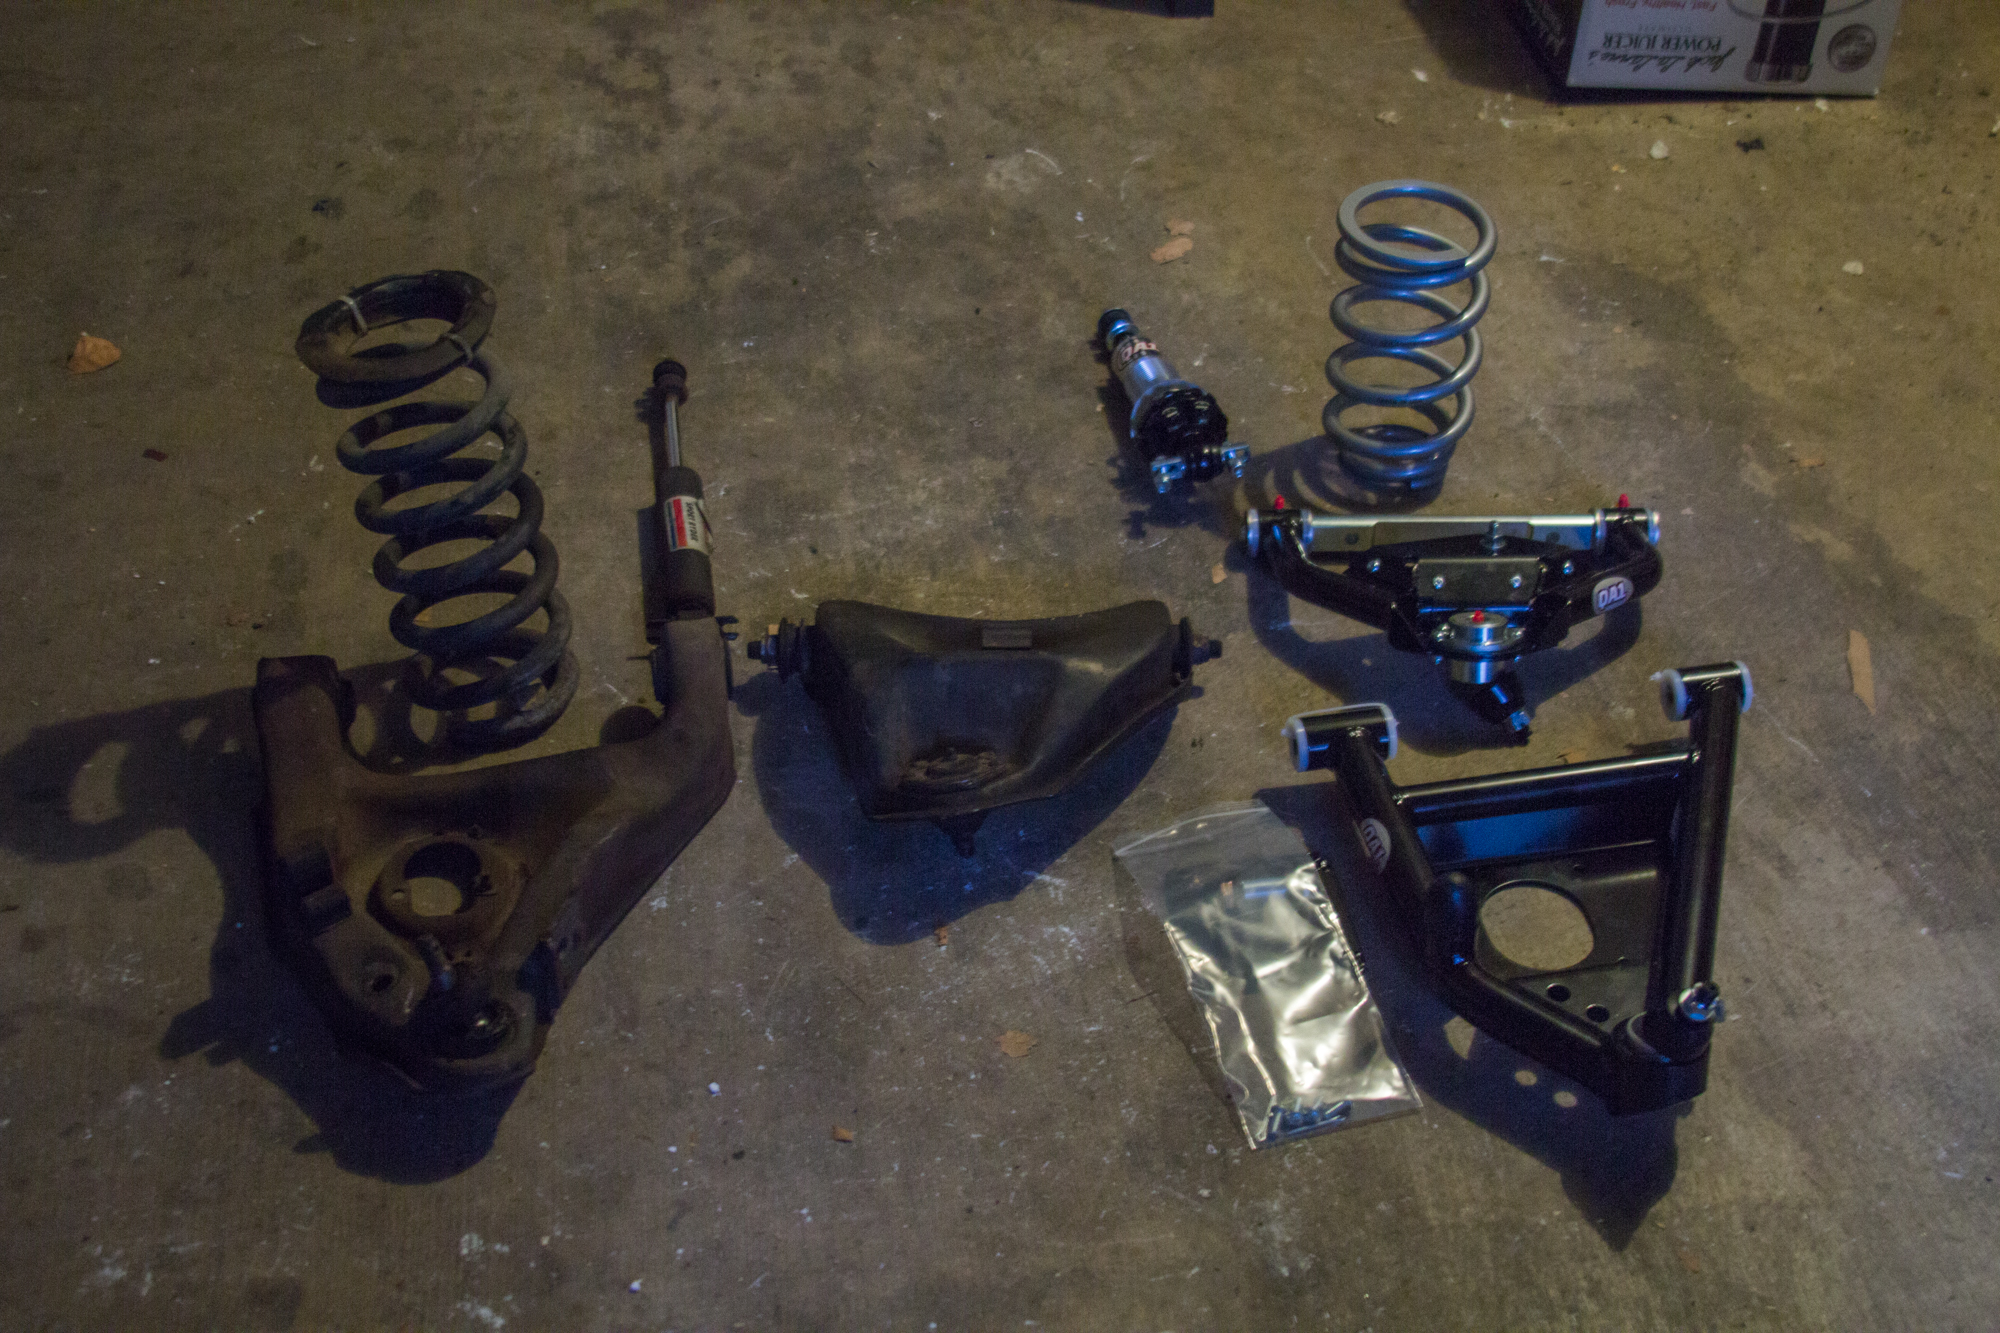
Moving on to the front suspension of Project Ron Burgundy.
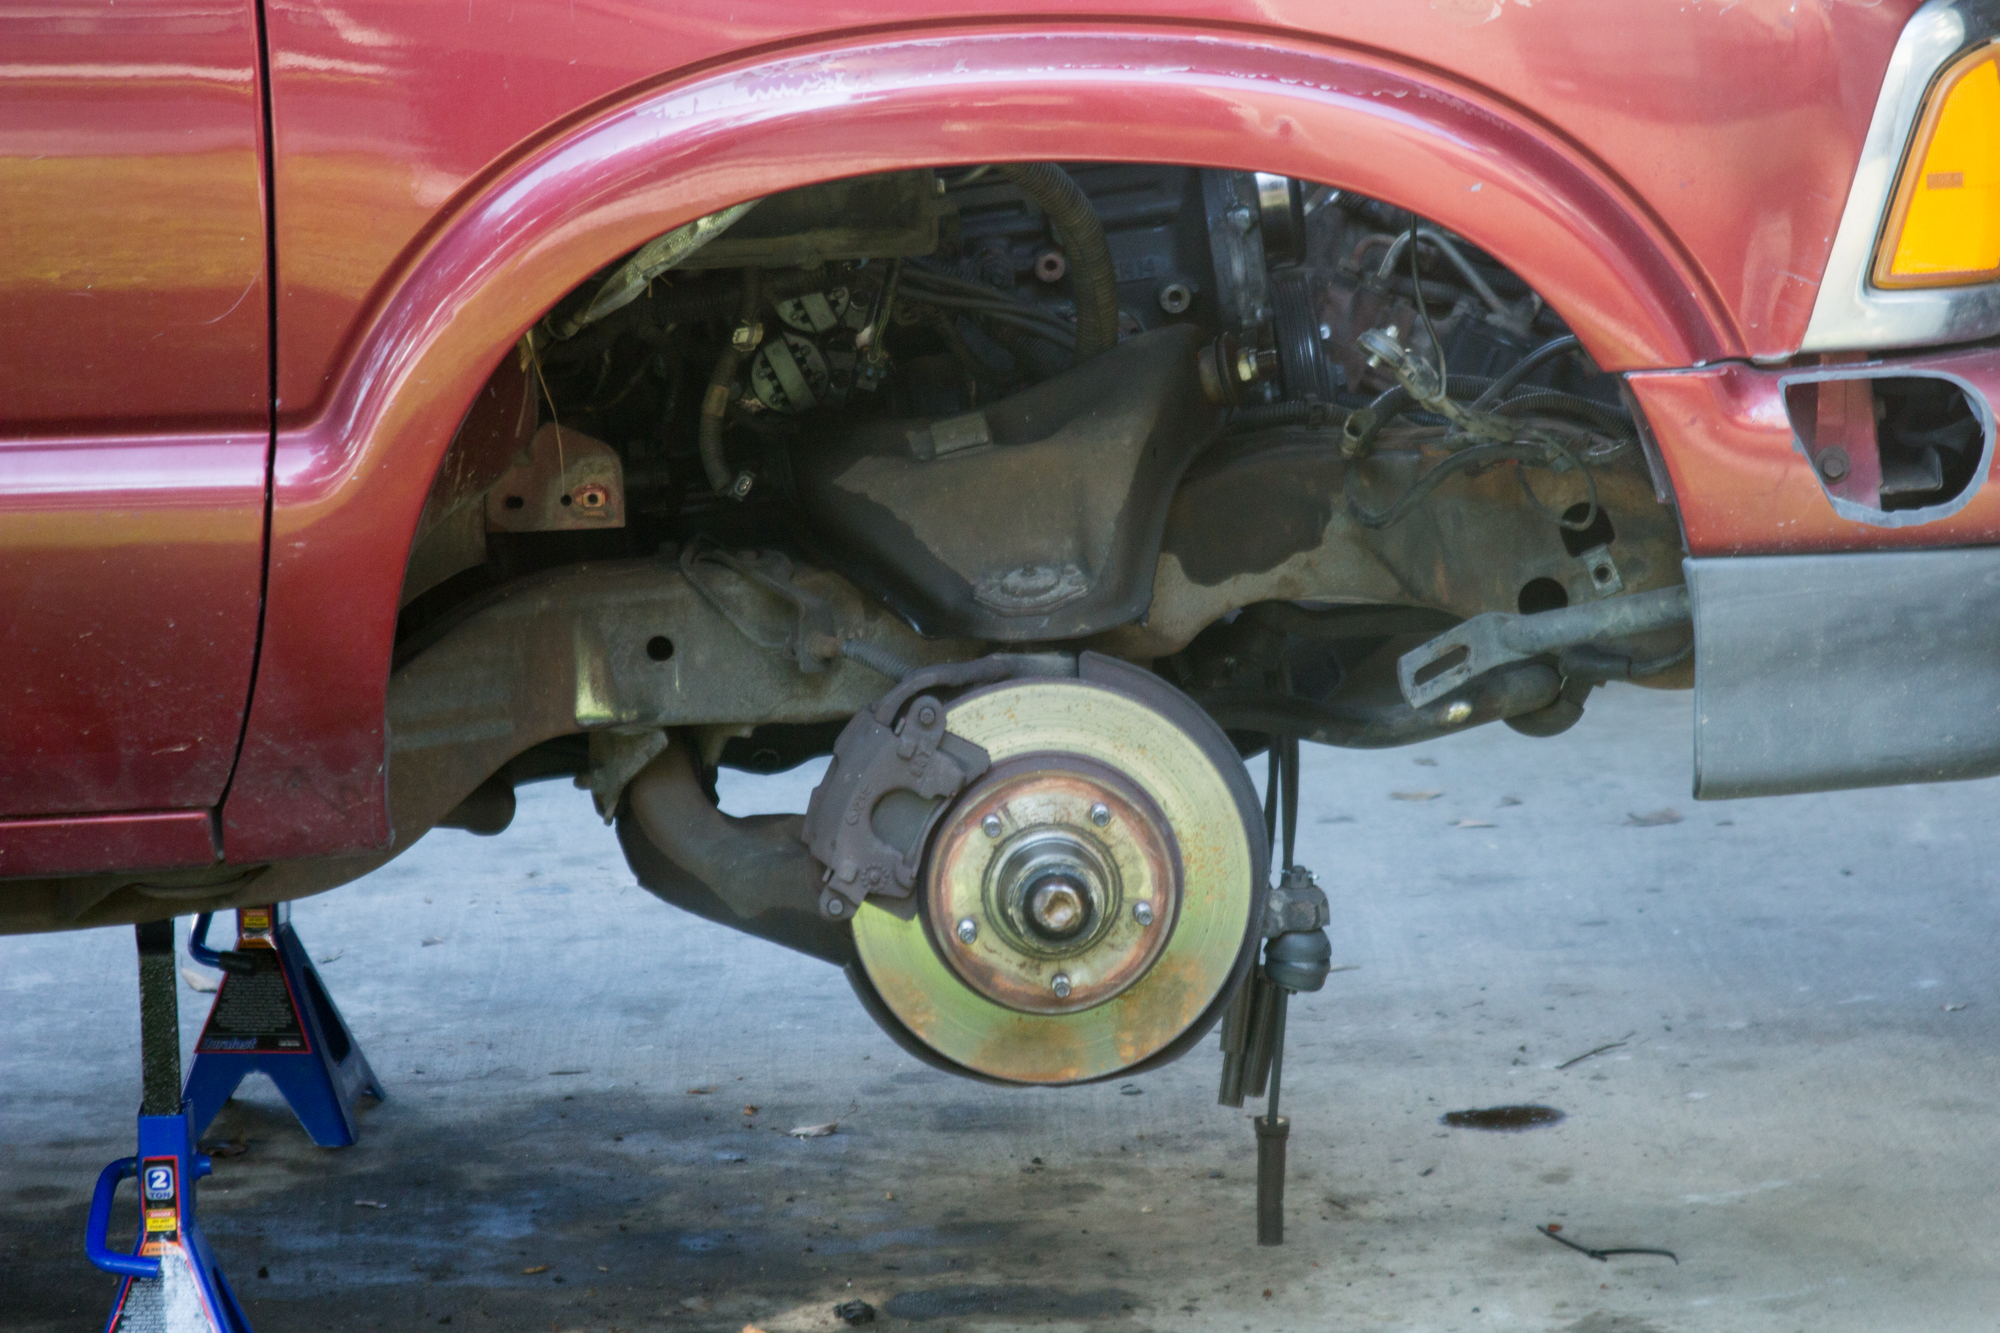
If you recall, we have worked on the rear end of the truck. Now, it’s time to address the front end. Since we needed to remove the lower control arms to reach inside the crossmember, we also took a look at the QA1 race front suspension. QA1 also sent their double-adjustable coilovers that can work with these arms, as well. Again, it’s a straight forward setup but the lower attaching point needed to get changed out from the stock mounting style to the eyelet style for the lower control arms. What’s nice is that we’ll not only be able to set up the bump and rebound, but we’ll also be able to adjust spring preload.

Installation is easy as it’s just taking the old parts off and putting the new ones back on. These normally come with 400lbs/inch springs, but we requested 550lbs/inch knowing that the swap was coming and that it was going to see autocross and time trial duty. We need to keep the front end stiff, so we’ll also install a Blazer front sway-bar for additional roll stiffness.
The plan for the next installment is to get the engine into the bay and get the LH6 in there. From there, install the QA1 swaged tubes and rod ends to replace the tie-rods. Wrapping things up will be our bump-steer solution, and the Jeep Grand Cherokee steering box. So, stay tuned for all of that, and more, with Project Ron Burgundy.
Thanks for your Support:
 |
|
 |
|
 |