Low-tech DIY Cylinder Head Rebuild for Your Budget LS Swap
It doesn’t always take big bucks and machine work to get your junkyard LS heads battle-ready.
It’s no secret that GM’s LS family is one of the cheapest, simplest ways to make power. LS swaps abound in the performance car community, and what’s more, junkyards are filled with cheap, low-mileage engines ripe for the picking.
These pushrod V8s are robust and mechanically simple. This makes them relatively cheap to rebuild and maintain. However, one step in the process — rebuilding your heads — is still as expensive as it is for any other V8 engine. It doesn’t have to be, though. The Horsepower Monster on YouTube uploaded this video showing how you can save yourself a few bucks at the machine shop by doing most of your head work yourself. This can save you hundreds at the machine shop with just a few inexpensive supplies and a whole lot of elbow grease.
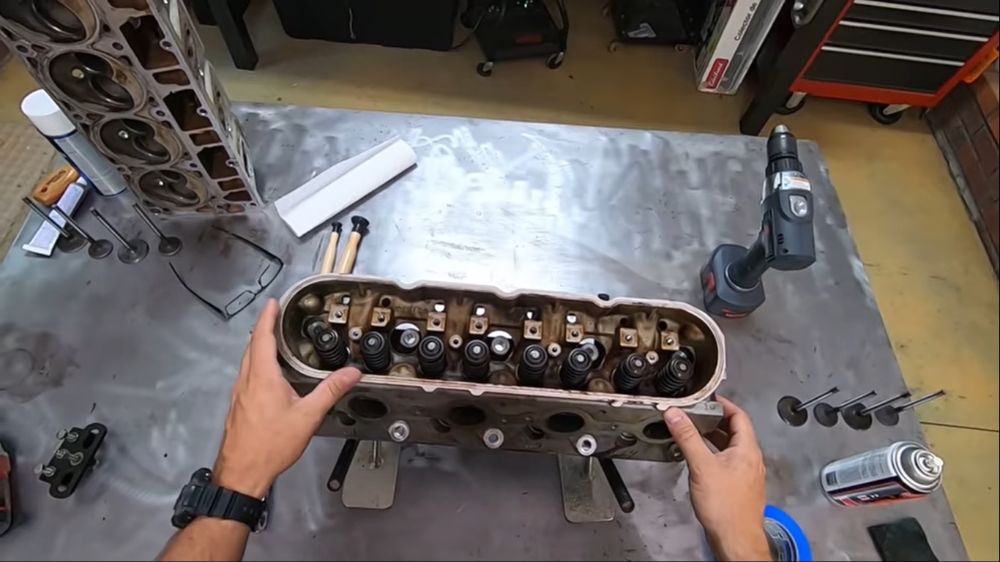
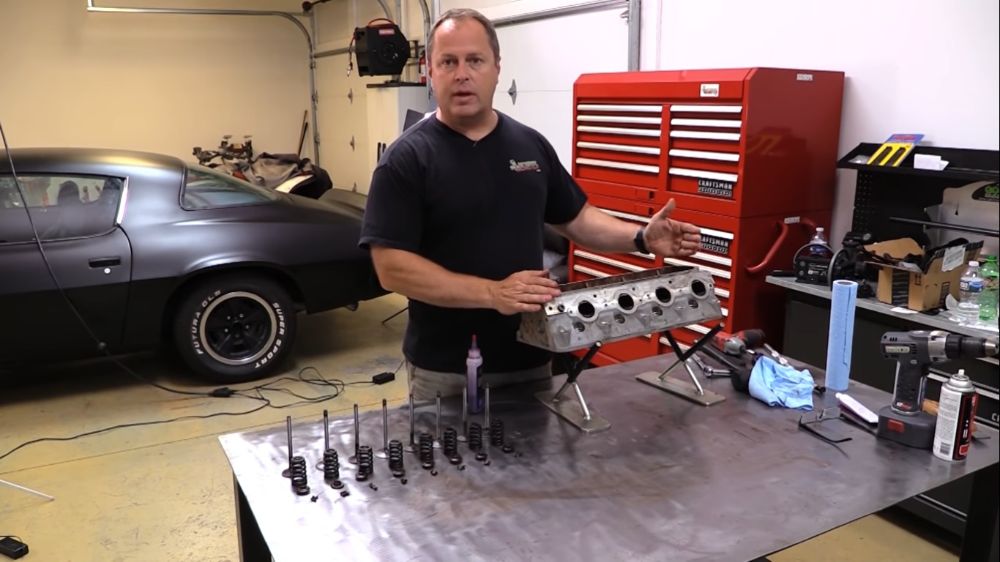
The video starts with a set of aluminum LQ9 heads, partially disassembled and cleaned with a pressure washer. Disassembly didn’t go completely smoothly, though — one of the exhaust studs was broken. That seems to be a common issue when rebuilding these heads. He quips, “What’s life without a broken exhaust stud?”
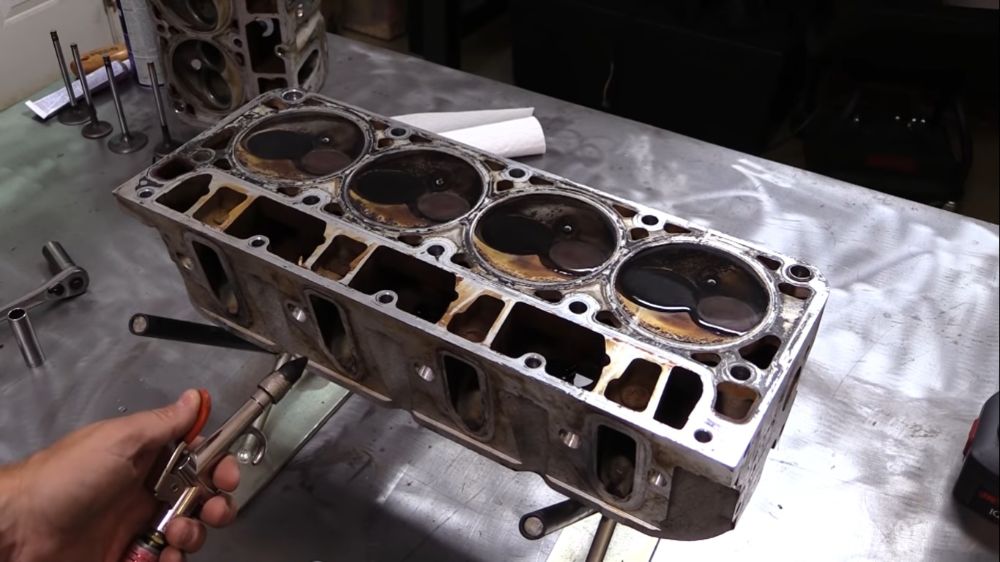
The first step is to test the valve seat seals. To accomplish this, he flips the heads upside down, making sure that they are level. Then, he carefully fills each combustion chamber with water. After that, he gently blows air into each intake and exhaust port. If you see bubbles, the seals will need to be replaced.
To remove the valve springs, he uses an LS-specific valve spring compressor tool that costs under $60. It’s a wise investment if you plan to work on a lot of these engines. Since you’re reading LS1 Tech, we assume you are.
Next, it’s time to address the valve stem seals. “Now, in my book, valve stem seals should be considered consumables.” Considering that a new set costs under $30, it’s a wise investment. While The Horsepower Monster uses a special set of pliers to remove the old seals, he advises that regular pliers will work fine.
With the valve stem seals removed, there’s an easy way to test the condition of your valve guides. Insert a valve upside down, and attempt to wiggle it back and forth. If it doesn’t budge, your guides are in good shape. If there’s play, you likely have some expensive machine work in your future. Thankfully, these check out just fine.
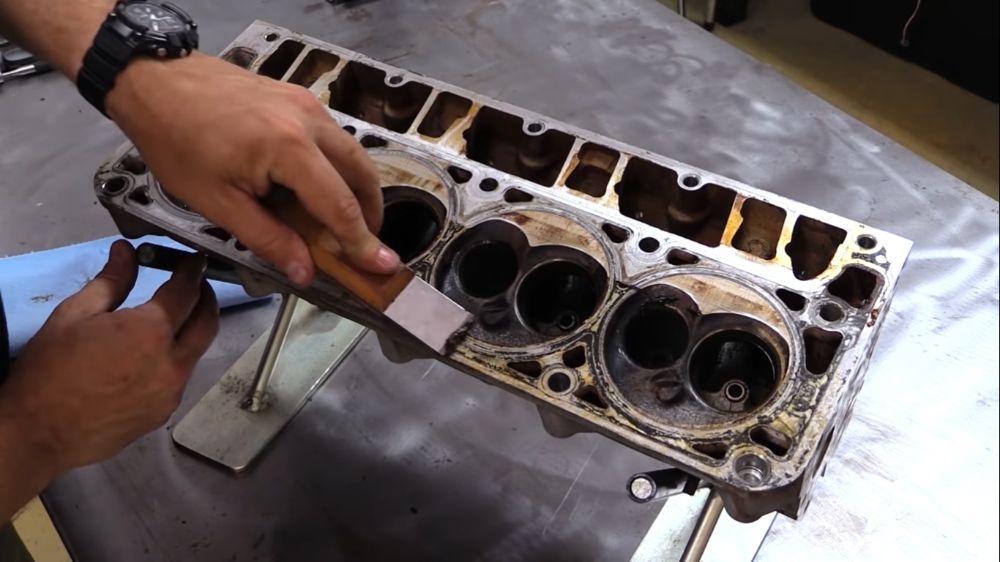
Now that the heads are completely torn apart, it’s a good time to carefully clean the head gasket surface. It’s important to be careful here. “Even a Scotchbrite pad or a plastic bristle brush can dig into the aluminum and create sealing problems for the head gasket.” He uses gasket remover and a carbide scraper, followed up by copious amounts of lacquer thinner and shop towels.
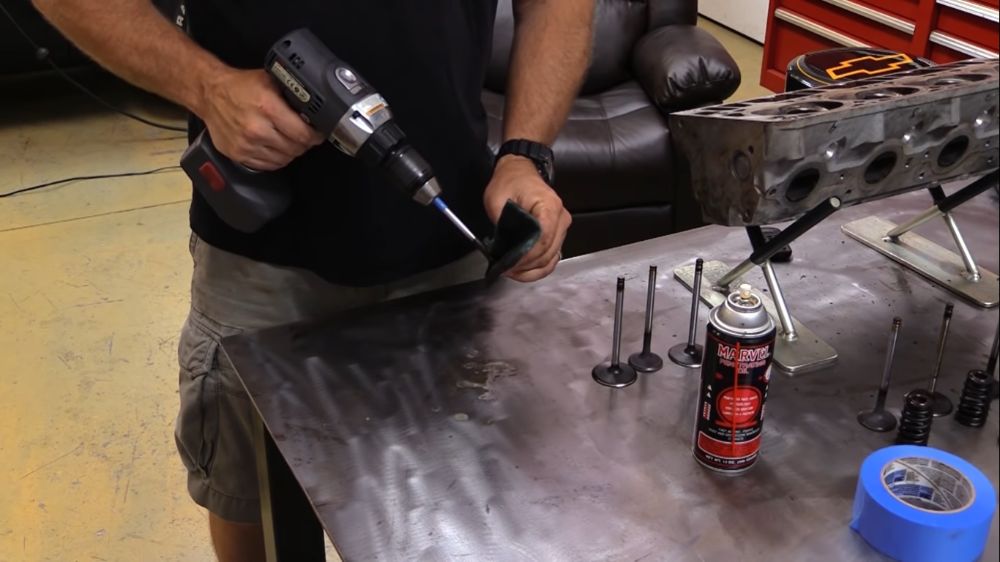
Speaking of cleaning, it’s time to clean the valves. Use painter’s tape to protect the top of the stem, and gently chuck the valve into the drill. Then, spin it against a Scotchbrite pad with a little bit of three-in-one oil or similar to clean them up. They won’t be perfectly clean, but they don’t have to be.
Keep track of your valves so that they remain in their same “home.” Remember, these components have worn in together, and to avoid problems, it’s best to keep everything in its original orientation while freshening things up.
Next, it’s time to clean up the valve seats with lapping compound. Even if your valve seats looked good in the first test, this procedure is simple and fun, and it makes sense to do it while everything is apart. Simply coat the valve and the seat with a thin layer of lapping compound, then use the suction-cup valve lapping tool to spin the valve until everything sounds smooth. It’s fun to hear the difference in sound as the surfaces grind to meet each other perfectly.
Re-installing the valve stem seals is easy to do. A 20-millimeter deep well socket and a dead blow hammer gets the job done. Now, your head is ready to re-assemble — and, assuming your deck surface is straight, they’re ready to bolt on to your engine. Congratulations, you’ve just saved yourself hundreds of dollars on your LS!