
Lambo Clear Coat Polishing-Today's Photo Essay
 02-26-2009, 05:08 PM
#1
LS1TECH Sponsor
Thread Starter
iTrader: (6)

Join Date: Mar 2007
Location: TX
Posts: 591
Likes: 0
Received 0 Likes
on
0 Posts
A little background:
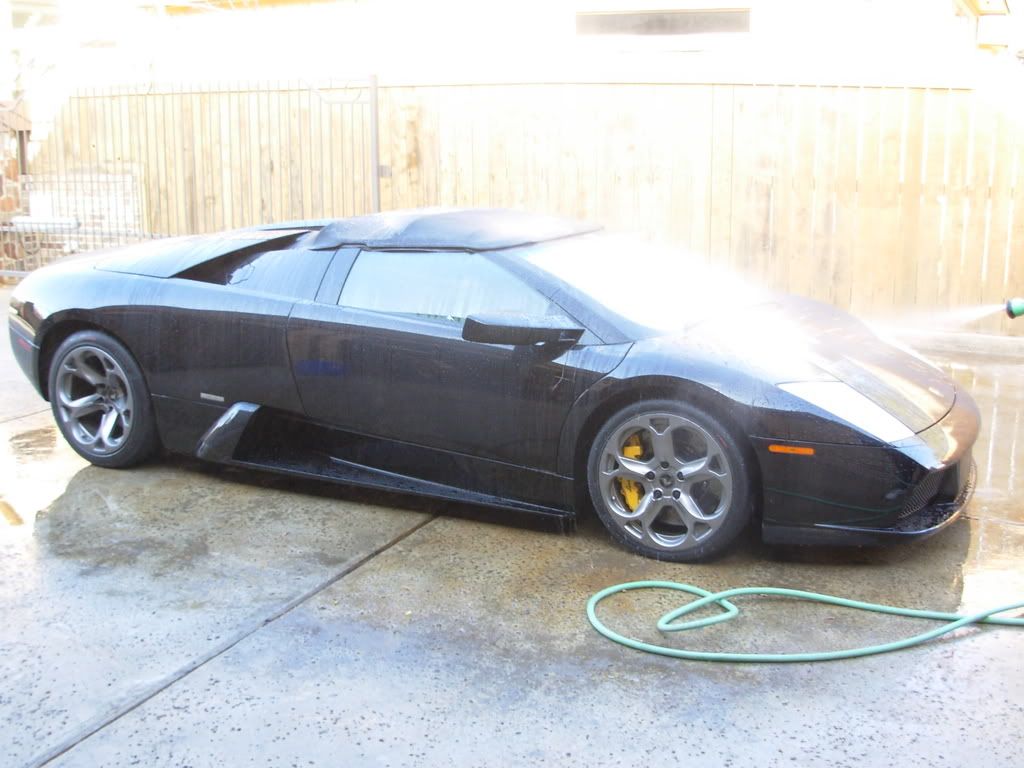
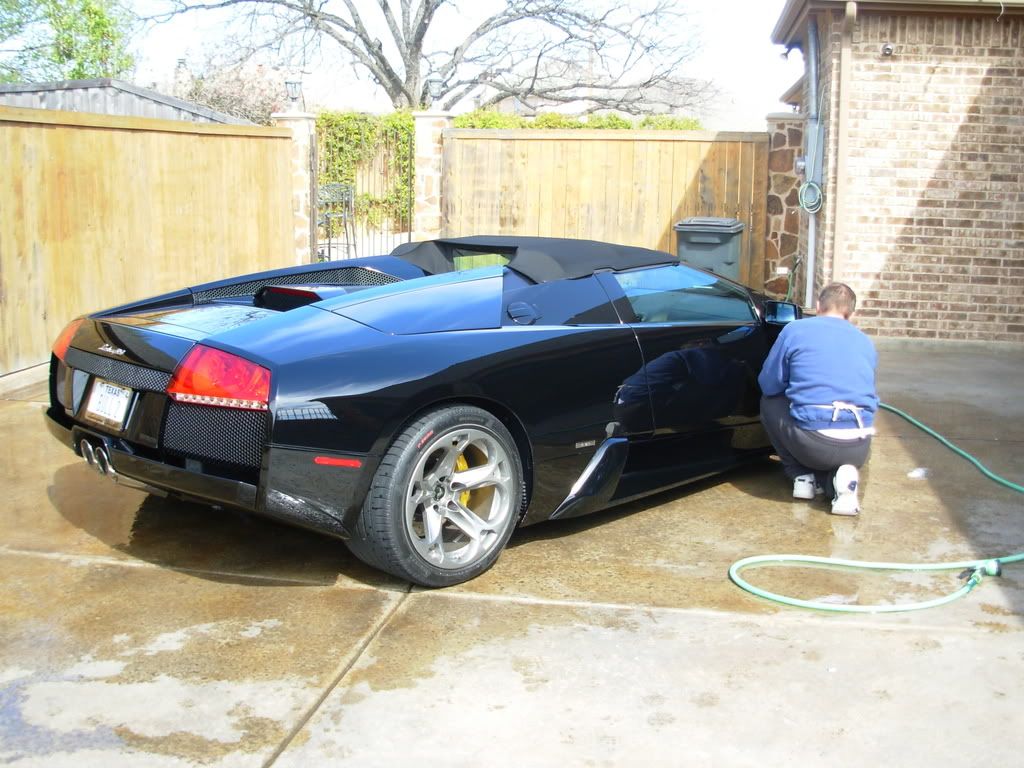
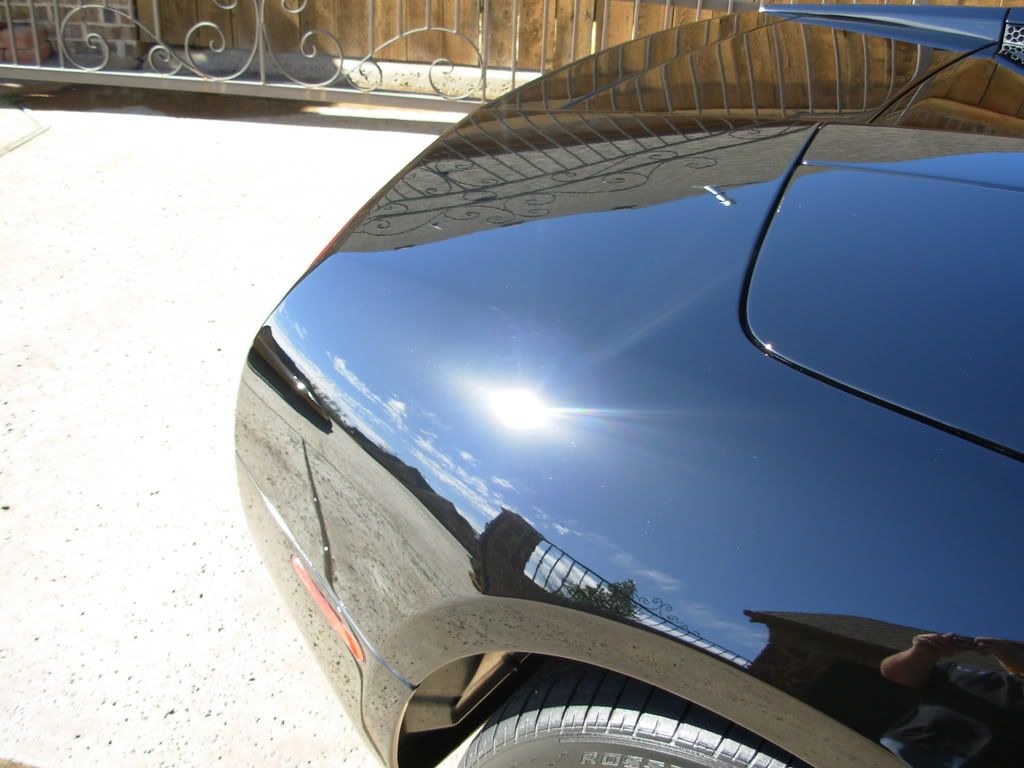
Last weekend we set up our exhibitor’s display at the Dallas New Car show using a red Pontiac G8 as our demo car to show detail product performance and its effects. In one of the other vendor’s booths, “Car Toys” had this black Lamborghini Murcielago Spyder for their promotional use. A couple of their reps had come over to ask some questions about our products and wanted to know if we could look at the paint finish on how to remove the scratches and other blemishes. After leaving a card for the owner, he showed up about an hour later and we set an appointment by Sunday night for me to address the car.
I traveled about an hour to the owner’s location to get started on the car. We didn’t have great lighting early in the morning for our base line pictures but you’ll see what we had in front of us shortly.

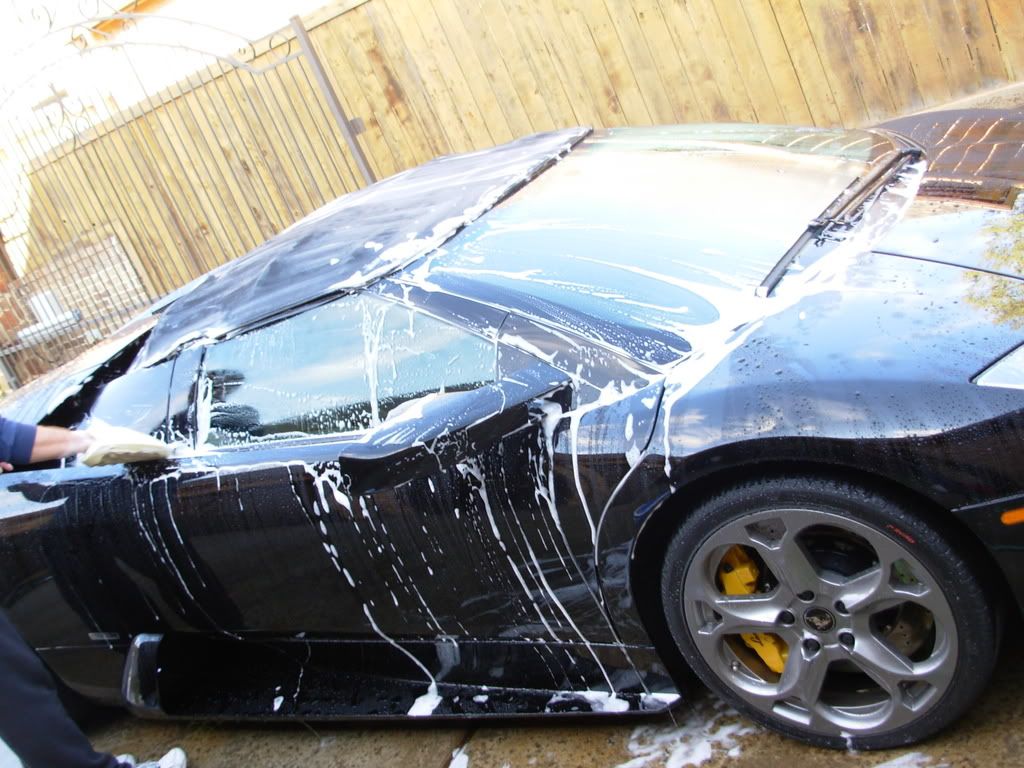
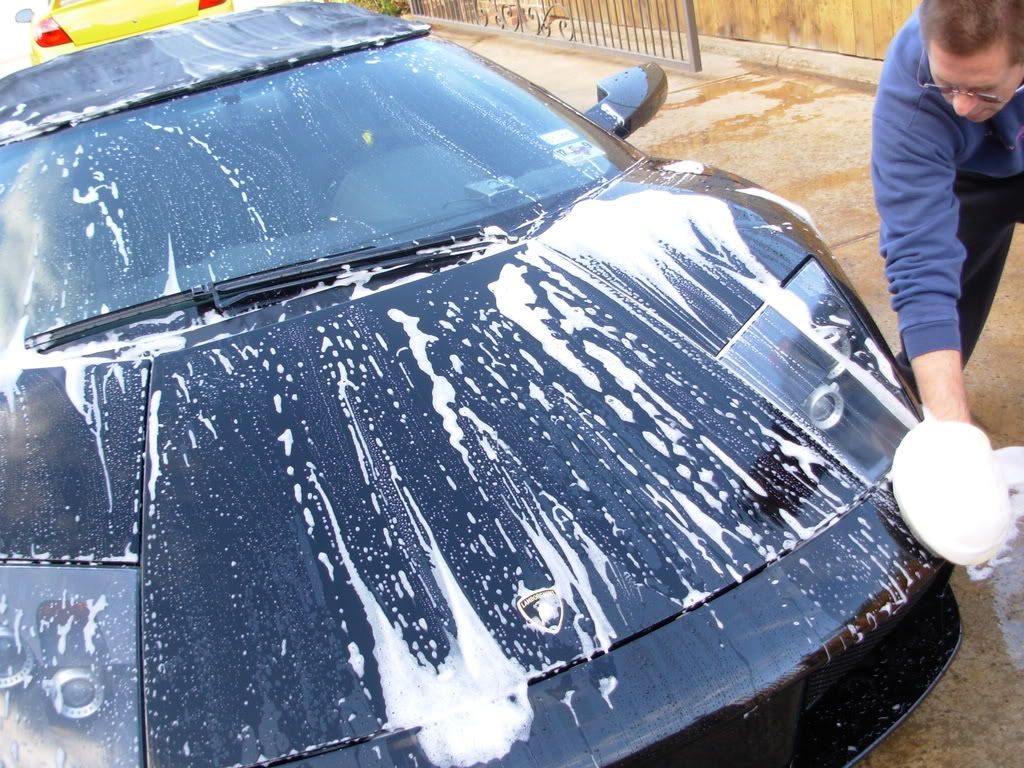
After a quick spray down to get rid of any loose surface dirt and road grime, I started with a light swabbing of the paint and glass to remove the remaining surface dirt. Surface contamination was minimal during the use of the clay bar.
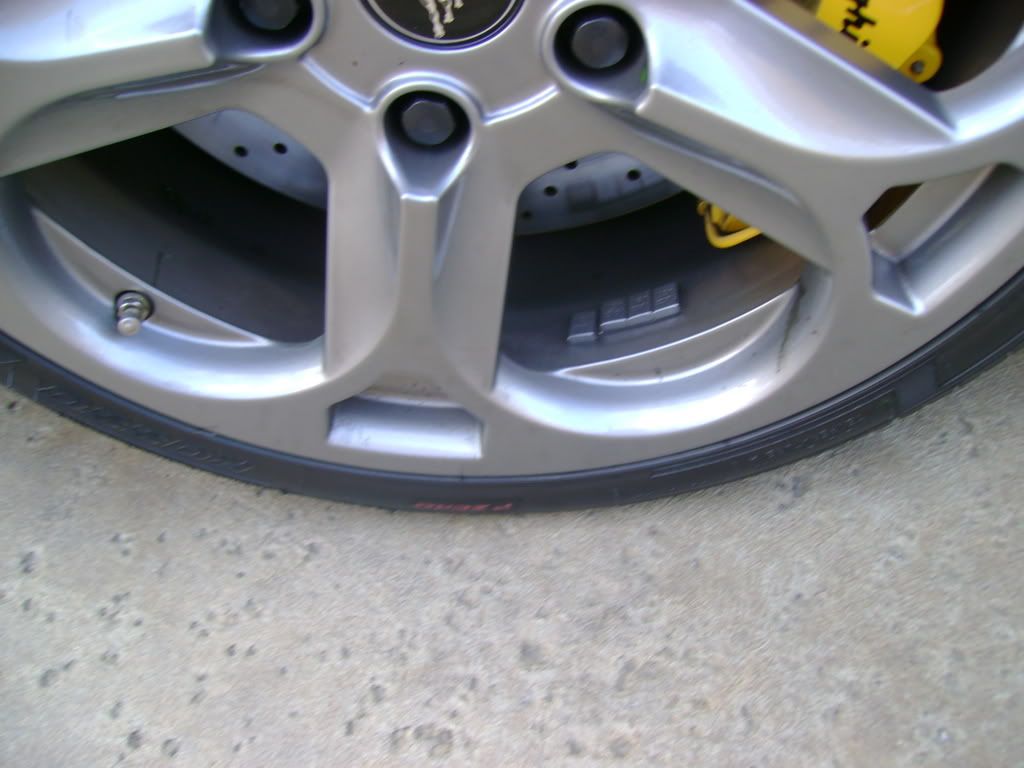
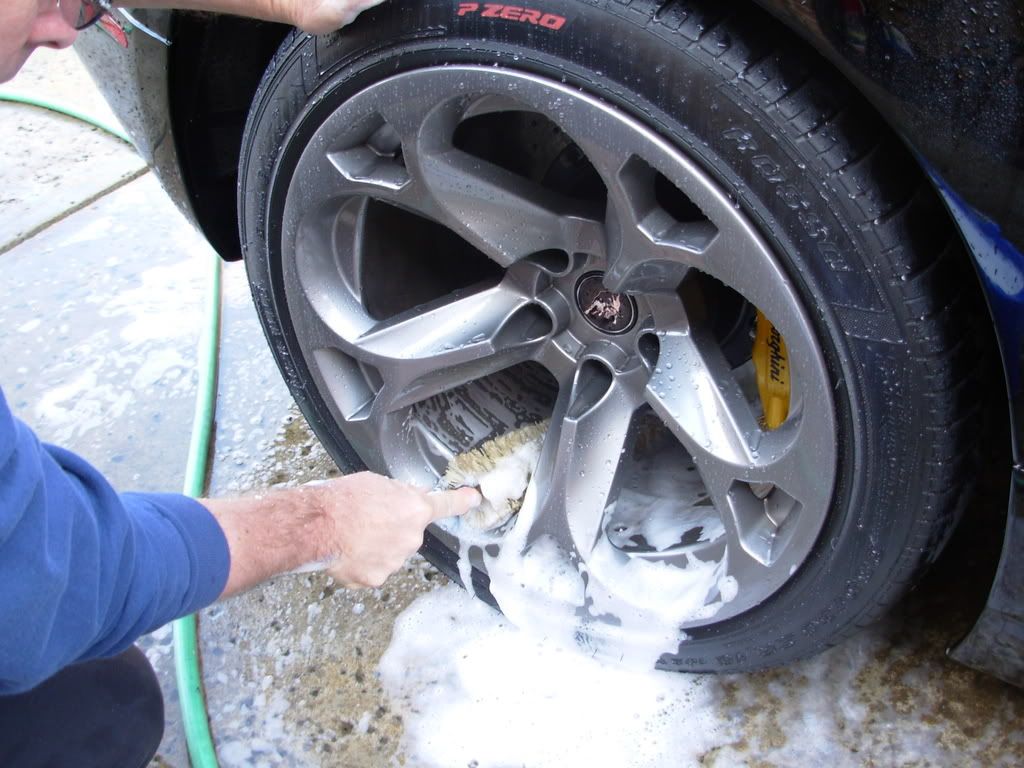
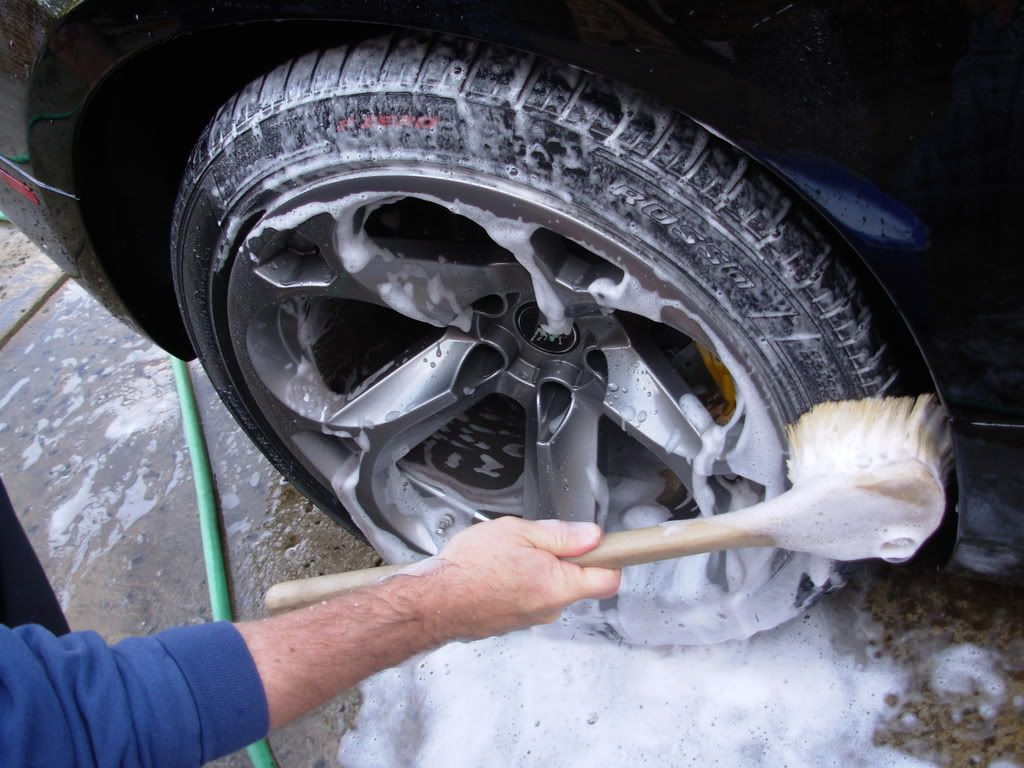
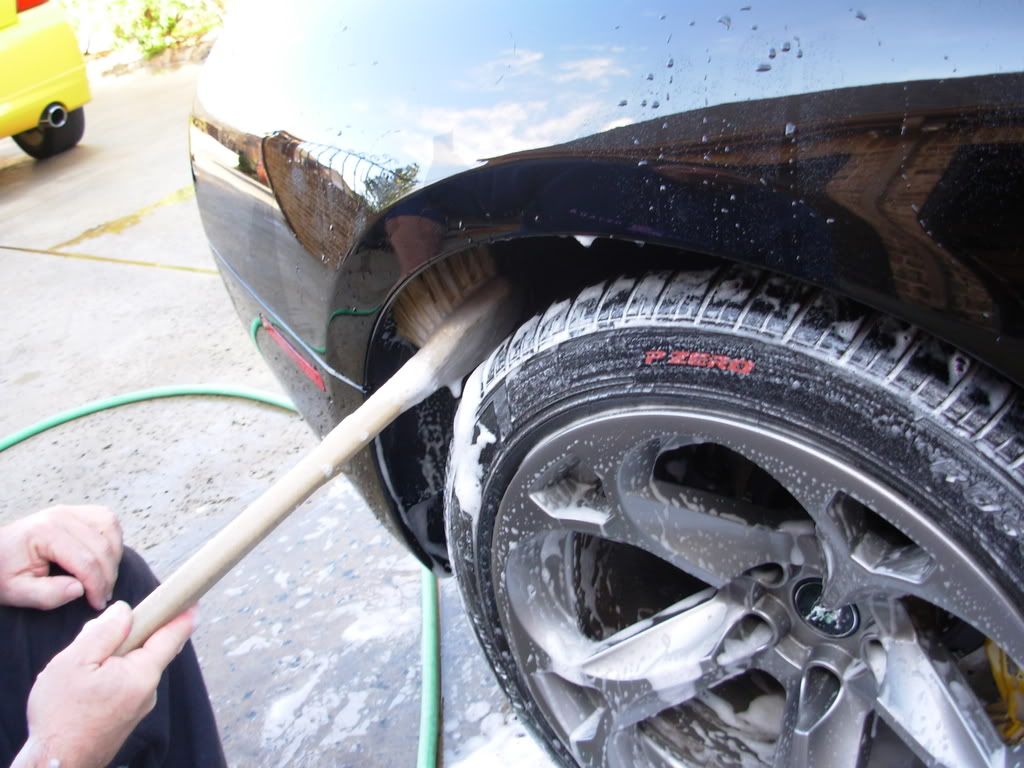
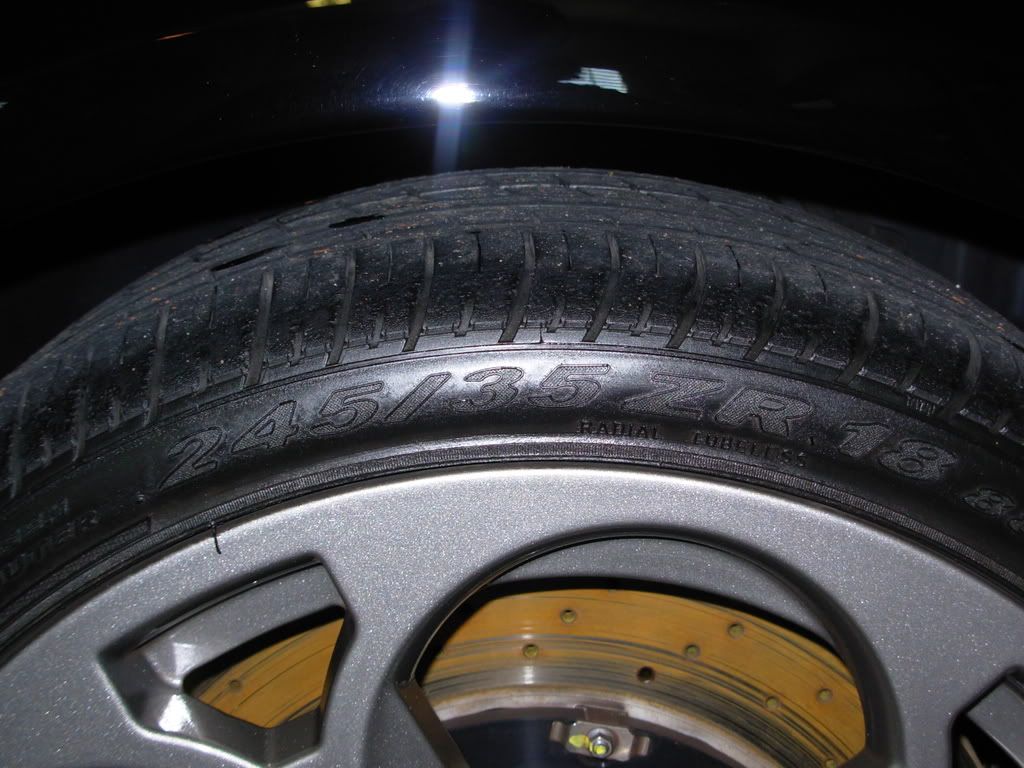
After finishing the body wash, the wheels, tires and wheel wells were saved for last using some of our white tampico bristle brushes to reach these tight areas.
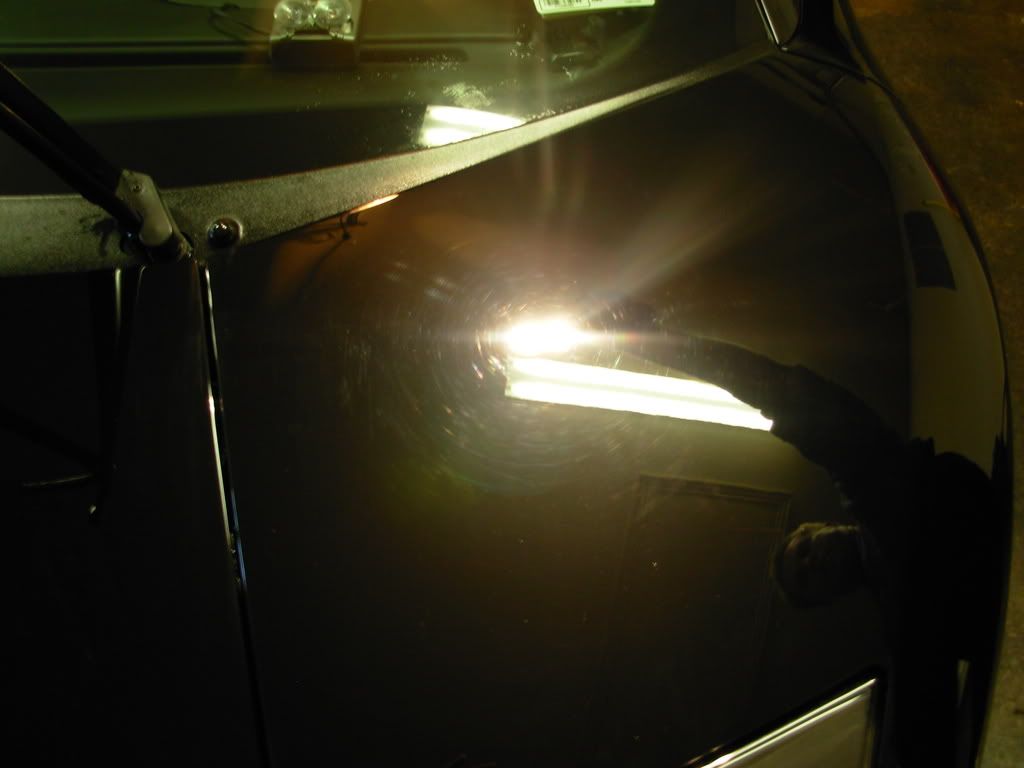
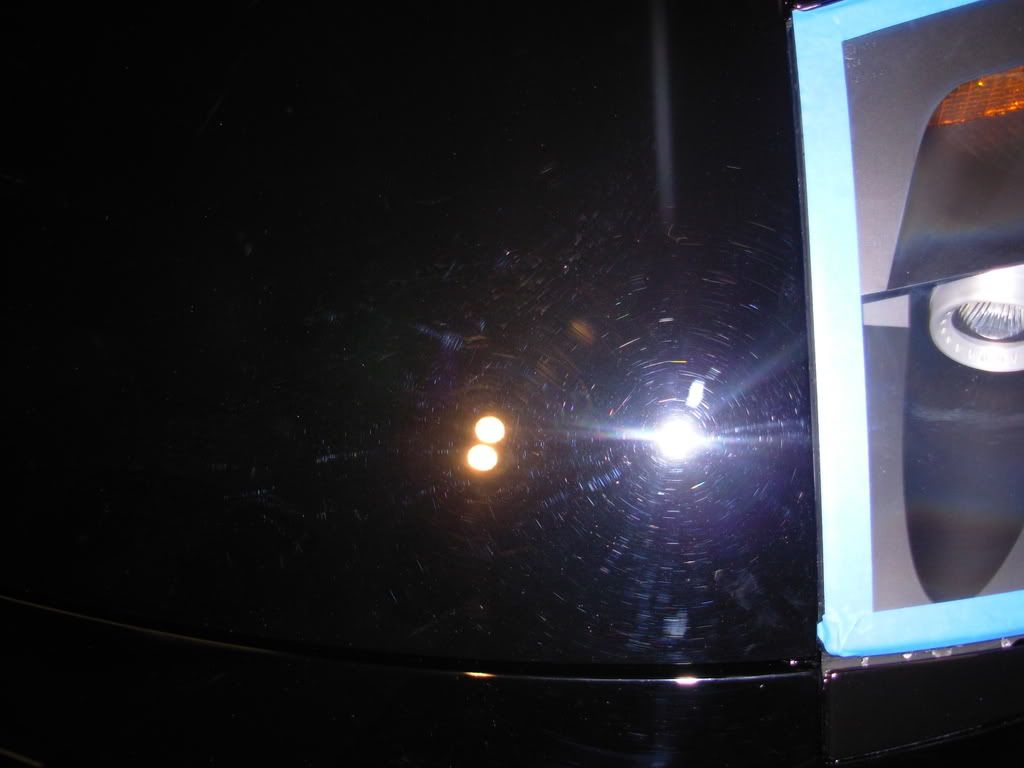
Here’s an example of the surface scratches that are waiting for me to after cleaning. I asked the owner earlier who had been maintaining the surface. Prior to today, he said a local commercial car wash facility and the dealership.
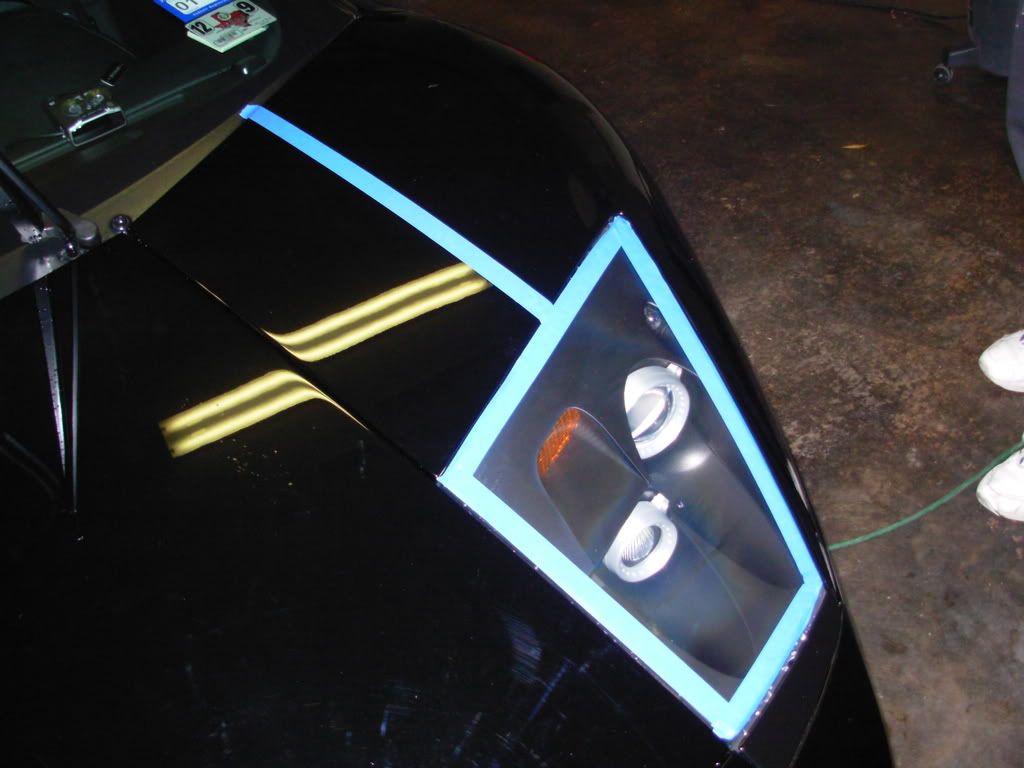
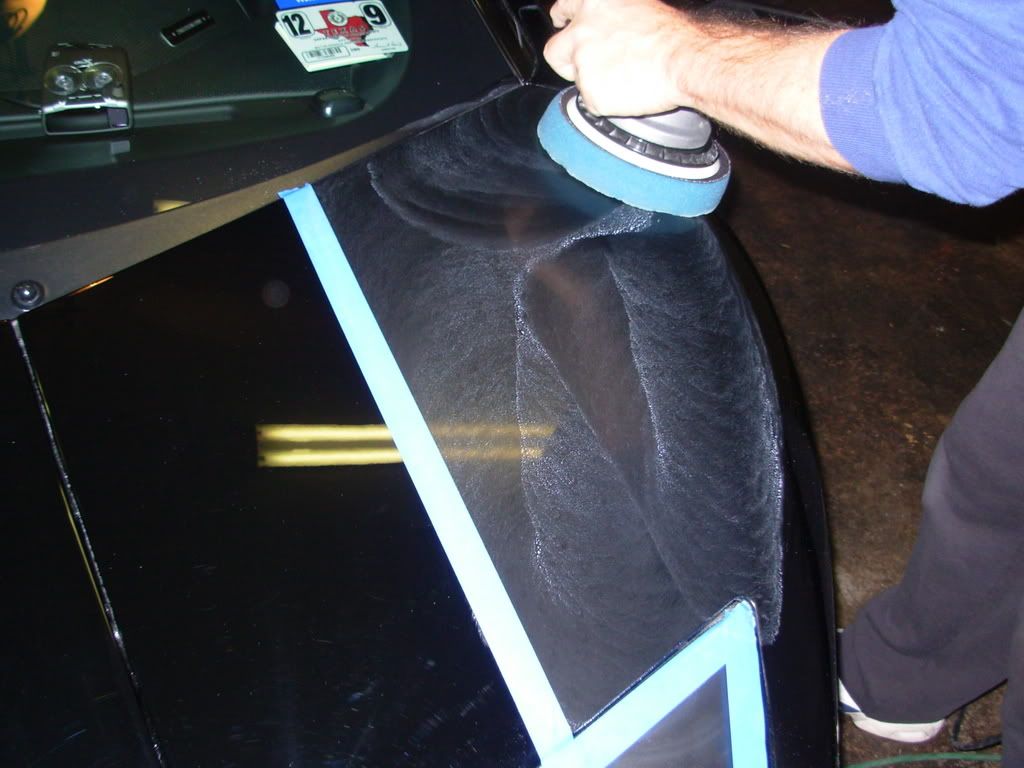
After taping various perimeter sections, I marked off a section to determine what foam pad/chemical combo would give the best results.
To Be Continued:
Last weekend we set up our exhibitor’s display at the Dallas New Car show using a red Pontiac G8 as our demo car to show detail product performance and its effects. In one of the other vendor’s booths, “Car Toys” had this black Lamborghini Murcielago Spyder for their promotional use. A couple of their reps had come over to ask some questions about our products and wanted to know if we could look at the paint finish on how to remove the scratches and other blemishes. After leaving a card for the owner, he showed up about an hour later and we set an appointment by Sunday night for me to address the car.
I traveled about an hour to the owner’s location to get started on the car. We didn’t have great lighting early in the morning for our base line pictures but you’ll see what we had in front of us shortly.
After a quick spray down to get rid of any loose surface dirt and road grime, I started with a light swabbing of the paint and glass to remove the remaining surface dirt. Surface contamination was minimal during the use of the clay bar.
After finishing the body wash, the wheels, tires and wheel wells were saved for last using some of our white tampico bristle brushes to reach these tight areas.
Here’s an example of the surface scratches that are waiting for me to after cleaning. I asked the owner earlier who had been maintaining the surface. Prior to today, he said a local commercial car wash facility and the dealership.
After taping various perimeter sections, I marked off a section to determine what foam pad/chemical combo would give the best results.
To Be Continued:
Last edited by Steve@Tropi-Care; 02-27-2009 at 09:09 AM.
 02-26-2009, 05:17 PM
#2
LS1TECH Sponsor
Thread Starter
iTrader: (6)
Join Date: Mar 2007
Location: TX
Posts: 591
Likes: 0
Received 0 Likes
on
0 Posts
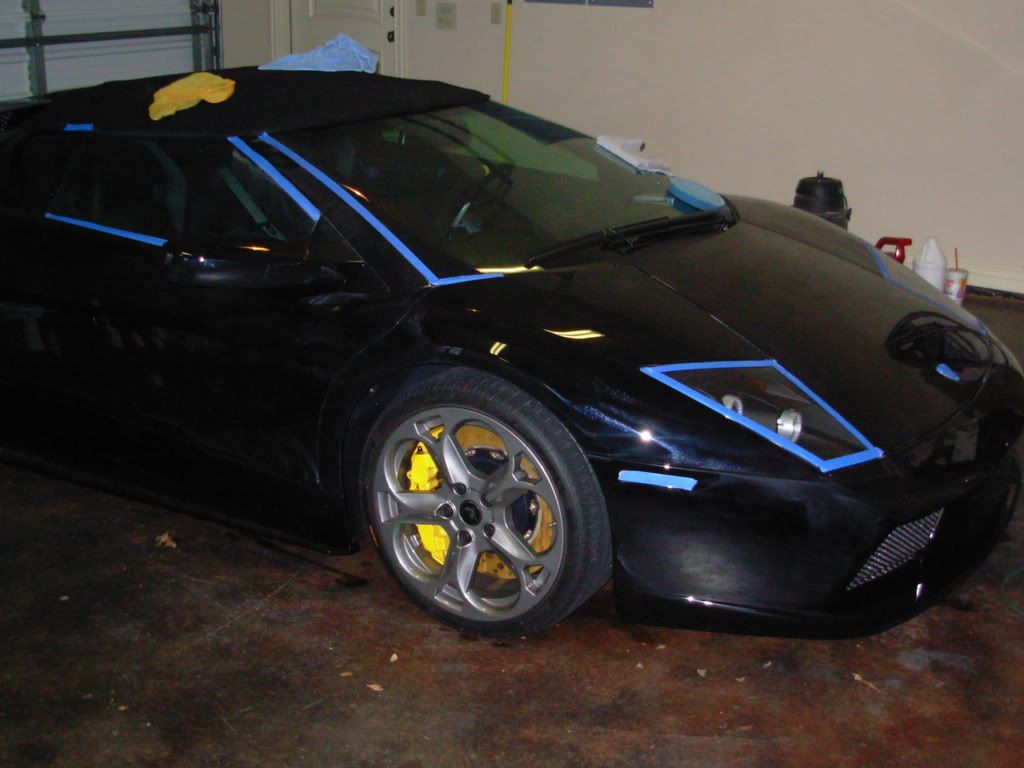
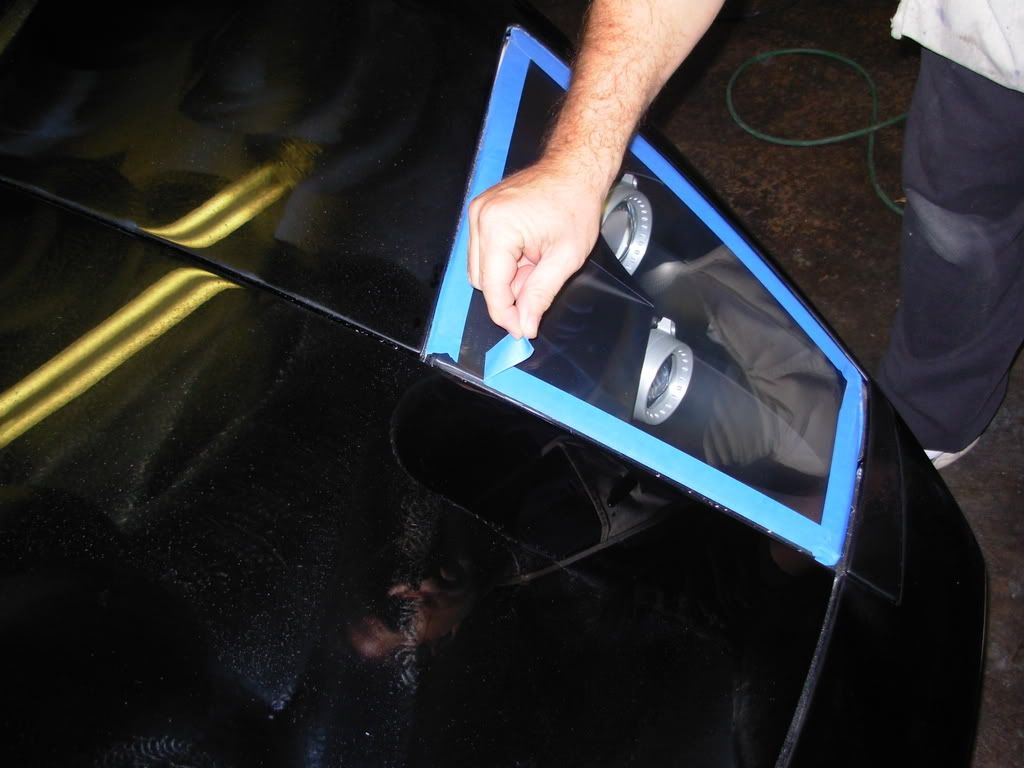
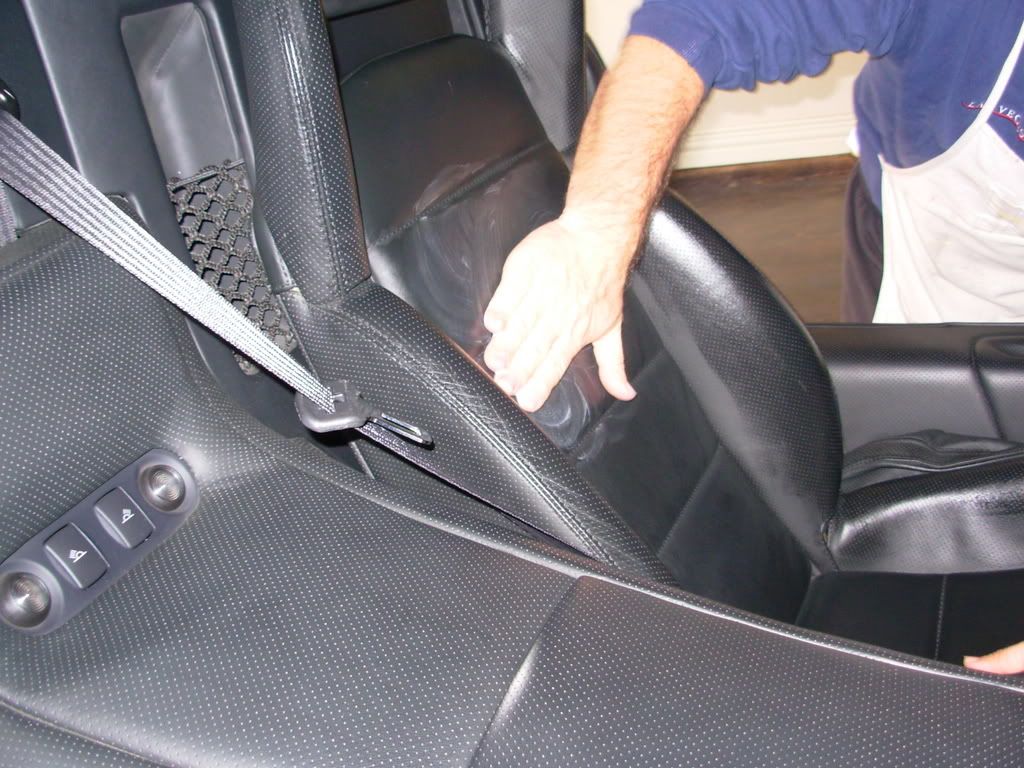
I taped off the rest of the car including emblems and other select pieces.
Starting with the new white ”KOMPRESSOR” pad on the FLEX buffer, I started by spreading the dime sized drop of Menzerna SIP on the work area at speed 3 before increasing to break the product down.

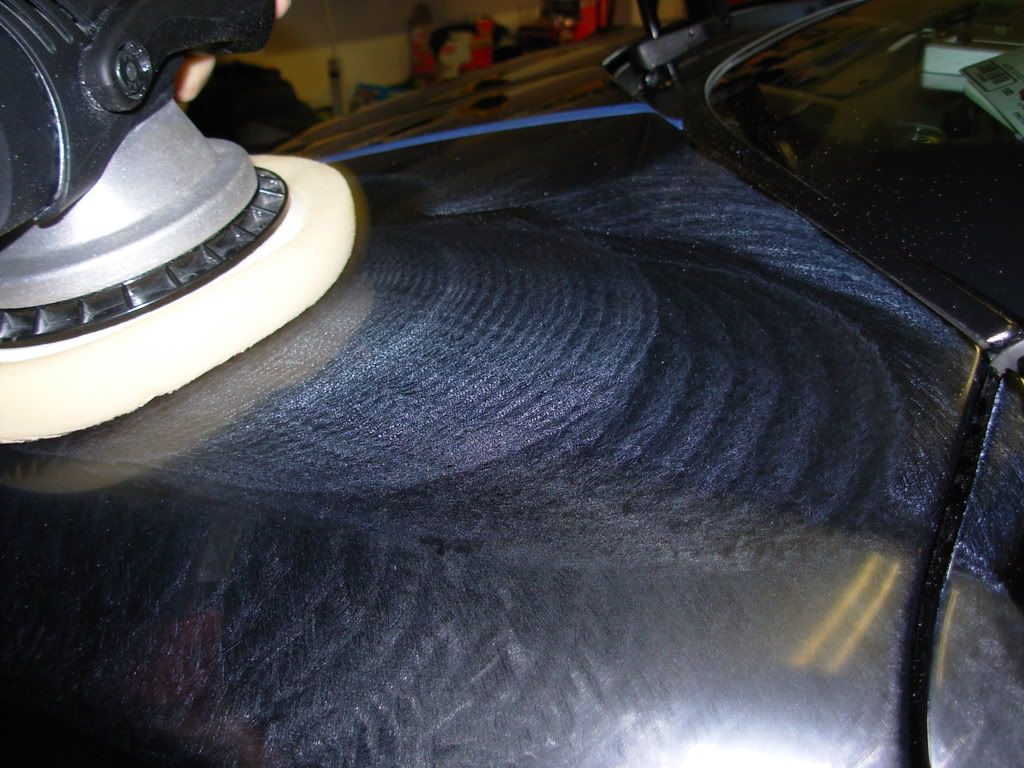
After finishing with the white pad, I stepped down to the softer blue pad to remove any micro-marring while increasing gloss and depth.
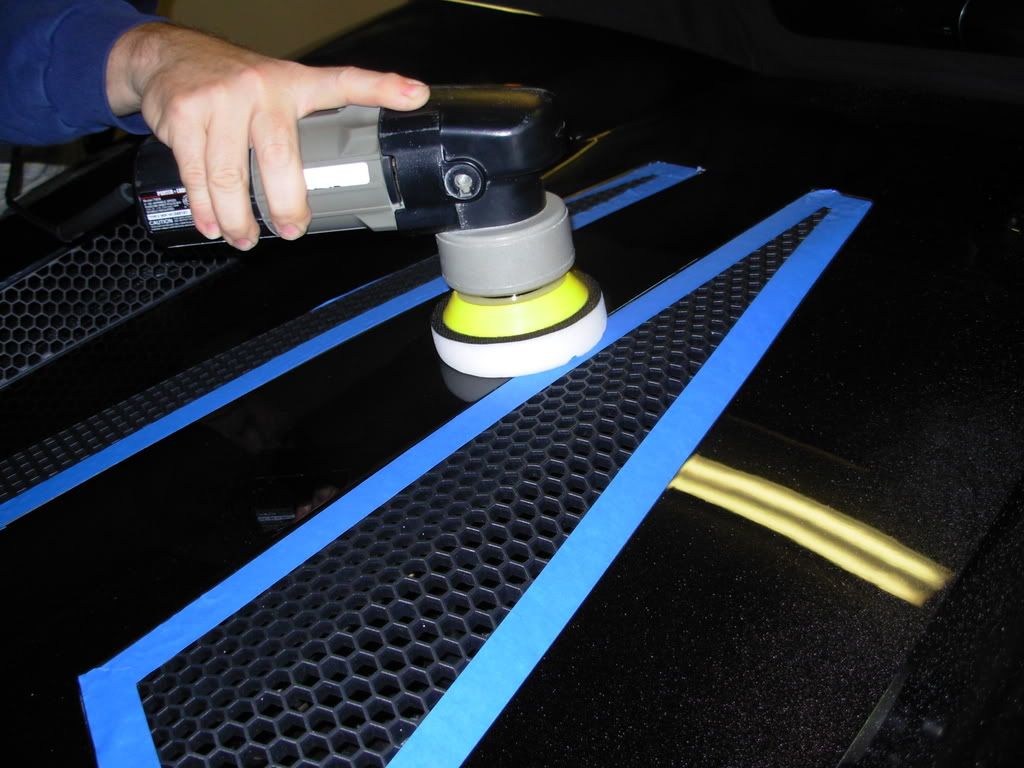
For tighter spaces and thin panels along the top rear deck and vent areas, a PC equipped with the 4” Lake Country CCS buffing pads comes in real handy.
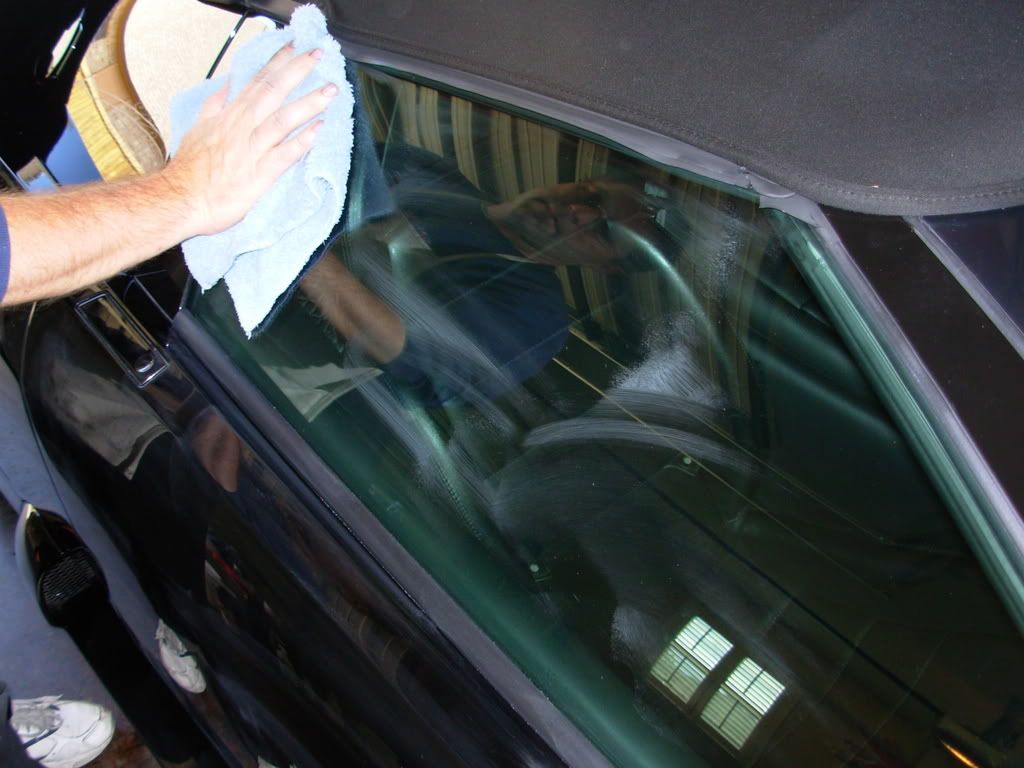
After finishing with the buffing for today, I removed the tape before rolling the car back outside to rinse off the Menzerna product dusting.
Once I completed the second wash to remove any remaining product residue, I quickly wiped off the entire surface including wheels.
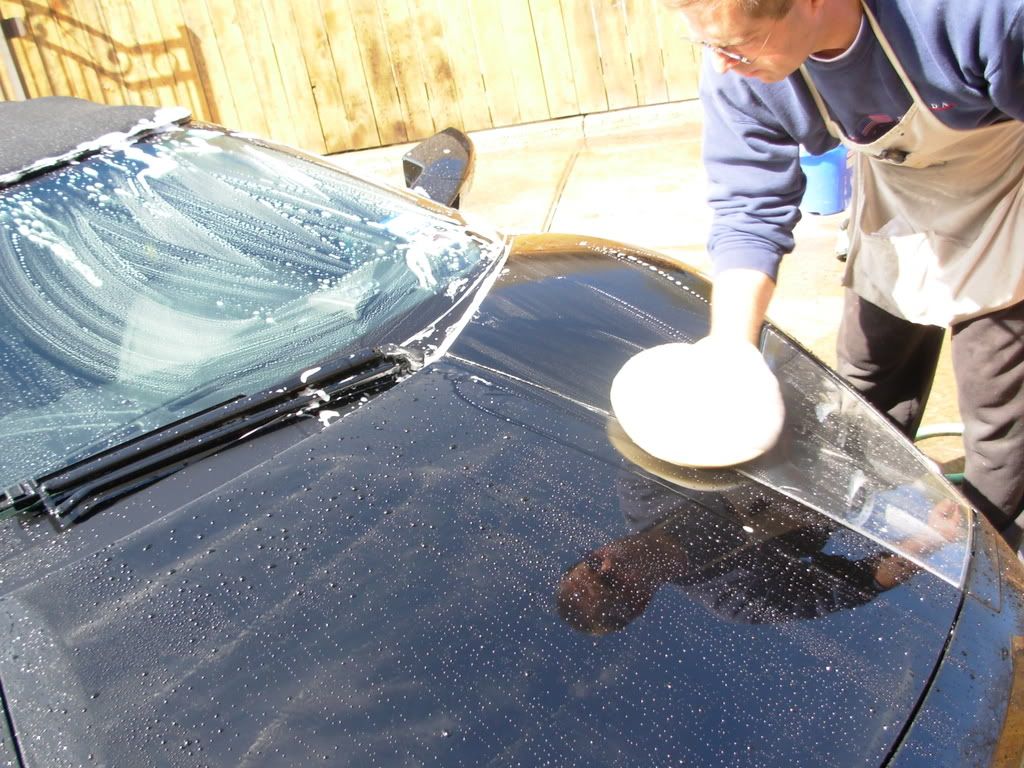
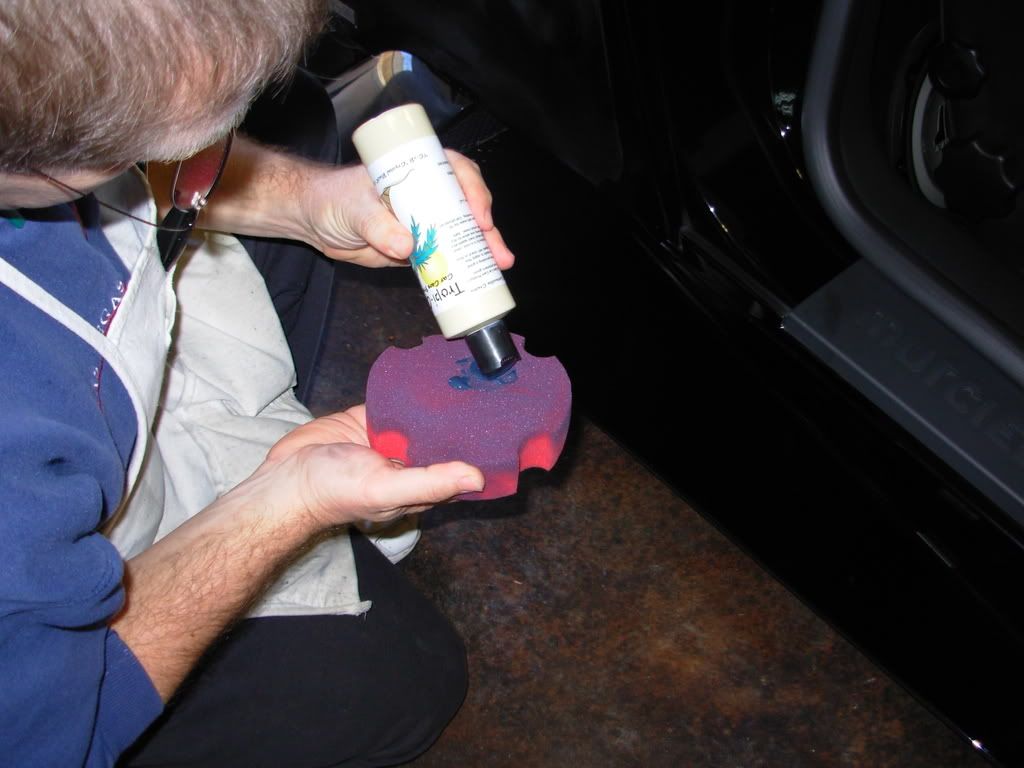
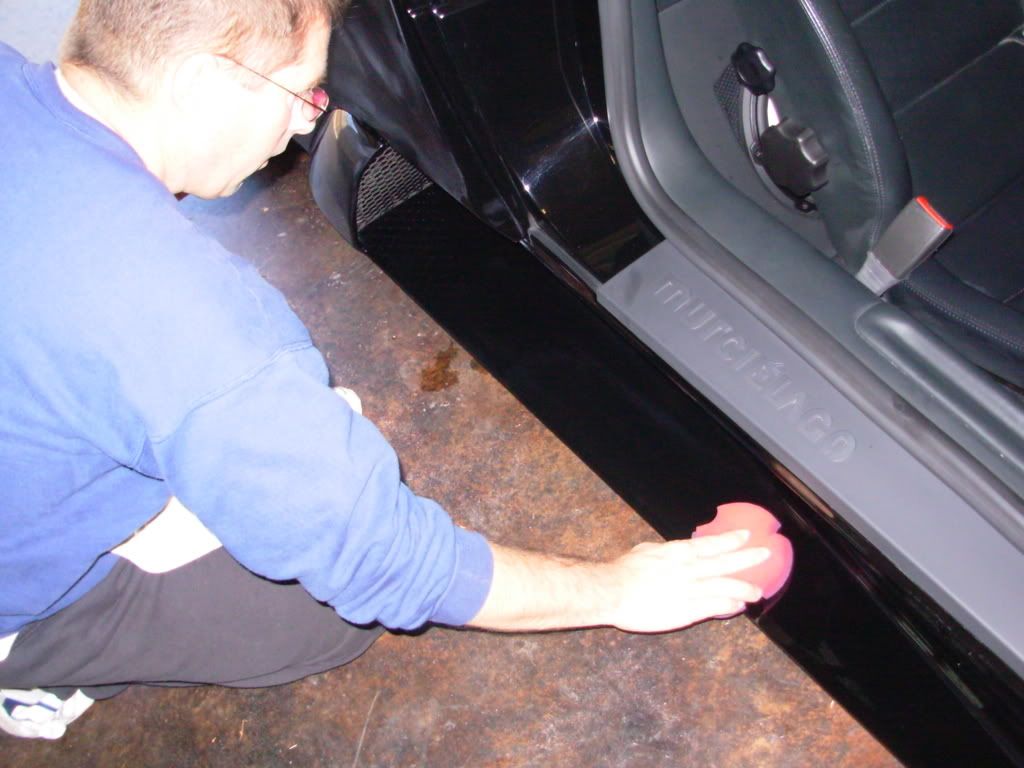
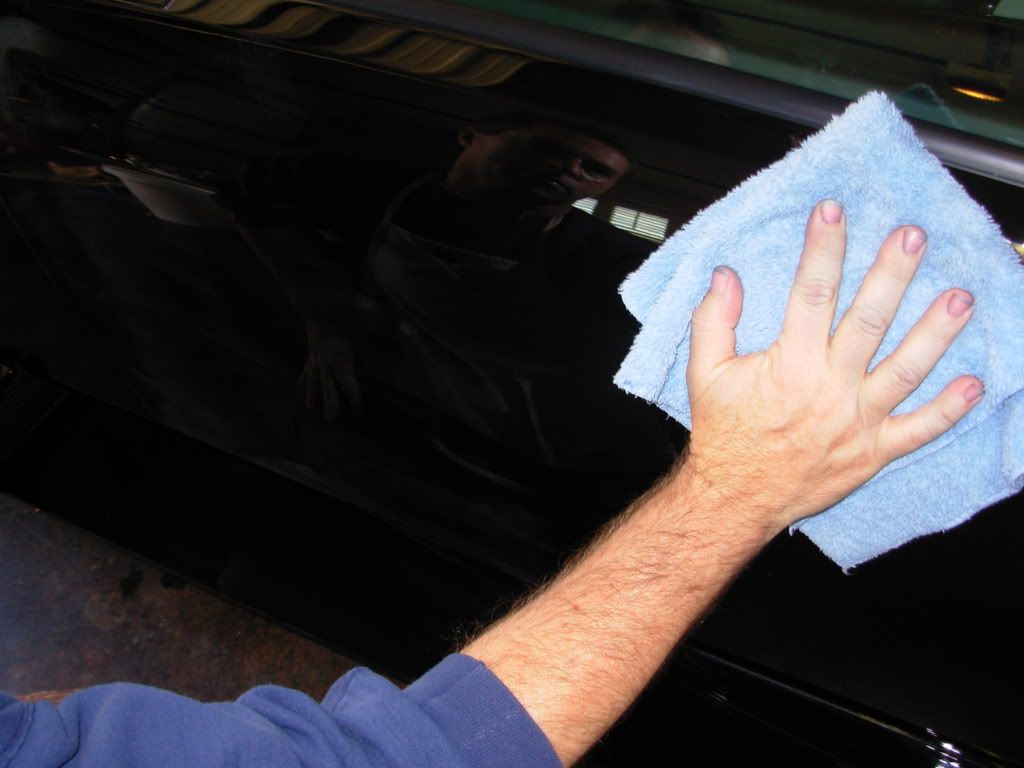
To complete today’s treatment, I hand applied our TC-2B “Crystal Black” Carnauba Cr�me with a 6” red LC foam applicator pad to all surfaces.
Part 3 to follow-
Last edited by Steve@Tropi-Care; 02-27-2009 at 09:11 AM.
02-26-2009, 05:25 PM
#3
LS1TECH Sponsor
Thread Starter
iTrader: (6)
Join Date: Mar 2007
Location: TX
Posts: 591
Likes: 0
Received 0 Likes
on
0 Posts
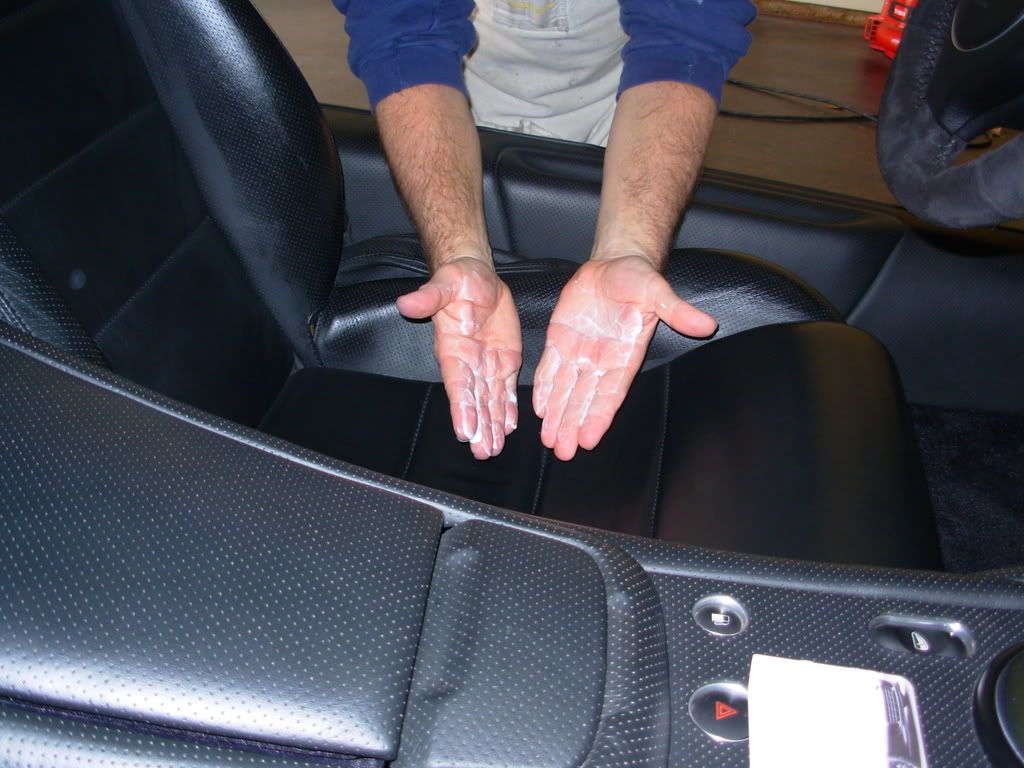
While waiting for the black wax to dry and cure, I had a chance to do the interior clean up and worked in the Leather Conditioner by hand to the seats. This also can be done with a soft, clean foam polish applicator pad.
Now that the wax had dried enough to wipe off cleanly, removal by hand using the blue super plush polish towels was completed pretty quickly without too much trouble.
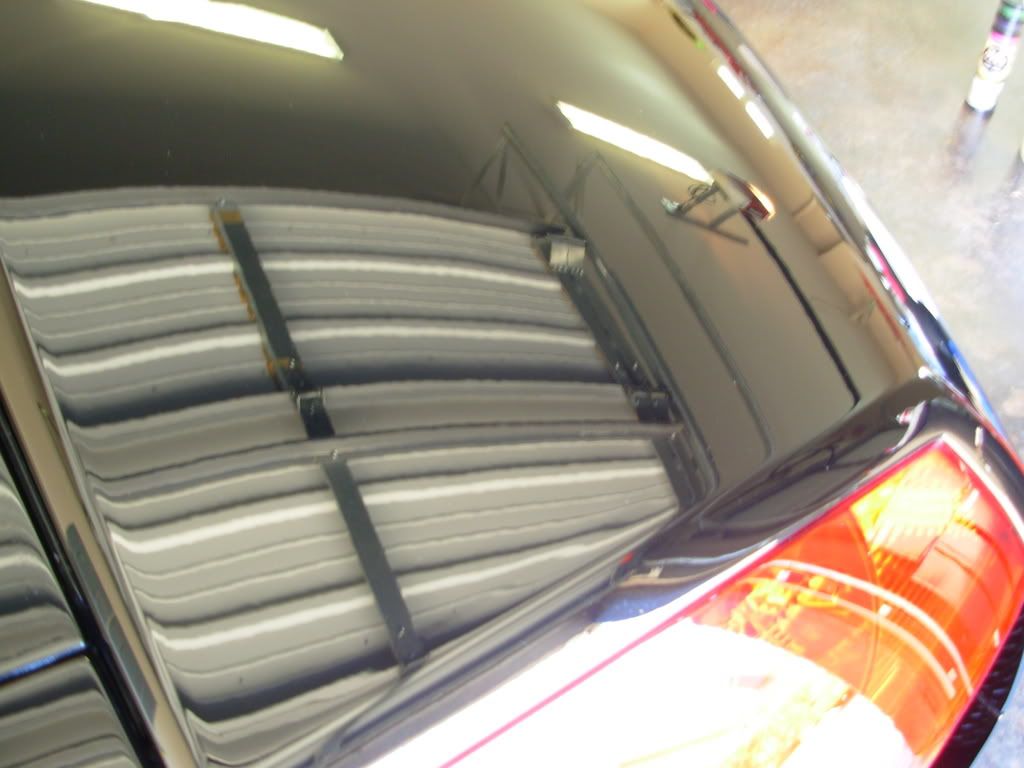
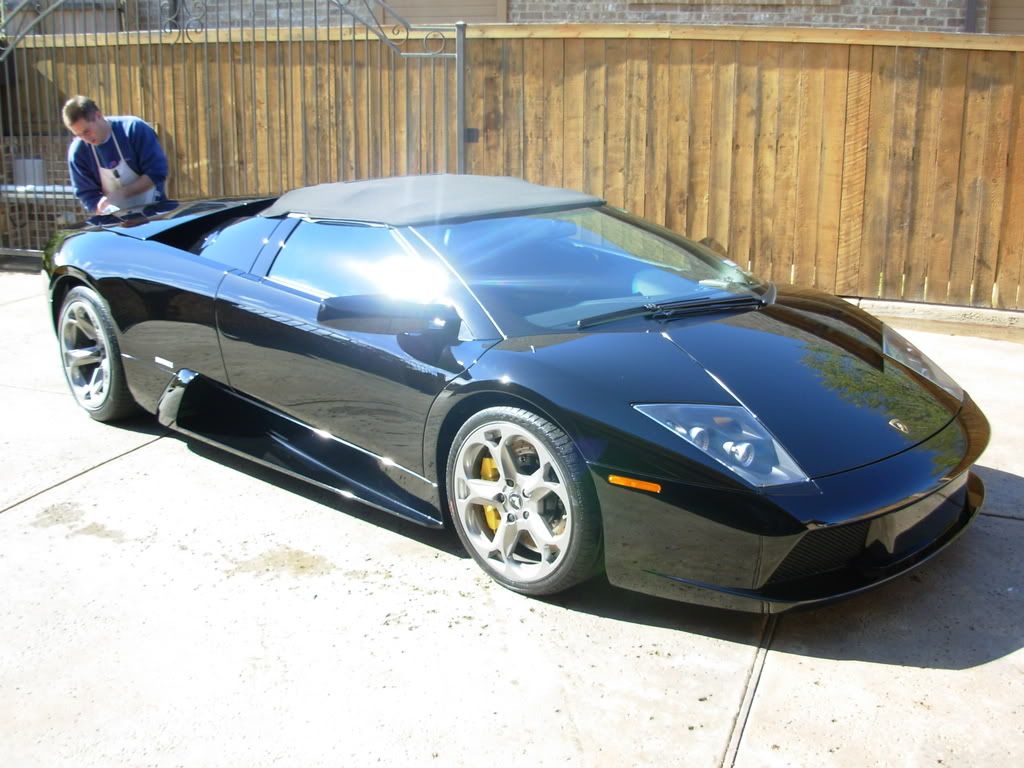
One quick reflection shot before the outdoor pics:
A second application of our water based tire dressing
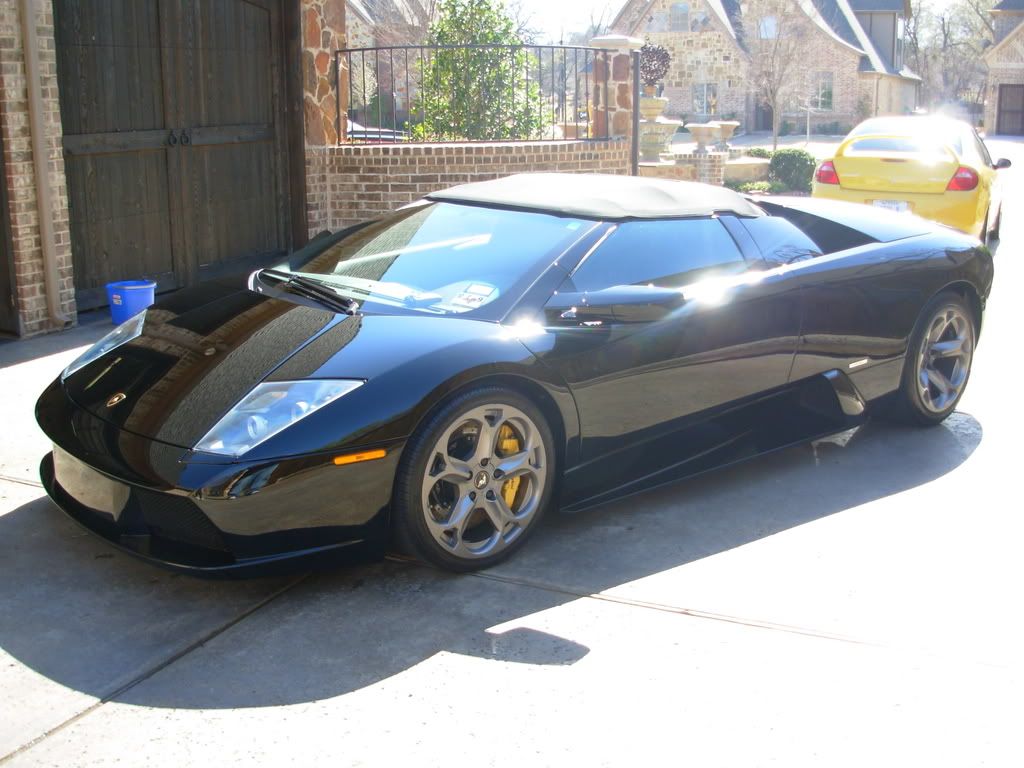
Today’s completed project:

Closing to follow-
Last edited by Steve@Tropi-Care; 02-27-2009 at 09:13 AM.

 02-26-2009, 05:29 PM
#5
LS1TECH Sponsor
Thread Starter
iTrader: (6)
Join Date: Mar 2007
Location: TX
Posts: 591
Likes: 0
Received 0 Likes
on
0 Posts
One last shot before leaving:
It was easy to see why this car had so many circular and random scratches. This clear coat was finicky to work on and marred very easily in certain sections. Part of one day is definitely not enough to correct every defect in a vehicle of this nature. I look forward to the next visit.
Sorry for being so long winded.
All comments and questions welcomed.
Last edited by Steve@Tropi-Care; 02-27-2009 at 09:14 AM.
02-26-2009, 05:40 PM
#6
TECH Regular
iTrader: (24)

Join Date: Aug 2007
Location: Billings, Montana
Posts: 446
Likes: 0
Received 0 Likes
on
0 Posts
You do truly wonderful work. Looks like you could jump into that paint now. But I have a question-Who would buy a Murciaglo (sp?) and have some 18 year old at a dealership wash it for you?
02-26-2009, 05:57 PM
#7
LS1TECH Sponsor
Thread Starter
iTrader: (6)
Join Date: Mar 2007
Location: TX
Posts: 591
Likes: 0
Received 0 Likes
on
0 Posts
Thanks. I just enjoy showing a customer or owner what is possible as a result of using the techniques on their vehicle. Reading about detailing techniques on the forums or talking on the phone is one thing. But seeing and experiencing the corrective action firsthand is completely another.
Yesterday I had an owner of '71 Plymouth GTX bring his car to the office here for advice on removing these same scratches as pictured in this thread. I explained and them showed him with the PC and FLEX buffer. He was speechless after I showed what his finish could look and feel like after buffing.
Trending Topics
02-26-2009, 06:20 PM
#9
12 Second Club
iTrader: (7)
Join Date: Mar 2008
Location: Mid-Missouri
Posts: 111
Likes: 0
Received 0 Likes
on
0 Posts
Looks like a lot of work. But damn sure looks sweet!! What is the ballpark cost of that Lambo job?? Hopefully he'll pay you to keep it looking like that instead of the wash mart.

 02-26-2009, 07:29 PM
#13
LS1TECH Sponsor
Thread Starter
iTrader: (6)
Join Date: Mar 2007
Location: TX
Posts: 591
Likes: 0
Received 0 Likes
on
0 Posts
Take this action for example: This car is an exercise in taking your time and having a lot of patience. All the of body panels have hard angular edges. There are no rounded panels. The 4" buffing pad is your best friend in this area of the car. Try fitting a 6.5" pad into the flat sections. I would gladly buff your hard clear coat F-body cars all day.
Ask yourself about the soft top: If you own this car, woud you even want to have the top up?
All of your comments are greatly appreciated.


 02-26-2009, 08:30 PM
#18
Looks great Steve. Looks like I need to pick up the Flex buffer and the SIP. I detailed a black Bentley the other day and the paint looked like the Lambo. The PC and Menzerna IP worked but it wore me down. Car had 900 miles on it but, it had not been washed correctly.
02-26-2009, 08:44 PM
#20
you are a very patient person, this thread just goes ontop of the cake. the fact that you detailed every process with pictures, then took the time to explain them, and answer questions really shows how confident you are about your work (as well you should be)
awesome work!
awesome work!