


Black Ws6 detail!

Thread Starter
TECH Addict
iTrader: (8)
Joined: Aug 2005
Posts: 2,541
Likes: 2
From: Spartanburg, SC
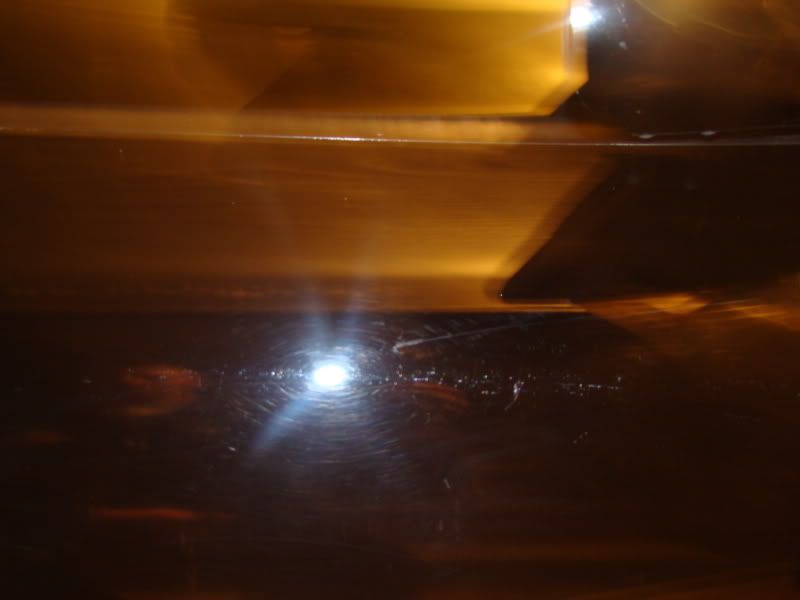
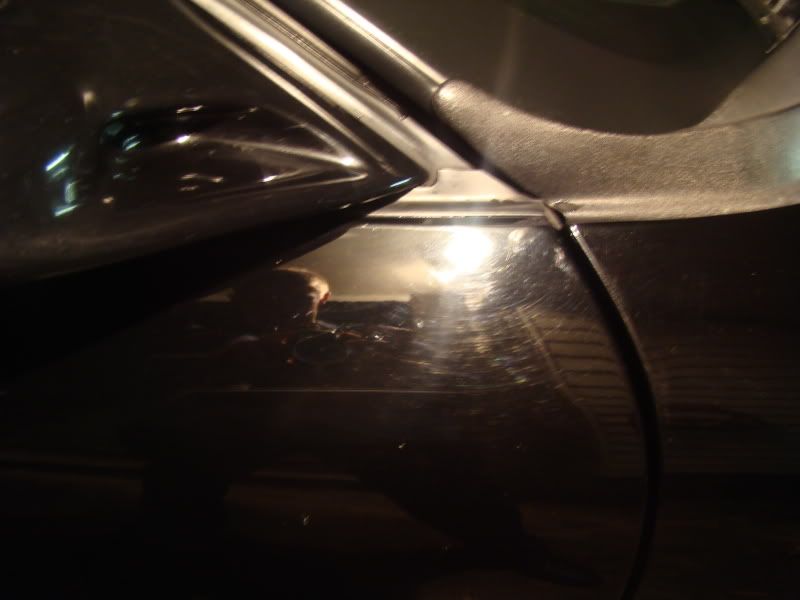
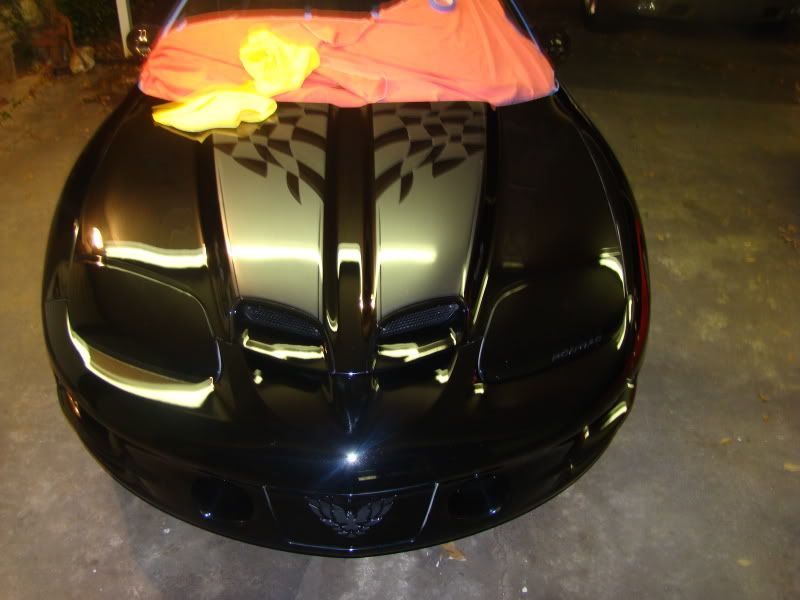
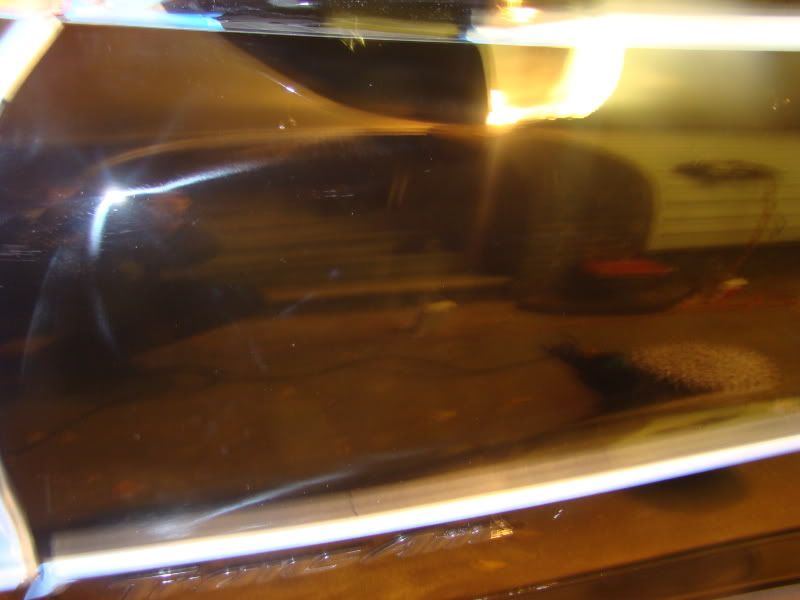
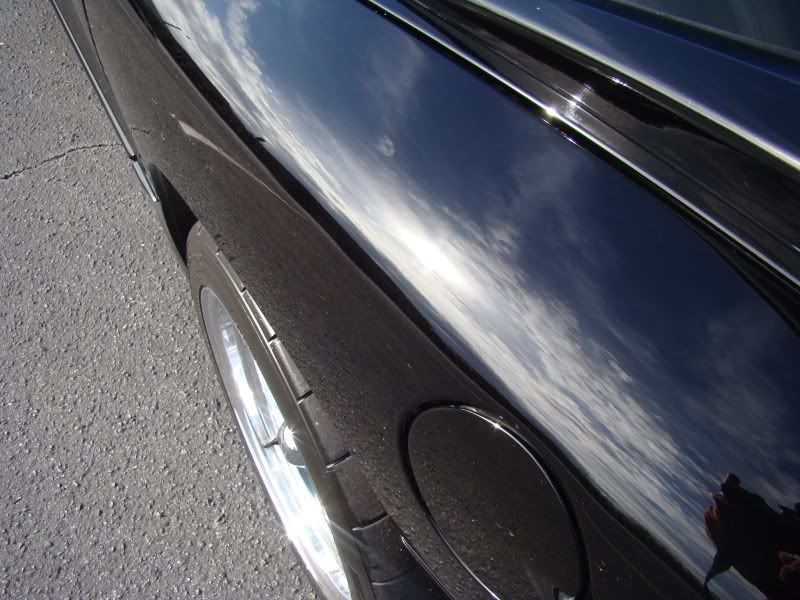
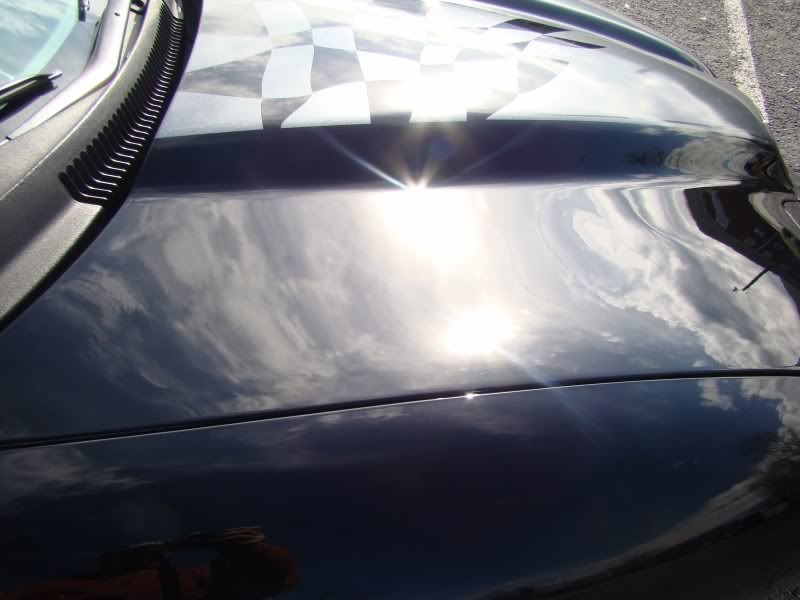
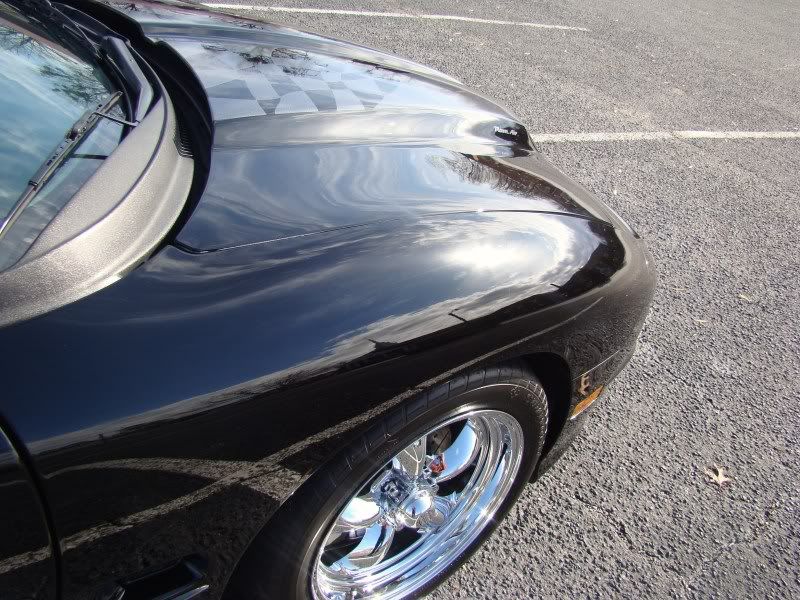
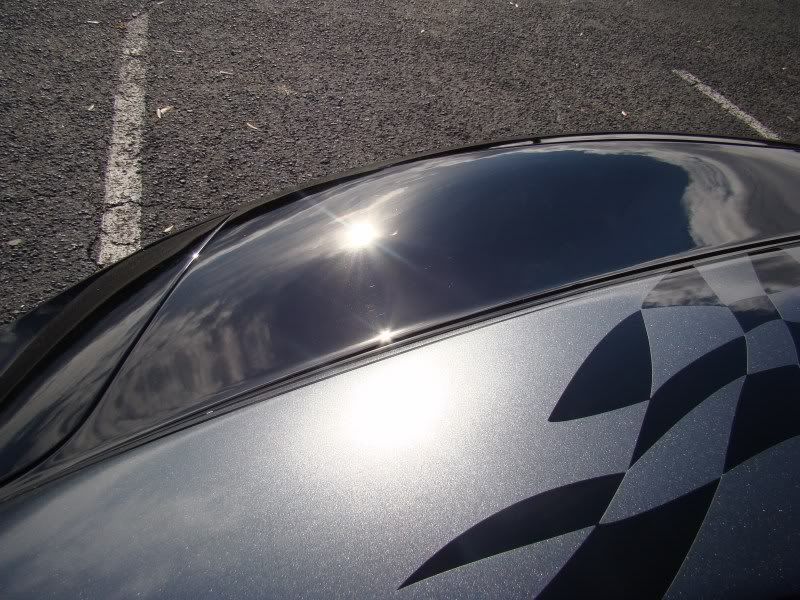
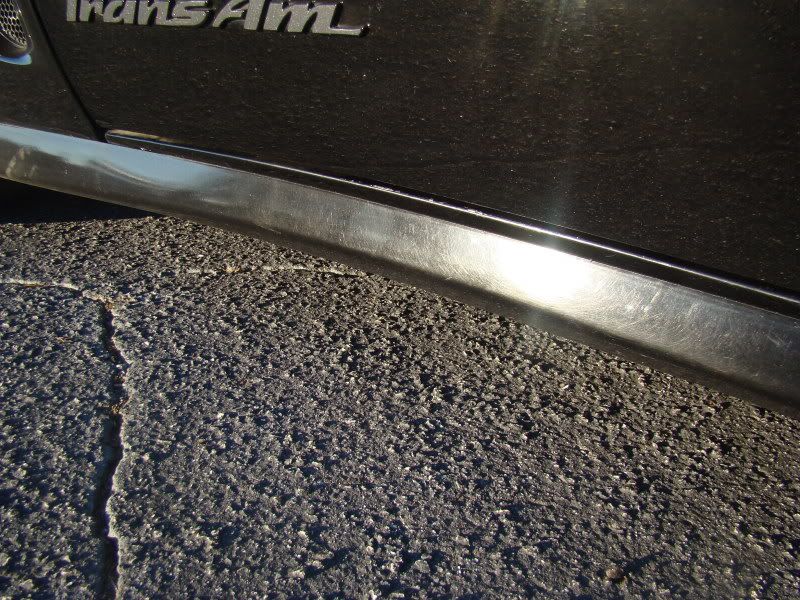
I've had a friend's car at the house since earlier in the week, and put about 13-14 hours into detailing it the best I could. I did a 2-step polish and acheived probably an 85% correction on it. The deeper scratches and swirls are still there, just less noticeable. Here's the process...
-degreased and washed with Dawn detergent to strip the wax
-all-purpose cleaner (APC) diluted 5:1 for the wheel wells
-APC diluted 10:1 for wheels, inner wheels, and lower parts of the car that had a lot of grime.
-clayed with an agressive Clay Magic bar to remove and fallout, and overspray that was on random parts of the car
-wiped down with IPA (rubbing alcohol mixed 50/50 with water) to make sure every bit of wax or silcone was off the car and the paint was as bare as possible for compounding.
-i used an Edge double-sided pad for all the polishing. wool on one side, white foam on the other
-compounded with M105 using wool......also picked up a new Makita buffer, this thing rocks.
-followed M105 with M205 and finishing pad
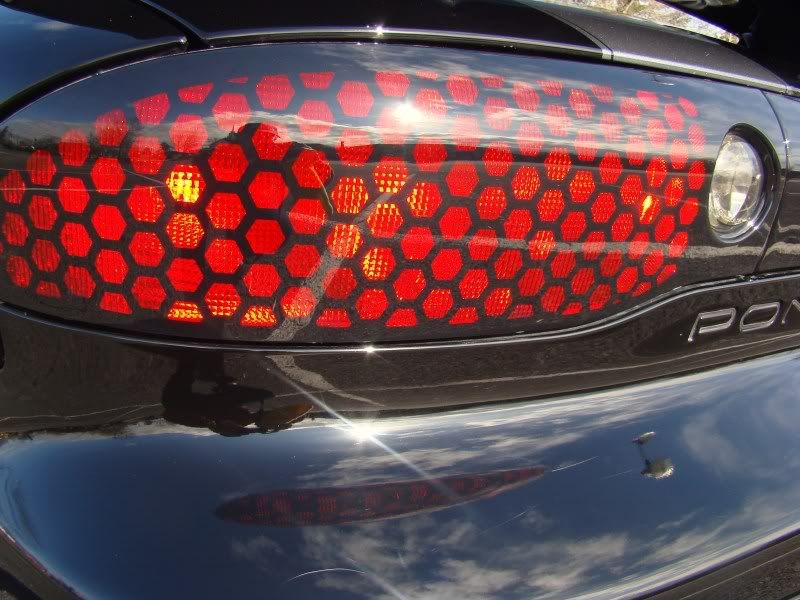
-same polishing process for taillights and center section
-IPA wipedowns were done between each step of polishing to make sure the oils from the previous polish were not left behind.
-all exterior plastics and rubber cleaned and protect for F303 Aerospace Protectant
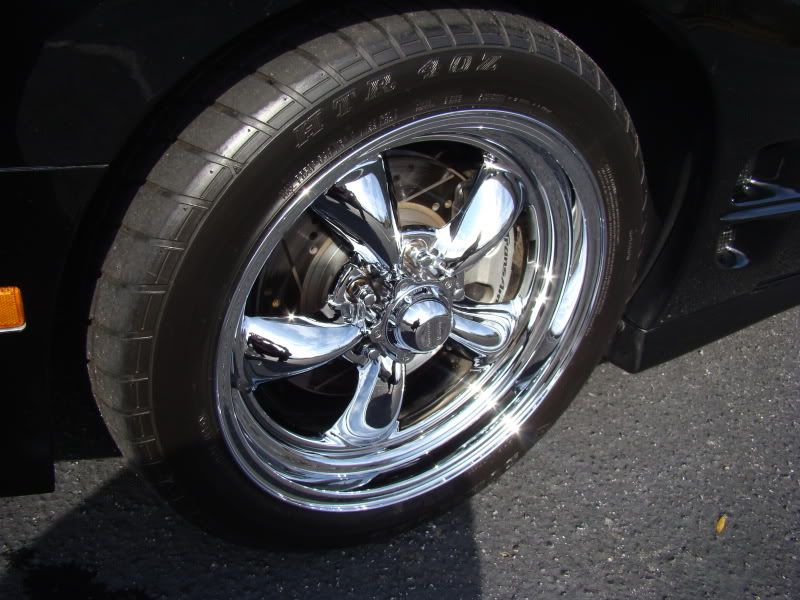
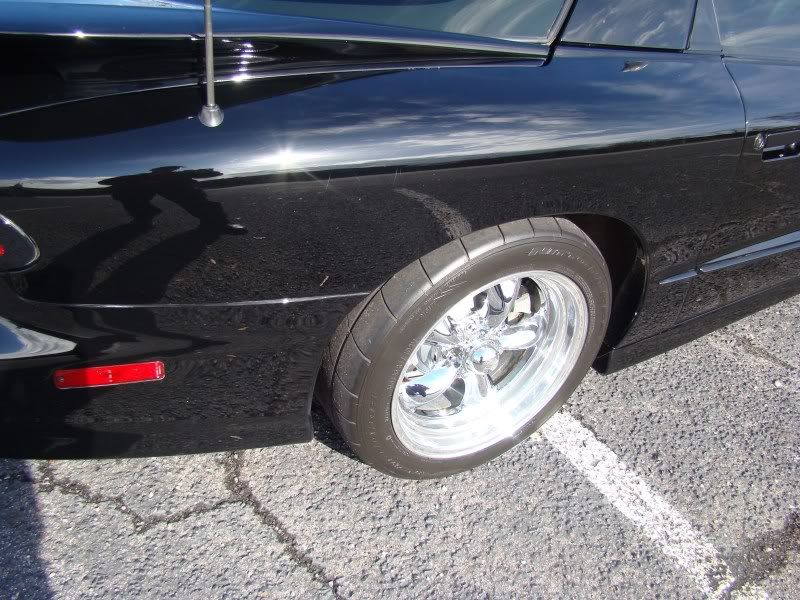
-tires dressed in Blue Satin
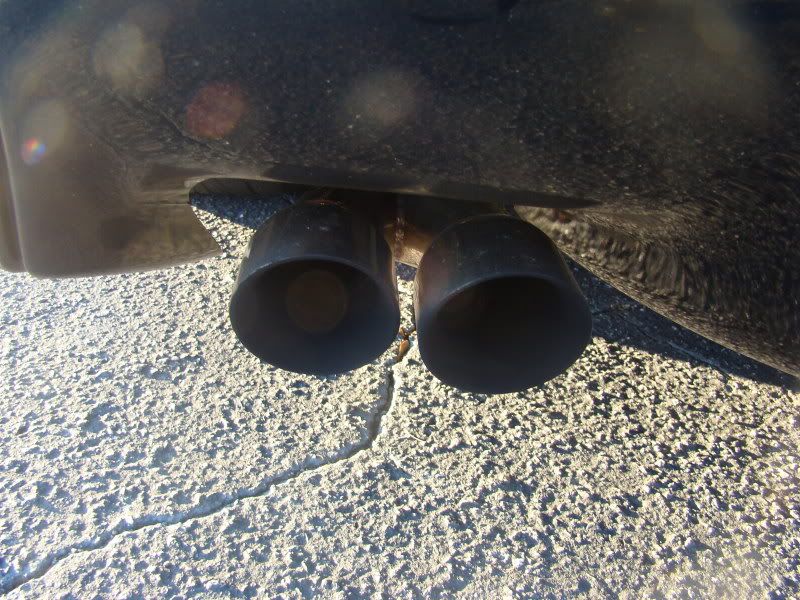
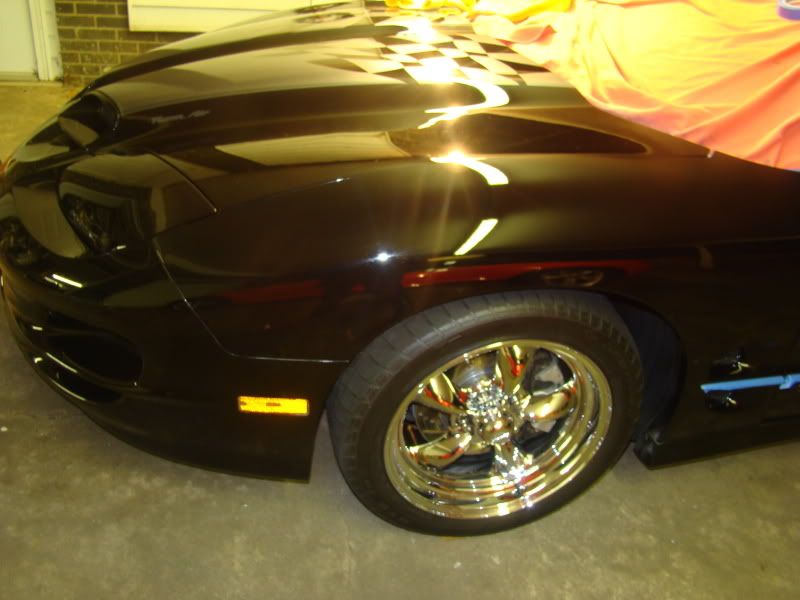
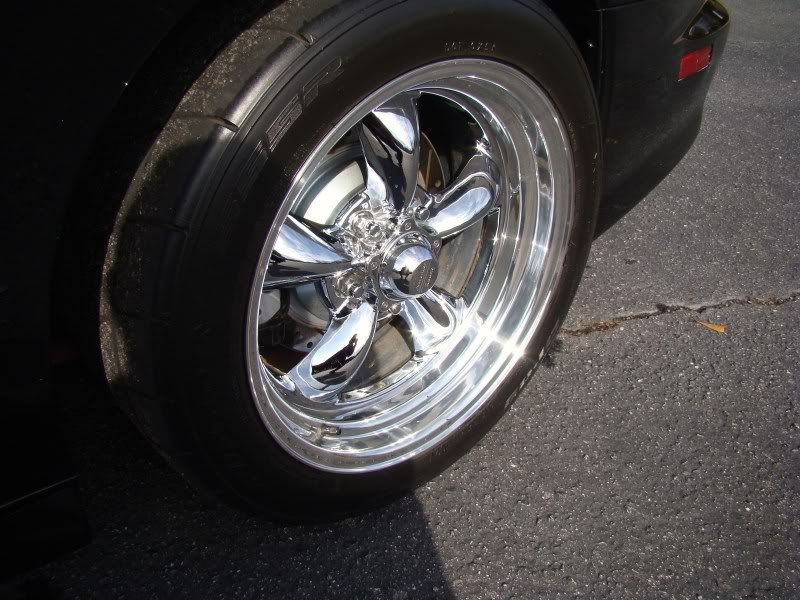
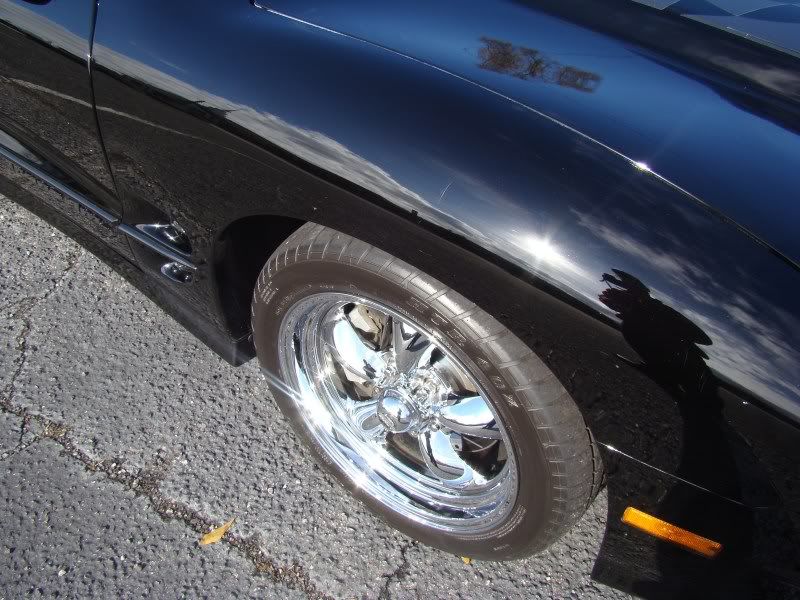
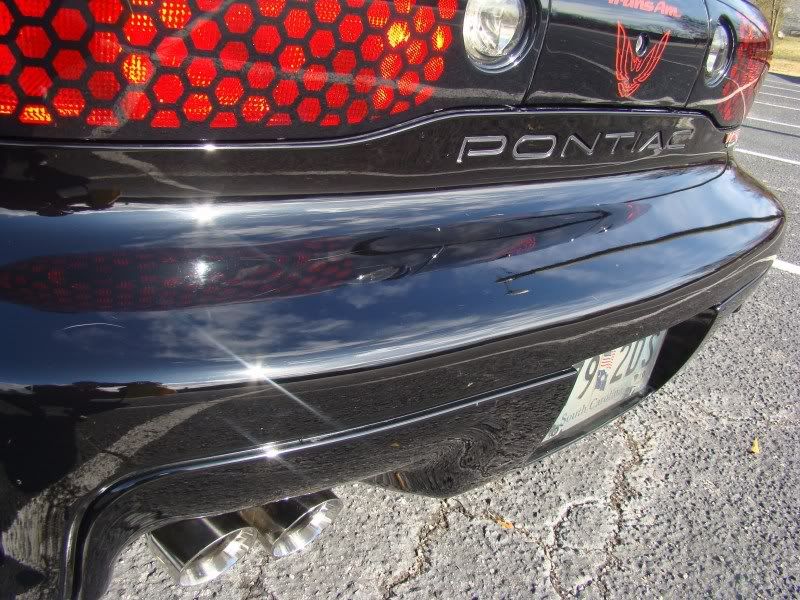
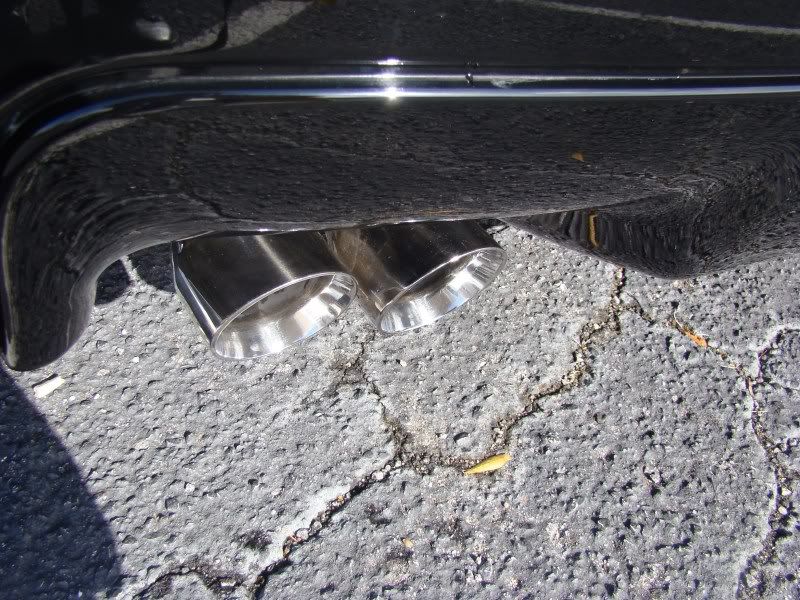
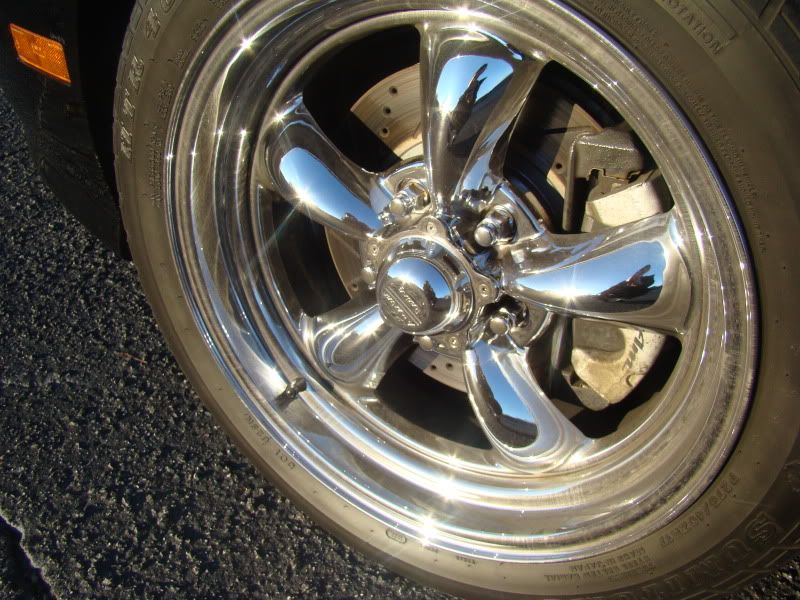
-wheel lips polished with Mothers Mag polish, along with the corsa tips
-wax and protected with Mothers #26
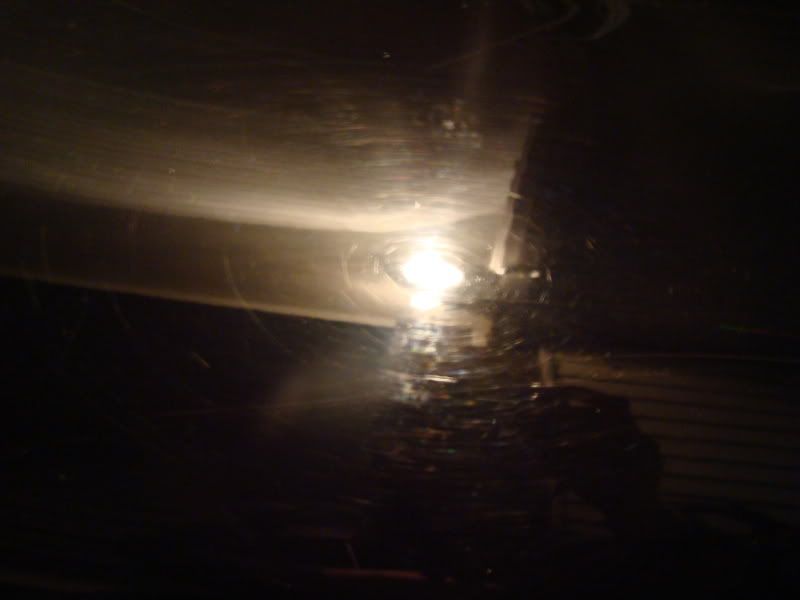
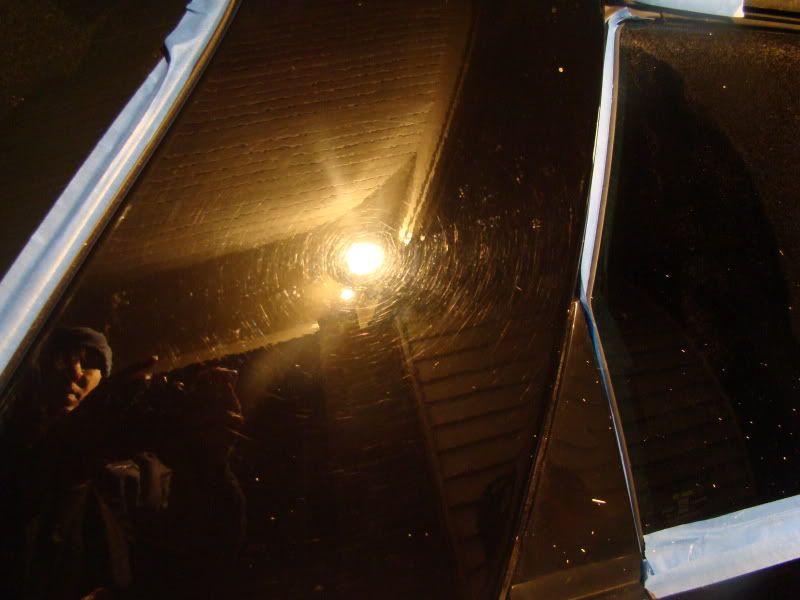
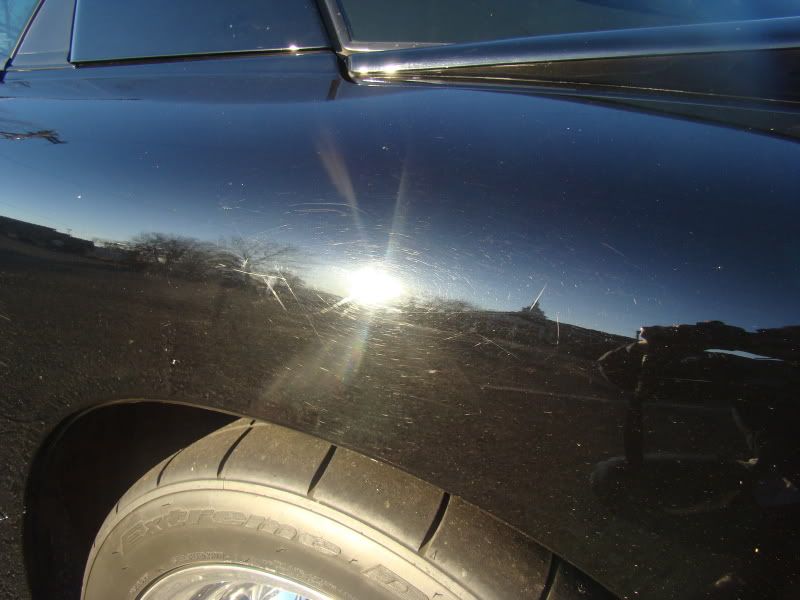
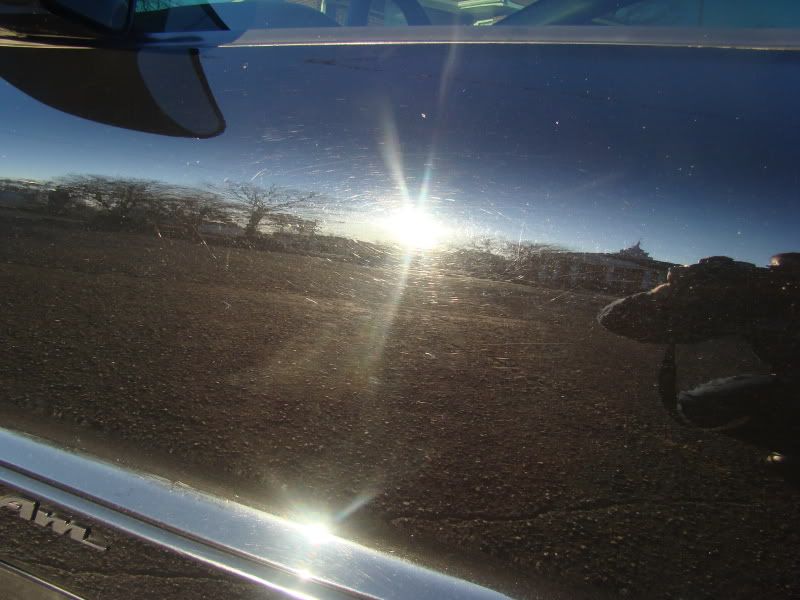
Before pics

-degreased and washed with Dawn detergent to strip the wax
-all-purpose cleaner (APC) diluted 5:1 for the wheel wells
-APC diluted 10:1 for wheels, inner wheels, and lower parts of the car that had a lot of grime.
-clayed with an agressive Clay Magic bar to remove and fallout, and overspray that was on random parts of the car
-wiped down with IPA (rubbing alcohol mixed 50/50 with water) to make sure every bit of wax or silcone was off the car and the paint was as bare as possible for compounding.
-i used an Edge double-sided pad for all the polishing. wool on one side, white foam on the other
-compounded with M105 using wool......also picked up a new Makita buffer, this thing rocks.
-followed M105 with M205 and finishing pad
-same polishing process for taillights and center section
-IPA wipedowns were done between each step of polishing to make sure the oils from the previous polish were not left behind.
-all exterior plastics and rubber cleaned and protect for F303 Aerospace Protectant
-tires dressed in Blue Satin
-wheel lips polished with Mothers Mag polish, along with the corsa tips
-wax and protected with Mothers #26
Before pics
Thread Starter
TECH Addict
iTrader: (8)
Joined: Aug 2005
Posts: 2,541
Likes: 2
From: Spartanburg, SC
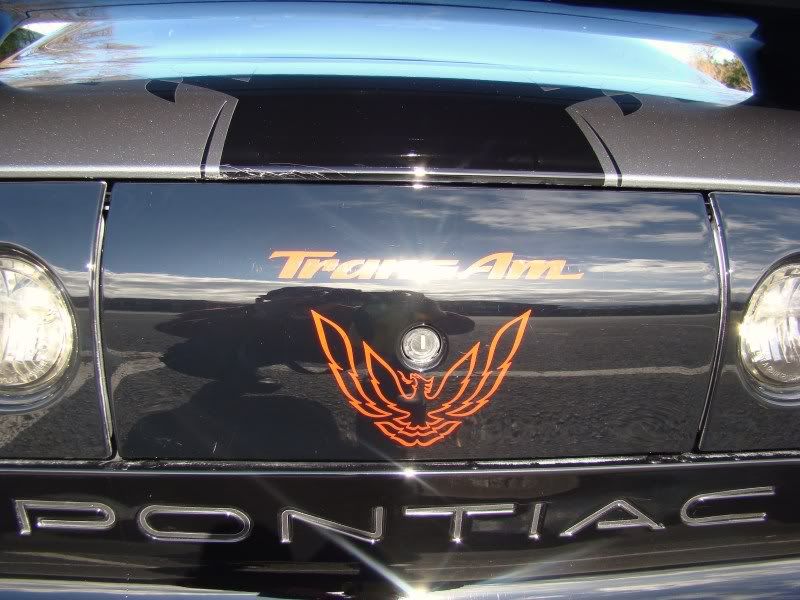
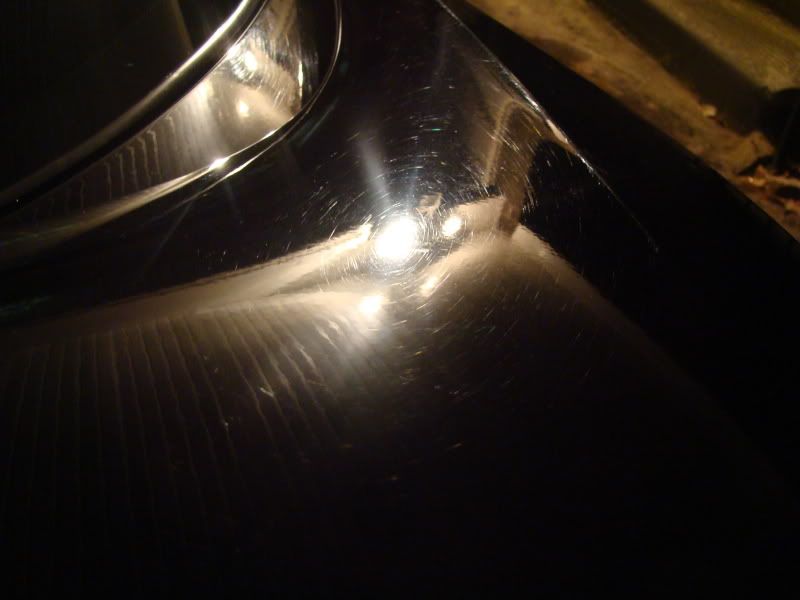
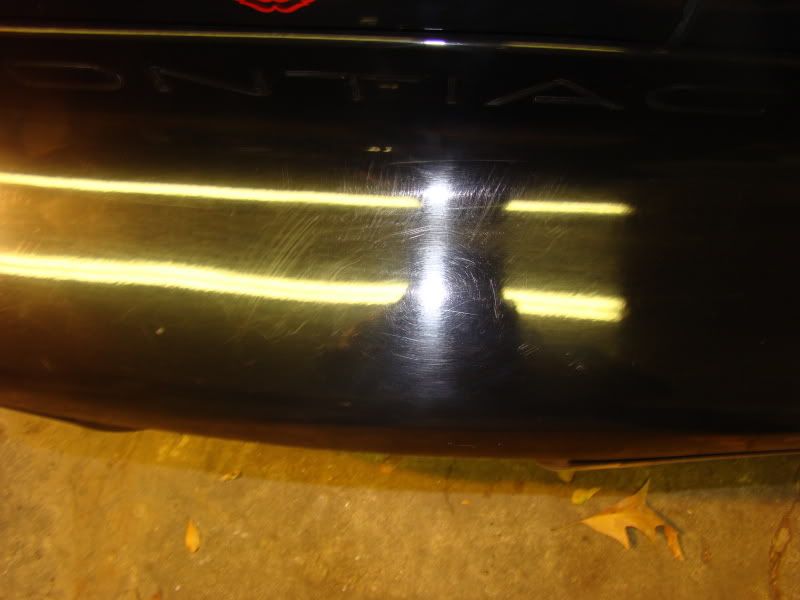
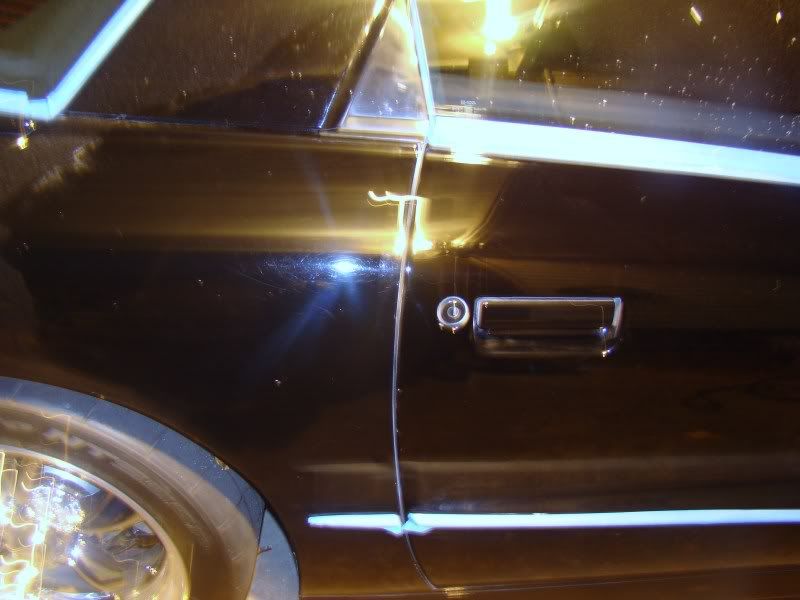
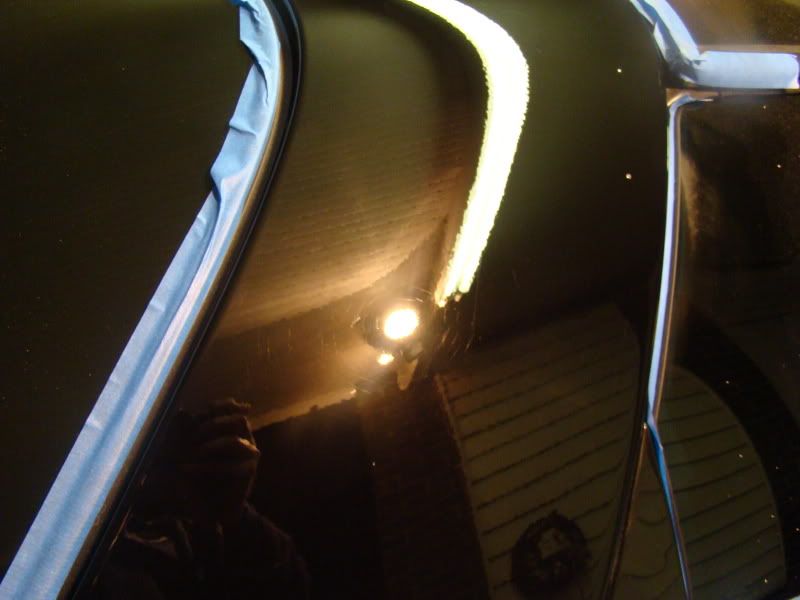
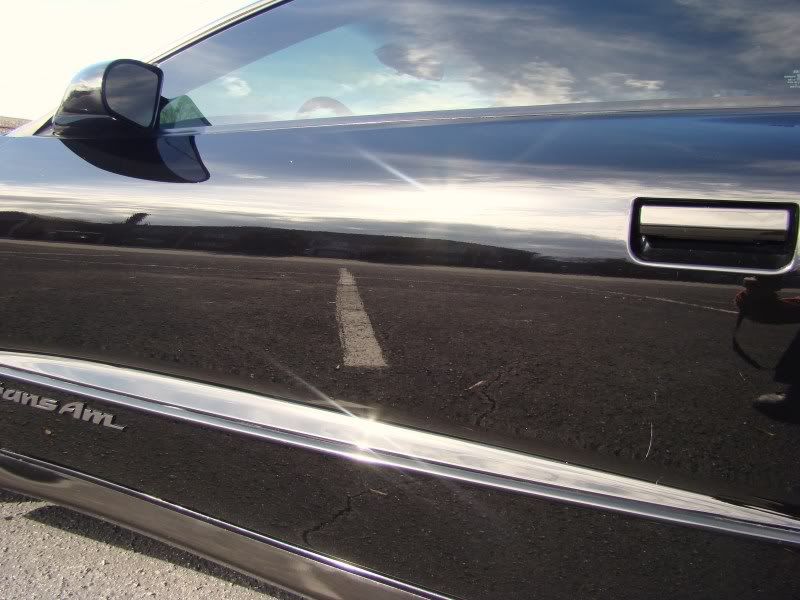
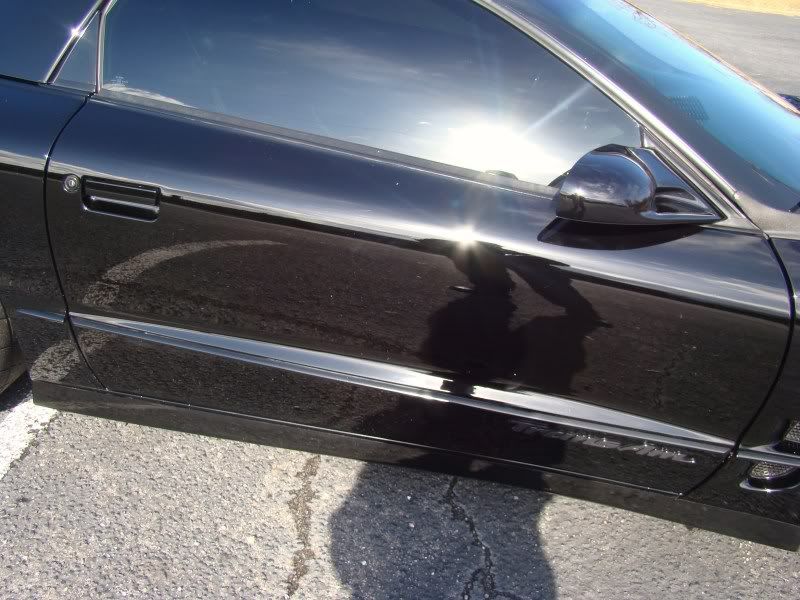
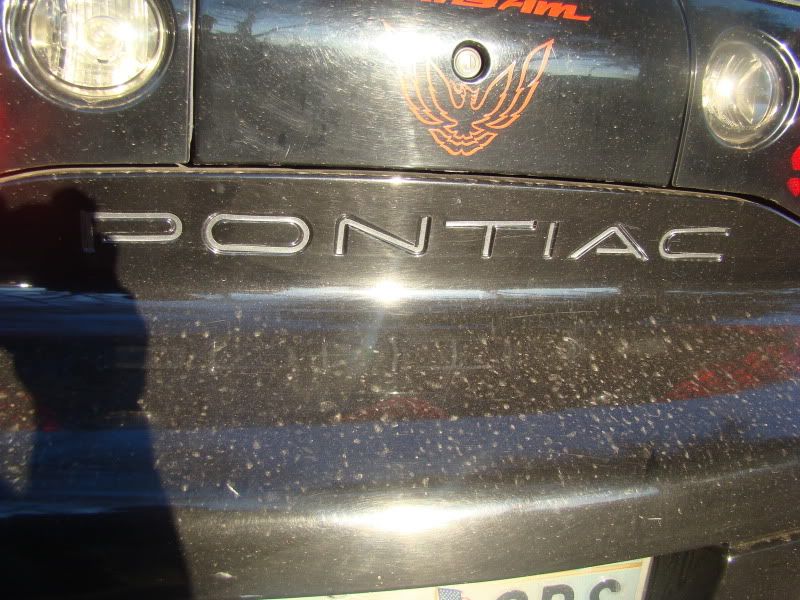
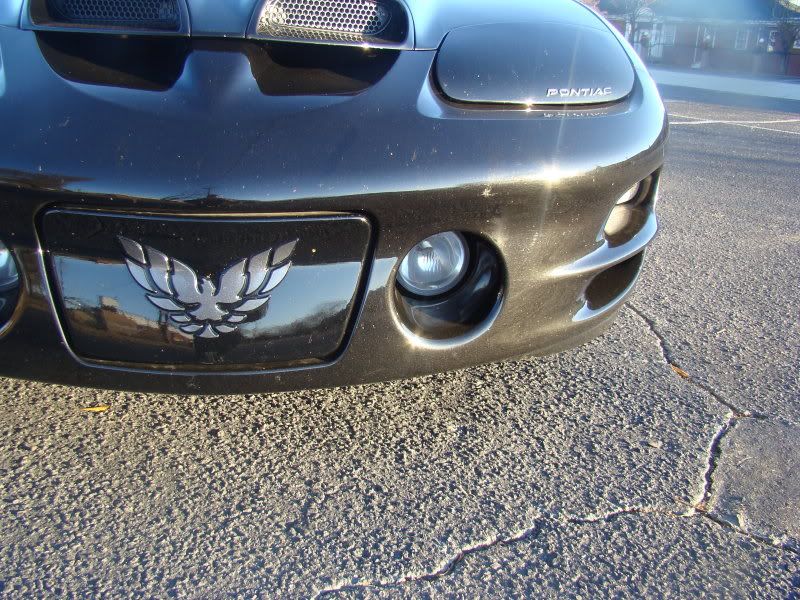
There was a bad stain on the right decal here from when the dusted for fingerprints when it was stolen. Jay wanted it off, no problem for 105/205
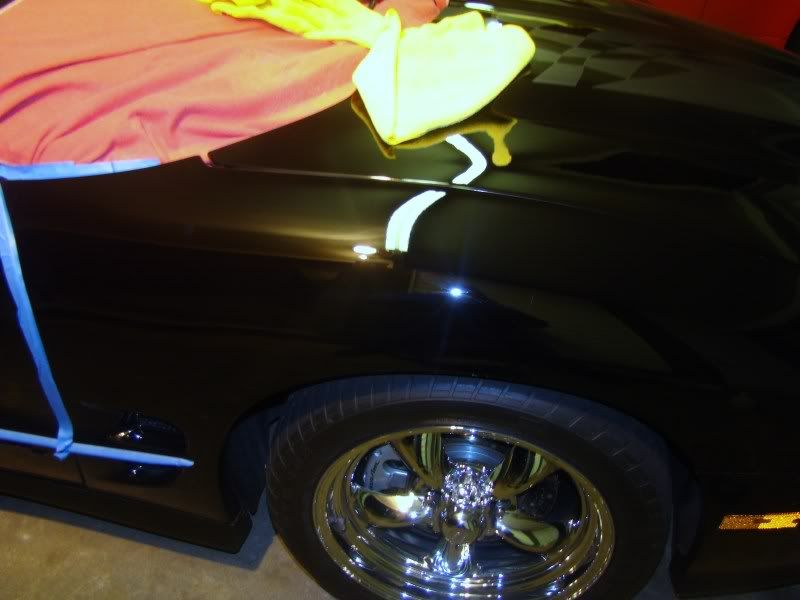
Easy on me, I have only been detailing for exactl a year now, and this is car #15 or so. EVERY car I have done, I have used this Edge buffing pad. As you can see, the results arent 100%, but are still OK....I only charged $160 for this. Now, I'm going to look into buying the 3m double sided pads equivalent to the eDGE SYSTEM that 3M bought out....when the price comes down. But I absolutley LOVE this adapter and the double sided pads, they are great!
Trending Topics
LS1 Tech Stories
The Best V8 Stories One Small Block at Time

6 Common C5 Corvette Failures and What's Involved In Repairing Them
Pouria Savadkouei
Retro Modern Bandit Pontiac Trans AM Comes With Burt Reynolds' Autograph
Verdad Gallardo
Top 10 Greatest Cadillac V Series Performance Models Ever, Ranked
Pouria Savadkouei
Top 10 Most Powerful Chevy Trucks Ever Made!

Hennessey's New Supercharged Silverado ZR2 Has 700 HP
Verdad Gallardo
Coachbuilt N2A Anteros Is an LS2-Powered C6 Corvette In Italian Clothes
Verdad Gallardo
Awesome K5 Blazer Restomod Comes With C7 Corvette Power
Verdad Gallardo
10 Camaros You Should Never Buy

10 LS Engine Myths That Refuse to Die
Verdad Gallardo Thread Starter
TECH Addict
iTrader: (8)
Joined: Aug 2005
Posts: 2,541
Likes: 2
From: Spartanburg, SC
Thanks guys! Bowtie....if you have never used a high speed rotary before, I wouldn't suggest starting on your Z28. Find some old junk panels to practice on. You can really mess your paint up if you are just beginning....so I would practice on something like a beater car where it wouldn't really matter if you messed up! But if you are experienced with it, have at it and post up some before/after pics!
Thread Starter
TECH Addict
iTrader: (8)
Joined: Aug 2005
Posts: 2,541
Likes: 2
From: Spartanburg, SC
Thanks! This was for a good friend of mine that I've known ever since I got into the local car scene 5 years ago, and I try my best to be fair with my friends on a price, but it still be worth my time ya know? If it wasn't for a friend, it probably would have been in the $250-$275 range, and thats actually still cheaper than most of the good professionals who actually know what they are doing (not the corner detail shops you see everywhere....tthey are hacks)!
On The Tree
Joined: Aug 2009
Posts: 117
Likes: 0
From: Kansas City MO
Thanks guys! Bowtie....if you have never used a high speed rotary before, I wouldn't suggest starting on your Z28. Find some old junk panels to practice on. You can really mess your paint up if you are just beginning....so I would practice on something like a beater car where it wouldn't really matter if you messed up! But if you are experienced with it, have at it and post up some before/after pics!
Thread Starter
TECH Addict
iTrader: (8)
Joined: Aug 2005
Posts: 2,541
Likes: 2
From: Spartanburg, SC
Anything and everything you ever want to know about buffing, cleaning, detailing in general...check out www.autopia.org
On The Tree
Joined: Aug 2009
Posts: 117
Likes: 0
From: Kansas City MO
Anything and everything you ever want to know about buffing, cleaning, detailing in general...check out www.autopia.org

Wow Night and Day for $160...Id charge $300...
Looks like you know what your doing..Finally someone taped **** off adn did it right lol.. Could have taken a next step but with what you got..Looks amazing!
You should look into the 3M "perfect it" 3 step compounds and pads..Used is since I was 16 and I love it for black. It is the BEST iv seen for black paint! I use the 3rd step, blue compound on the blue pad probably once a month...something eles that might help..idk if you did it or not..I use micro fiber rags and I cut the edges were they are swen together..that scratches black..But Looks like you did a good job..start chargin a bit more..even if it is buddys!!..They got a car like that they can afford it..
Thread Starter
TECH Addict
iTrader: (8)
Joined: Aug 2005
Posts: 2,541
Likes: 2
From: Spartanburg, SC
Wow Night and Day for $160...Id charge $300...
Looks like you know what your doing..Finally someone taped **** off adn did it right lol.. Could have taken a next step but with what you got..Looks amazing!
You should look into the 3M "perfect it" 3 step compounds and pads..Used is since I was 16 and I love it for black. It is the BEST iv seen for black paint! I use the 3rd step, blue compound on the blue pad probably once a month...something eles that might help..idk if you did it or not..I use micro fiber rags and I cut the edges were they are swen together..that scratches black..But Looks like you did a good job..start chargin a bit more..even if it is buddys!!..They got a car like that they can afford it..
Looks like you know what your doing..Finally someone taped **** off adn did it right lol.. Could have taken a next step but with what you got..Looks amazing!
You should look into the 3M "perfect it" 3 step compounds and pads..Used is since I was 16 and I love it for black. It is the BEST iv seen for black paint! I use the 3rd step, blue compound on the blue pad probably once a month...something eles that might help..idk if you did it or not..I use micro fiber rags and I cut the edges were they are swen together..that scratches black..But Looks like you did a good job..start chargin a bit more..even if it is buddys!!..They got a car like that they can afford it..
As far as the microfibers, that's all i use as well, and have different colors dedicated to different tasks (yellow for paint, blue for glass, green for wheels, etc)...but all I do is cut the tags off. I'll try one with the edges cut off and see how I like it, I was just always scared they would come apart and fray that way! Thanks for the compliments and advice, I'm still learning!


Thread Starter
TECH Addict
iTrader: (8)
Joined: Aug 2005
Posts: 2,541
Likes: 2
From: Spartanburg, SC
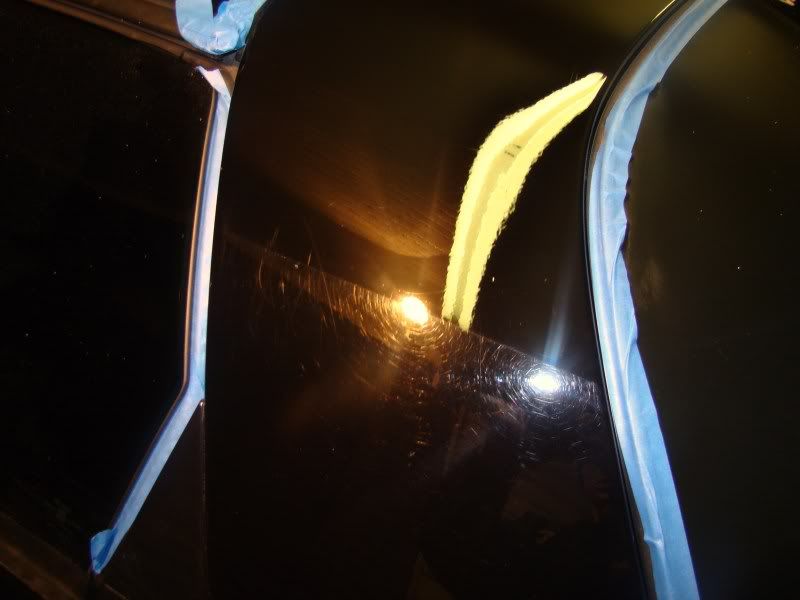
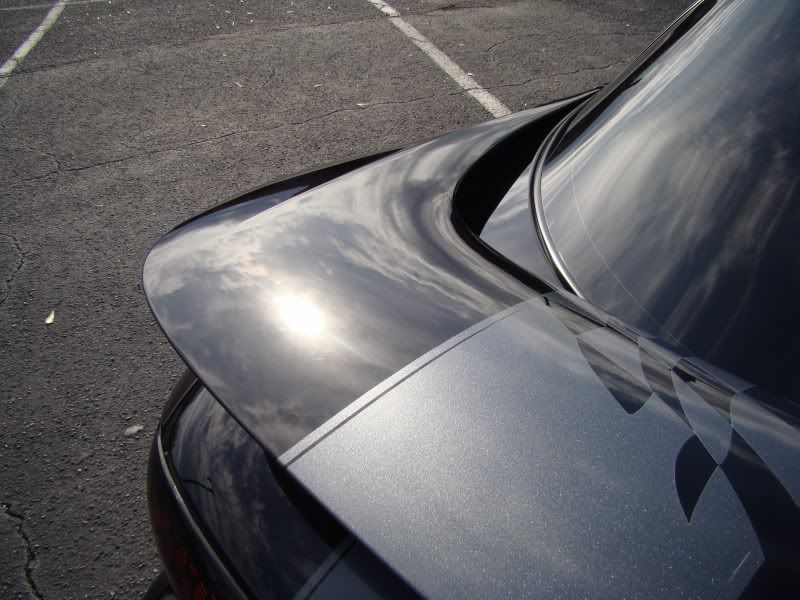
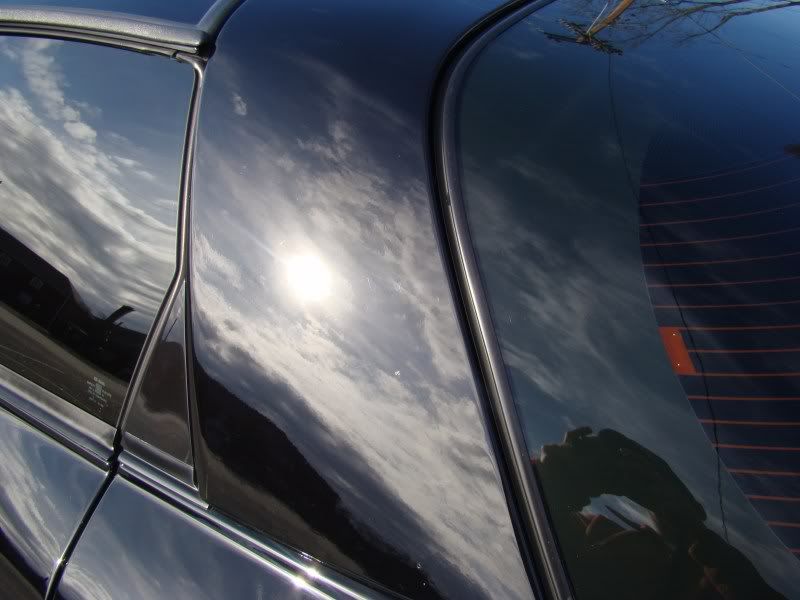
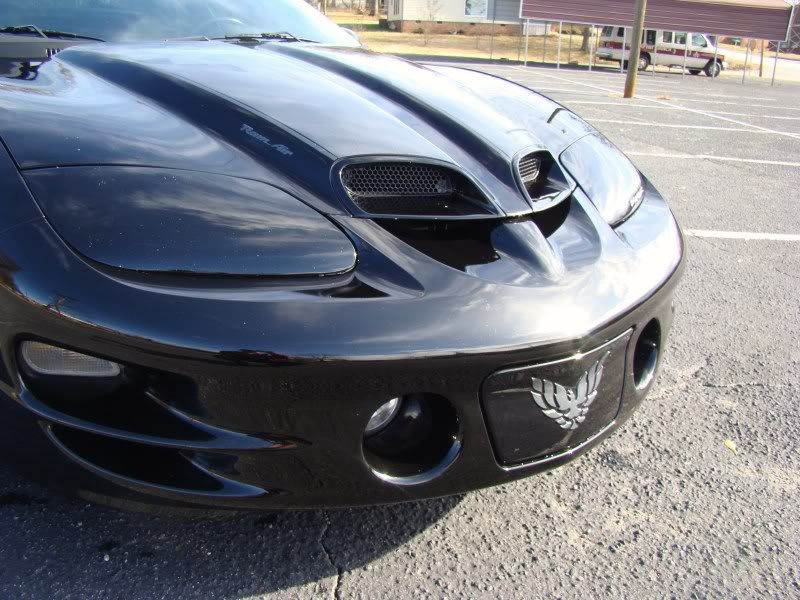
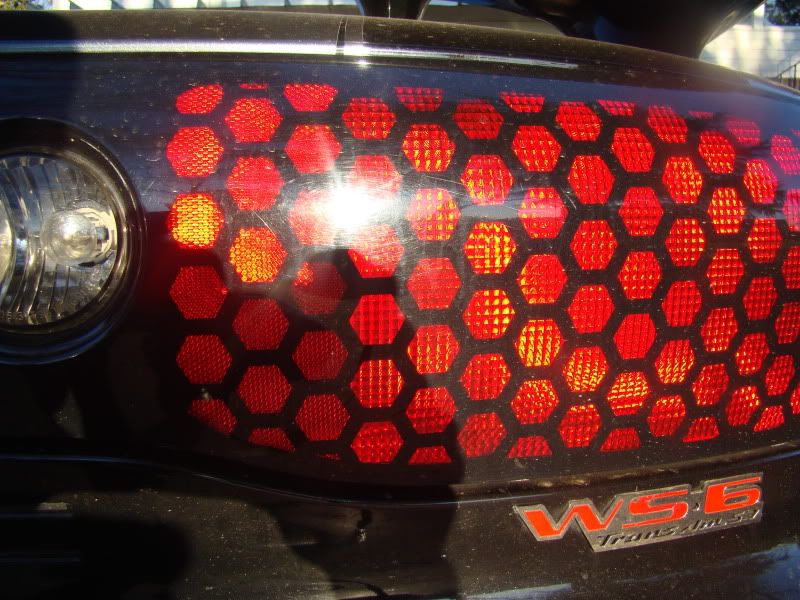
you can polish vinyl just like paint, but you must keep the buffer moving so the heat doesnt build up and melt through it. i kept the RPMs down around 800 on the edges, and bumped them up to 1200 for the big parts. I polished the vinyl here with the same process as the paint with great results.