update on my engine bay thread
 09-05-2010, 01:53 PM
#21
TECH Fanatic
Thread Starter
iTrader: (12)
Join Date: Aug 2006
Posts: 1,296
Likes: 0
Received 0 Likes
on
0 Posts
yes. use hitemp paint. clean,sand them,use a few coats adhensive promotor,blk gloss paint,then clear coat. I found a good spot for the coils where the air pump goes/alarm horn.

 09-05-2010, 08:39 PM
#24
On The Tree
Join Date: Nov 2007
Posts: 170
Likes: 0
Received 0 Likes
on
0 Posts

Just use some like 220 grit...just enough to scuff it up some. Adhesion promoter is different than primer...it's used on plastics to...promote adhesion. You use it on bumpers and stuff like that. OP...car looks good man!
09-06-2010, 01:52 AM
#30
TECH Fanatic
iTrader: (2)

Join Date: Feb 2004
Location: rosemount,mn/windsor locks,ct
Posts: 1,112
Likes: 0
Received 0 Likes
on
0 Posts
looking good,i like everything you have done with it. where did you get the coil relocate kit??? thinking of doing this over the winter,putting mine away in 3 weeks.
update.got a lil bit of work done tonight after my work out.
pulled the valley cover off.
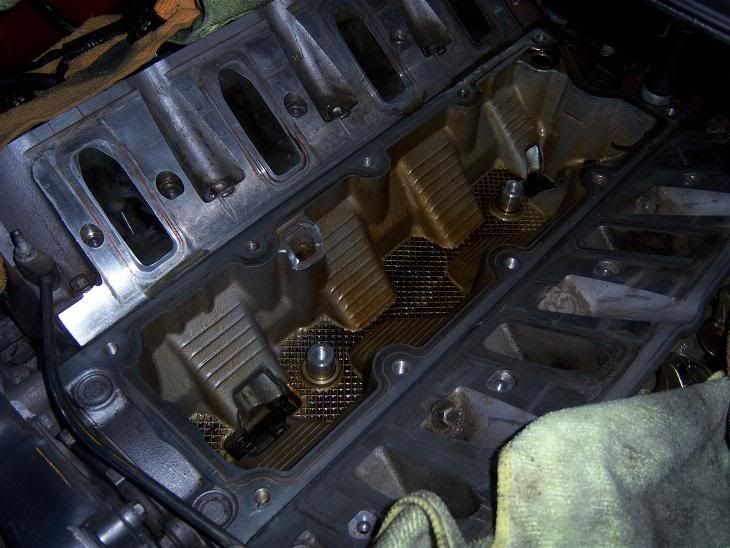
here you can see the difference between the ls1<ls6 valley cover
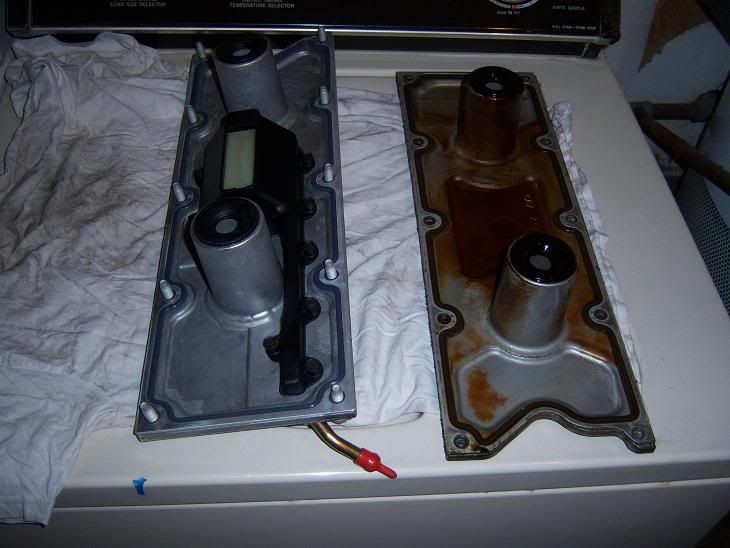
ls6 valley cover in
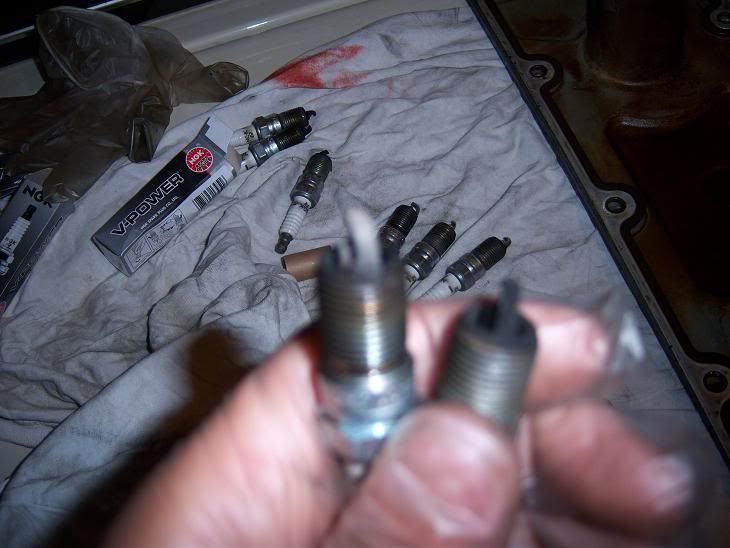
I went ahead and did my plugs too.
kinda weird the all drivers side plugs were burnt but with a white shade and all the psg side were burnt/worn with a dark shade. I noticed the car has been bogging and jerking a bit at low speeds in the last few months. hopefully this tune up helps it a bit.
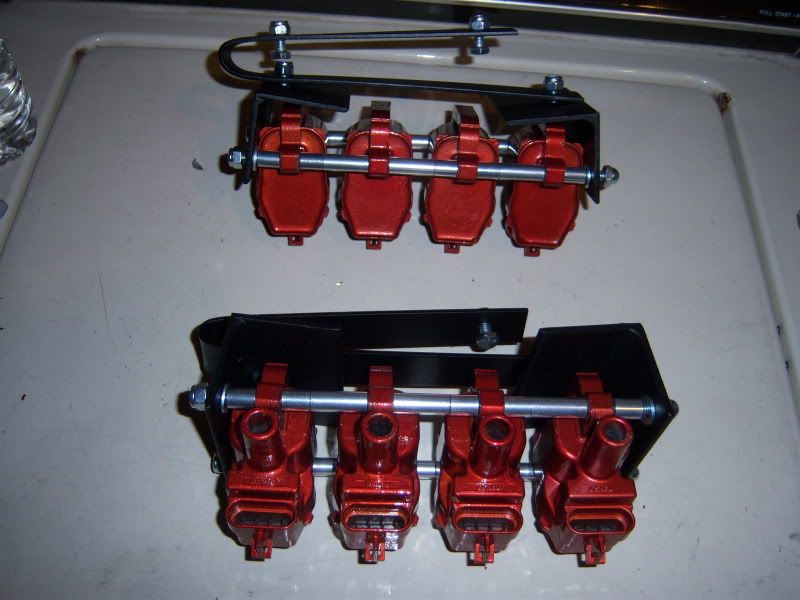
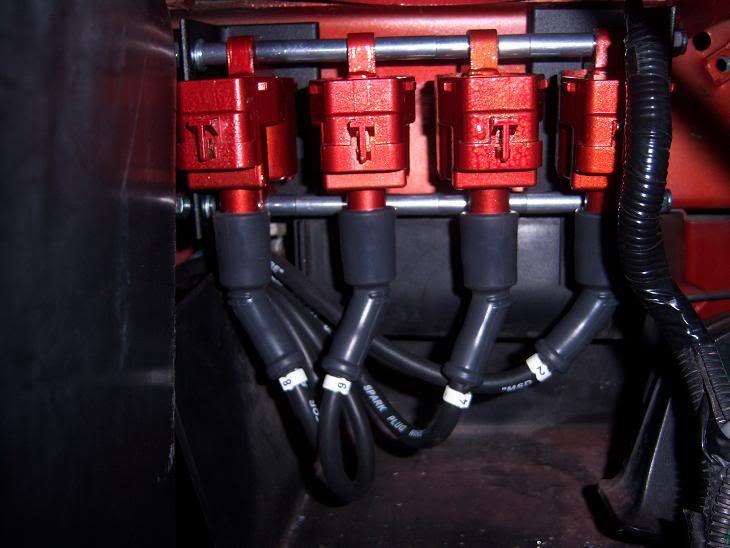
Coils mounted.
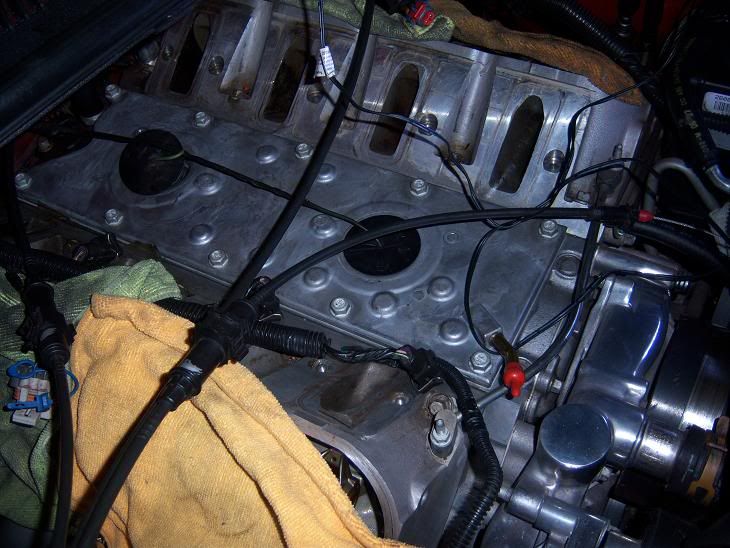
tomorrow i'll have to finish the valley cover. i just need to plug in the hoses and reinstall the mani. I also have to install teh valve covers and the coil relo kit.
pulled the valley cover off.
here you can see the difference between the ls1<ls6 valley cover
ls6 valley cover in
I went ahead and did my plugs too.
kinda weird the all drivers side plugs were burnt but with a white shade and all the psg side were burnt/worn with a dark shade. I noticed the car has been bogging and jerking a bit at low speeds in the last few months. hopefully this tune up helps it a bit.
Coils mounted.
tomorrow i'll have to finish the valley cover. i just need to plug in the hoses and reinstall the mani. I also have to install teh valve covers and the coil relo kit.
09-08-2010, 01:29 AM
#31
TECH Fanatic
Thread Starter
iTrader: (12)
Join Date: Aug 2006
Posts: 1,296
Likes: 0
Received 0 Likes
on
0 Posts
http://www.mcssl.com/store/cc-perfor...494a9afb6b257b
update.
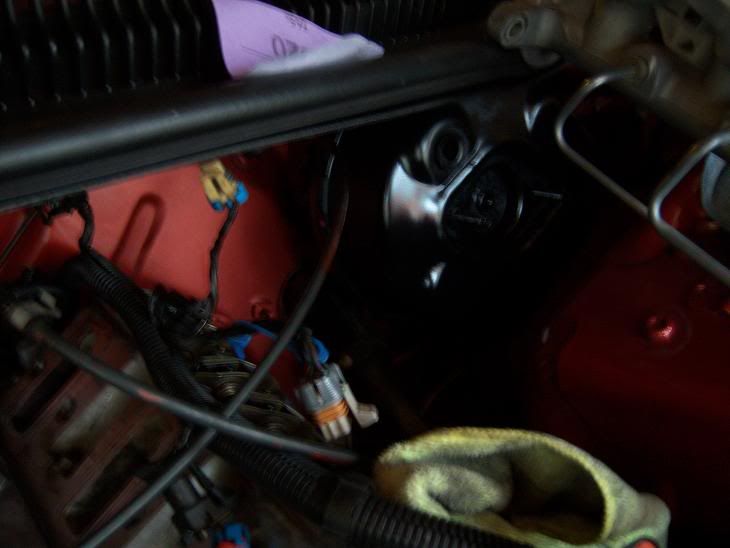
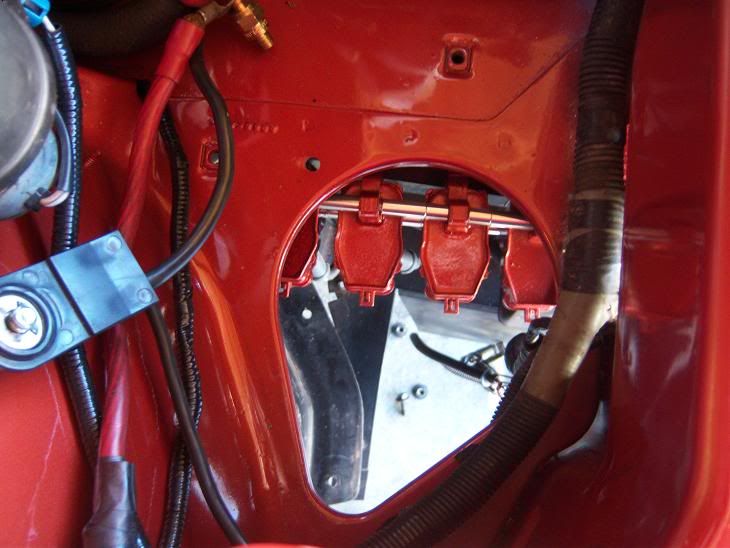
found a spot to mount the coils. i really like this spot since its hidden and its accessible by underneath the front bumper access underneath door.
psg side. i had to move the alarm horn a few inches.
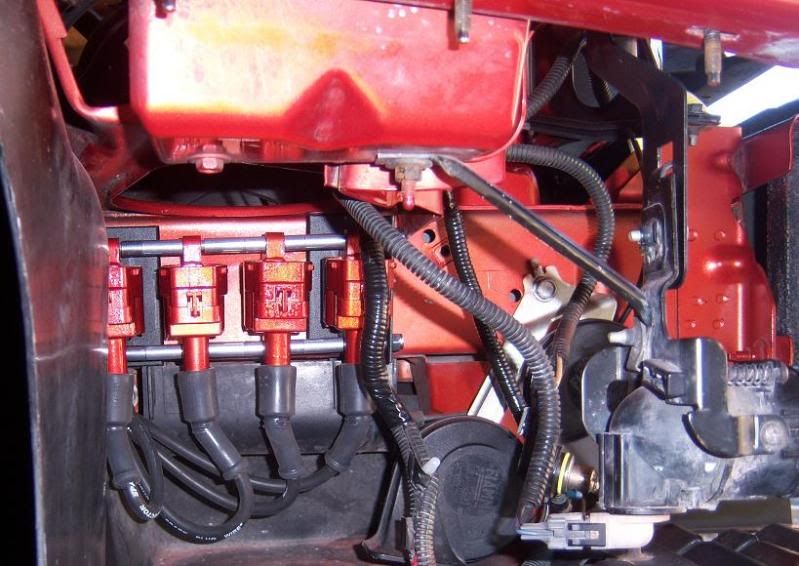
drivers side. nice and clean
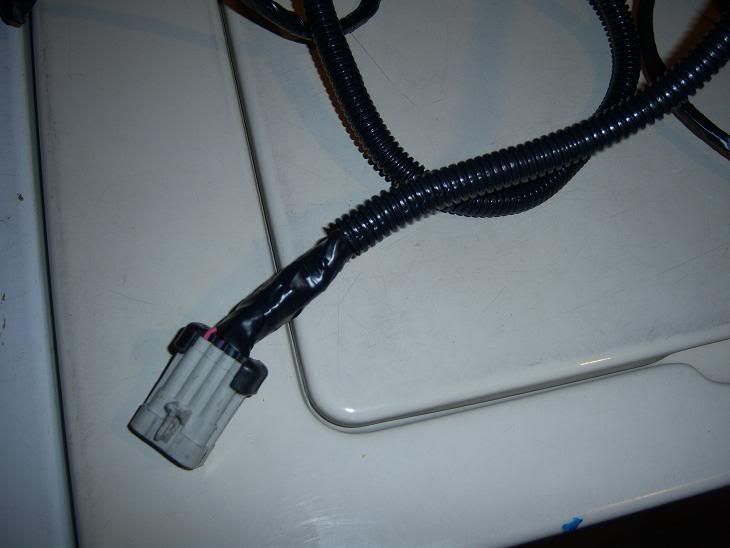
the cables came with number labels too. makes it easy to keep track of the coils.
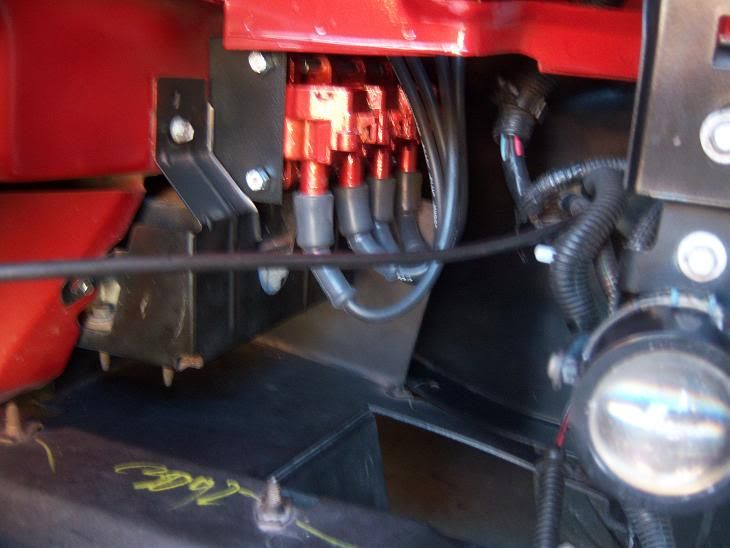
now all i had to do is extend the coil harness with but connectors and some wire.
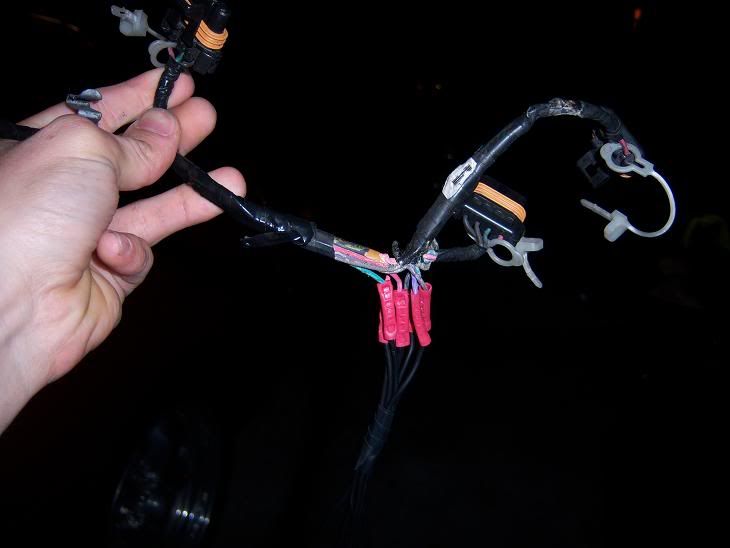
wrapped the wires in electrical tape.
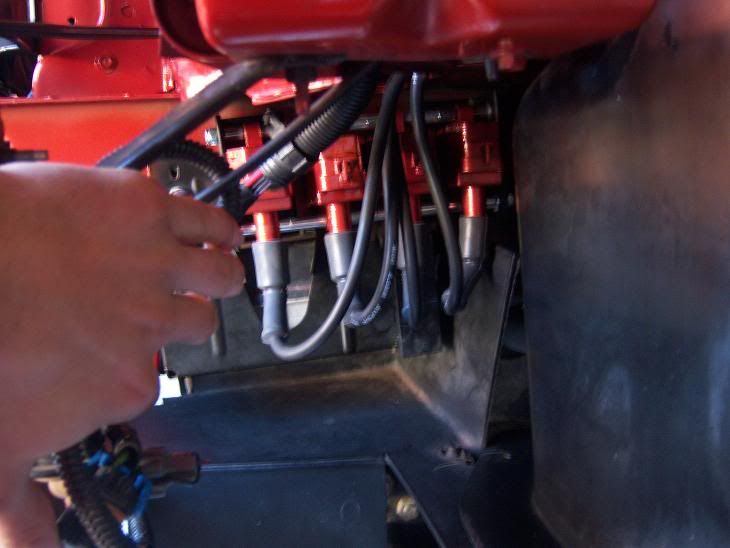
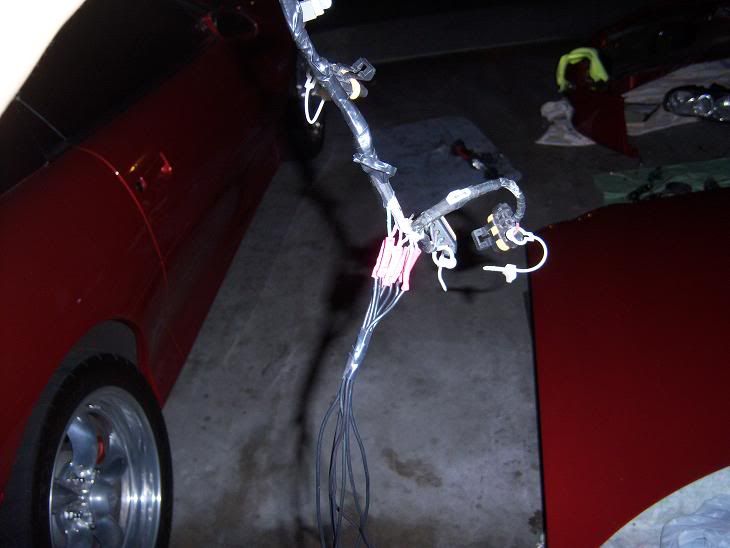
this is how long they turned out to be.
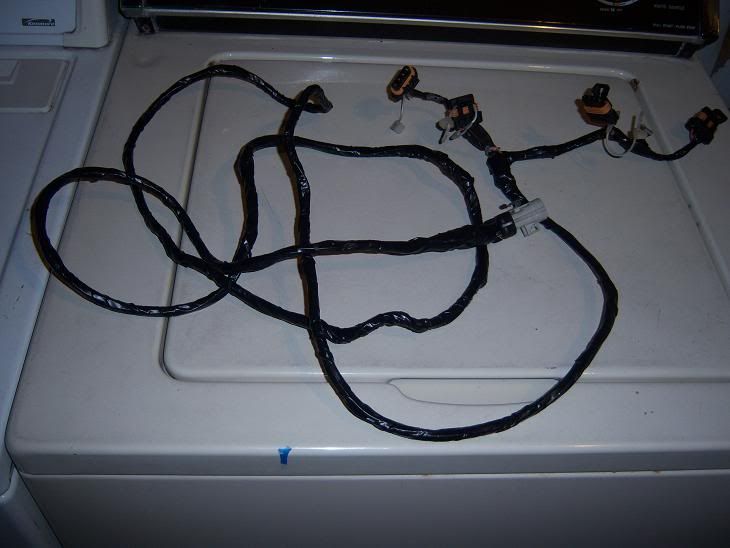
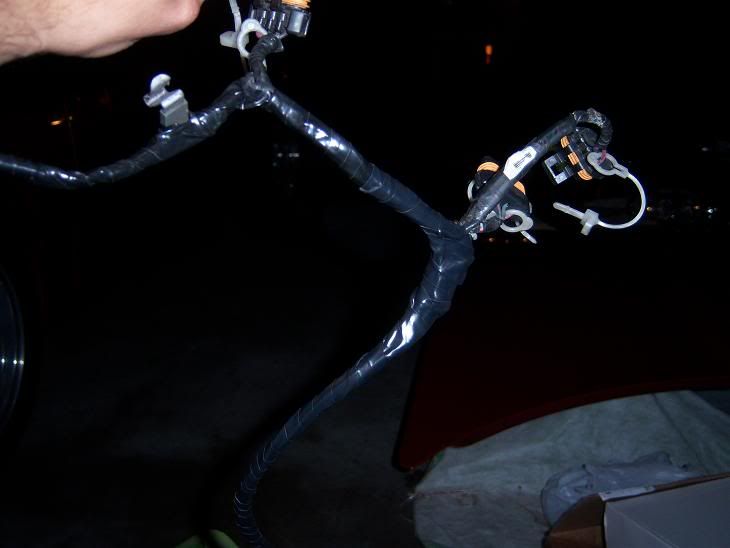
and used wire loom to make it look clean and professional
update.
found a spot to mount the coils. i really like this spot since its hidden and its accessible by underneath the front bumper access underneath door.
psg side. i had to move the alarm horn a few inches.
drivers side. nice and clean
the cables came with number labels too. makes it easy to keep track of the coils.
now all i had to do is extend the coil harness with but connectors and some wire.
wrapped the wires in electrical tape.
this is how long they turned out to be.
and used wire loom to make it look clean and professional
09-08-2010, 01:30 AM
#32
TECH Fanatic
Thread Starter
iTrader: (12)
Join Date: Aug 2006
Posts: 1,296
Likes: 0
Received 0 Likes
on
0 Posts
i also went ahead and painted the master since it had some scratches on it.
before

after
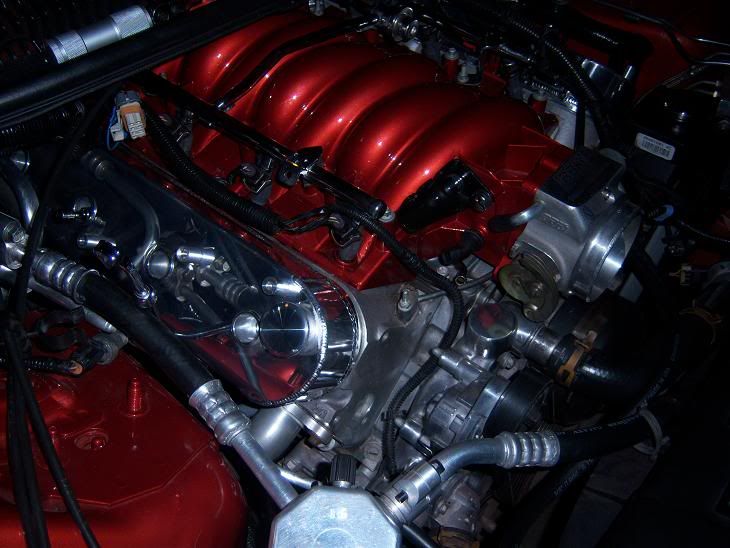
got the manifold,valve covers and fuel rail back on.sorry for the pics. these are all taken after hrs.

I got the car started today everything works fine. i had a lil bit of smoking dues to old oil on the headders,but its all gone. everything is good to go.only problem i ran into is this.
i have to move the psg side coils a bit to the right. forgot our coolant reservoir have that big bottom belly.no biggie. I'll have to do that tomorrow night and start resembling the front bumper. friday i'll wash the car,sat full detail
before
after
got the manifold,valve covers and fuel rail back on.sorry for the pics. these are all taken after hrs.
I got the car started today everything works fine. i had a lil bit of smoking dues to old oil on the headders,but its all gone. everything is good to go.only problem i ran into is this.
i have to move the psg side coils a bit to the right. forgot our coolant reservoir have that big bottom belly.no biggie. I'll have to do that tomorrow night and start resembling the front bumper. friday i'll wash the car,sat full detail

 09-08-2010, 08:54 PM
#38
Great work, I know how you felt when you cut that block for your new ls6 valley pan did mine this past winter, but I have to say, its been all good. I have the throttle cover in red too, those are killer. What headers are you running? Great work bro!
