
Stealth Grey V - Black out - Lots of pics
 04-12-2009, 02:21 PM
#1

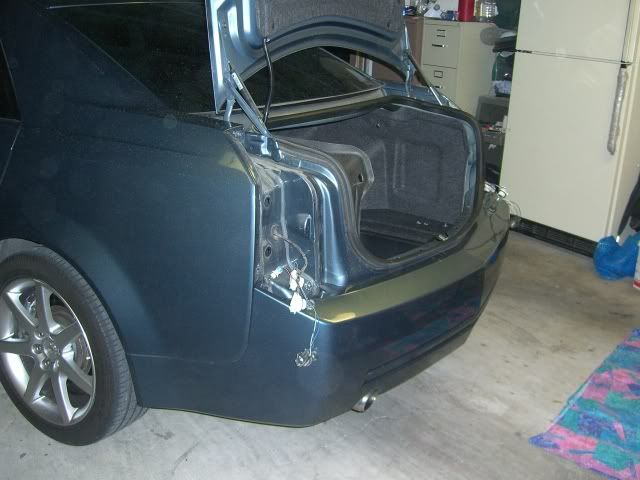
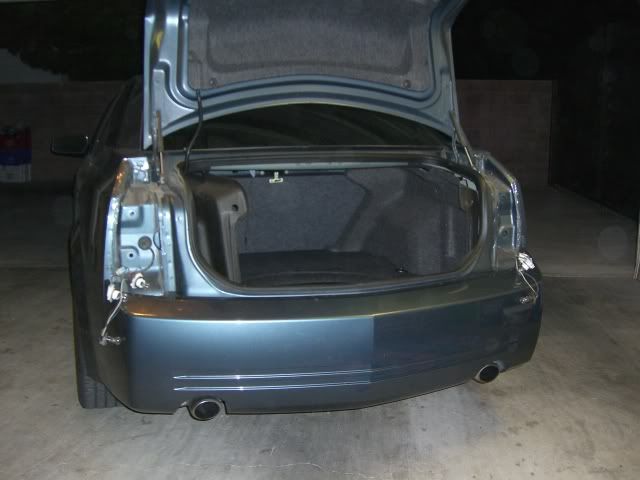
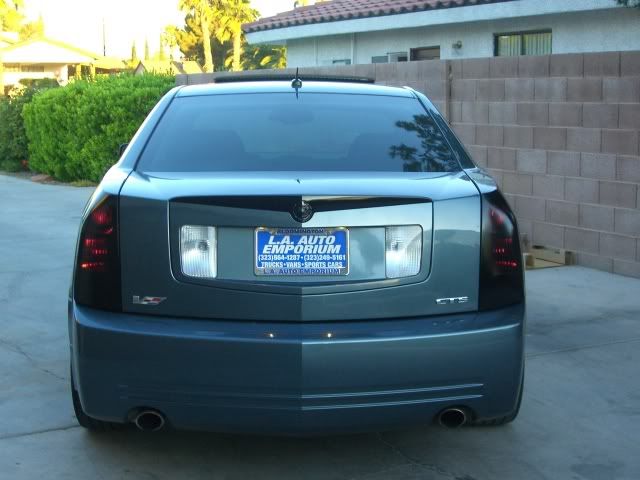
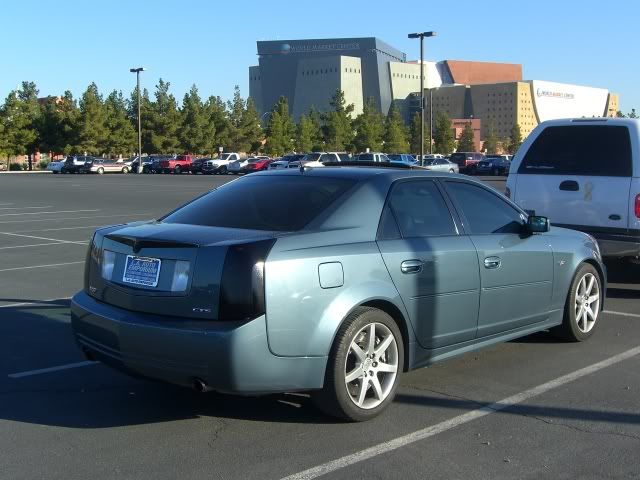
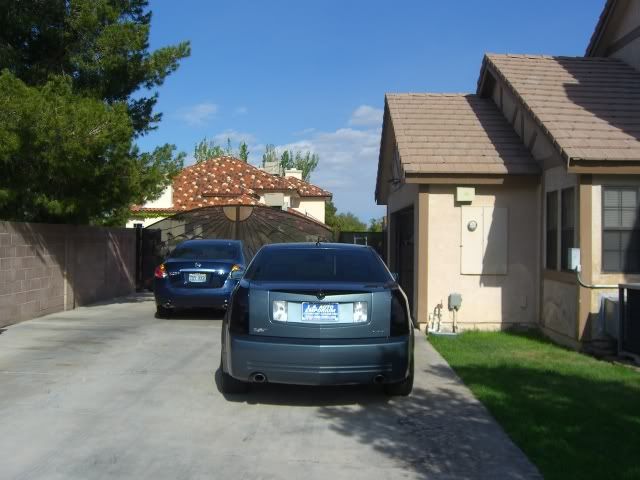
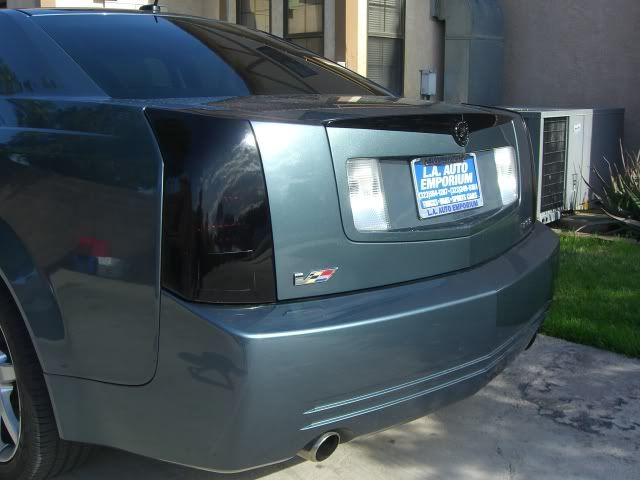
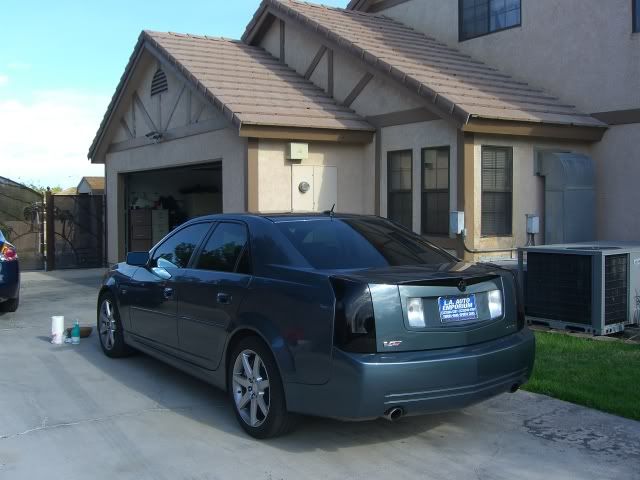
I started doing some little stuff to the V...
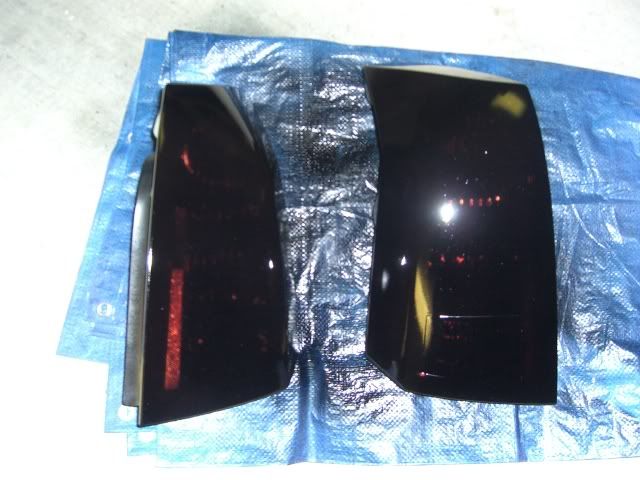
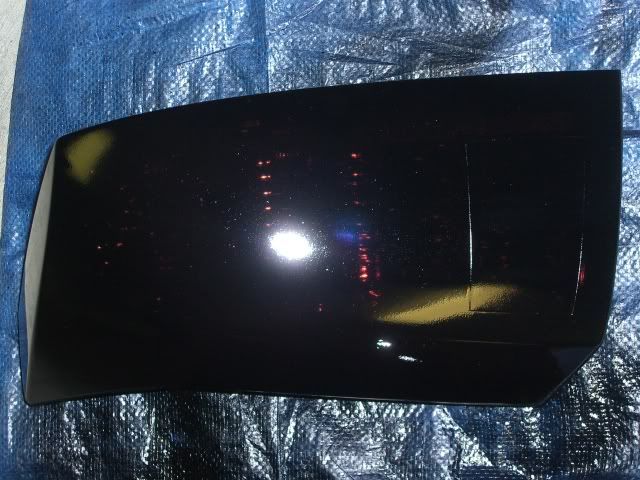
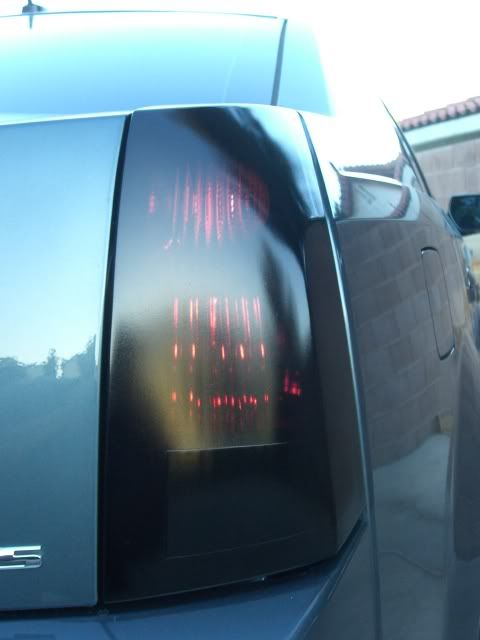
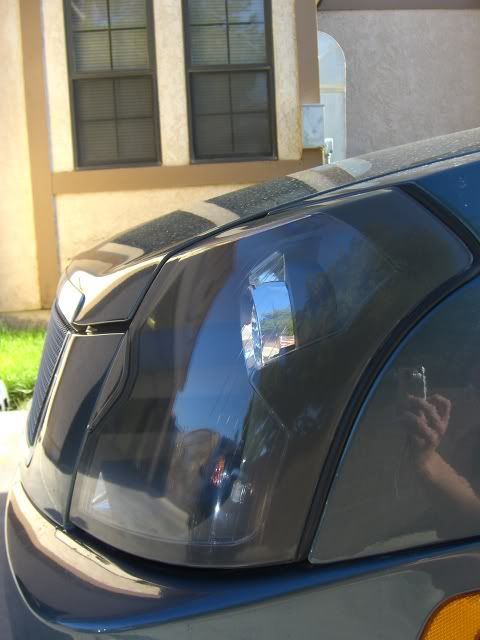
Heres the first round of blacking out the tail lights.
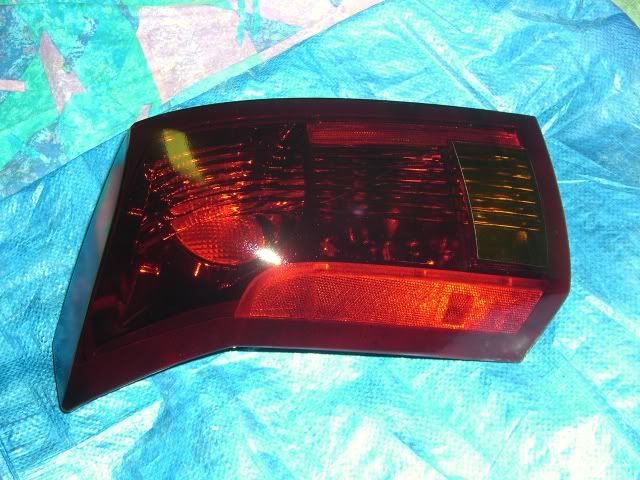
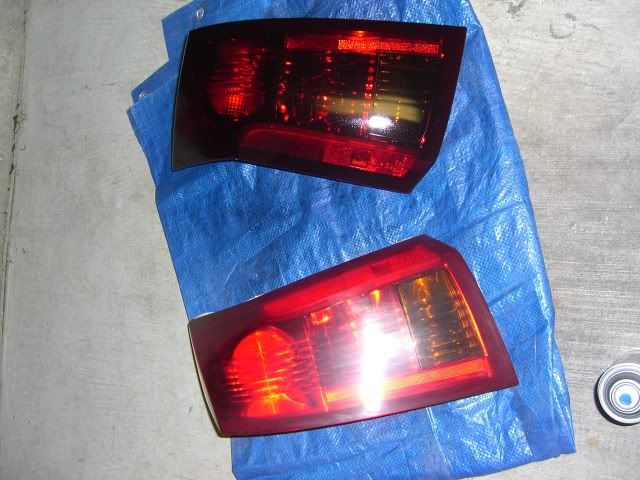
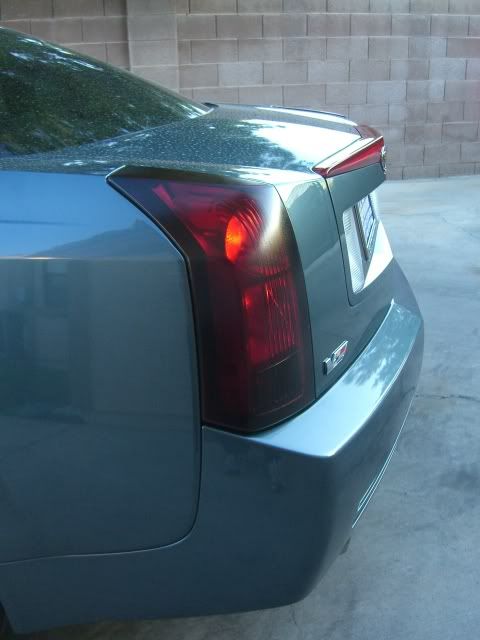
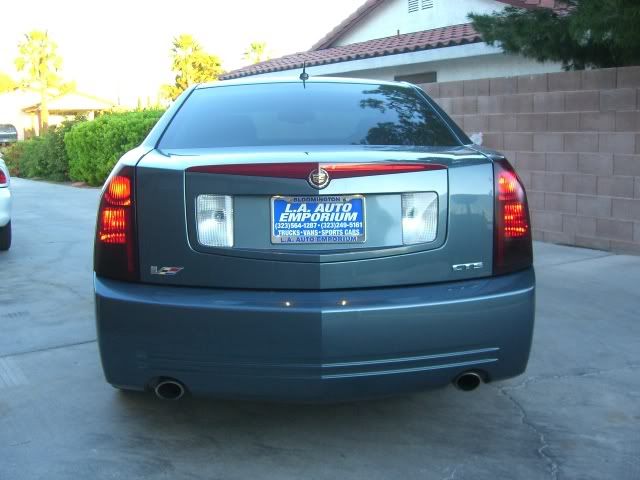
They looked killer at night, but once i got them out in the light they were still WAY too red.
So i did another round, which i went a little too dak. lol. But they came out great.
(this is all pre-wetsanding)
Heres the first round of blacking out the tail lights.
They looked killer at night, but once i got them out in the light they were still WAY too red.
So i did another round, which i went a little too dak. lol. But they came out great.
(this is all pre-wetsanding)


 04-12-2009, 02:28 PM
#3
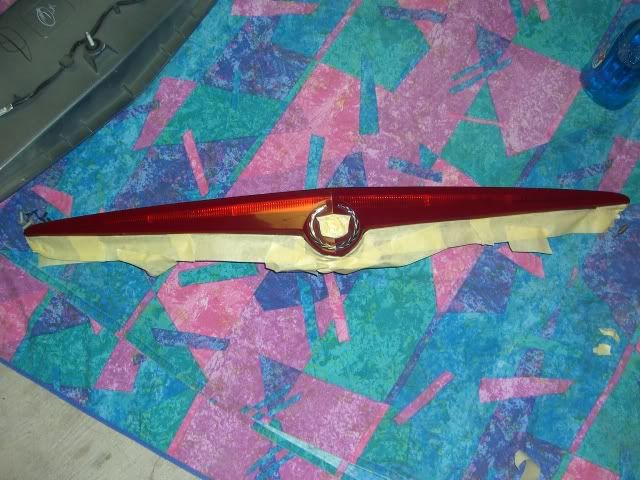
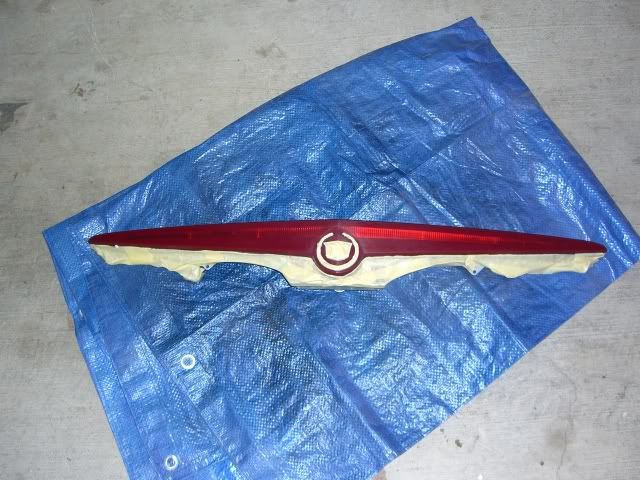
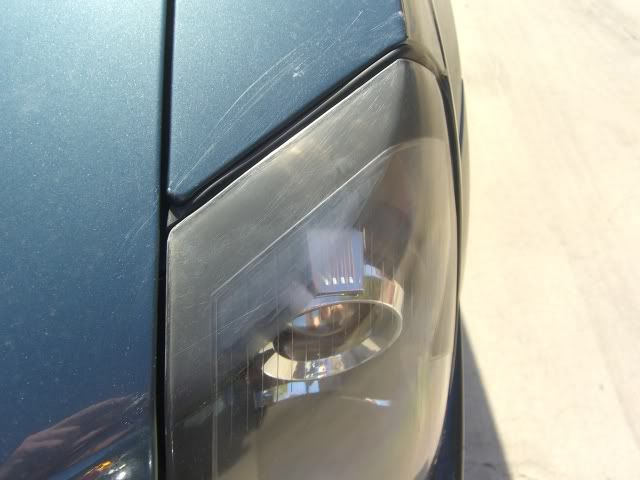
And then i started cleaning up the headlights... The oxidation was really annoying me. Dealer wouldnt replace them, so i cleaned em up. Wet sanding & ultimate compound...
Before - i forgot to get a pic on the drivers side before sanding... but it looked just as bad as the pass side.
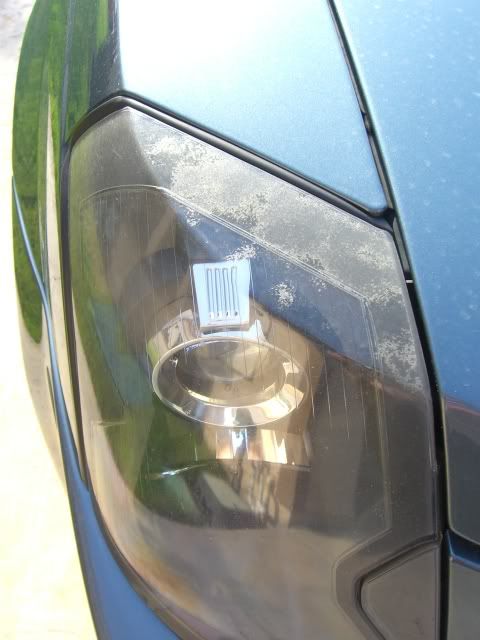
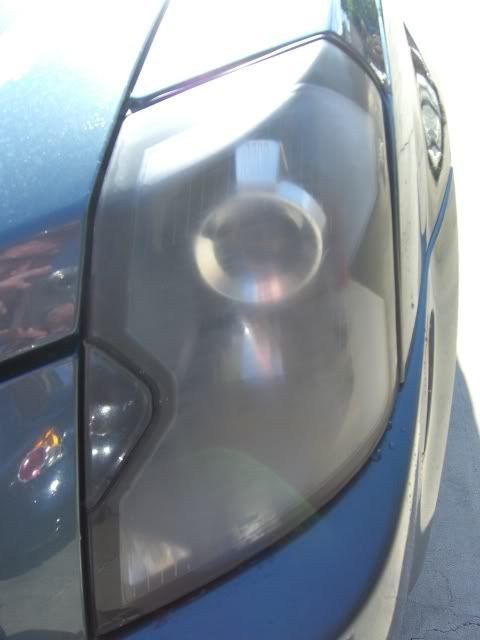
Sanded
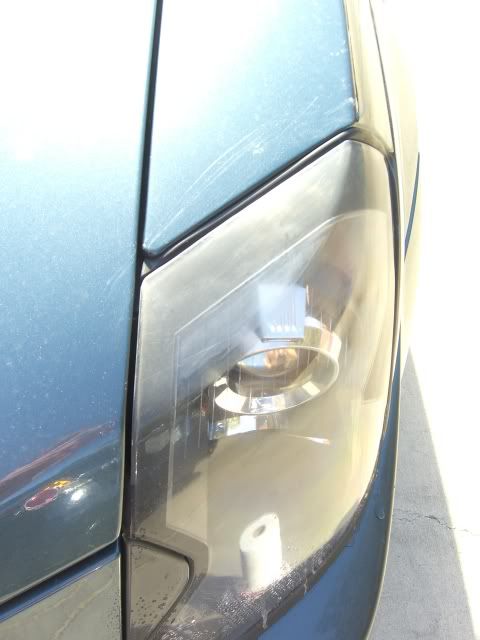
(those are water streaks on the paint... not scratches.)
fully sanded
Polished
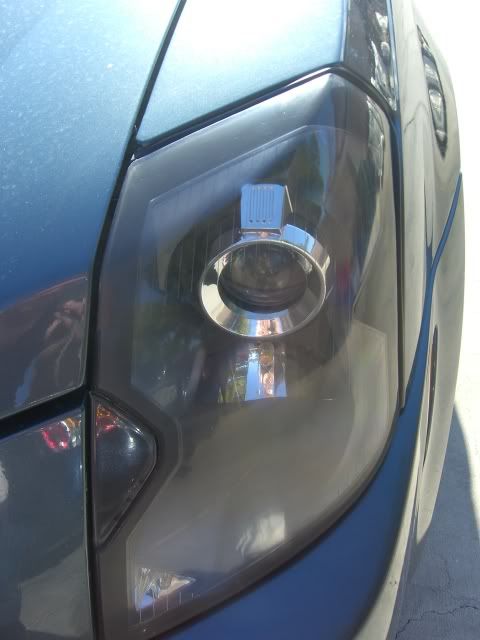
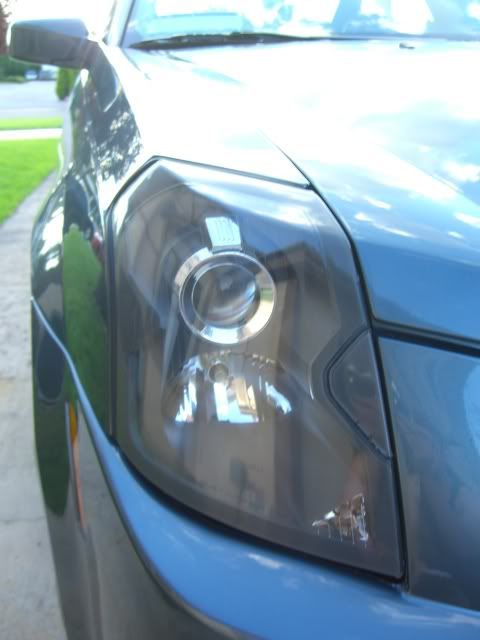
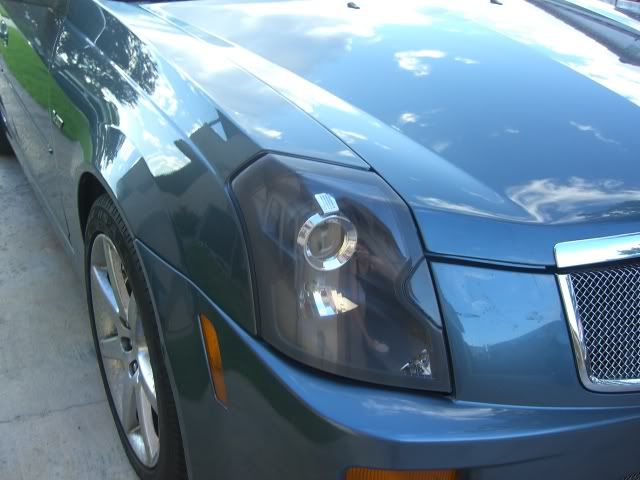
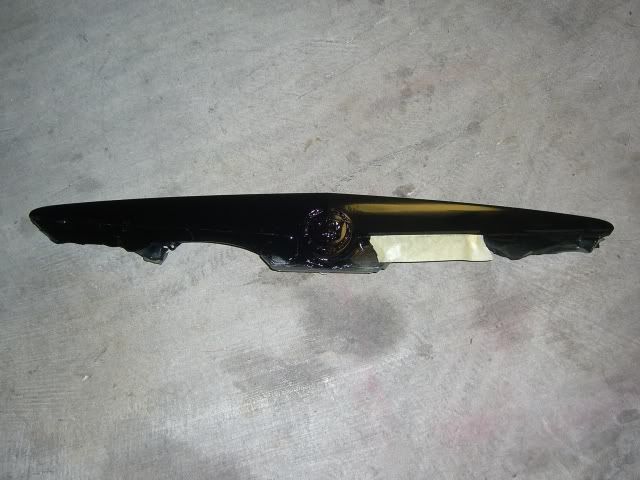
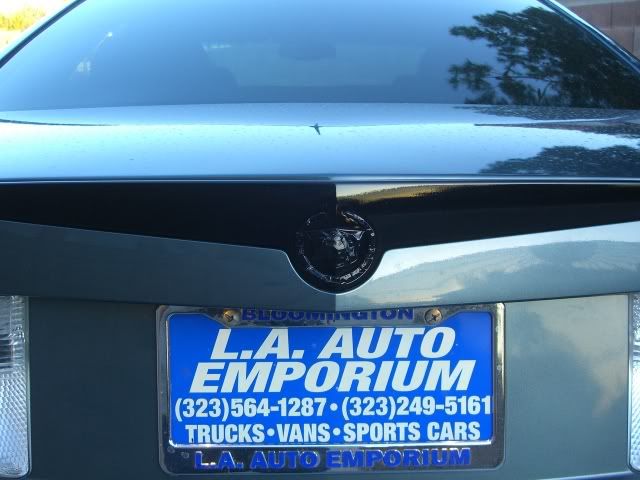
Ive been debating really hard about blacking out the head lights... but i really dont want to lose visibility, so i decided not to. Might just do the border... And i ran out of Nite Shade, so ill have to order some and finish up w/ the side markers and the fogs. And the 3rd brake light i messed up a little on one side, trying to fix it made it worse, so ill probably re-do the pass side. I want to see how many people actually notice. Probably very few... im kinda ****. lol
Before - i forgot to get a pic on the drivers side before sanding... but it looked just as bad as the pass side.
Sanded
(those are water streaks on the paint... not scratches.)
fully sanded
Polished
Ive been debating really hard about blacking out the head lights... but i really dont want to lose visibility, so i decided not to. Might just do the border... And i ran out of Nite Shade, so ill have to order some and finish up w/ the side markers and the fogs. And the 3rd brake light i messed up a little on one side, trying to fix it made it worse, so ill probably re-do the pass side. I want to see how many people actually notice. Probably very few... im kinda ****. lol
Last edited by xxrillixx; 04-12-2009 at 10:06 PM.
 04-12-2009, 07:18 PM
#5
TECH Fanatic
iTrader: (1)
Join Date: Jan 2008
Location: West Chester, PA
Posts: 1,249
Likes: 0
Received 0 Likes
on
0 Posts
Looks good man. Nice work on the headlights! What products and sand paper did you use exactly? Mine aren't nearly as bad as yours were, but I am anticipating them getting there in the next year or two.
04-12-2009, 10:11 PM
#7
Sand paper: used less then one sheet of each (10"x4")
800, 1000, 1500, 2000
&
Meguiars Ultimate compound
Total time was probably 45 min, doing it slow. No way id pay $250 bucks for it.
Total cost: $30 (with plenty of sand paper and UC left over)
800, 1000, 1500, 2000
&
Meguiars Ultimate compound
Total time was probably 45 min, doing it slow. No way id pay $250 bucks for it.
Total cost: $30 (with plenty of sand paper and UC left over)
Trending Topics
04-13-2009, 09:37 AM
#8
Teching In
Join Date: Sep 2007
Posts: 41
Likes: 0
Received 0 Likes
on
0 Posts
I paid close attention to your headlights because mine are as bad, if not worse. They came out nice. I know some people are taking it a step further and clearcoating (untinted) them as well. What do you think?
04-13-2009, 10:41 AM
#9


 04-15-2009, 02:56 PM
#14
On The Tree
Join Date: Nov 2005
Location: OKC, OK
Posts: 187
Likes: 0
Received 0 Likes
on
0 Posts


 04-23-2009, 09:21 AM
#19
I started doing some little stuff to the V...
Heres the first round of blacking out the tail lights.
They looked killer at night, but once i got them out in the light they were still WAY too red.
So i did another round, which i went a little too dak. lol. But they came out great.
(this is all pre-wetsanding)
Heres the first round of blacking out the tail lights.
They looked killer at night, but once i got them out in the light they were still WAY too red.
So i did another round, which i went a little too dak. lol. But they came out great.
(this is all pre-wetsanding)
04-23-2009, 09:23 AM
#20
And then i started cleaning up the headlights... The oxidation was really annoying me. Dealer wouldnt replace them, so i cleaned em up. Wet sanding & ultimate compound...
Before - i forgot to get a pic on the drivers side before sanding... but it looked just as bad as the pass side.
Sanded
(those are water streaks on the paint... not scratches.)
fully sanded
Polished
Ive been debating really hard about blacking out the head lights... but i really dont want to lose visibility, so i decided not to. Might just do the border... And i ran out of Nite Shade, so ill have to order some and finish up w/ the side markers and the fogs. And the 3rd brake light i messed up a little on one side, trying to fix it made it worse, so ill probably re-do the pass side. I want to see how many people actually notice. Probably very few... im kinda ****. lol
