Cadillac CTS-V 2004-2007 (Gen I) The Caddy with an Attitude...

Let the madness begin (blower build w/pics)

Thread Tools
 
Search this Thread
 
Old 04-17-2013, 03:39 PM
  #61  
11 Second Club
iTrader: (5)
 
Ballzee's Avatar
 
Join Date: Feb 2012
Location: North Florida
Posts: 536
Likes: 0
Received 0 Likes on 0 Posts
Default

Originally Posted by jcollege
Epic thread cant wait to see the finished product.
exactly.....
Old 04-18-2013, 01:09 PM
  #62  
TECH Resident
Thread Starter
iTrader: (1)
 
tommycompton's Avatar
 
Join Date: Sep 2010
Location: Winnipeg, mb
Posts: 789
Likes: 0
Received 0 Likes on 0 Posts
Default

Originally Posted by rand49er
NOW we know what people do in Winnipeg while waiting for the last of the snow to melt.
Sure ain't much else to do, you should know the feeling from Michigan
Old 04-21-2013, 04:58 PM
  #63  
TECH Resident
Thread Starter
iTrader: (1)
 
tommycompton's Avatar
 
Join Date: Sep 2010
Location: Winnipeg, mb
Posts: 789
Likes: 0
Received 0 Likes on 0 Posts
Default

Old 04-21-2013, 05:43 PM
  #64  
TECH Fanatic
 
shadyLS6's Avatar
 
Join Date: Apr 2009
Location: USA
Posts: 1,015
Likes: 0
Received 1 Like on 1 Post

Default

to get the drivers side axle in your going to have to lift the pumpkin up high as it can go, insert the axle lower it down.. or maybe this is an old pic and you already figured it out lol.. great build
Old 04-22-2013, 11:59 AM
  #65  
TECH Resident
Thread Starter
iTrader: (1)
 
tommycompton's Avatar
 
Join Date: Sep 2010
Location: Winnipeg, mb
Posts: 789
Likes: 0
Received 0 Likes on 0 Posts
Default

Originally Posted by shadyLS6
to get the drivers side axle in your going to have to lift the pumpkin up high as it can go, insert the axle lower it down.. or maybe this is an old pic and you already figured it out lol.. great build
Good tip. I hadn't got very far with it because once i got it in I noticed that I was missing two nuts for the rear bolts.

Also can you remember which side the long axle goes on hehe. It looks to me to be the passenger side?
Old 04-22-2013, 12:18 PM
  #66  
TECH Regular
 
lilgcts-v's Avatar
 
Join Date: Feb 2009
Posts: 453
Likes: 0
Received 0 Likes on 0 Posts
Default

this is going to be NUTS when its all together!
Old 04-22-2013, 02:57 PM
  #67  
TECH Fanatic
 
shadyLS6's Avatar
 
Join Date: Apr 2009
Location: USA
Posts: 1,015
Likes: 0
Received 1 Like on 1 Post

Default

Originally Posted by tommycompton
Also can you remember which side the long axle goes on hehe. It looks to me to be the passenger side?
mine were labeled, i think the shorter DSS axle goes on the drivers side but i may be wrong. call CS, max walked me through a bunch of stuff..
Old 04-23-2013, 08:16 AM
  #68  
TECH Addict
iTrader: (10)
 
NIKDSC5's Avatar
 
Join Date: Mar 2007
Location: DFW Area
Posts: 2,600
Received 22 Likes on 19 Posts

Default

Originally Posted by tommycompton
Good tip. I hadn't got very far with it because once i got it in I noticed that I was missing two nuts for the rear bolts.

Also can you remember which side the long axle goes on hehe. It looks to me to be the passenger side?
Originally Posted by shadyLS6
mine were labeled, i think the shorter DSS axle goes on the drivers side but i may be wrong. call CS, max walked me through a bunch of stuff..
The stock axels are different lengths as well and yes, the longer axel is the passenger side axel.

And CS's customer service is awesome no doubt, but they are pacific time which sucks. Which means they are never open when I call.
Old 04-23-2013, 02:11 PM
  #69  
TECH Resident
Thread Starter
iTrader: (1)
 
tommycompton's Avatar
 
Join Date: Sep 2010
Location: Winnipeg, mb
Posts: 789
Likes: 0
Received 0 Likes on 0 Posts
Default

Yeah I know the stockers are different lengths too, I used to have dss full axles. It's just the axles are labeled, long one axle 1 and, short one axle 2. Which would make me think axle 1 is drivers side. But just from eyeballing the rear it looks like it is the other way around with the long axle on the passenger side.
Old 04-24-2013, 10:20 PM
  #70  
TECH Resident
iTrader: (17)
 
1BADCTS's Avatar
 
Join Date: Jun 2006
Location: Tyler, TX
Posts: 887
Likes: 0
Received 14 Likes on 8 Posts

Default

If you need my CPU relocation bracket let me know, it's yours. I'm trying to put mine back down in the stock location, just need the little plastic door for the CPU basket
Old 04-25-2013, 10:58 AM
  #71  
TECH Resident
Thread Starter
iTrader: (1)
 
tommycompton's Avatar
 
Join Date: Sep 2010
Location: Winnipeg, mb
Posts: 789
Likes: 0
Received 0 Likes on 0 Posts
Default

Thanks for the offer, but I don't need to relocate the ECM on an LS2. The Ecm is behind the bumper, not under the hood.
Old 04-26-2013, 08:00 AM
  #72  
On The Tree
iTrader: (6)
 
jsnm's Avatar
 
Join Date: Sep 2010
Location: DE
Posts: 102
Likes: 0
Received 0 Likes on 0 Posts
Default

Incredible looking build,looks great!
Old 04-26-2013, 11:15 AM
  #73  
Staging Lane
iTrader: (1)
 
johnrowdy's Avatar
 
Join Date: May 2011
Location: Heath Texas
Posts: 90
Likes: 0
Received 0 Likes on 0 Posts
Default

Subscribing to thread, looking like an awesome build!
Old 05-12-2013, 09:26 PM
  #74  
TECH Resident
Thread Starter
iTrader: (1)
 
tommycompton's Avatar
 
Join Date: Sep 2010
Location: Winnipeg, mb
Posts: 789
Likes: 0
Received 0 Likes on 0 Posts
Default


Getting closer, would have had the heads on but realized I was sent the wrong ARP studs.
Should have the engine back in the car next weekend.
Old 05-19-2013, 09:34 PM
  #75  
TECH Resident
Thread Starter
iTrader: (1)
 
tommycompton's Avatar
 
Join Date: Sep 2010
Location: Winnipeg, mb
Posts: 789
Likes: 0
Received 0 Likes on 0 Posts
Default


Pin head


Engine going back in tomorrow
Old 05-20-2013, 05:43 AM
  #76  
Launching!
 
kciaccio's Avatar
 
Join Date: May 2012
Location: Pearland TX
Posts: 261
Likes: 0
Received 0 Likes on 0 Posts
Default

Nice!
Old 05-20-2013, 10:14 AM
  #77  
TECH Fanatic
iTrader: (8)
 
vmapper's Avatar
 
Join Date: Apr 2006
Posts: 1,053
Likes: 0
Received 1 Like on 1 Post

Default

Nice ... over a few provinces, practically the same day, same thing happening...
Cant wait to see your machine running!
Attached Thumbnails Let the madness begin (blower build w/pics)-1.jpg   Let the madness begin (blower build w/pics)-2.jpg   Let the madness begin (blower build w/pics)-3.jpg  
Old 05-20-2013, 12:36 PM
  #78  
TECH Junkie
iTrader: (4)
 
FuzzyLog1c's Avatar
 
Join Date: Mar 2011
Posts: 3,305
Received 15 Likes on 14 Posts

Default

Vmapper, what are you building there? Did you assemble the shortblock yourself?
Old 05-20-2013, 07:59 PM
  #79  
TECH Resident
Thread Starter
iTrader: (1)
 
tommycompton's Avatar
 
Join Date: Sep 2010
Location: Winnipeg, mb
Posts: 789
Likes: 0
Received 0 Likes on 0 Posts
Default

Originally Posted by vmapper
Nice ... over a few provinces, practically the same day, same thing happening...
Cant wait to see your machine running!
Nice!!! Can't wait to see yours going too!
Old 05-20-2013, 08:04 PM
  #80  
TECH Resident
Thread Starter
iTrader: (1)
 
tommycompton's Avatar
 
Join Date: Sep 2010
Location: Winnipeg, mb
Posts: 789
Likes: 0
Received 0 Likes on 0 Posts
Default

Flywheel, clutch, and tranny installed. Push rod length and valve train geometry established. Ready to go in.


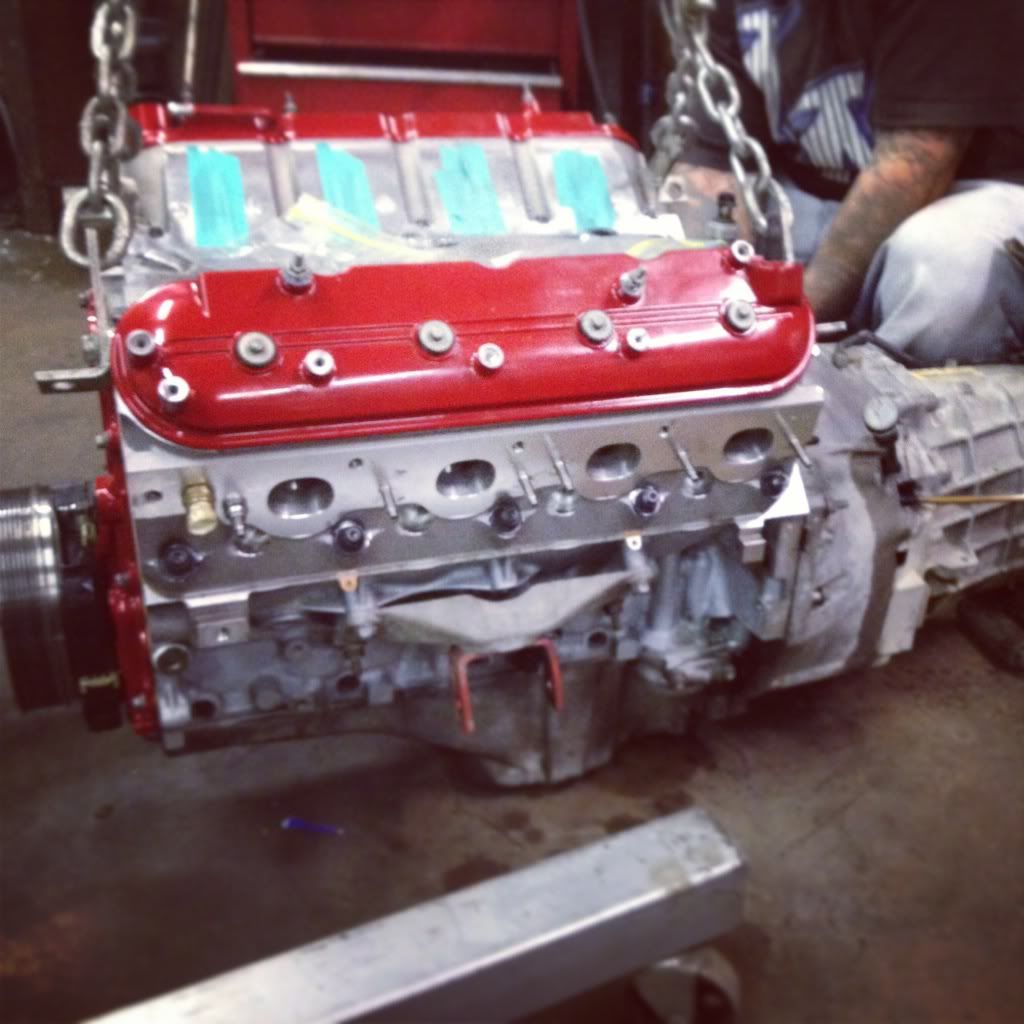
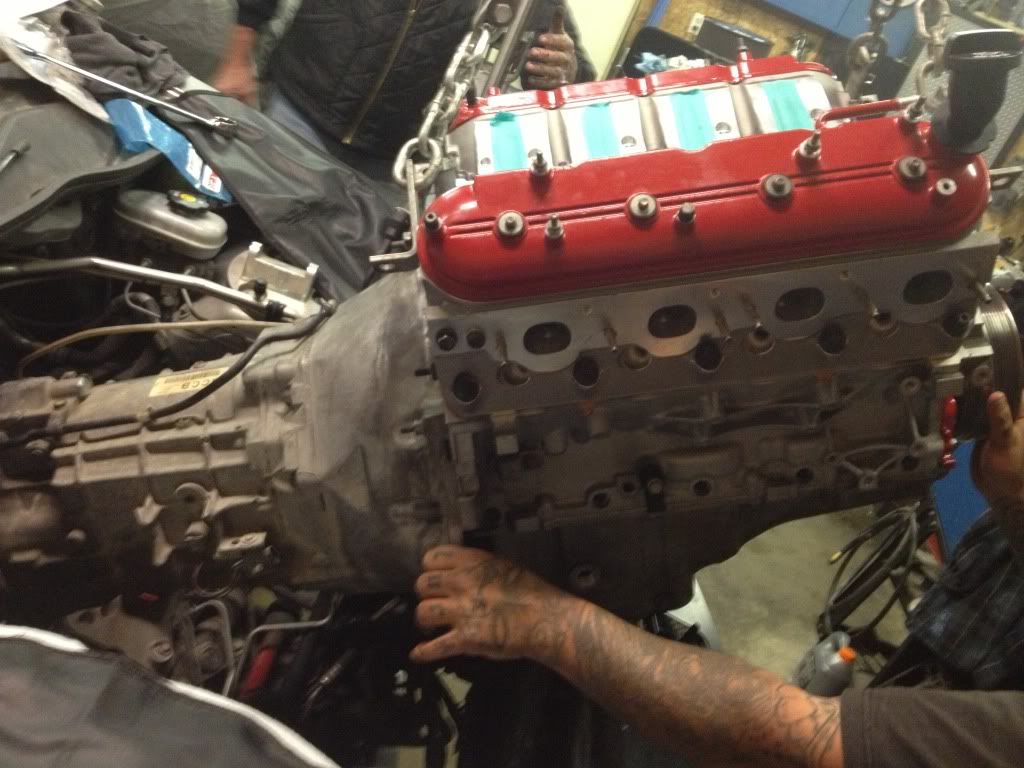
Stabbing the engine and tranny back in


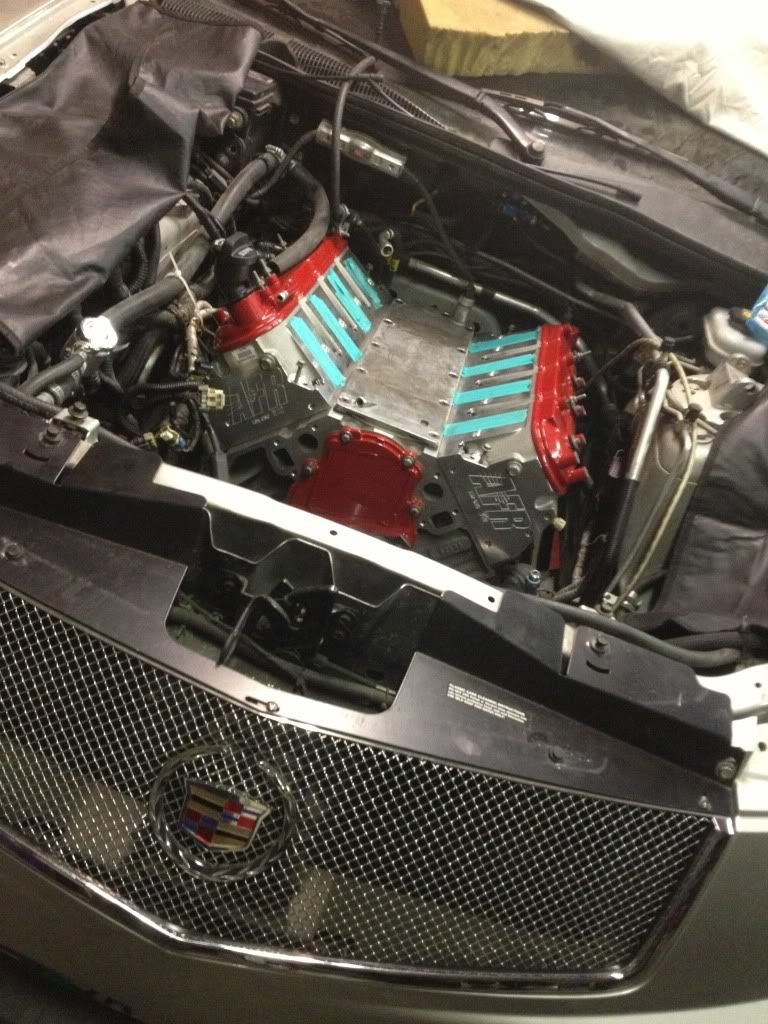
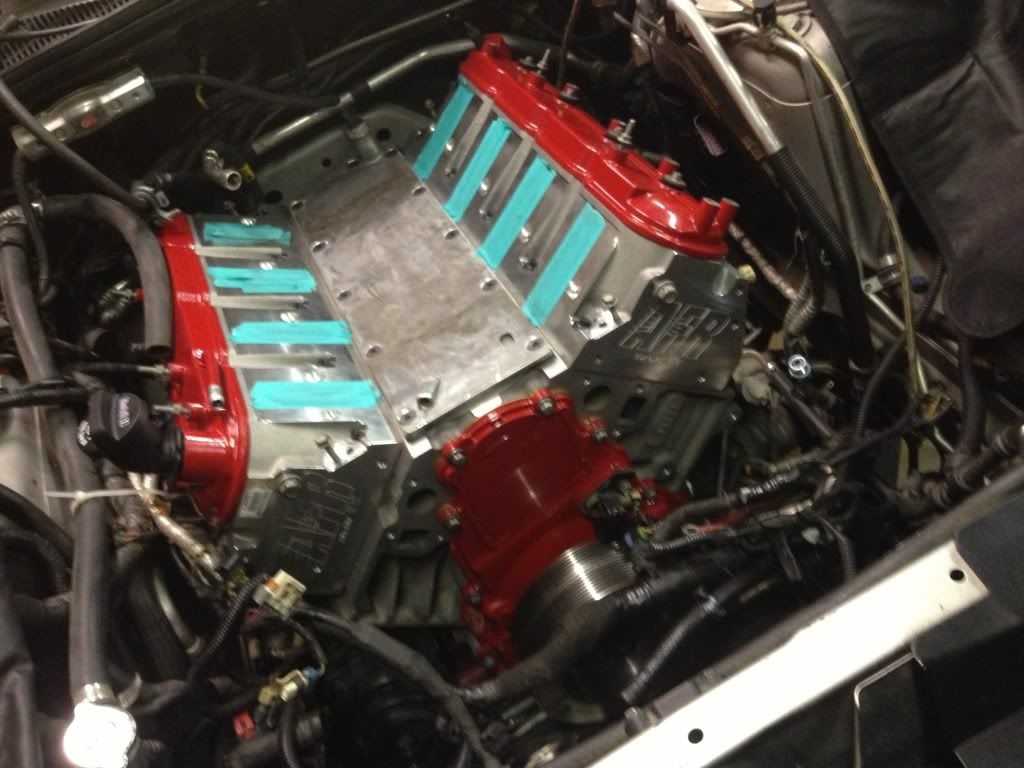
Engine back in it's home


Quick Reply: Let the madness begin (blower build w/pics)


All times are GMT -5. The time now is 03:00 PM.