99 Camaro build a/k/a TUFFENUFF
#121
11 Second Club
Thread Starter
iTrader: (3)
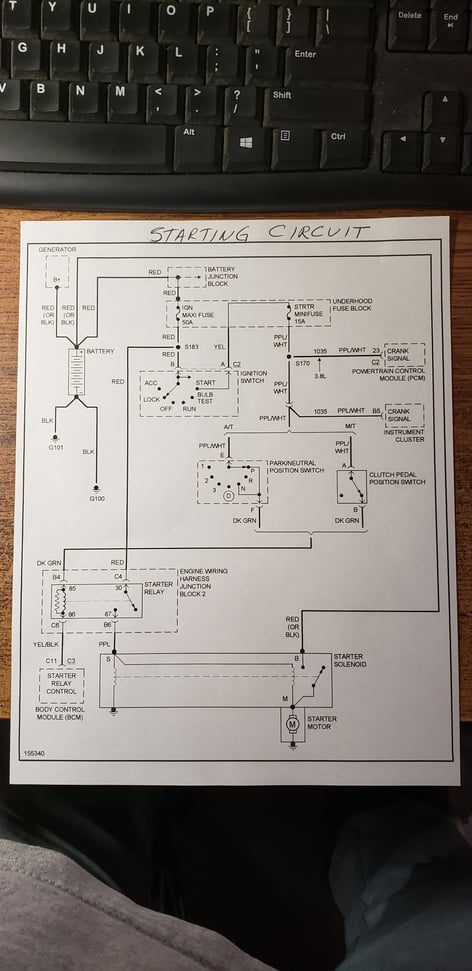
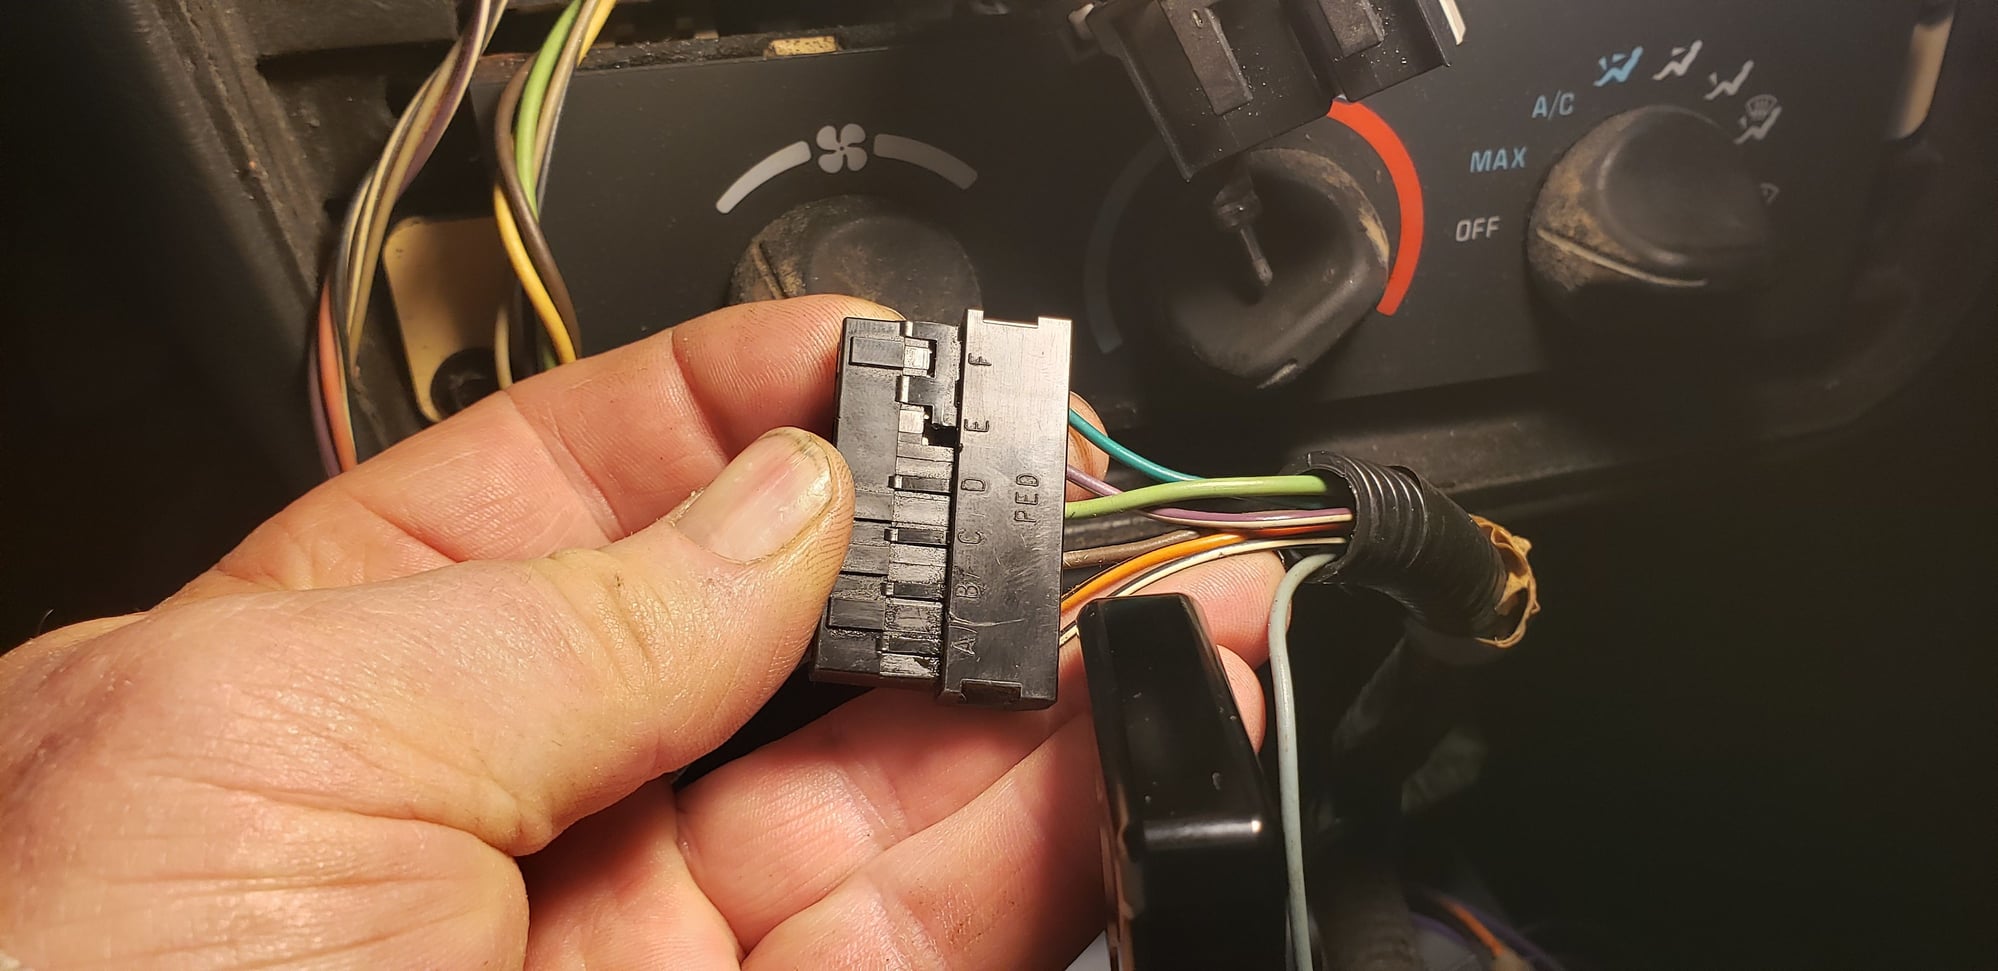
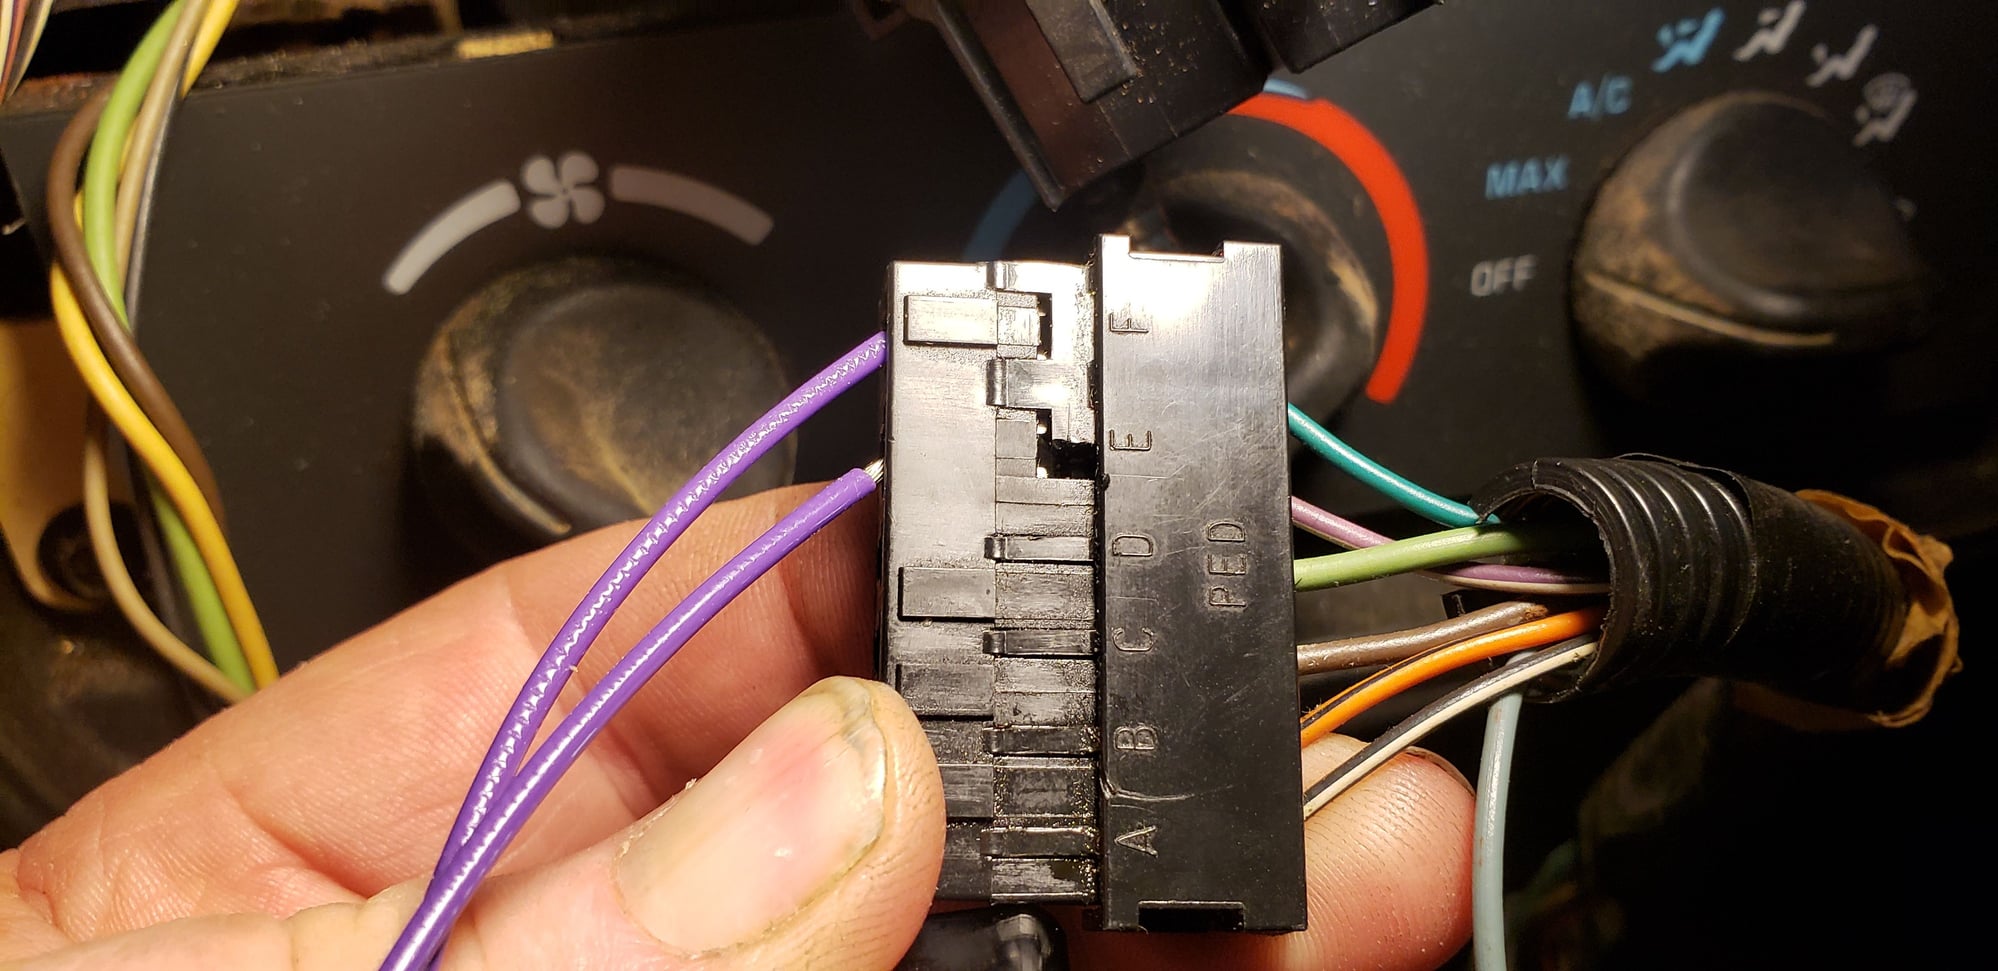
The Motion Raceworks shifter has built in park/nuetral safety and reverse microswitches and since the car originally came with an automatic connecting the park/nuetral saftey switch to the new shifter was pretty simple. The two purple wires are for the PNS so you connect one of the PPL wires to the DRK GRN and the other PPL to the PPL WHT on the shifter connector and you're all set. What I haven't figured out is how to make the reverse lights work on the new shifter. The engine harness came from a T56 and my thinking is that I could connect the two black wires on the new shifter to those ports and get the reverse lights to work but if someone has an easier way I'd appreciate any feedback on that. Thanks!
#122
11 Second Club
Thread Starter
iTrader: (3)
Figured it out, it's the LT GRN and BRWN wires on the connector "D & C" that give me the reverse lights.
The following users liked this post:
PHTCBRA (05-23-2023)
#123
11 Second Club
Thread Starter
iTrader: (3)
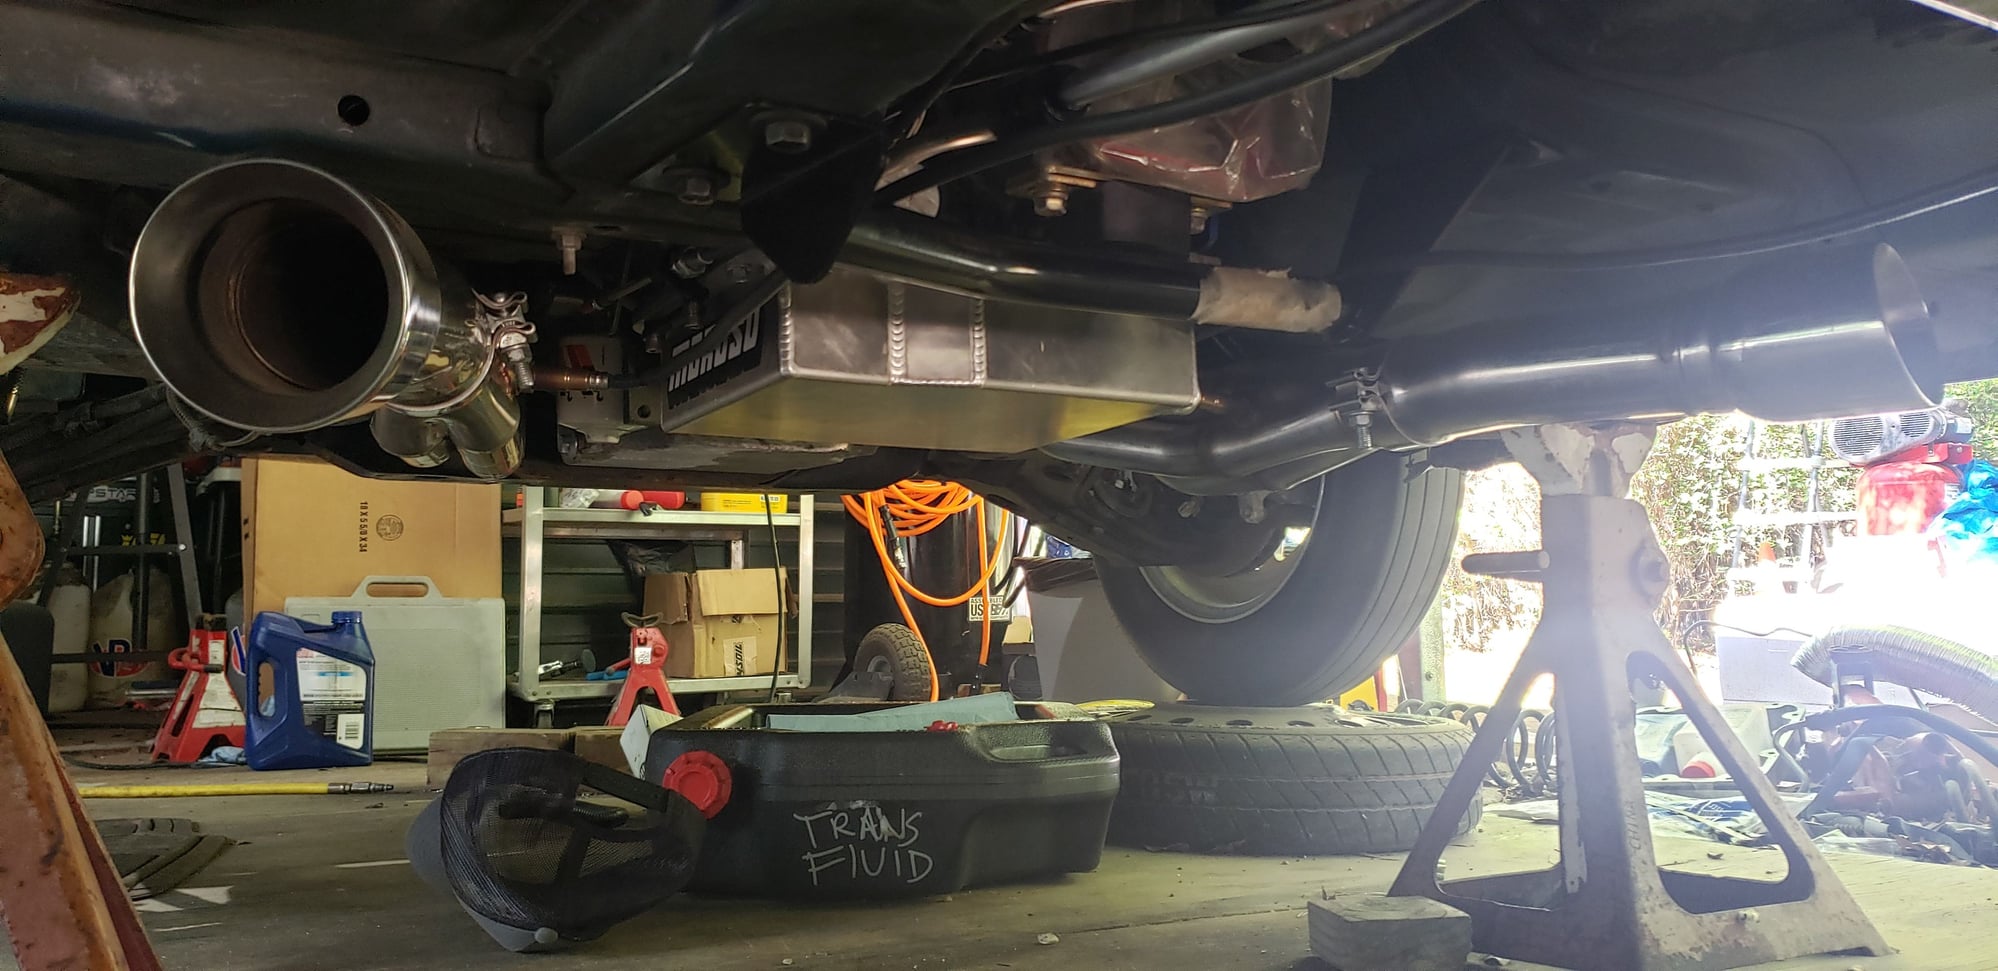
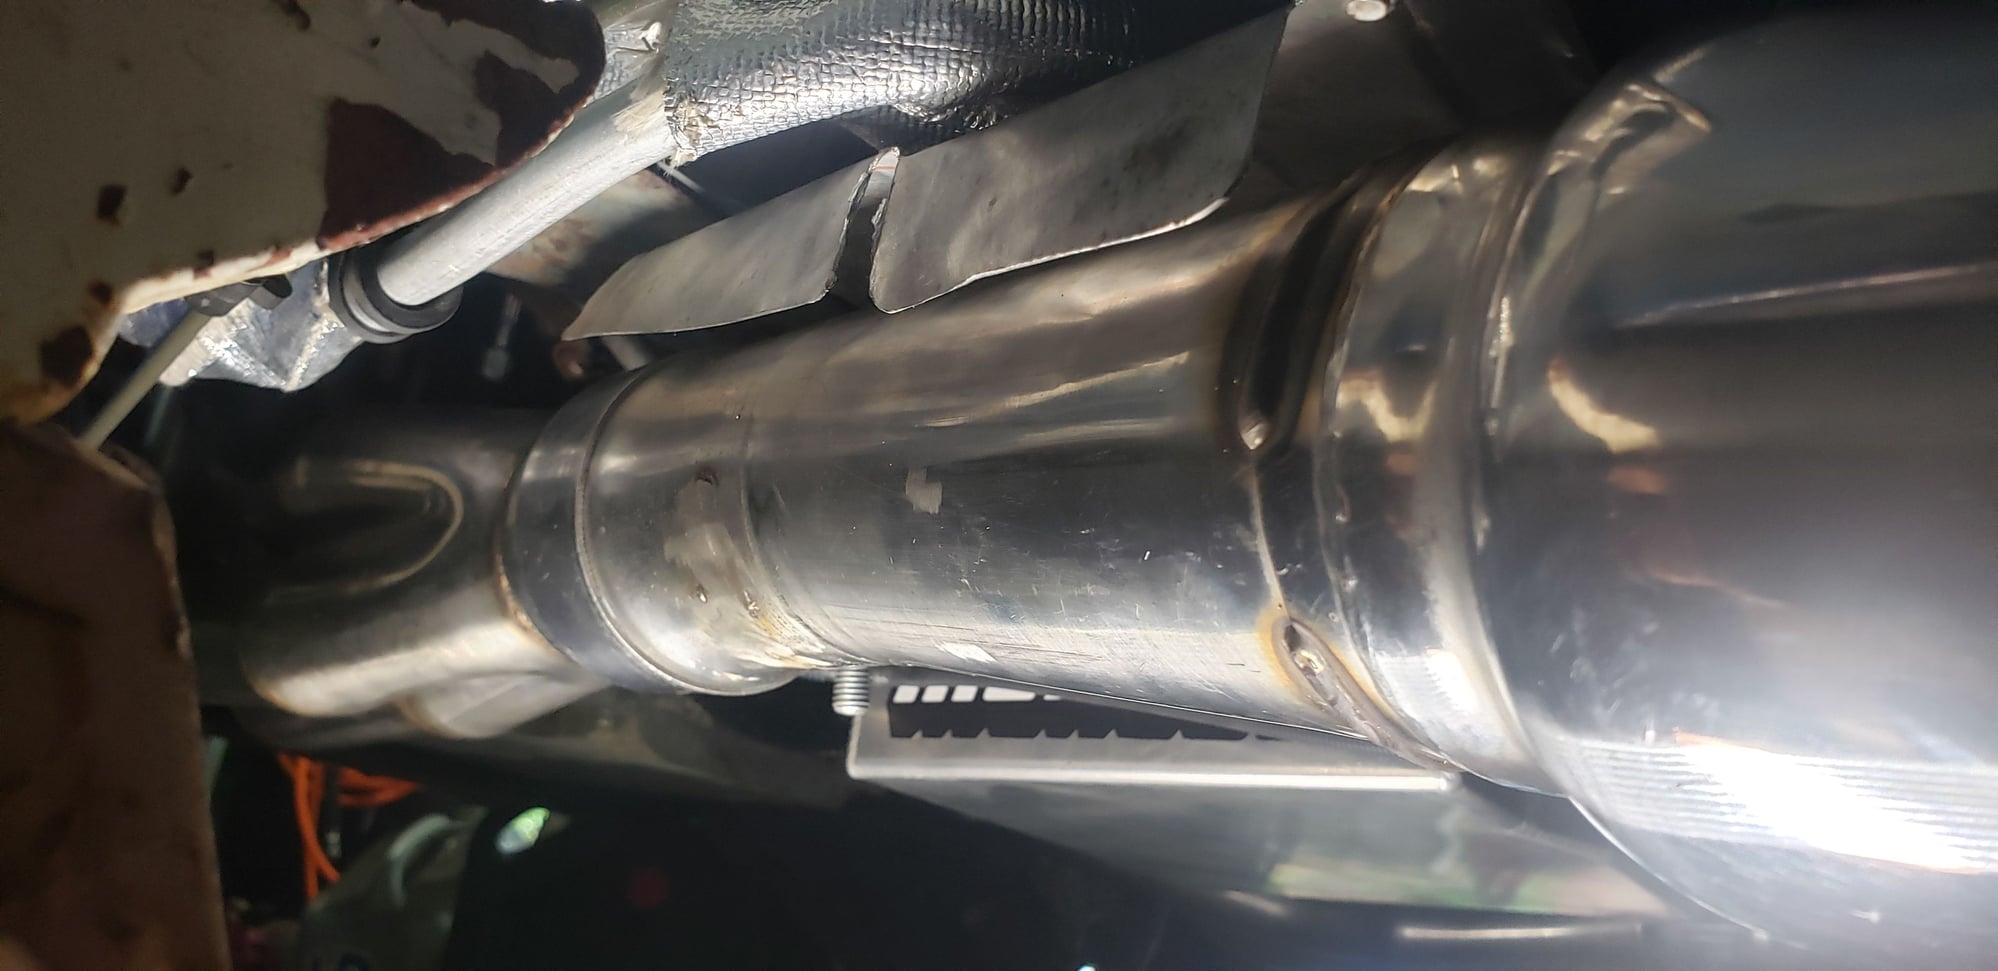
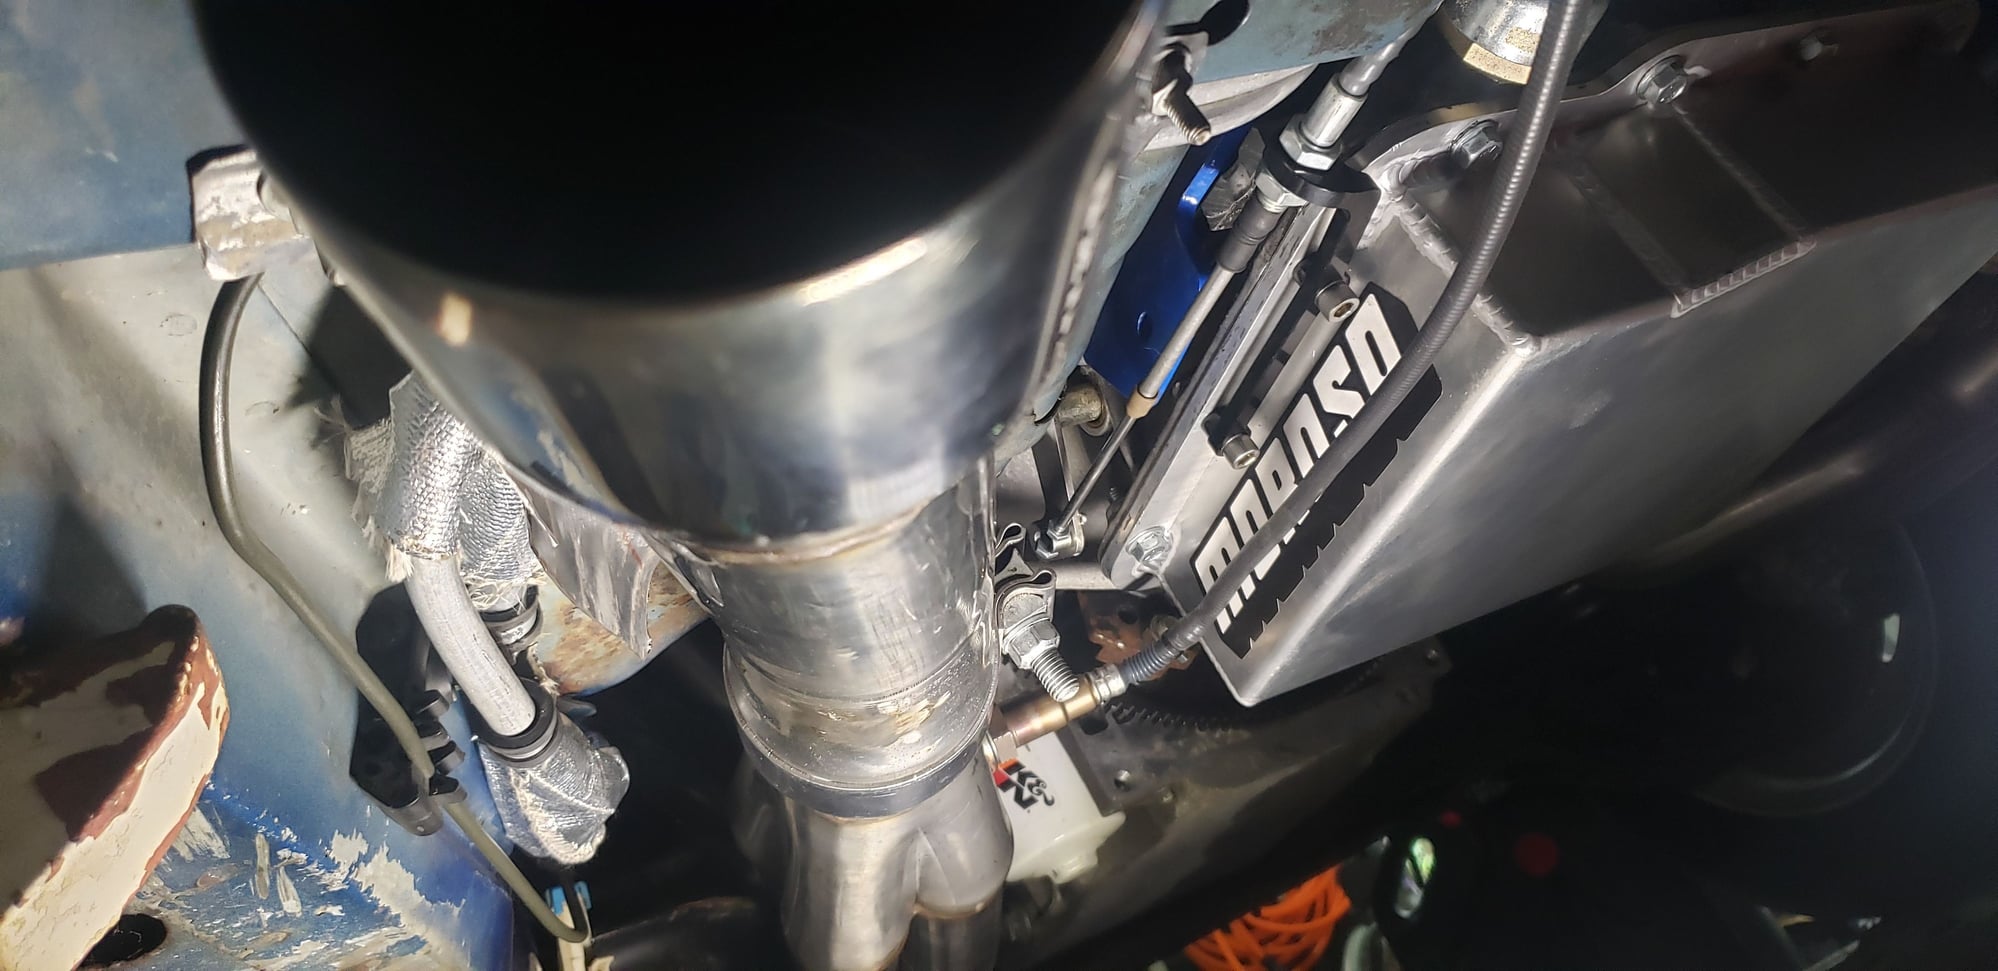
The transmission pan I picked up at a swap meet will not work with the shifter bracket that came with the Motion Raceworks shifter. Ordered a Moroso pan that gives me an extra 1.5 qts which is a plus.
Last edited by 01CamaroSSTx; 04-26-2023 at 03:43 PM.
#124
11 Second Club
Thread Starter
iTrader: (3)
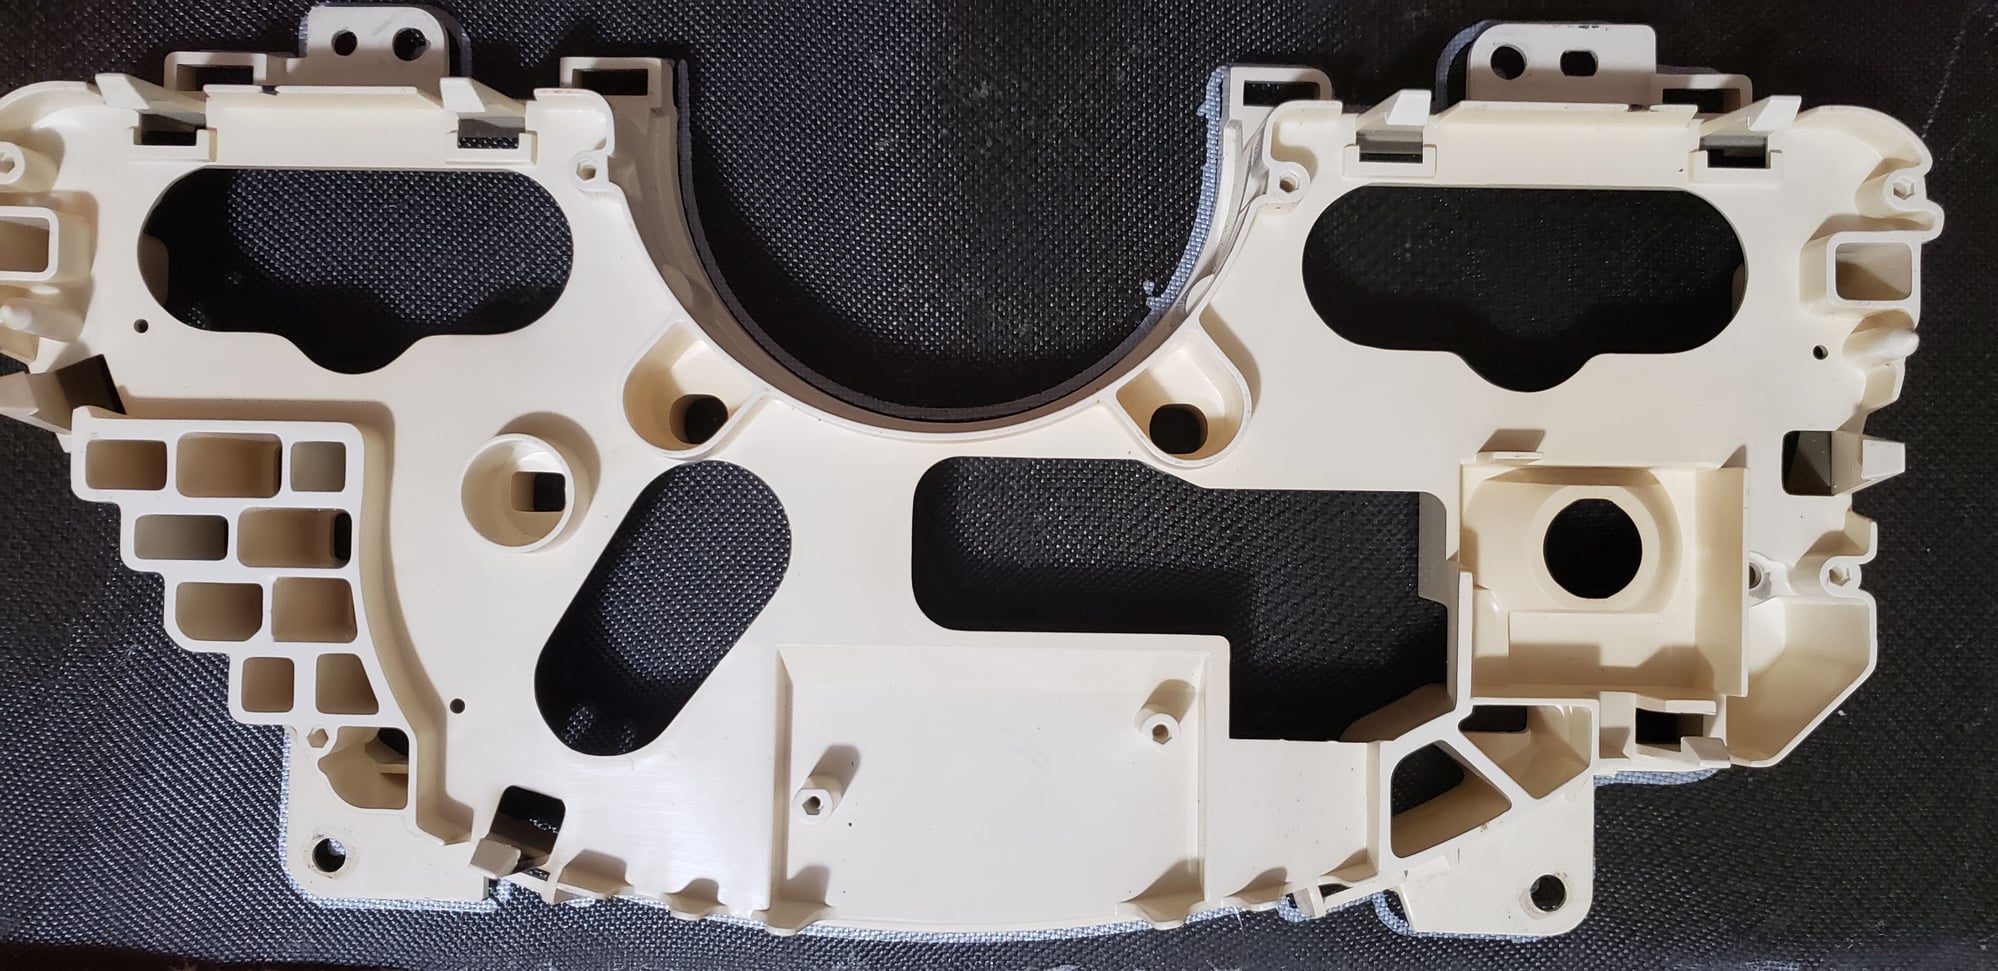
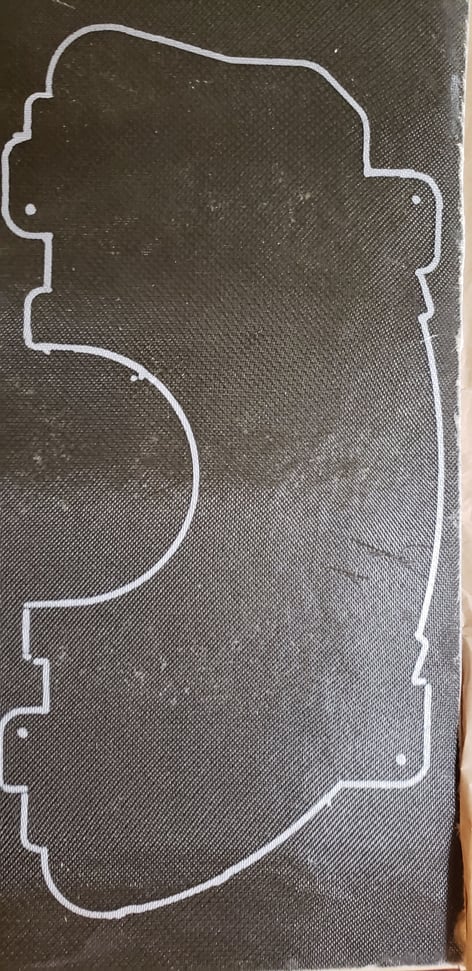
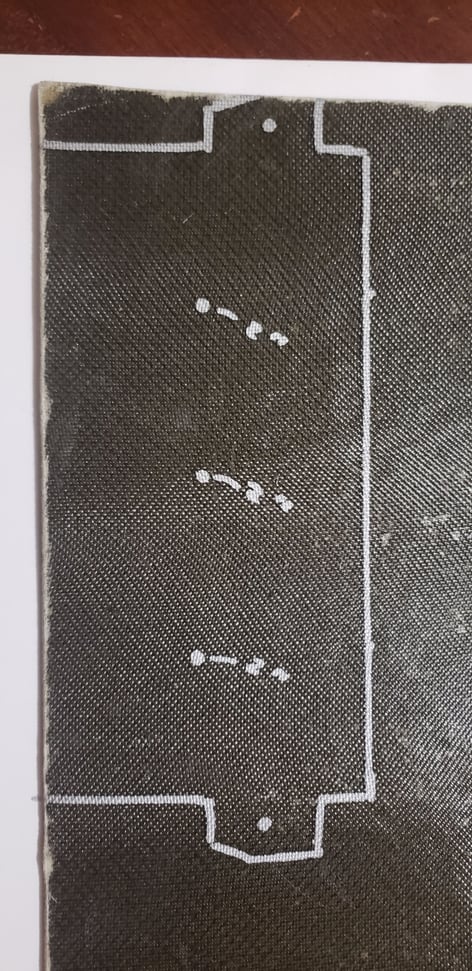
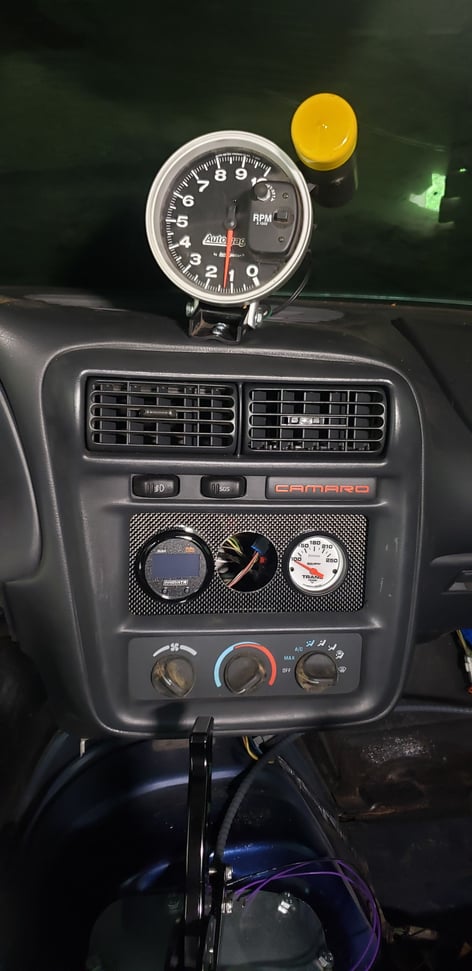
This material should make for a great gauge panel to hold more Autometer gauges but this 18" x 24" x 1/8" thick carbon fiber sheet was not cheap. I'm also making a panel to go in place of the radio where I'll have the Innovate dual wide band AFR gauge, a NOS pressure and TRANS temperature gauge.
#125
11 Second Club
Thread Starter
iTrader: (3)
#126
11 Second Club
Thread Starter
iTrader: (3)
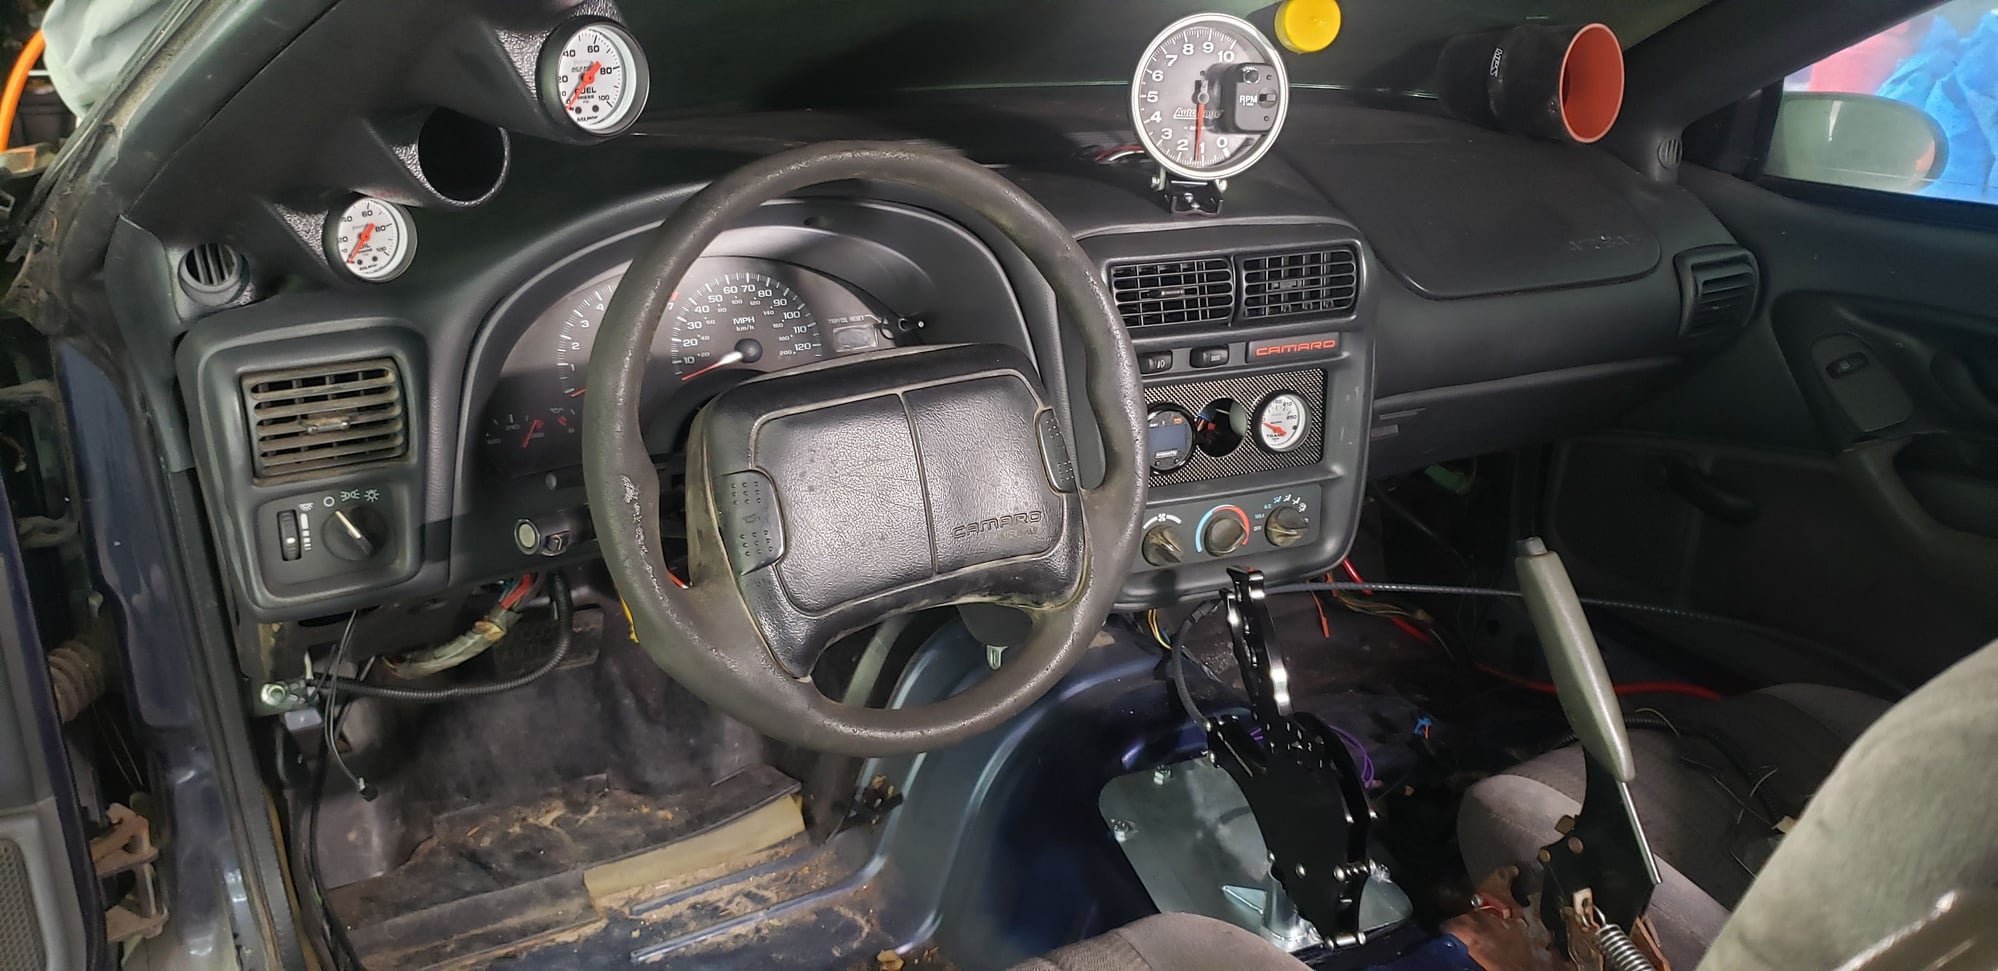
Steering wheel with momentary switches will be had before all is said and done.
#127
11 Second Club
Thread Starter
iTrader: (3)
Transmission oil temperature gauge and dual wideband installation completed.
Last edited by 01CamaroSSTx; 04-26-2023 at 03:44 PM.
#128
11 Second Club
Thread Starter
iTrader: (3)
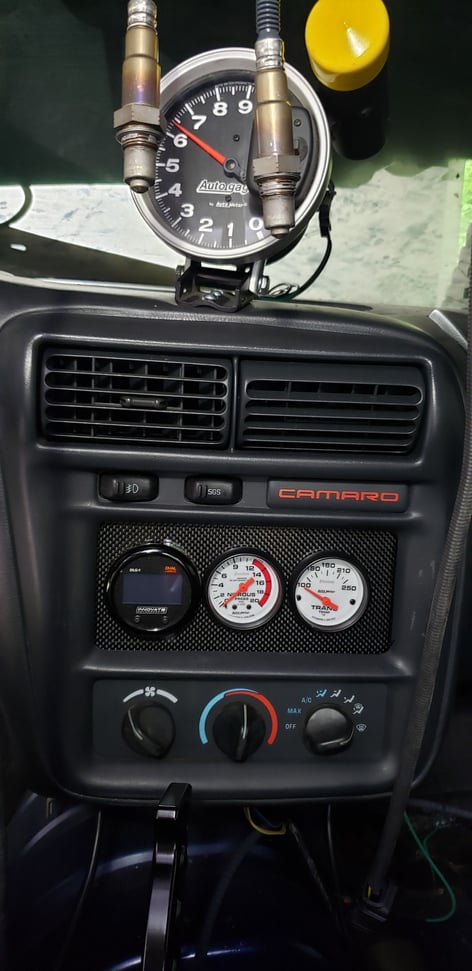
Nitrous pressure gauge installed. I'm going to use the switch directly above for the purge. It will be awhile before it sees the bottle though.
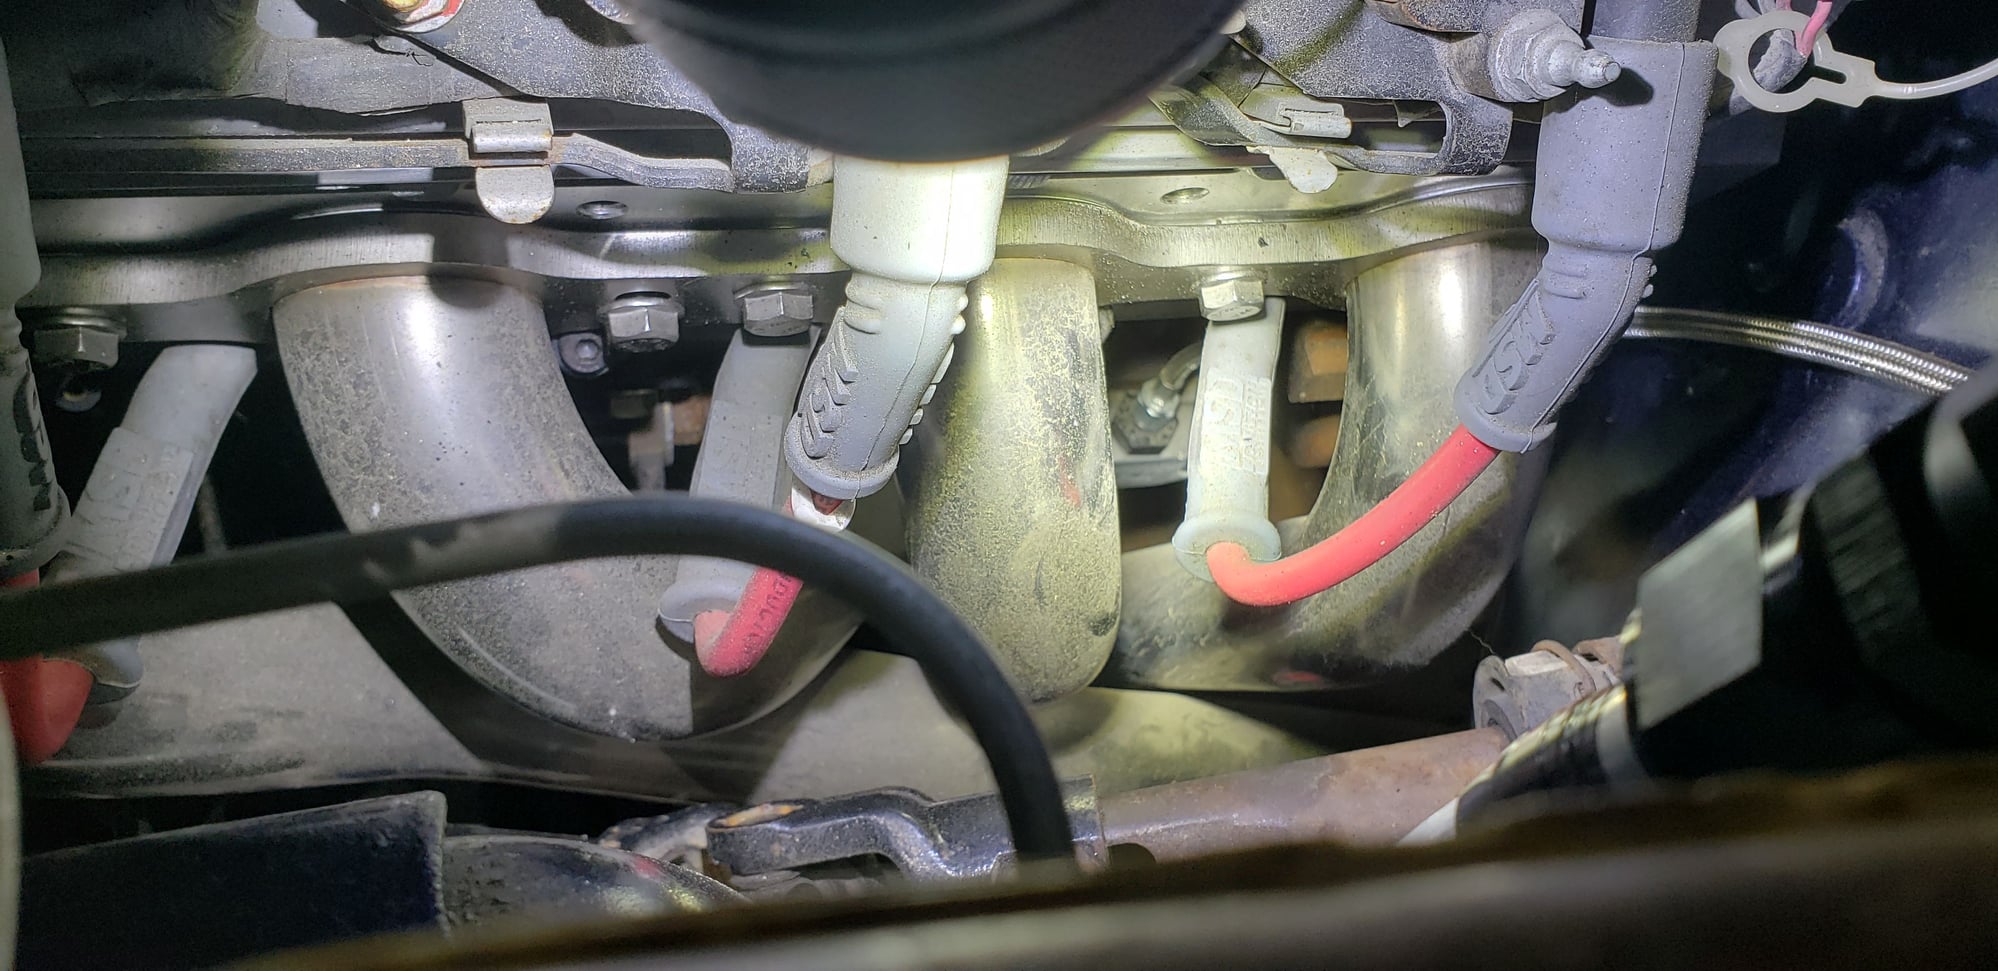
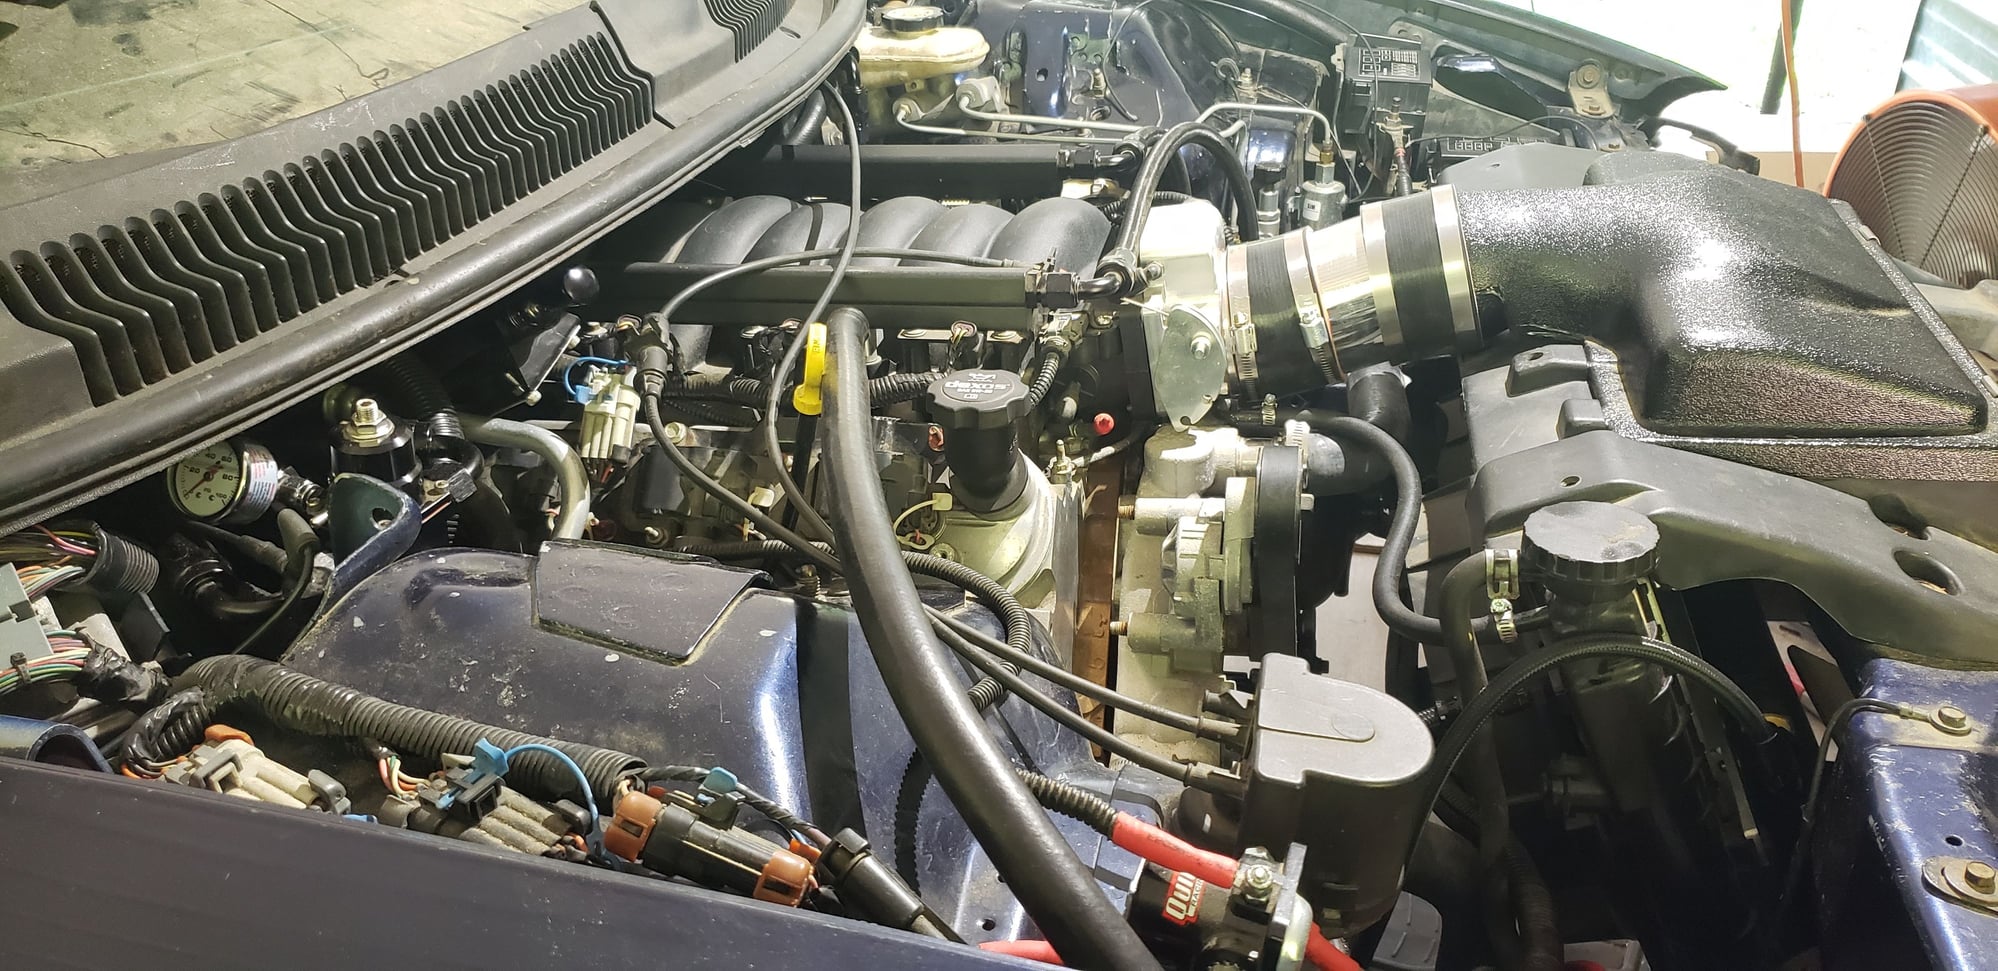
ICT Billet adapter and 4AN braided line for the mechanical oil pressure gauge.
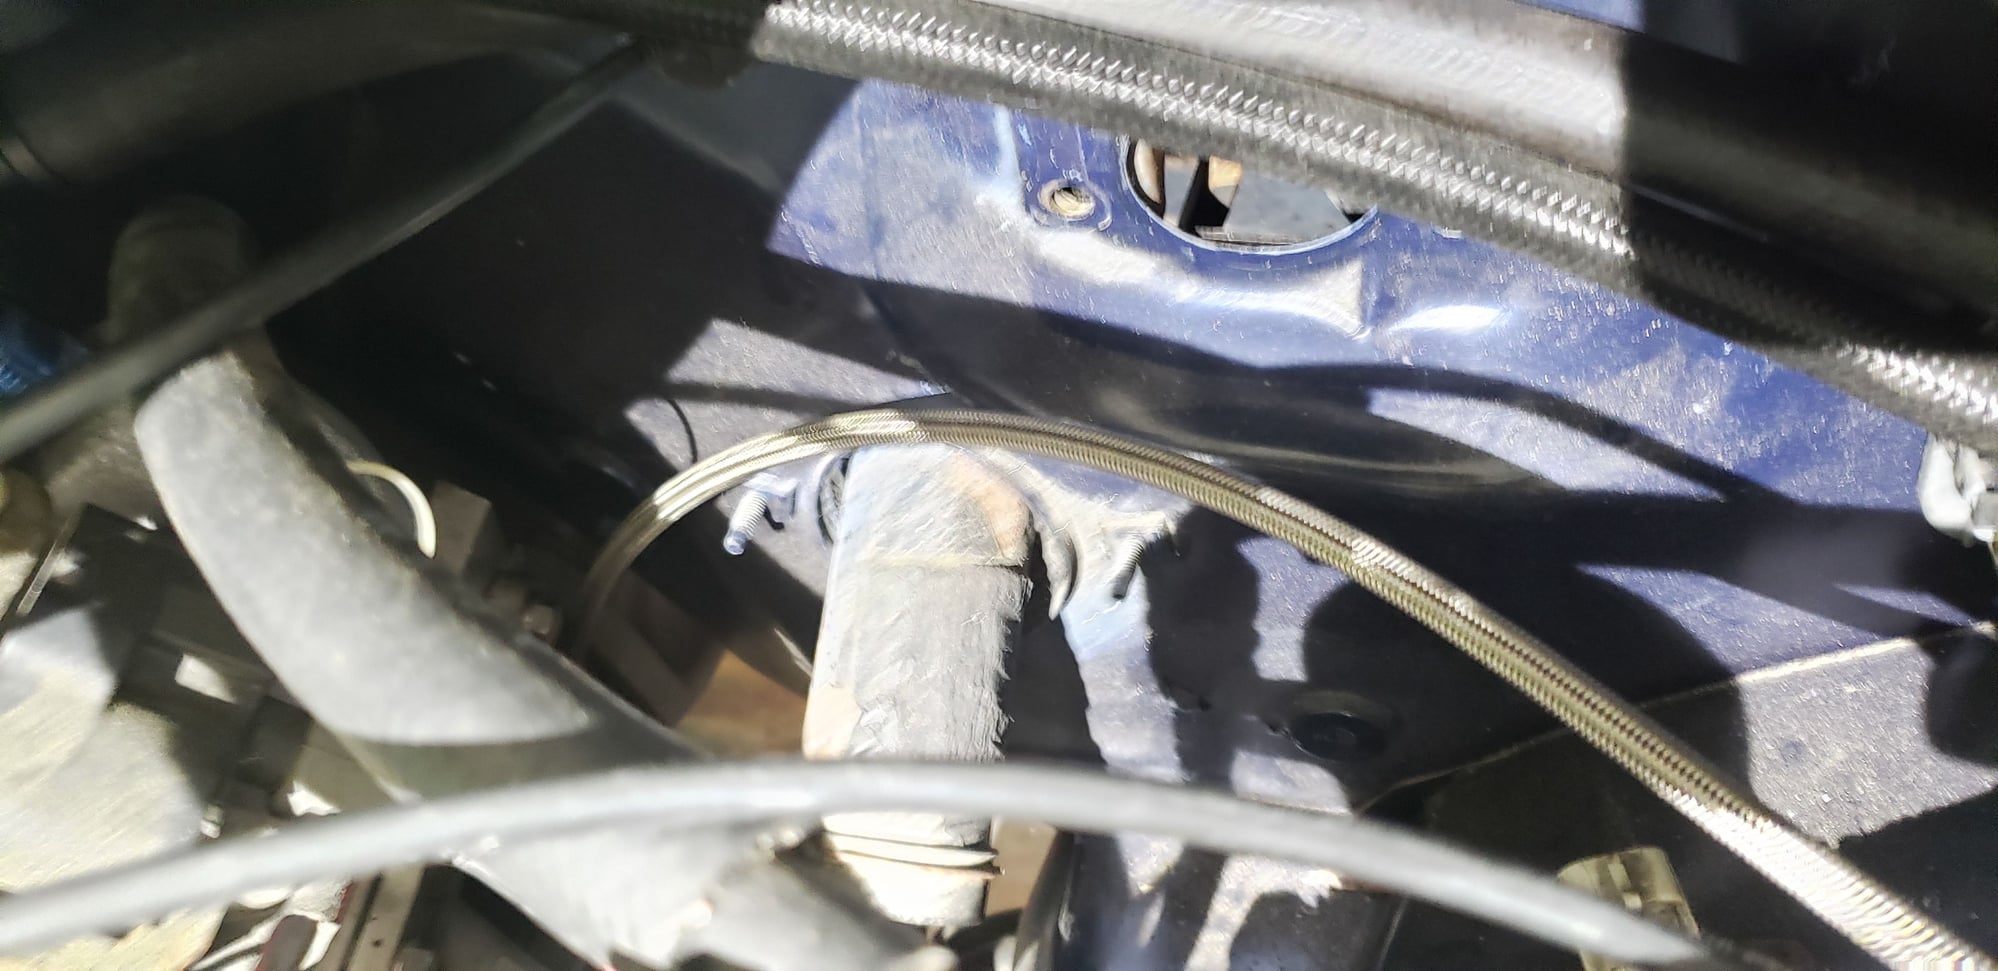
Line runs underneath the vacuum booster which will be replaced with a mechanical booster when I upgrade to new brakes and rotors.
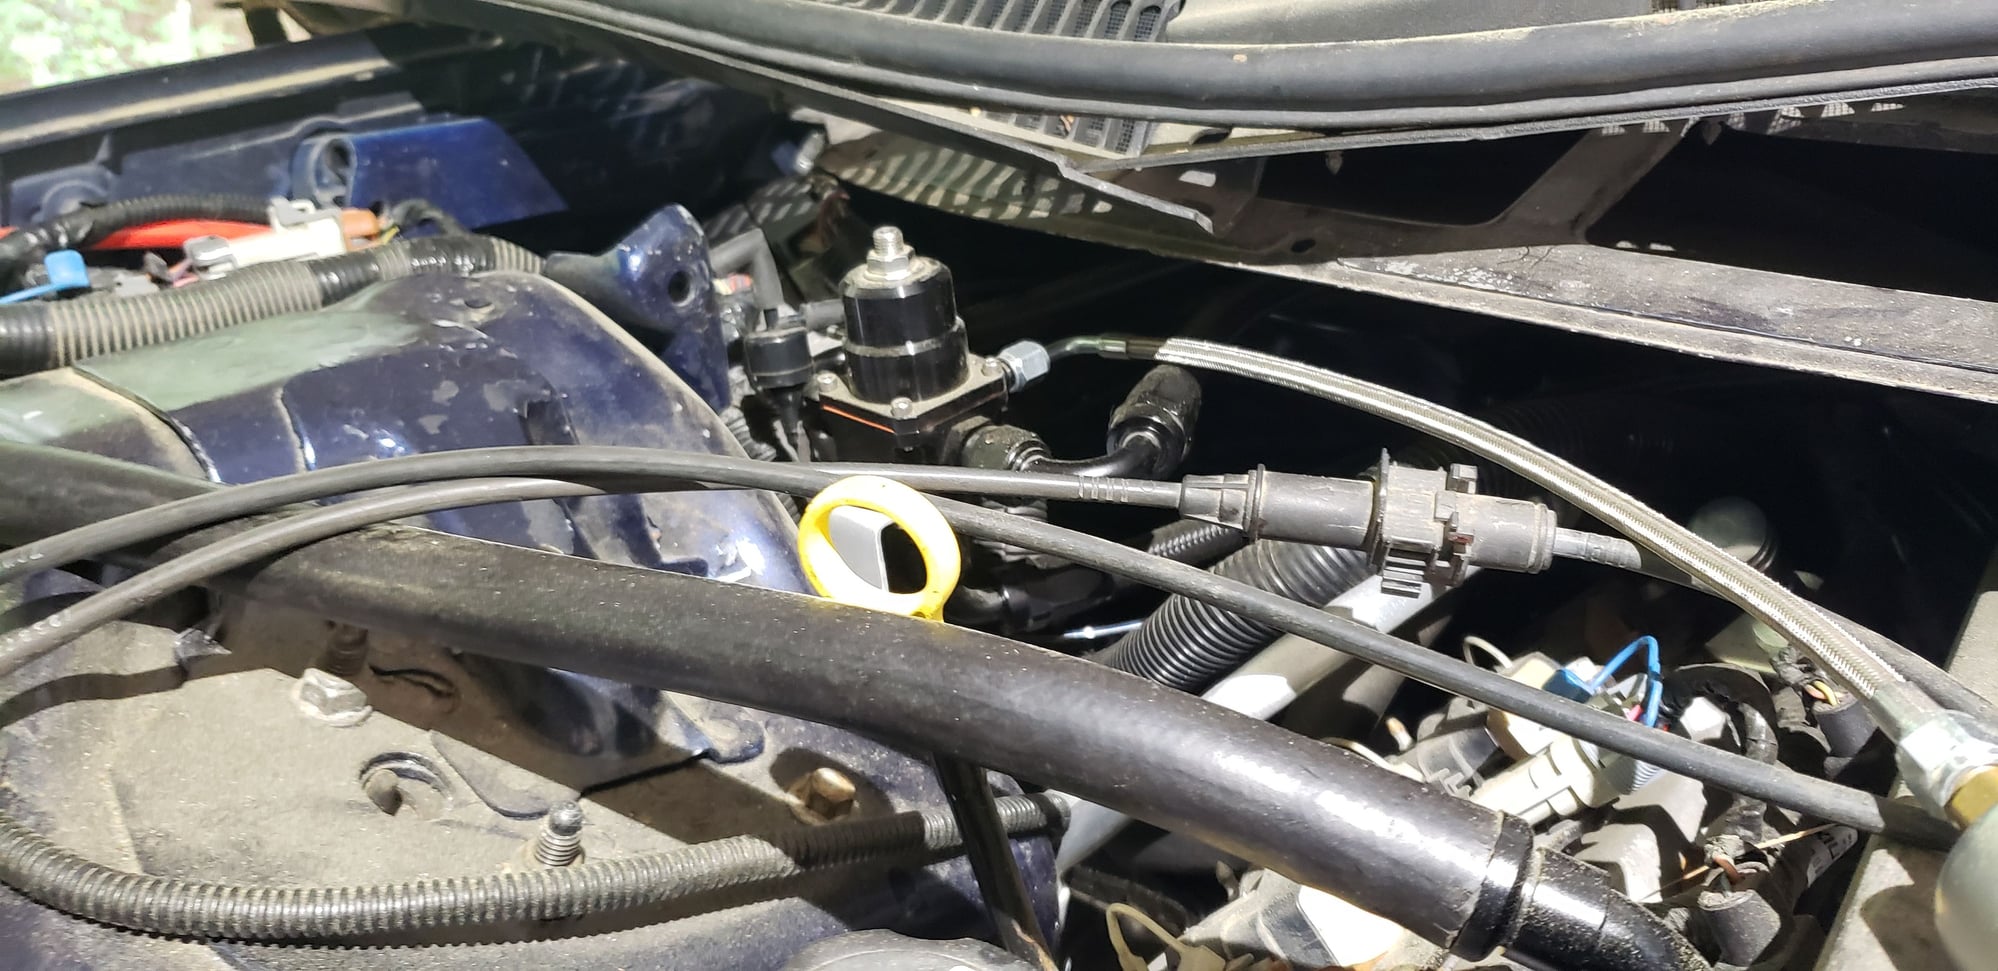
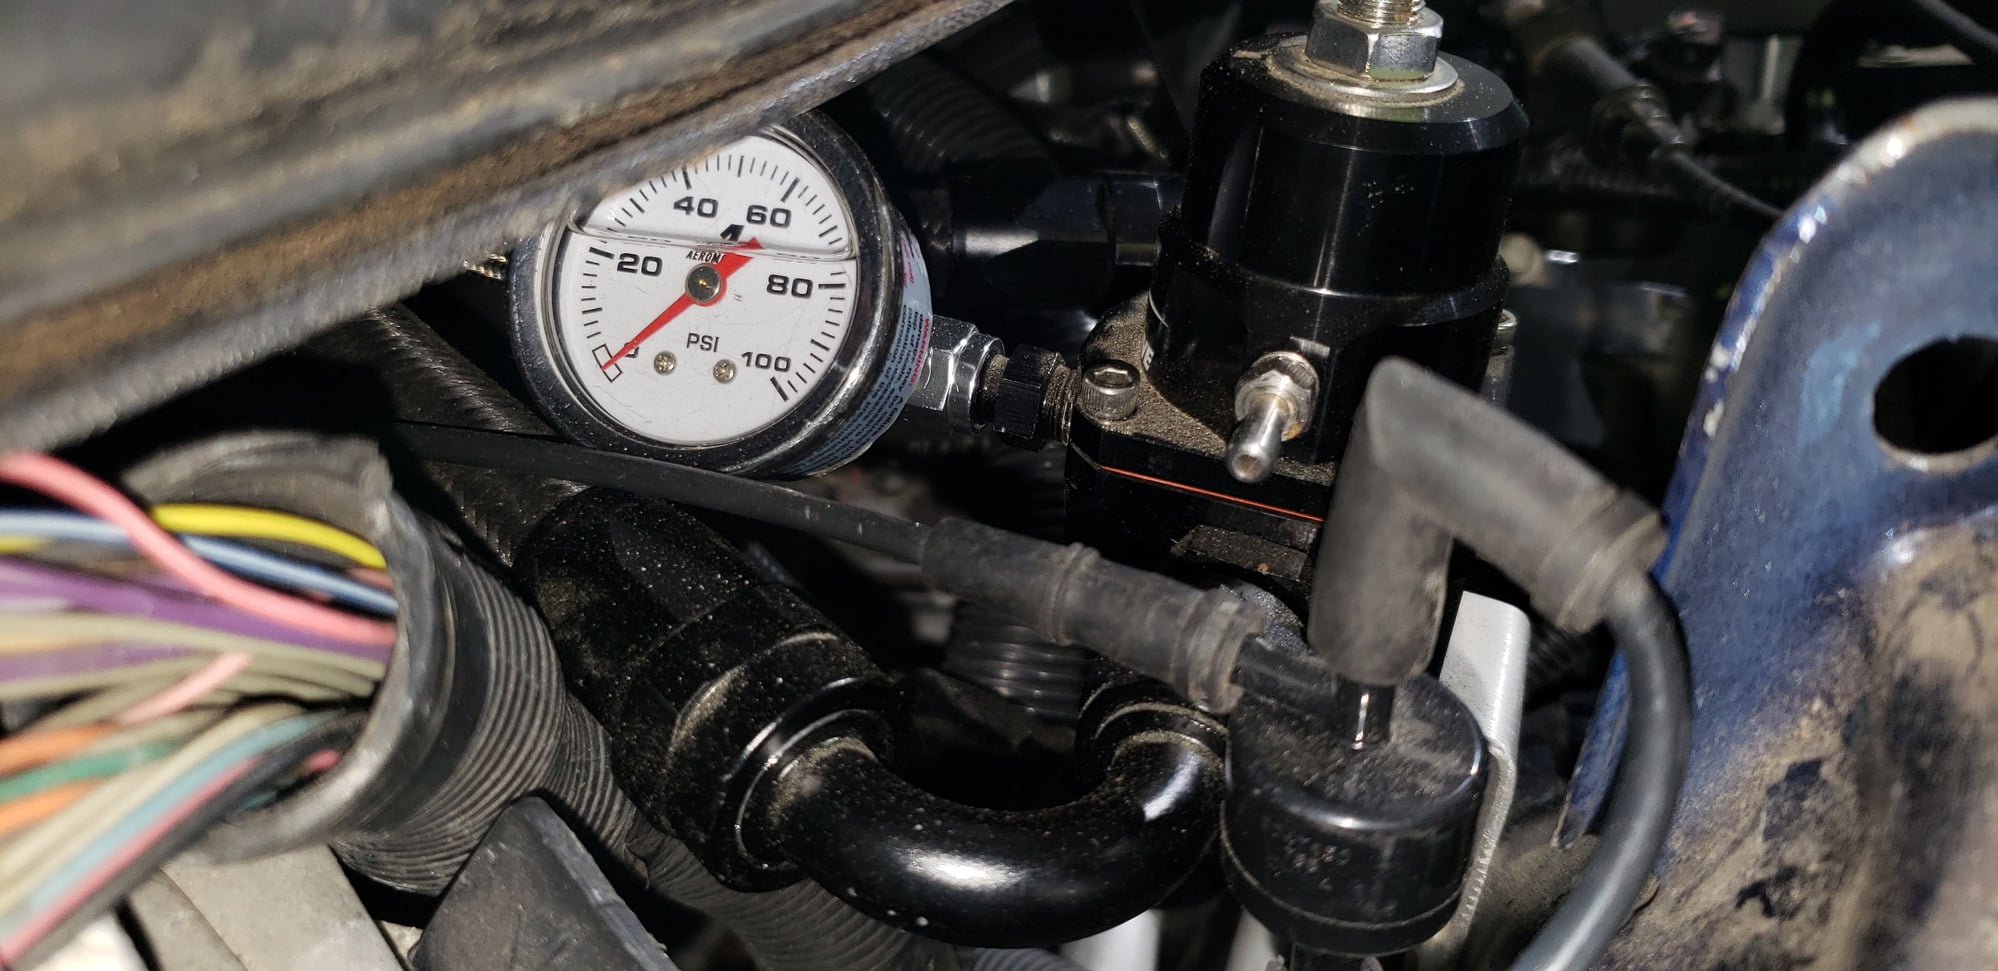
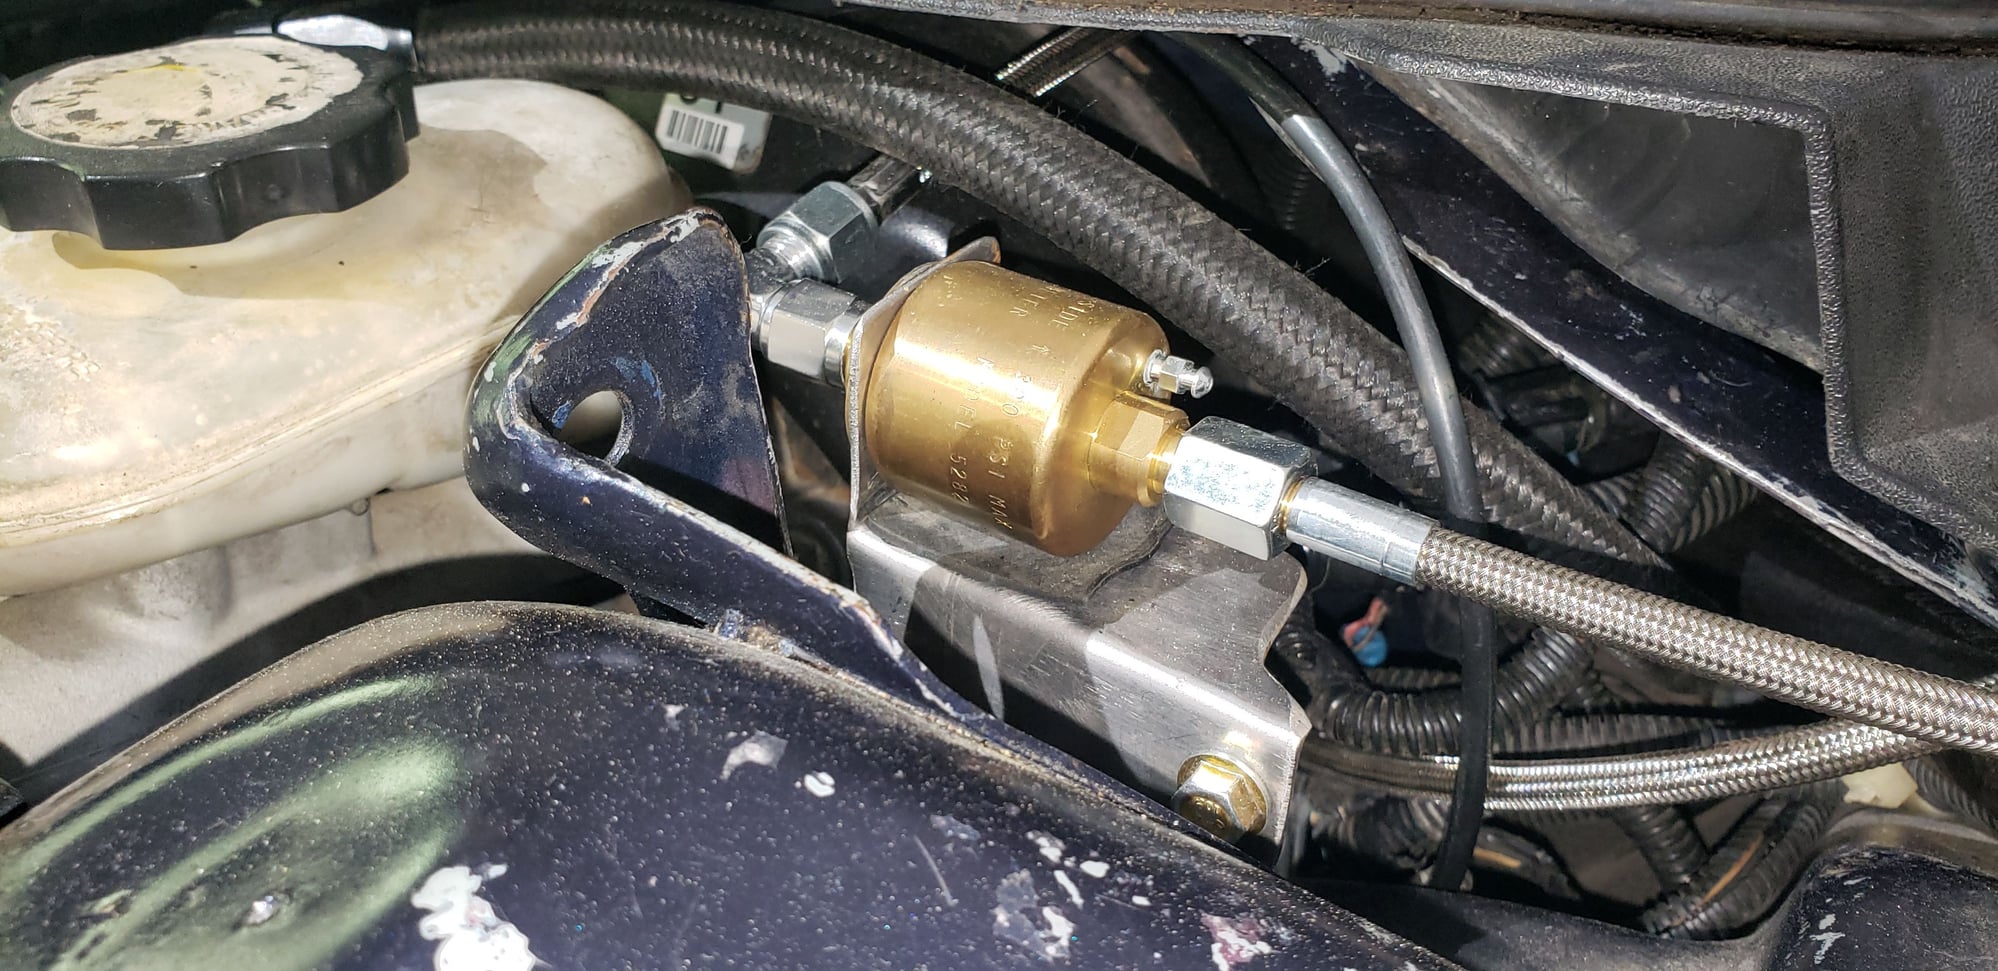
8AN feed lines enter the front of the fuel rails and exit the rear into the FPR. I'll need to get a longer feed line in order to connect to the fuel pressure isolator kit.
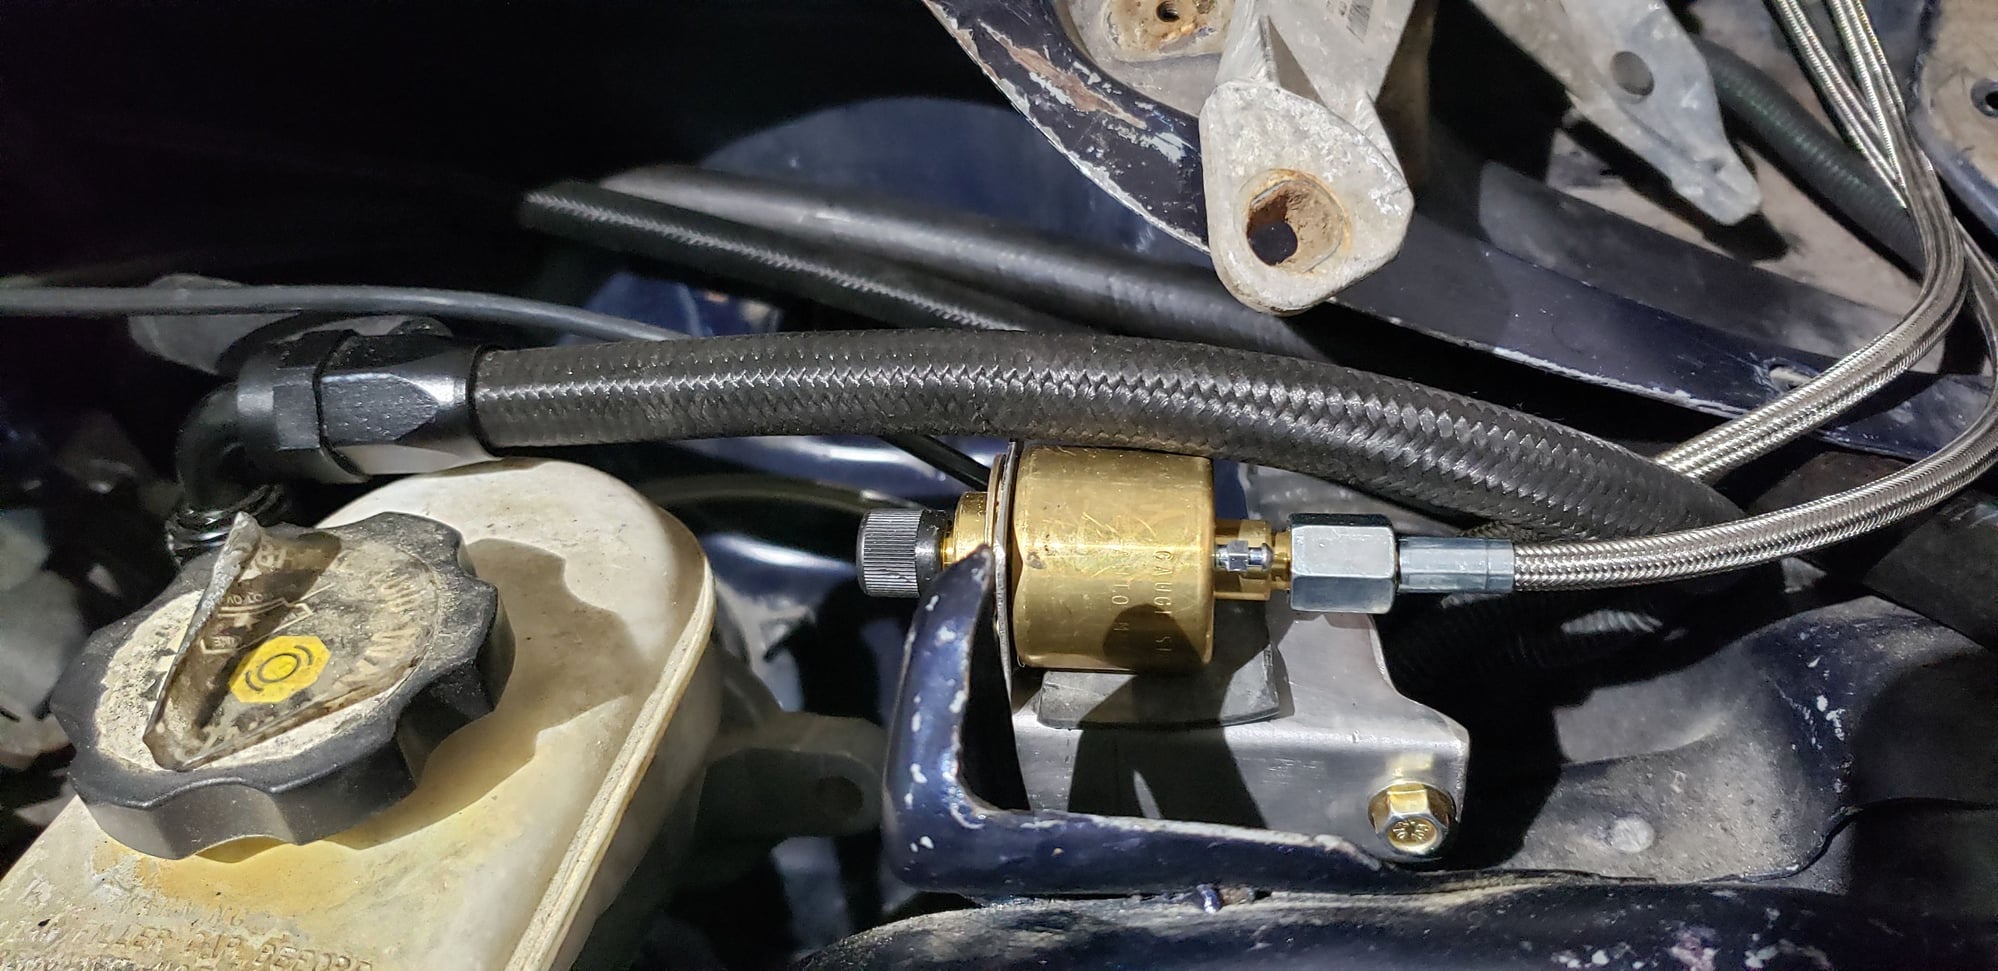
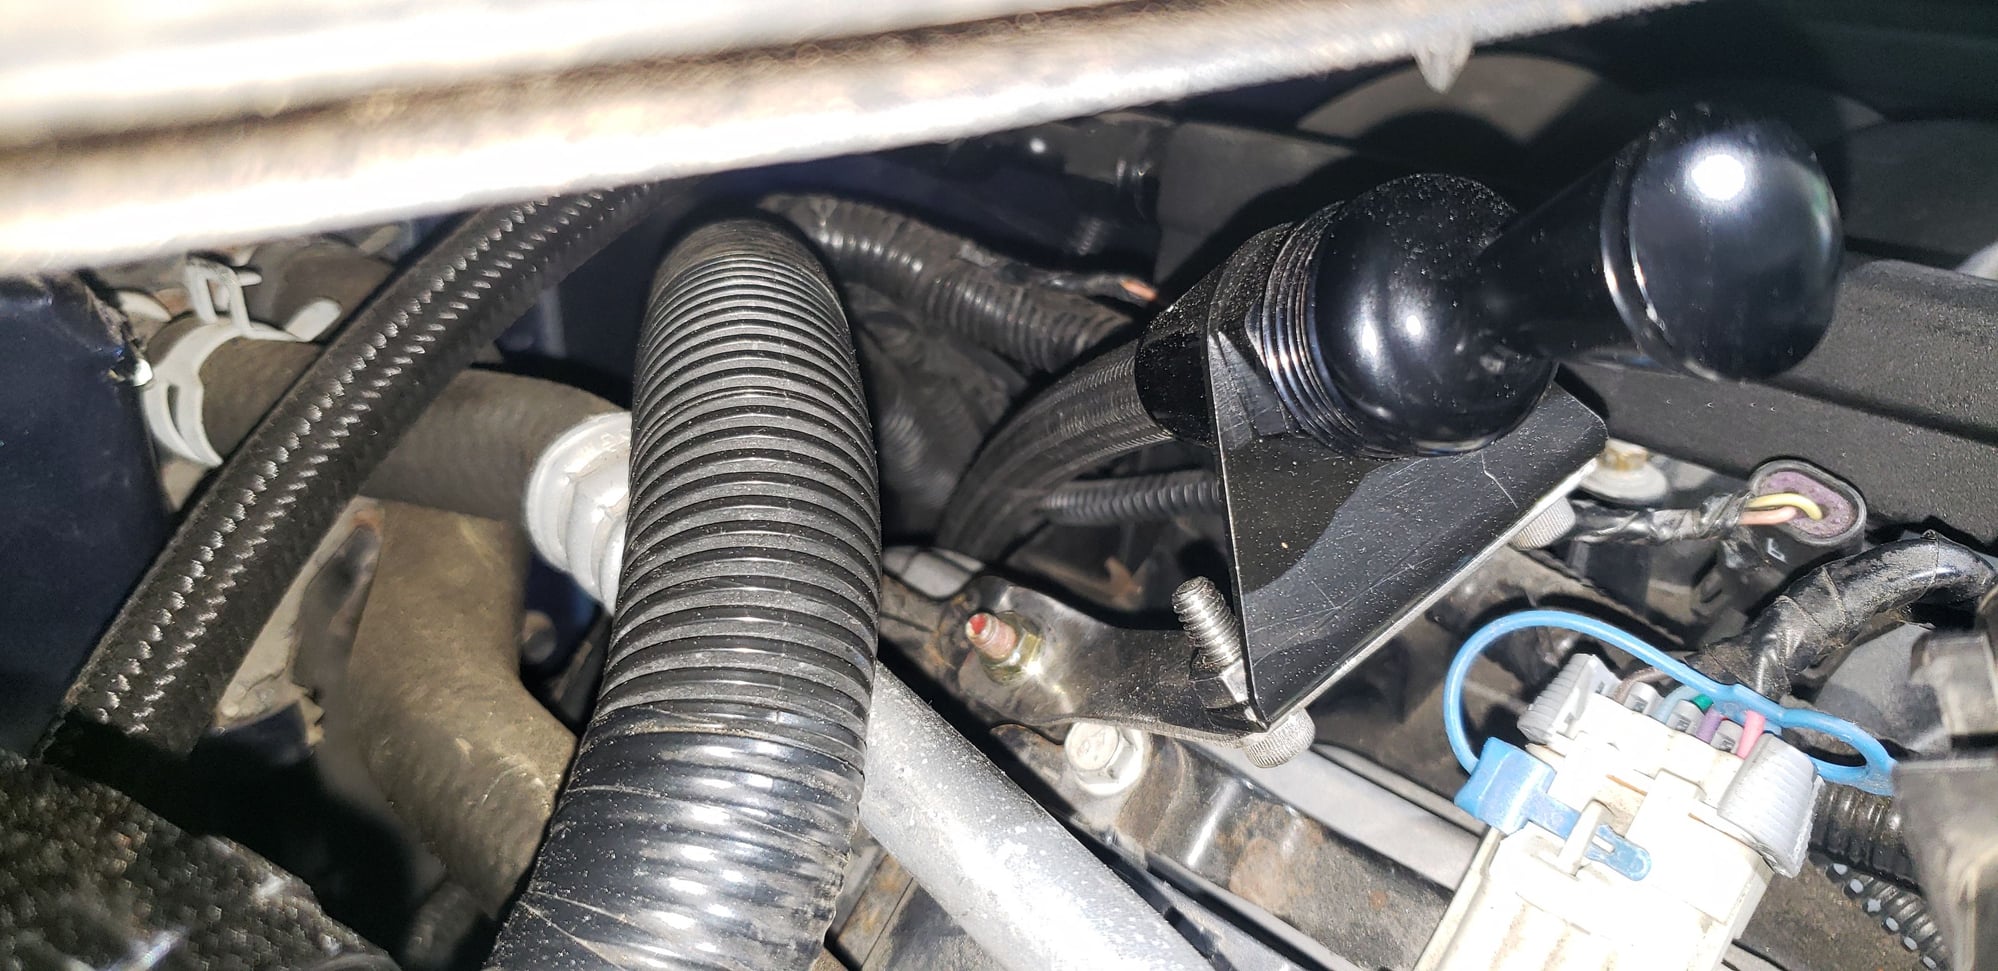
Made a bracket from some stainless steel exhaust tubing I had lying around and used the location for the clutch master cylinder as a mounting location for the fuel pressure isolator.
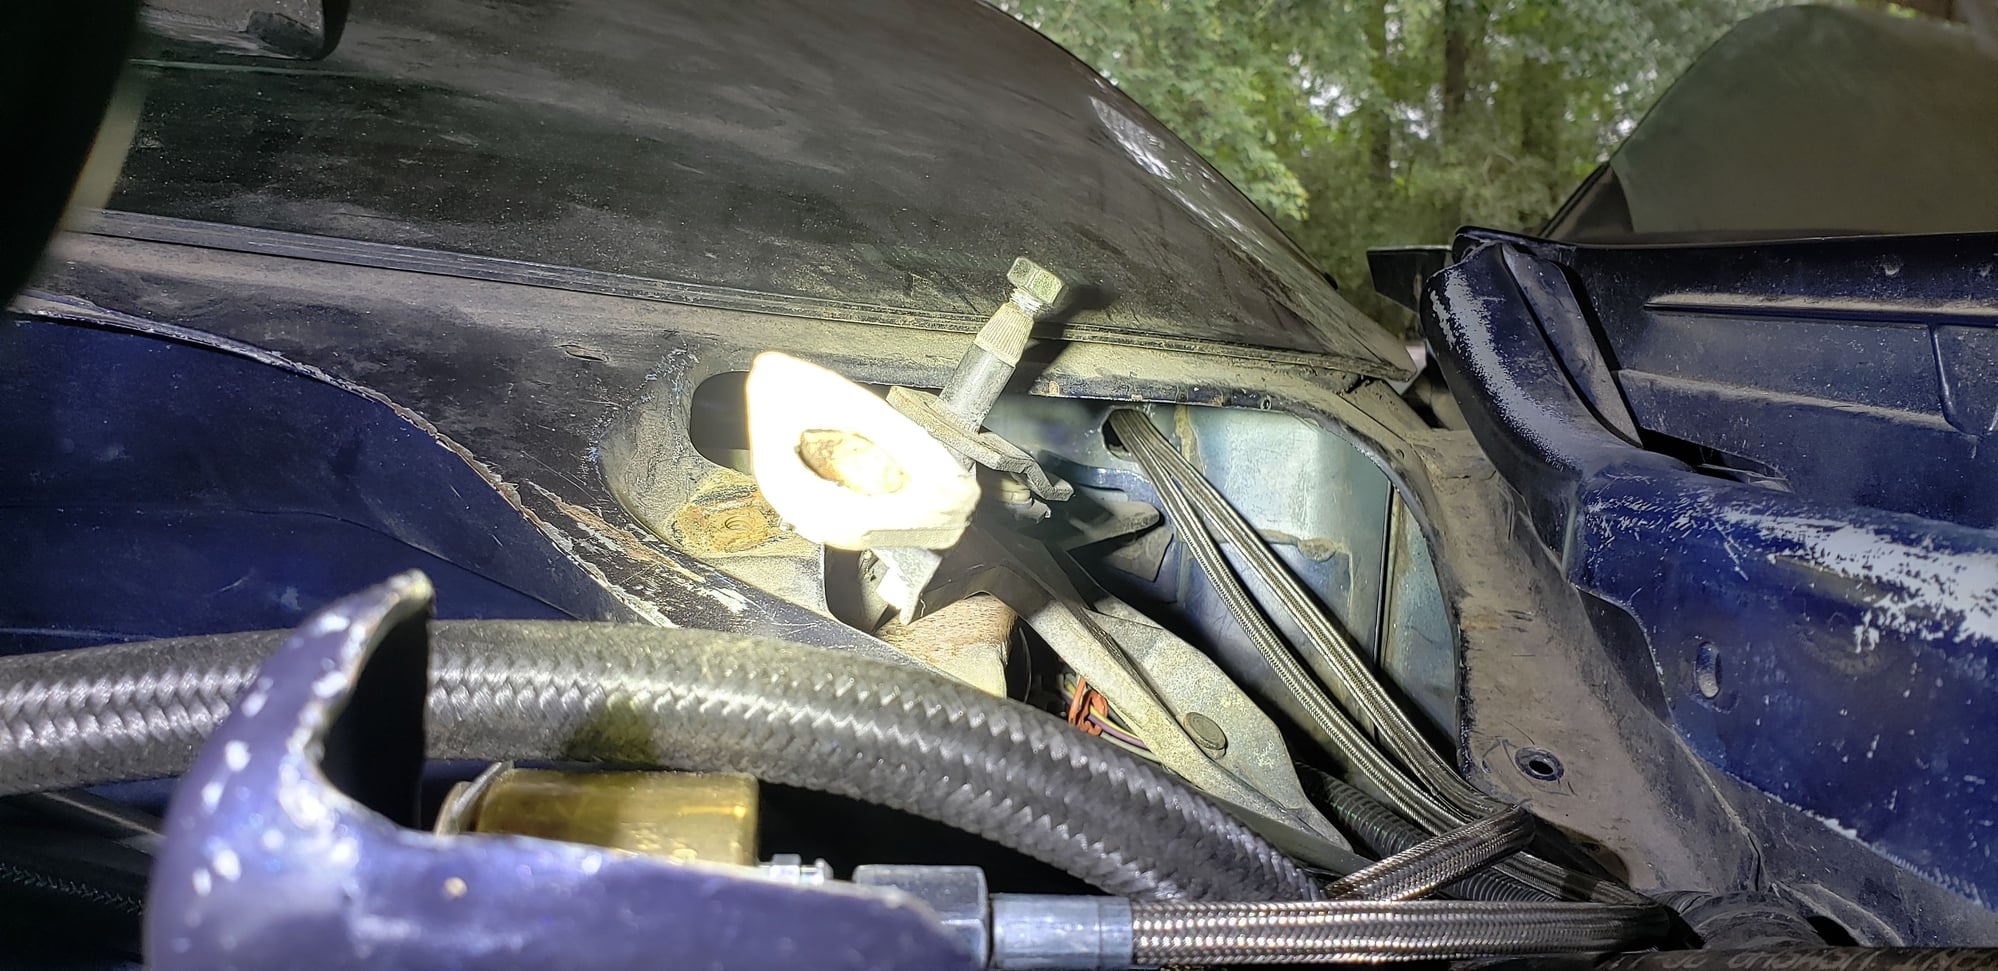
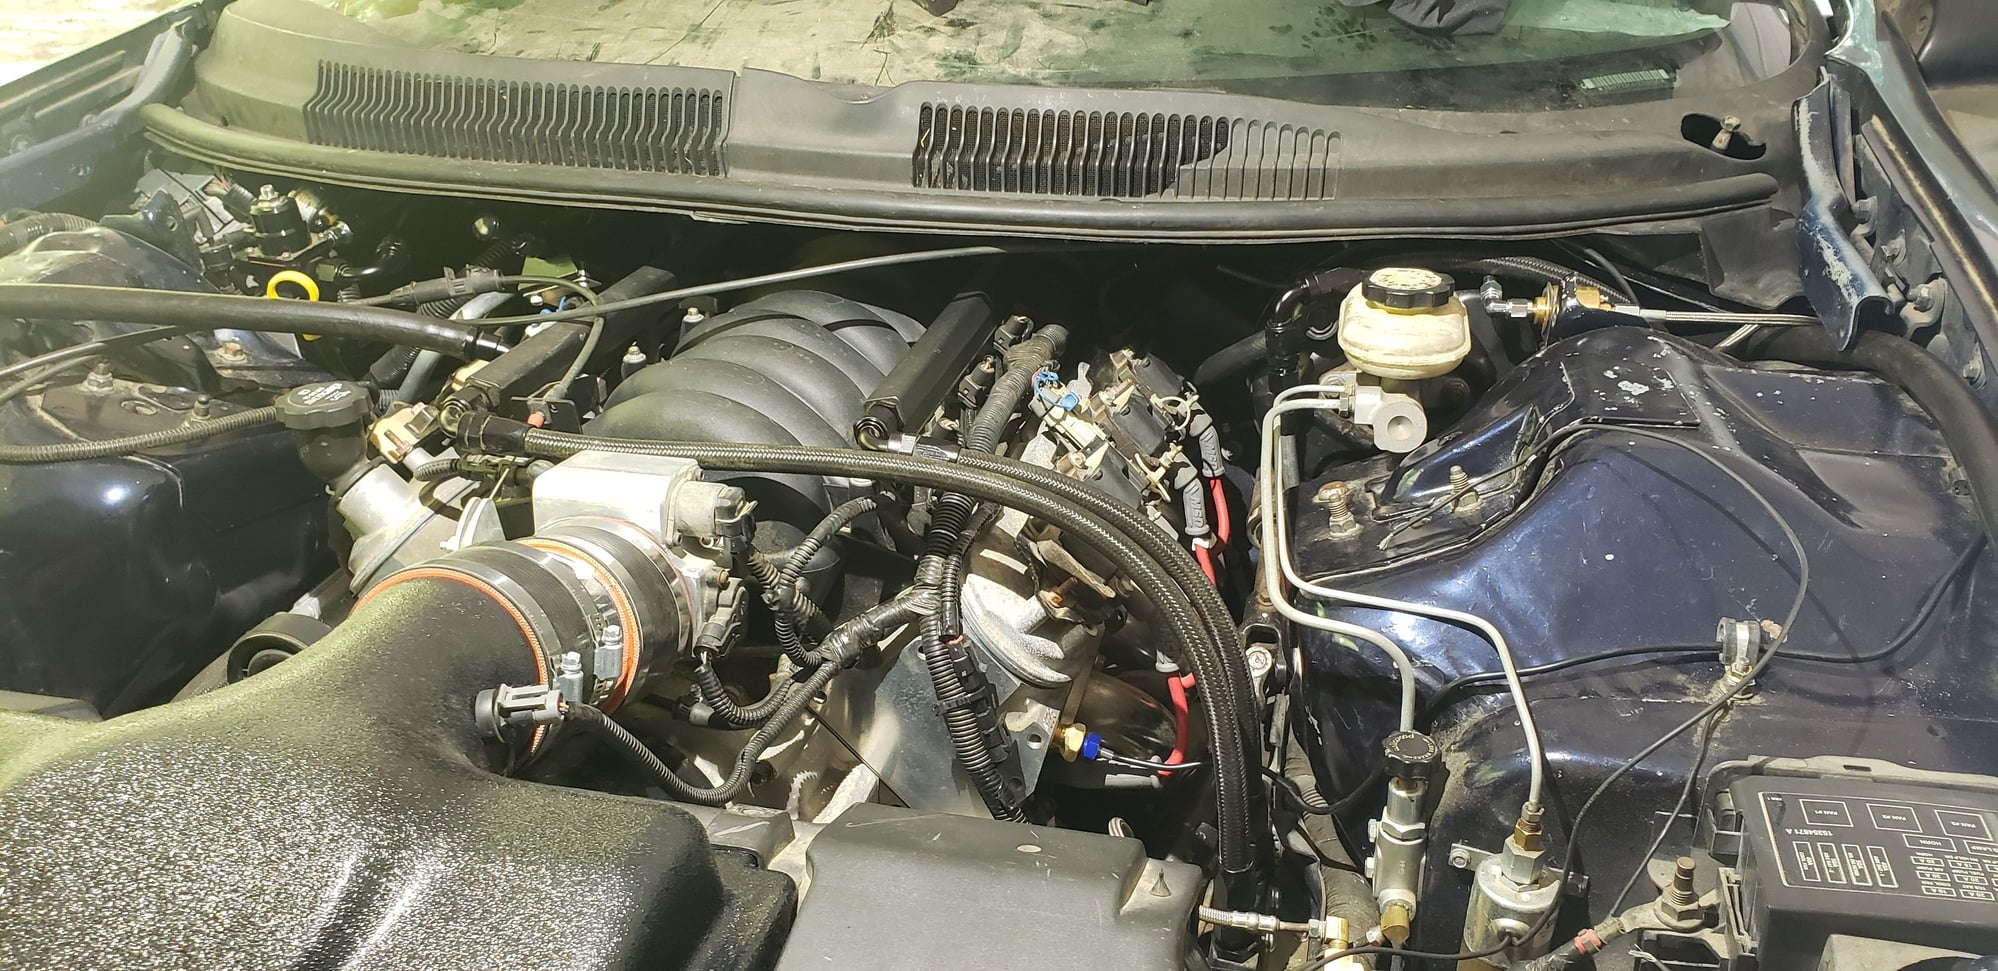
Unbolted some of the windshield wipers to gain access to drill holes through the sheet metal. Large enough to get the capilary tube for the water temperature gauge and the two 4AN braided lines.
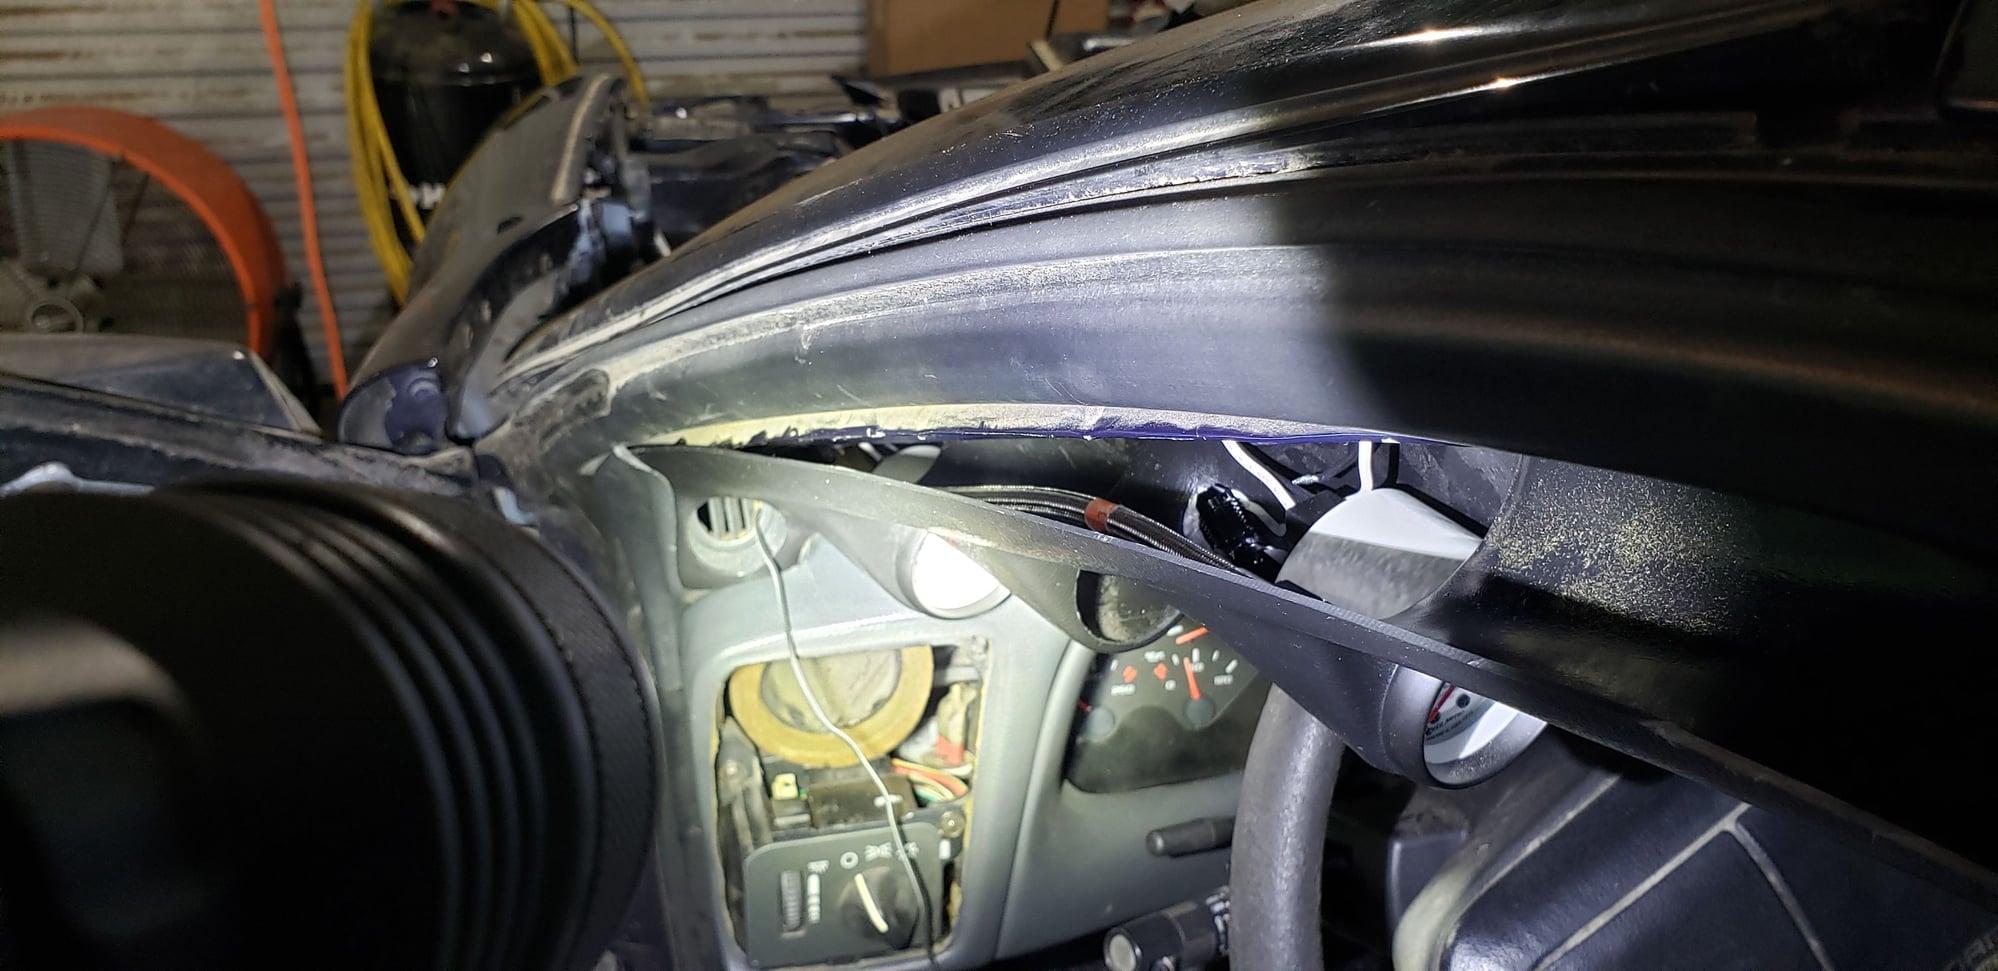
Just a mock up for now until the water temperature gauge arrives. The oil pressure gauge is connected and as you can see there's plenty of line from the isolator kit to reach the fuel pressure gauge.
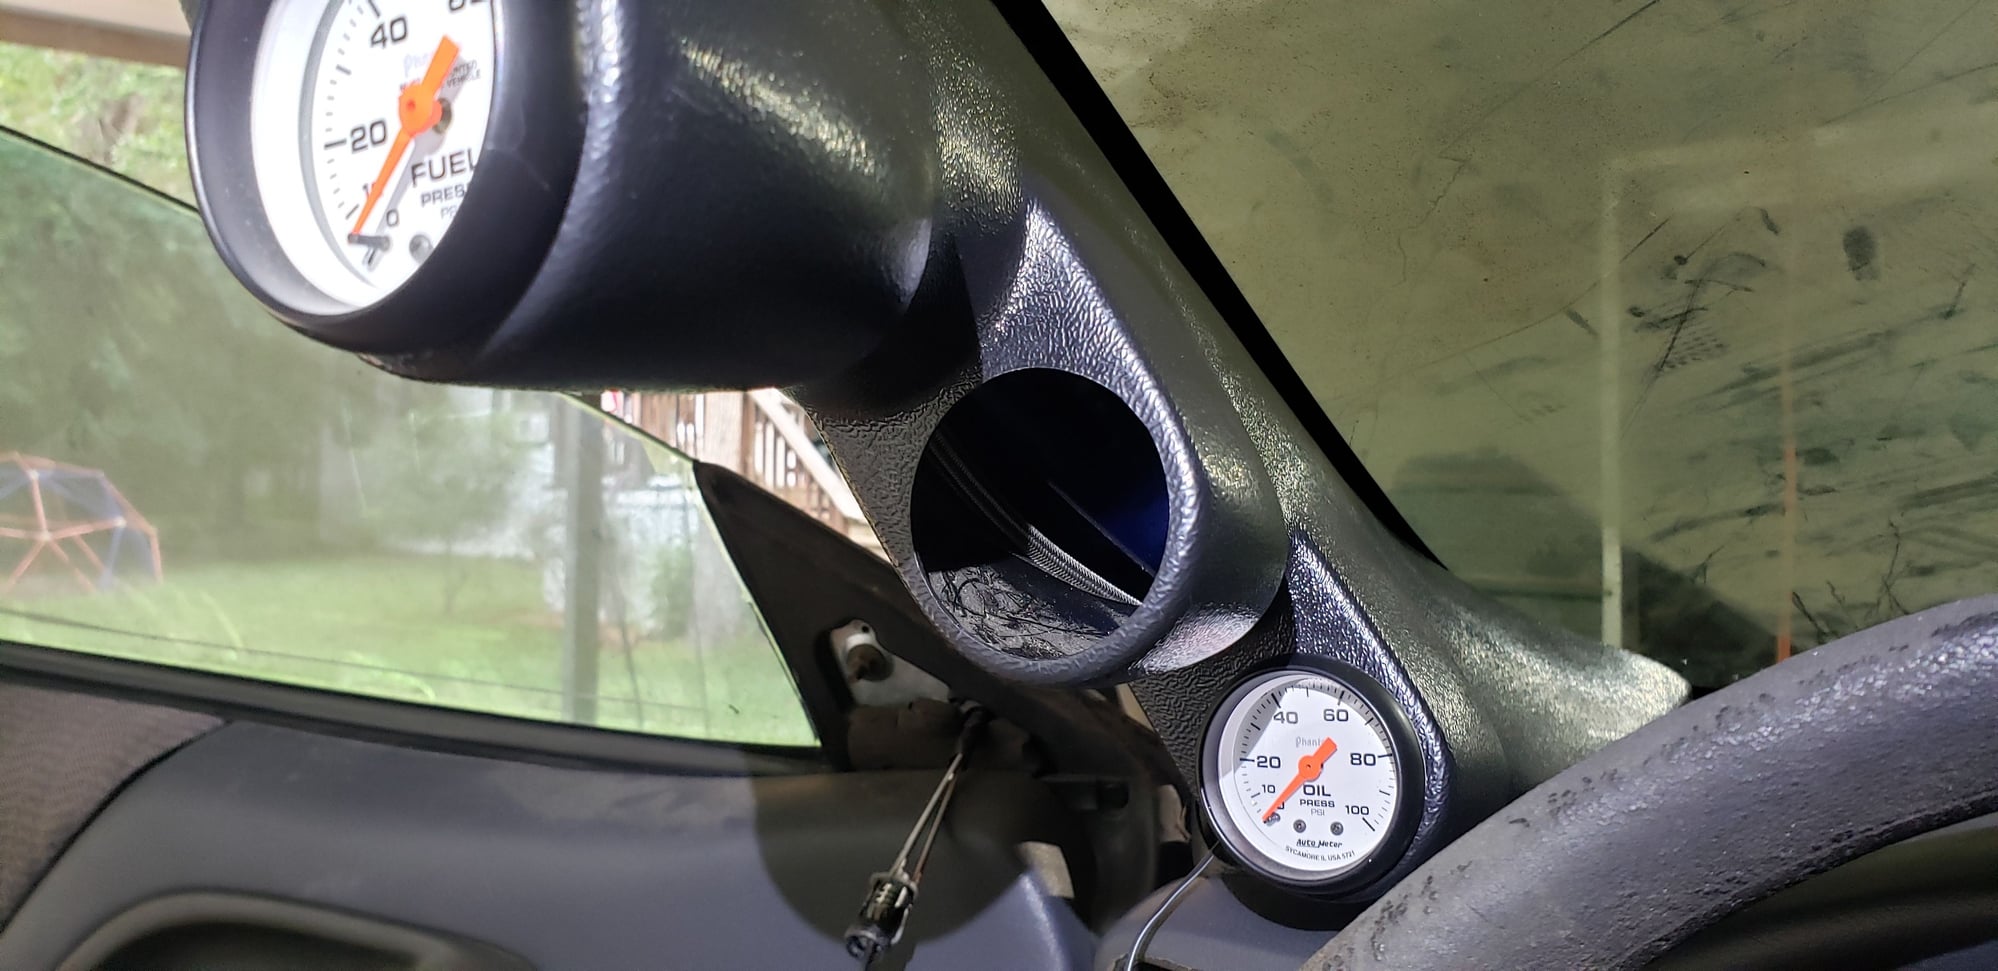
Now just to measure how long the capillary tube needs to be to reach the cylinder head. Hoping I don't have to special order one from Autometer to reach the cylinder head at the factory temp sender location.
#129
11 Second Club
Thread Starter
iTrader: (3)
#130
11 Second Club
Thread Starter
iTrader: (3)
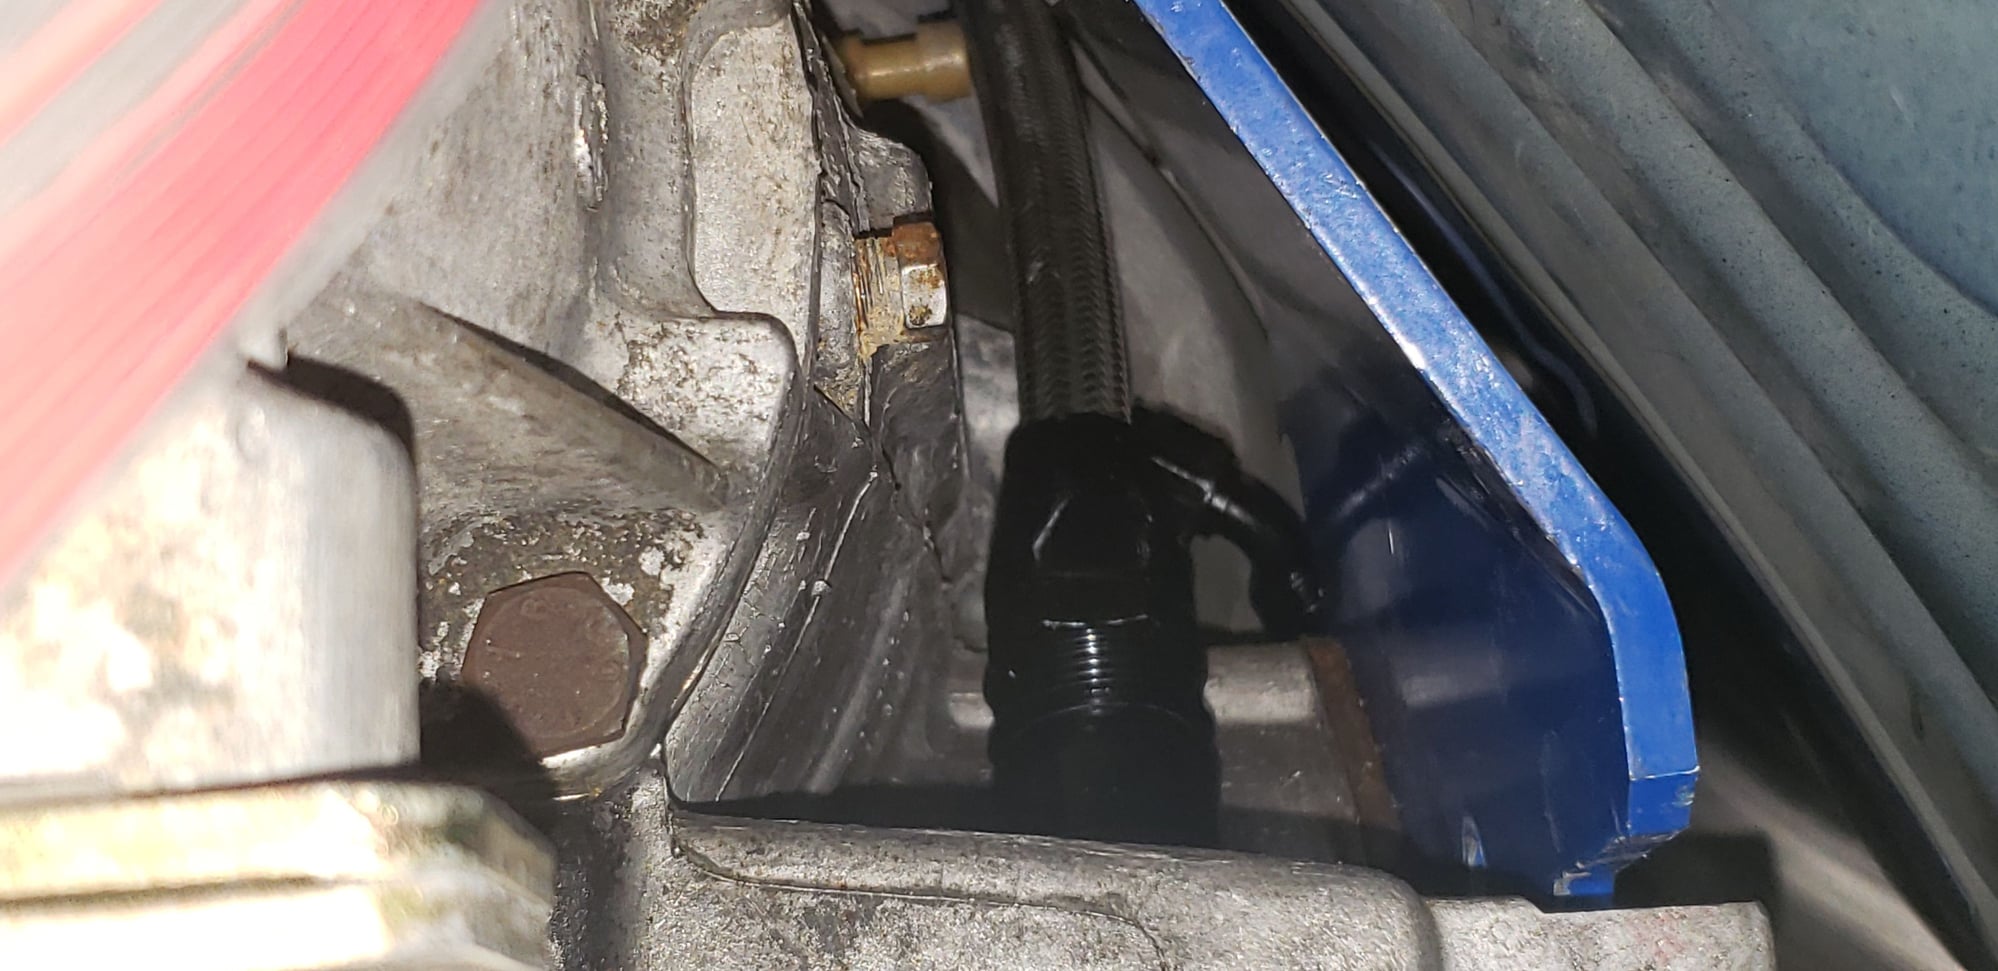
Do not like the Lokar press in style dipstick for the Powerglide. It was too short for the 4th Gen Fbody car making it hard to reach in order to add fluid and when I went to pull the stick the whole end came off the braided line... Ended up purchasing one of their locking ones which requires you to drop the pan to install it. A much nicer piece and about six inches longer which was a plus..
 It was a difficult task with the scatter shield in the way but after some cussing and walking away for awhile I managed to crawl back under there and get it connected.
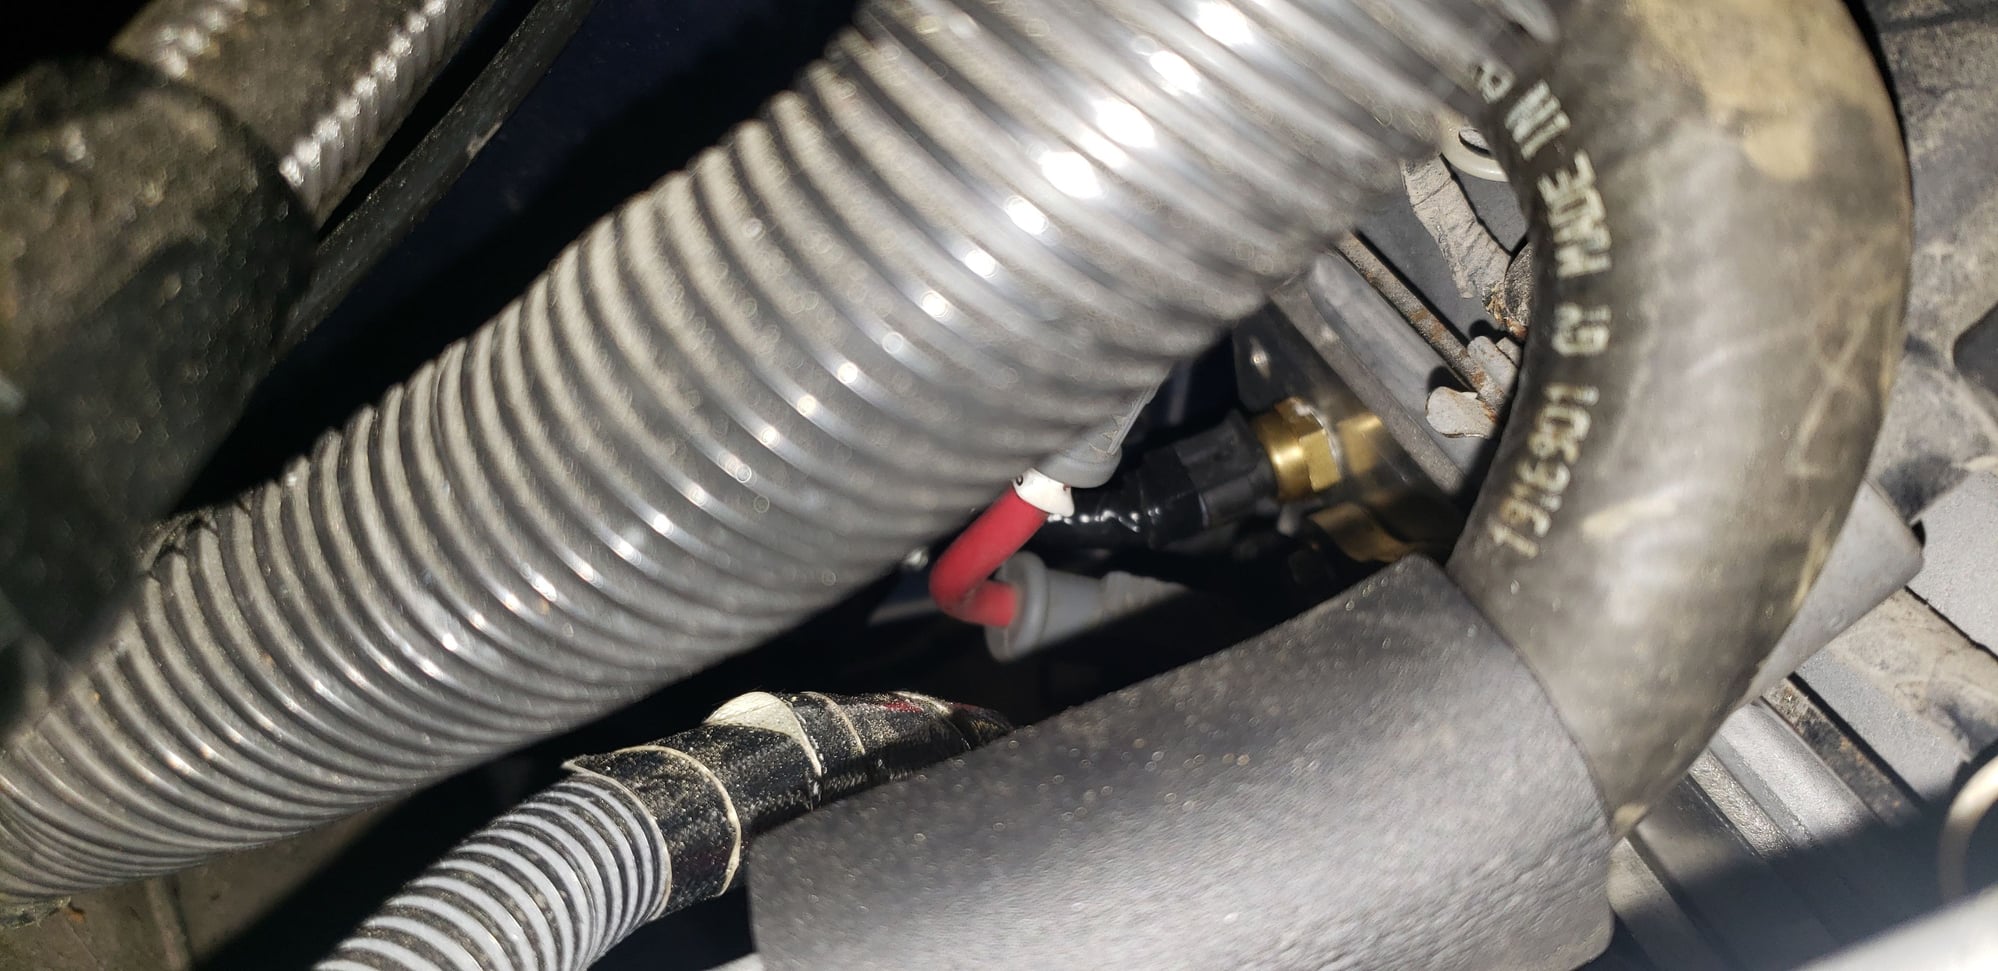
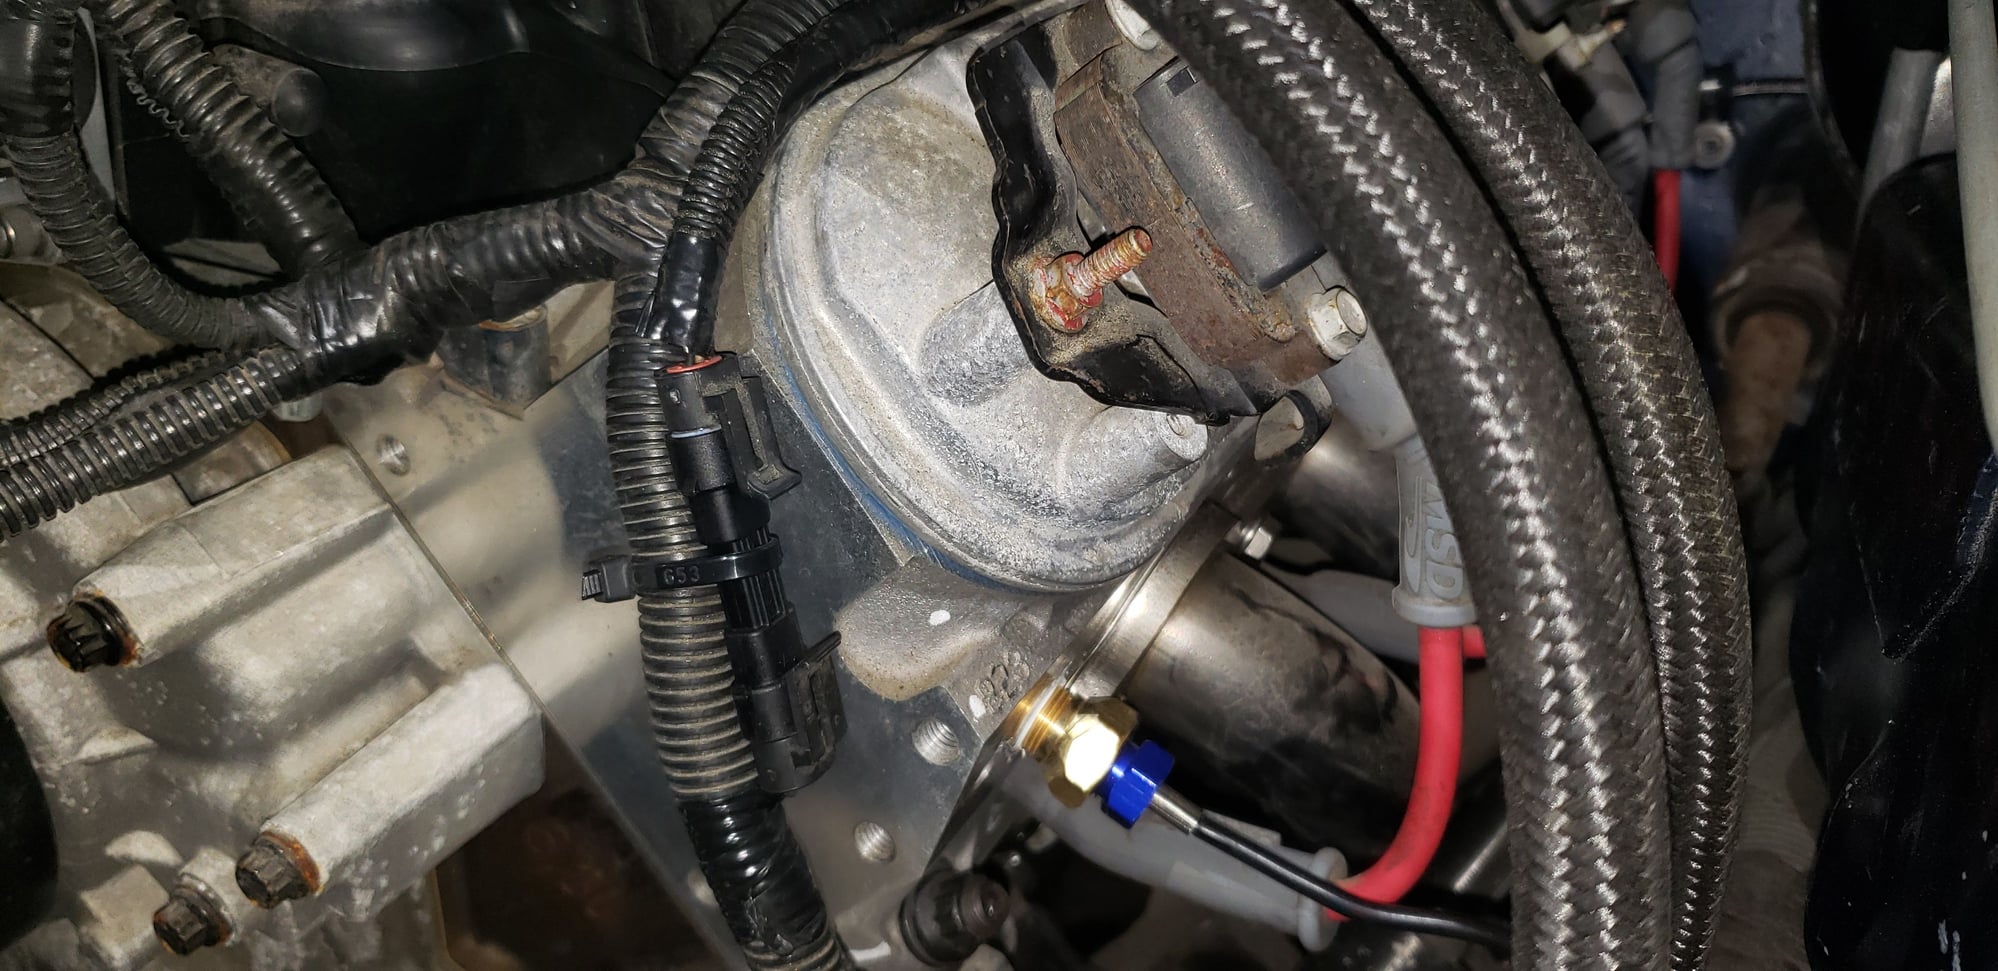
Also got around to drilling and tapping the cylinder head and installing the 3/8 NPT fitting for the mechanical water temperature gauge. The flange of the TSP 1-7/8" headers are thick so I ended up having to grind the corners of the fitting down some in order to clear the flange..Always something.. This weekend I'll get the shifter cable installed on the transmissison and determine driveshaft length so I can get one ordered but I should be starting this thing up in a few weeks.
 Ended up purchasing one of their locking ones which requires you to drop the pan to install it. A much nicer piece and about six inches longer which was a plus..
 It was a difficult task with the scatter shield in the way but after some cussing and walking away for awhile I managed to crawl back under there and get it connected.
Also got around to drilling and tapping the cylinder head and installing the 3/8 NPT fitting for the mechanical water temperature gauge. The flange of the TSP 1-7/8" headers are thick so I ended up having to grind the corners of the fitting down some in order to clear the flange..Always something.. This weekend I'll get the shifter cable installed on the transmissison and determine driveshaft length so I can get one ordered but I should be starting this thing up in a few weeks.
#131
11 Second Club
Thread Starter
iTrader: (3)
The following users liked this post:
Will_00SS (05-04-2023)
#132
11 Second Club
Thread Starter
iTrader: (3)
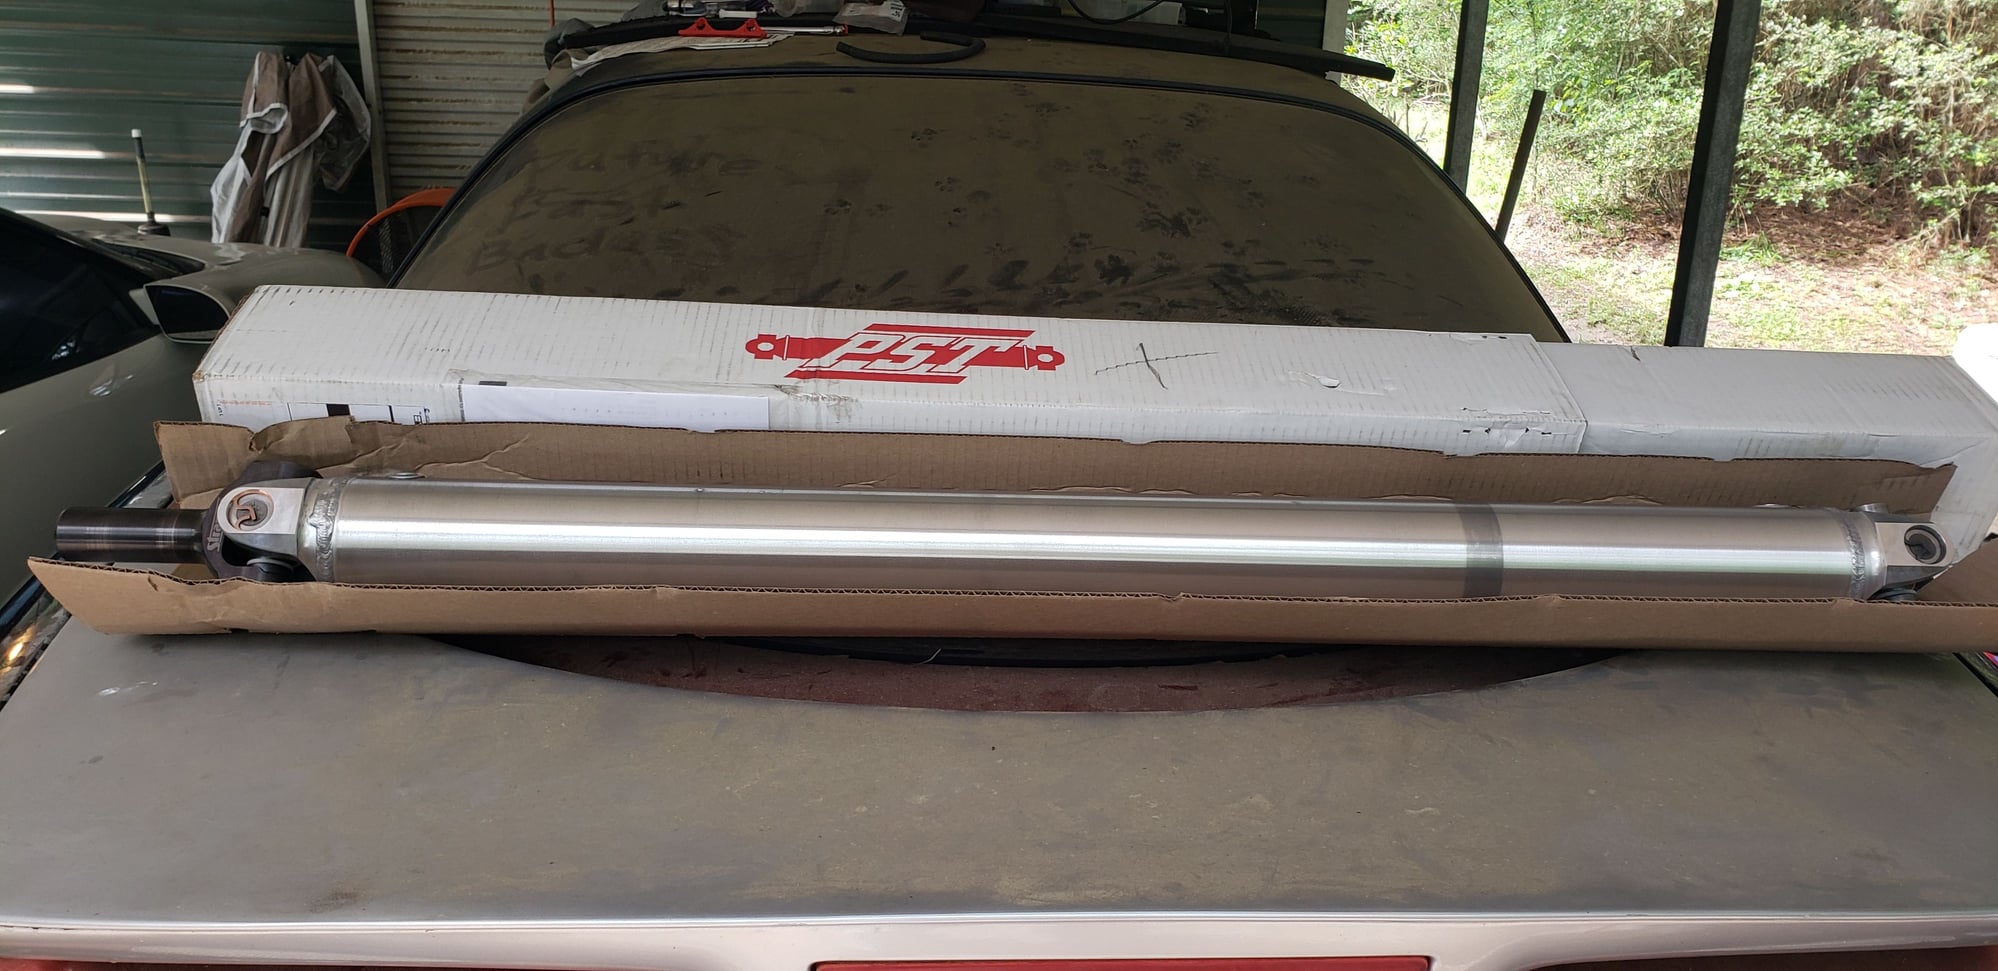
I now have a start up tune and the driveshaft will be ordered next week. Going to be nice to finally move the car after all of these years..

#133
11 Second Club
Thread Starter
iTrader: (3)
PST 3.5" aluminum shaft will be here next weekend so that's when I plan to start it up. MS109 tune for now until I get it on the dyno and if all goes well she'll be terrorizing my neighborhood soon.

#134
11 Second Club
Thread Starter
iTrader: (3)
The following users liked this post:
Will_00SS (05-10-2023)
#135
11 Second Club
Thread Starter
iTrader: (3)
The following users liked this post:
Will_00SS (05-11-2023)
#136
11 Second Club
Thread Starter
iTrader: (3)
#138
11 Second Club
Thread Starter
iTrader: (3)
I have 6 gals of MS109 in the tank and I'll be picking up another 5 tomorrow. Time to clean up around the shop and make preparations for engine start. I do plan on sharing the initial start up with the LS1Tech community and IDK about some of you but it's always a little nerve racking for me when starting up a new build.
Fingers crossed that everything goes well..
Fingers crossed that everything goes well..

#139
Launching!
I have 6 gals of MS109 in the tank and I'll be picking up another 5 tomorrow. Time to clean up around the shop and make preparations for engine start. I do plan on sharing the initial start up with the LS1Tech community and IDK about some of you but it's always a little nerve racking for me when starting up a new build.
Fingers crossed that everything goes well..
Fingers crossed that everything goes well..

That initial Start up is terrifying!
#140
11 Second Club
Thread Starter
iTrader: (3)
had a couple leaks that needed to be fixed but so far so good. More to come..


