
78 Datsun 280z-------------> 5.3 Build
 01-25-2012, 11:32 AM
#161

I hadn't planned on it, but I do plan to do a full on frame rail replacement in the future. My frame rails are solid in the engine bay, and decent the rest of the way back. Eventually i'll be replacing all of them, so I'll just wait. Plenty of Z's in worse shape with LSx's running around just fine.
 01-30-2012, 07:39 PM
#162
Here you beggars go!
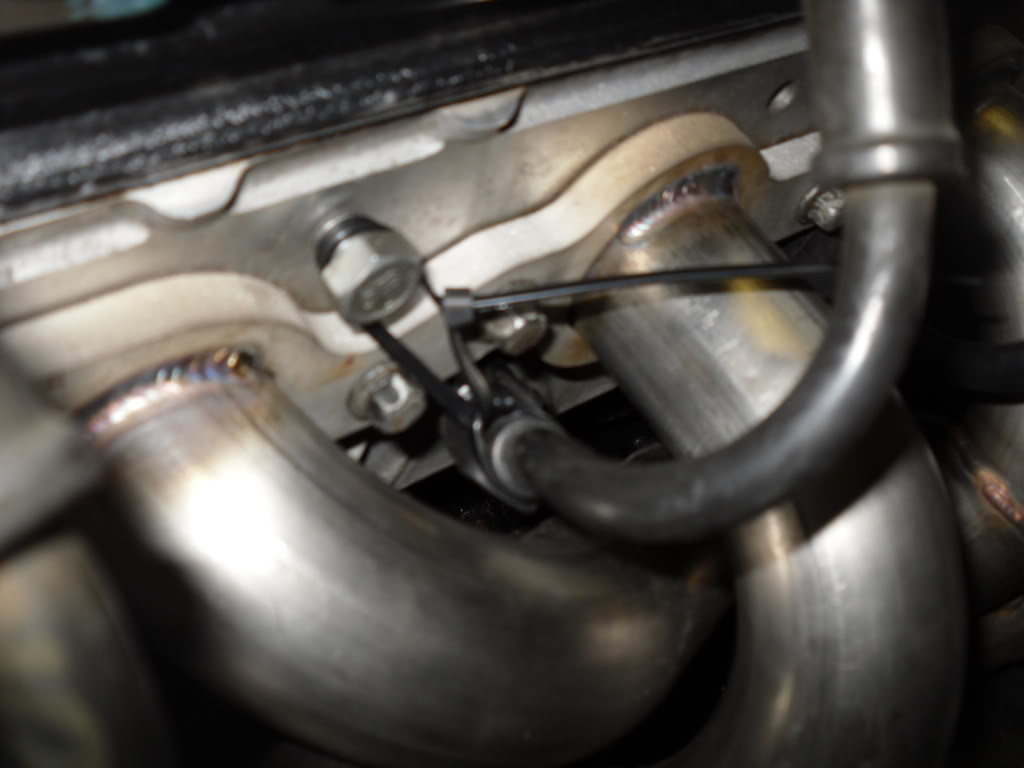
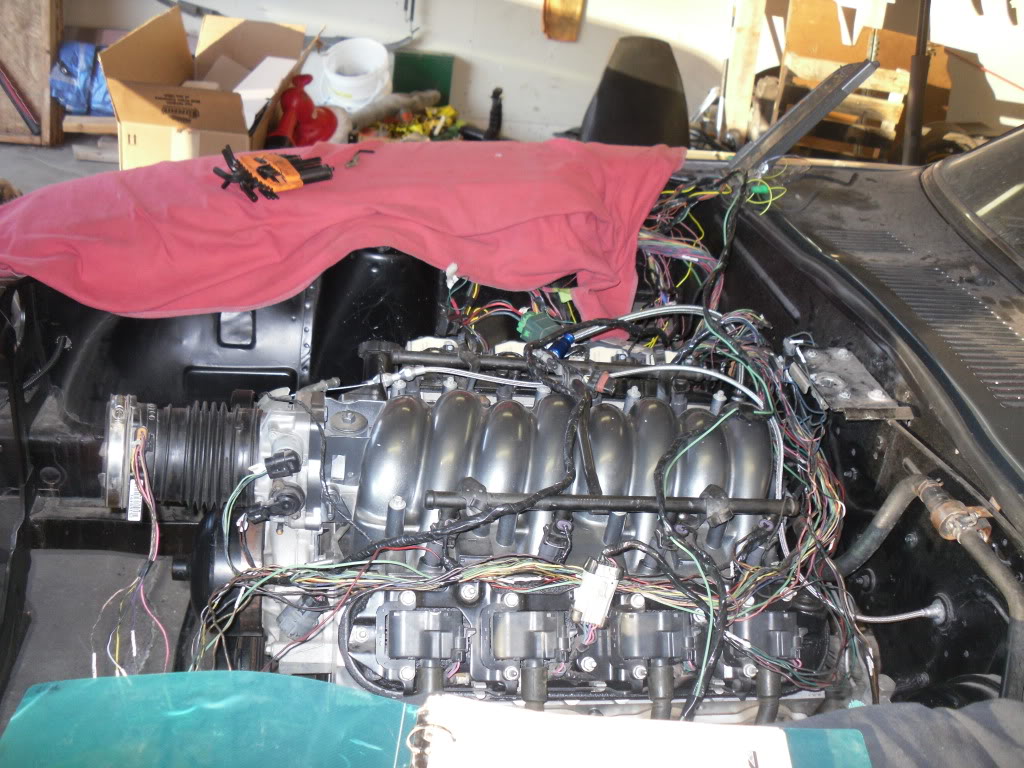
This shows where the #3 primary is quite close
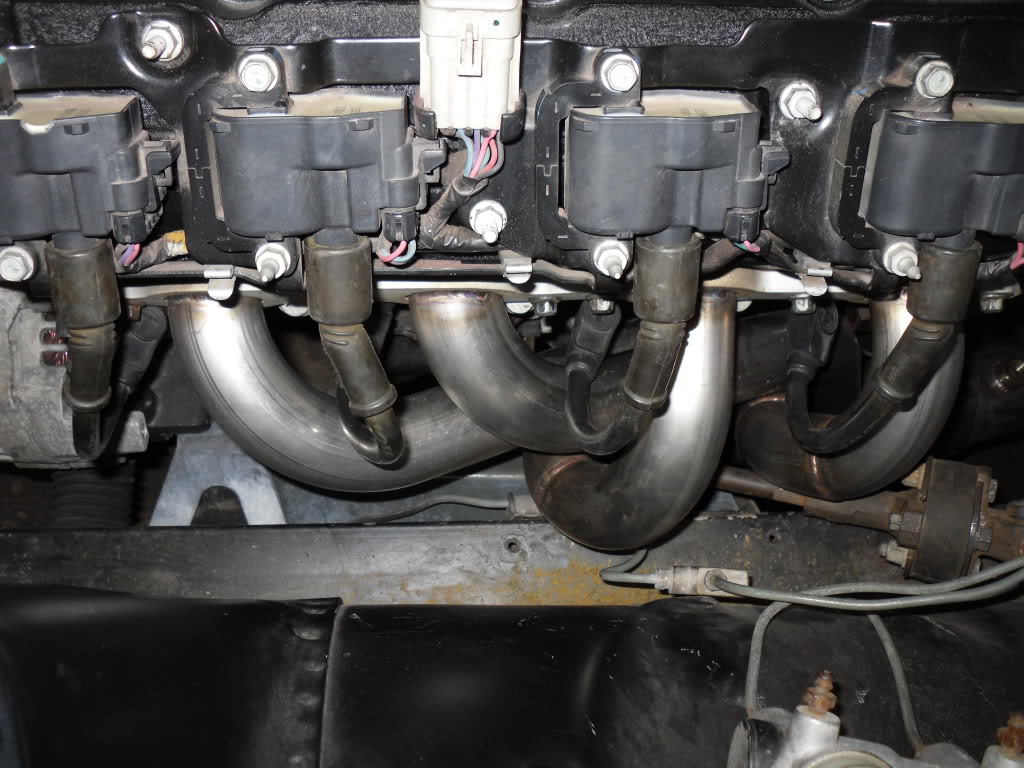
How i have it rigged for first start (NOT PERMANANT)
Passengers side

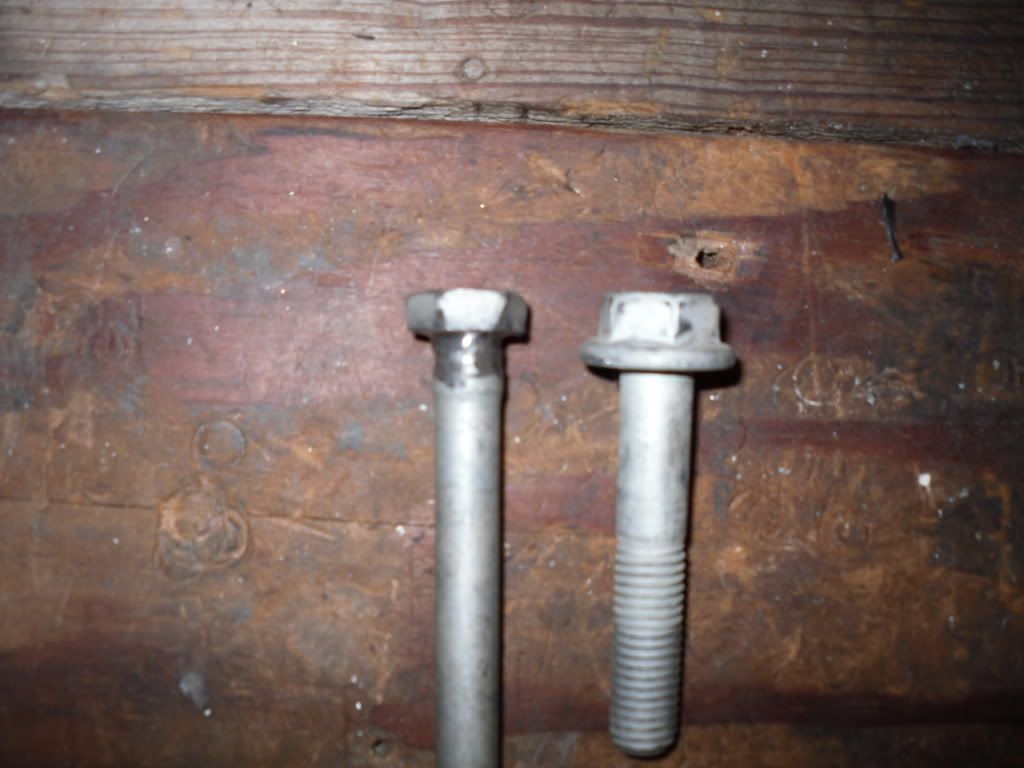
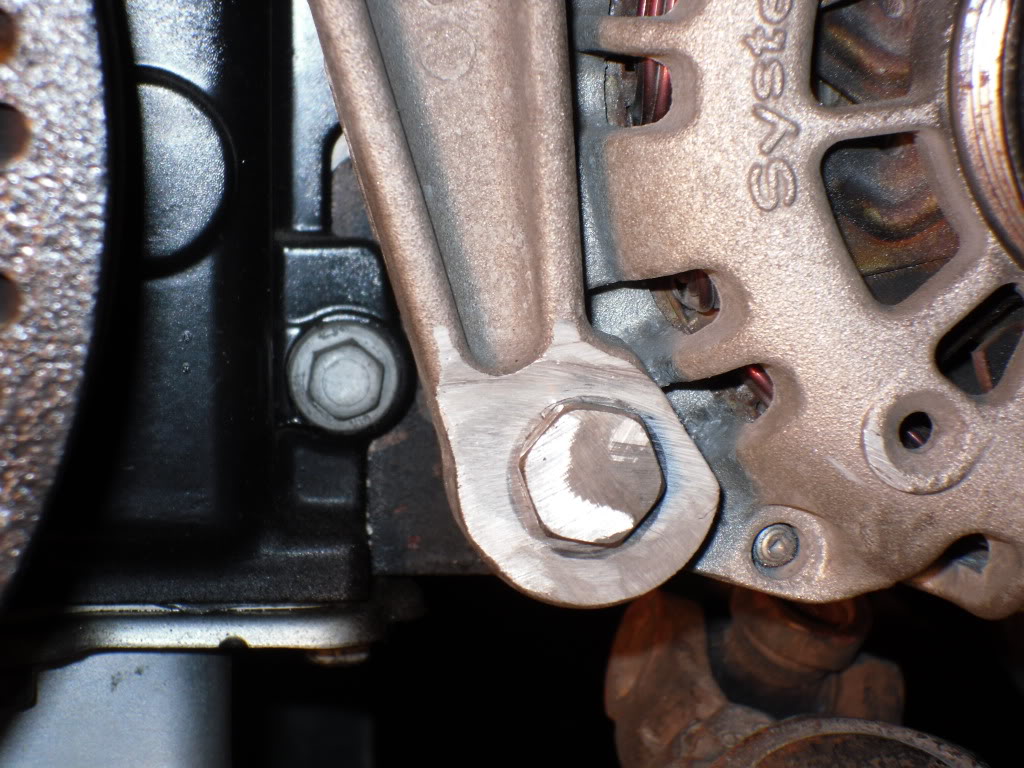
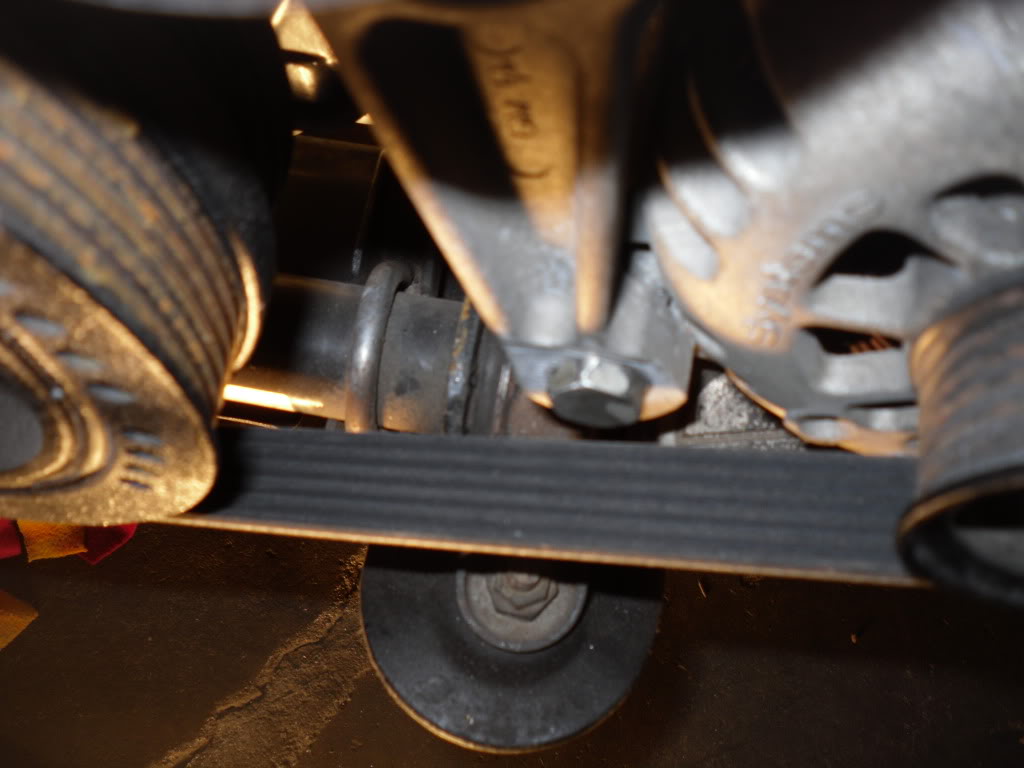
Also had to do some clearance work on a bolt to get my drive belt to fit
after- before
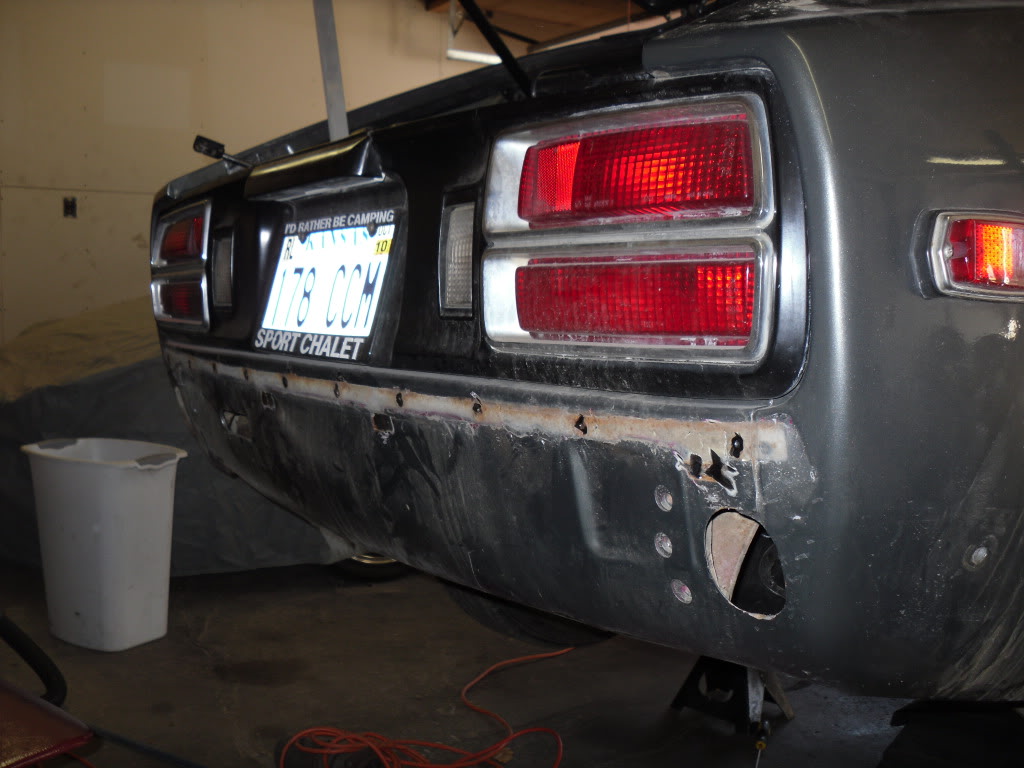
I also took that stupid little in-between the bumper and car thing off today. Gonna make this all smooth and nice eventually
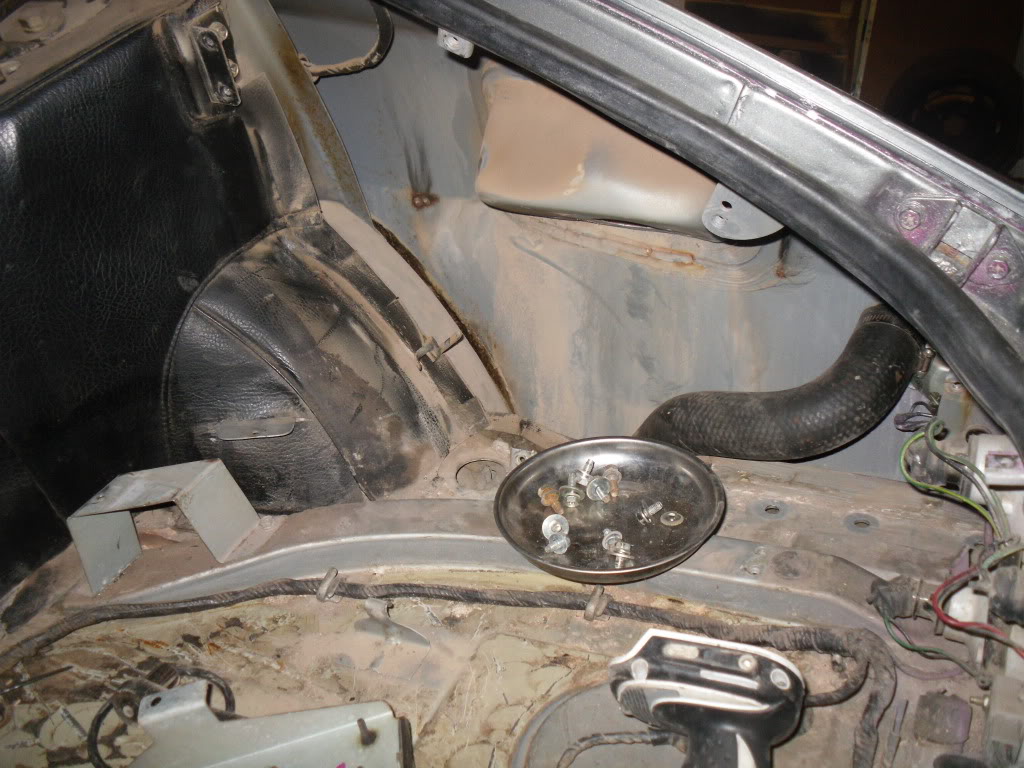
Got into this area so i can do the work on the fuel filler...
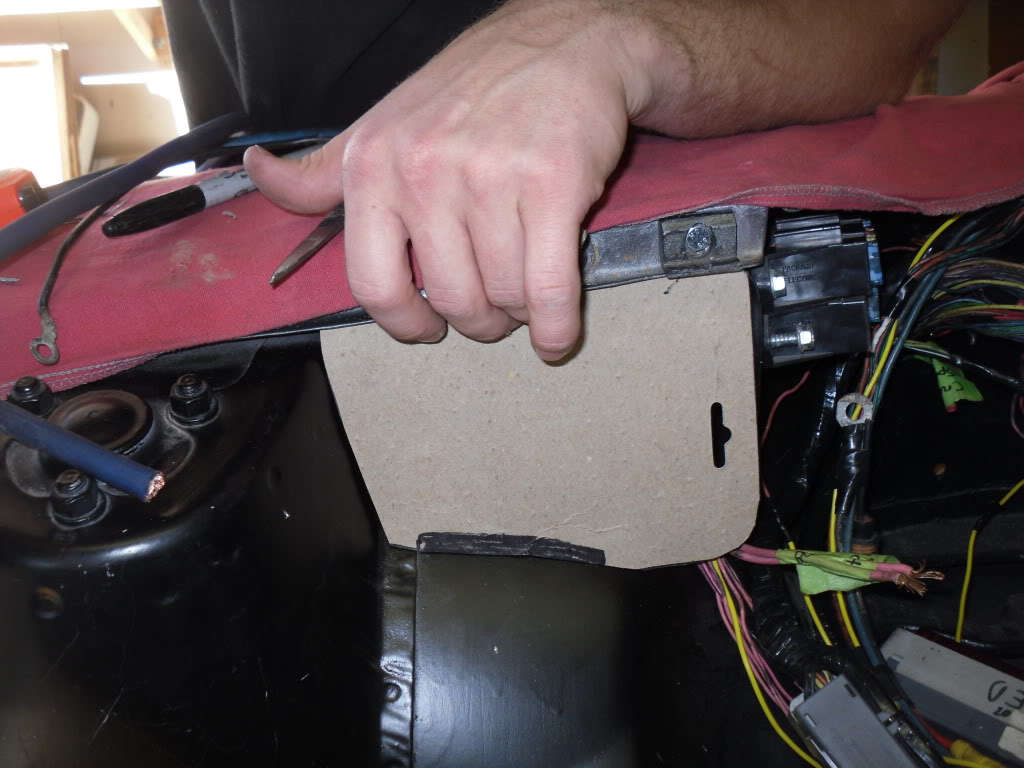
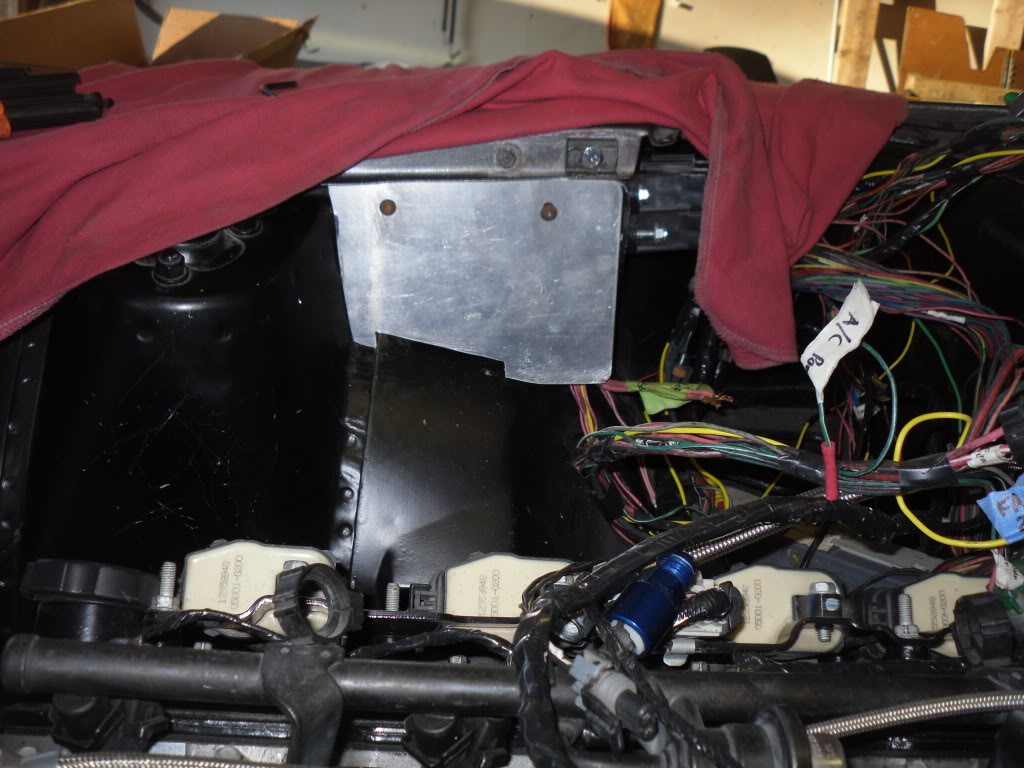
Mock up panel for relays for engine harness
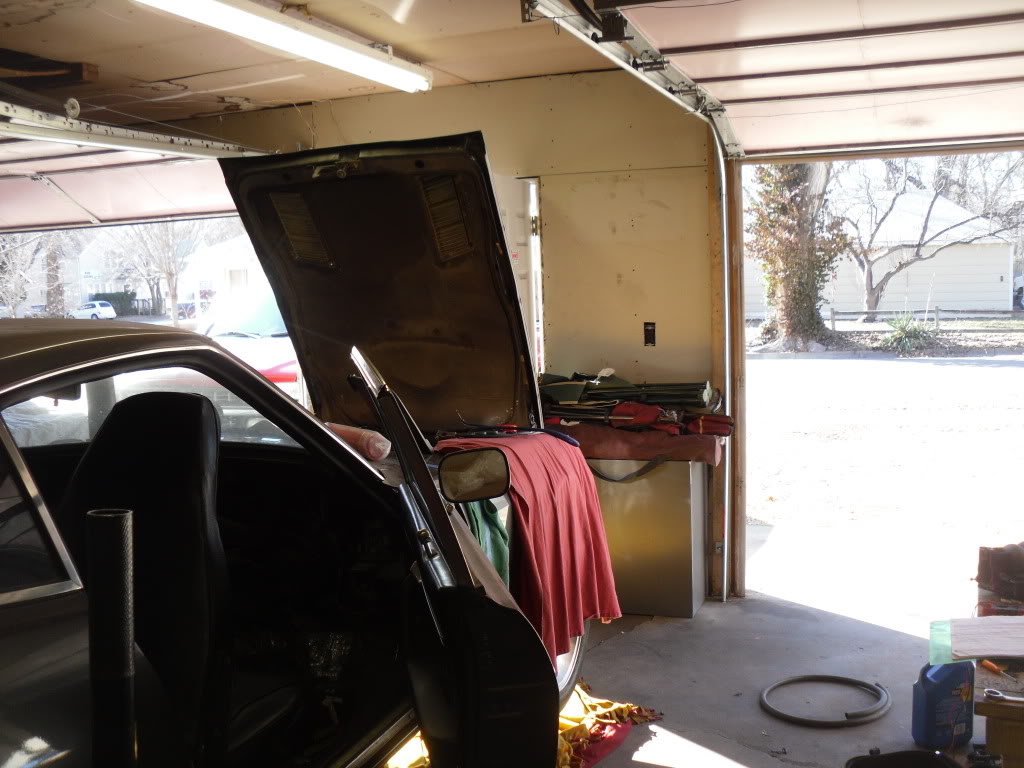
and i was doing this all with the doors WIDE OPEN. It was a marvelous 68 Degrees here today!
Vague idea of ground clearance / collector location

and some of my side projects
ls1 cam lamp

ls1 (painted like lsx) Coffee table to be

This shows where the #3 primary is quite close
How i have it rigged for first start (NOT PERMANANT)
Passengers side
Also had to do some clearance work on a bolt to get my drive belt to fit
after- before
I also took that stupid little in-between the bumper and car thing off today. Gonna make this all smooth and nice eventually
Got into this area so i can do the work on the fuel filler...
Mock up panel for relays for engine harness
and i was doing this all with the doors WIDE OPEN. It was a marvelous 68 Degrees here today!
Vague idea of ground clearance / collector location
and some of my side projects
ls1 cam lamp
ls1 (painted like lsx) Coffee table to be
01-31-2012, 05:03 AM
#163
TECH Enthusiast
iTrader: (11)
Join Date: Aug 2009
Location: Michigan
Posts: 749
Likes: 0
Received 0 Likes
on
0 Posts
lookin good!
What is that, your spark plug wire zip tied to the side for first start up? Just gonna get a boot for it, or what? Katech has some for what seems to be a decent price just for boots...
I've got a few cams laying around here too, maybe I'll have to snag your idea, haha.
What is that, your spark plug wire zip tied to the side for first start up? Just gonna get a boot for it, or what? Katech has some for what seems to be a decent price just for boots...
I've got a few cams laying around here too, maybe I'll have to snag your idea, haha.


 [/IMG]
02-01-2012, 04:58 PM
[/IMG]
02-01-2012, 04:58 PM
#168
Its for the ends only. One kit comes with two boots and two metal ends that have the ability to adjust to different angles. I put the part number for them under the pic. Its part number 3301 from MSD. I bought mine at Oreillys for around $5. They had to order them and were at the store the next day.
02-01-2012, 05:07 PM
#169
TECH Enthusiast
iTrader: (11)
Join Date: Aug 2009
Location: Michigan
Posts: 749
Likes: 0
Received 0 Likes
on
0 Posts
yeah, looks like that one on cyl. 3 in the pic still has a stock end on it??
...steepss, you plan on putting these ends onto your taylors you have in your pics, or use your OE wires or something?
...steepss, you plan on putting these ends onto your taylors you have in your pics, or use your OE wires or something?
02-02-2012, 02:10 PM
#171
Well the mufflers and 3 bolt flanges showed up yesterday, and the mandrel bend builder kit should be here monday. I also ordered the remainder of the wiring, which should be here either tomorrow or monday. I also ordered a full poly bushing kit ($$$), which will be in around wednesday. In the meantime, I'm going to pay a good friend of mine a visit this weekend to tear down the the t56 and learn to rebuild them myself. I also completed the above mentioned relay panel in aluminum, which i'll post pics of later. Thas all for today!
02-05-2012, 07:01 PM
#172
Well I spent the afternoon, and the first quarter of the game at the shop. oops lol
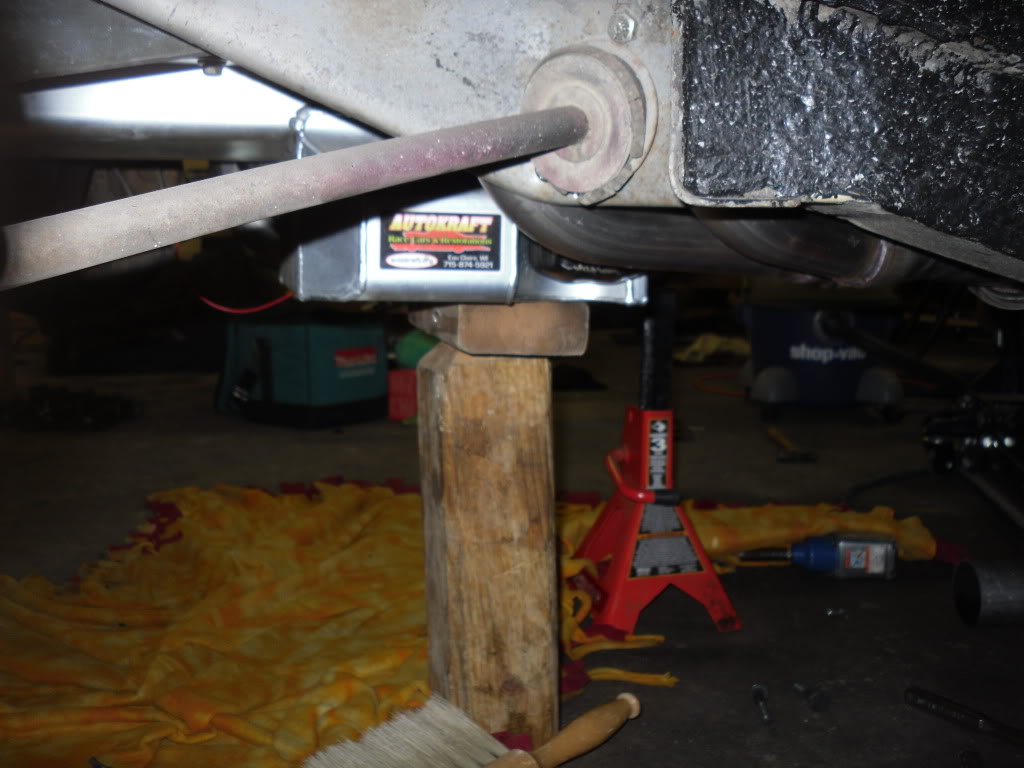
Anyway, I took a picture from the side to give you an idea of the ground clearance. It is nothing short of excellent. The engine is held up by blocks because the tranny is out and I didn't want it to sag.
I also took a pic of the wiring
and the relay bracket
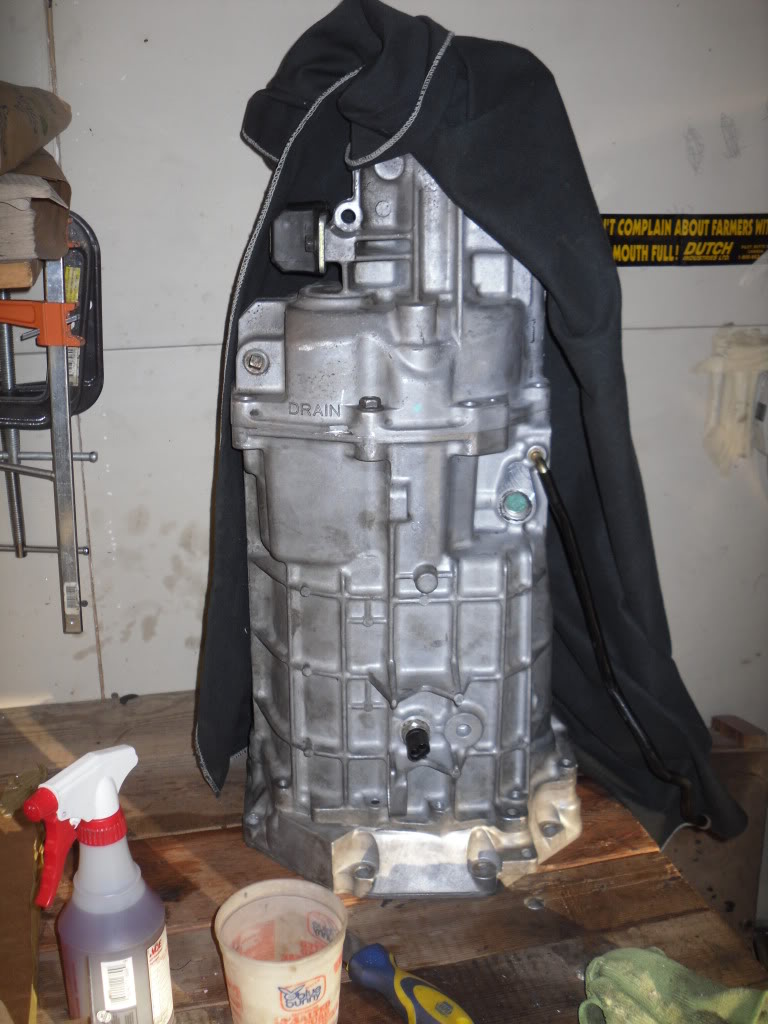
Took the trans apart at a friends, then brought the case back to powerwash/ clean and get it ready to put back together. I went ahead and assembled it so i can use it for mock up for the exhaust build.
ALSO took out the struts to prep them for the coilovers, new brakes, and removed the SPINDLE PINS (S30 guys know what i'm sayin)
I don't see what the big deal is?
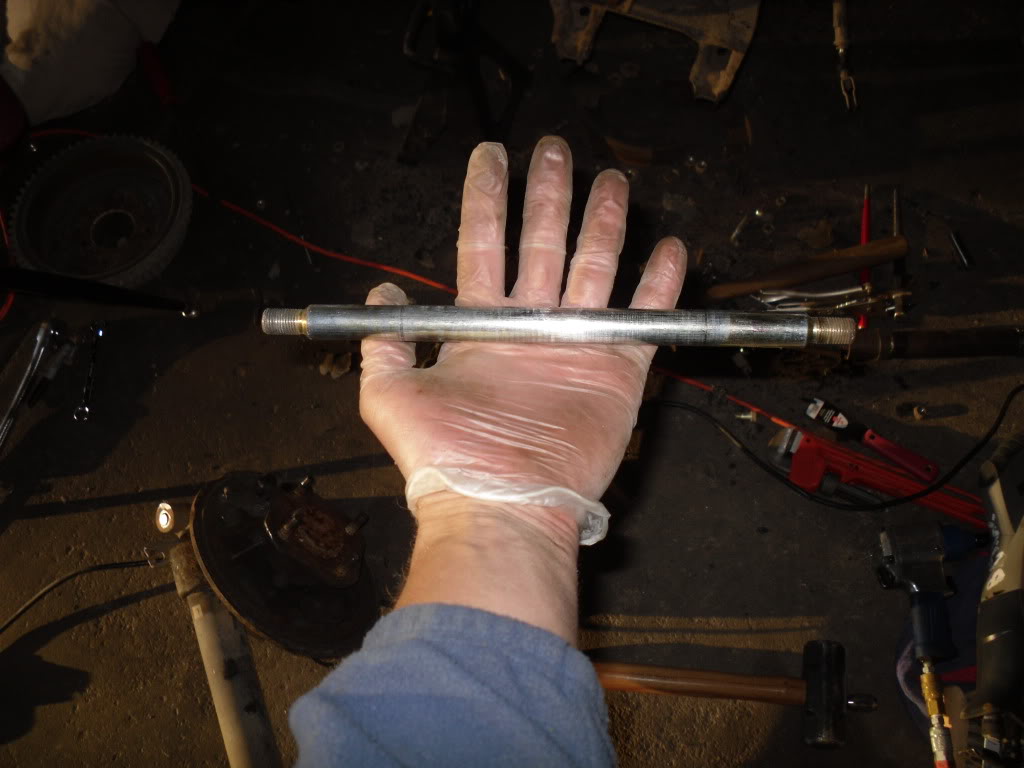
this one came out. Its either been replaced, or is the best condition one on the planet.
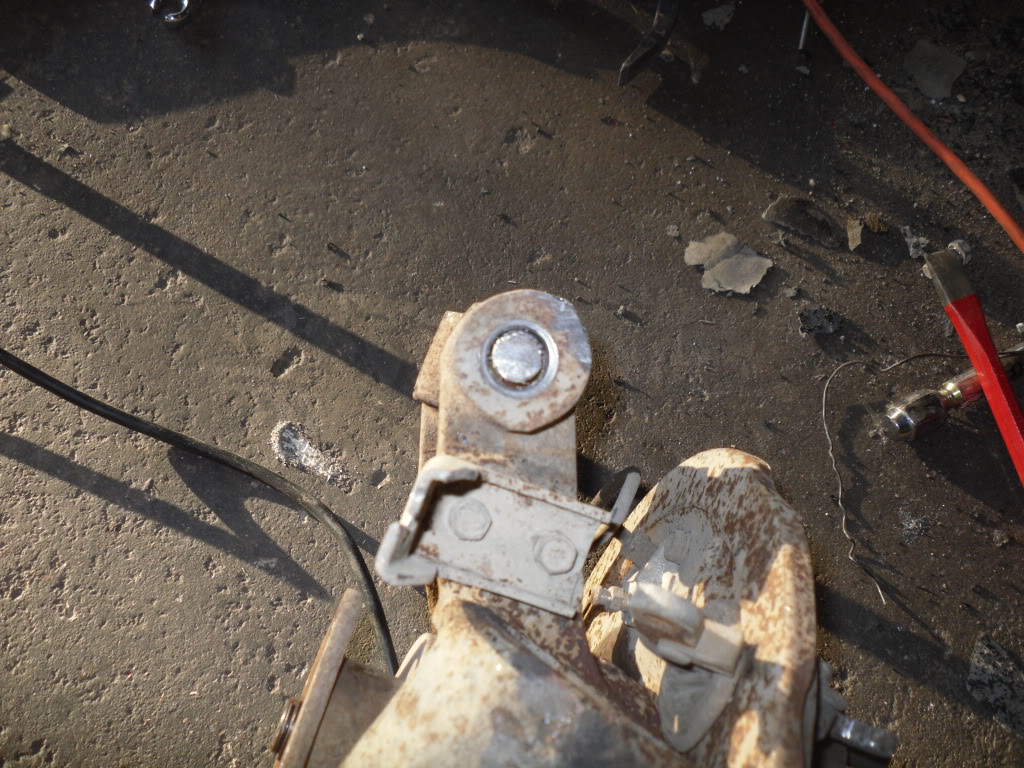
The drivers side was not as cooperative.
Cut off the backing plates as i'm doing discs
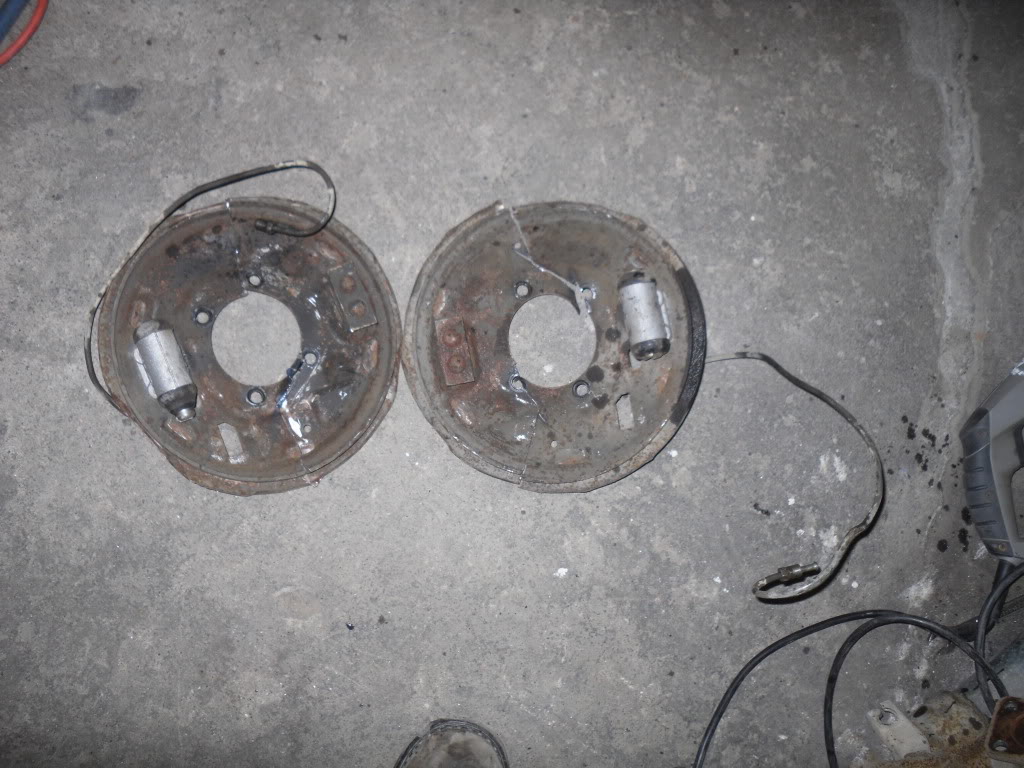
And I was left with this big pile of CRAP. The struts were blown also
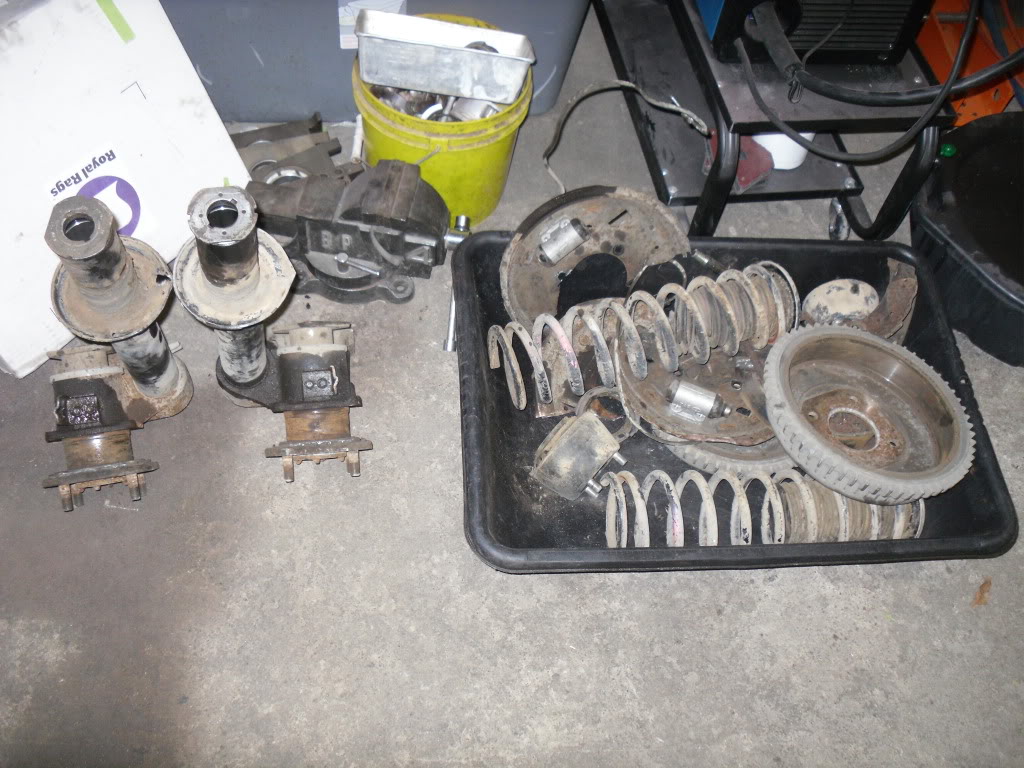
Thats it for today
Anyway, I took a picture from the side to give you an idea of the ground clearance. It is nothing short of excellent. The engine is held up by blocks because the tranny is out and I didn't want it to sag.
I also took a pic of the wiring
and the relay bracket
Took the trans apart at a friends, then brought the case back to powerwash/ clean and get it ready to put back together. I went ahead and assembled it so i can use it for mock up for the exhaust build.
ALSO took out the struts to prep them for the coilovers, new brakes, and removed the SPINDLE PINS (S30 guys know what i'm sayin)
I don't see what the big deal is?
this one came out. Its either been replaced, or is the best condition one on the planet.
The drivers side was not as cooperative.
Cut off the backing plates as i'm doing discs
And I was left with this big pile of CRAP. The struts were blown also
Thats it for today
02-06-2012, 05:47 AM
#173
Ah baby. Brings back memories! I did the spindle pins just because of everyone always talking about them. Sort of a Z car right of passage. I made a puller out of an old scissors jack. Like you one came out with no drama, the second wanted drama. The one thing I did do is lube it up for two weeks prior to the pull.
That motor is tucked up there well.
Did you do anything to your rear diff mount or to get the nose of the diff down? I had to rebuild my Ron Tyler diff mount when the old one got all bent out of shape. My drive line angles are perfect now.
That motor is tucked up there well.
Did you do anything to your rear diff mount or to get the nose of the diff down? I had to rebuild my Ron Tyler diff mount when the old one got all bent out of shape. My drive line angles are perfect now.
02-06-2012, 09:43 AM
#174
I haven't done anything with the mount as of yet. I'm having a friend of mine cut out the RT diff mount with his waterjet, and then I'll weld it together. Are you suggesting that the rear needs to come up, or the nose down, ,or both?
02-13-2012, 04:26 PM
#175
Well parts have been showing up right and left. I was in Dallas all weekend for a convention, and now I get back and I'm swamped with school work. Not to mention VALENTINES day... what a worthless holiday. So the GF will keep me out of the shop yet another evening.
Anyway, the stuff that's showed up:
-All t56 parts for a stage 2 rebuild- should get it together this weekend
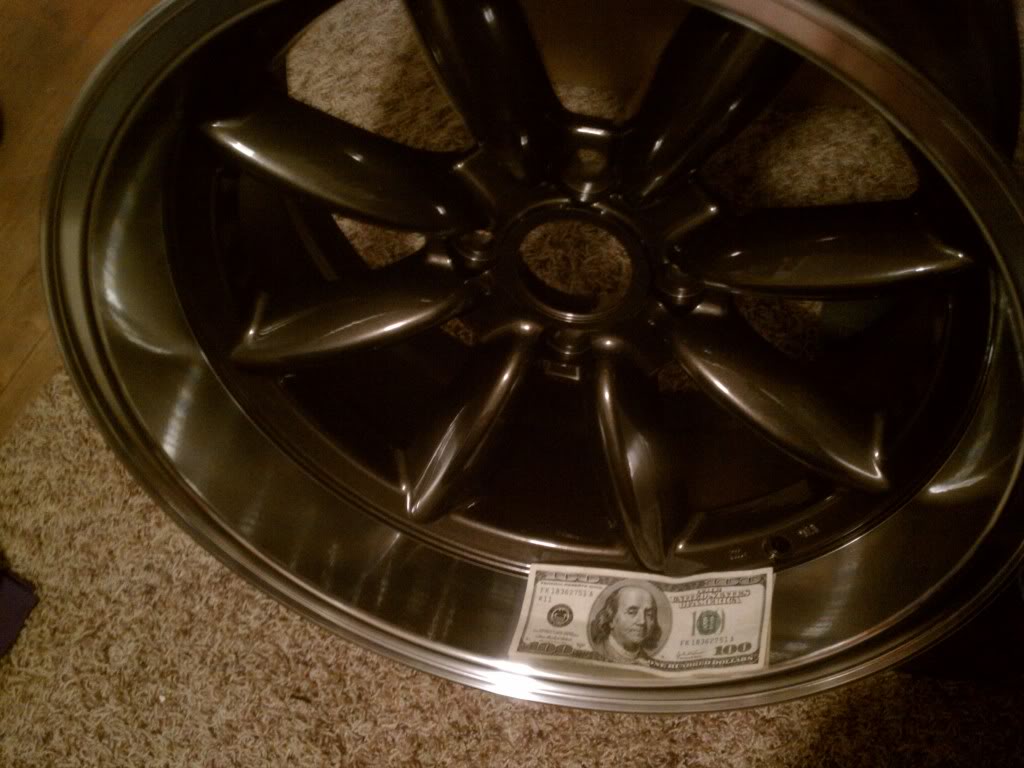
- THESE - Rota RB-r 17x9.5 (4)
-The ground control coilover kit
-Remainder of wiring
-Mandrel exhaust bends
-misc sensors
-misc other junk
Anyway, the stuff that's showed up:
-All t56 parts for a stage 2 rebuild- should get it together this weekend
- THESE - Rota RB-r 17x9.5 (4)
-The ground control coilover kit
-Remainder of wiring
-Mandrel exhaust bends
-misc sensors
-misc other junk

 02-14-2012, 07:20 AM
#177
To level the diff I used spacers to get the nose down and drilled out the rear mustache bar bushings (ala JTR) to bring the rear up. I got the nose so low I had to clearance the front diff cross member with a BFH to keep the pinion yoke from hitting it. My trans and diff angles are now dead on with under 3 degrees of U joint angle.
Getting the motor a little higher in the engine bay means you don't need to level the diff as much.
