69 Camaro LS2/4L70E install
#81
Rod, what I did on my PS hose was I bought the hose for the corvette, then took it to PowerHose and they cut off the hardline, brazed a -AN fitting to it, then I made a stainless braided hose to go from that to my box.
Glad you are making progress. My car is down at the moment. I've got a transmission problem. I'm hoping its only a bad convertor but not sure. I really wish I would have stuck with my original plan when doing this conversion rather than buy the LS2/4L70 combo. I've had to replace almost everything except the long block! Now, I may end up building a new transmission too! Live and learn I guess.
Glad you are making progress. My car is down at the moment. I've got a transmission problem. I'm hoping its only a bad convertor but not sure.
 I really wish I would have stuck with my original plan when doing this conversion rather than buy the LS2/4L70 combo. I've had to replace almost everything except the long block! Now, I may end up building a new transmission too! Live and learn I guess.
#82
Rod, what I did on my PS hose was I bought the hose for the corvette, then took it to PowerHose and they cut off the hardline, brazed a -AN fitting to it, then I made a stainless braided hose to go from that to my box.
Glad you are making progress. My car is down at the moment. I've got a transmission problem. I'm hoping its only a bad convertor but not sure. I really wish I would have stuck with my original plan when doing this conversion rather than buy the LS2/4L70 combo. I've had to replace almost everything except the long block! Now, I may end up building a new transmission too! Live and learn I guess.
Glad you are making progress. My car is down at the moment. I've got a transmission problem. I'm hoping its only a bad convertor but not sure.
 I really wish I would have stuck with my original plan when doing this conversion rather than buy the LS2/4L70 combo. I've had to replace almost everything except the long block! Now, I may end up building a new transmission too! Live and learn I guess.
I keep in my the corvette hose, but I had to complicate things by installing a hydraboost so I have a couple hoses that need to be altered. I have the high psi ps pump to hydraboost hose solution. I have a clearance issue with the high psi hose that goes from the hydraboost. My Stainless Works headers and gearbox have about 1/16" clearance (see pics in previous posts). If they don't exchange them for the new design I will have to make something to gain some clearance, or just beat the h$ll out of them with a hammer (just kidding).
#85
I did some research after I bought my LS2/4L70 setup and found out that the 4L70e has had nothing but problems in the SS Trail Blazers, until you replace the input shaft and solenoids, So I went ahead and had http://www.finishlinetrans.com/ build me one, I was a little pissed to find the 4L70e's are prone to fail, but after having Finish Line build me a stage 5, I fill good about my setup now. Finish line was highly recommended by others. Hind site being 20/20, I wouldn't have bought a combo with the 4L70E. I would have done a 6 speed manual.
Riggs
 and found out that the 4L70e has had nothing but problems in the SS Trail Blazers, until you replace the input shaft and solenoids, So I went ahead and had http://www.finishlinetrans.com/ build me one, I was a little pissed to find the 4L70e's are prone to fail, but after having Finish Line build me a stage 5, I fill good about my setup now. Finish line was highly recommended by others. Hind site being 20/20, I wouldn't have bought a combo with the 4L70E. I would have done a 6 speed manual.
 Riggs
#86
I did some research after I bought my LS2/4L70 setup and found out that the 4L70e has had nothing but problems in the SS Trail Blazers, until you replace the input shaft and solenoids, So I went ahead and had http://www.finishlinetrans.com/ build me one, I was a little pissed to find the 4L70e's are prone to fail, but after having Finish Line build me a stage 5, I fill good about my setup now. Finish line was highly recommended by others. Hind site being 20/20, I wouldn't have bought a combo with the 4L70E. I would have done a 6 speed manual.
Riggs
 and found out that the 4L70e has had nothing but problems in the SS Trail Blazers, until you replace the input shaft and solenoids, So I went ahead and had http://www.finishlinetrans.com/ build me one, I was a little pissed to find the 4L70e's are prone to fail, but after having Finish Line build me a stage 5, I fill good about my setup now. Finish line was highly recommended by others. Hind site being 20/20, I wouldn't have bought a combo with the 4L70E. I would have done a 6 speed manual.
 Riggs
Last edited by Rocketrod; 02-25-2012 at 07:37 AM.
#87
#88
Well I had to work this weekend, but I found a little time to work on the car. Nothing major, but I did make a couple brackets to mount my transmission cooler. I am also putting the finishing touches on the mounting bracket for the gas pedal.
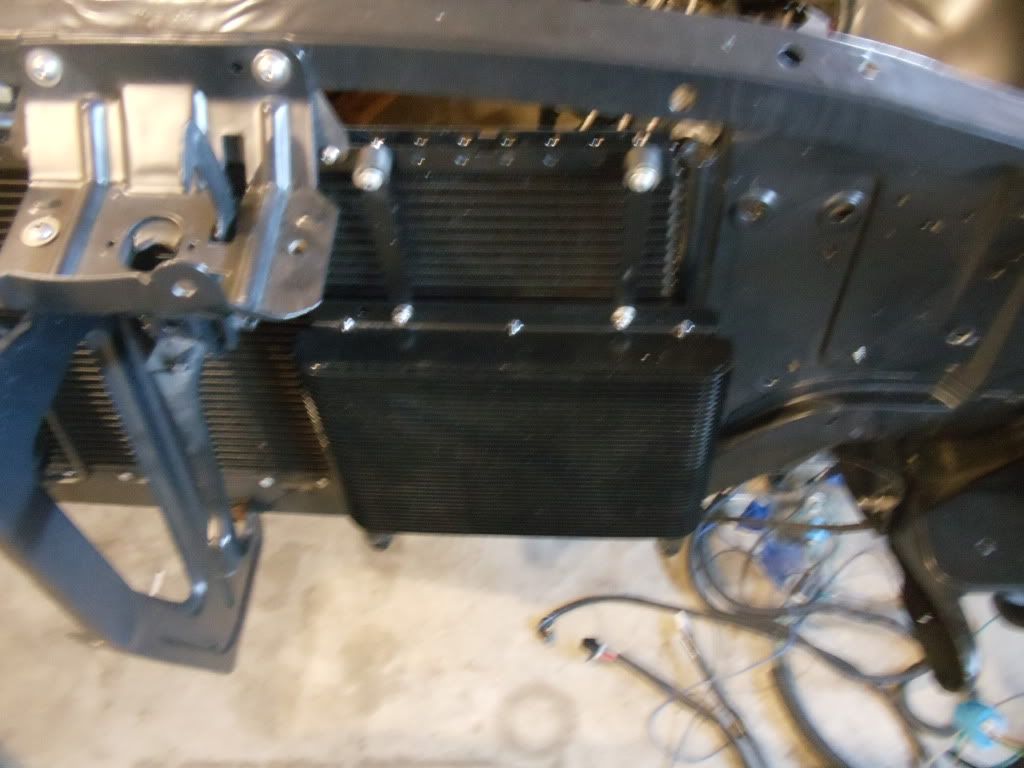
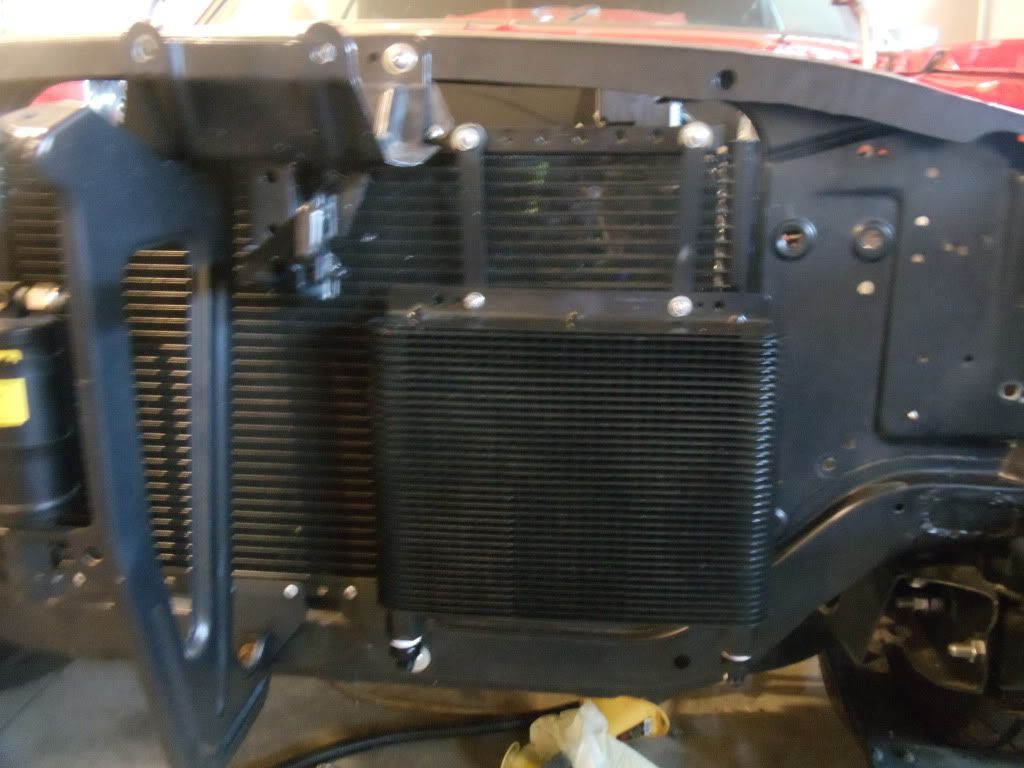
To mount the cooler I had an extra set of MSD vibration mounts laying around so I secured them to the a/c condenser, then made a couple small brackets out of 16 gauge sheet metal and fastened everything together with stainless bolts & nuts. Nothing fancy, but is functional. Here are a few pics of the transmission cooler mounted.


To mount the cooler I had an extra set of MSD vibration mounts laying around so I secured them to the a/c condenser, then made a couple small brackets out of 16 gauge sheet metal and fastened everything together with stainless bolts & nuts. Nothing fancy, but is functional. Here are a few pics of the transmission cooler mounted.


#90
Ten minutes later.....
OK....I just checked out the B&M website, B&M Trans Cooler Install Instructions and they said not to install the way I did. Thanks for pointing that out Jimbo1367!!!! I will go out and flip it so the ports are coming out the top.
Last edited by Rocketrod; 02-26-2012 at 06:13 PM.
#93
Yeah.....it's kind of funny when I was searching the net almost all trans cooler install articles showed the cooler installed the way I did, so I decided to look at B&M's instructions, which confirmed Jimbo's suggestion.
Last edited by Rocketrod; 08-11-2012 at 01:31 PM.
#94
Well I made a little progress this weekend. I just about finished my gas pedal mount. The wire feed on my welder was acting up so don't ask for any closeup of the welding job as it isn't very pretty.
I also spent a little time cleaning up the engine bay wiring, pretty much finalized which fuseblock and I going to build and how it will be installed. The highlight of the day though was teaching my son how to properly crimp and solder wire. He/we did several butt splices. Everything turned out well and he seemed to be enjoying himself.
I also spent a little time cleaning up the engine bay wiring, pretty much finalized which fuseblock and I going to build and how it will be installed. The highlight of the day though was teaching my son how to properly crimp and solder wire. He/we did several butt splices. Everything turned out well and he seemed to be enjoying himself.
#95
I put the finishing touches on the gas pedal mount. Just need to paint it and bolt it in! I hope the my new header arrives this week....if it does the motor should go in next weekend!
#97
I made a little headway. Last Friday I recieved a new redeisgned driverside header from Stainless Works. Multiple people had expressed concerns about clearance issues ans Stainless Works stepped up and corrected the problem. All I had to do was box up the header and return it, Stainless Works paid for shipping. To say the least I am extremely impressed with there customer service!
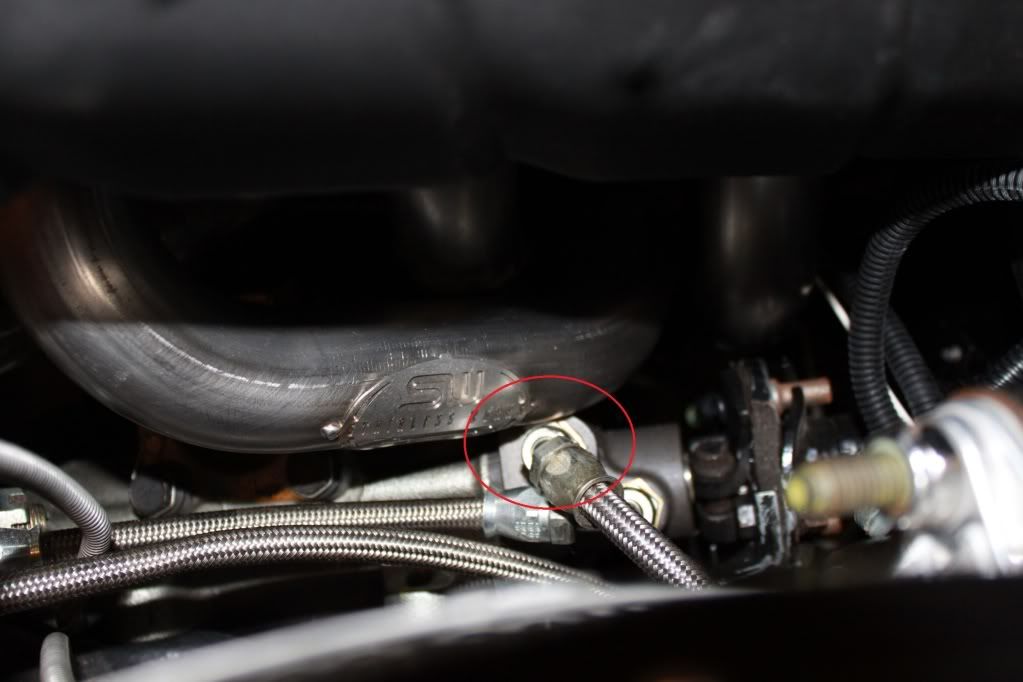
Here us a pic of the original header had about 1/16 inch clearance bettween the #3 tube and the high pressure line and the #1 tube lightly touched the gearbox.

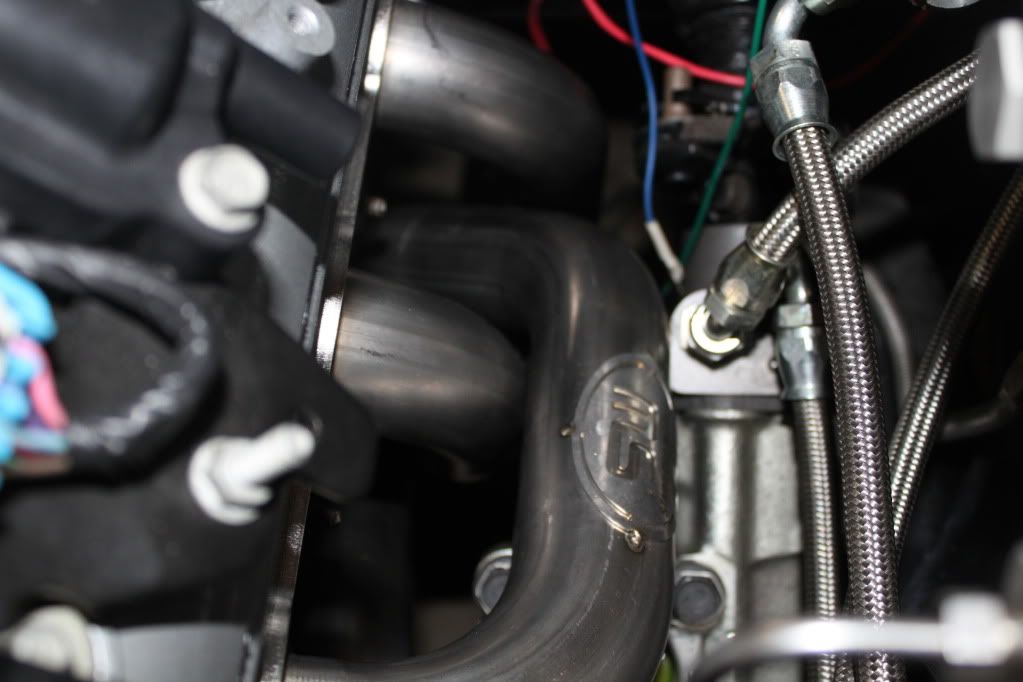
Here is the new header the #1 tube clears the grearbox and the #3 tube has a little over a 1/4" clearance. The only downside is with the #1 tube location there is not enough room to remove one of the UCA nuts. No biggie as I will be installing new UCAs soon, ordered them today, and will be installing a shorter bolt then.

Nothing special...just a pic of the installed motor. It sure does look a lot nicer installed than sitting on the garage floor. Now the fun begins!!!

Here us a pic of the original header had about 1/16 inch clearance bettween the #3 tube and the high pressure line and the #1 tube lightly touched the gearbox.

Here is the new header the #1 tube clears the grearbox and the #3 tube has a little over a 1/4" clearance. The only downside is with the #1 tube location there is not enough room to remove one of the UCA nuts. No biggie as I will be installing new UCAs soon, ordered them today, and will be installing a shorter bolt then.

Nothing special...just a pic of the installed motor. It sure does look a lot nicer installed than sitting on the garage floor. Now the fun begins!!!

#99
I talked to Stainless Works and they made me a new header. The one I sent in will be used as a display model for distributors.


