
1967 Cougar build (over 500 pictures and videos)
 06-20-2015, 09:44 PM
#501
TECH Senior Member
Thread Starter
iTrader: (7)

Looks great Andrew. You get alot done in a short time like Ken (Kwhizz). If you ever need to clean anything again, try LA"s totally AWSOME. We have it locally at Dollar General for $1 in a spray ior $3 for a gallon jug. This stuff is AMAZING.
Do you plan on going for the 1st LS powered ride this summer?
Do you plan on going for the 1st LS powered ride this summer?
Andrew
 06-20-2015, 09:44 PM
#502
TECH Senior Member
Thread Starter
iTrader: (7)
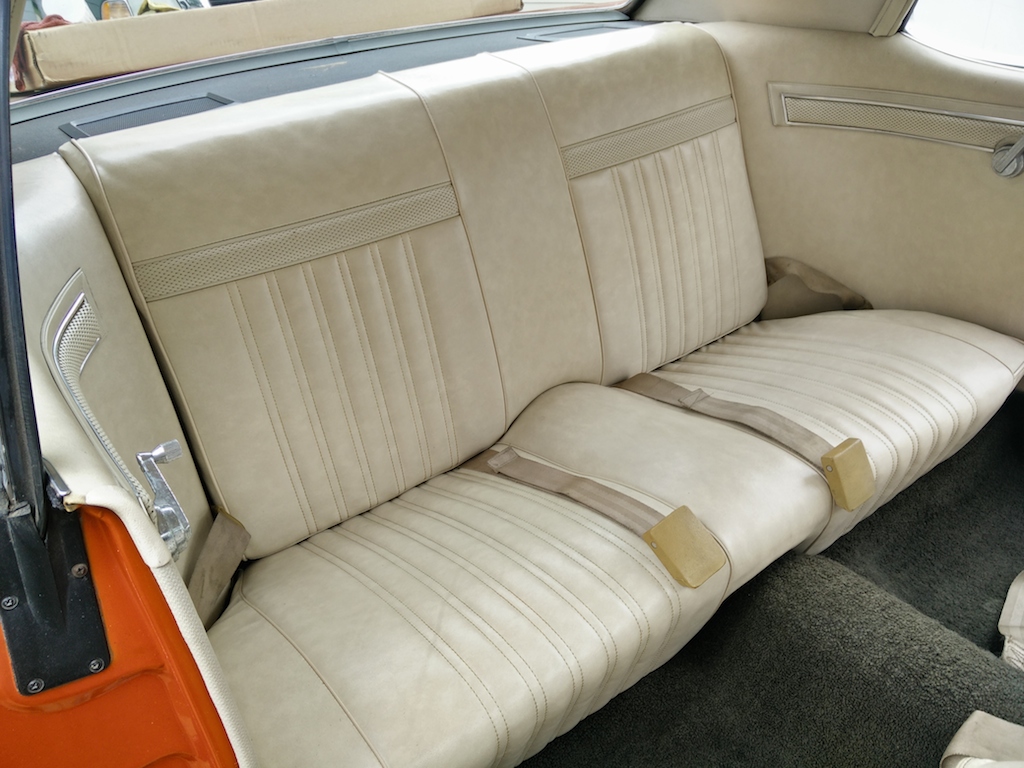
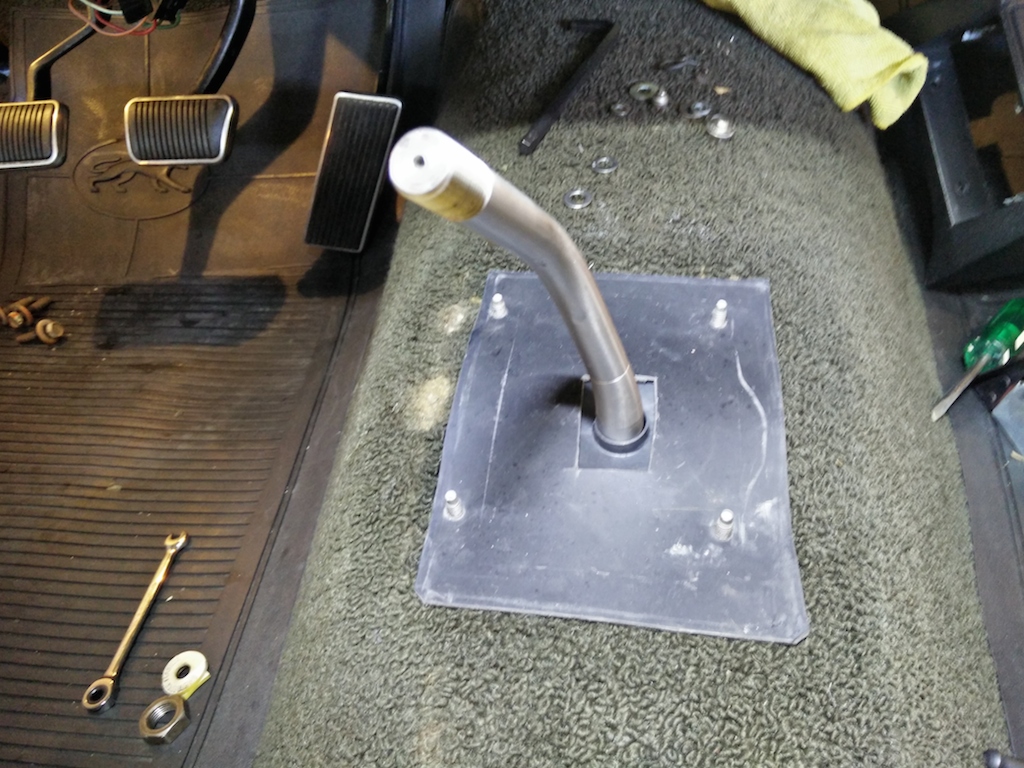
Today I spent a lot of time scrubbing almost 50 years of dirt, grease, and grime off the seats and the rest of the interior. I used a couple of different products but in the end it was just a lot of scrubbing, wiping, and repeating. Back seats turned out really nice:
So did the front seats.
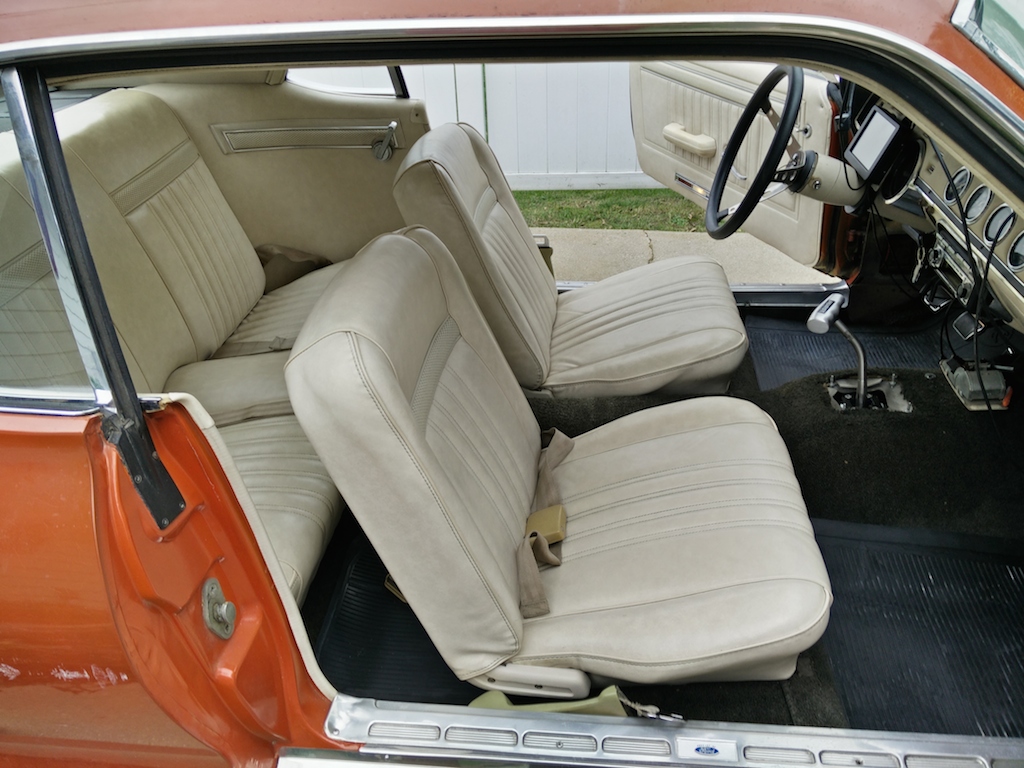
I also vacuumed the carpet and cleaned the original rubber floor mats that were installed in the car.
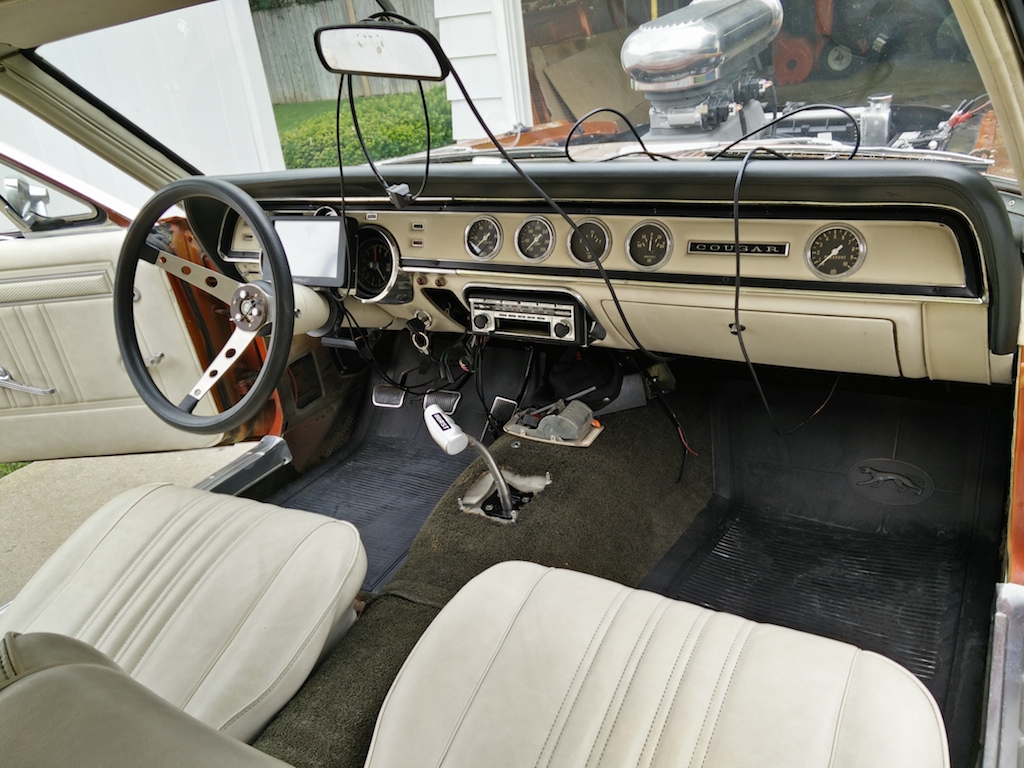
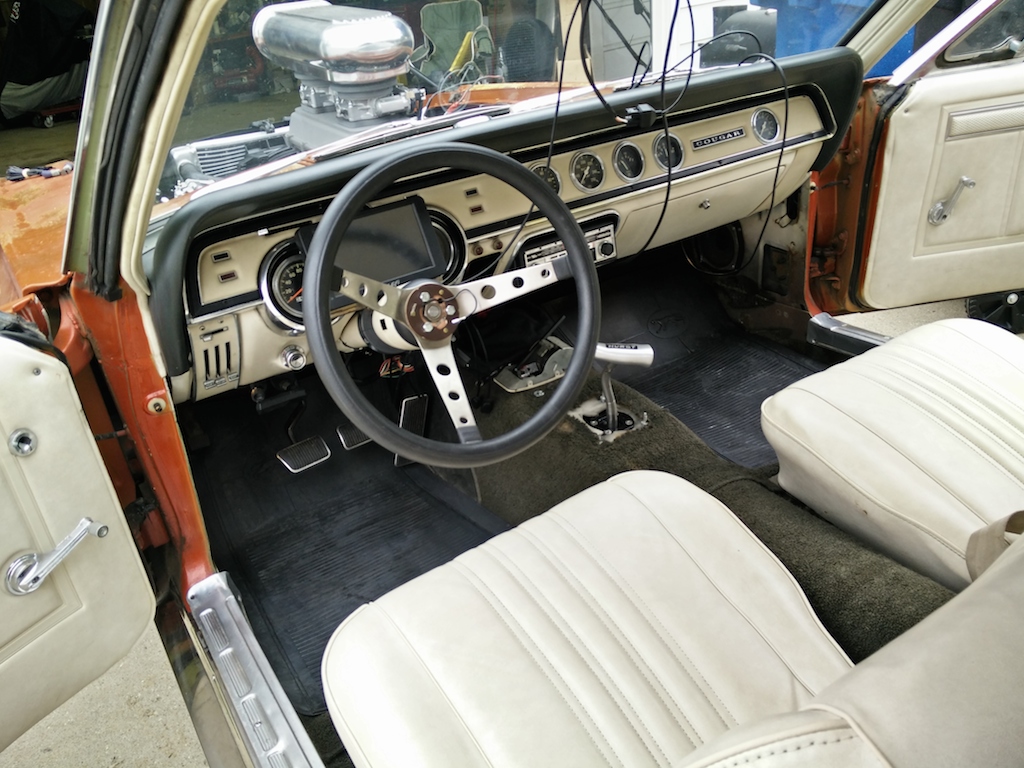
I also got clever with the USB plugs that come off the Holley display. I took out the cigarette lighter, installed a rubber grommet and fed the USB ports through.
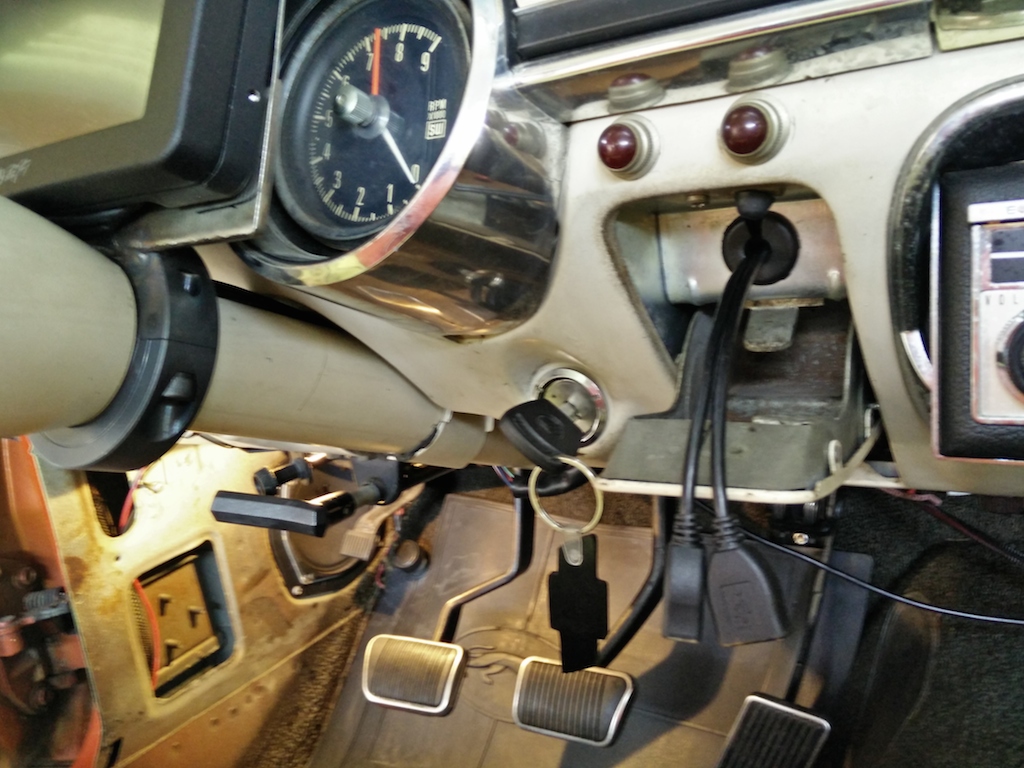
When they are not needed, the wires just get hidden inside the ashtray.
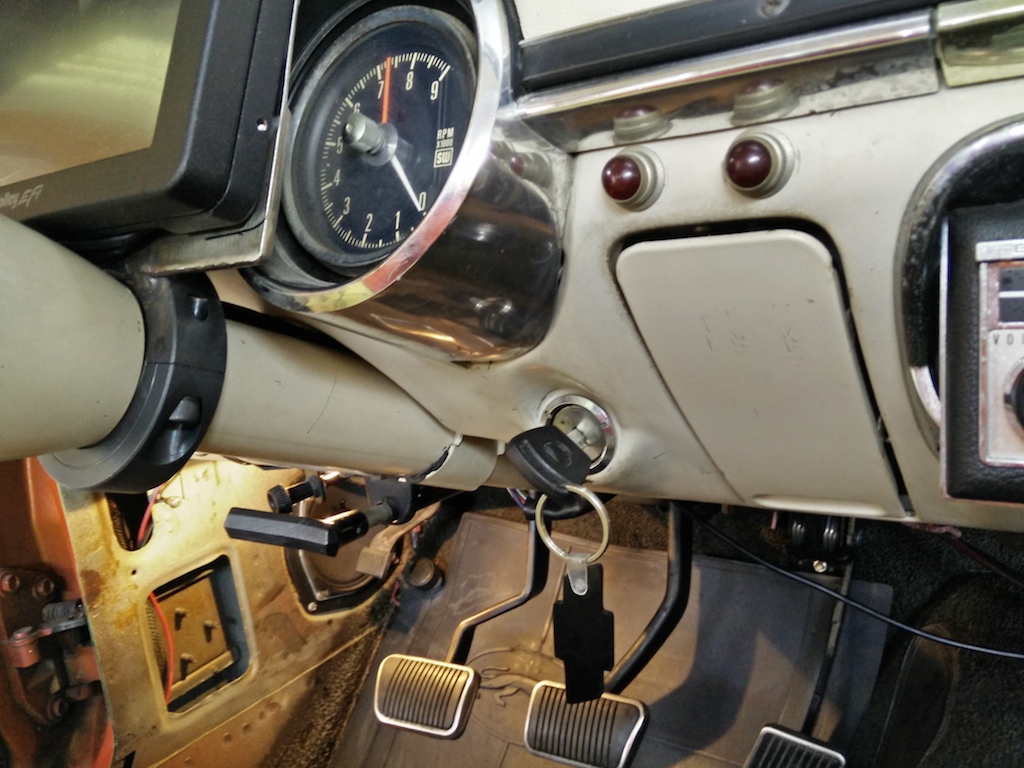
I wonder if these will charge my phone....LOL
Andrew
So did the front seats.
I also vacuumed the carpet and cleaned the original rubber floor mats that were installed in the car.
I also got clever with the USB plugs that come off the Holley display. I took out the cigarette lighter, installed a rubber grommet and fed the USB ports through.
When they are not needed, the wires just get hidden inside the ashtray.
I wonder if these will charge my phone....LOL
Andrew
06-21-2015, 06:57 AM
#505
Teching In
iTrader: (1)
Join Date: Jan 2012
Location: Port Clinton, OH
Posts: 28
Likes: 0
Received 0 Likes
on
0 Posts
looks sweet dude! somethin about an old car cleaned up...  rockin the 8 track, DIG IT MAN!!! I would be sooo ancy to get that driveshaft in. you have more patience than I
rockin the 8 track, DIG IT MAN!!! I would be sooo ancy to get that driveshaft in. you have more patience than I
06-21-2015, 08:23 AM
#506


 06-21-2015, 06:14 PM
#509
TECH Senior Member
Thread Starter
iTrader: (7)
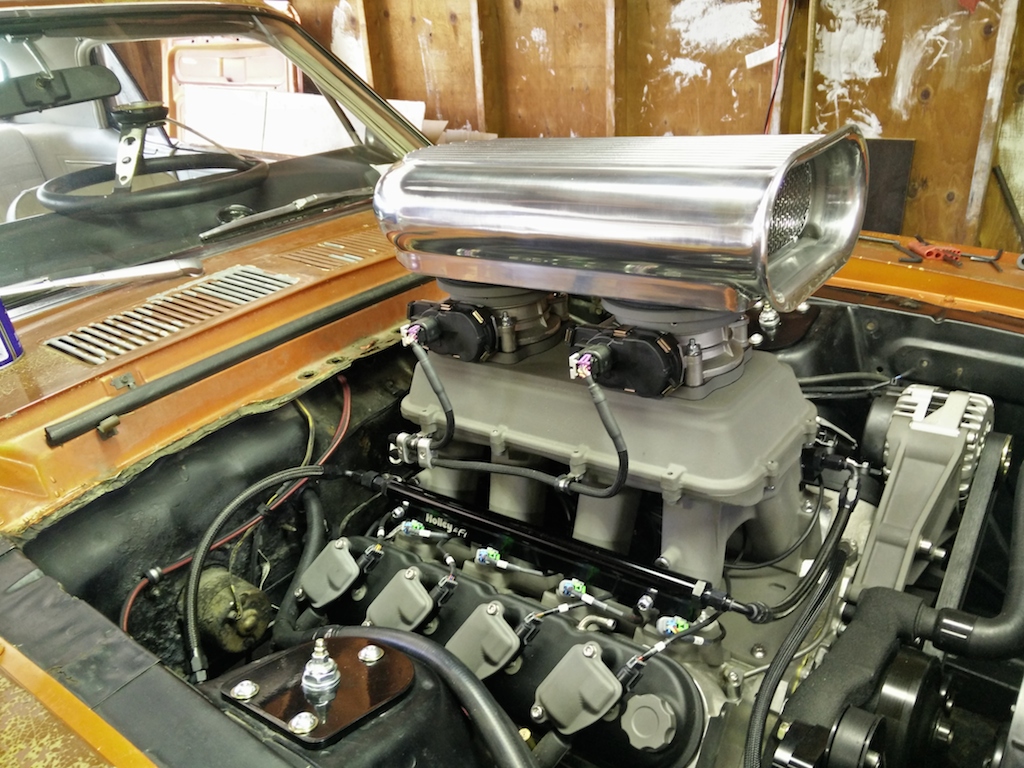
Today I decided to install the bug catcher for good. I needed some set screws to go into the air cleaner adapter rings and the little carb flange gaskets. Got the former at Fleet Farm and the latter at Advanced Auto. As I was assembling the bug catcher, I thought I would see what the air filters would look like by themselves. Thoughts?
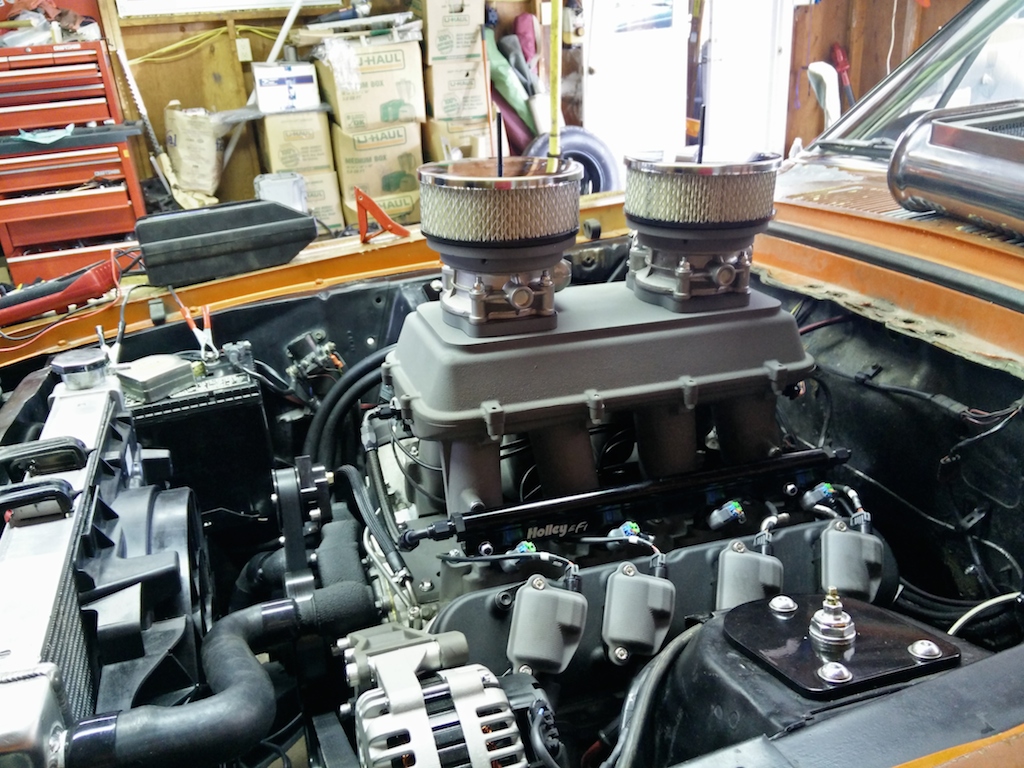
Then I assembled the rest of it.
Then, like a moron, I decided to tackle a big project. The lower driver's side door hinge is worn pretty badly and I while back I bought a rebuild kit from Mustang Steve. So I supported the door, got the hinge off, then tried for an hour to get the stock pin out. Nothing worked. I got frustrated and called it a day before I broke anything. I think I am going to send the hinge off to Steve and have him do it. Except now I have a door that's hanging partly off the car. What a pain in the a$$.
Andrew
06-22-2015, 09:51 PM
#510
TECH Senior Member
Thread Starter
iTrader: (7)
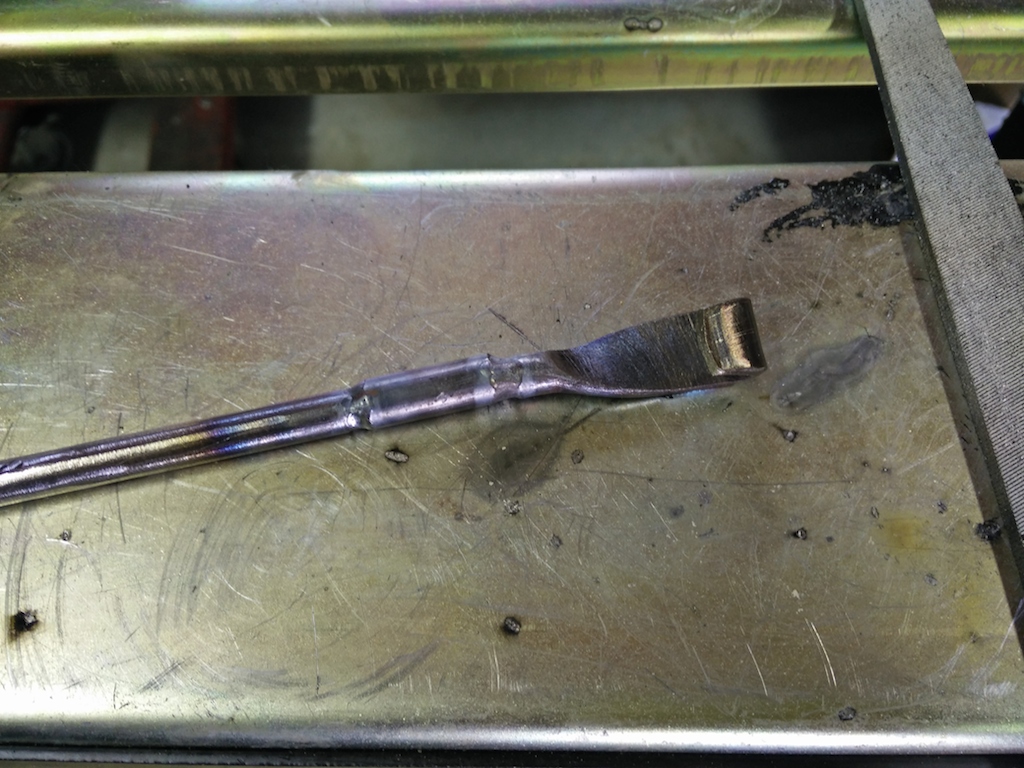
I am a little frustrated at the moment because I am stuck waiting on parts. The driver's side door is hanging off the car as I wait for new hinges from WCCC. So while I wait for parts I have to find little projects that need to be done. I figured it was time to make the old battery hold down work with my battery. The little marine battery that I got is a little narrower and a little taller than the battery that is called for. With the extra height of the battery the stock J hooks were just a little too short. I went to the auto parts store to see what they had, but the generic J hooks that they had were just terrible looking. So instead, I went to Fleet Farm and picked up a 3 foot length of 3/8" rod. I then cut the stock J hooks at the bottom and welded in a short section of rod to lengthen them.
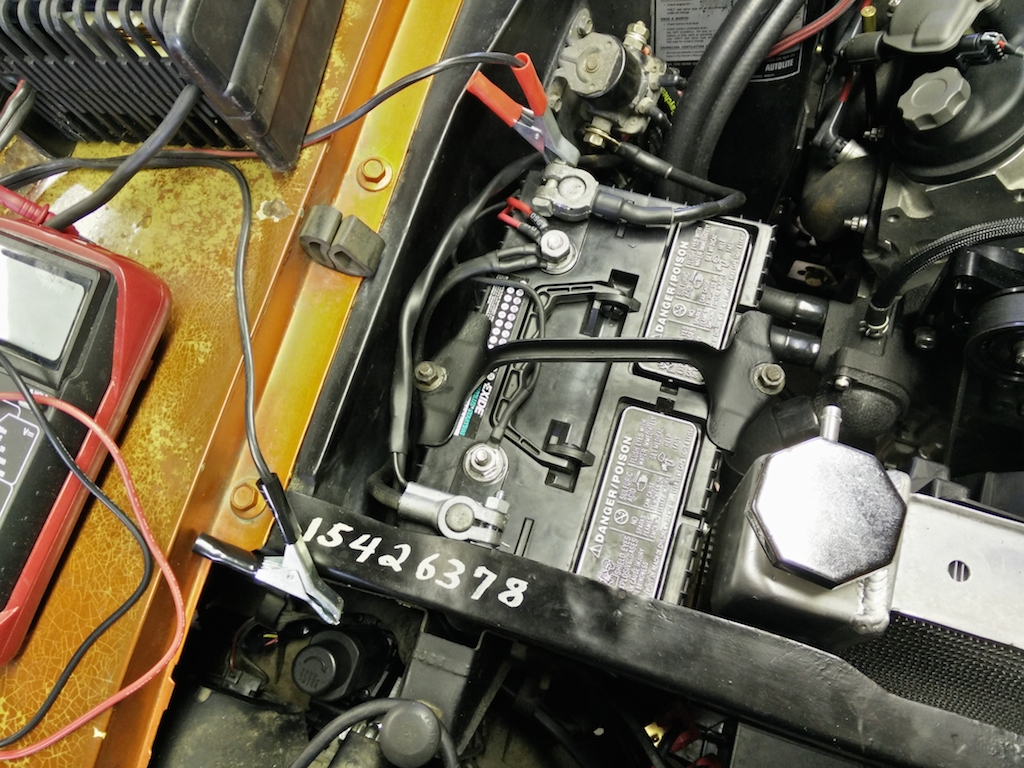
I gave the J hooks and the hold down a fresh coat of paint and bolted everything together. The battery is firmly secured, which is very important in any build.
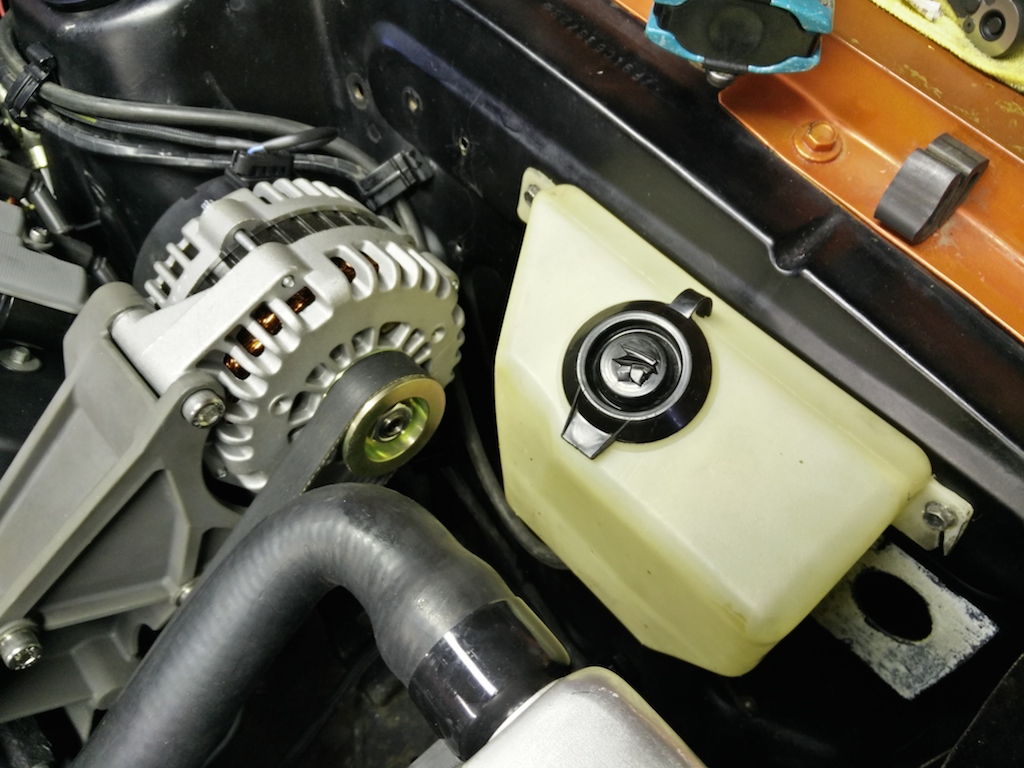
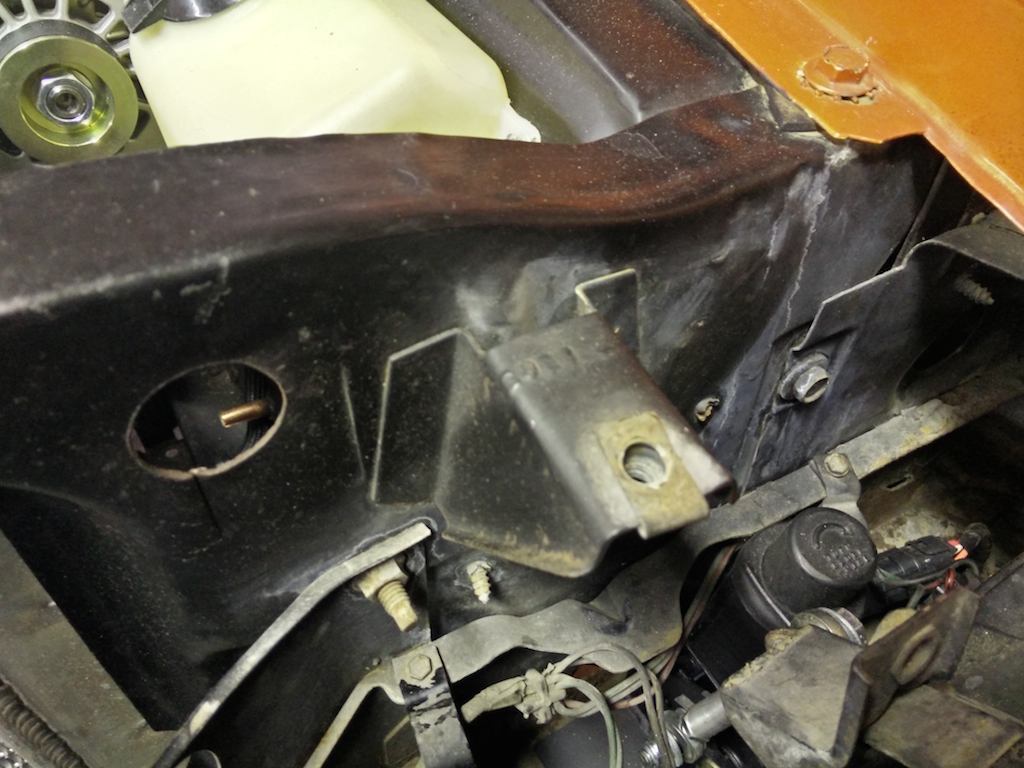
When I got the car I found the stock windshield washer fluid container in the trunk. The previous owner had installed a MSD box where the container used to be, but since I don't need the MSD box that space was now open. I really wanted to keep this container because it has the really cool "Mercury Man" logo on it. So I drilled some new holes and mounted it slightly forward of it's stock location because of the alternator. I think it looks super cool.
Andrew
I gave the J hooks and the hold down a fresh coat of paint and bolted everything together. The battery is firmly secured, which is very important in any build.
When I got the car I found the stock windshield washer fluid container in the trunk. The previous owner had installed a MSD box where the container used to be, but since I don't need the MSD box that space was now open. I really wanted to keep this container because it has the really cool "Mercury Man" logo on it. So I drilled some new holes and mounted it slightly forward of it's stock location because of the alternator. I think it looks super cool.
Andrew
06-23-2015, 02:53 PM
#511
TECH Senior Member
Thread Starter
iTrader: (7)
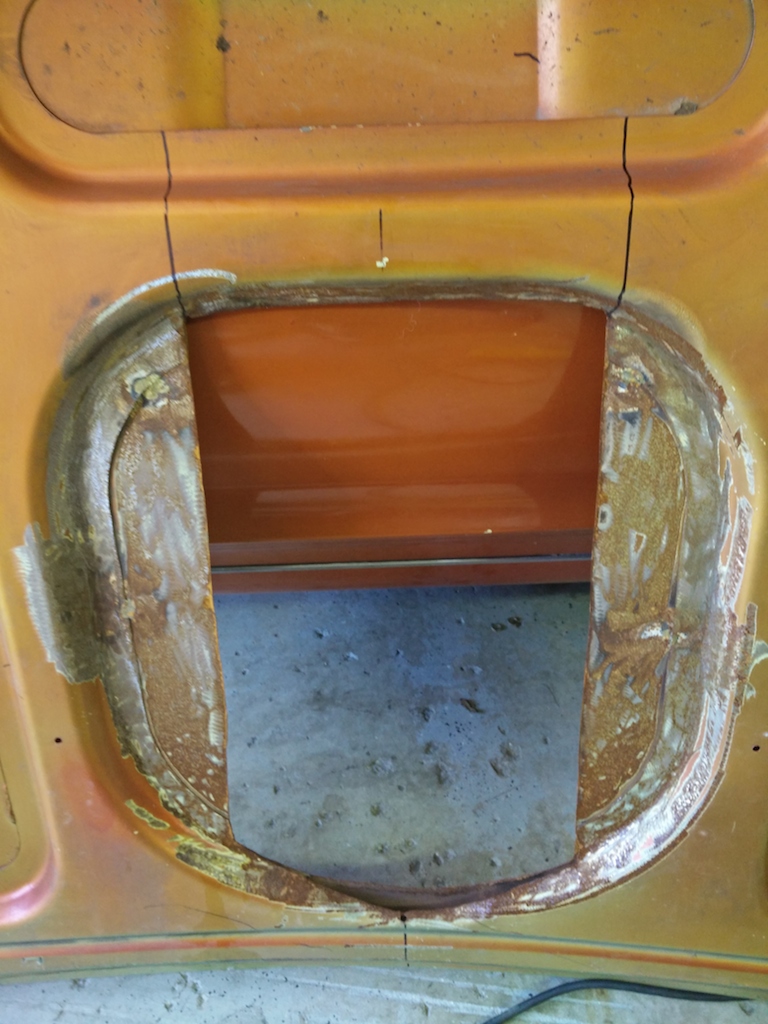
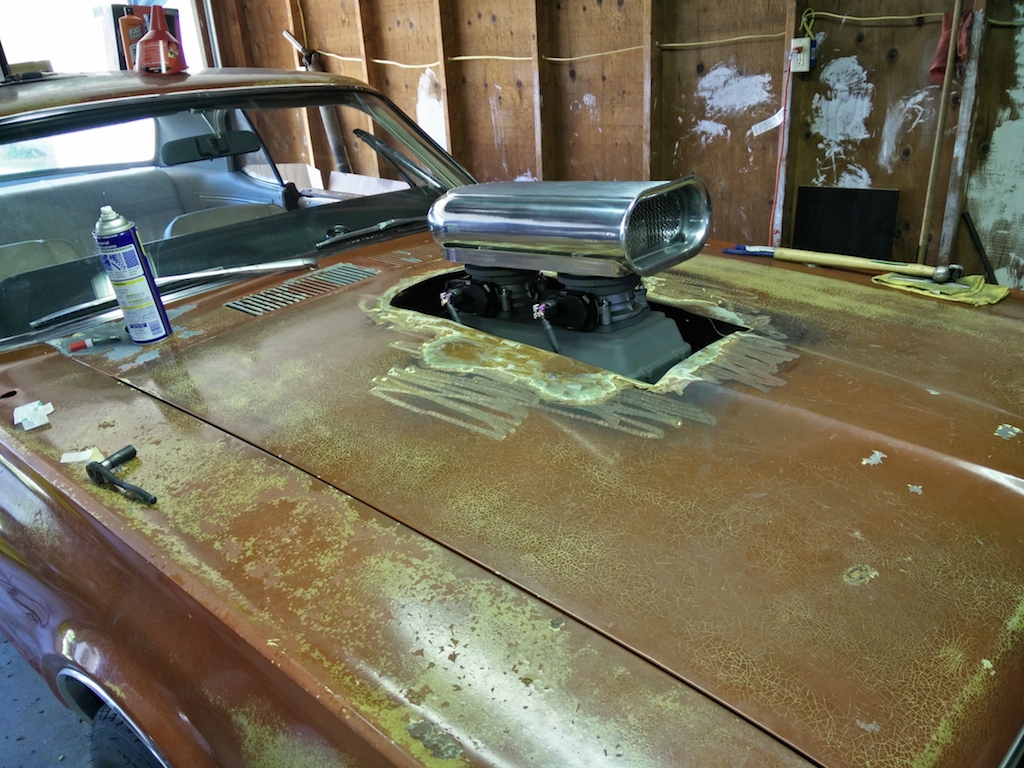
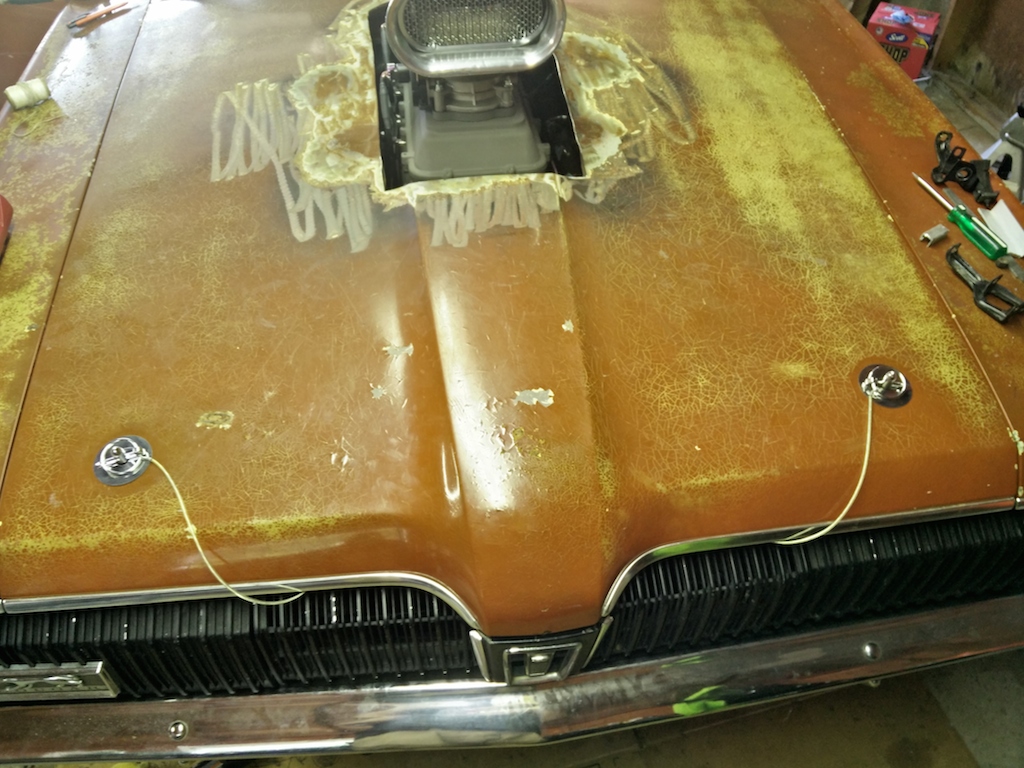
The previous owner had already cut a hole in the hood when I got the car. For some reason he felt that he needed 2" spacers under the 3310 Holley carbs and have the oval dual quad air cleaner assembly up through the hood, but covered by a fiberglass Eliminator style scoop. The other day I put the hood in its place with out the hinges and overall the hole lined up pretty well with my intake. The only this is that it needed more room in the front to clear the bug catcher when the hood was being open.
So I took some measurements, made some marks, and went to town with the cut off wheel...
Took me a little bit of fiddling around to get the hood lined up, which is always a fun task without a second pair of hands, but it fits and closes like it should. I guess I will run a hood now...LOL
My driveshaft shipped today, so with some luck I will have it on Friday. The door hinges should be here Friday as well.
Andrew
06-23-2015, 09:15 PM
#512
When I got the car I found the stock windshield washer fluid container in the trunk. The previous owner had installed a MSD box where the container used to be, but since I don't need the MSD box that space was now open. I really wanted to keep this container because it has the really cool "Mercury Man" logo on it. So I drilled some new holes and mounted it slightly forward of it's stock location because of the alternator. I think it looks super cool.
Andrew
Andrew
06-24-2015, 12:19 AM
#513
TECH Senior Member
Thread Starter
iTrader: (7)
 06-24-2015, 05:57 PM
#516
TECH Senior Member
Thread Starter
iTrader: (7)
Thank you!
Thank you. I am glad people are getting the vibe I hope to have with this car. At first glance it might look like a total POS, but once you start looking carefully all of the little upgrades that I have done will become apparent (at least to people that appreciate such things).
Andrew
Andrew
06-24-2015, 05:57 PM
#517
TECH Senior Member
Thread Starter
iTrader: (7)
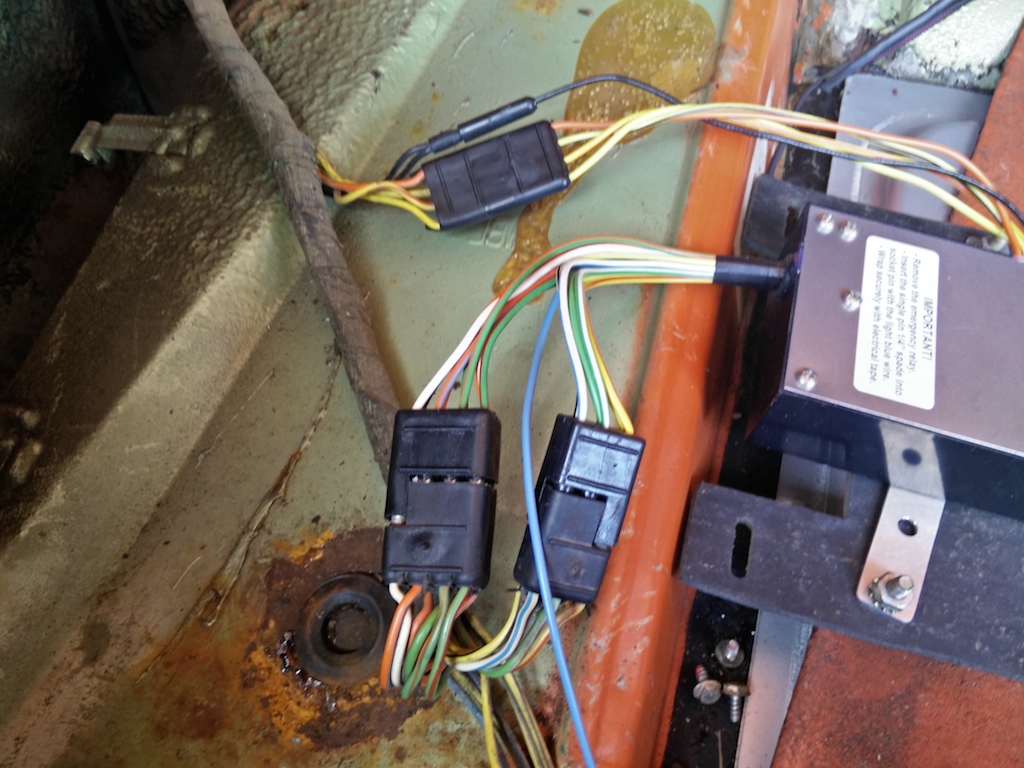
Got a few cool bits from West Coast Classic Cougars today. The sequential turn signal system was working well but I wanted to upgrade to more modern electronics to avoid any possible issues in the future and also improve the intensity of the running and brake lights.
The stock system (mine is the later version) consists of 3 individual boxes (only 2 pictured here). The two boxes in the picture are the sequential relay and the motor assembly. This system has an electric motor that spins around and has cam that triggers the individual brake lights in sequence.
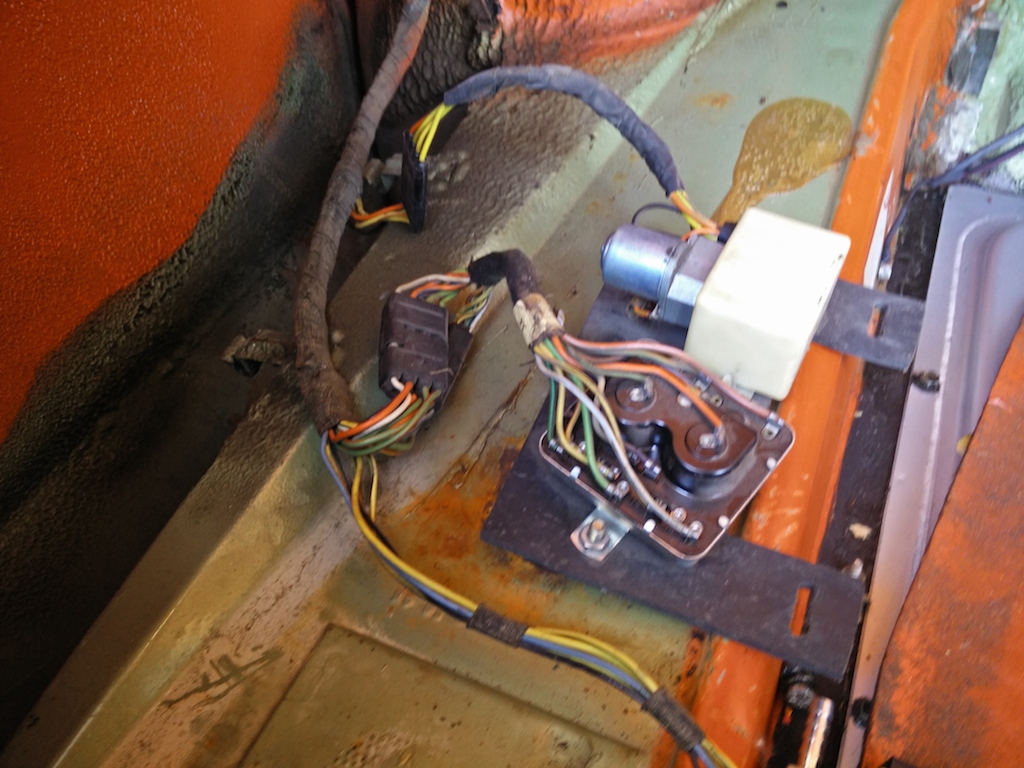
I am replacing the 3 boxes with one single box that handles all the functionality and is a solid state design without any moving parts.
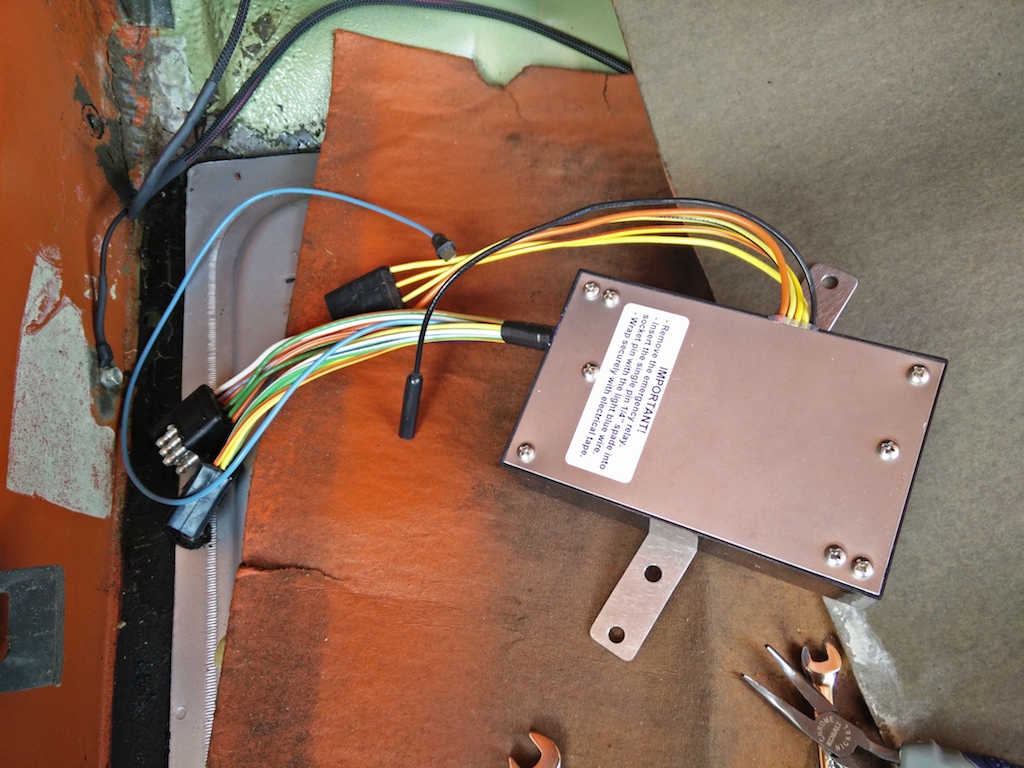
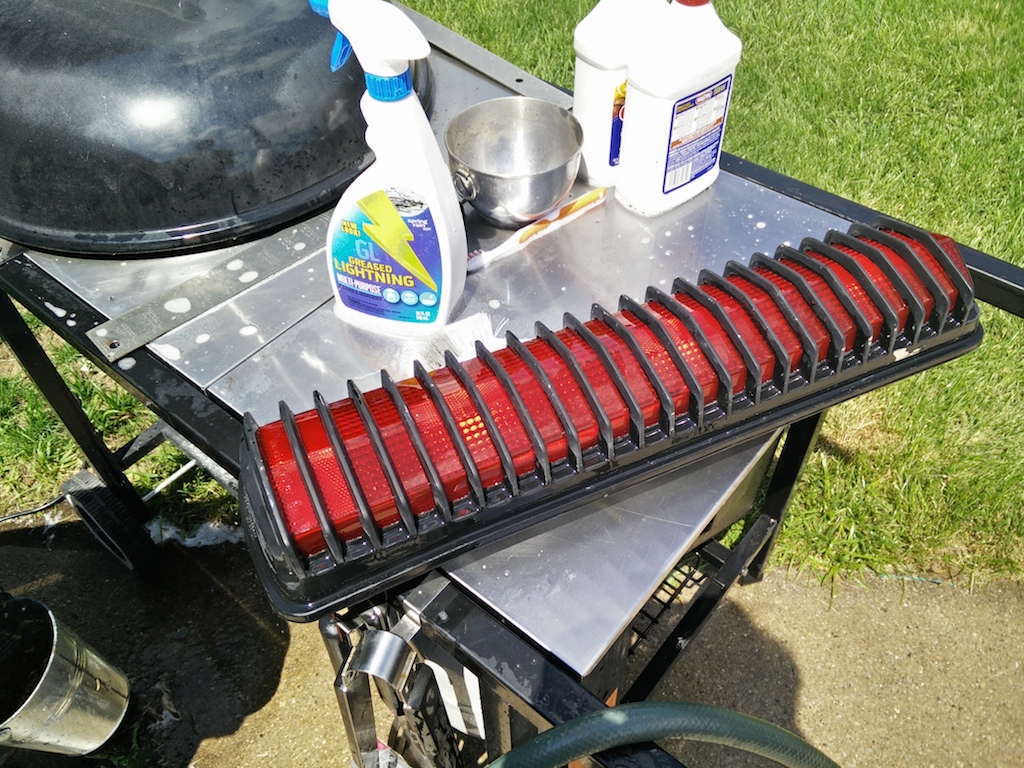
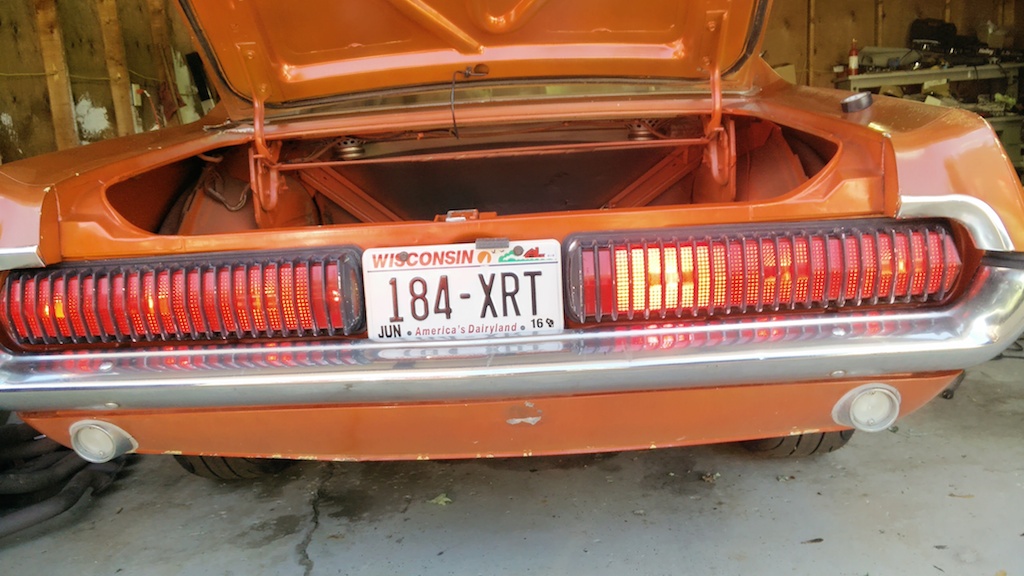
I figured this was also the perfect time to pop the tail light housings and give them a quick bath.
The replacement box mounts in the stock location on the rubber pad and is literally plug-n-play. In the picture it is mounted upside down, but I swapped it over after I realized my mistake.
The other part of the upgrade was replacing the incandescent bulbs with these nifty "plasma" LEDs.
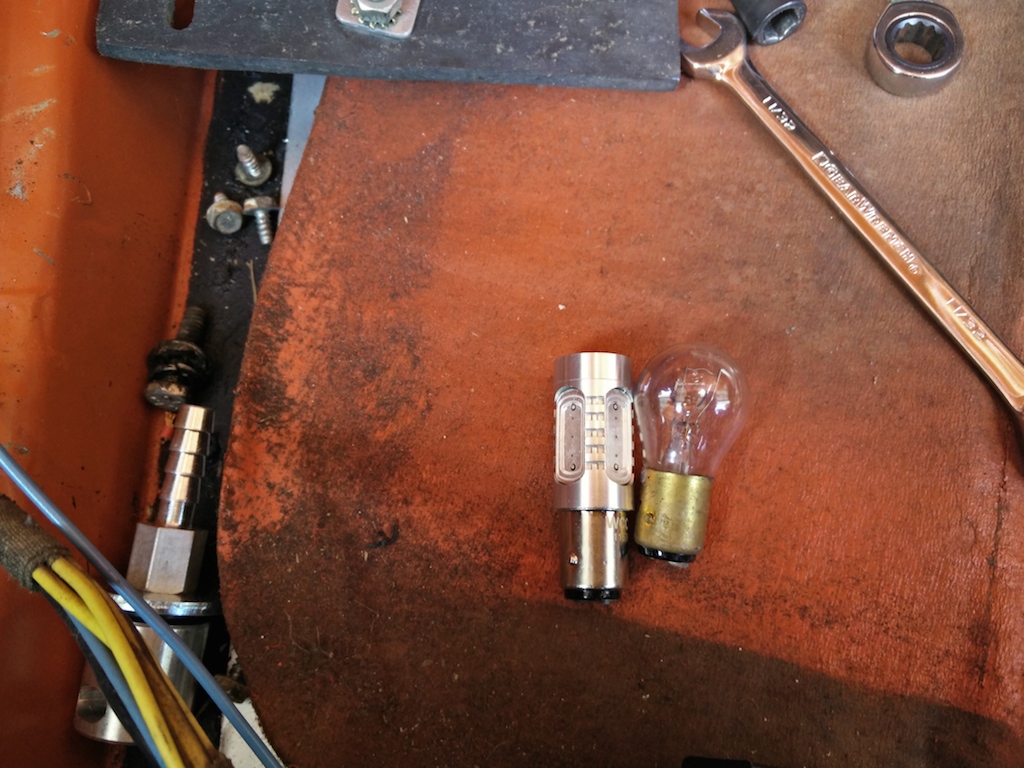
The results are super bright running and brake lights, along with solid sequential turn signal functionality.
I was also finally able to get to the right person at B&M, other than their "customer service" drones and I received a fresh boot for the shifter along with some other bits that I needed to make the shifter like new again.
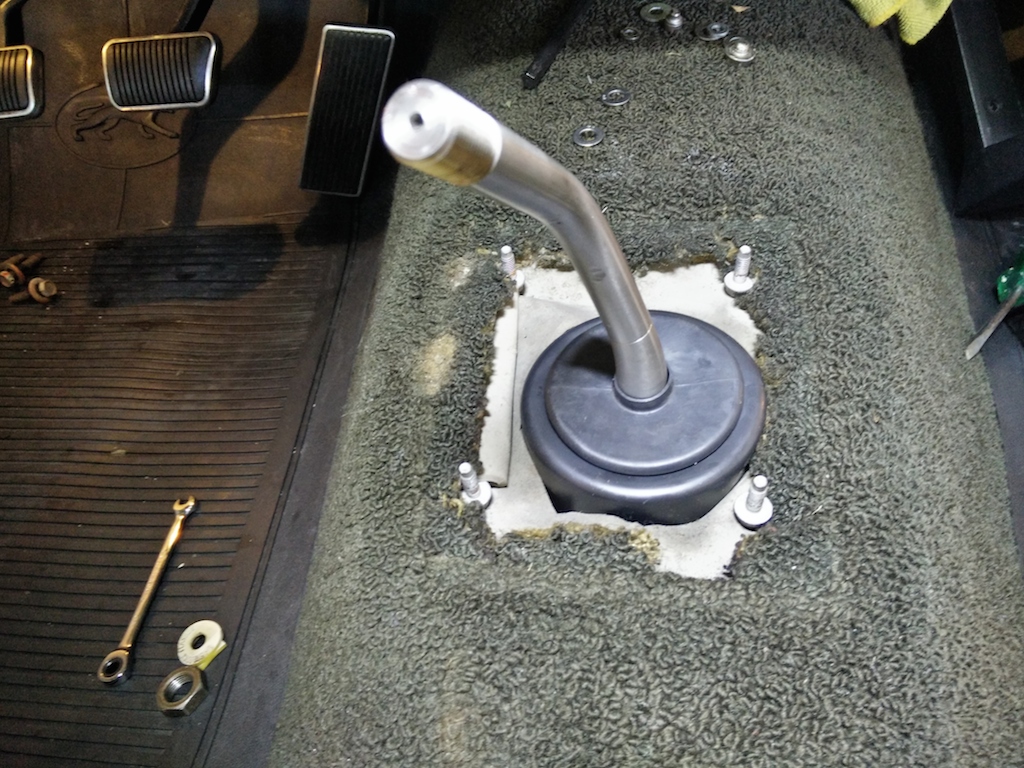
Part of the shifter upgrade also included a new bronze pivot receptacle. The shifter feels really solid and will get smoother as the bronze bushing wears in.
Andrew
The stock system (mine is the later version) consists of 3 individual boxes (only 2 pictured here). The two boxes in the picture are the sequential relay and the motor assembly. This system has an electric motor that spins around and has cam that triggers the individual brake lights in sequence.
I am replacing the 3 boxes with one single box that handles all the functionality and is a solid state design without any moving parts.
I figured this was also the perfect time to pop the tail light housings and give them a quick bath.
The replacement box mounts in the stock location on the rubber pad and is literally plug-n-play. In the picture it is mounted upside down, but I swapped it over after I realized my mistake.
The other part of the upgrade was replacing the incandescent bulbs with these nifty "plasma" LEDs.
The results are super bright running and brake lights, along with solid sequential turn signal functionality.
I was also finally able to get to the right person at B&M, other than their "customer service" drones and I received a fresh boot for the shifter along with some other bits that I needed to make the shifter like new again.
Part of the shifter upgrade also included a new bronze pivot receptacle. The shifter feels really solid and will get smoother as the bronze bushing wears in.
Andrew
06-25-2015, 04:11 PM
#518
TECH Senior Member
Thread Starter
iTrader: (7)
As you guys might recall, I fabbed the upper radiator mounts a long time ago using the upper mounts that came with the car. I had always assumed that this was how the upper mount was supposed to be on Cougars. Well, after looking at pictures of a lot of Cougar engine bays I came to realize that what I had was something that the previous owner had cobbled together when he installed the big block radiator.
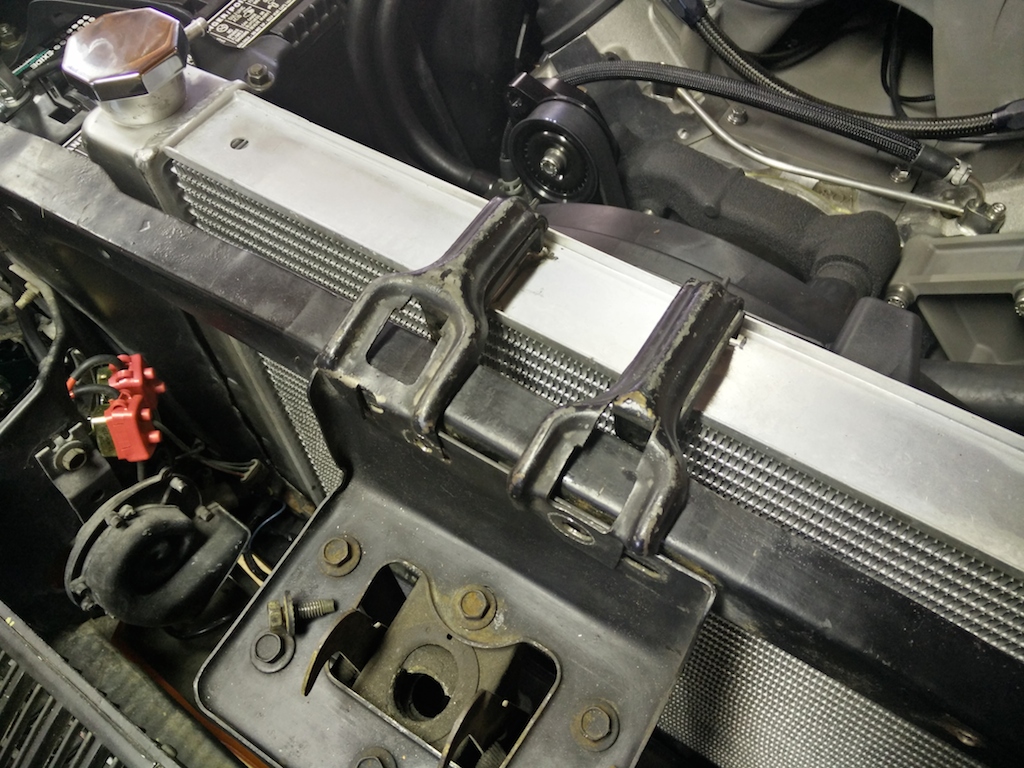
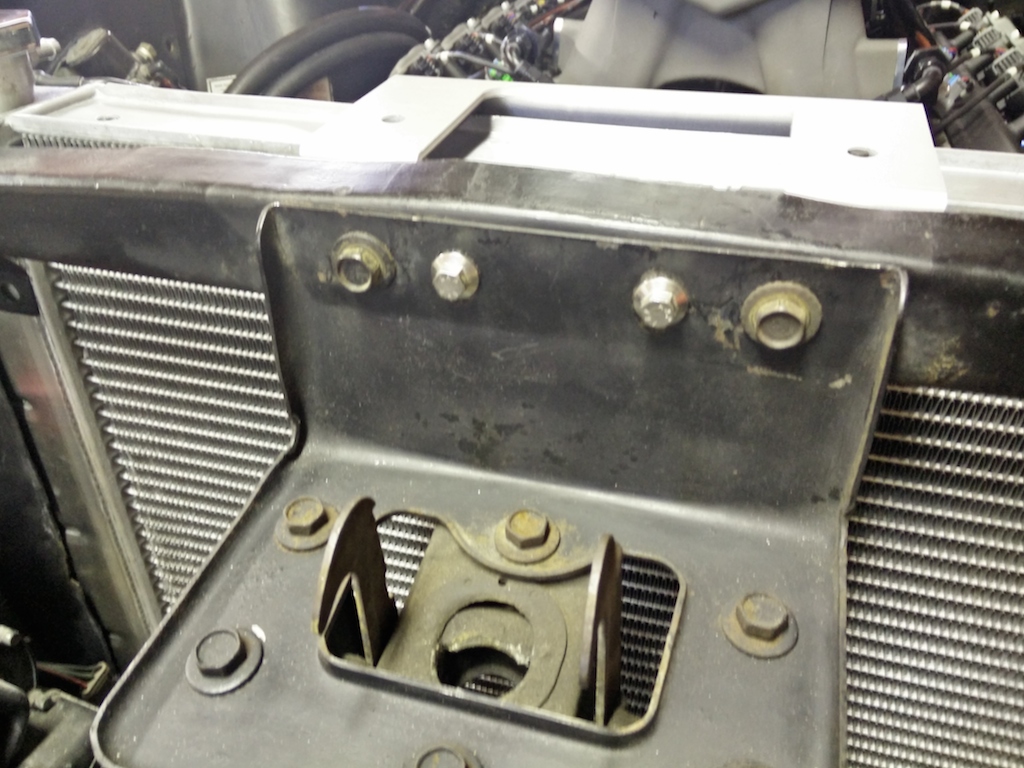
So I went looking for some alternative and found a really nice aluminum top mount for a 4 row radiator from Scott Drake products. I didn't know if it was going to work, but I figured if it needed to be adjusted, I can do that. Turns out the bracket was practically a bolt in. I just had to trim some ribs on my fan shroud.
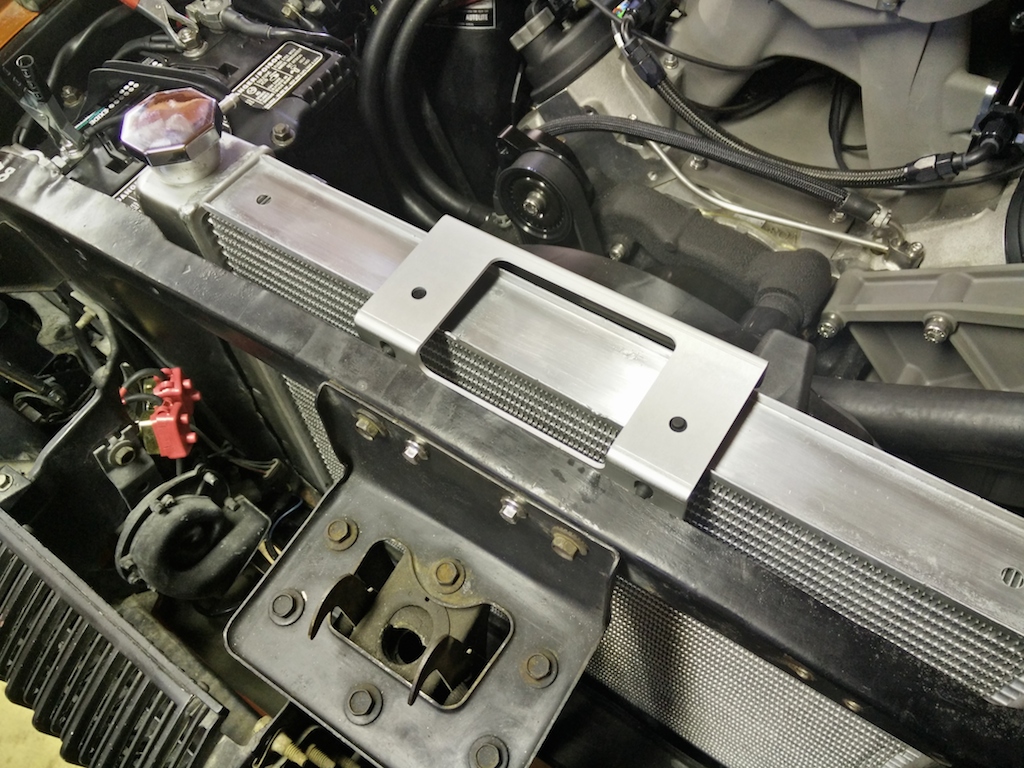
Even found some suitable ARP stainless bolts in the junk bolt bucket.
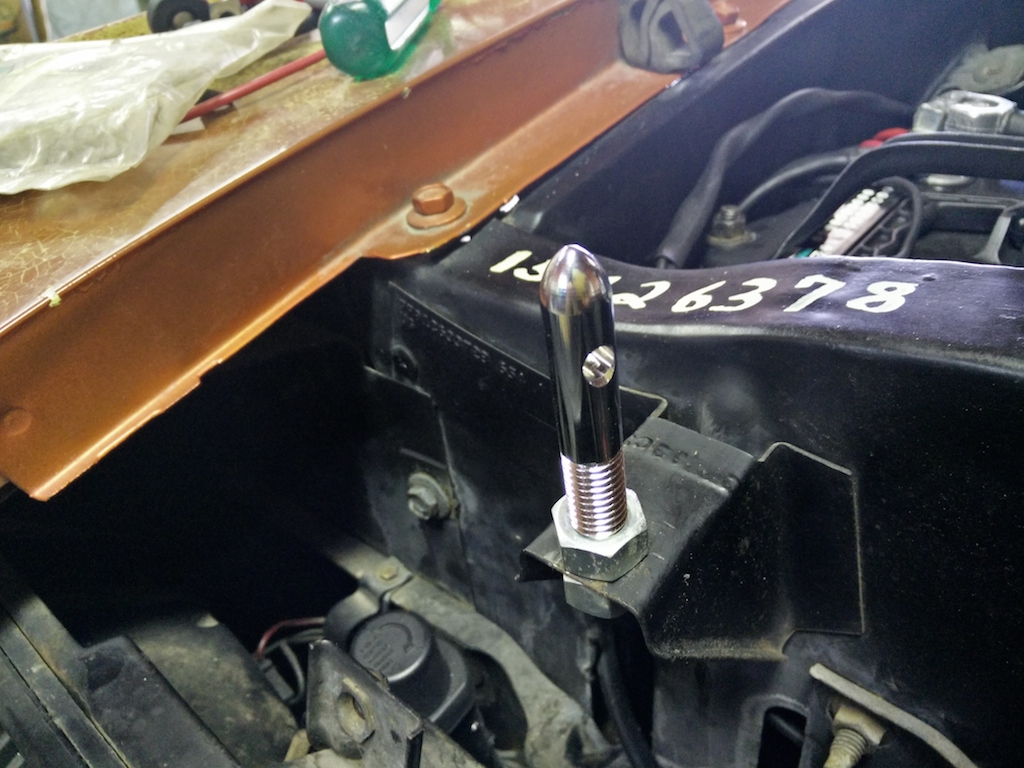
Another nagging eyesore that I could't stand looking anymore was the hole in the passenger side fender where the stock antenna used to live. The stock antenna was manually retraceable, but even fully collapsed it stuck out some.
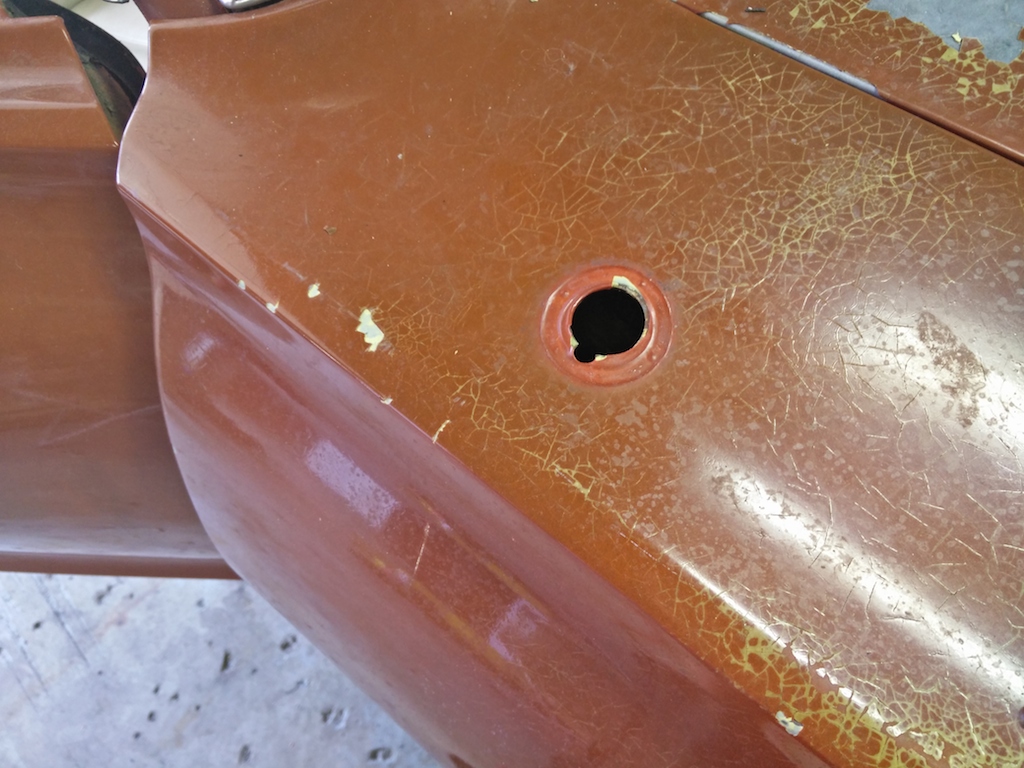
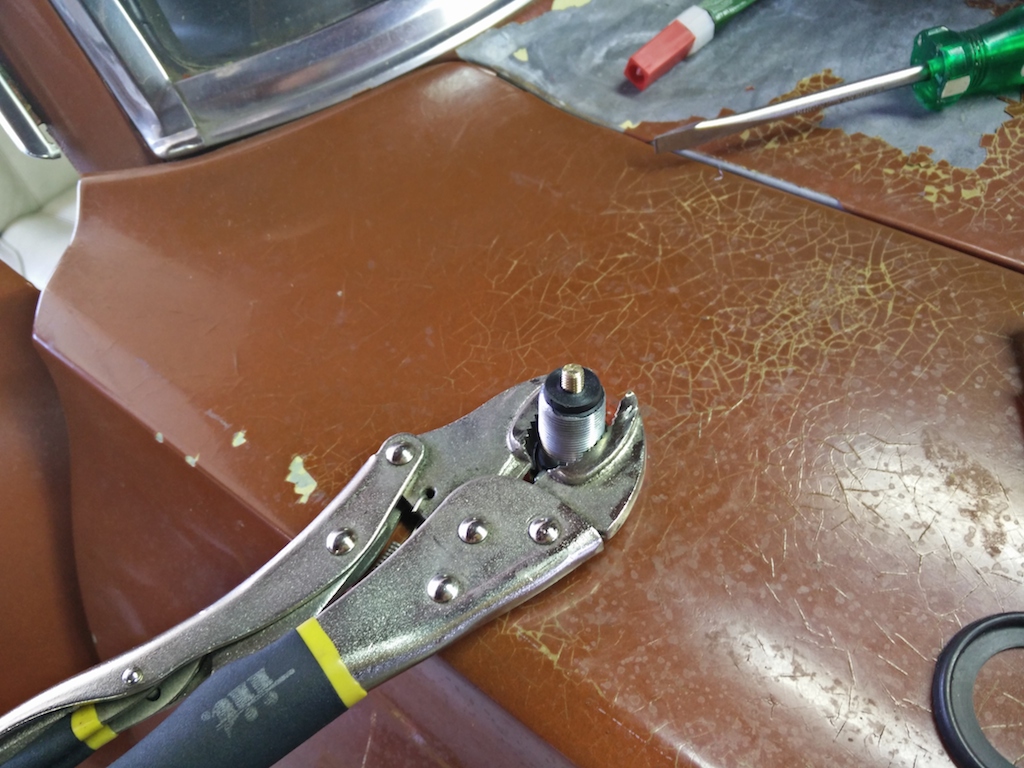
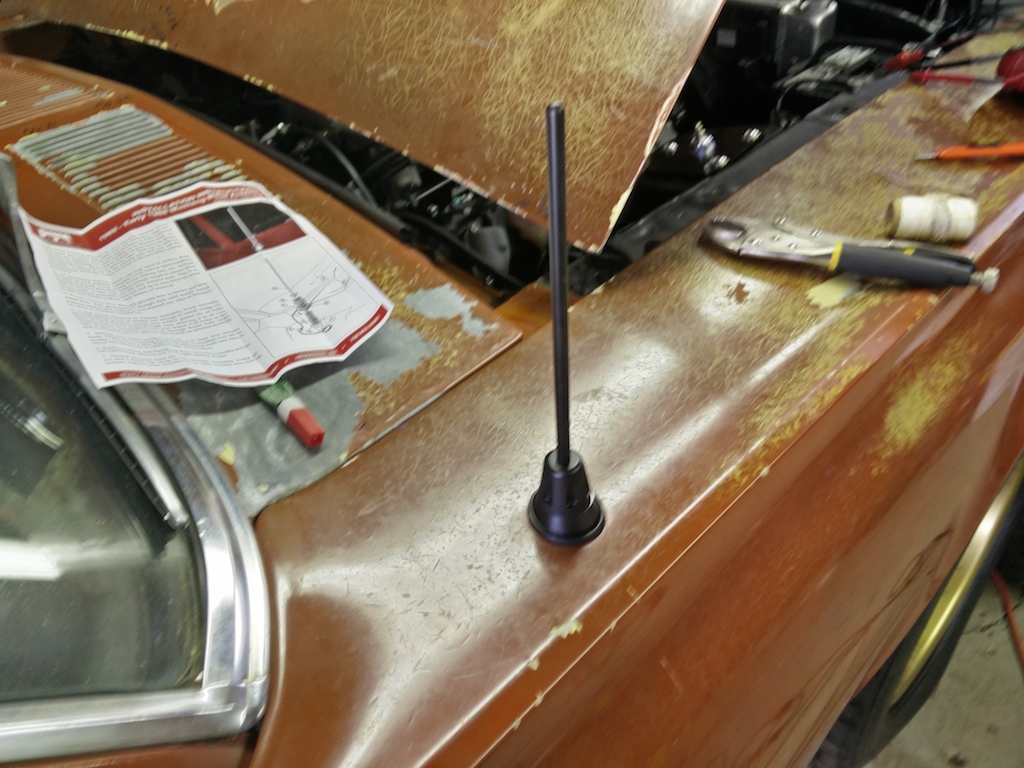
I didn't want to be fiddling with that so Scott Drake came to my rescue again. They make a really cool billet shorty antenna that mounts in the stock location. It was a lot of fun working through the hole in the fender trying to fish out the old antenna base that was still inside. Then I had to fish the new one into place, without dropping it inside and get a lower wedge mounted in place. I used a temporary "clamp."
Having a shiny billet antenna wouldn't really fit the build, so I sprayed it down with some black PlastiDip. Turned out pretty good.
Andrew
So I went looking for some alternative and found a really nice aluminum top mount for a 4 row radiator from Scott Drake products. I didn't know if it was going to work, but I figured if it needed to be adjusted, I can do that. Turns out the bracket was practically a bolt in. I just had to trim some ribs on my fan shroud.
Even found some suitable ARP stainless bolts in the junk bolt bucket.
Another nagging eyesore that I could't stand looking anymore was the hole in the passenger side fender where the stock antenna used to live. The stock antenna was manually retraceable, but even fully collapsed it stuck out some.
I didn't want to be fiddling with that so Scott Drake came to my rescue again. They make a really cool billet shorty antenna that mounts in the stock location. It was a lot of fun working through the hole in the fender trying to fish out the old antenna base that was still inside. Then I had to fish the new one into place, without dropping it inside and get a lower wedge mounted in place. I used a temporary "clamp."
Having a shiny billet antenna wouldn't really fit the build, so I sprayed it down with some black PlastiDip. Turned out pretty good.
Andrew
06-25-2015, 04:41 PM
#519
TECH Senior Member
Thread Starter
iTrader: (7)
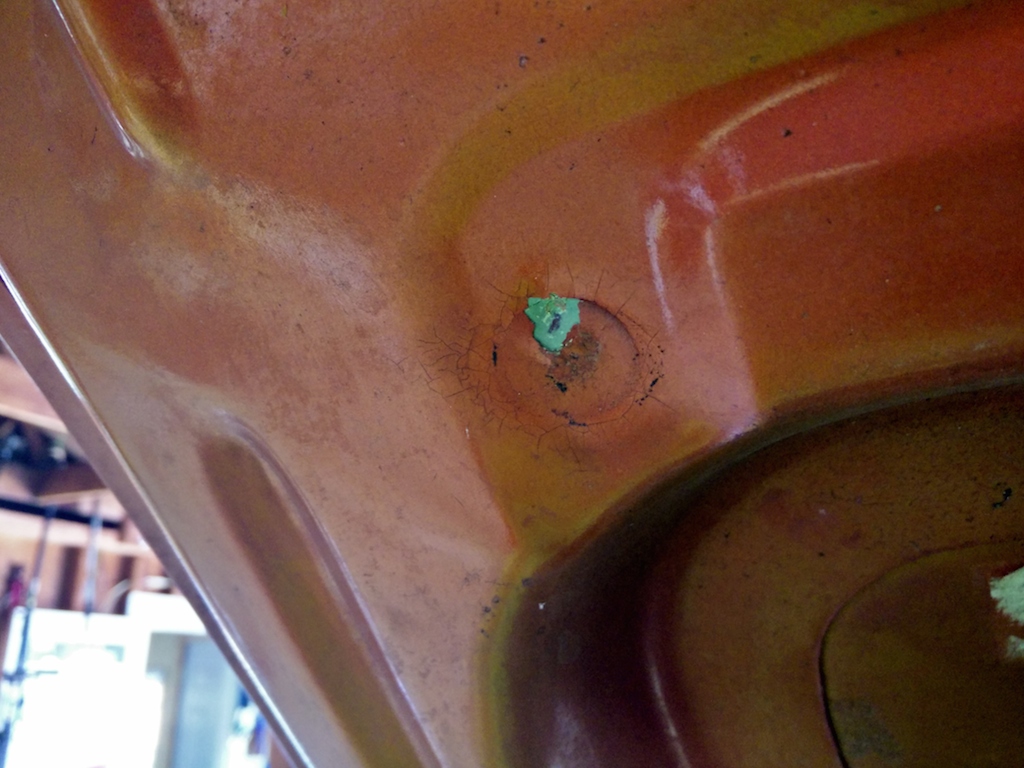
A while back, while looking through the boxes that came with the car, I ran across a set of hood pins (2 sets actually). I have always wanted a car with hood pins, so this seemed like the perfect opportunity. It's not like I have pristine paint to worry about and the hood already has a giant hole in it, so what's a few more holes.
I did a little looking around and figured the best place to mount them would be where the stock hood bumpers were mounted.
I took out the u-bolts, enlarged the hole a little, and BAM!
Here is the awesome part. The instructions that came with the kit actually said to slam the hood down hard enough so that the pins would act as a center punch and mark the hole location. I figured, OK!!!???
So I put the hood down a few inches above the pins and gave it a nice whack...
Worked pretty good. Then I used a stepped drill bit (love them!) to make the 3/4" hole that the instructions called for.
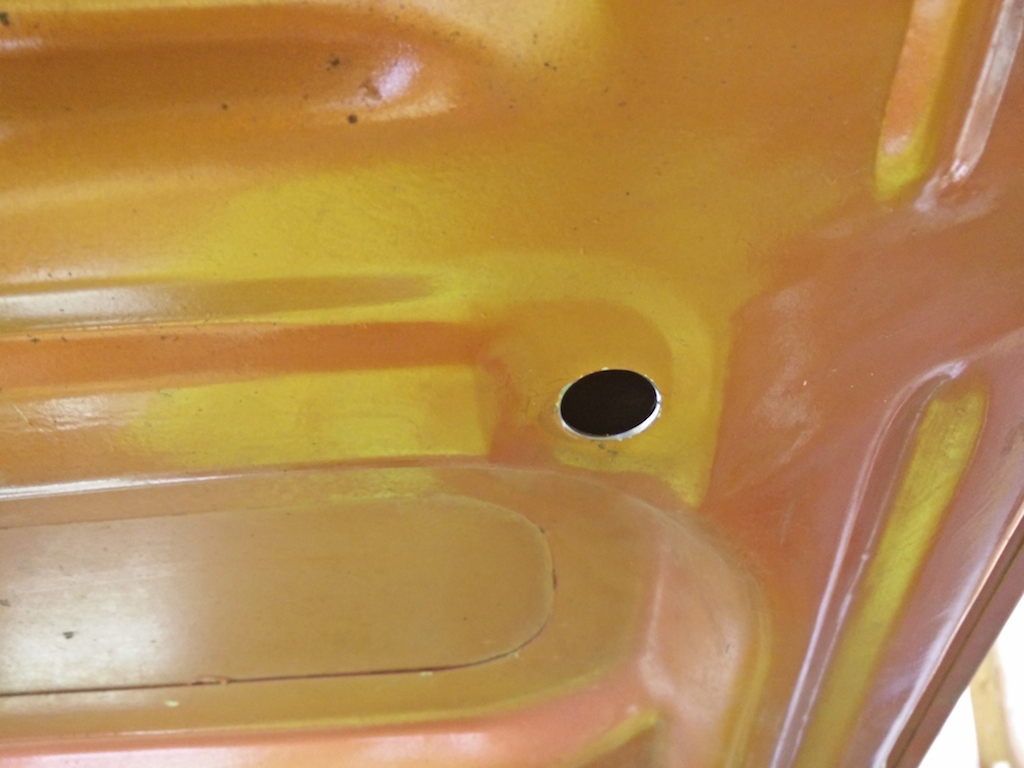
Once the inner hood support was drilled out the process of dropping the hood down was repeated to center punch the location of the hole in the top skin of the hood. So BAM...BAM...Marked my holes, drilled them out.
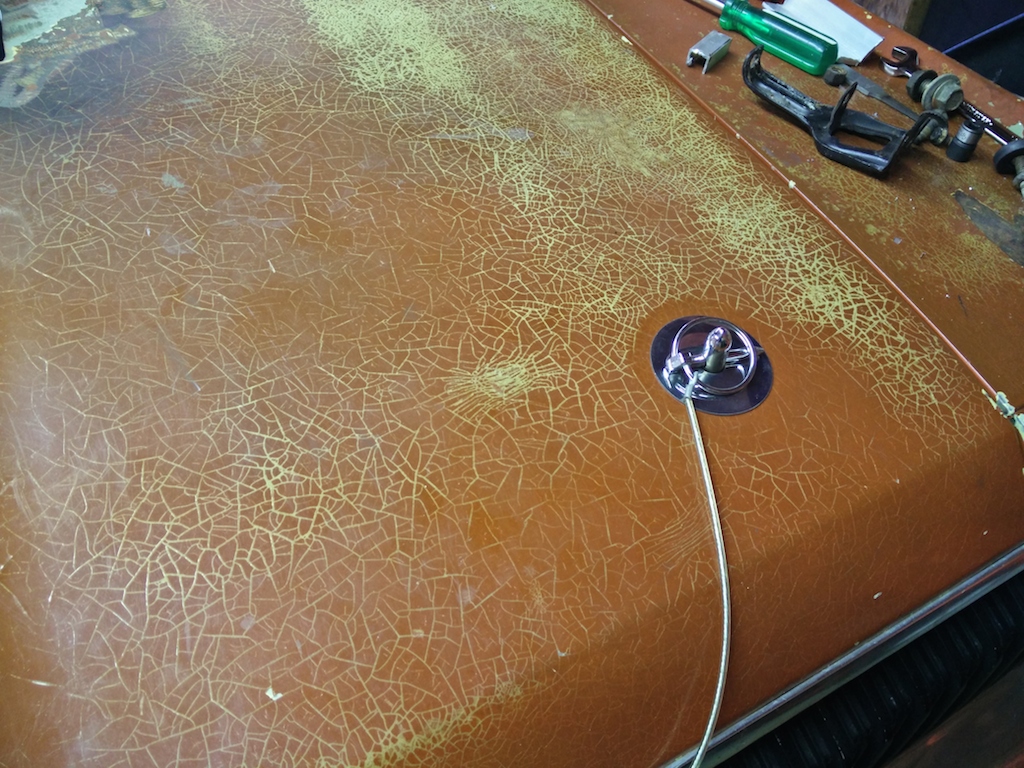
I attached the ends of the pin cables so they wouldn't interfere with the headlight covers and called it good.
Andrew
I did a little looking around and figured the best place to mount them would be where the stock hood bumpers were mounted.
I took out the u-bolts, enlarged the hole a little, and BAM!
Here is the awesome part. The instructions that came with the kit actually said to slam the hood down hard enough so that the pins would act as a center punch and mark the hole location. I figured, OK!!!???
So I put the hood down a few inches above the pins and gave it a nice whack...
Worked pretty good. Then I used a stepped drill bit (love them!) to make the 3/4" hole that the instructions called for.
Once the inner hood support was drilled out the process of dropping the hood down was repeated to center punch the location of the hole in the top skin of the hood. So BAM...BAM...Marked my holes, drilled them out.
I attached the ends of the pin cables so they wouldn't interfere with the headlight covers and called it good.
Andrew
06-26-2015, 07:41 PM
#520
TECH Senior Member
Thread Starter
iTrader: (7)
Today was a big day, but first some arts and crafts...
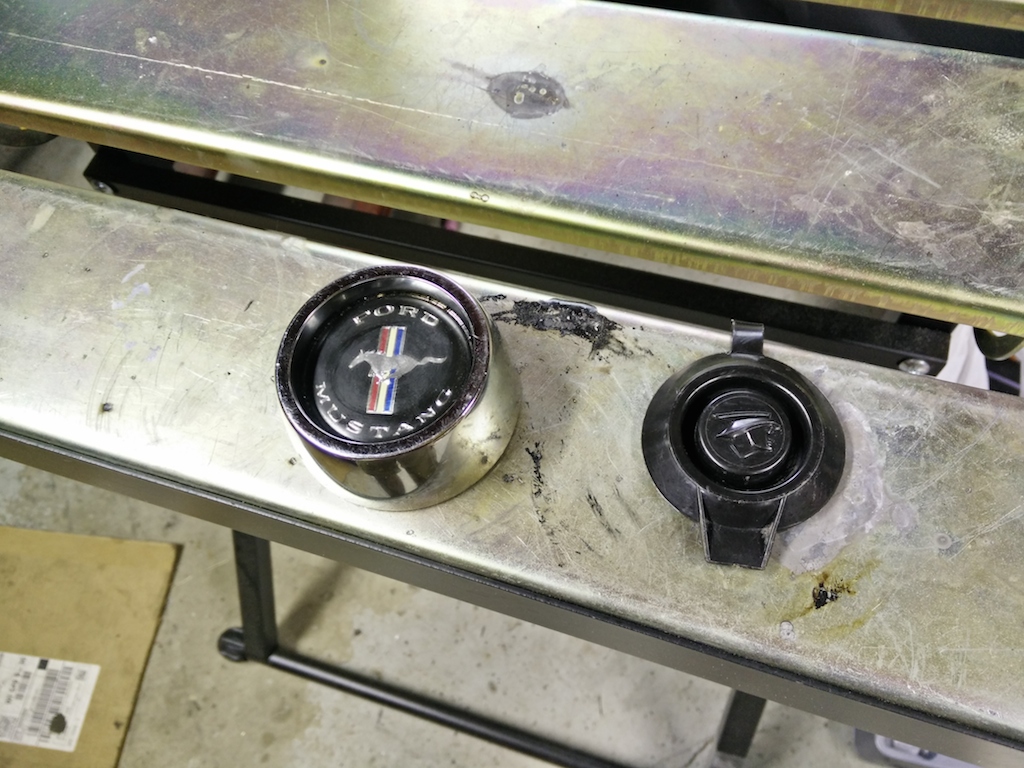
I have a Grant steering wheel in the Cougar, but it has this ridiculous prancing pony center cap. Not that I have anything against Mustangs, but this isn't a Mustang. A while back you might recall that I installed the washer fluid reservoir and it had this really cool looking Mercury Man logo. Well, I got to thinking that perhaps I can do something about this.
I got this idea from Dave, who is building a super cool Impala:
https://ls1tech.com/forums/conversio...-5-3-swap.html
His build thread is full of custom gems.
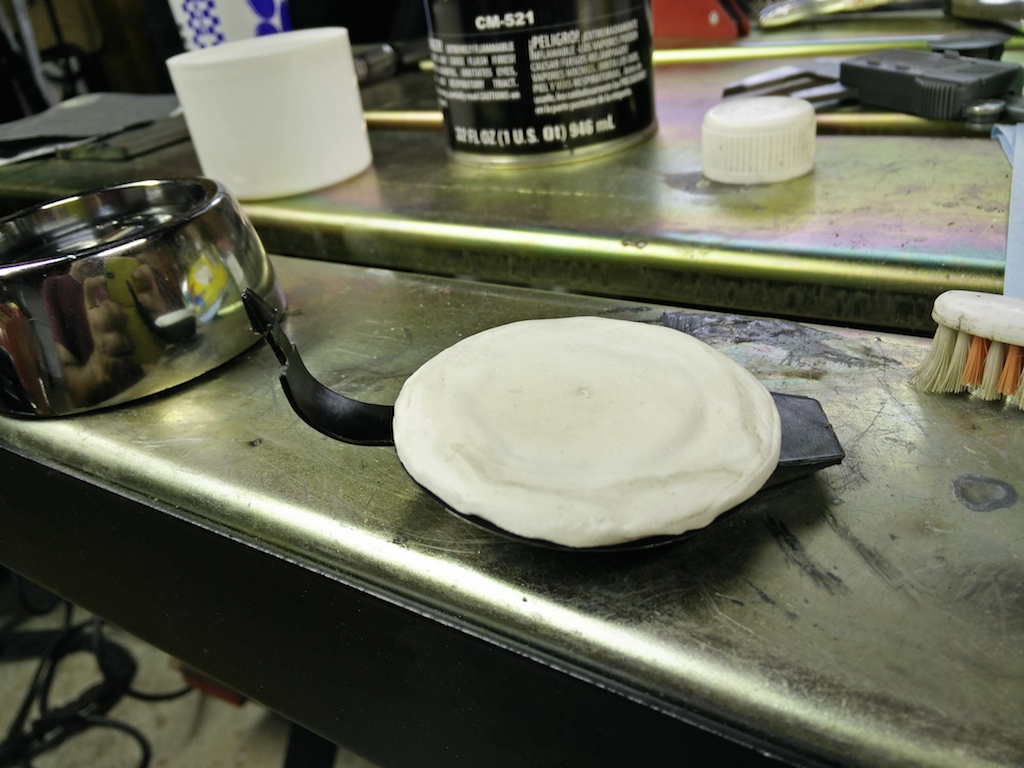
I went to Hobby Lobby and got some supplies. First order of business was to add some height to the cap. I used playdoh for that.
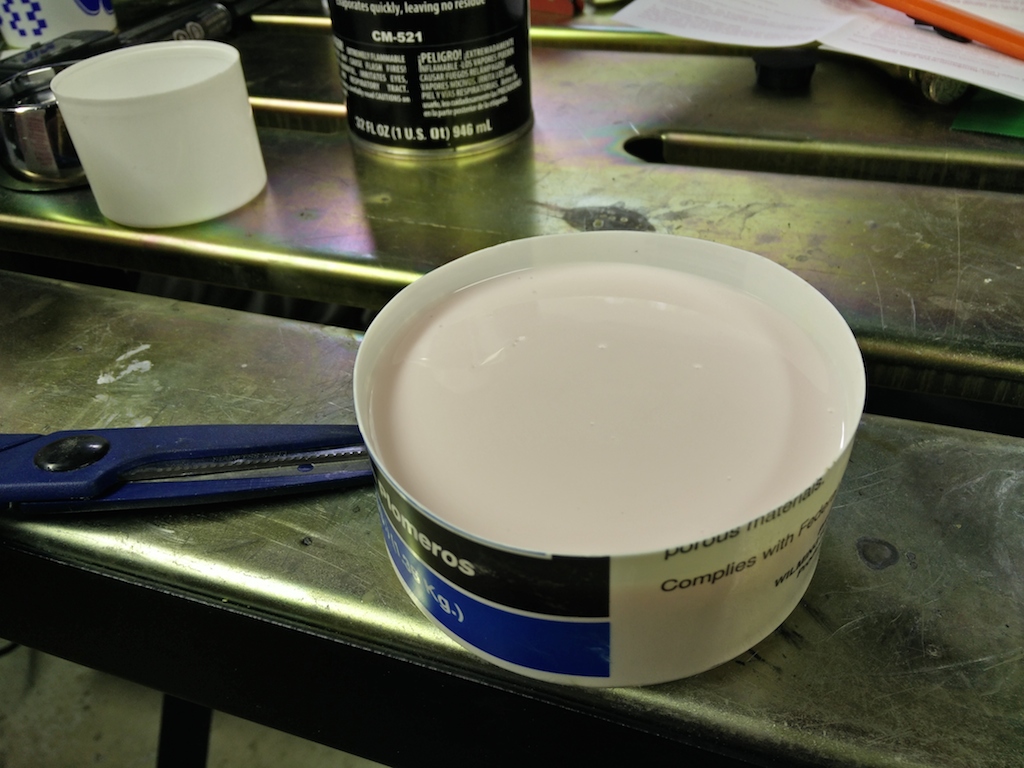
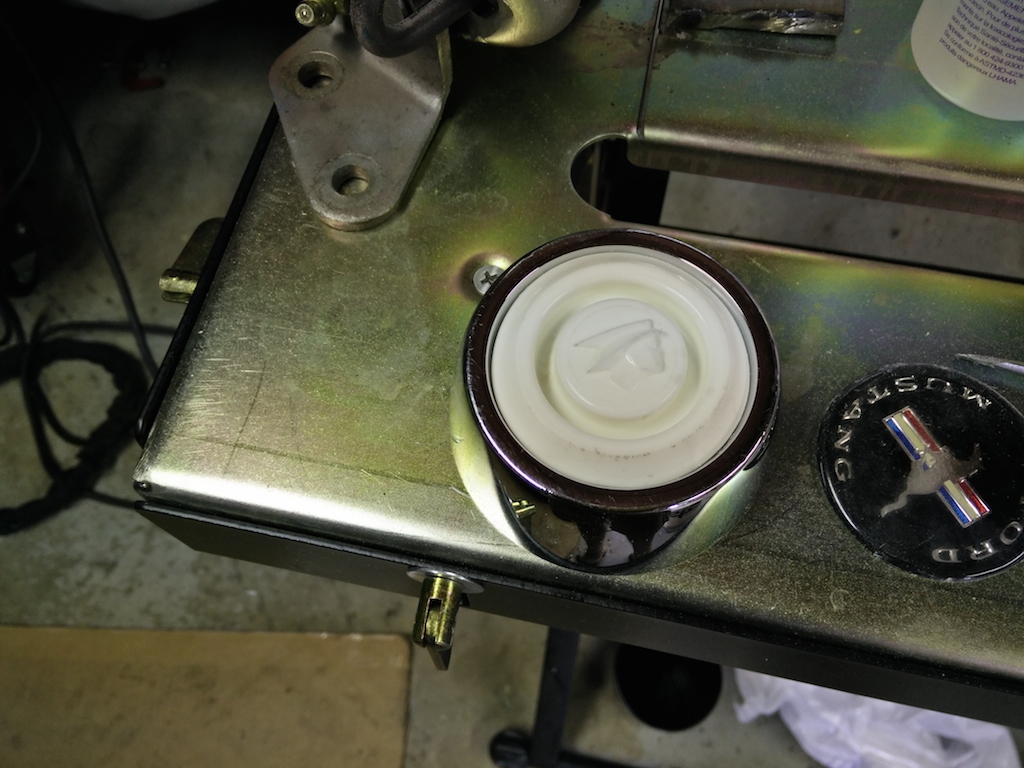
Then to find a suitable container and place the cap inside.
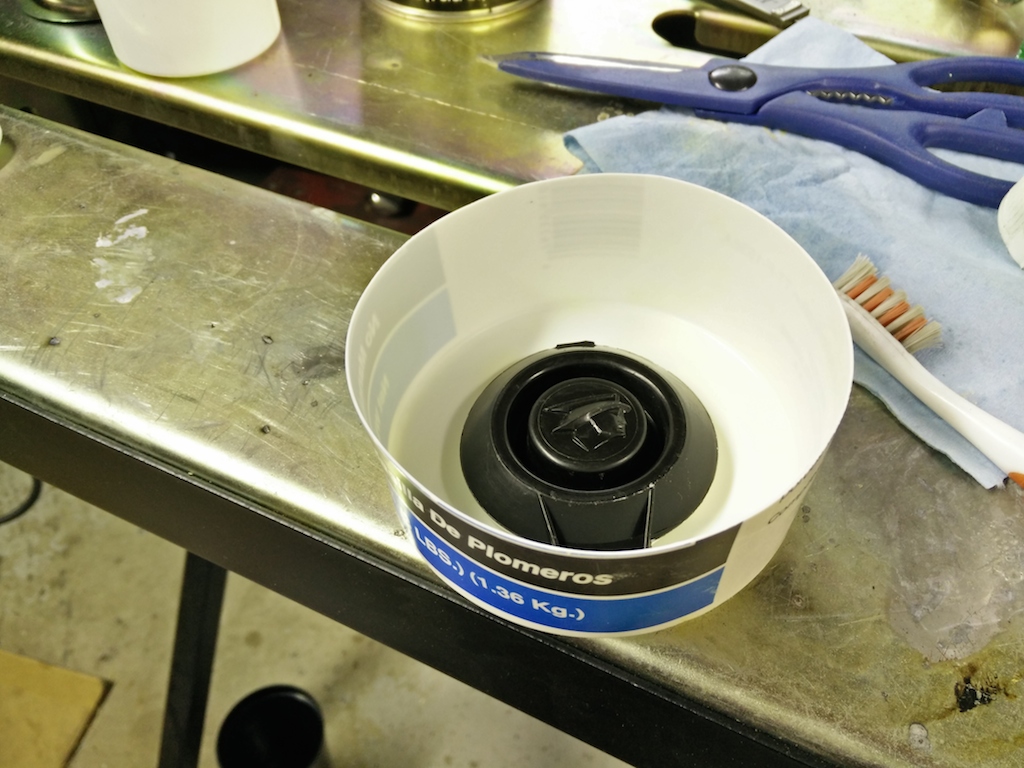
I then mixed up some rubber mold making stuff and poured it into the container.
After an anxious 30 minutes I removed the mold from the container and popped out the washer cap.
Next, I mixed up some 2-part resin and poured it into the mold.
After 15 minutes, I took the part out of the mold.
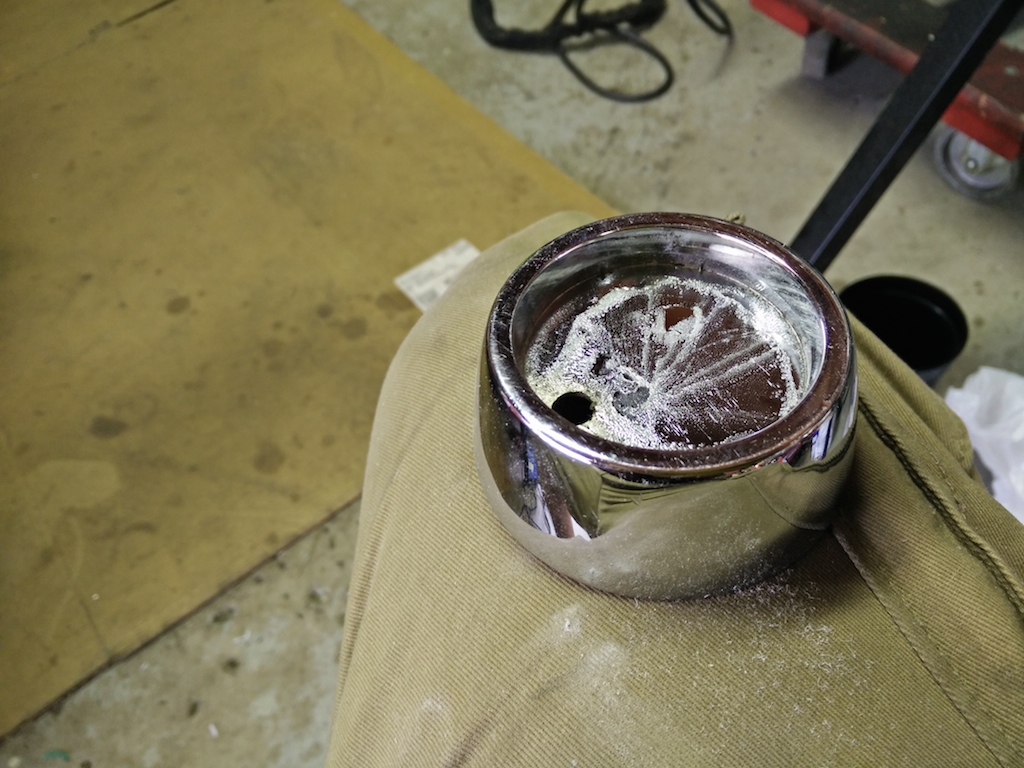
The prancing pony logo was just a decal, so I got it out and cleaned the steering wheel center cap.
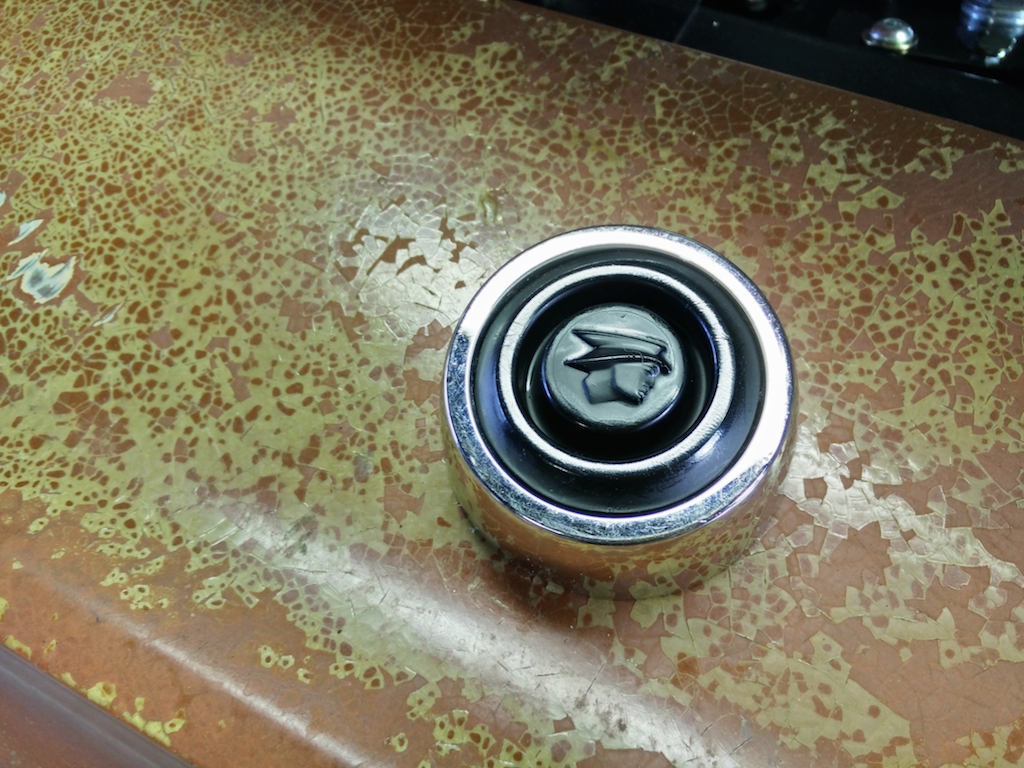
After about 30 minutes with the belt sander I had a custom Mercury Man logo for the steering wheel.
I sprayed a light coat of primer and some black paint to finish it off.
It turned out pretty good, but the paint made some of the detail disappear. The resin is supposedly tintable, so I may try to mold another one with black resin. This will give more detail and I won't have to worry about chipping the paint.
Oh....and I drove the car around the block...
Andrew
I have a Grant steering wheel in the Cougar, but it has this ridiculous prancing pony center cap. Not that I have anything against Mustangs, but this isn't a Mustang. A while back you might recall that I installed the washer fluid reservoir and it had this really cool looking Mercury Man logo. Well, I got to thinking that perhaps I can do something about this.
I got this idea from Dave, who is building a super cool Impala:
https://ls1tech.com/forums/conversio...-5-3-swap.html
His build thread is full of custom gems.
I went to Hobby Lobby and got some supplies. First order of business was to add some height to the cap. I used playdoh for that.
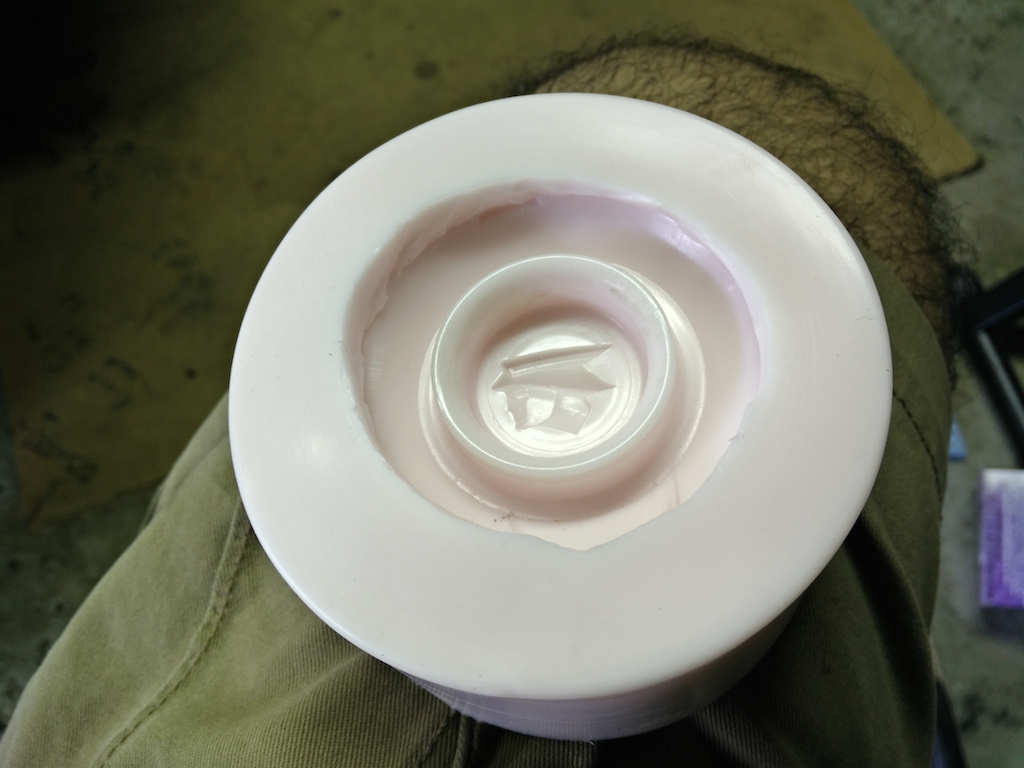
Then to find a suitable container and place the cap inside.
I then mixed up some rubber mold making stuff and poured it into the container.
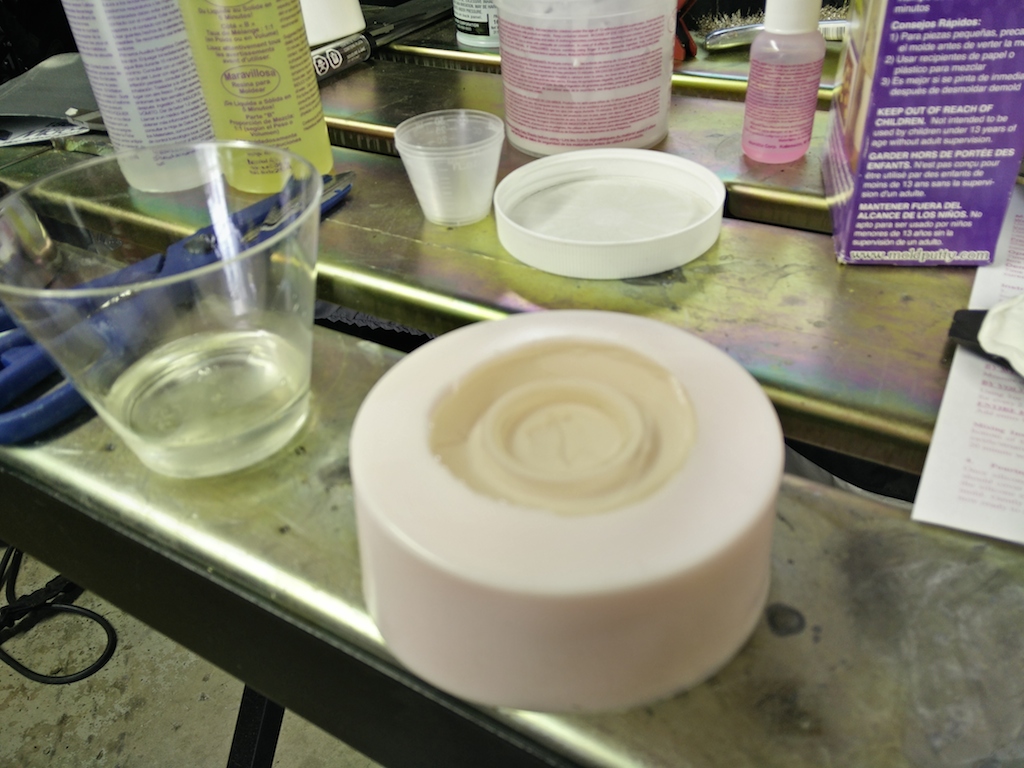
After an anxious 30 minutes I removed the mold from the container and popped out the washer cap.
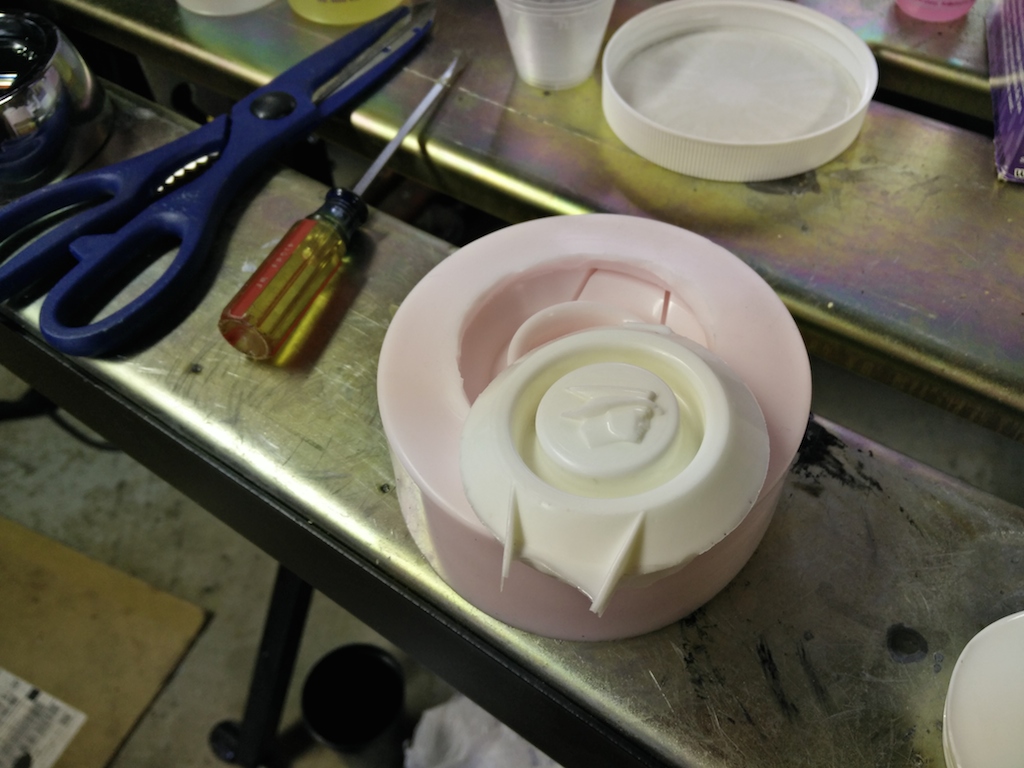
Next, I mixed up some 2-part resin and poured it into the mold.
After 15 minutes, I took the part out of the mold.
The prancing pony logo was just a decal, so I got it out and cleaned the steering wheel center cap.
After about 30 minutes with the belt sander I had a custom Mercury Man logo for the steering wheel.
I sprayed a light coat of primer and some black paint to finish it off.
It turned out pretty good, but the paint made some of the detail disappear. The resin is supposedly tintable, so I may try to mold another one with black resin. This will give more detail and I won't have to worry about chipping the paint.
Oh....and I drove the car around the block...
Andrew