


57 Nomad Project

Thread Starter
TECH Fanatic


Joined: Jul 2008
Posts: 1,570
Likes: 173
Thread Starter
TECH Fanatic
Joined: Jul 2008
Posts: 1,570
Likes: 173
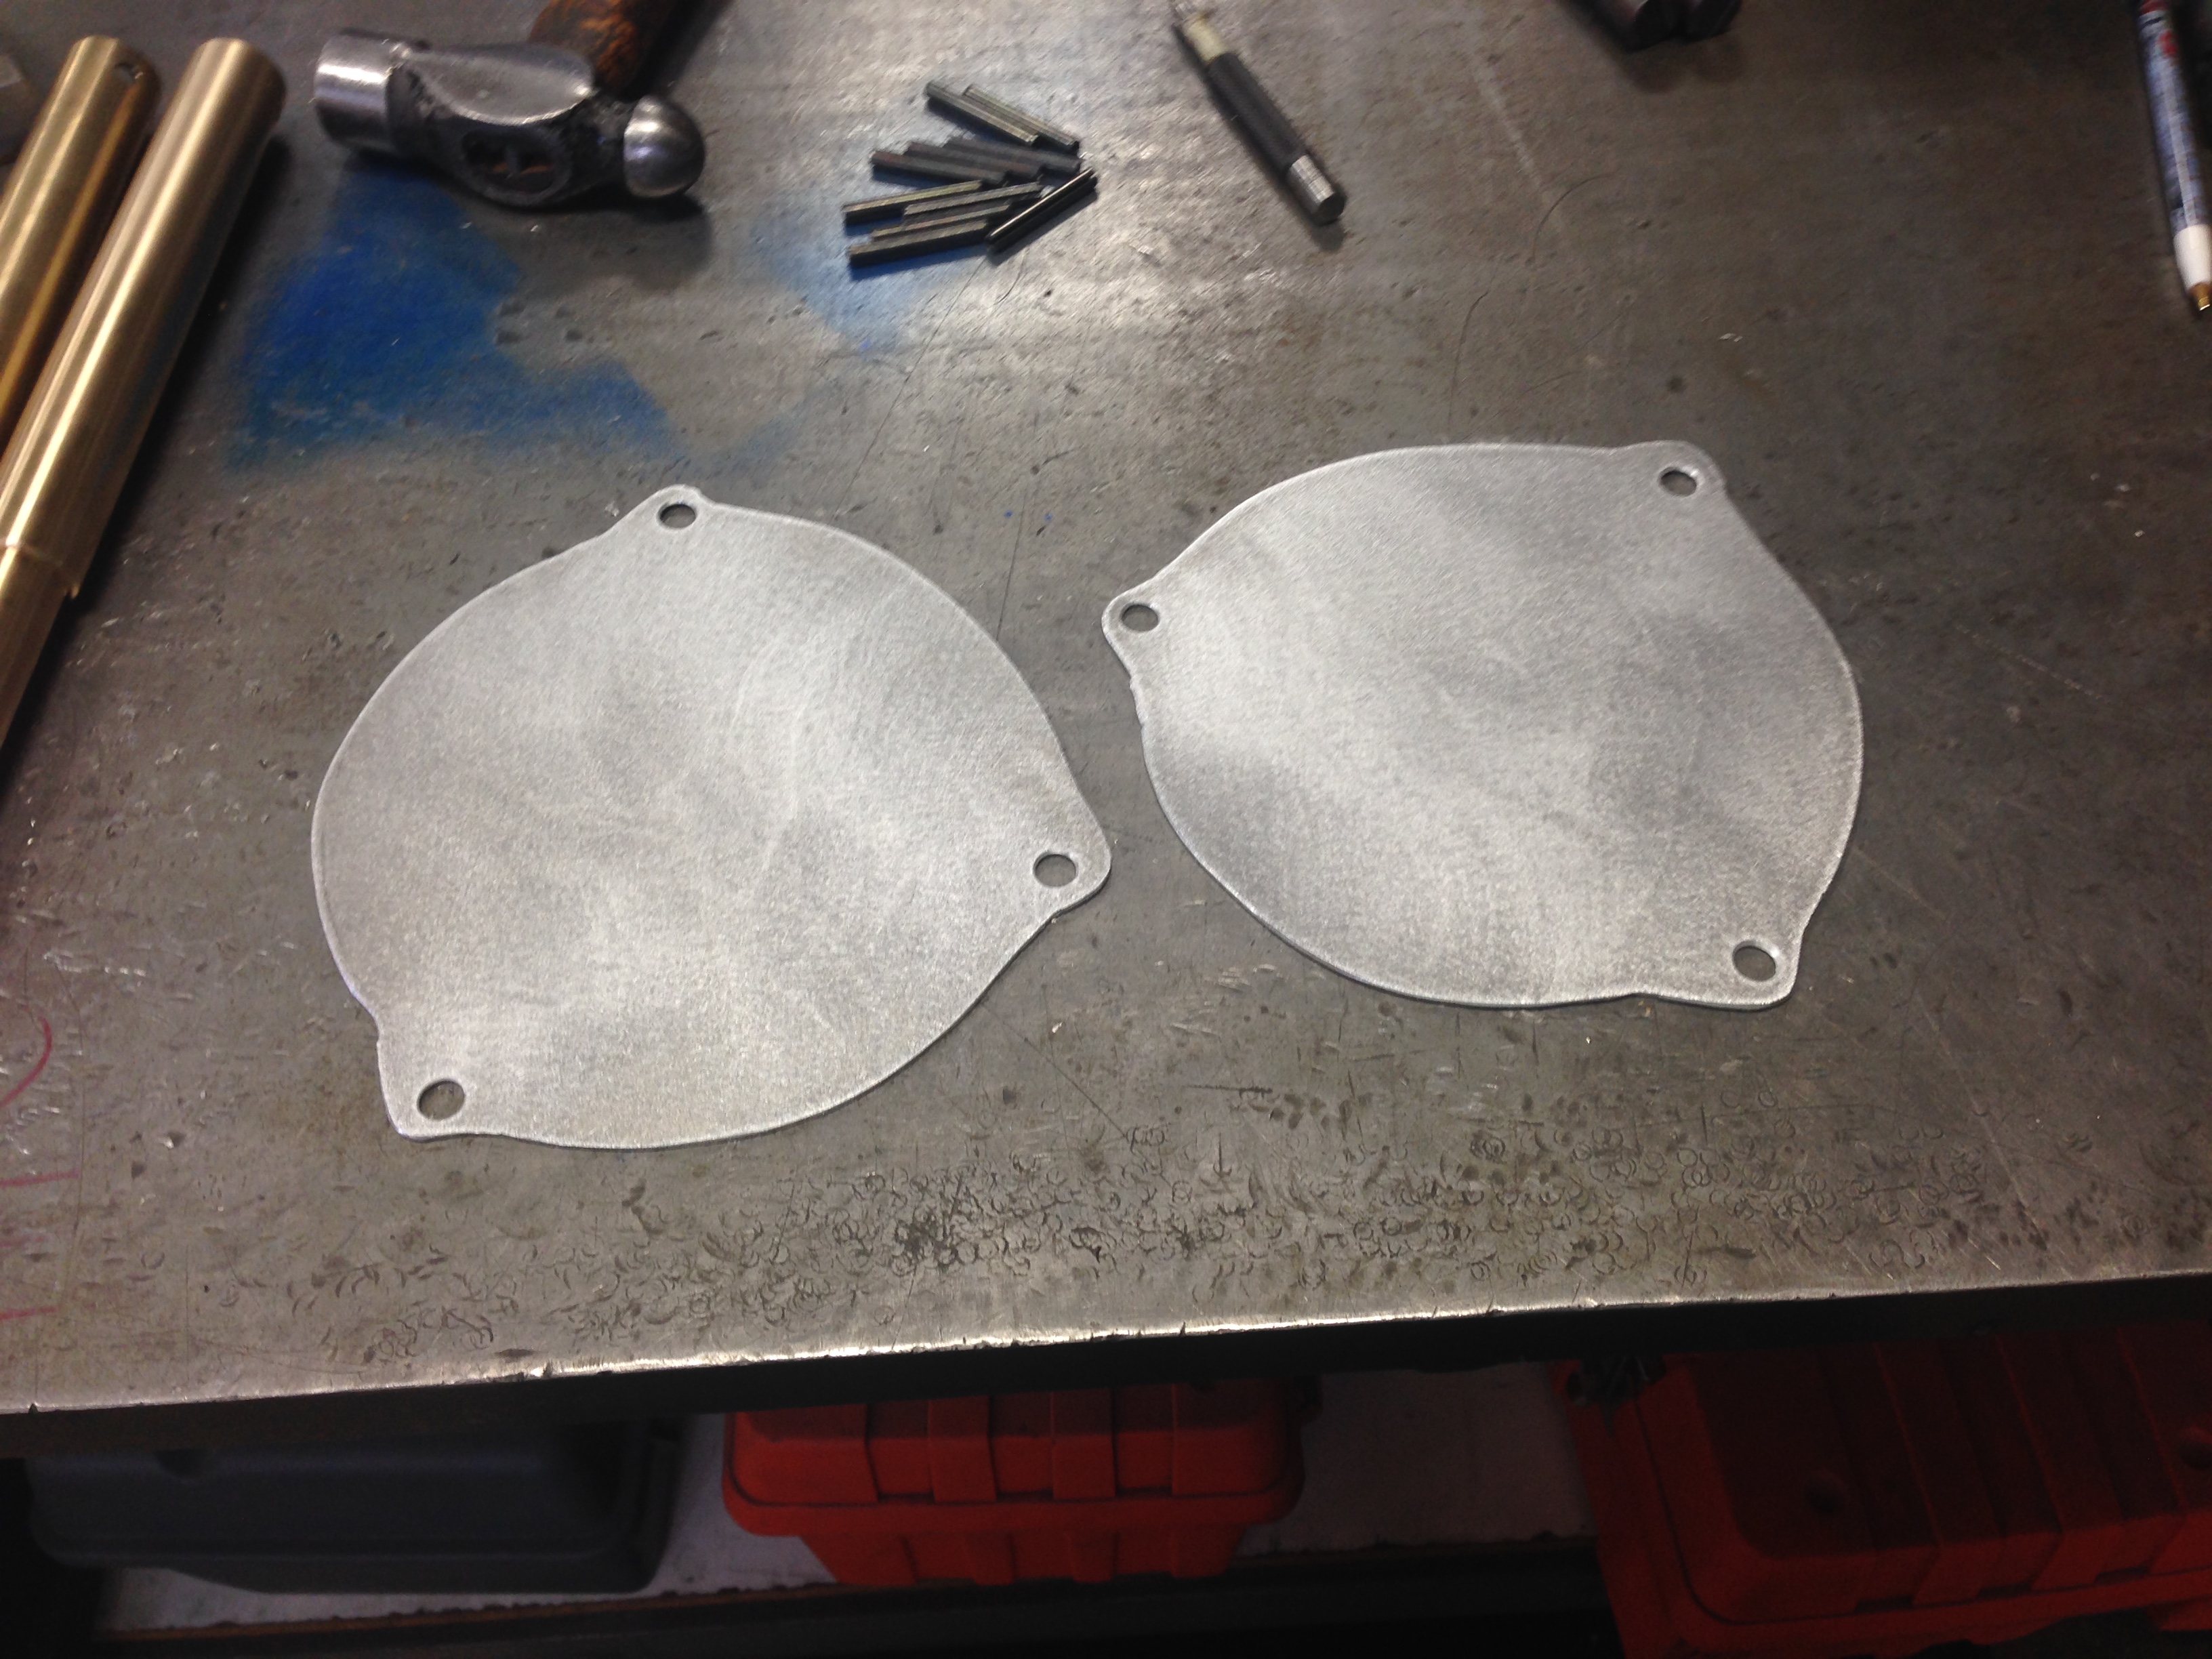
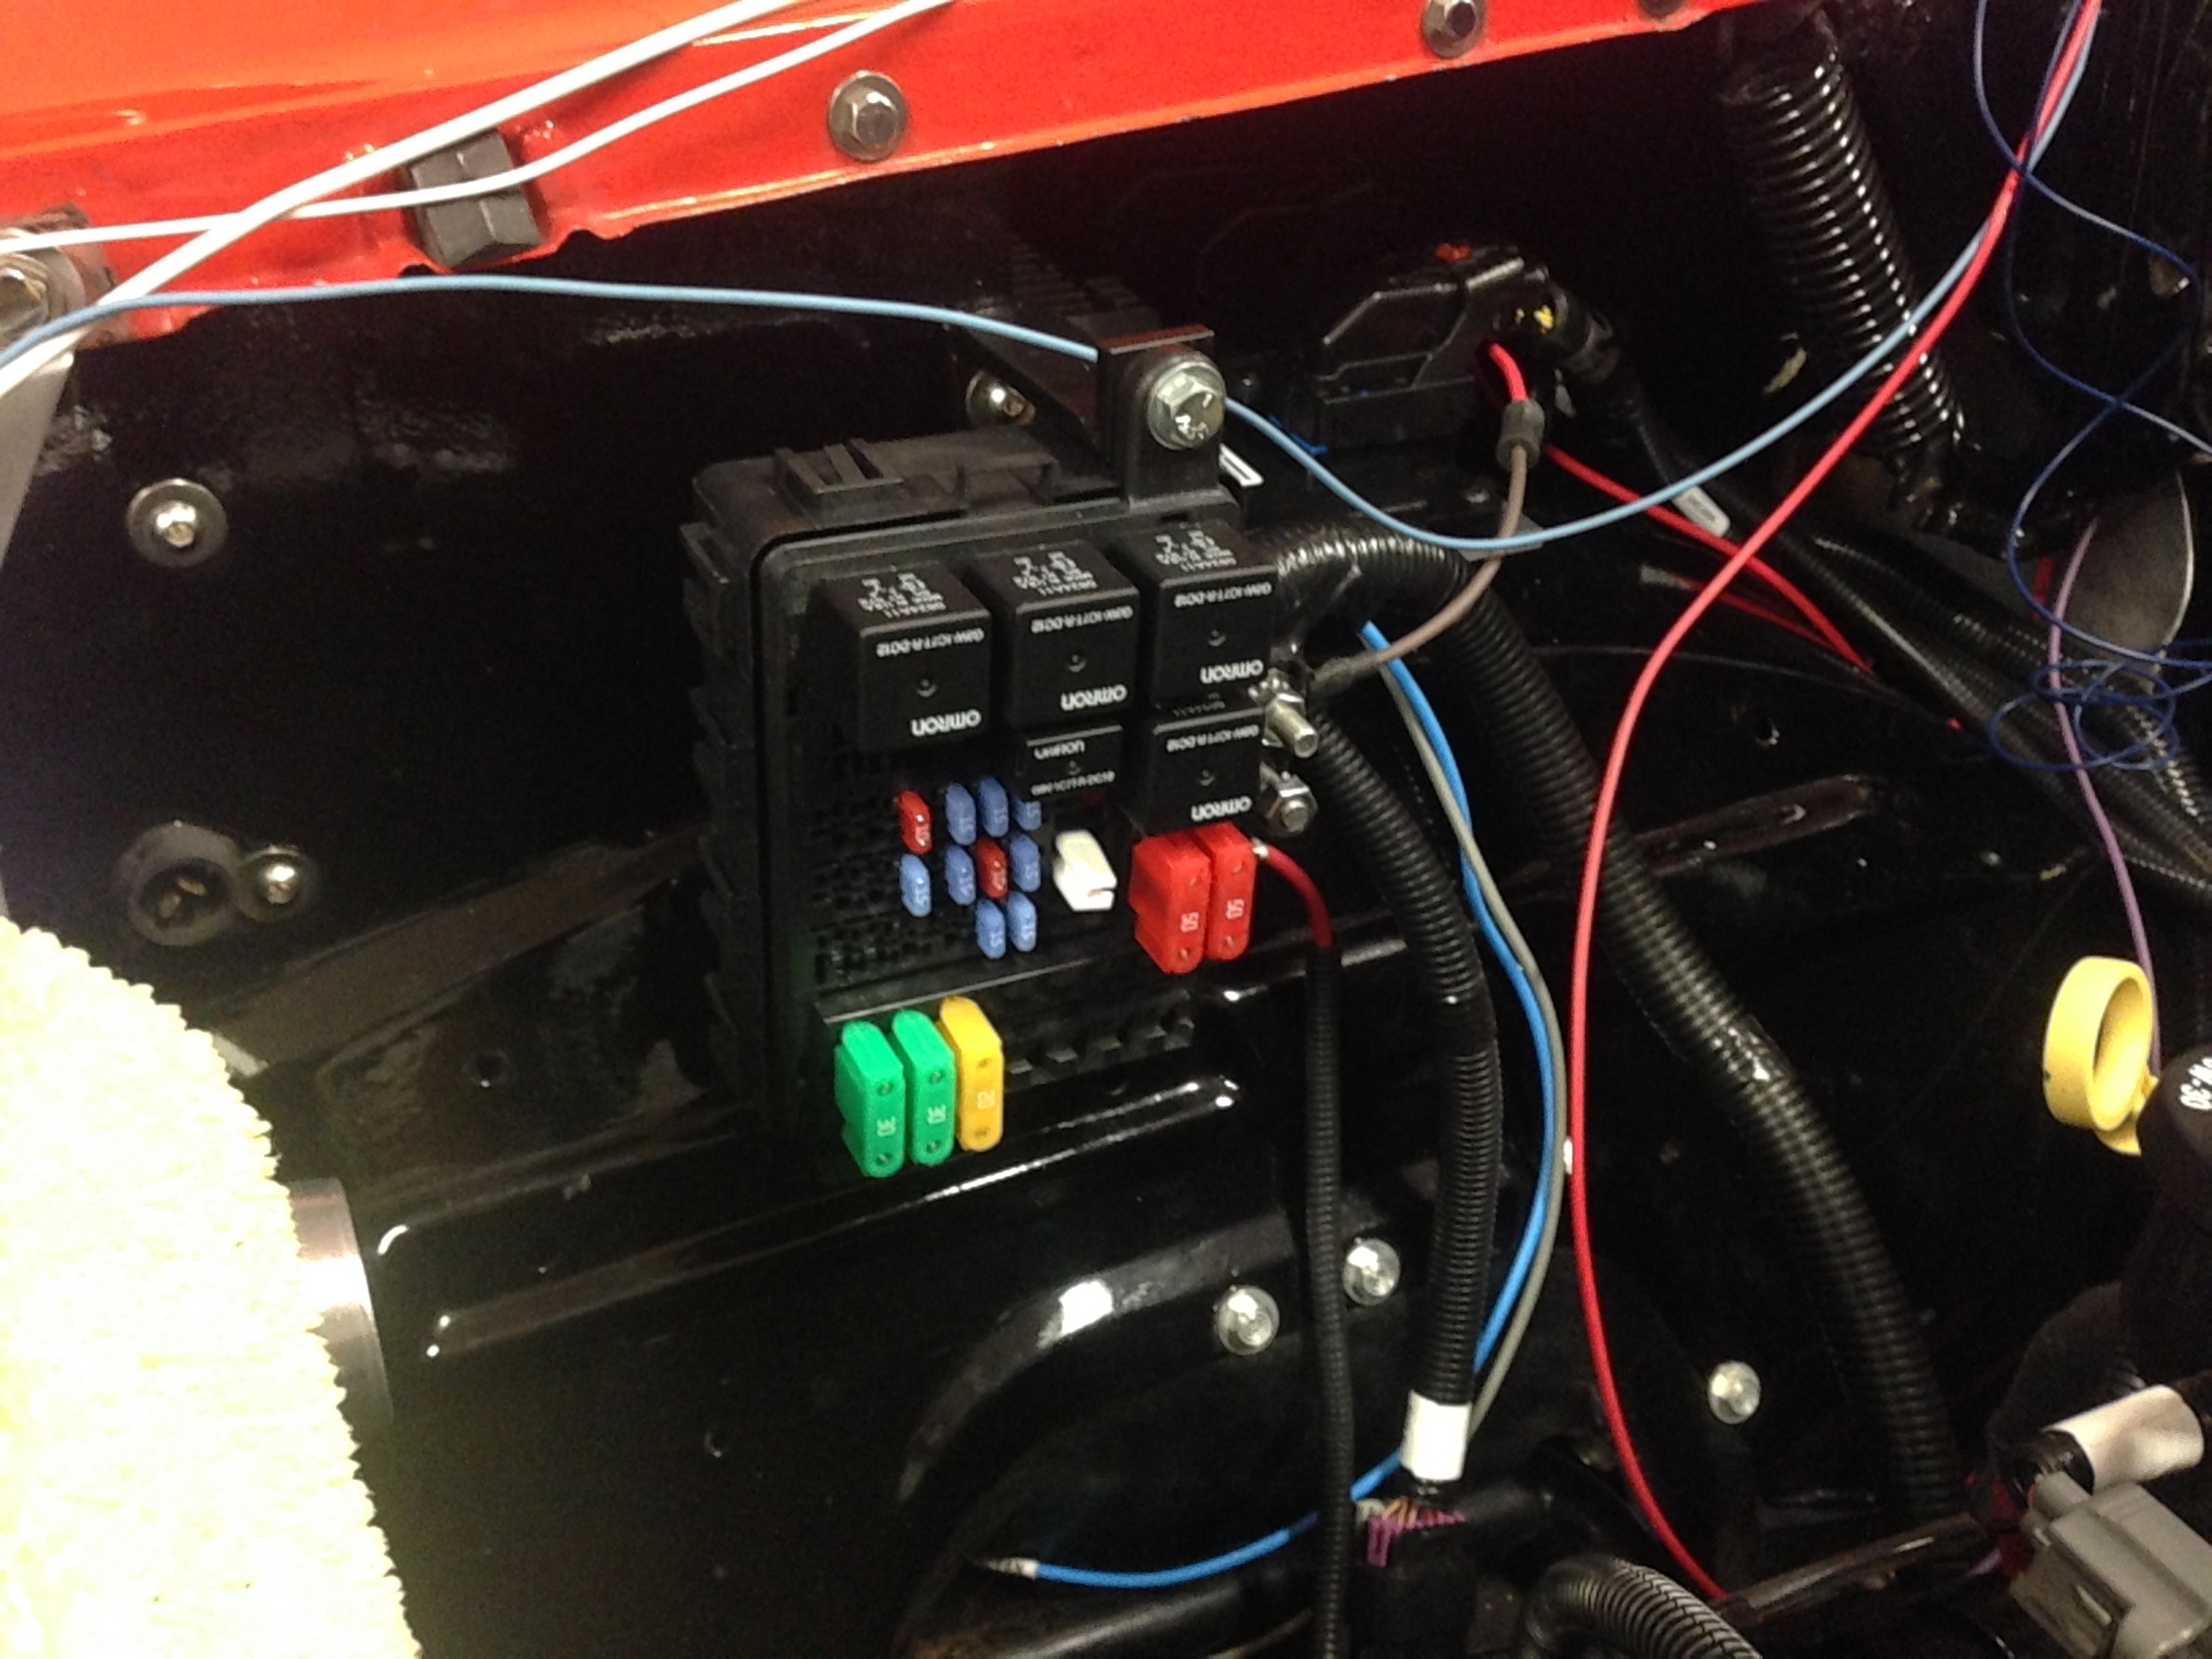
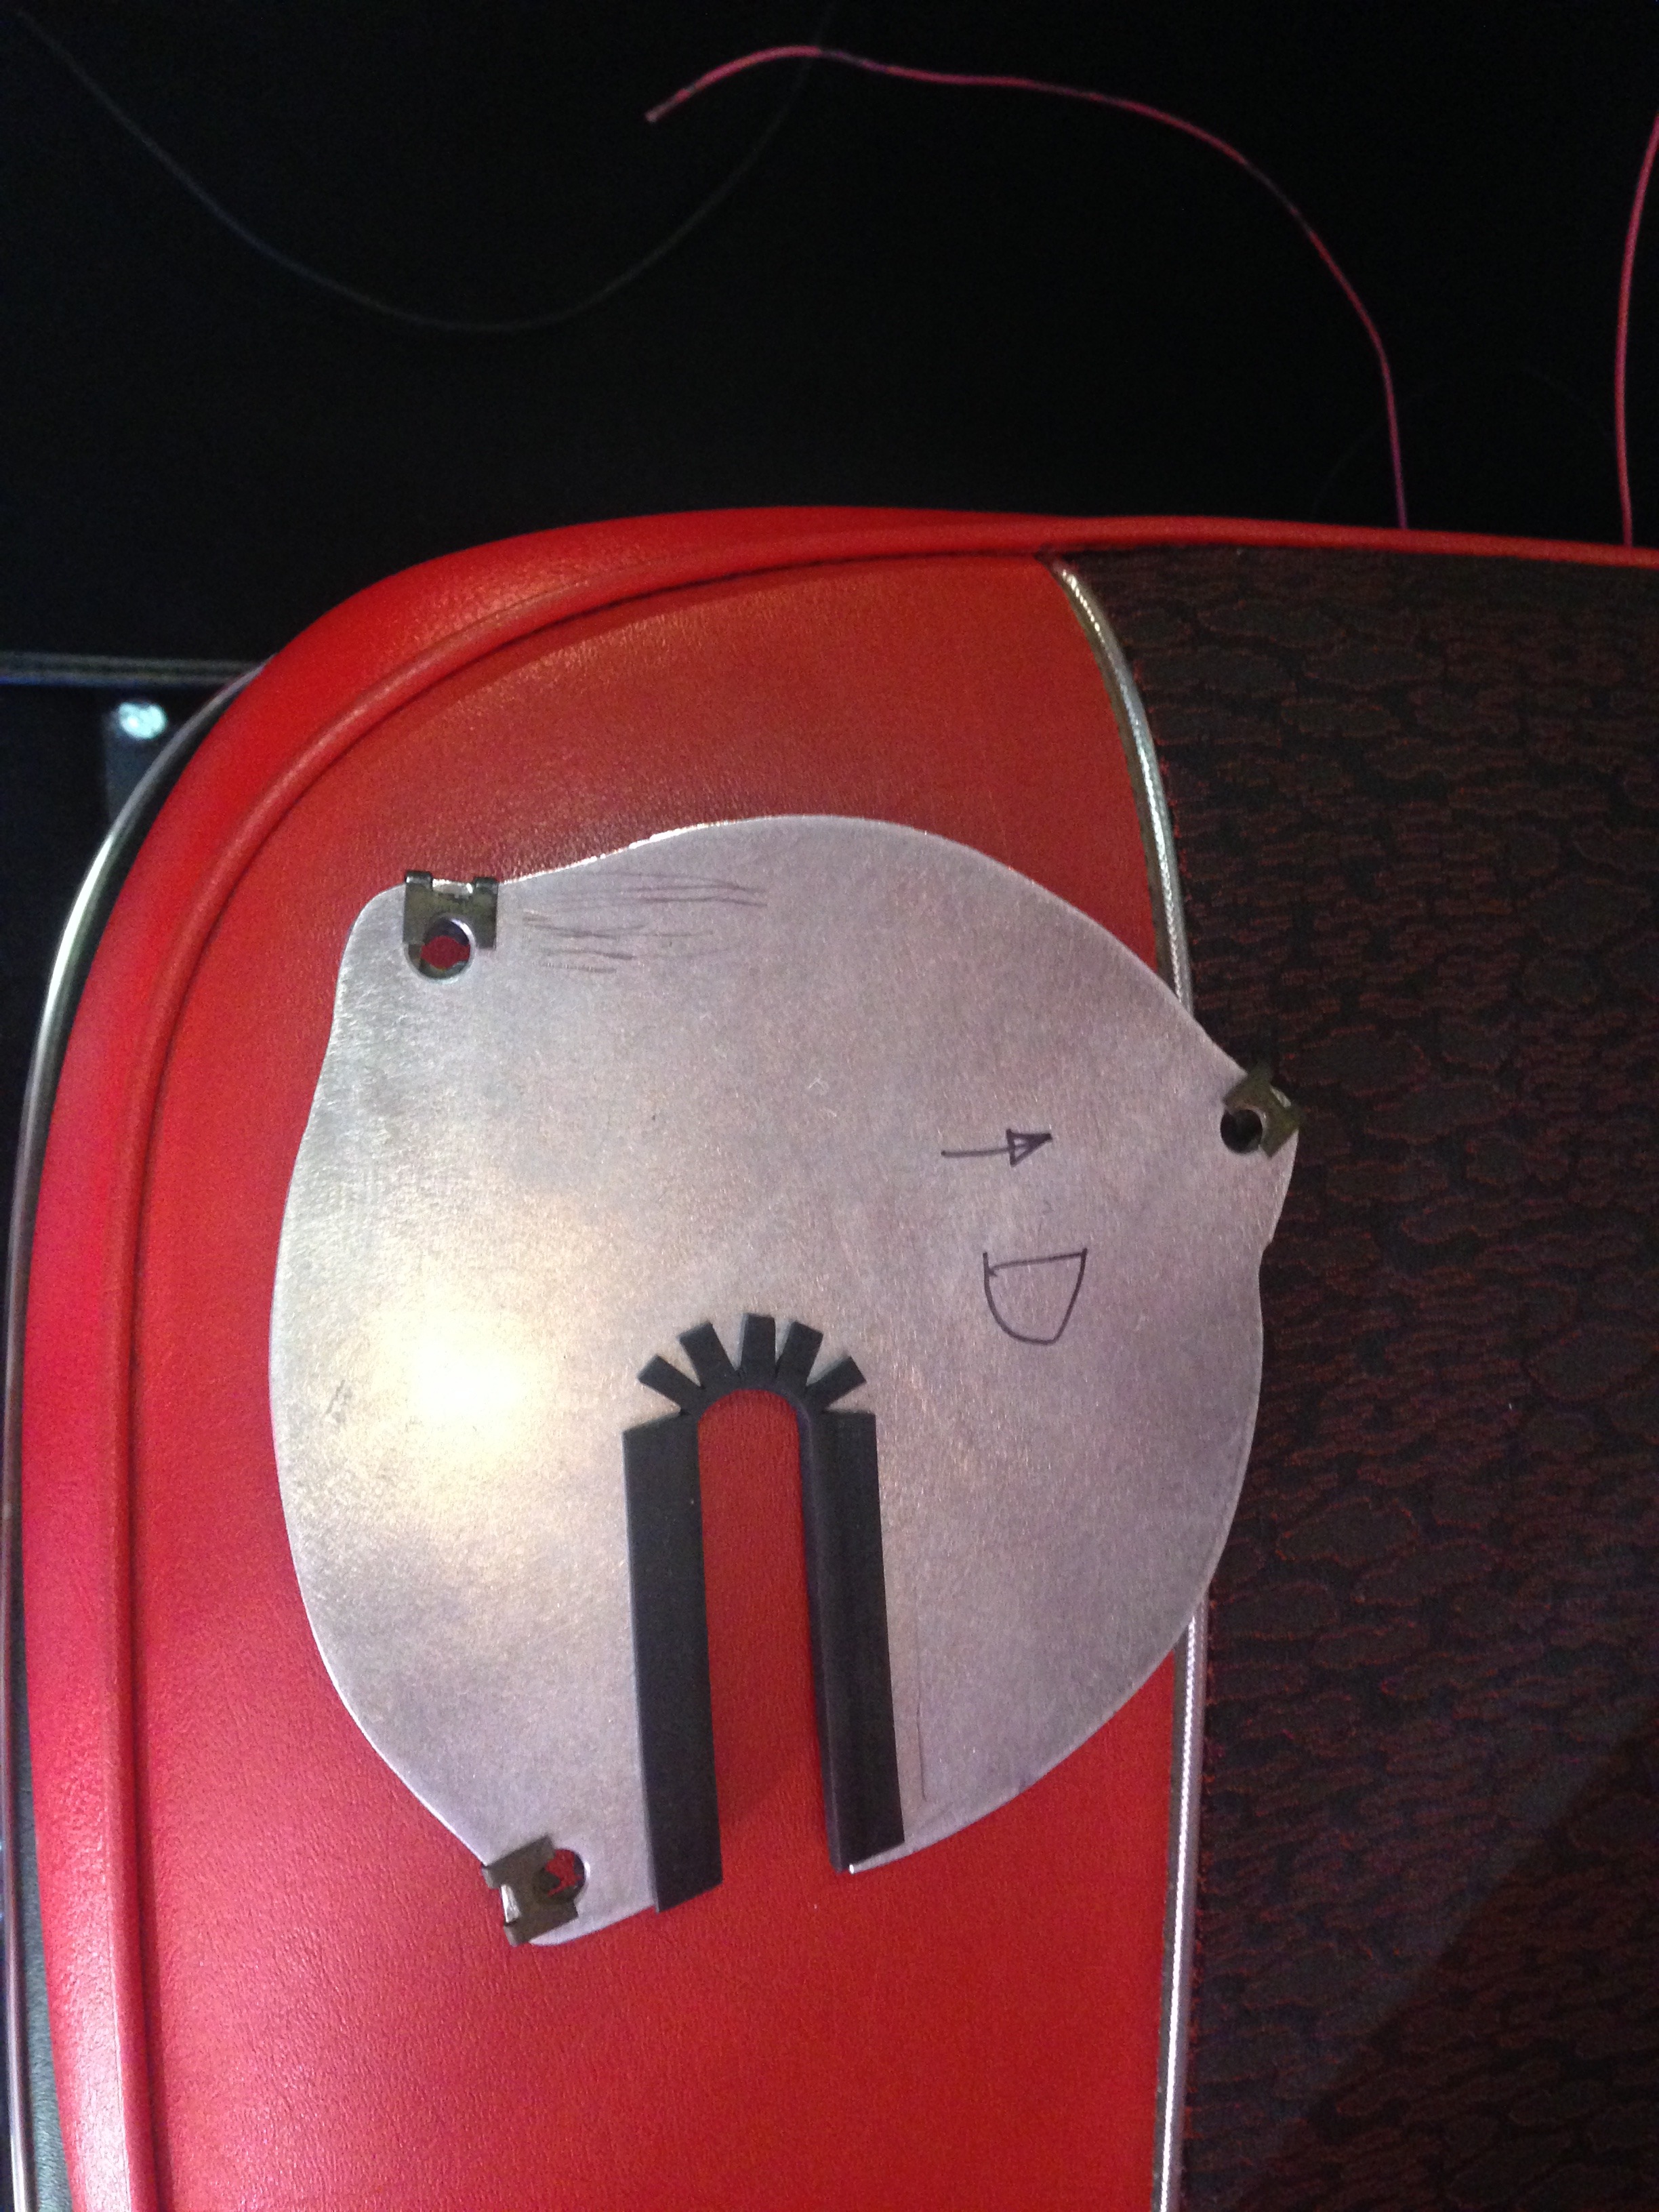
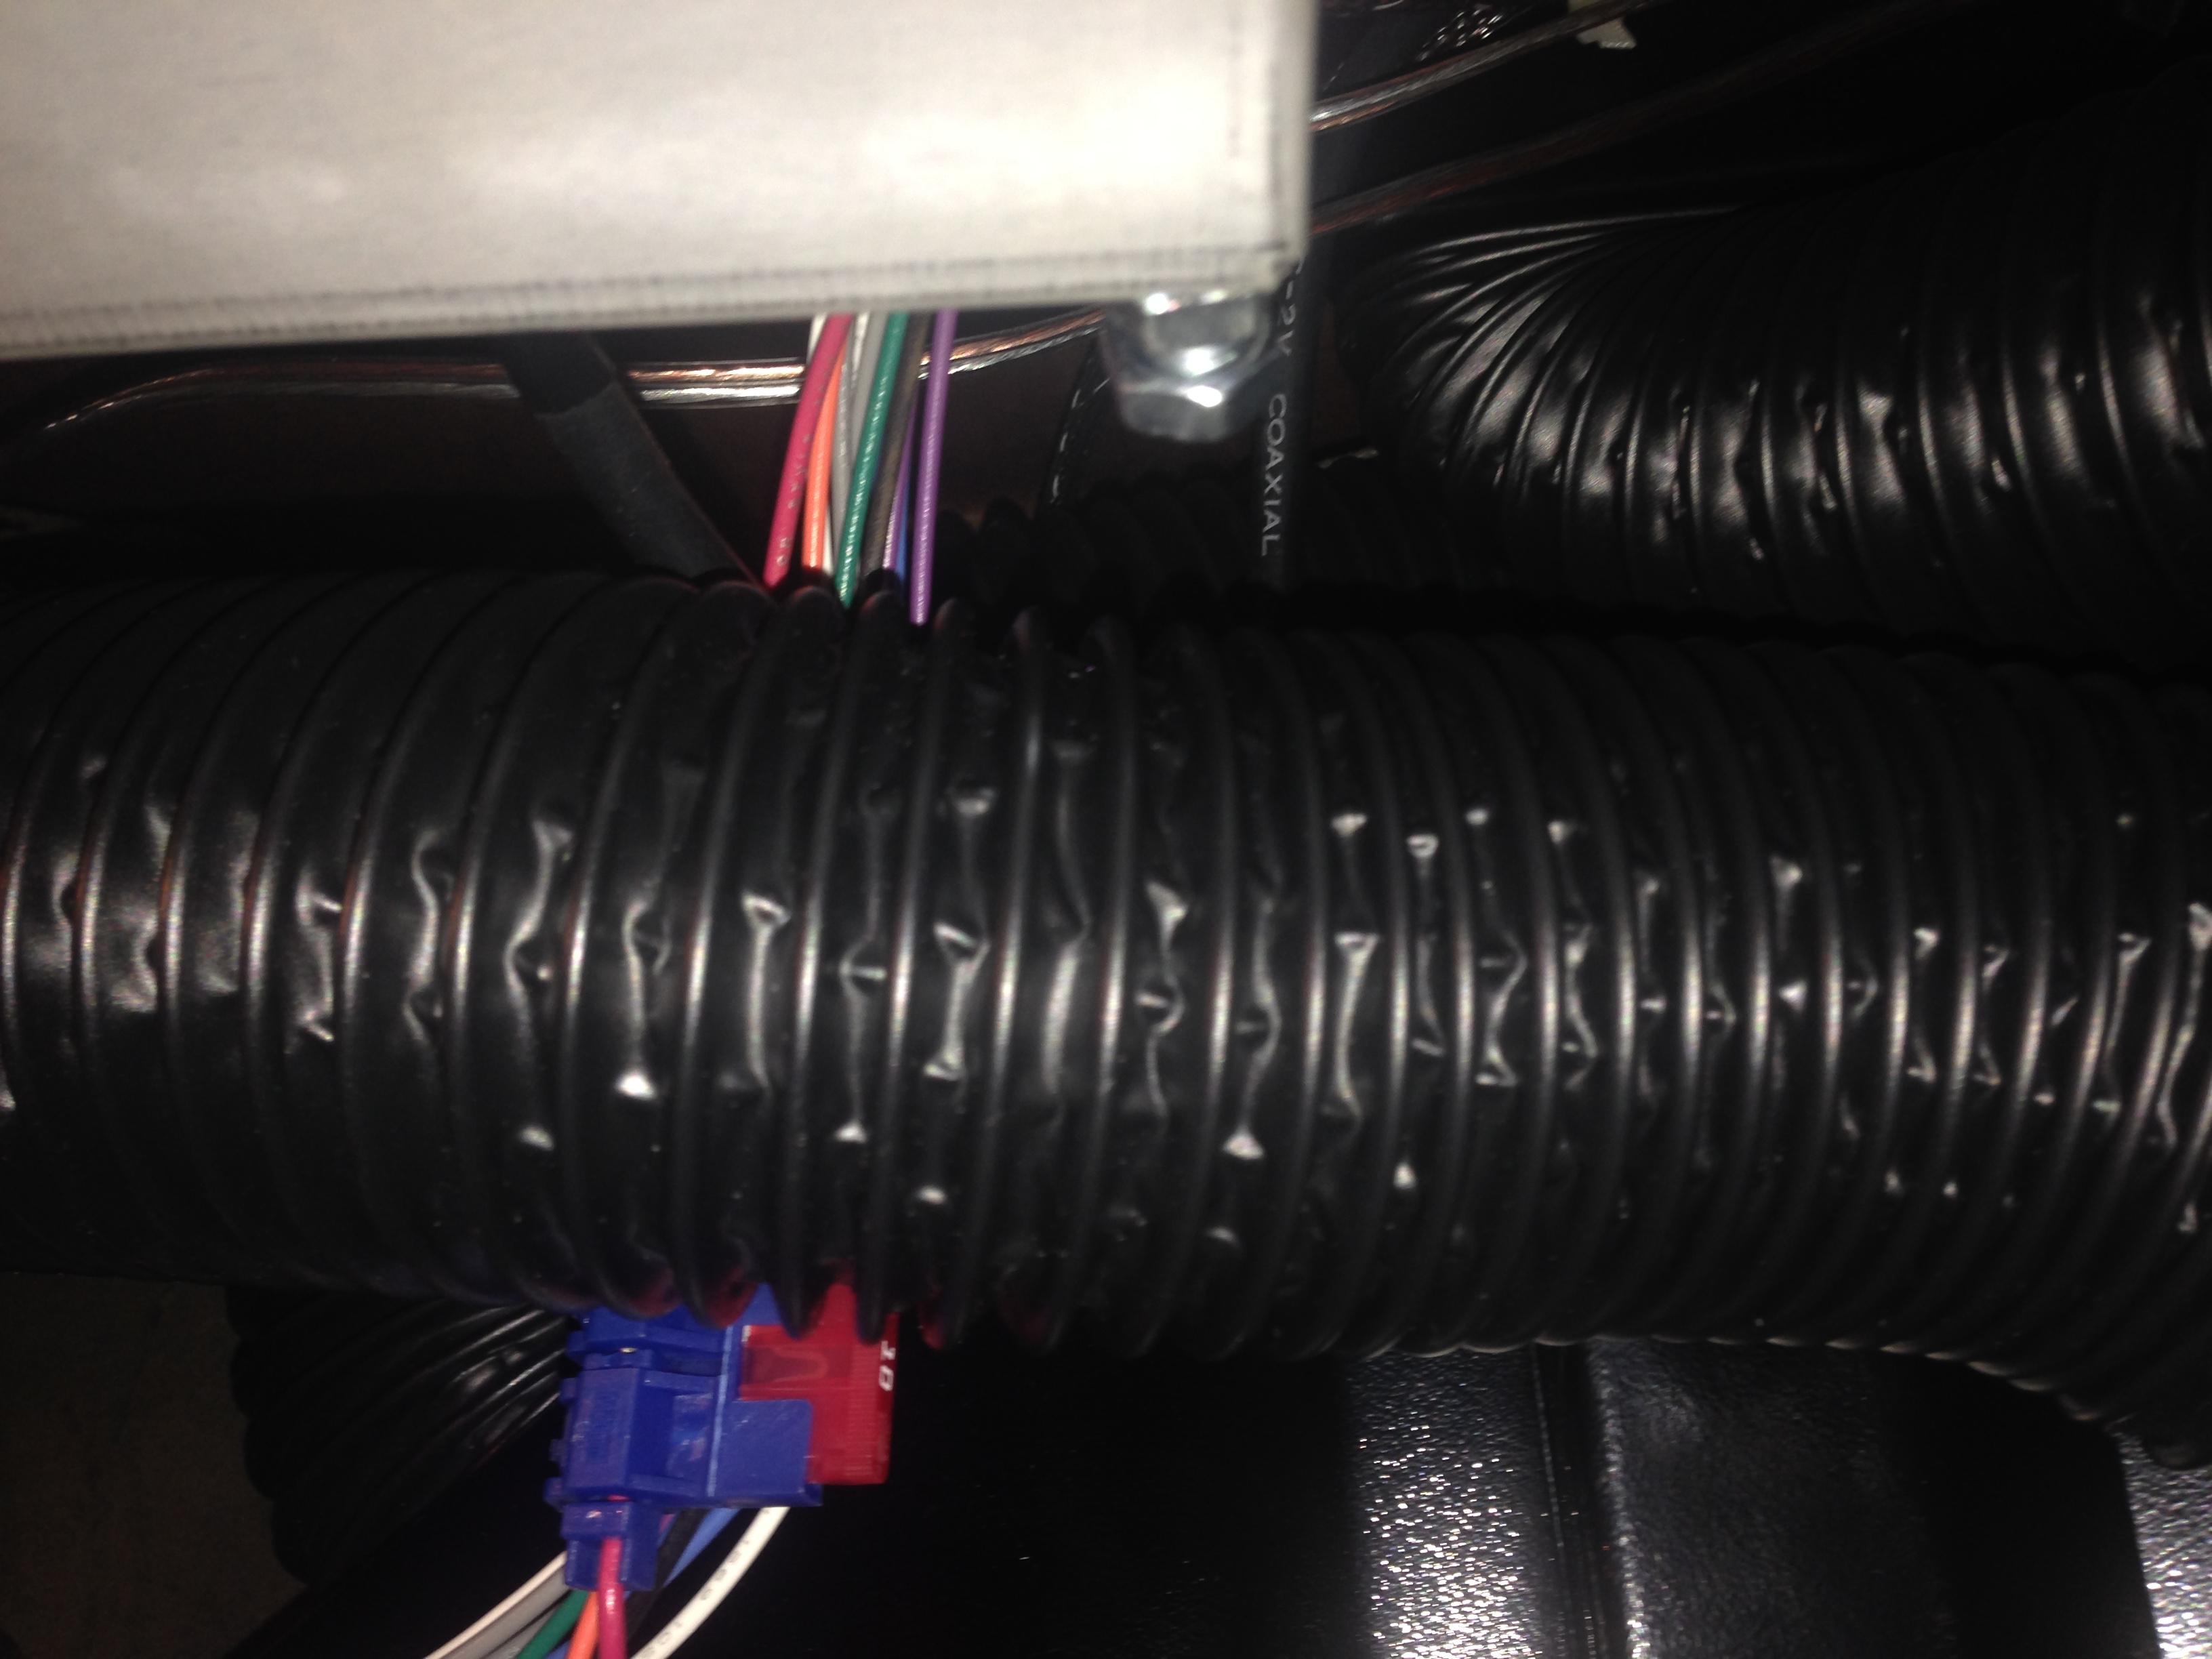
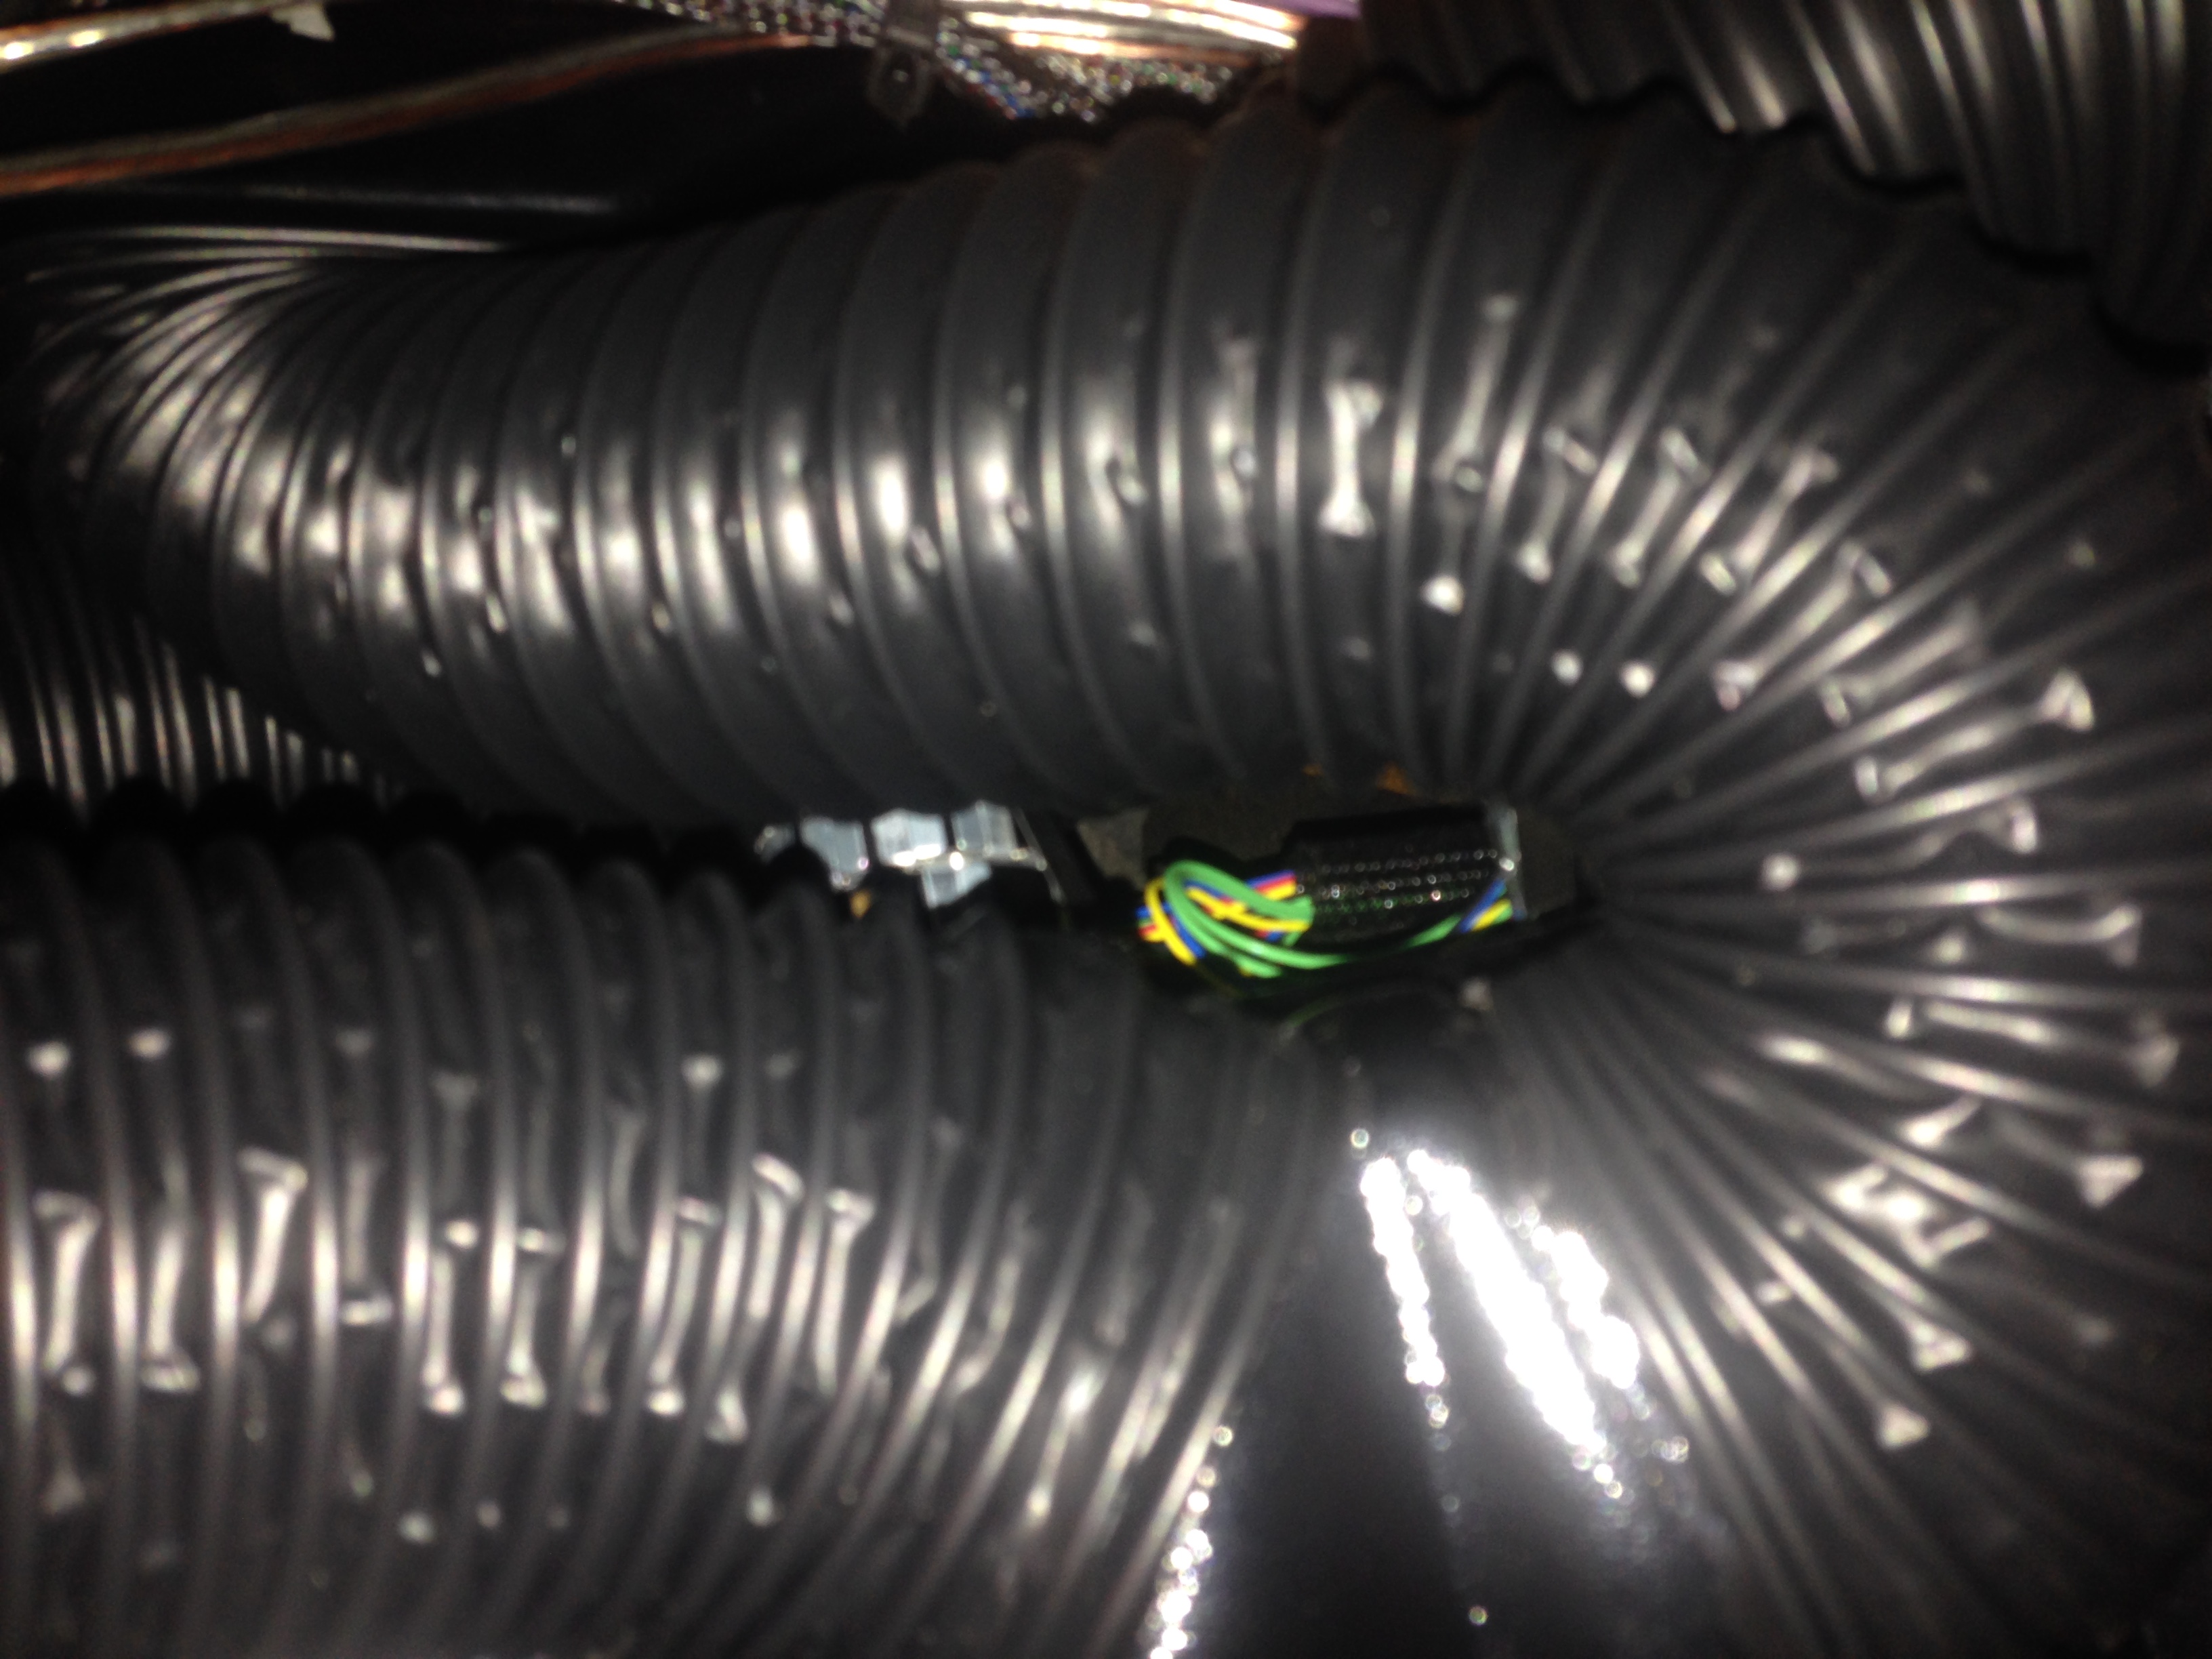
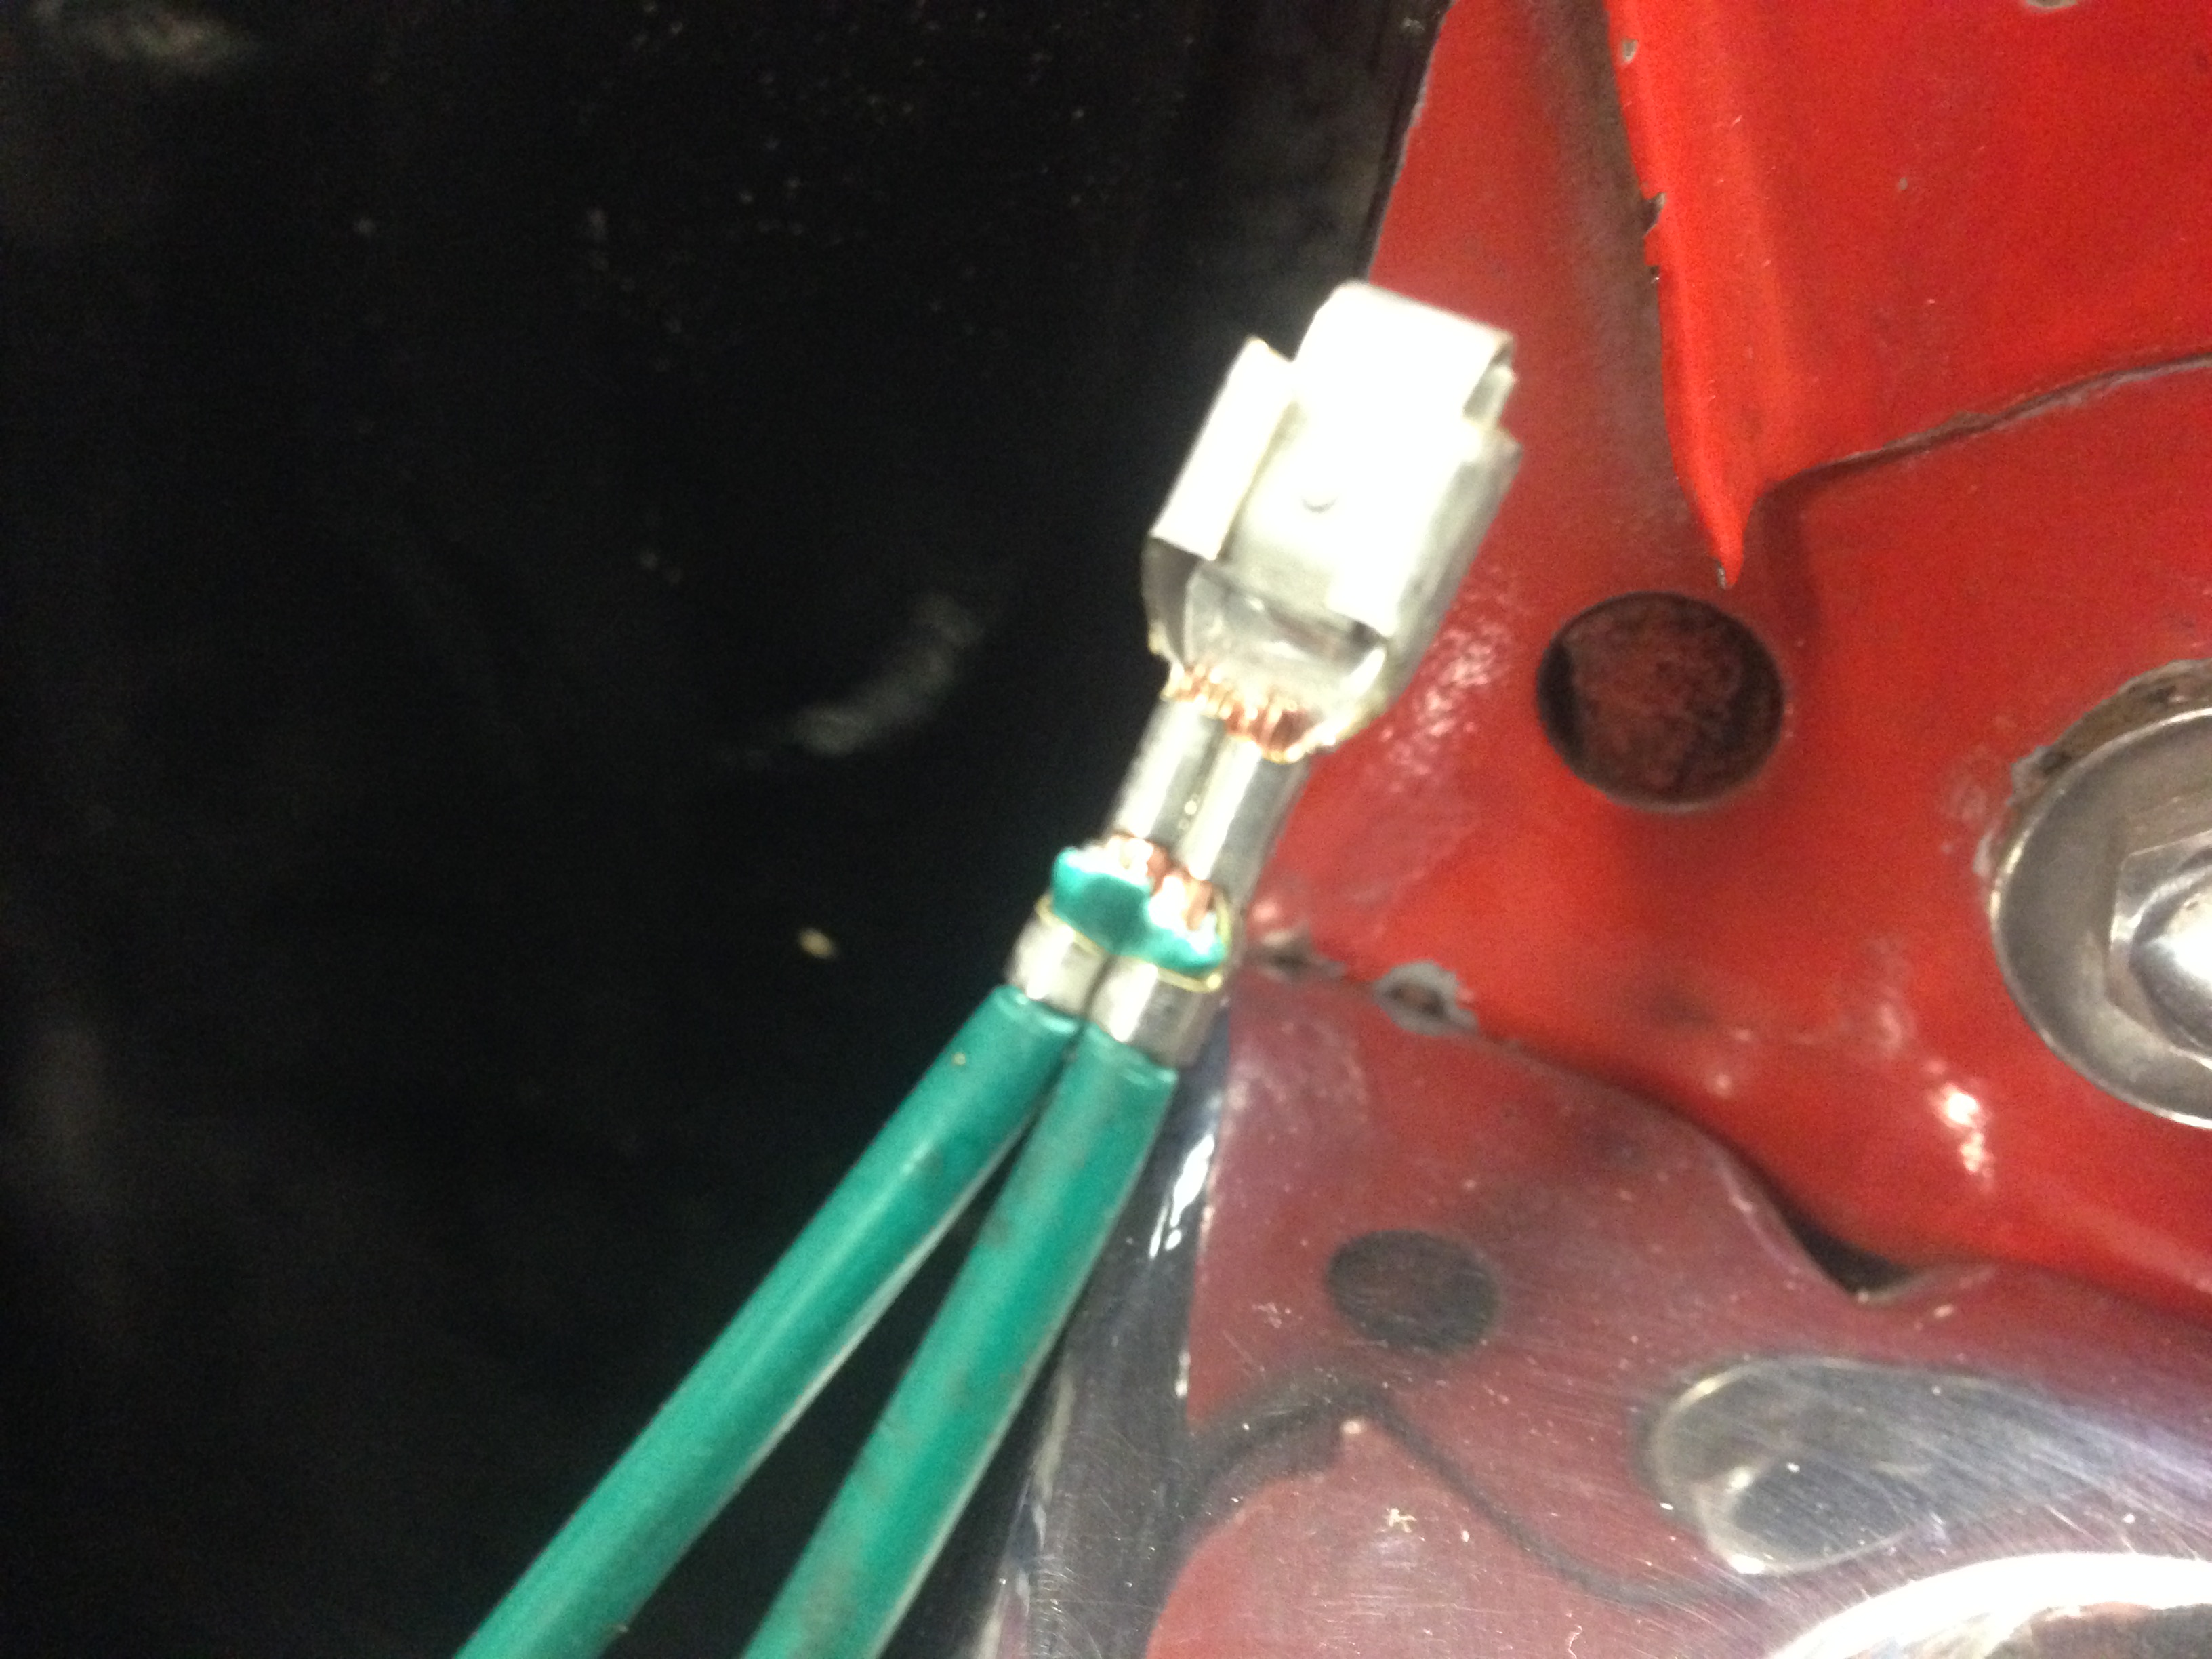
Before I could finish up the engine compartment wiring......I had to close up the fresh air vent openings in the Firewall after removing the vent tubes for mounting space for the control modules......So....I made a couple plates to seal the holes today......Got the passenger side installed (LOL...No room to get at the upper screw as it is right behind the A/C unit.....Took awhile)......And........While I was at it.....I had another issue that was making me crazy.....After getting the basic engine wires hooked up, I turned the key to start and expected the engine to crank over......Nothing.......Humm!!.....Checked the wires at the neutral safety switch.......Power there.......Solenoid wire at the starter.....no power.....Call the Tech Line at American Autowire and explain the situation.....I was told to check the plug where the wire goes thru the firewall......I forgot about that....and it's tucked up behind the A/C unit......(Damm that thing)....finally get it to where I can see it and noticed that the power terminal wasn't snapped into the plug body all the way and when I plugged it in it pushed the spade out.......Duhhhh!!!! Starter now works correctly....also got the GM supplied engine compartment fuse panel installed .......and Time for a Nap!!
Thread Starter
TECH Fanatic
Joined: Jul 2008
Posts: 1,570
Likes: 173
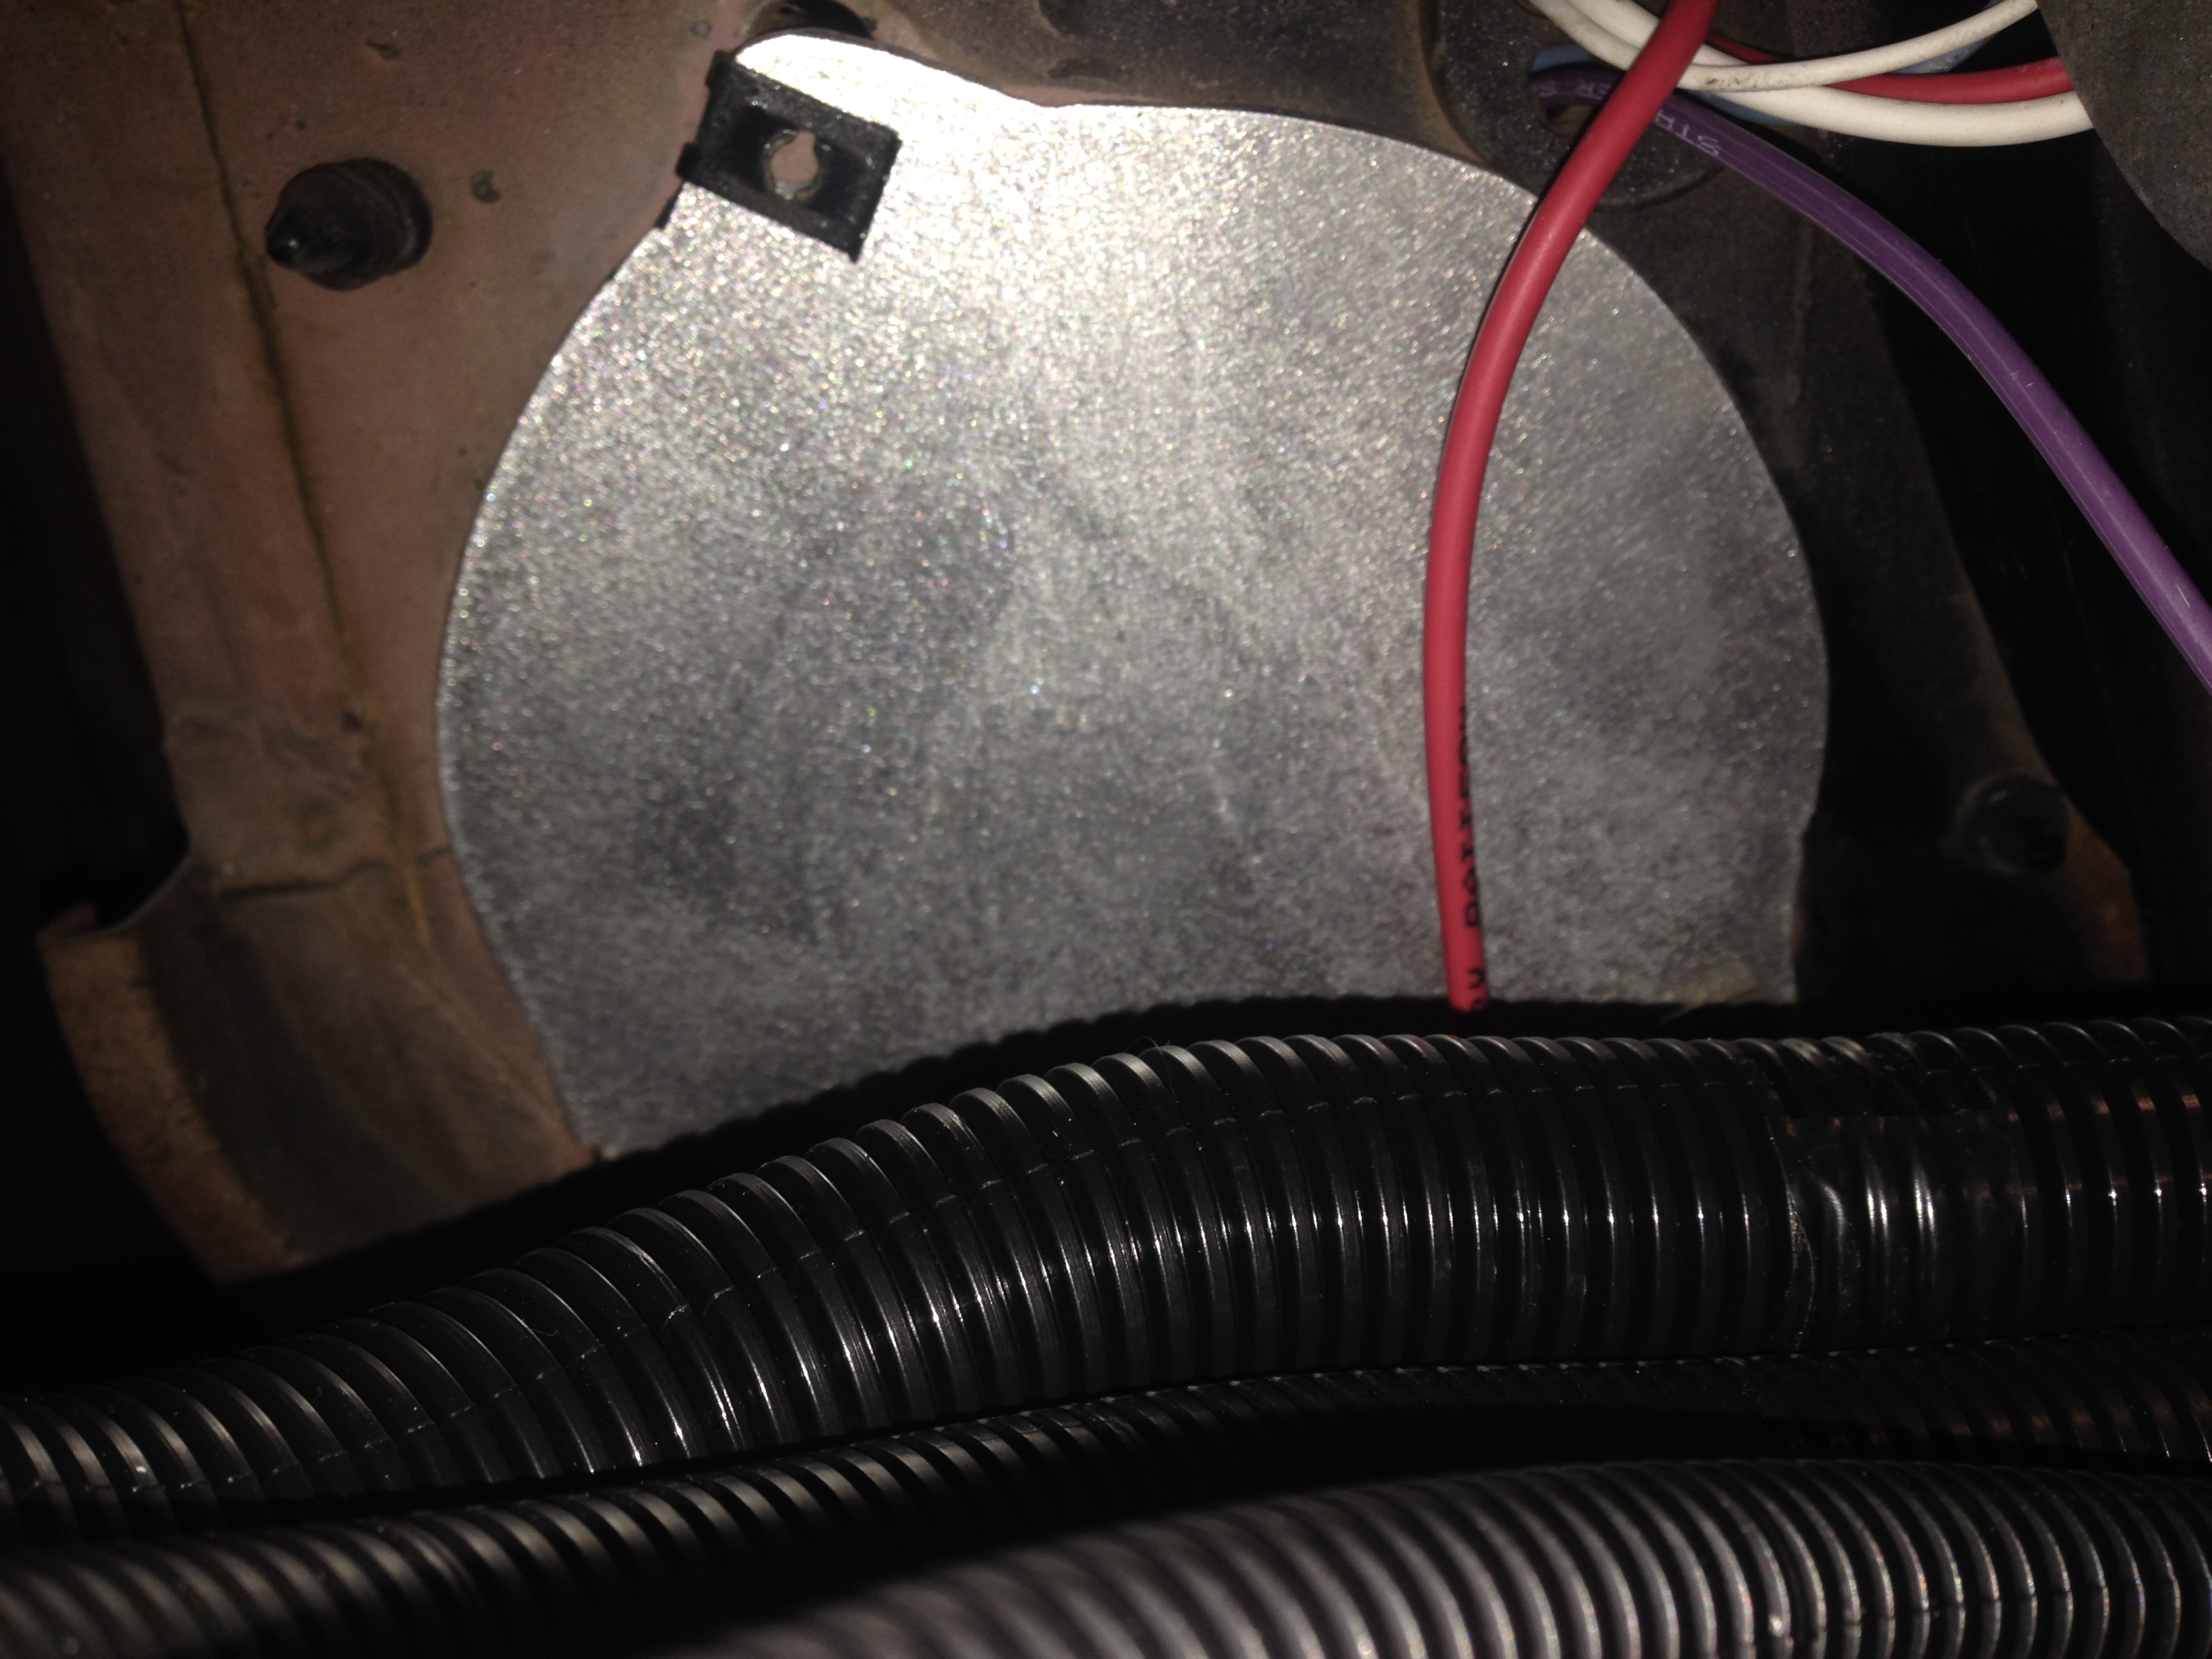
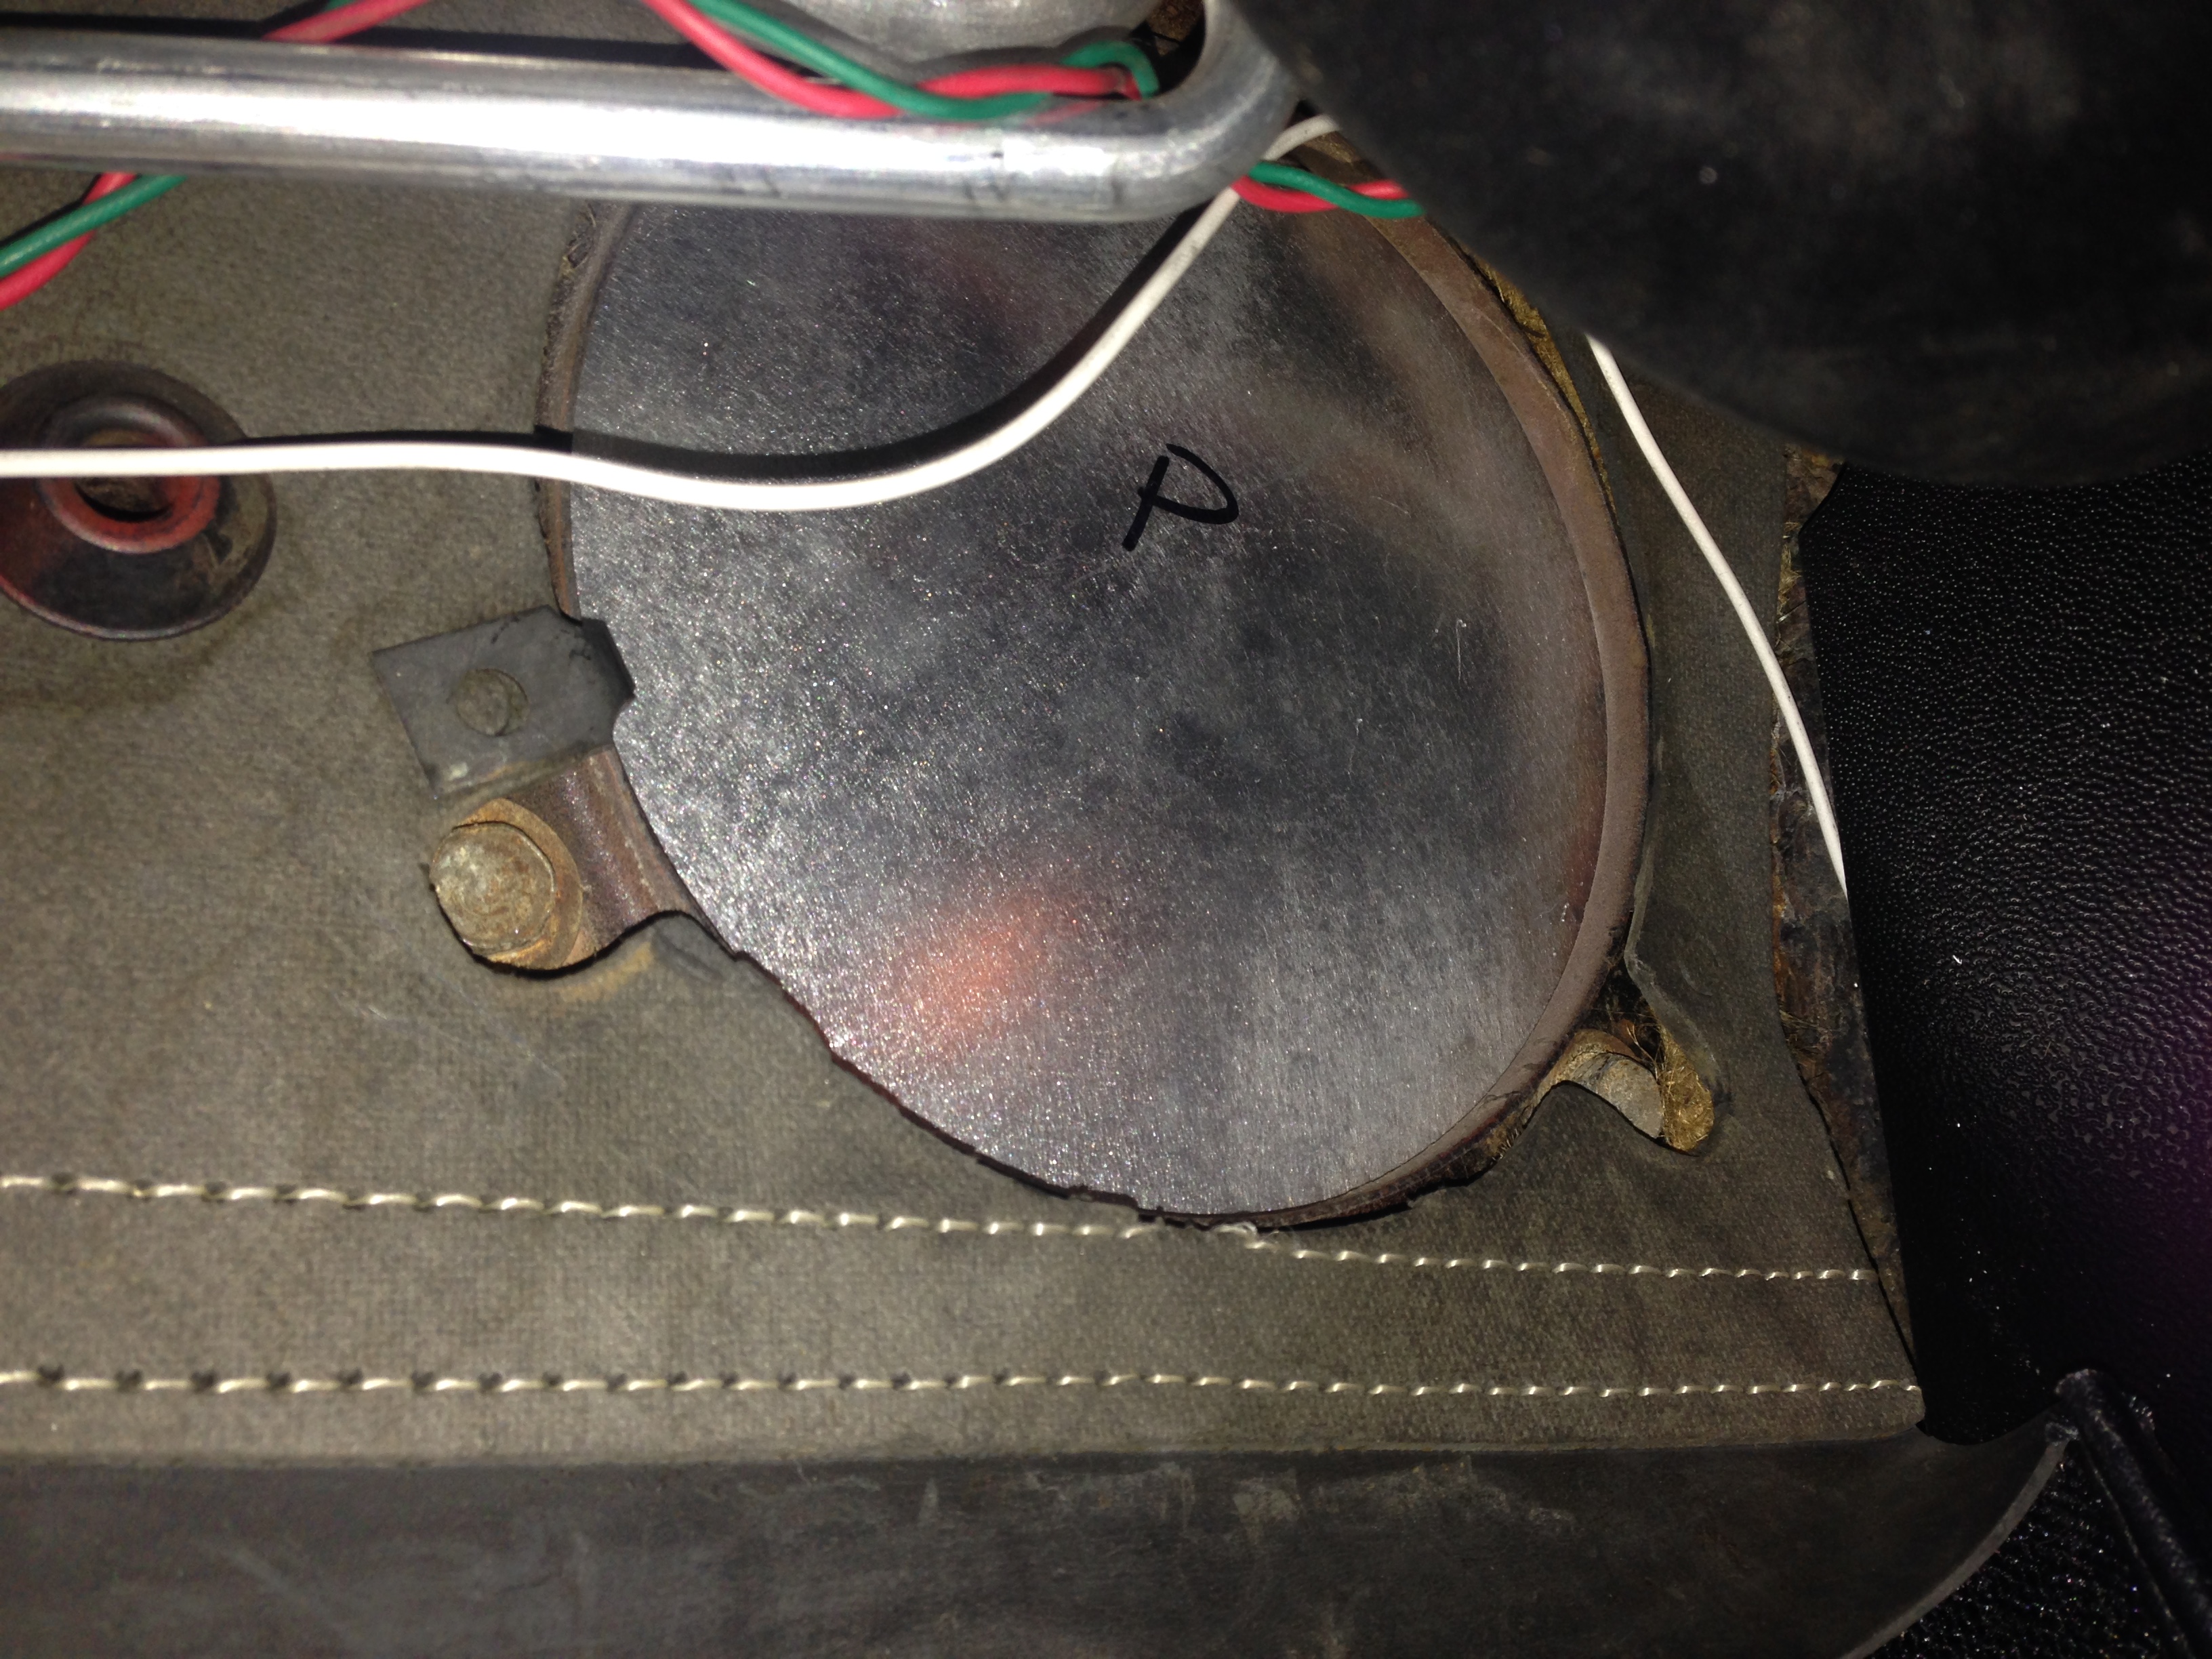
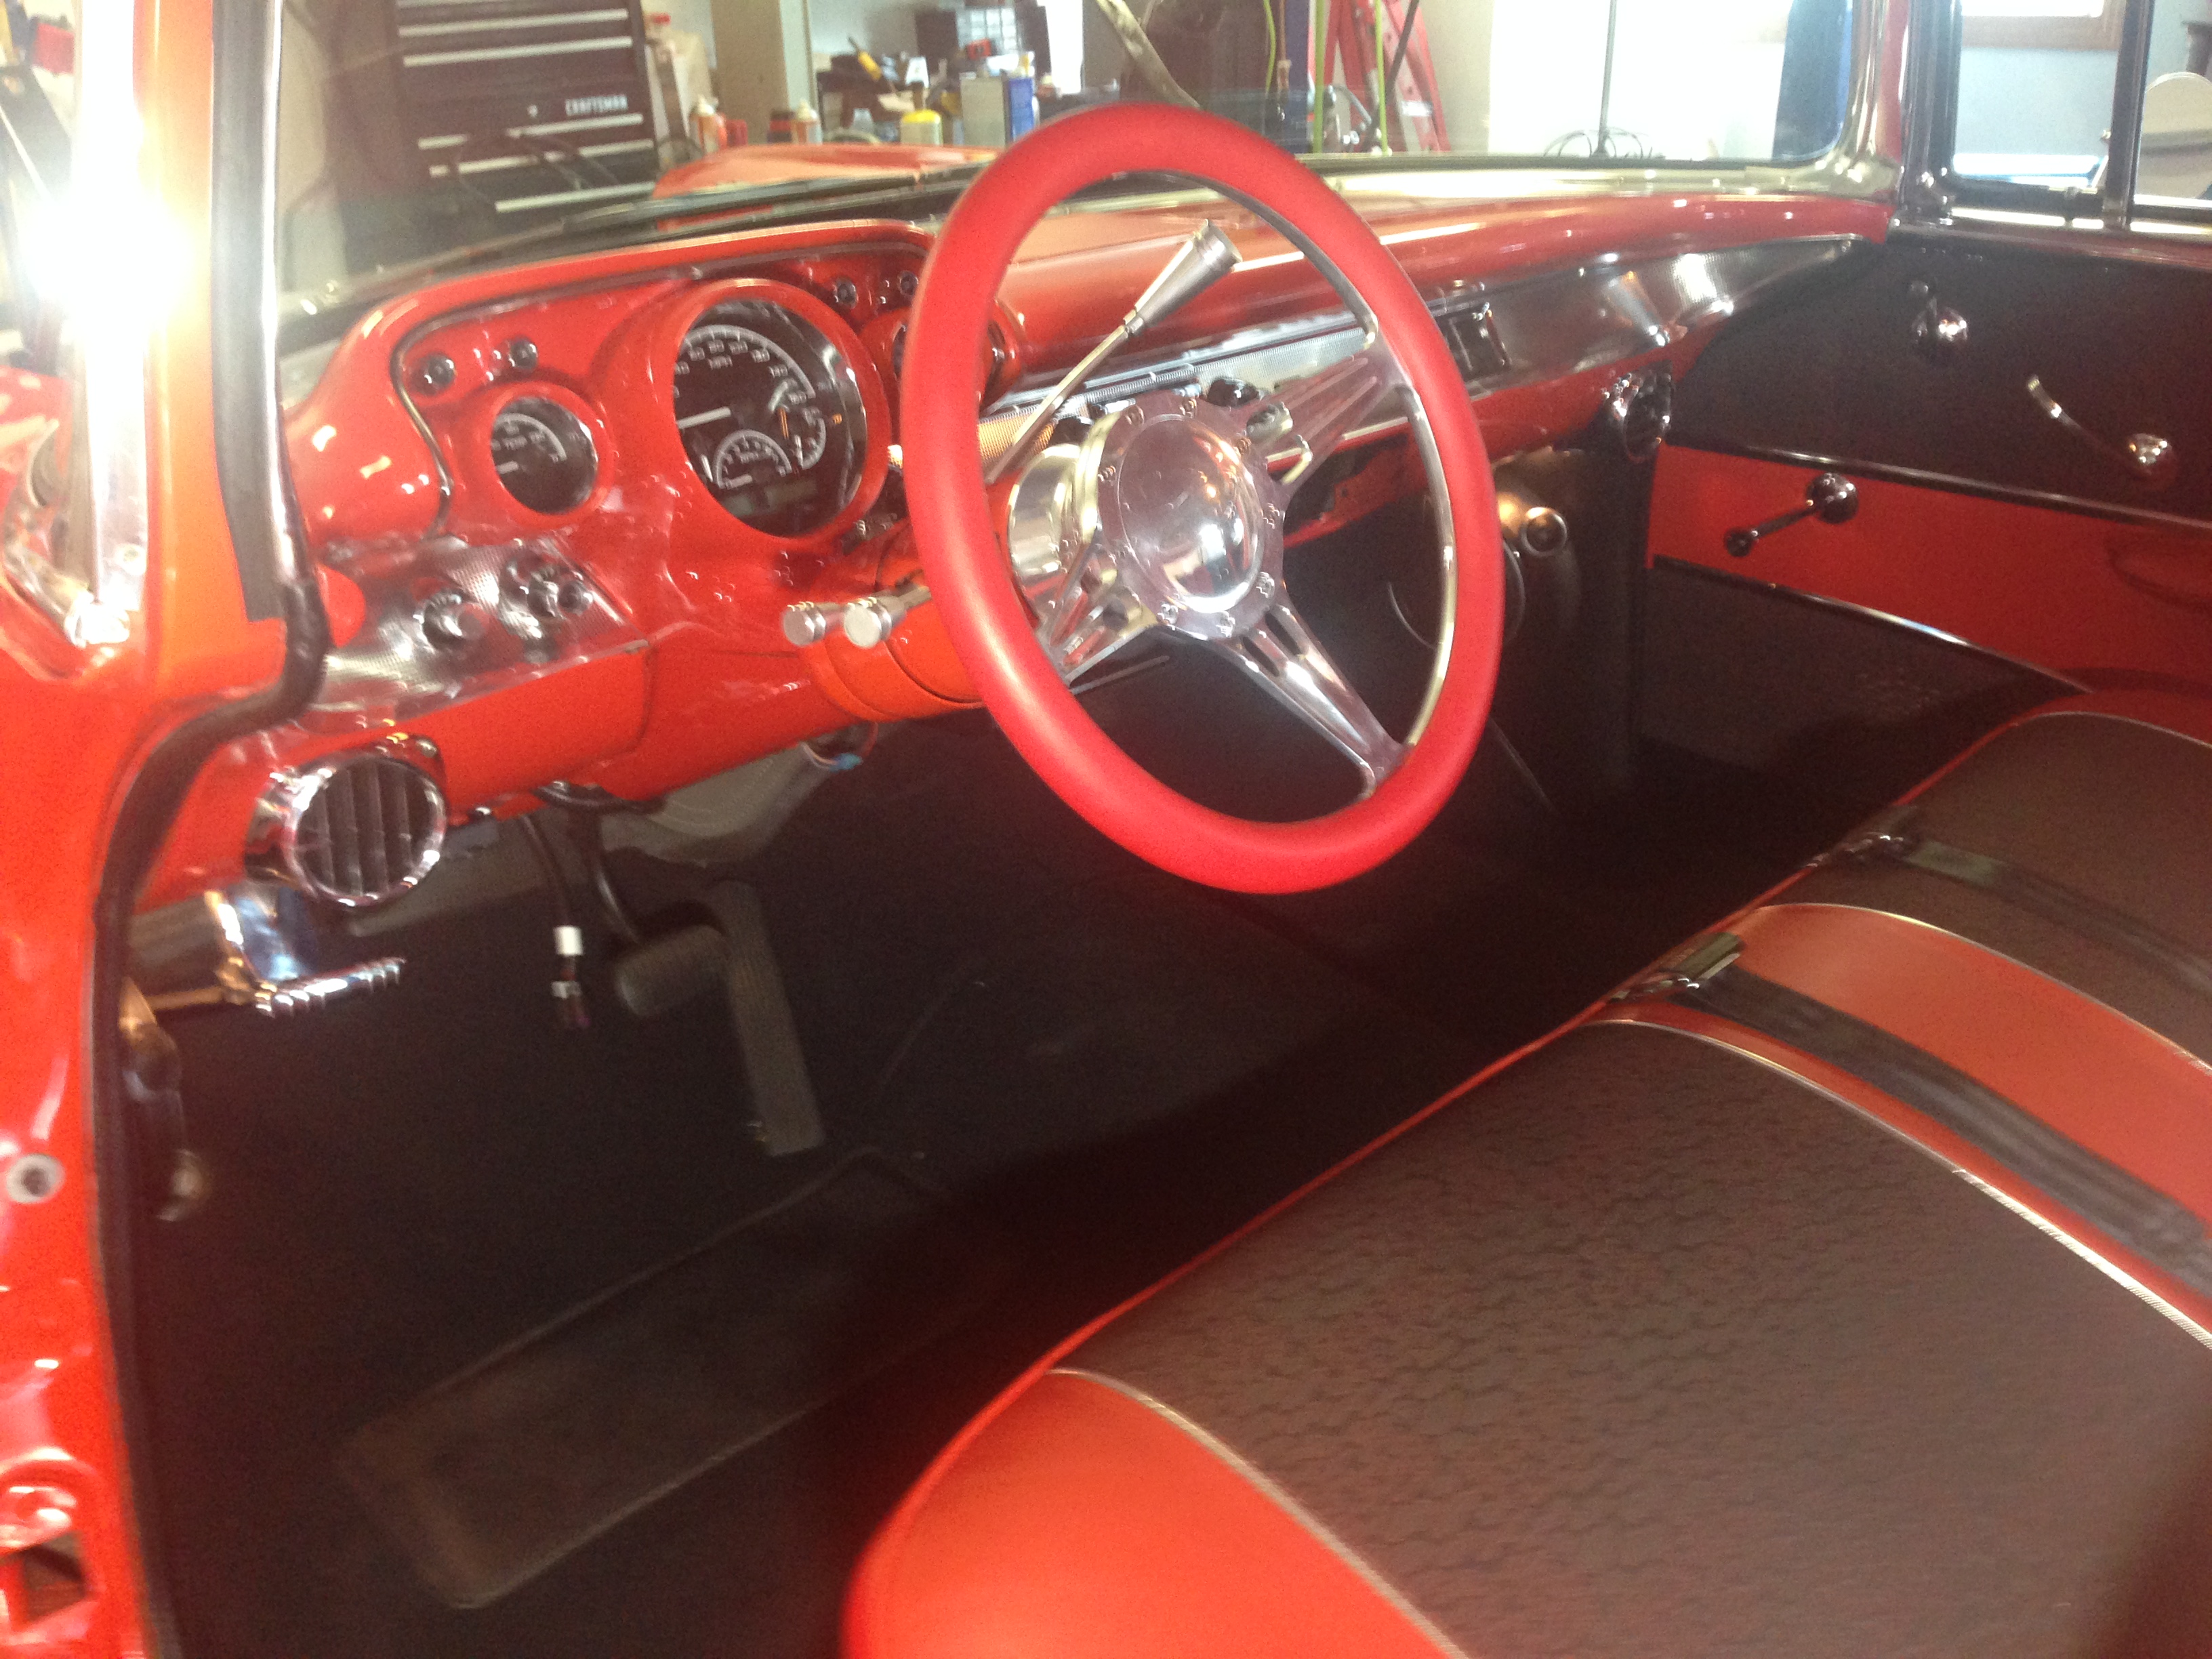
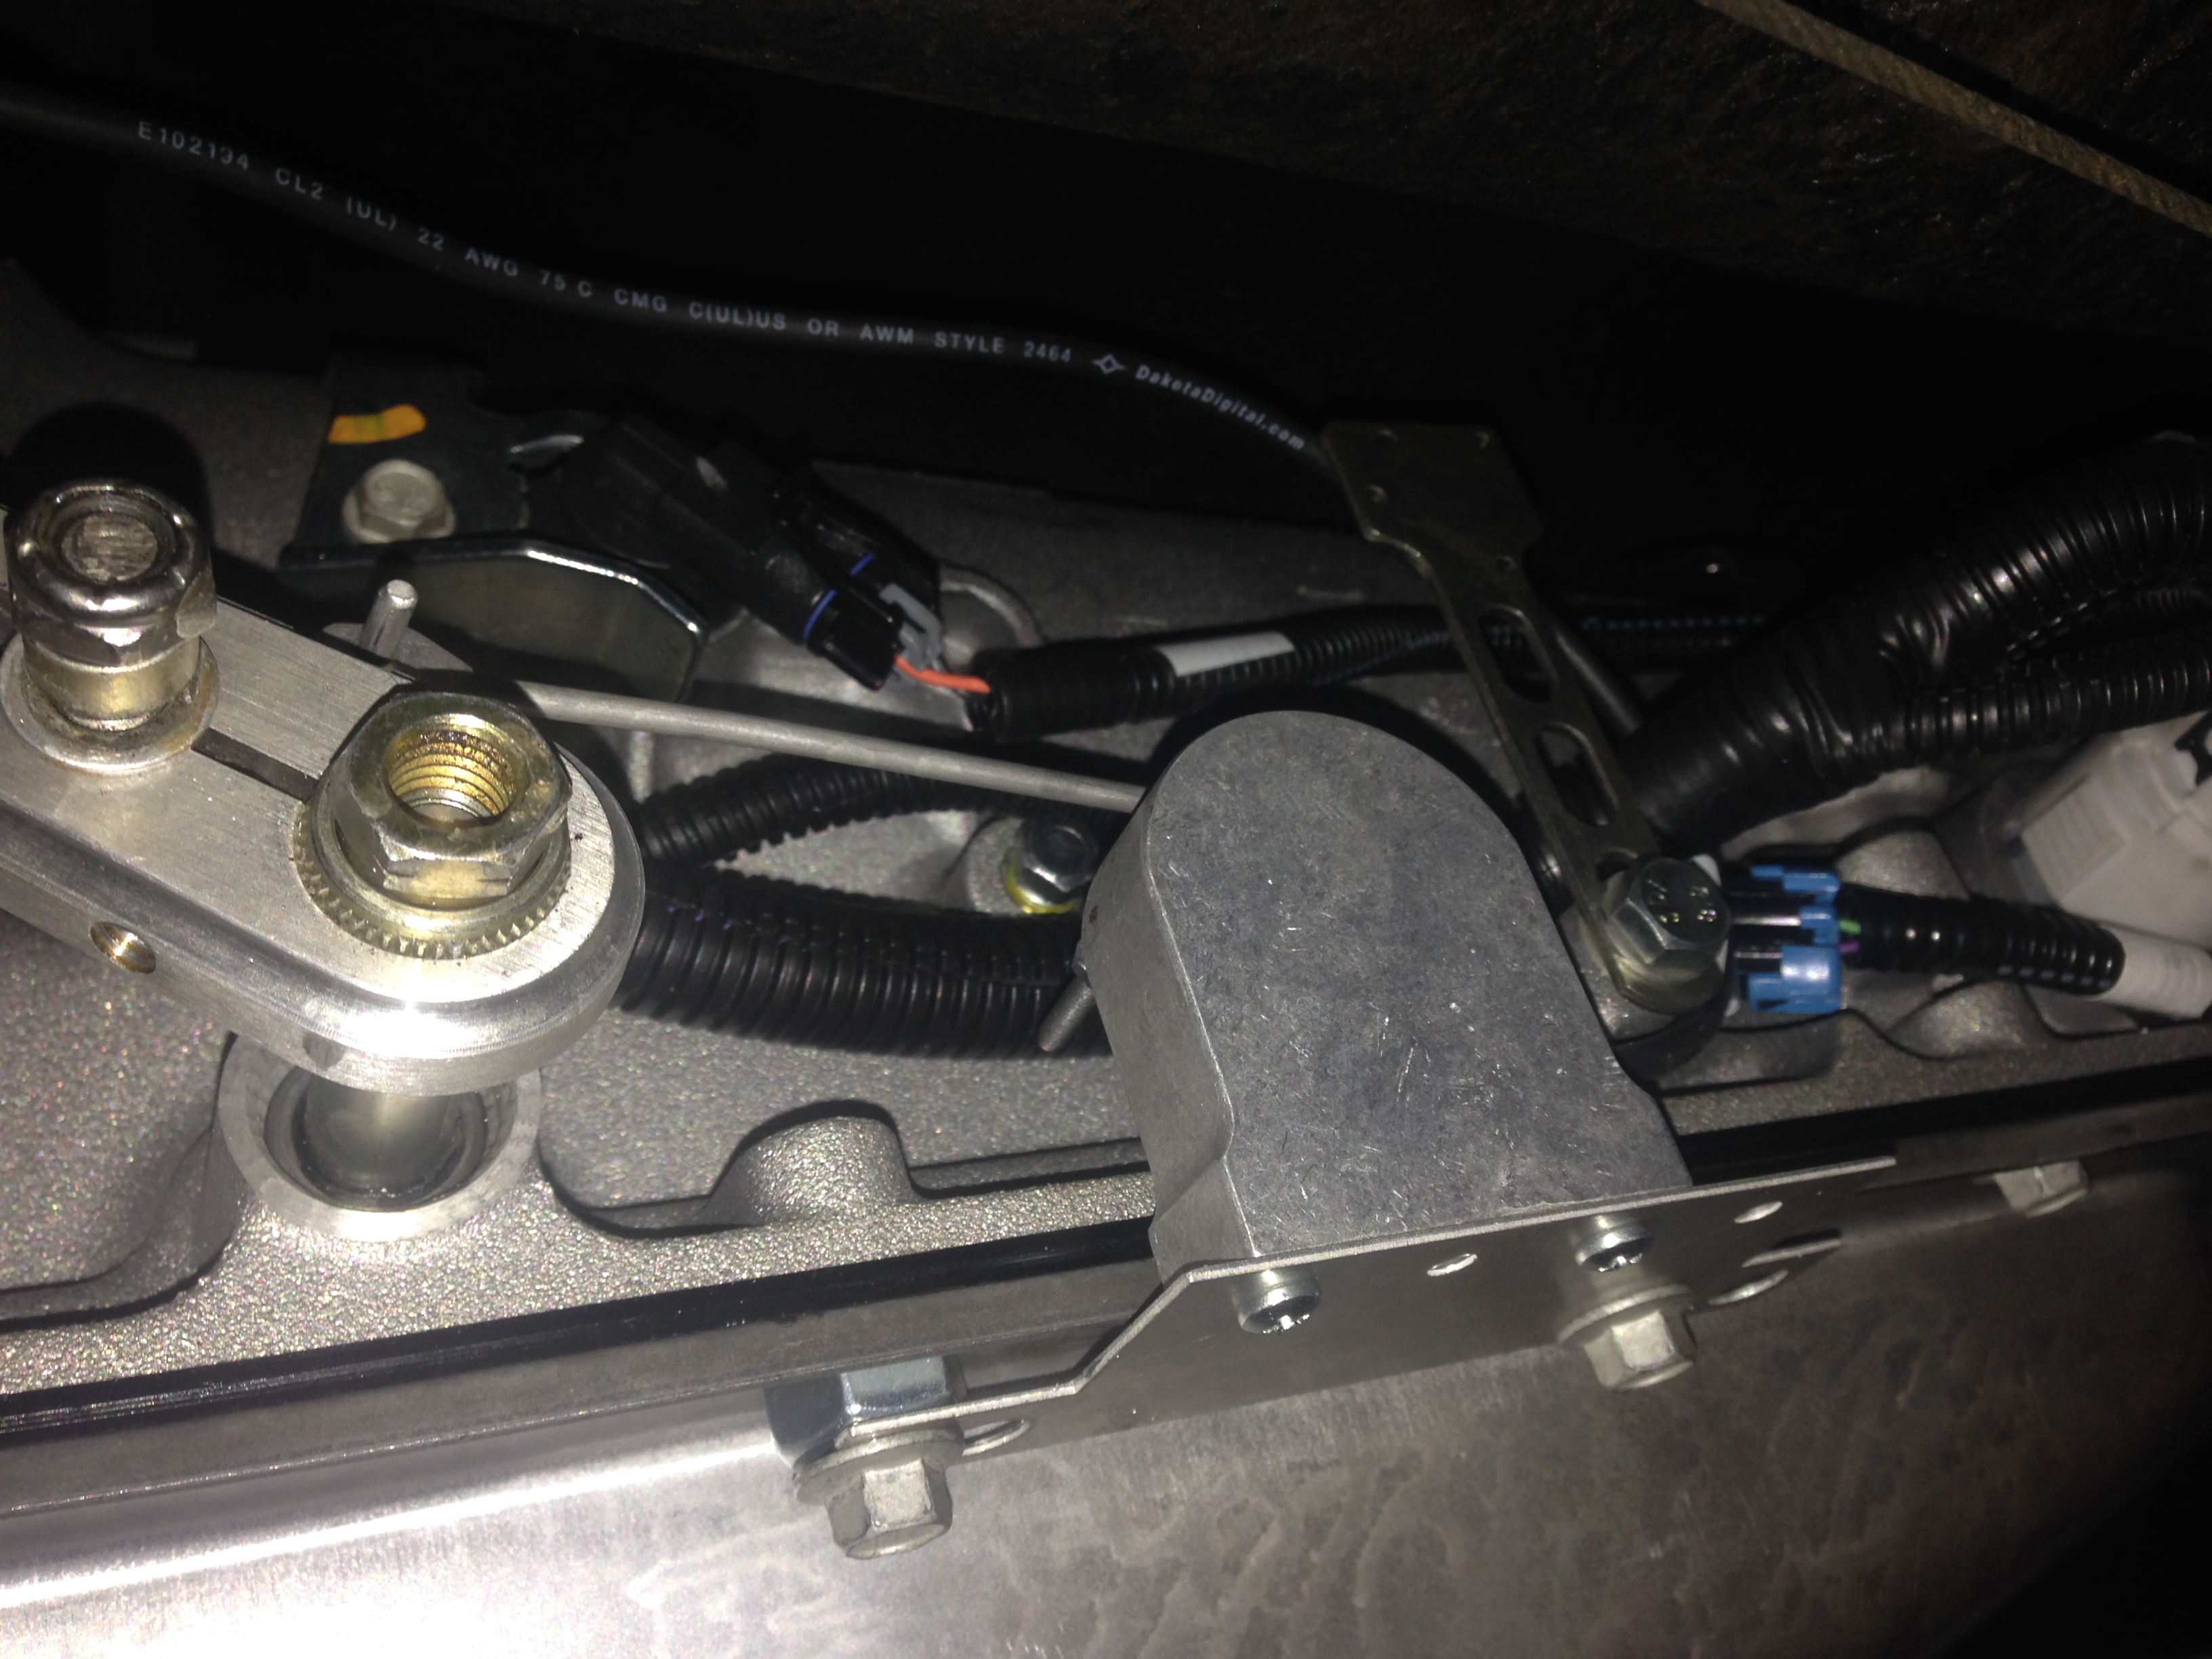
Got the drivers side fresh air vent cover plate installed.......I added a slotted area for the harnesses that needed to go inside the car......worked out perfect, after proving everything out I will seal it up with urethane........I also got the Dakota Digital gear sensor installed and hooked up inside the car along with a couple loose ends.....so.....all the wiring is completed inside the car......I just have to get the drive by wire pedal installed........so I decided to get the A/C and Defroster vents installed and put the gauge cluster back in.......everything works......even the check engine light (MAF) sensor not installed along with the gas pedal plug)........Getting Closer......Here are a bunch of Pic's


Thread Starter
TECH Fanatic
Joined: Jul 2008
Posts: 1,570
Likes: 173
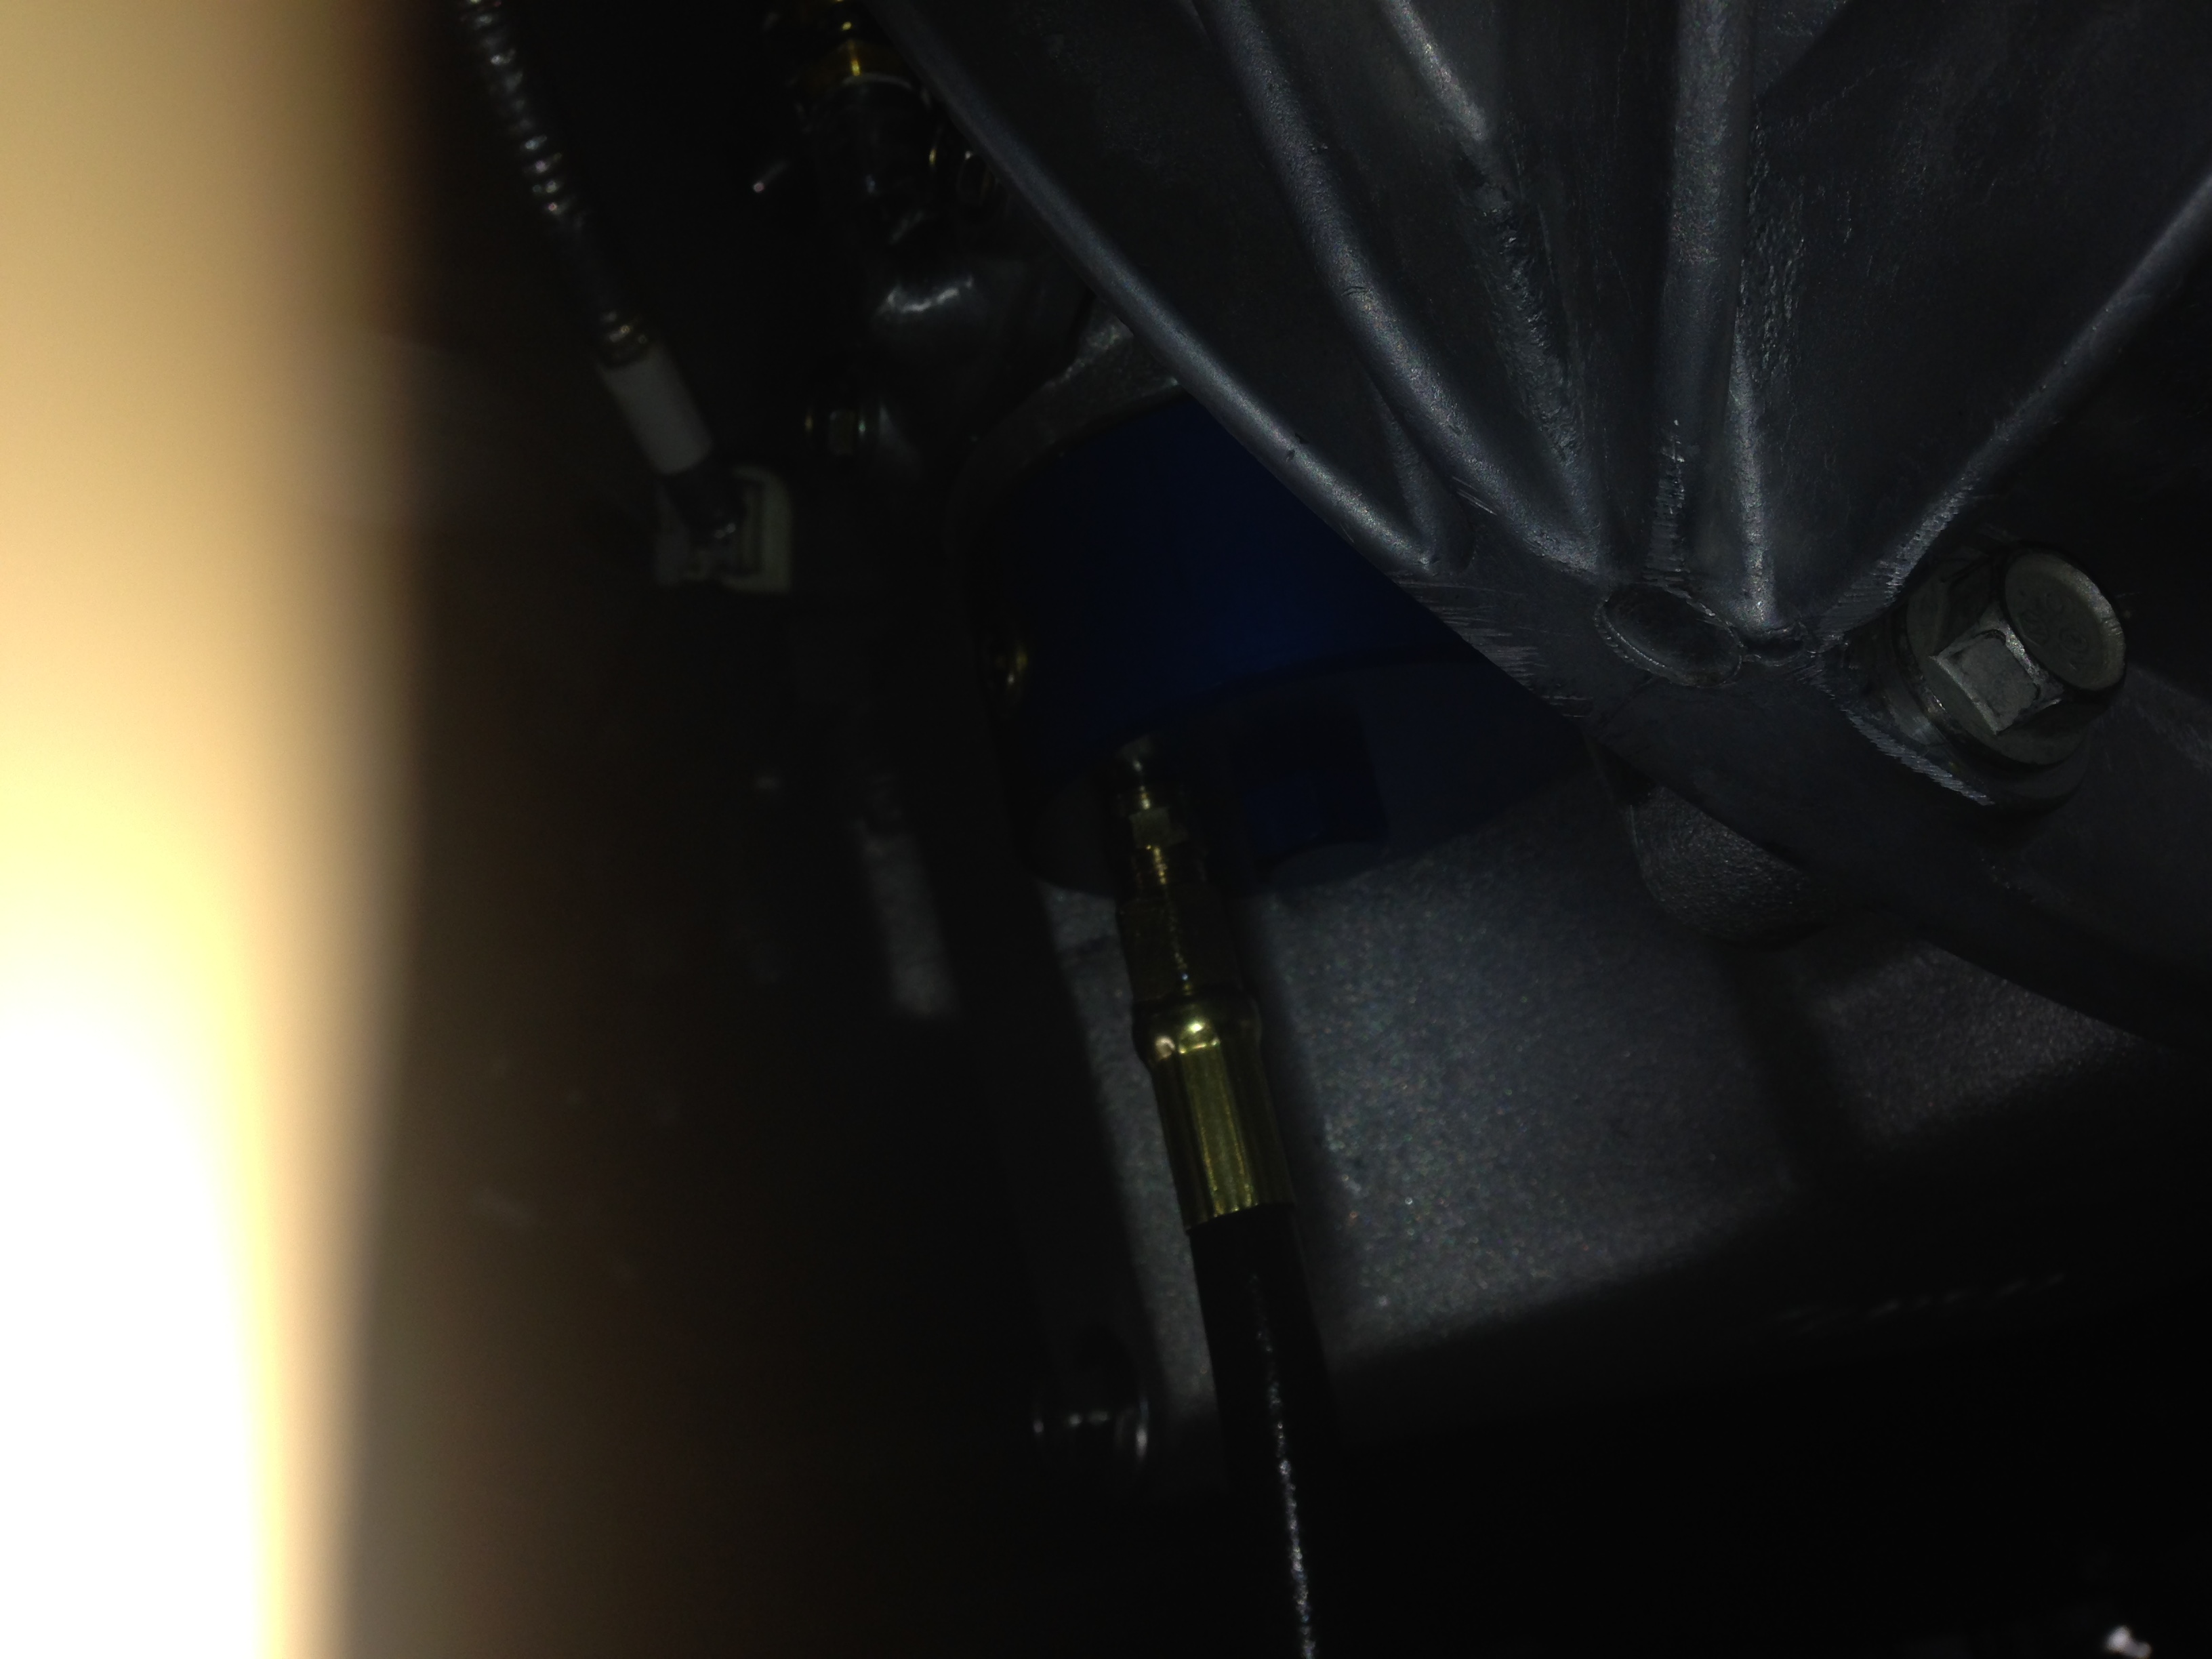
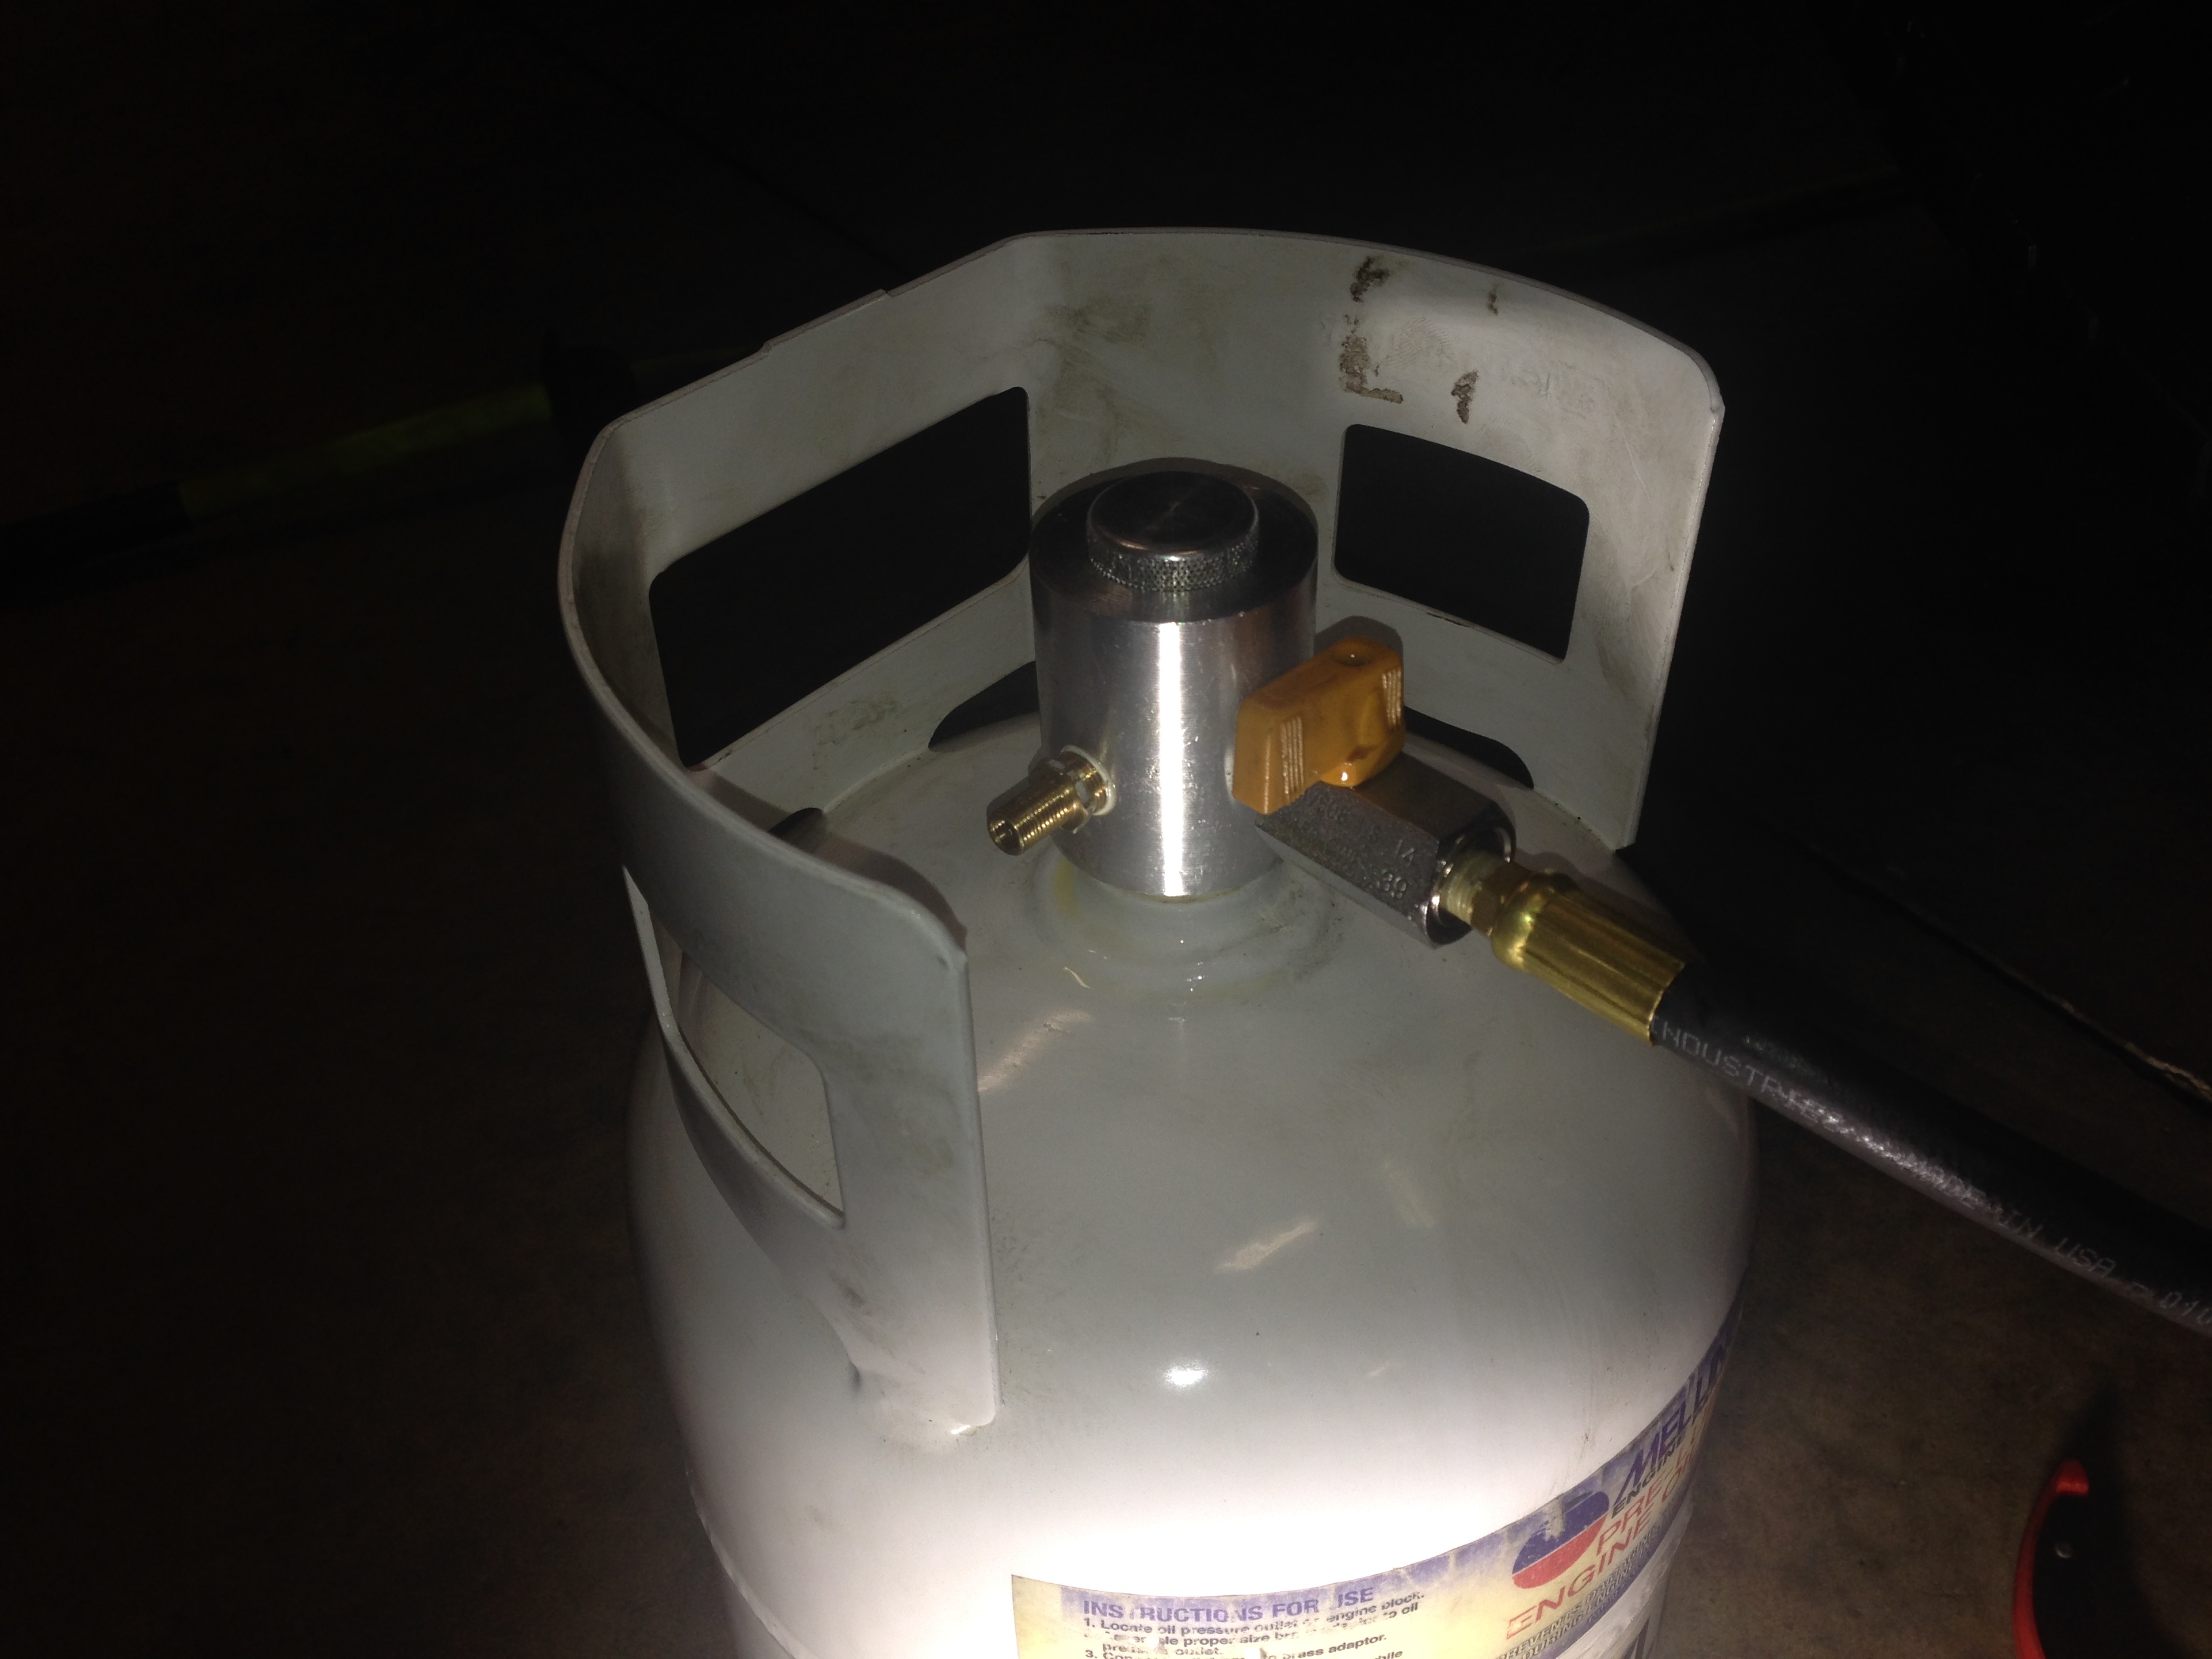
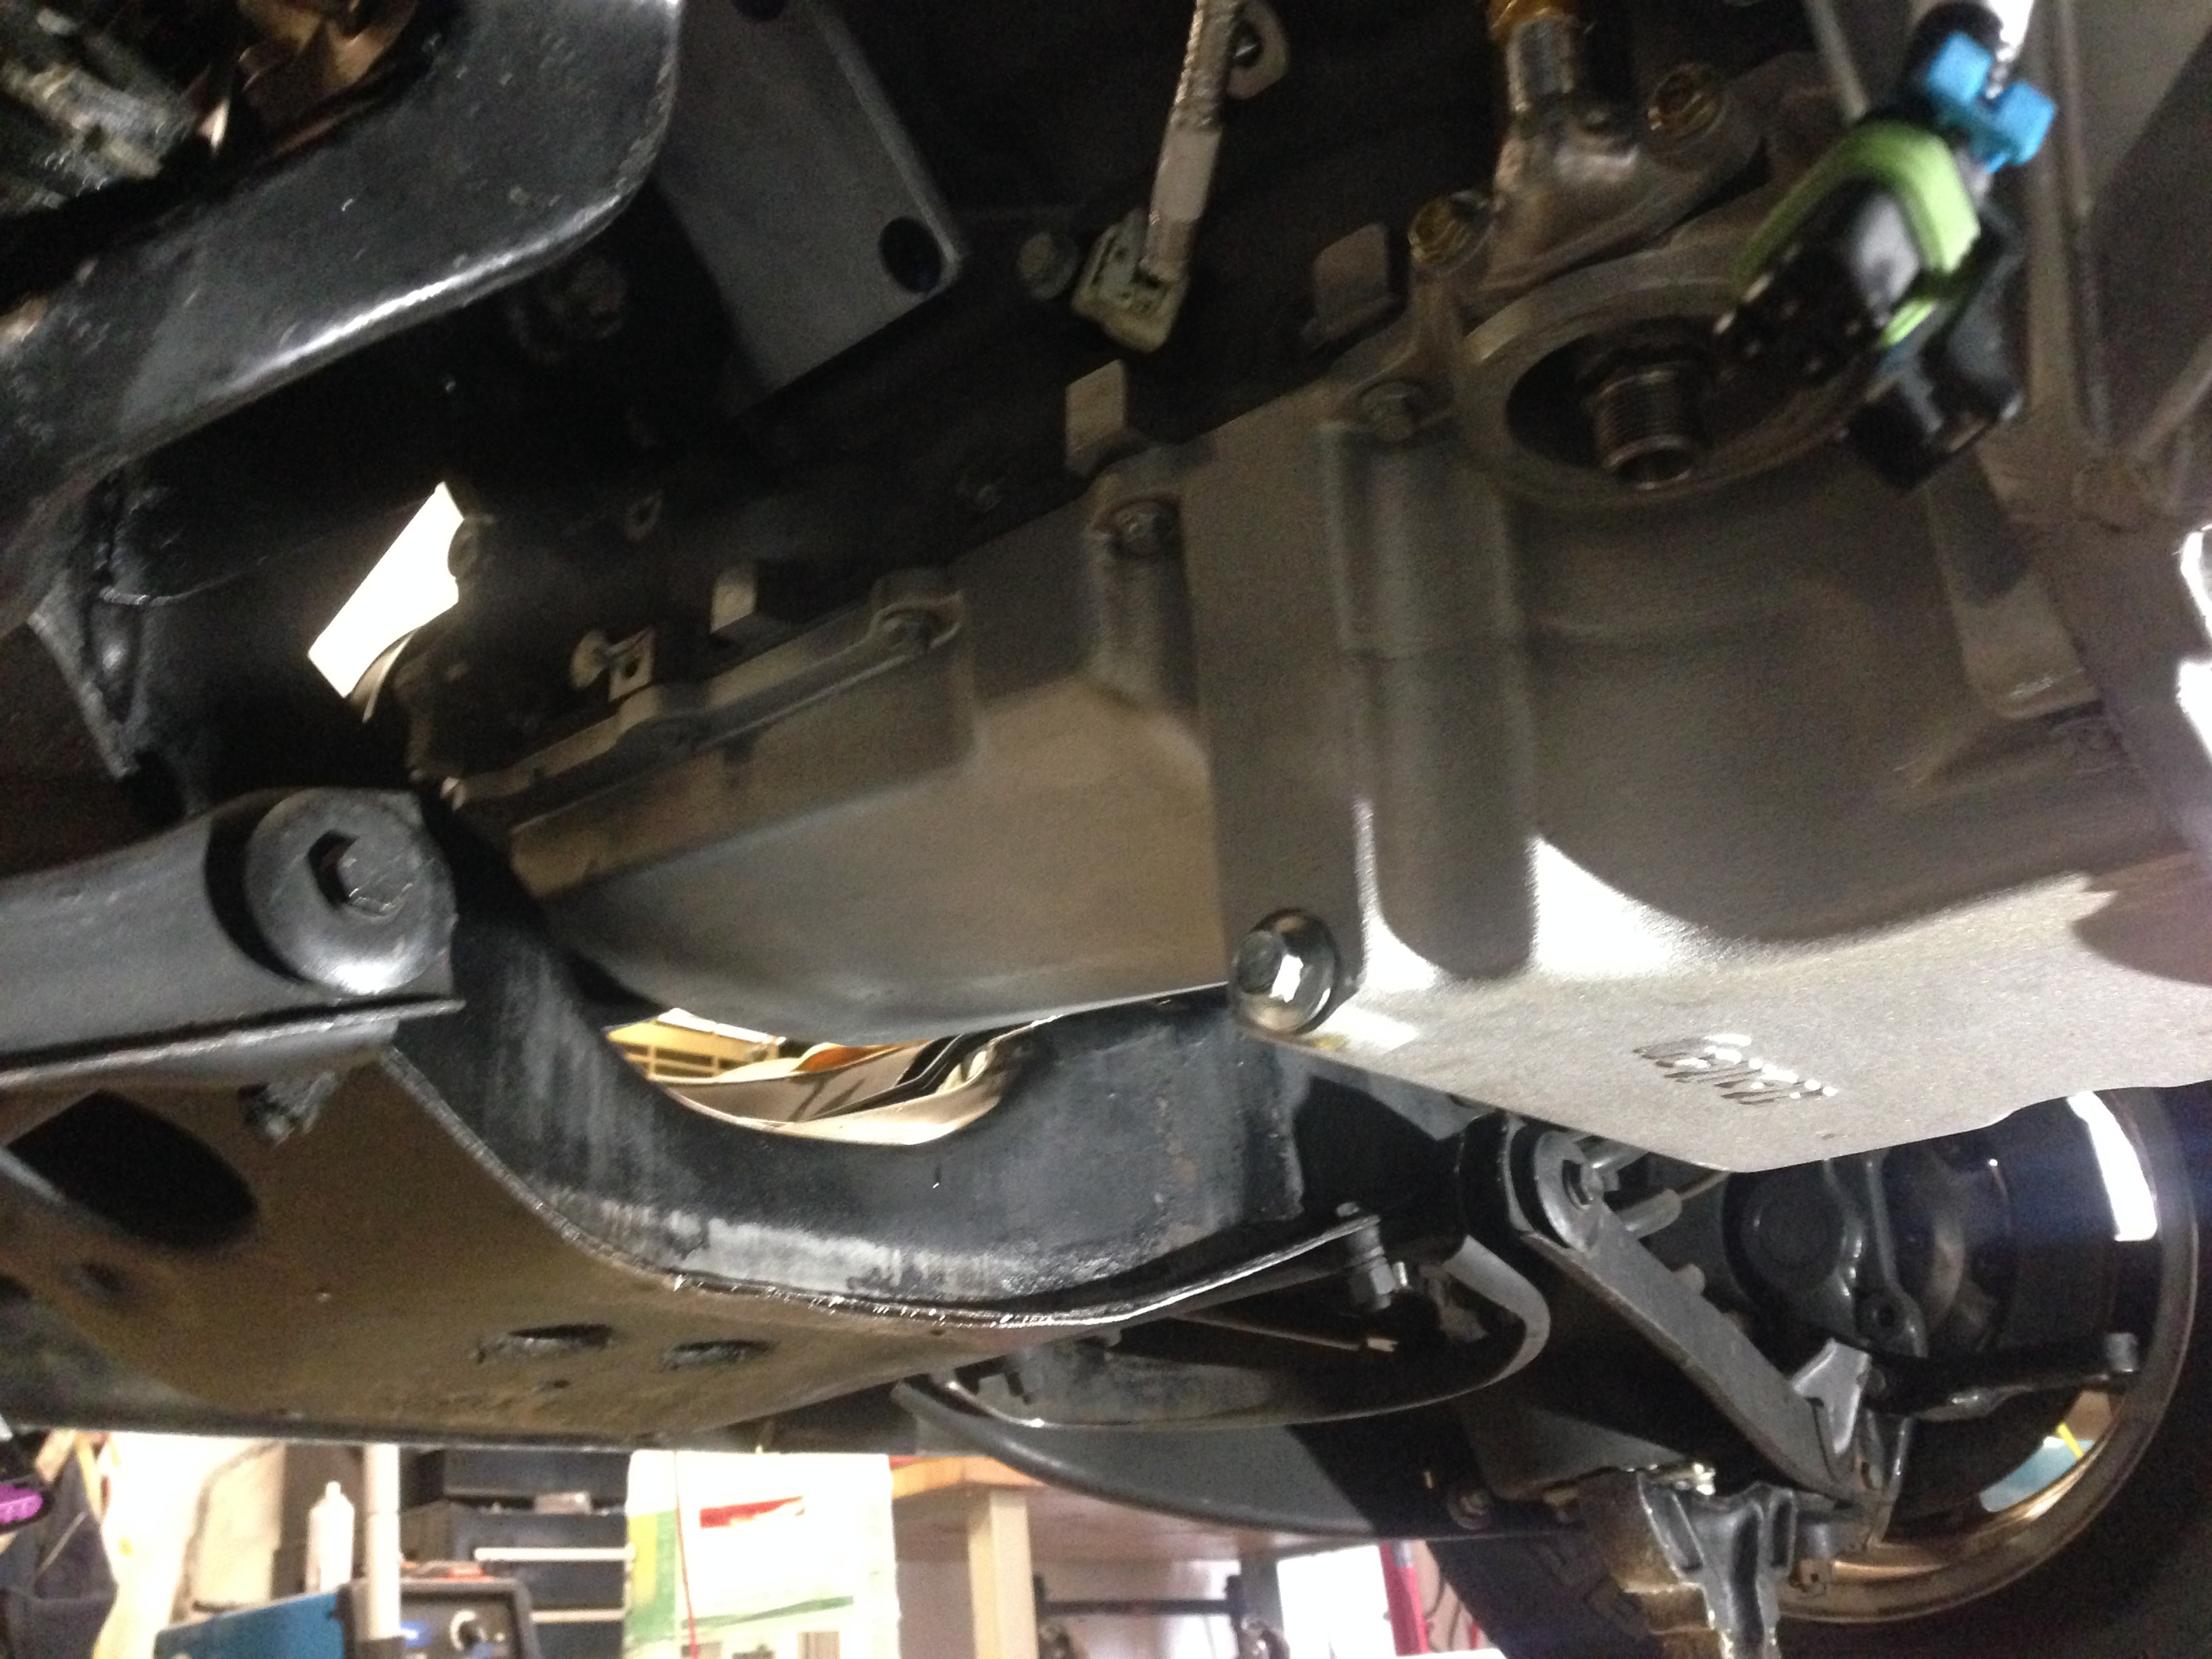
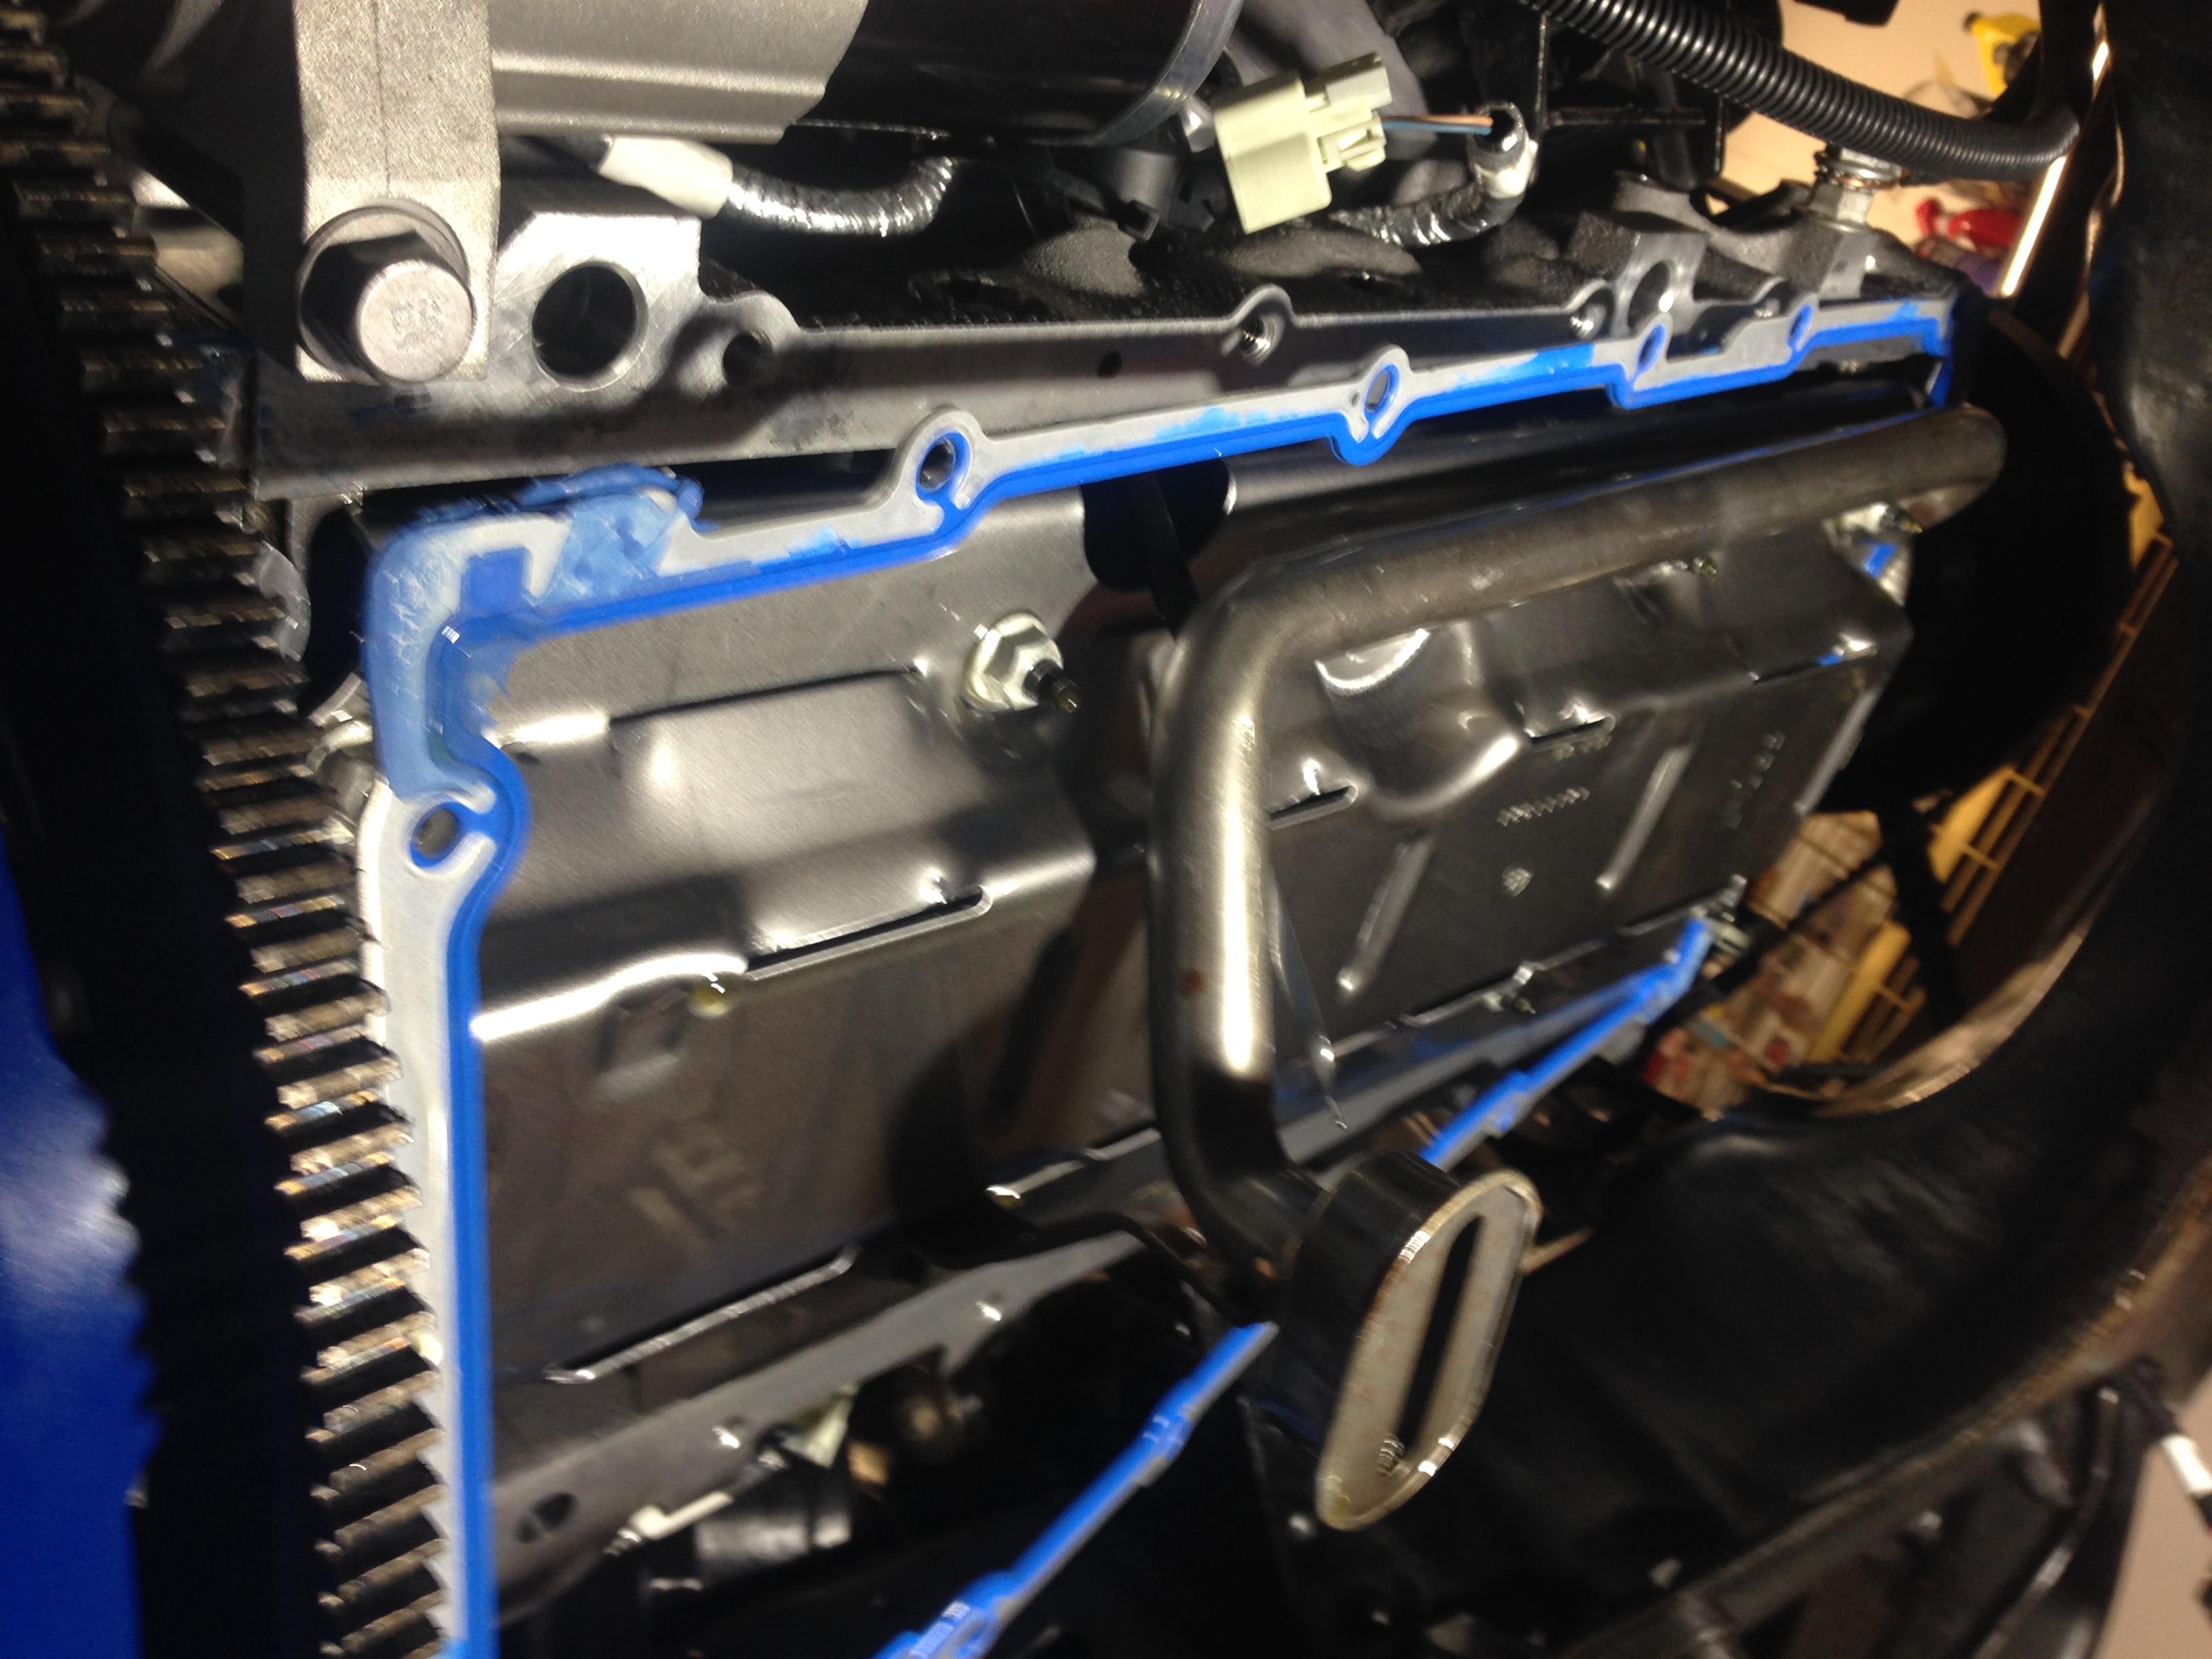
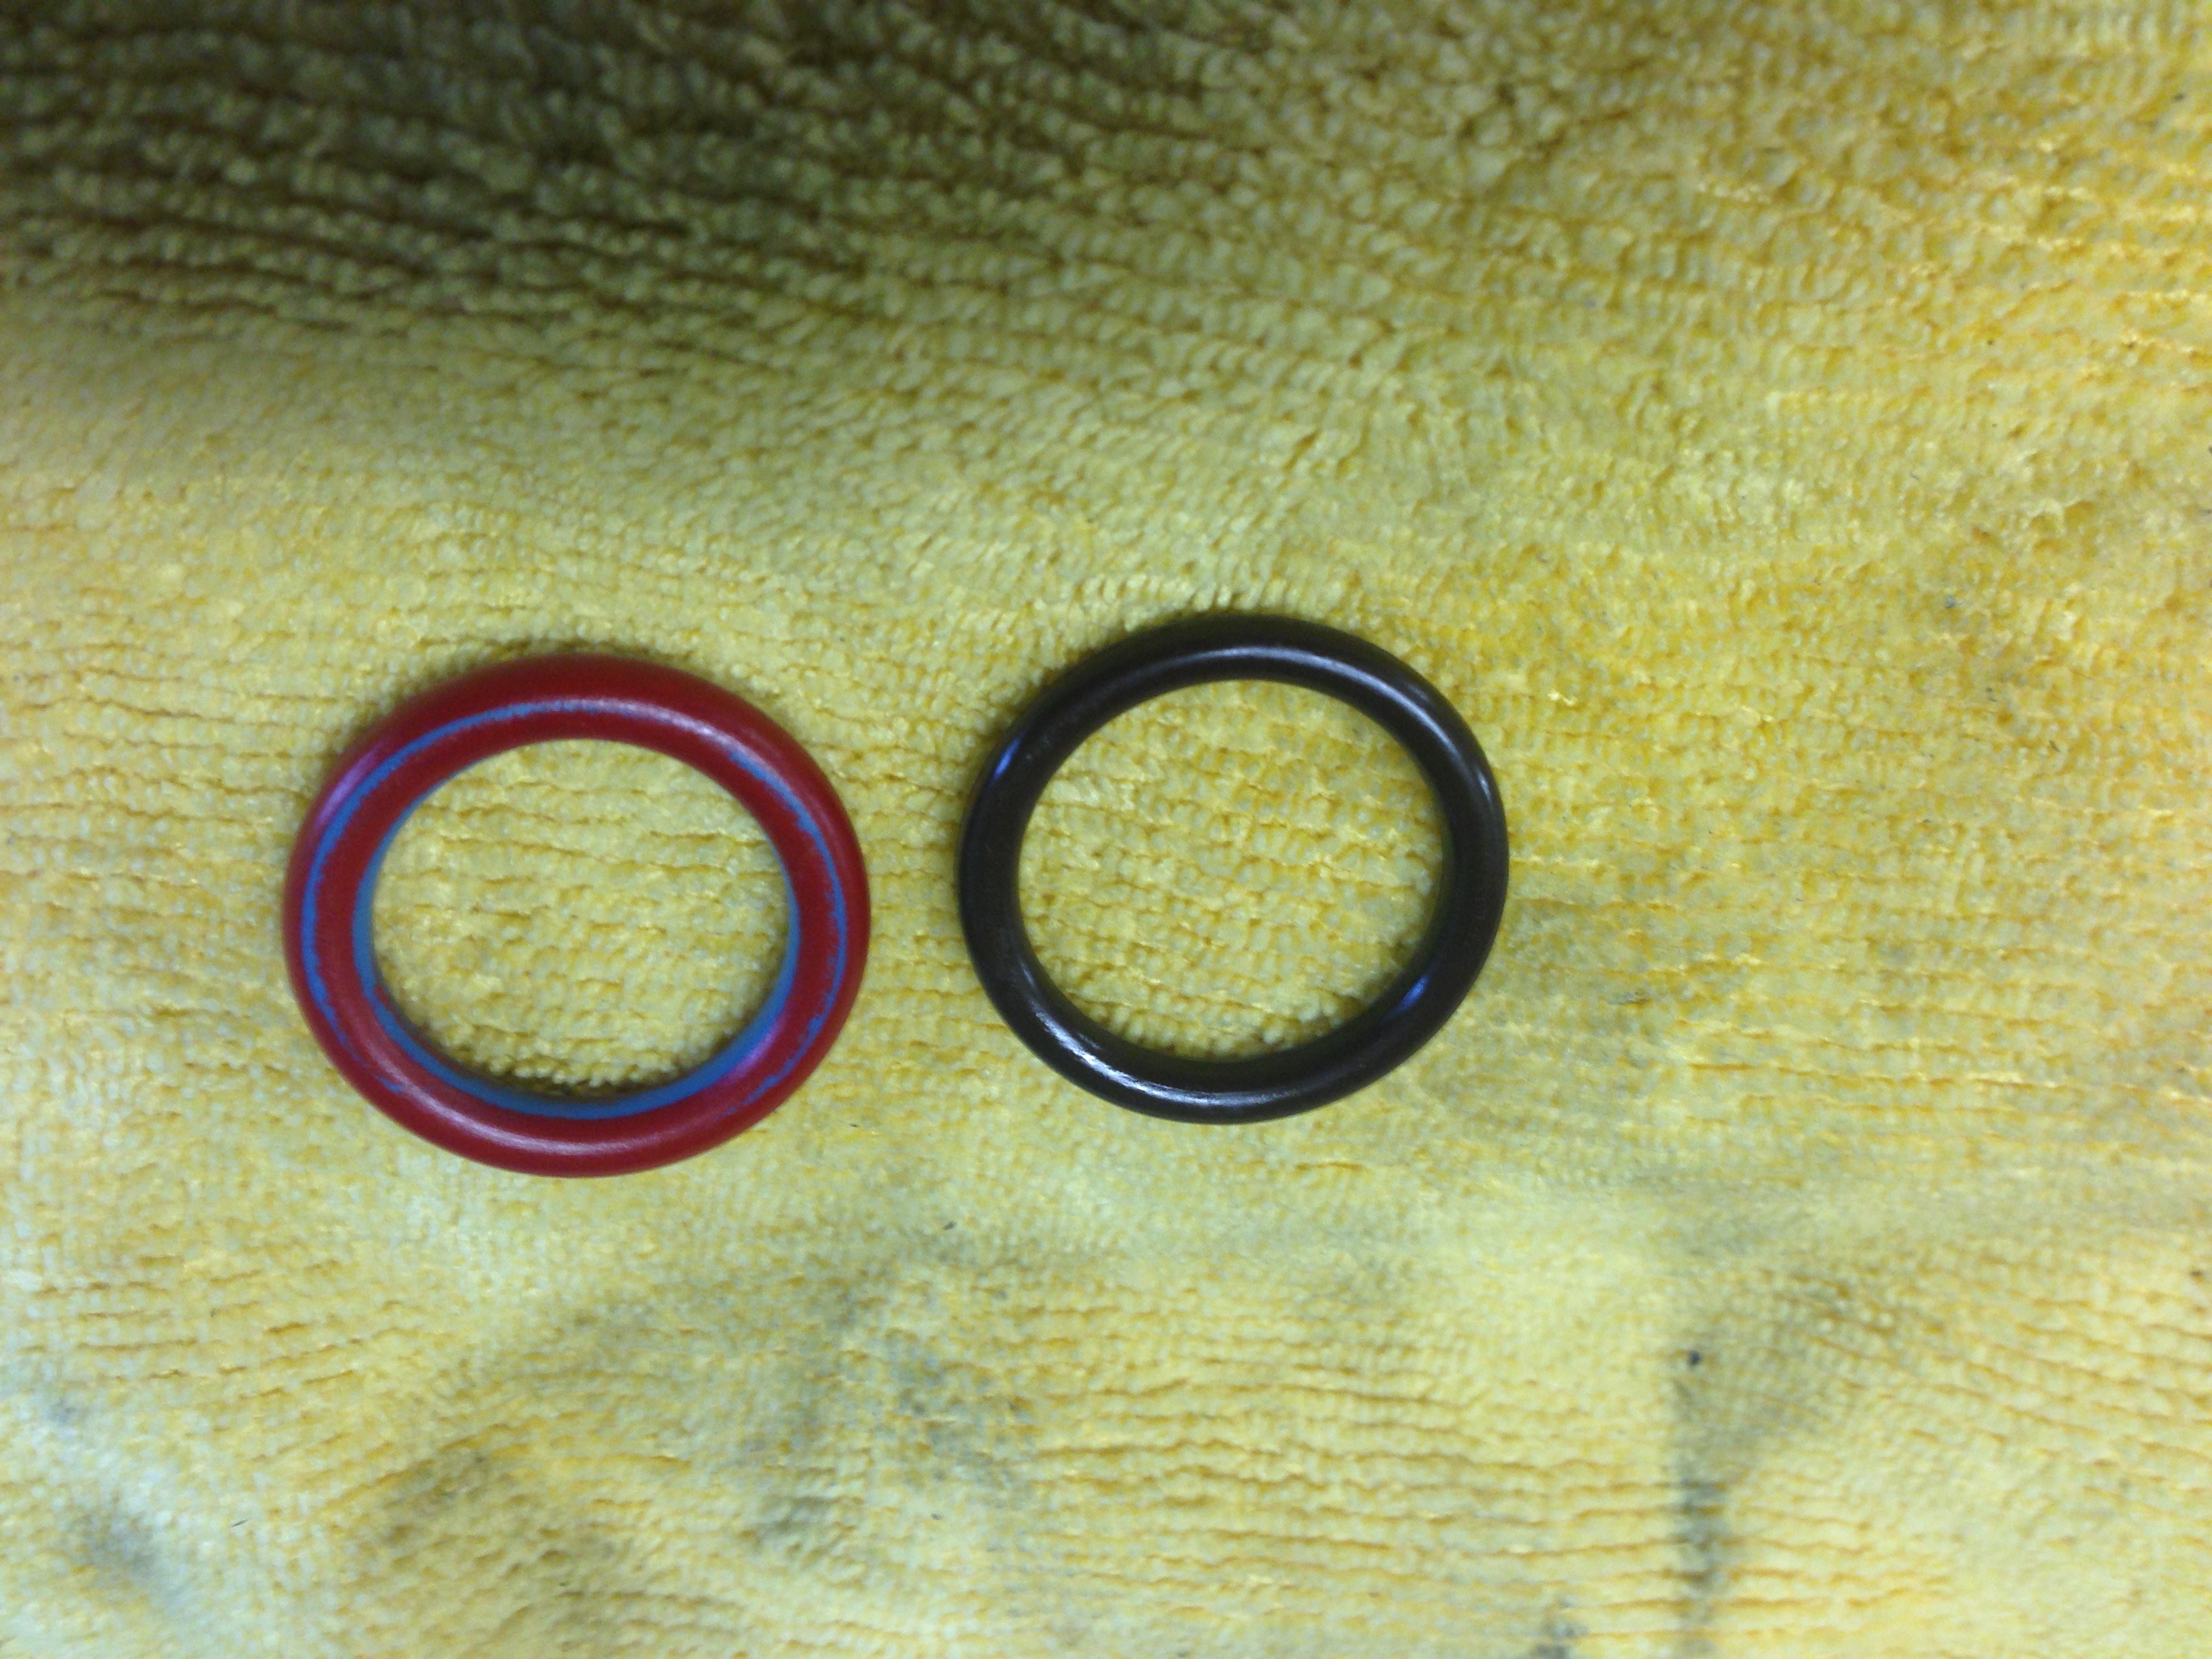
So......Been an Interesting last couple of days........After getting the gauge cluster in and getting the starter solenoid issue resolved.......I spun the engine over and noticed I wasn't getting any oil pressure........Hummm!!!......Must have lost it's prime........So......I borrow a pressure oiler to prime the system.......it has an adapter that screws on in place of the oil filter that connects to the canister with a hose.......Add oil to the canister ......pressurize the canister with 100lbs air pressure and open the valve.......the pressure pushes the oil thru out the entire oiling system in the car........open the valve and turn the key on 40lbs oil pressure........Humm....That was easy......Take all the pressure stuff off and put the oil filter back on...(still filled with oil)......Spin the engine over........"0" oil pressure....,,.WTF !!!.........Put all the pressure stuff back on......40 lbs.........Spun the engine over with the 40 lbs pressure..........Take it off ......."0" again......Talk about getting depressed........So.......I spend a day thinking this thru......It seems that the only place this problem can be coming from is when I changed the Oil Pan and changed the oil pick-up tube.........the mounting of the pick-up tube to the pump is critical to get the "O" ring seated correctly ...........I was very careful in putting in the new tube and "O" ring, so.......I was not convinced that was were the problem was.......So......I get a hold of my friend Gordon who works at GM Tech Center and explain what's going on.......He did some research and sends me a link that shows some past similar issues with the wrong size "O" ring installed.........Humm !!!.........I just took the supplied "O" that came in the kit installed it and never gave it a second thought.......But....It was the only answer that made any sense........So.......Other that the fuel system the car is a day away from running and now I have to take it apart to check a stupid "O" Ring.......Spent the day today taking the car apart.........Ha!!..........The tube was seated perfectly.......pulled the tube down and the "O" ring was in perfect condition........then I checked it with the old one that was on the GM pickup tube......... Basically 1 mm difference in size......the "O" ring supplied with the pan was smaller..........Darn !!!!........All this work for a stupid "O" ring.......But....I get it back together ........Put the pressure oil primer on .....take it off...put the Filter on and spin the engine over........Bingo.......Oil Pressure..........Some times the littlest things cause the biggest problems.............


At least it was a relatively easy fix and not a catastrophic issue with the engine!
I always use the o-ring that was on an original pickup. The Gen 4 engines use that red o-ring. I have also seen a blue o-oring on other engines.
Andrew
I always use the o-ring that was on an original pickup. The Gen 4 engines use that red o-ring. I have also seen a blue o-oring on other engines.
Andrew
There was a really good thread (with pix) here a couple years back on the different o-rings that should be found and made a sticky. It showed that some p/u tubes have a pronounced step that requires a different ring than one without it...
If you temporarily "install" that blue o-ring, or otherwise rub on it, it will reveal that it's actually red under the coating. Don't know what or why, but that's what it is.
If you temporarily "install" that blue o-ring, or otherwise rub on it, it will reveal that it's actually red under the coating. Don't know what or why, but that's what it is.
LS1 Tech Stories
The Best V8 Stories One Small Block at Time

6 Common C5 Corvette Failures and What's Involved In Repairing Them
Pouria Savadkouei
Retro Modern Bandit Pontiac Trans AM Comes With Burt Reynolds' Autograph
Verdad Gallardo
Top 10 Greatest Cadillac V Series Performance Models Ever, Ranked
Pouria Savadkouei
Top 10 Most Powerful Chevy Trucks Ever Made!

Hennessey's New Supercharged Silverado ZR2 Has 700 HP
Verdad Gallardo
Coachbuilt N2A Anteros Is an LS2-Powered C6 Corvette In Italian Clothes
Verdad Gallardo
Awesome K5 Blazer Restomod Comes With C7 Corvette Power
Verdad Gallardo
10 Camaros You Should Never Buy

10 LS Engine Myths That Refuse to Die
Verdad Gallardo
On The Tree

Joined: Sep 2010
Posts: 197
Likes: 1
From: Phoenix, AZ
Ok, so now I'm a bit freaked out. I put an F-body pan (got everything in a "kit" a couple years ago) on my LS2 and just assembled what was included and torqued accordingly.
I just installed the motor and trans for what I thought/hoped was the last time.
Should I be pulling this thing apart and checking the oring size? Can't afford a new motor at this point. Sheesh.....
I just installed the motor and trans for what I thought/hoped was the last time.
Should I be pulling this thing apart and checking the oring size? Can't afford a new motor at this point. Sheesh.....


Yep, now I am worried. I have a 302-2 pan on an LS1 that is still out of the car I am wondering on whether or not to look at it. Maybe I will try to spin the engine over before I put it in and check the pressure. thanks for the posting
TECH Fanatic

Joined: Jul 2007
Posts: 1,802
Likes: 332
From: Wilmington, De
For those worried, you can always bolt a starter and flywheel to the engine on a stand, connect a battery to the starter, and verify oil pressure with a mechanical gauge.
Nice progress on the project. I'm working on a 5.3 in a 64 Impala right now. It is a little more involved since it is a frame-off restoration. I should make a thread about it.
Nice progress on the project. I'm working on a 5.3 in a 64 Impala right now. It is a little more involved since it is a frame-off restoration. I should make a thread about it.
Not trying to clog up Ken's thread, here are a couple of the posts in question:
https://ls1tech.com/forums/generatio...seat-pics.html
https://ls1tech.com/forums/generatio...requested.html
https://ls1tech.com/forums/generatio...-question.html
I went back over 4 years and still think the one I'm remembering is not here...
https://ls1tech.com/forums/generatio...seat-pics.html
https://ls1tech.com/forums/generatio...requested.html
https://ls1tech.com/forums/generatio...-question.html
I went back over 4 years and still think the one I'm remembering is not here...
Thread Starter
TECH Fanatic
Joined: Jul 2008
Posts: 1,570
Likes: 173
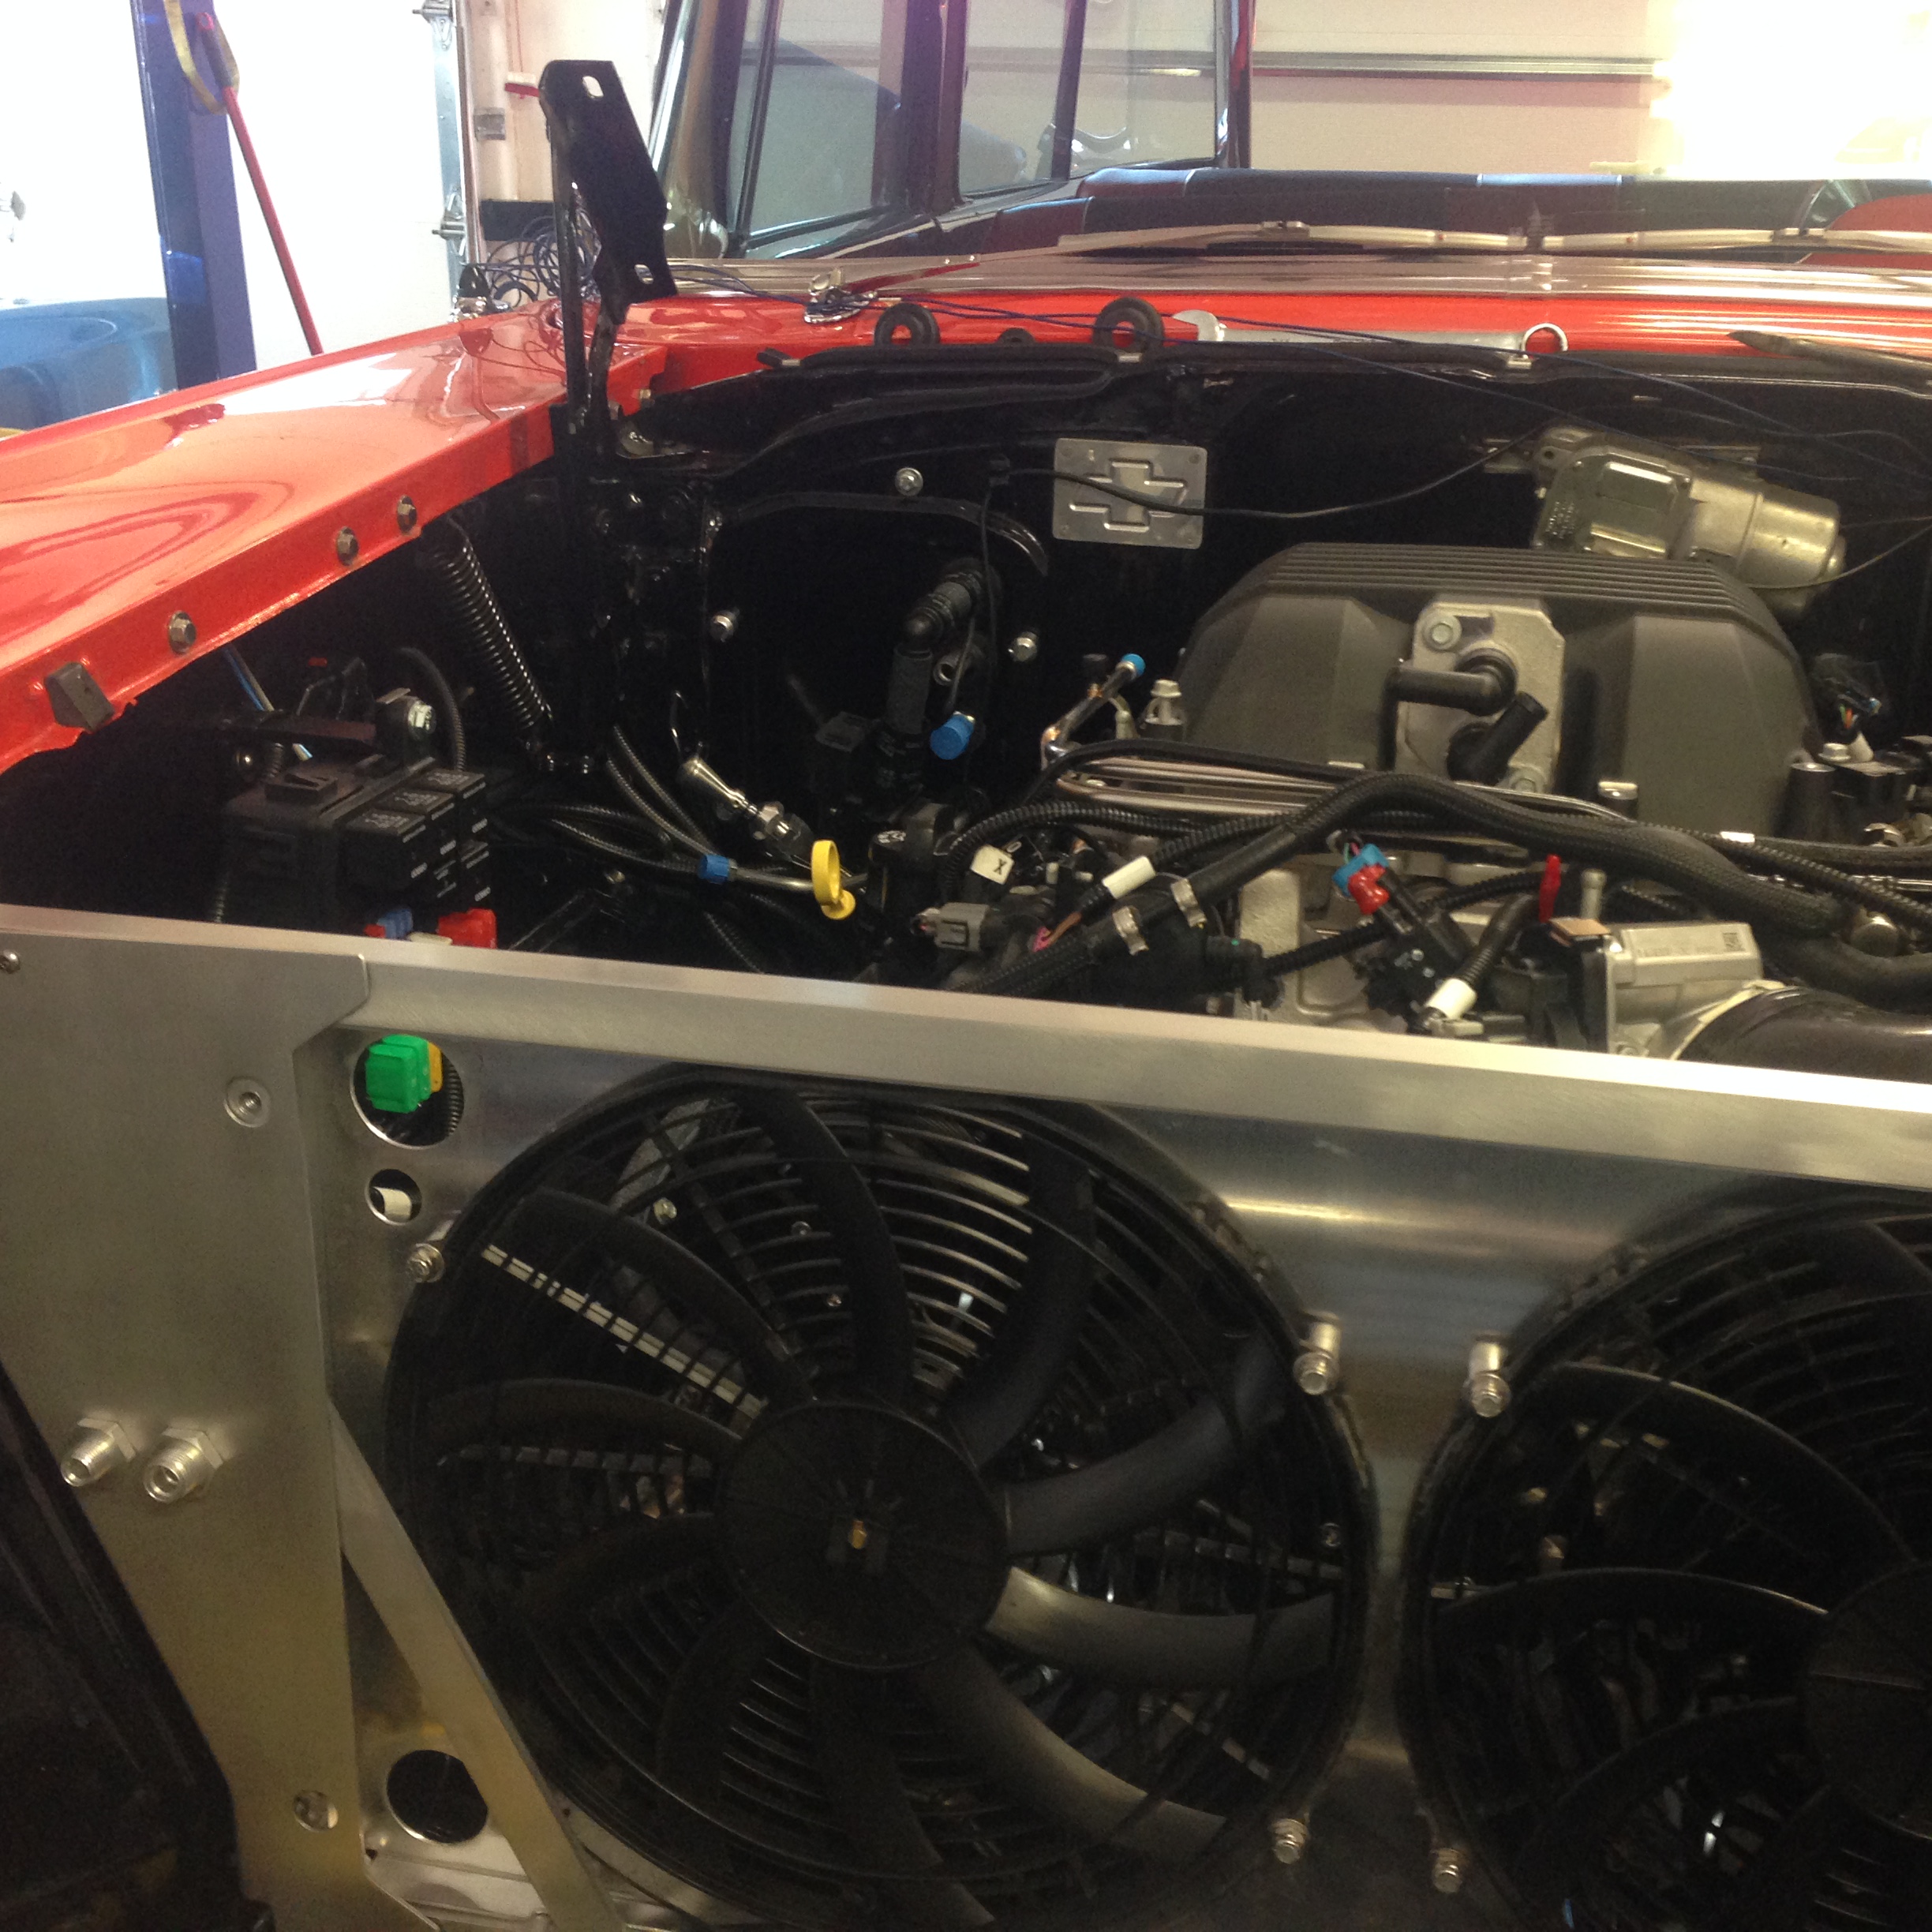
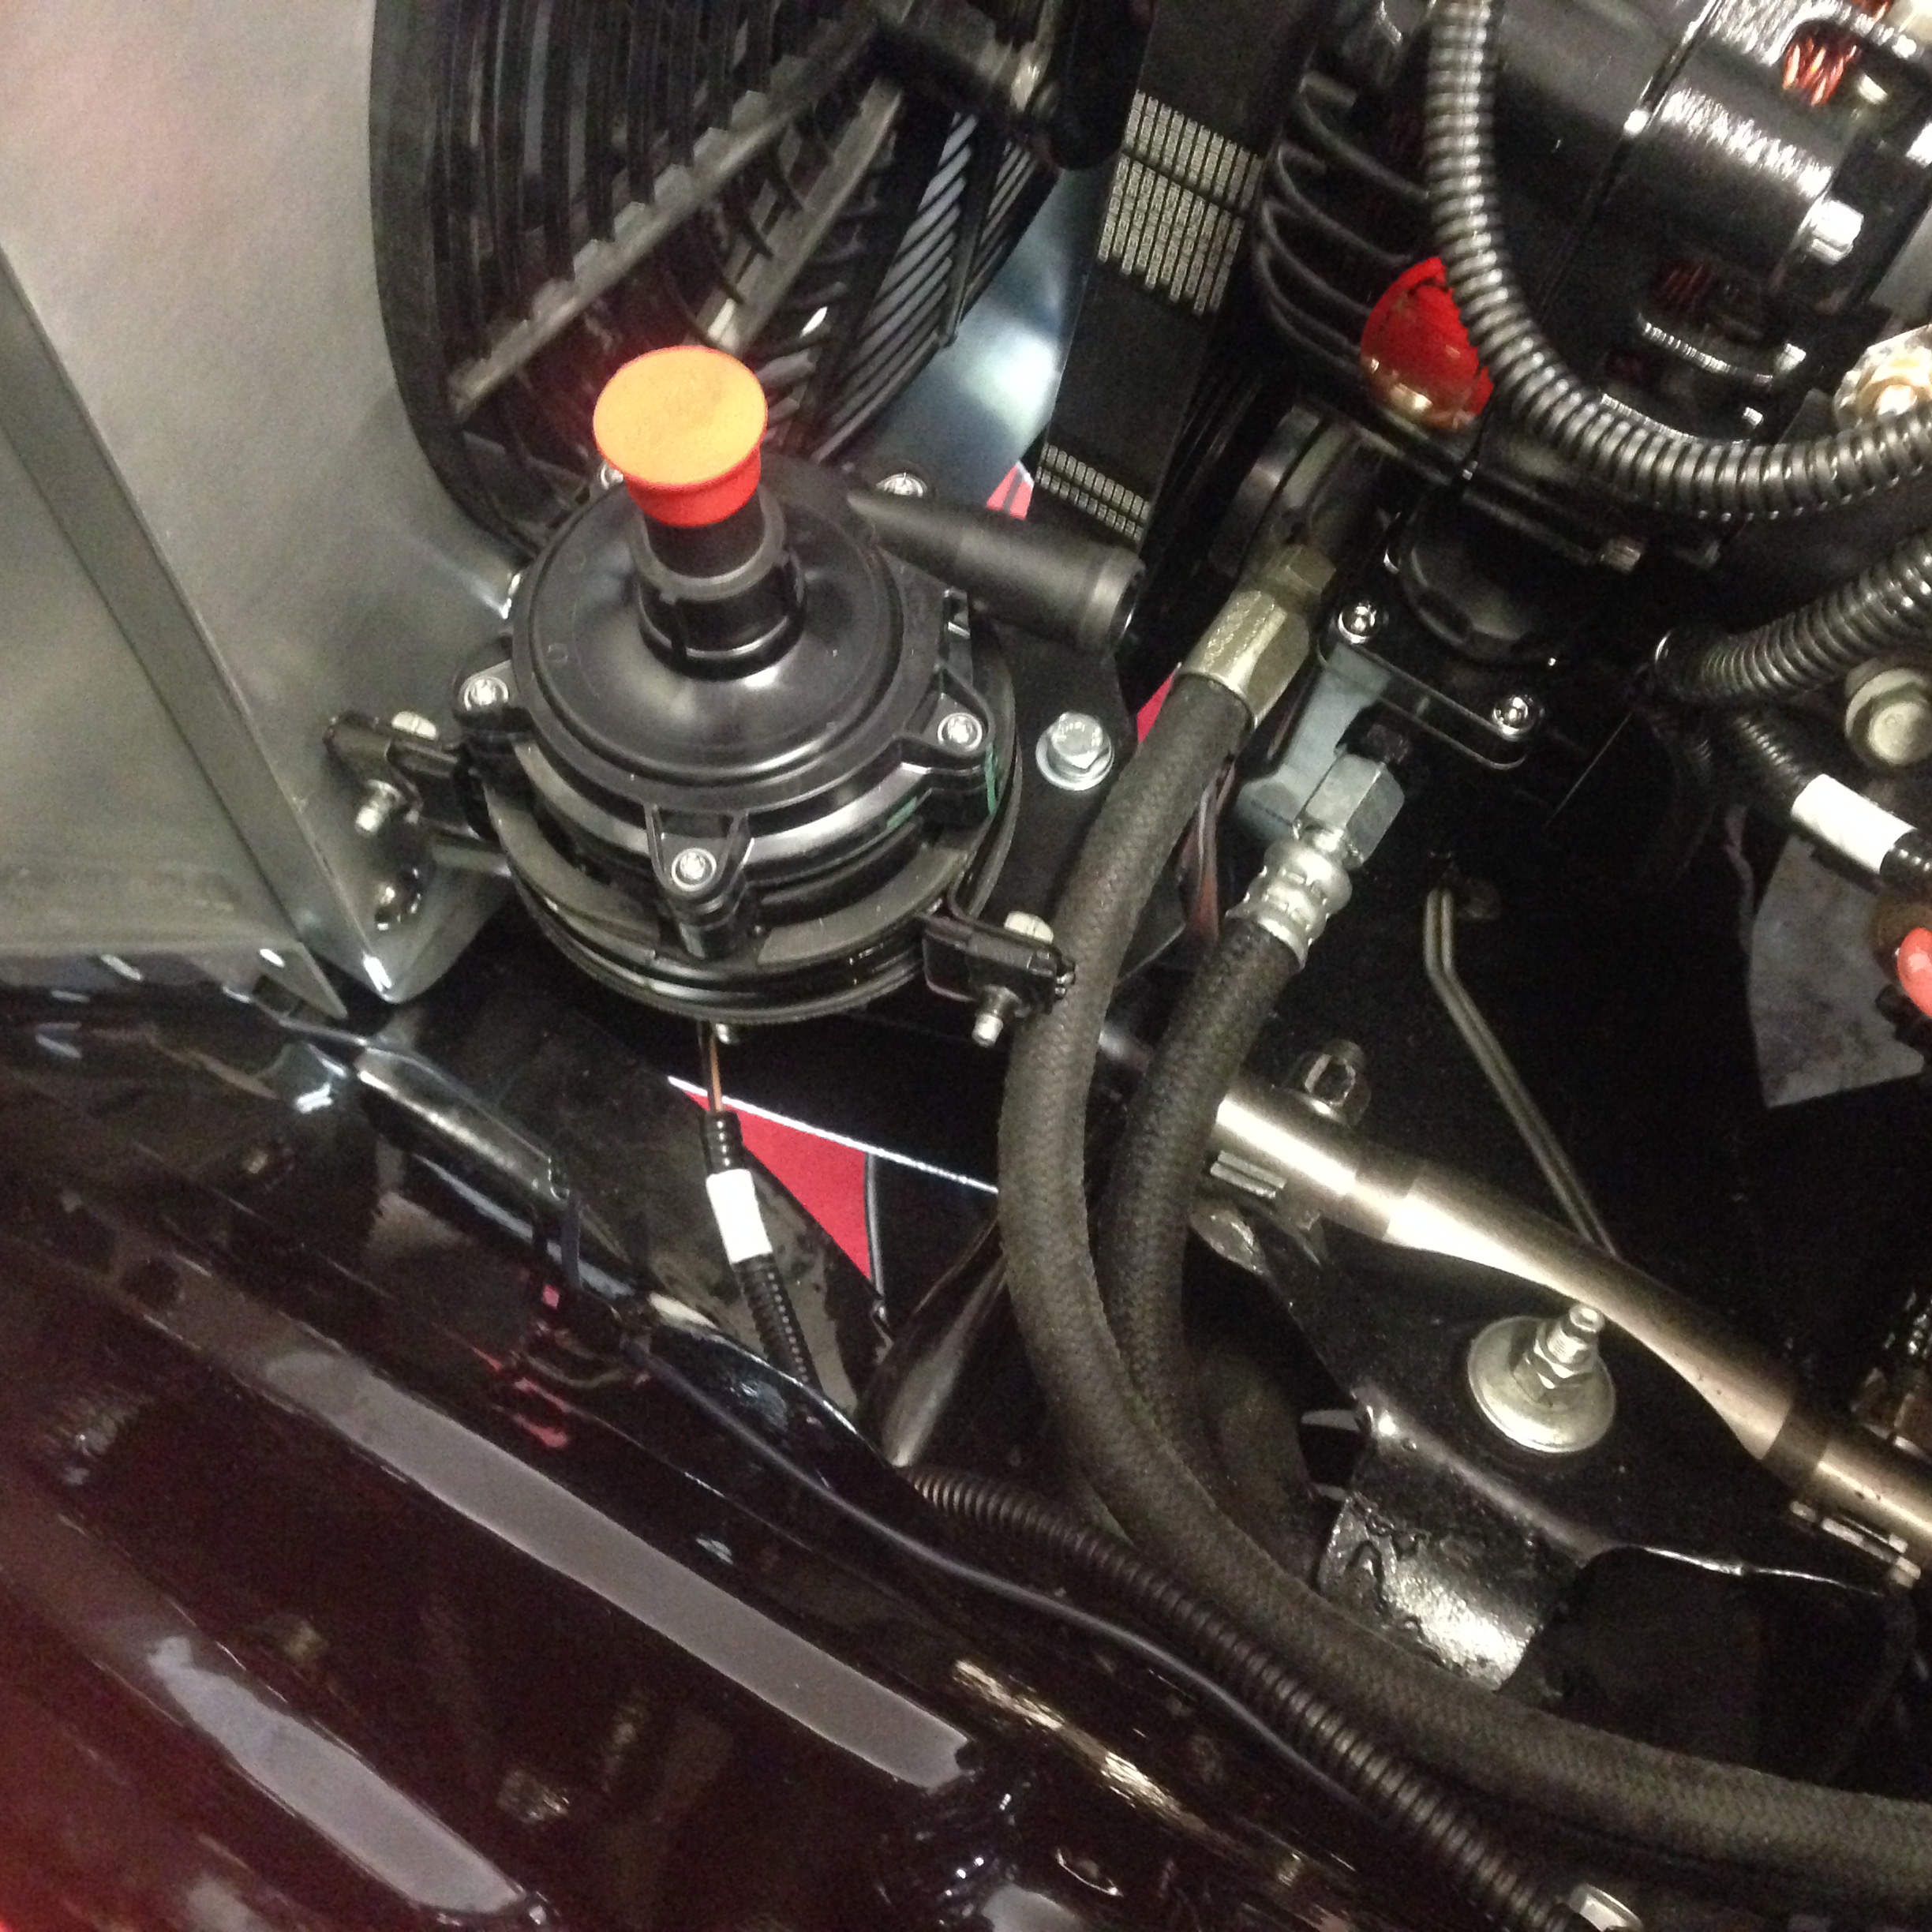
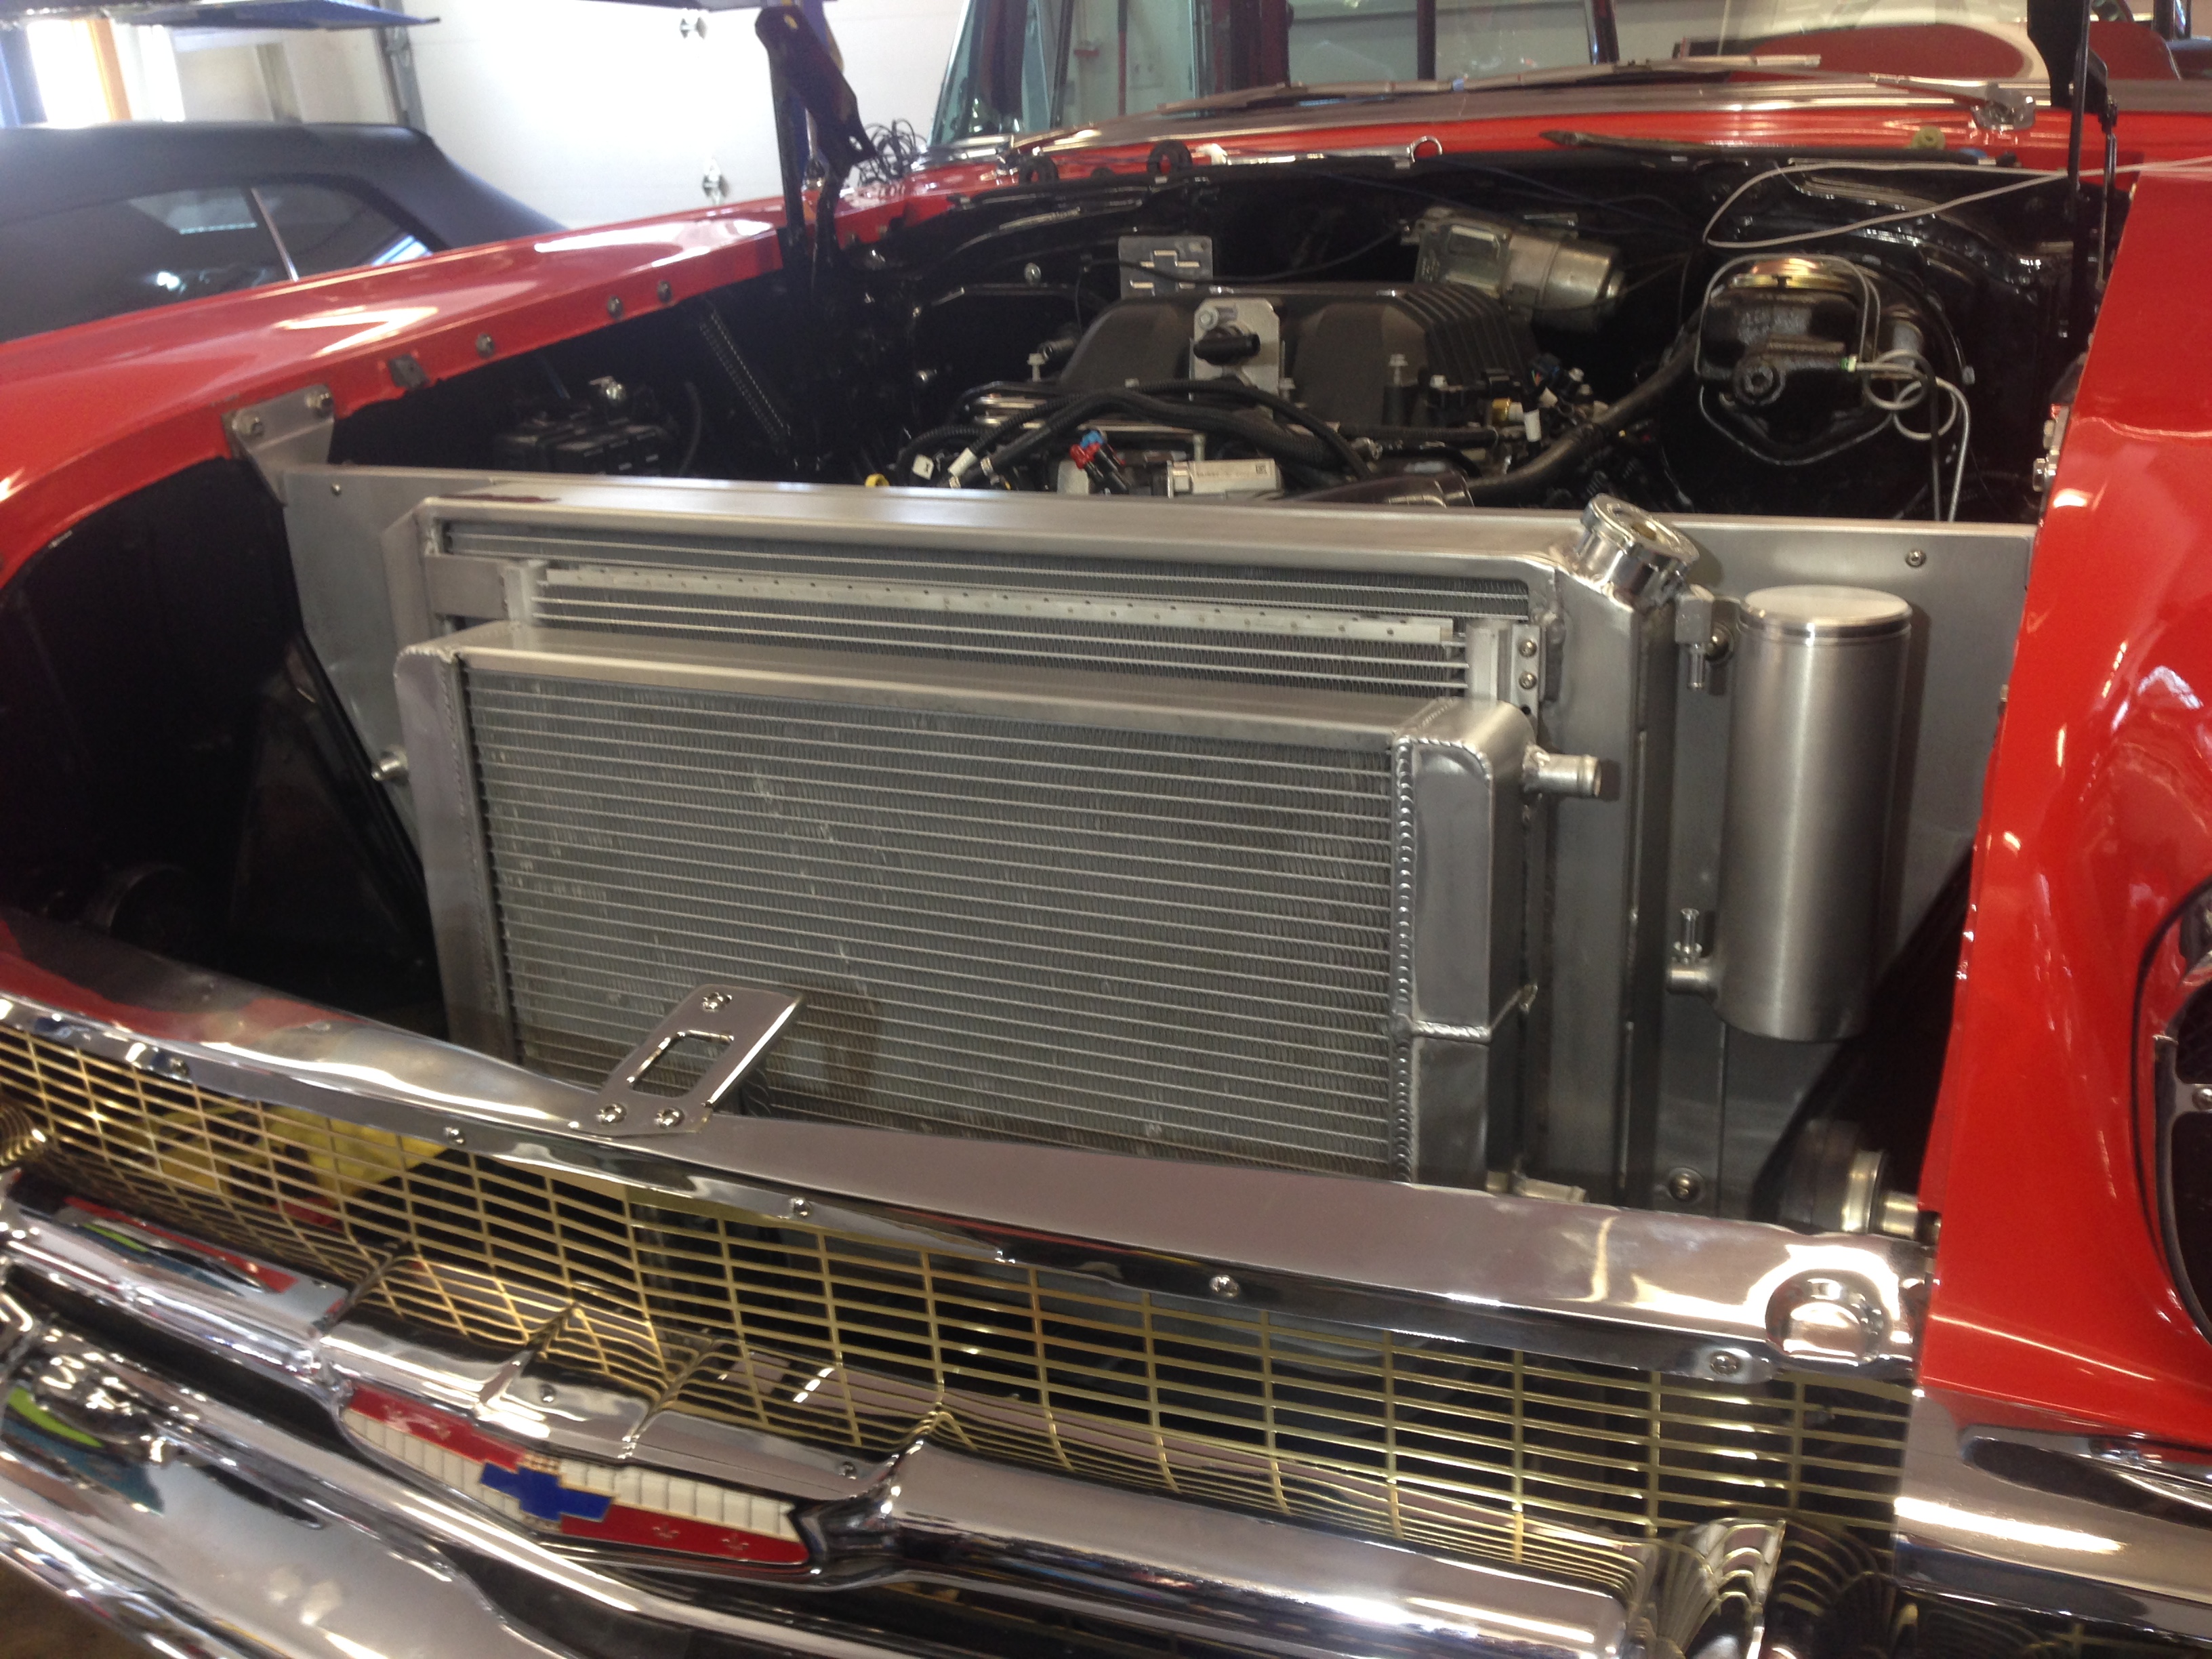
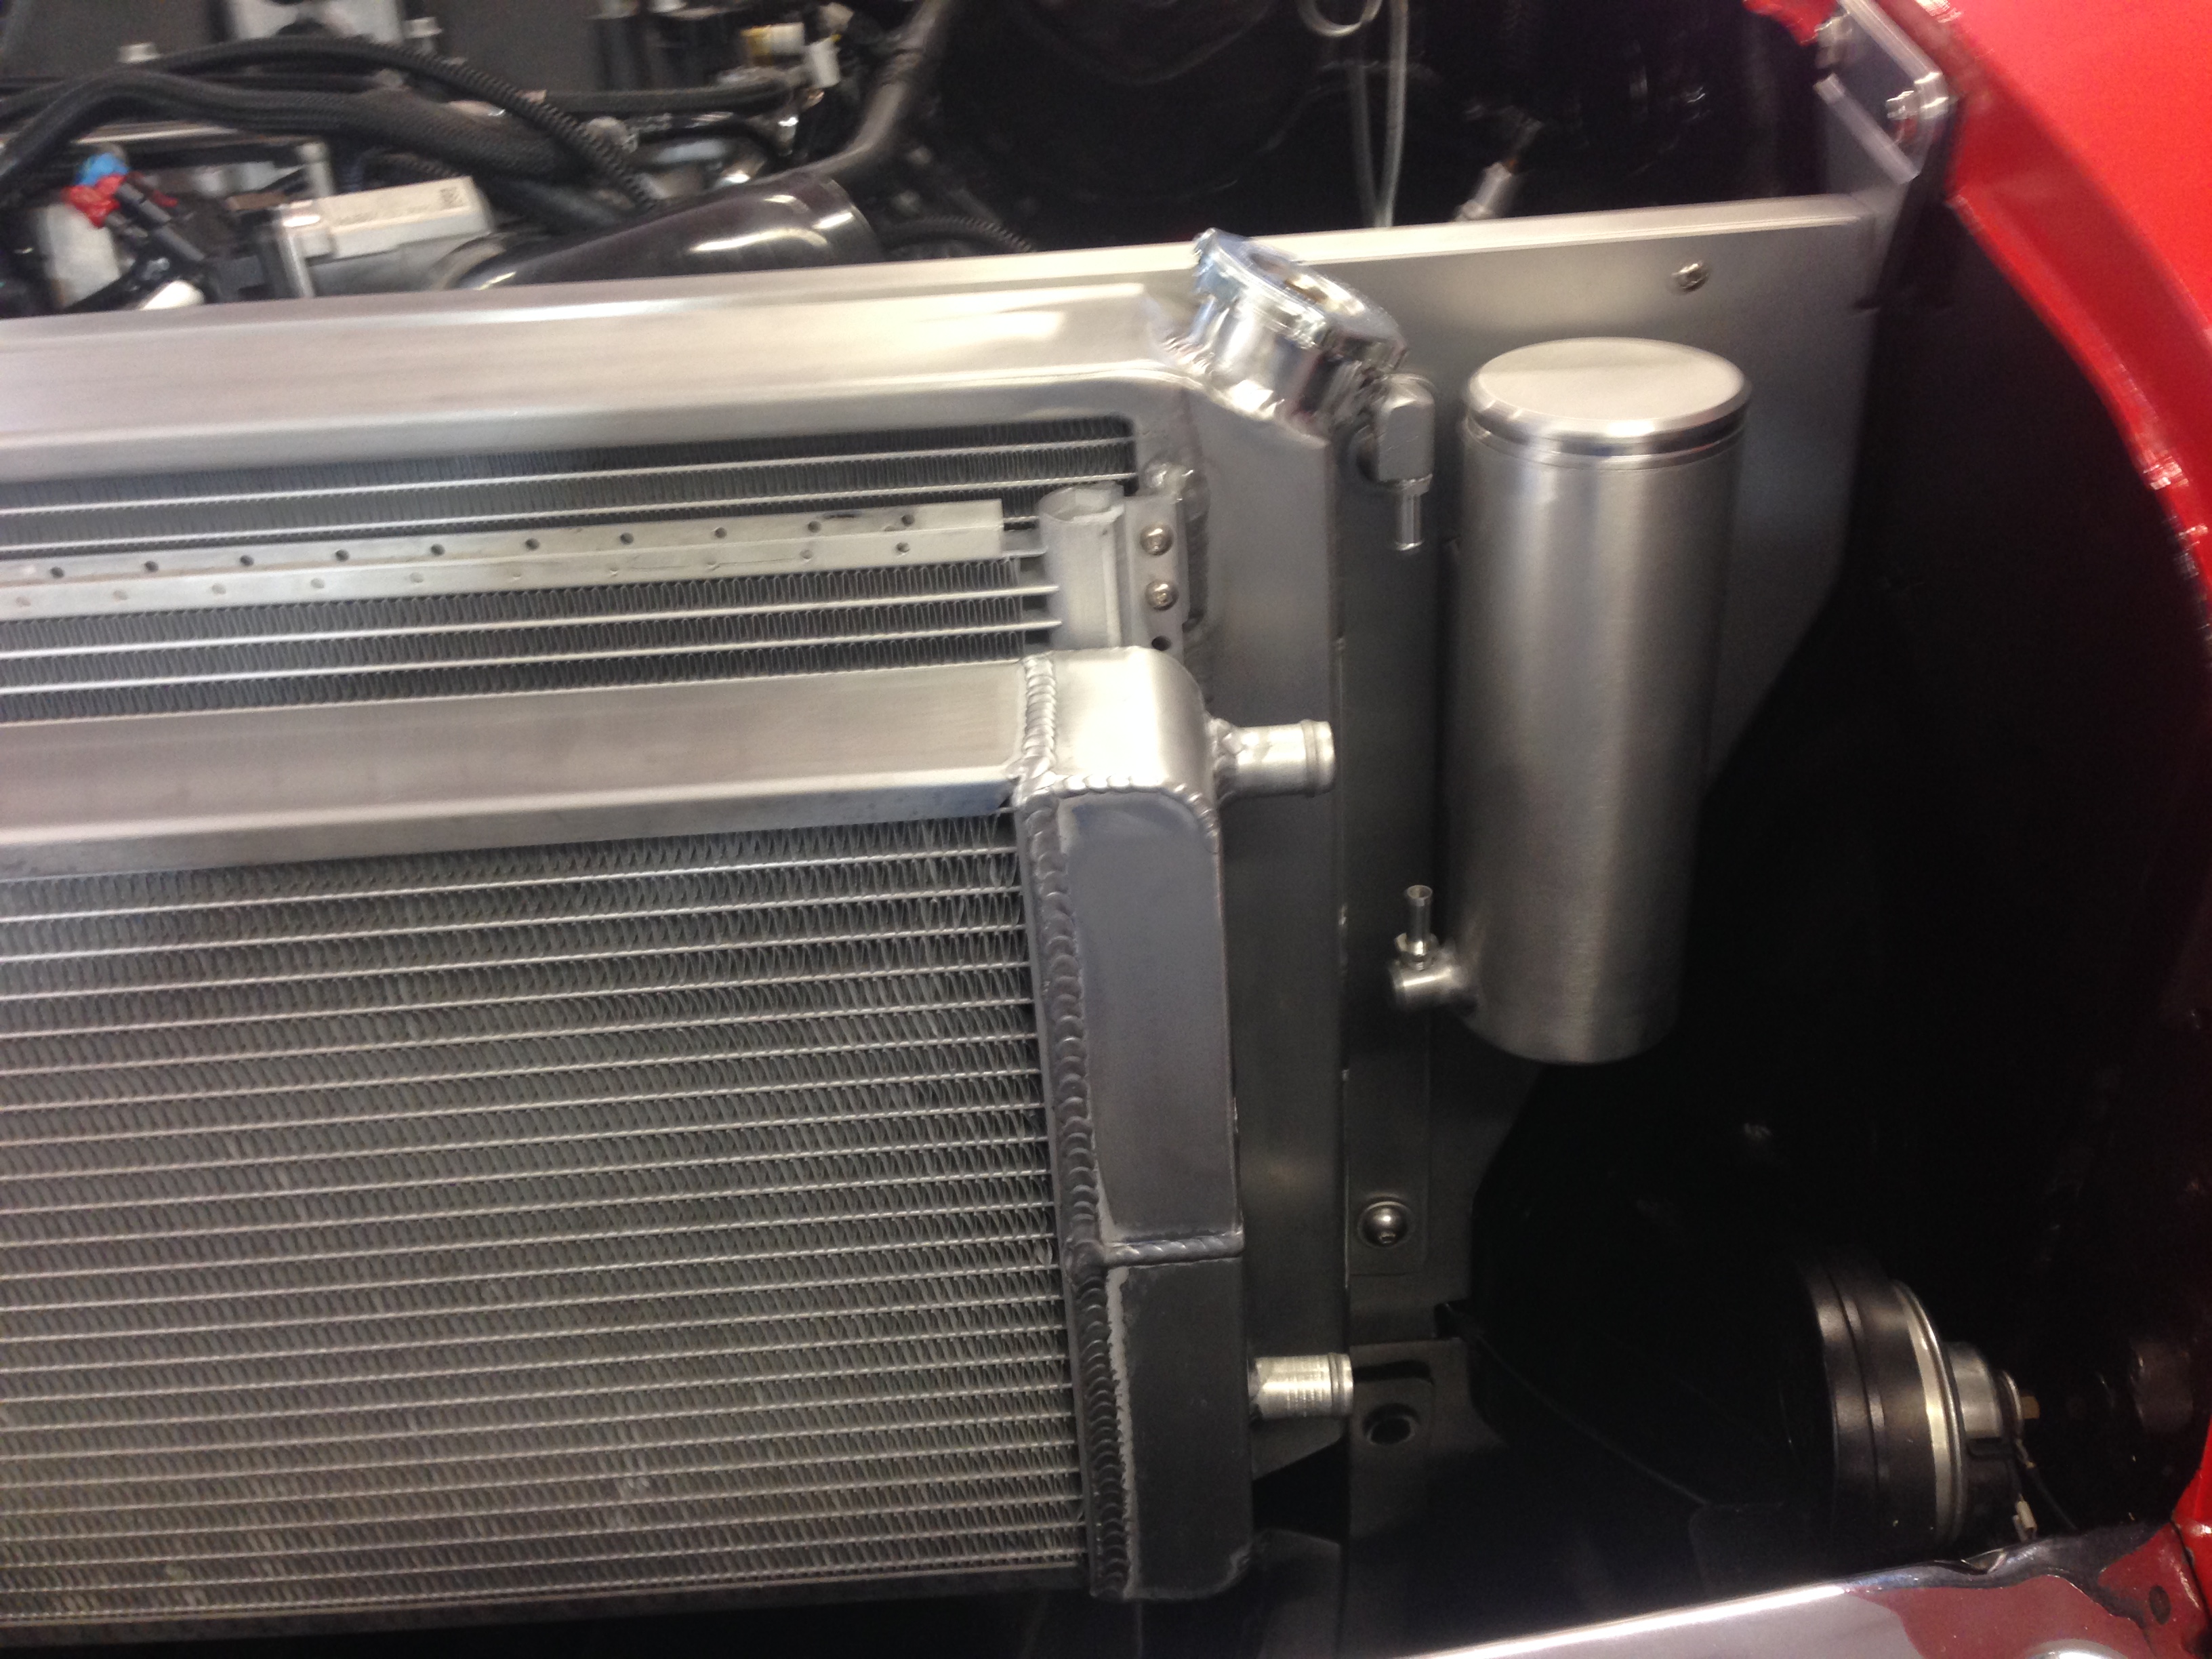
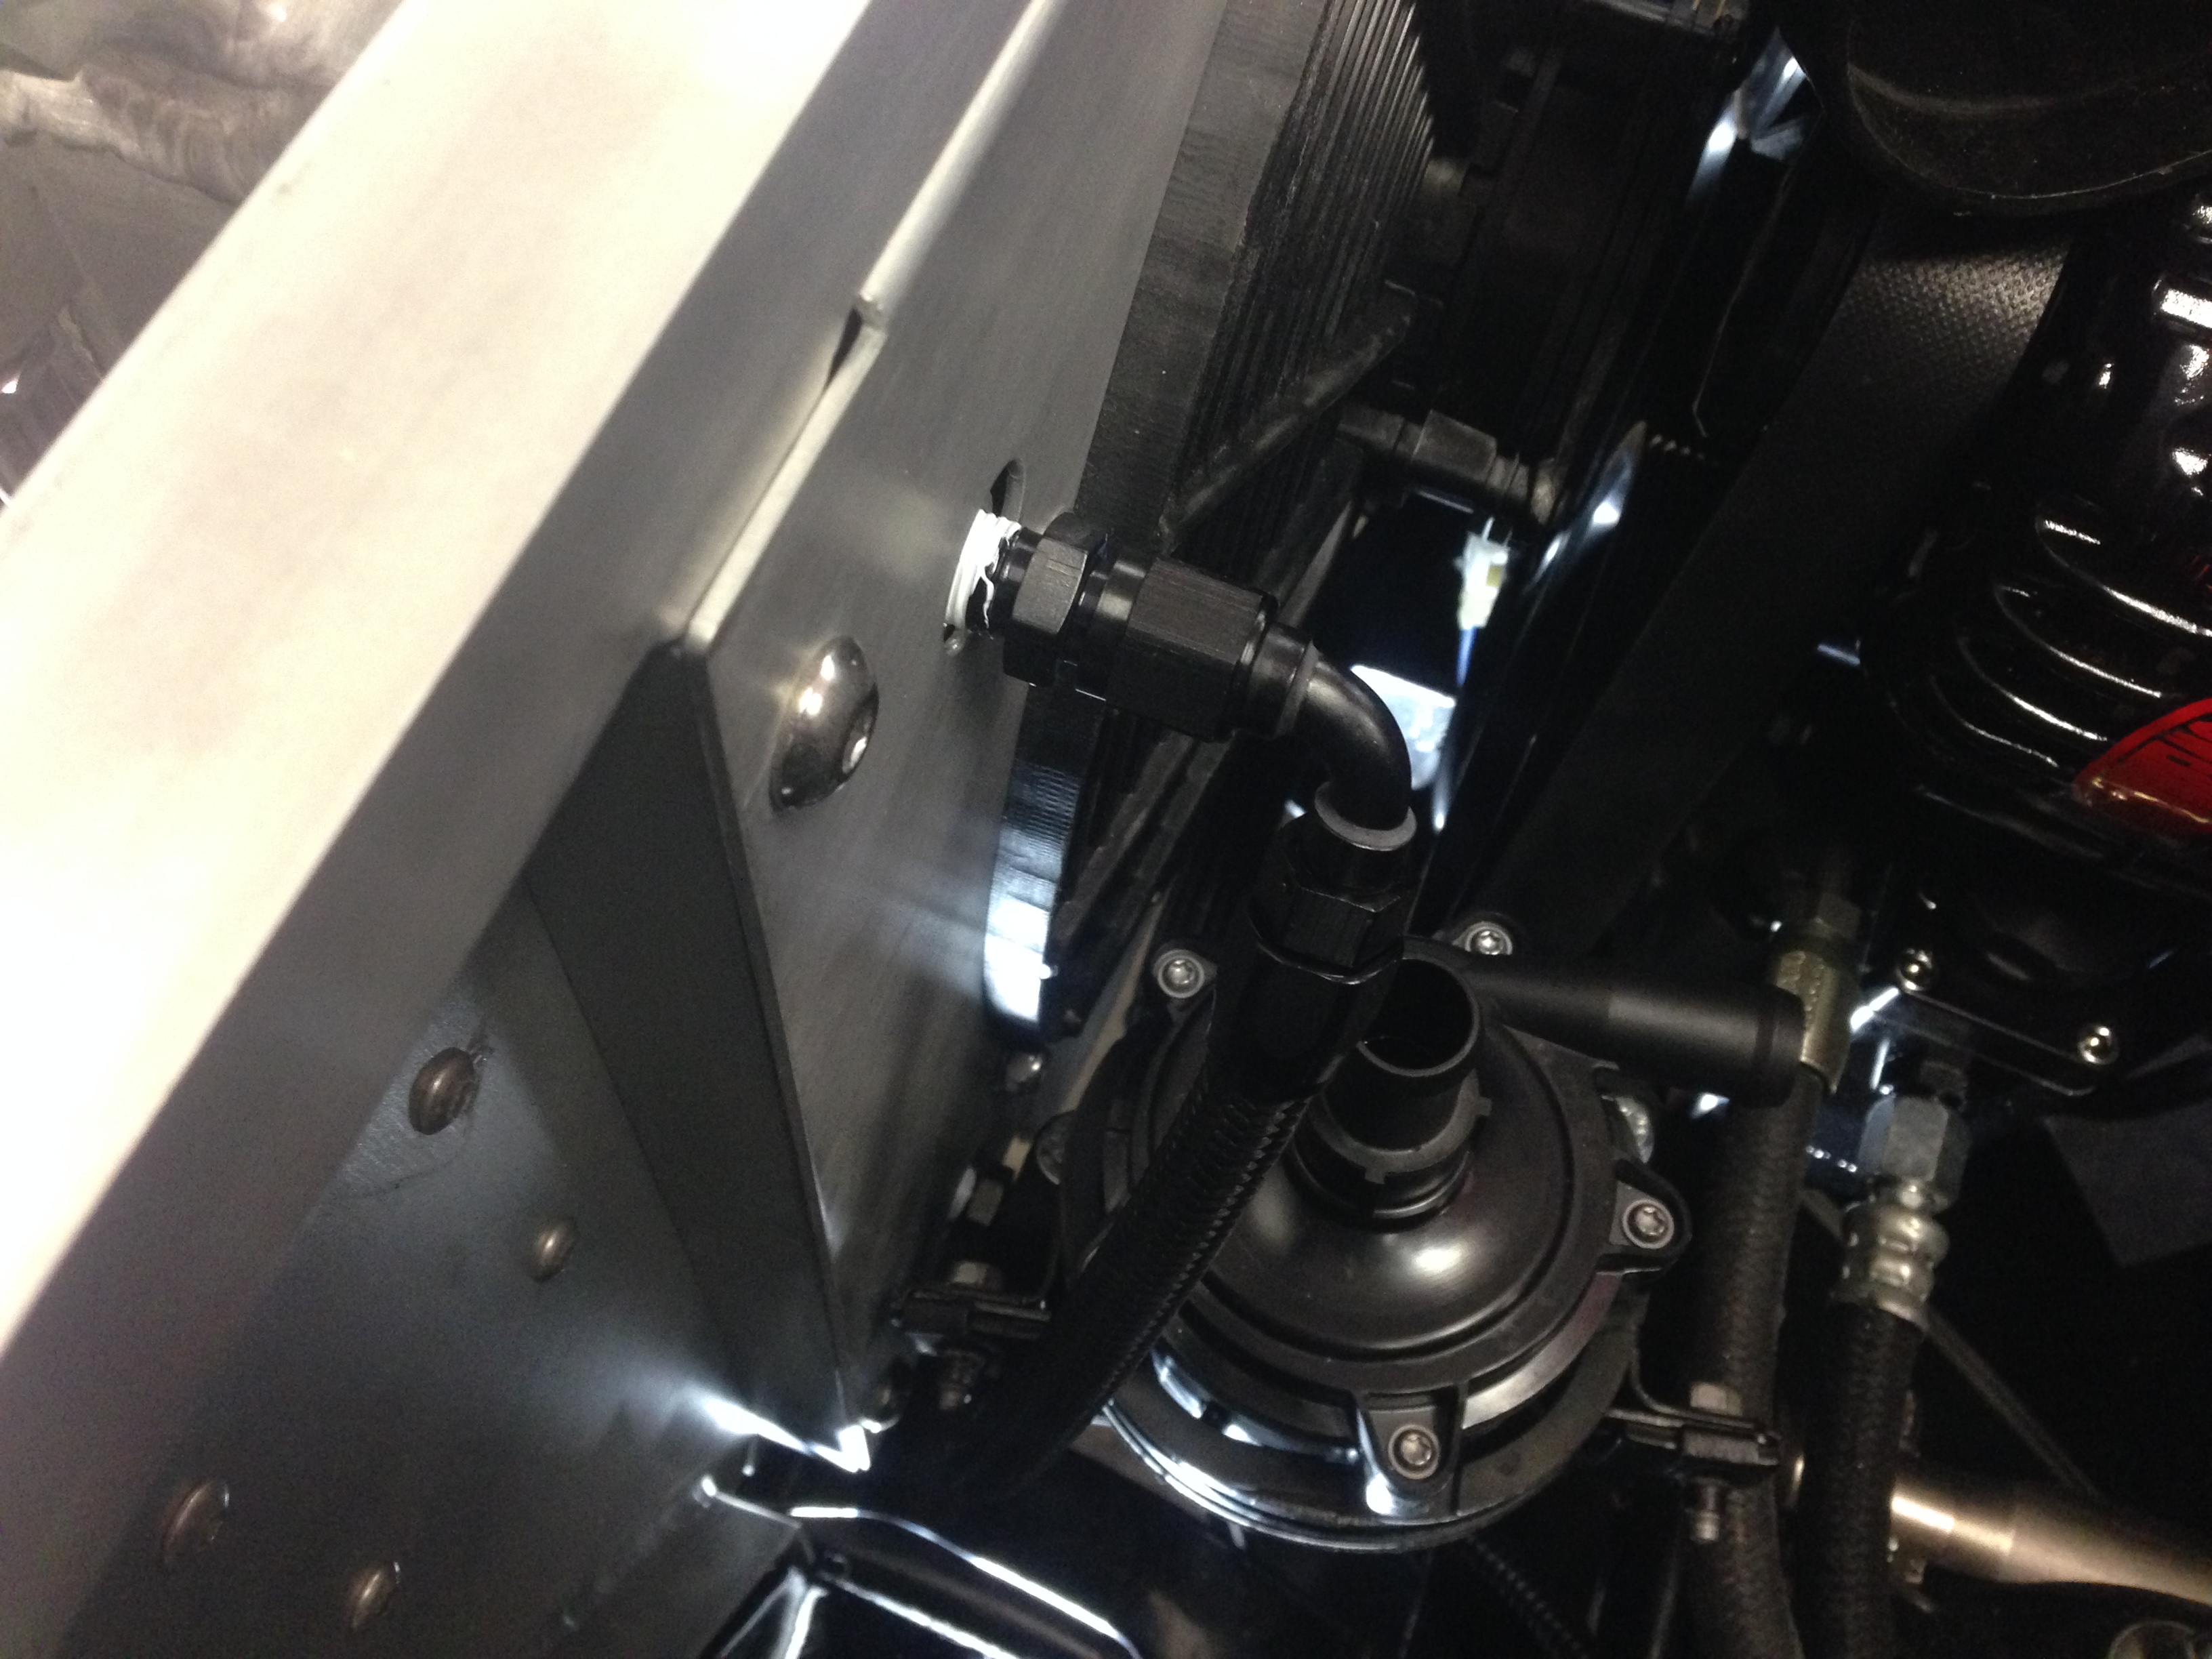
After getting the Oil issue resolved........Time to move forward again.............Put the core support back in, hopefully for the last time........Got the intercooler pump mounted......mounted the Radiator, A/C condenser, and the heat exchanger (again....Hopefully for the last time).....I also got the transmission cooler lines made and installed to the Radiator.....And.......I can only give praise to AutoRad producing a "Super" Quality product.........Glad Donny at Frame-up convinced me I can't afford "Cheap" stuff !!!!!.....Here are some Pic's of the car moving forward.......


Thread Starter
TECH Fanatic
Joined: Jul 2008
Posts: 1,570
Likes: 173
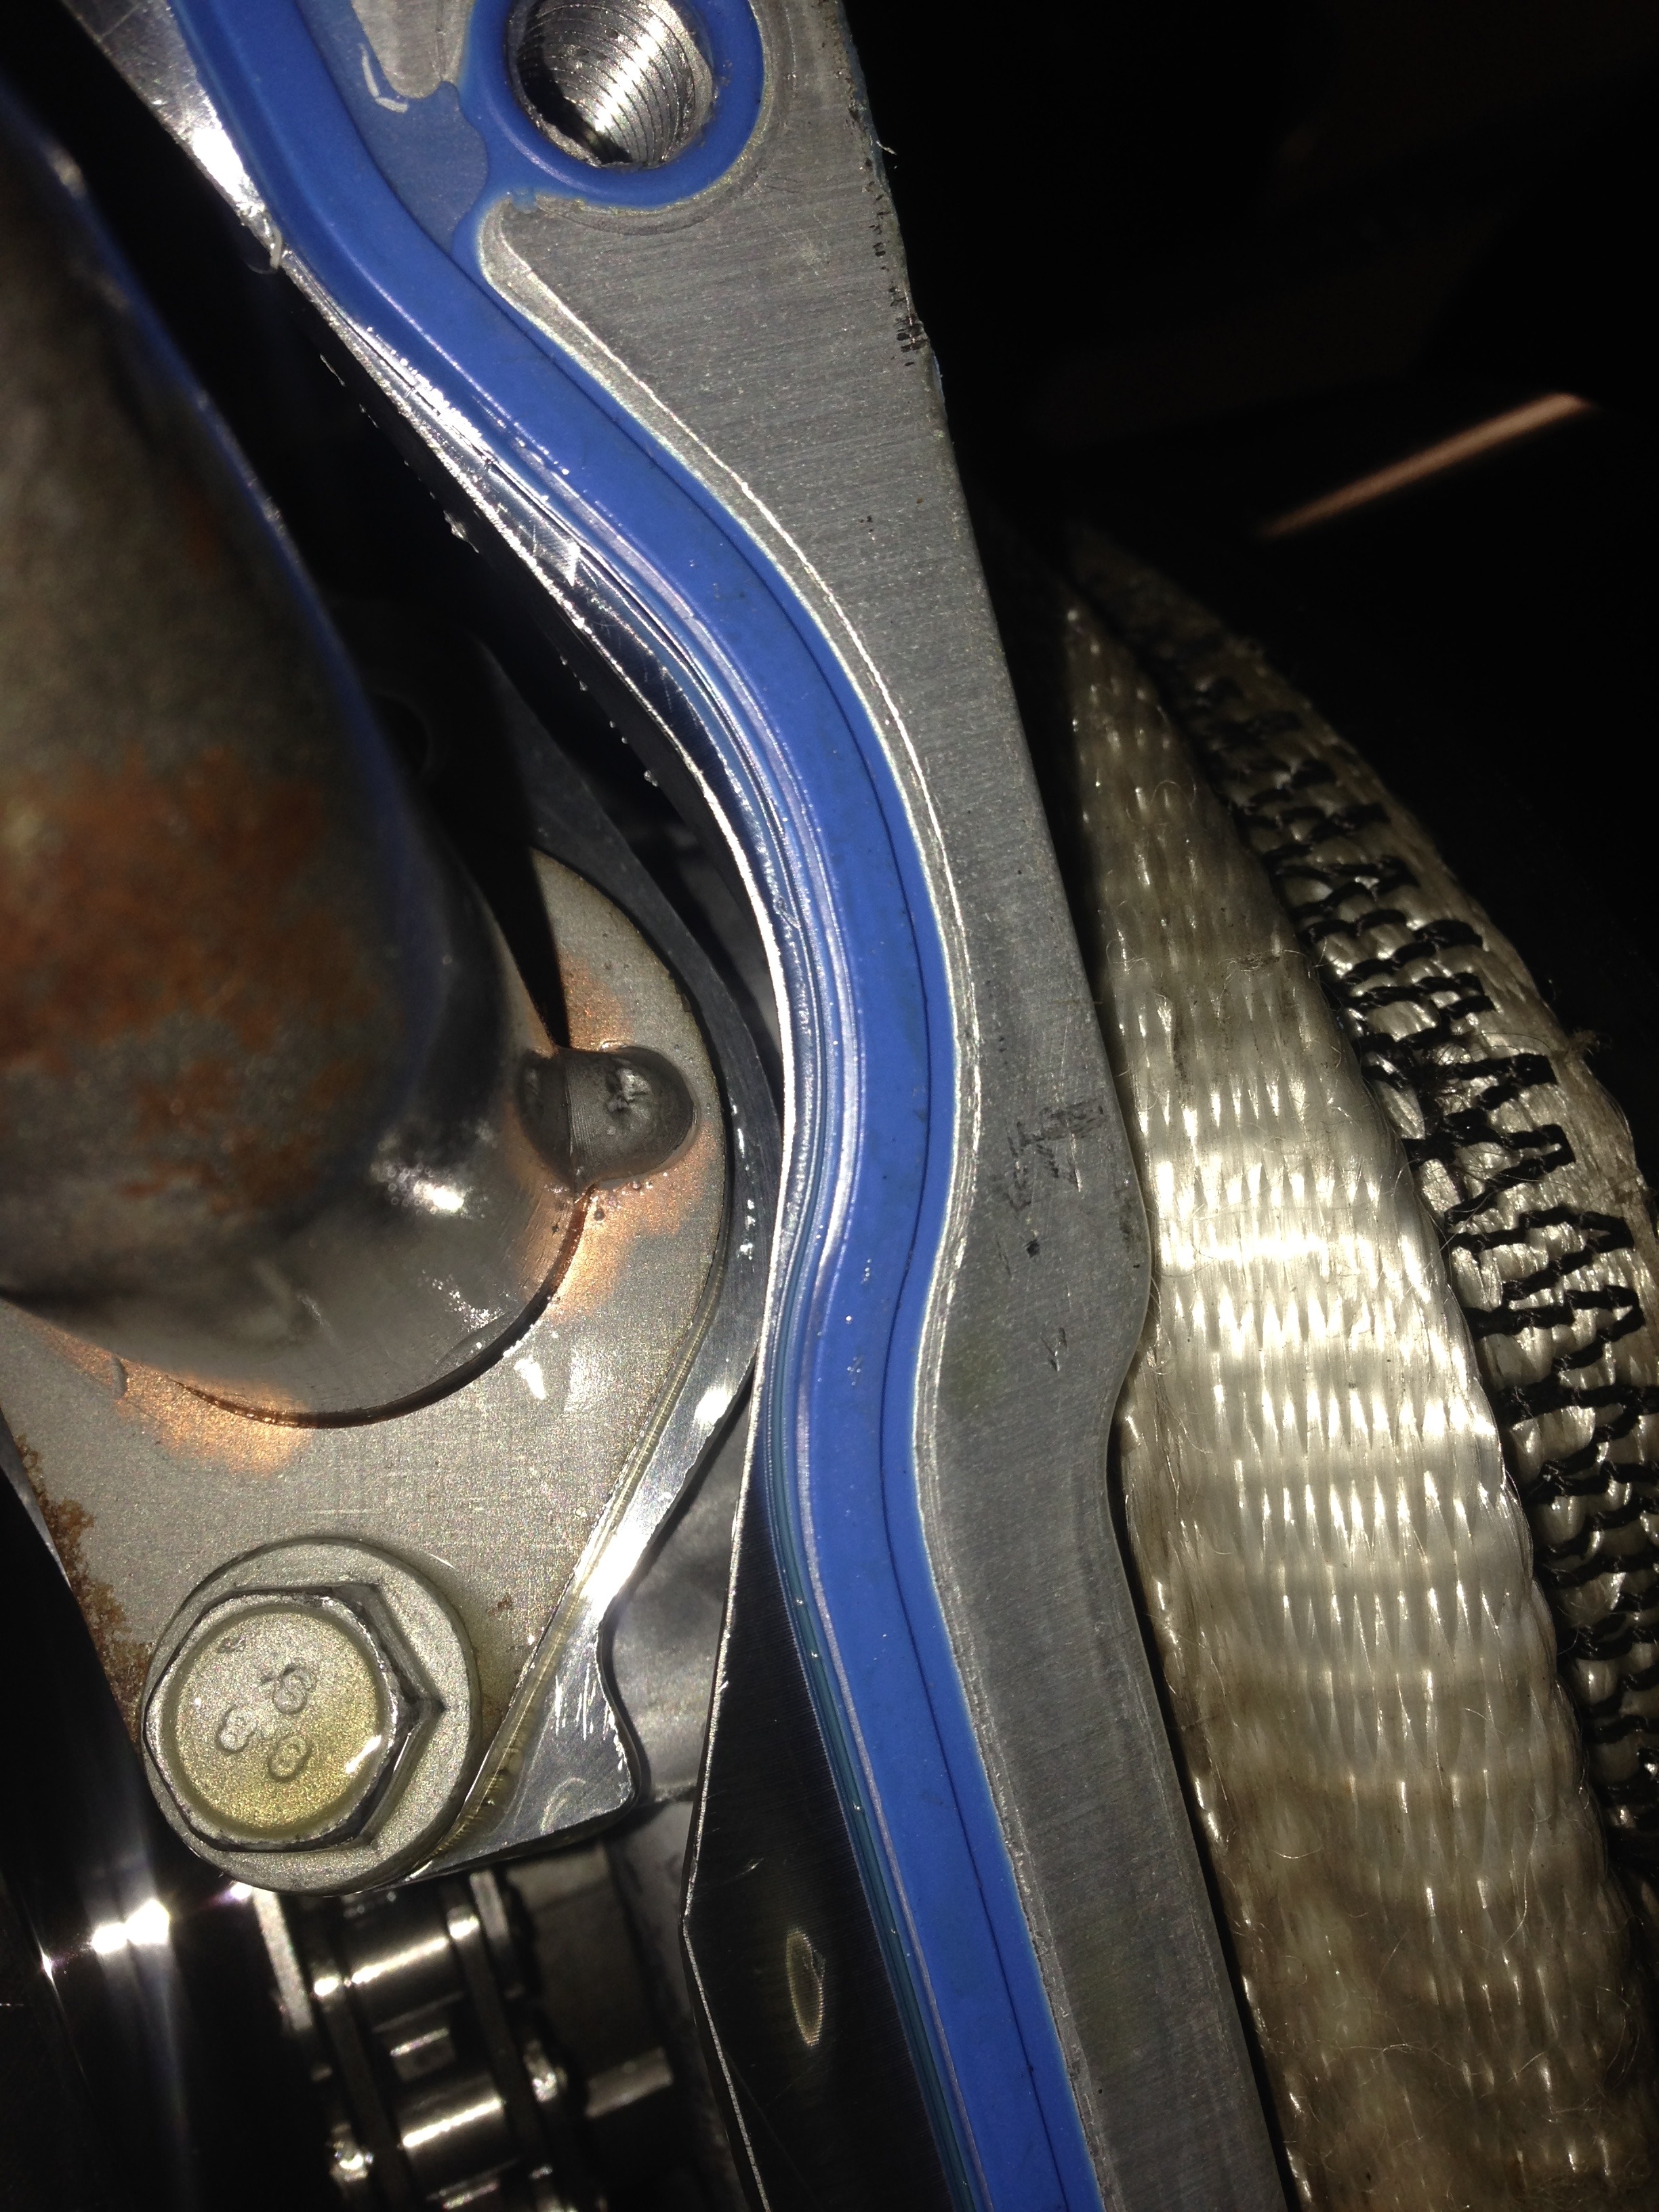
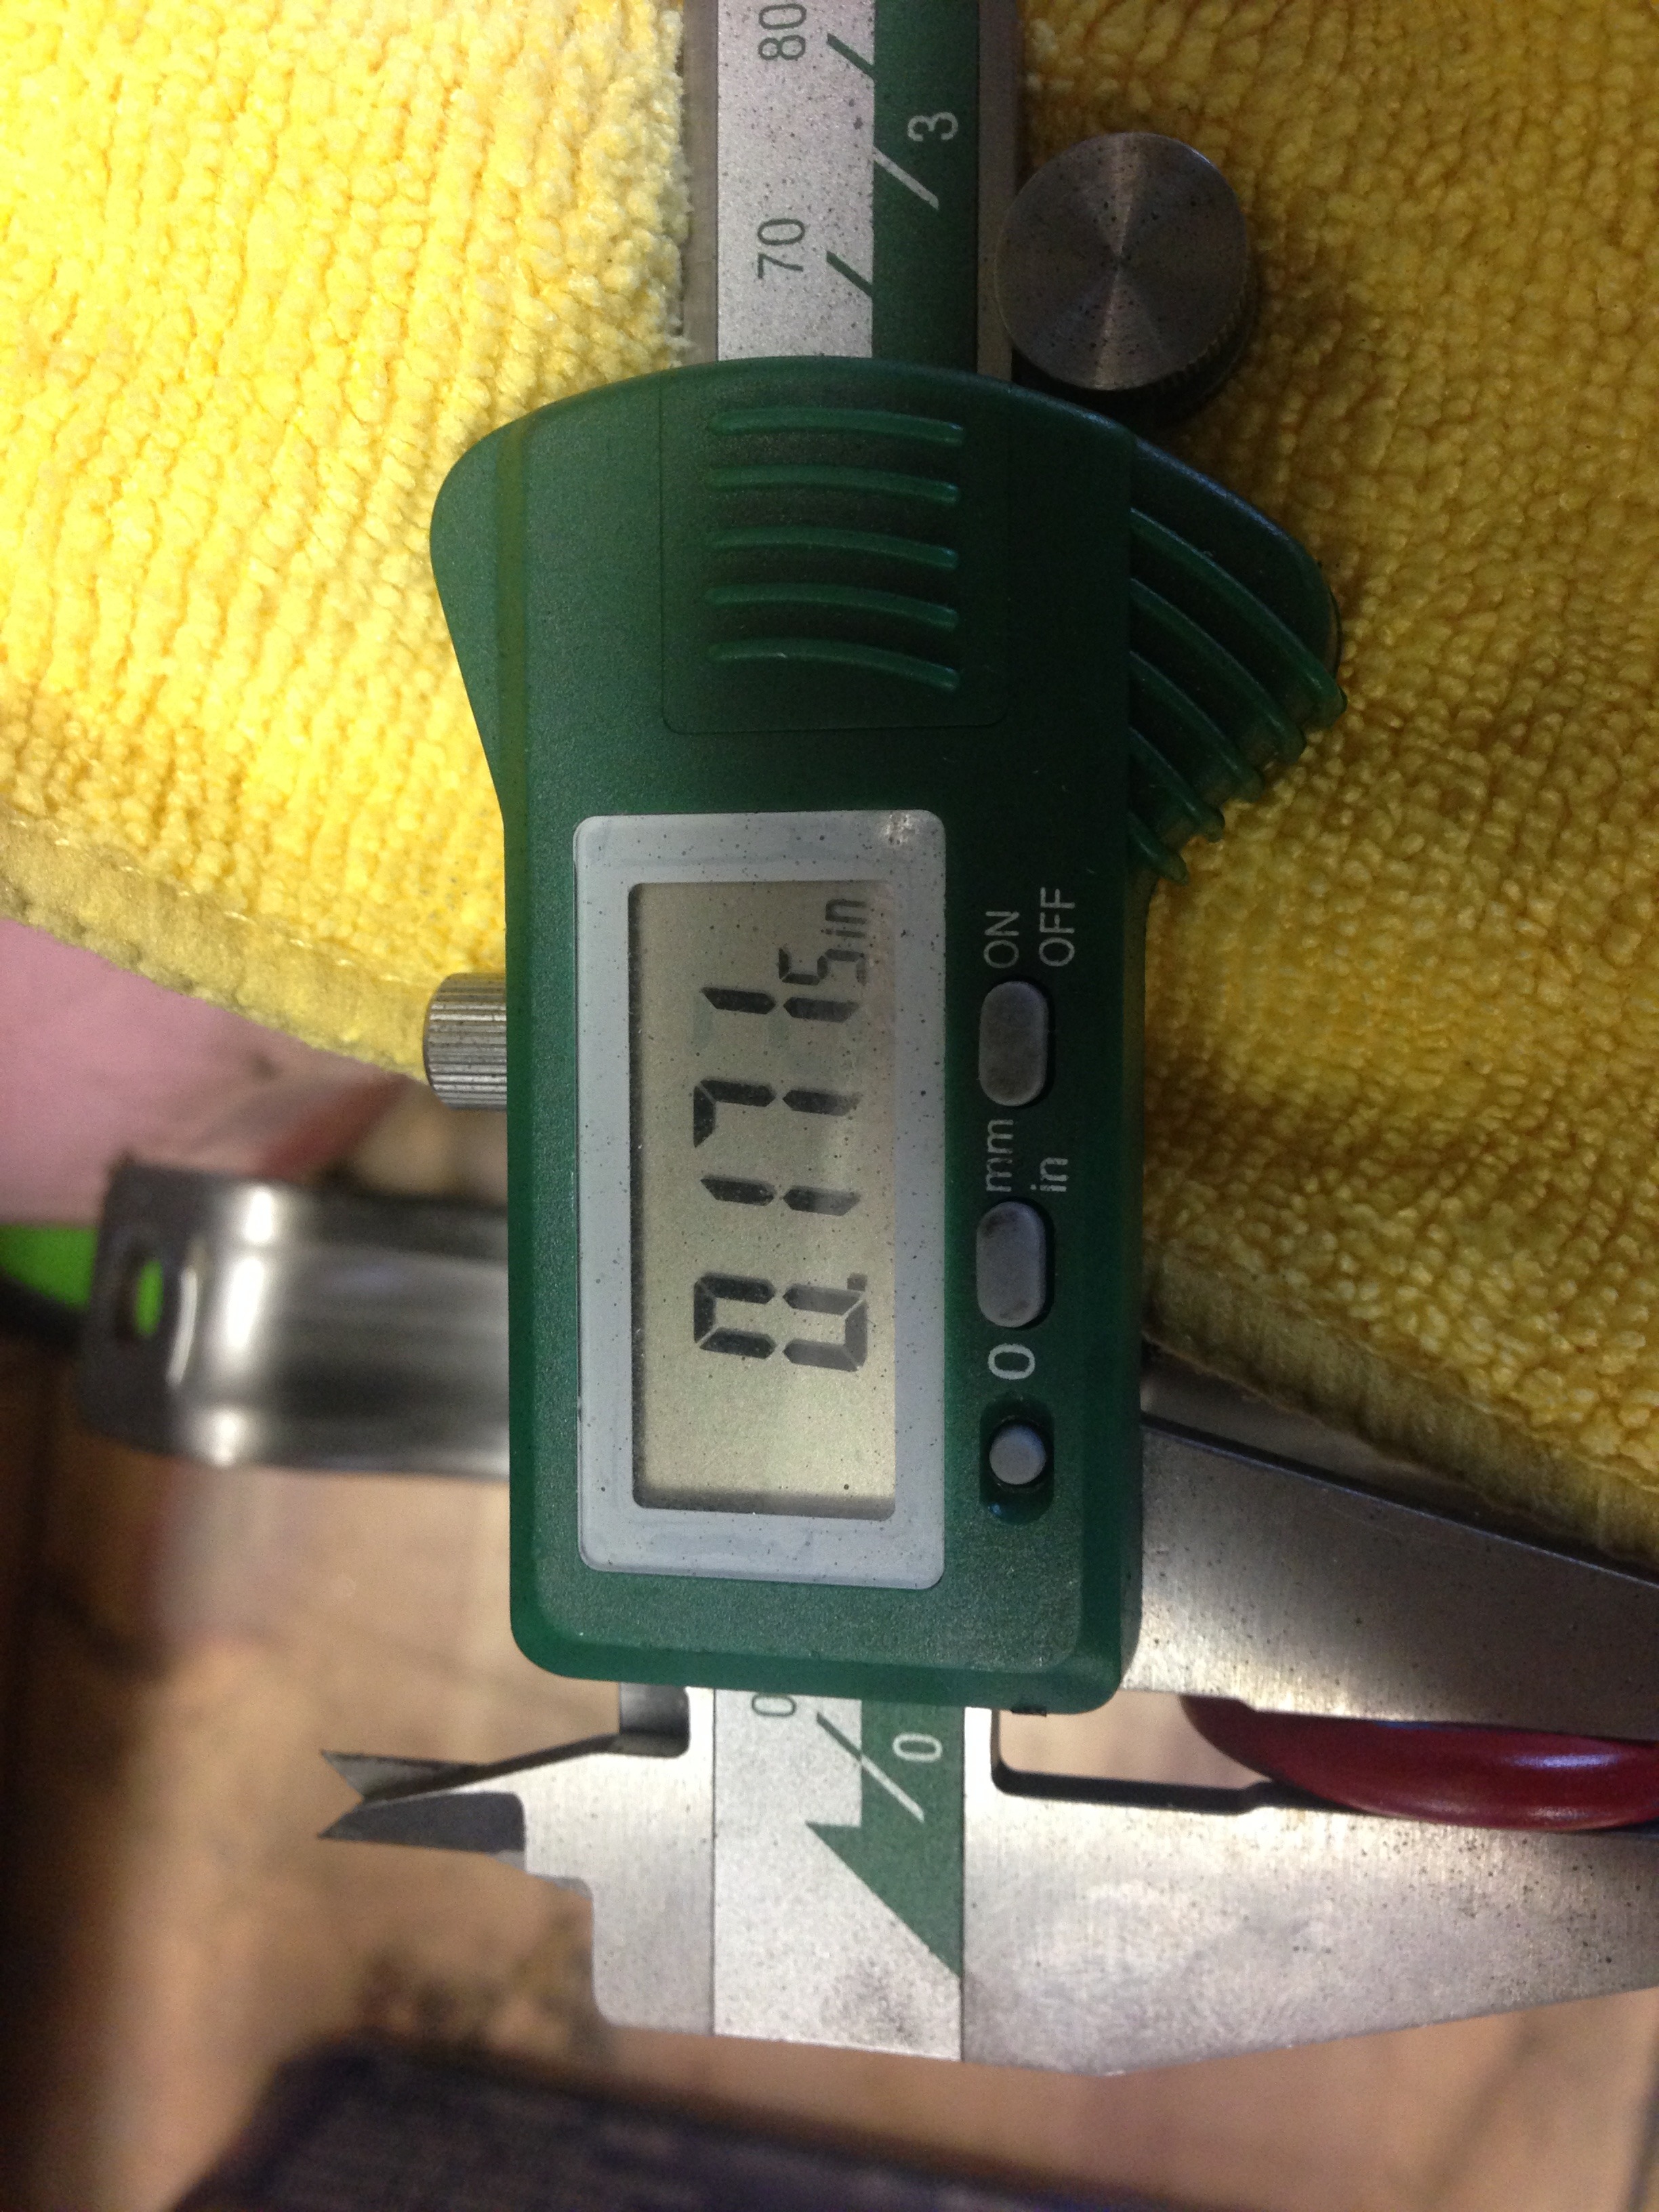
Well !!!!..........I got another education today..........Got a call this morning at the shop from Coy........an Engineer from Holley........He wanted to know what and how everything transpired in my Dilemma...So.....I explained everything to him and how I felt the "O" ring was the cause of the issue.........O.K...He said !!.......I explained how I measured the tube and it was the same size as the Holley tube and since they were the same size I concluded that the smaller "O" was the issue.........He then asked if I still had the GM pick-up tube and was it tapered.........In my mind I was thinking a lead in style taper, .....And I measured the end and it measured .875 the same as the Holley tube........So....I told him I had it at home and I could measure it again and send him the info..........Humm!!!........When I get home I figured this was a waste of time, but.....I get it out and look at it a little closer.....

Wow.......Look at this .....When I looked at it originally the "O" Ring was on and I didn't notice the recessed taper area that the "O" ring sat in.........Hummm!!!!.........I called Coy back and explained what I found and what he already knew.........

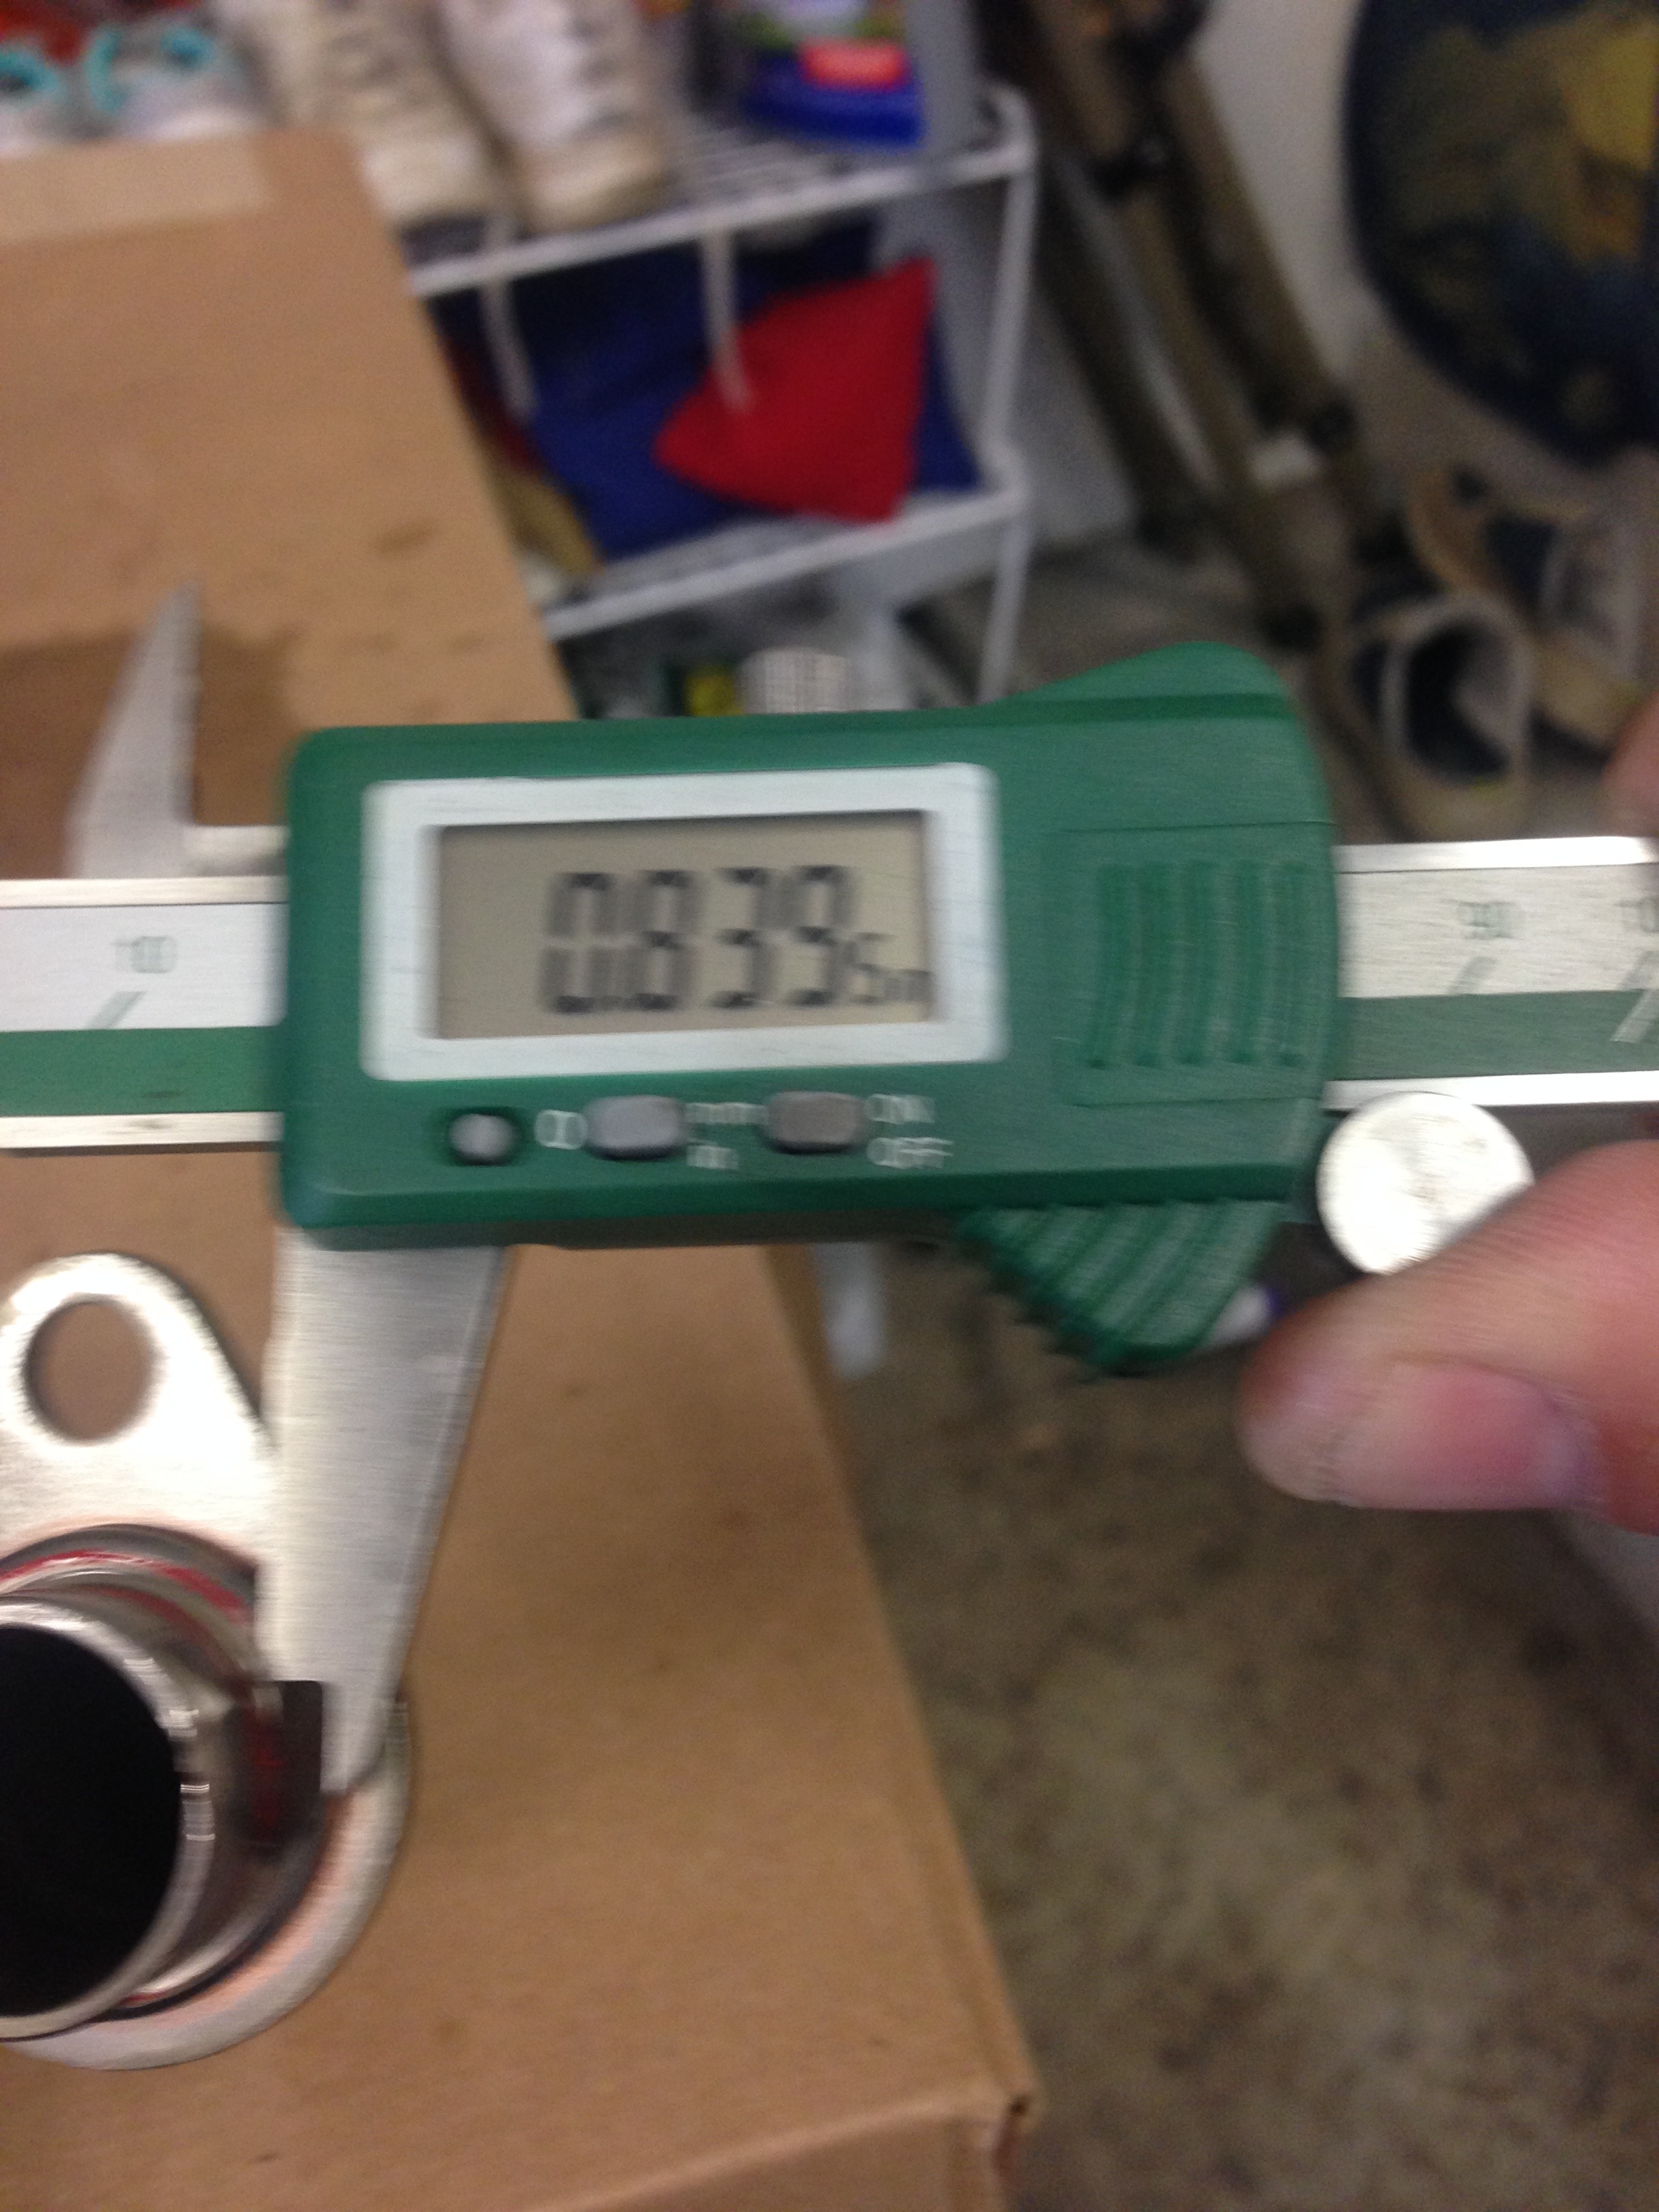
When you measure the minor diameter and add the size of the larger "O" Ring vs the .875 dia of the Holley straight tube and the smaller ring.....The compression for the seal is exactly the same.........So.....My conclusion that the "O" ring was the problem was not correct........Holley had it figured out dimensionally correct........Sheesh !!!.......All that work for nothing.......but.......I still don't understand exactly what the issue was......So......Right now I have the larger "O" compressed into a space it really wasn't designed for......and......when I was talking to Coy I spun the engine over........"0" oil pressure.......Spun it over for about 20 seconds and Boom 50 lbs pressure.........So......If you have installed one of these pans.....don't worry about it.........Man.....what an Idiot .........This car stuff is hard............
And...........Congrat's to Holley for the follow up to bring that part of the issue to a logical conclusion...
Wow.......Look at this .....When I looked at it originally the "O" Ring was on and I didn't notice the recessed taper area that the "O" ring sat in.........Hummm!!!!.........I called Coy back and explained what I found and what he already knew.........
When you measure the minor diameter and add the size of the larger "O" Ring vs the .875 dia of the Holley straight tube and the smaller ring.....The compression for the seal is exactly the same.........So.....My conclusion that the "O" ring was the problem was not correct........Holley had it figured out dimensionally correct........Sheesh !!!.......All that work for nothing.......but.......I still don't understand exactly what the issue was......So......Right now I have the larger "O" compressed into a space it really wasn't designed for......and......when I was talking to Coy I spun the engine over........"0" oil pressure.......Spun it over for about 20 seconds and Boom 50 lbs pressure.........So......If you have installed one of these pans.....don't worry about it.........Man.....what an Idiot .........This car stuff is hard............
And...........Congrat's to Holley for the follow up to bring that part of the issue to a logical conclusion...

Thread Starter
TECH Fanatic
Joined: Jul 2008
Posts: 1,570
Likes: 173
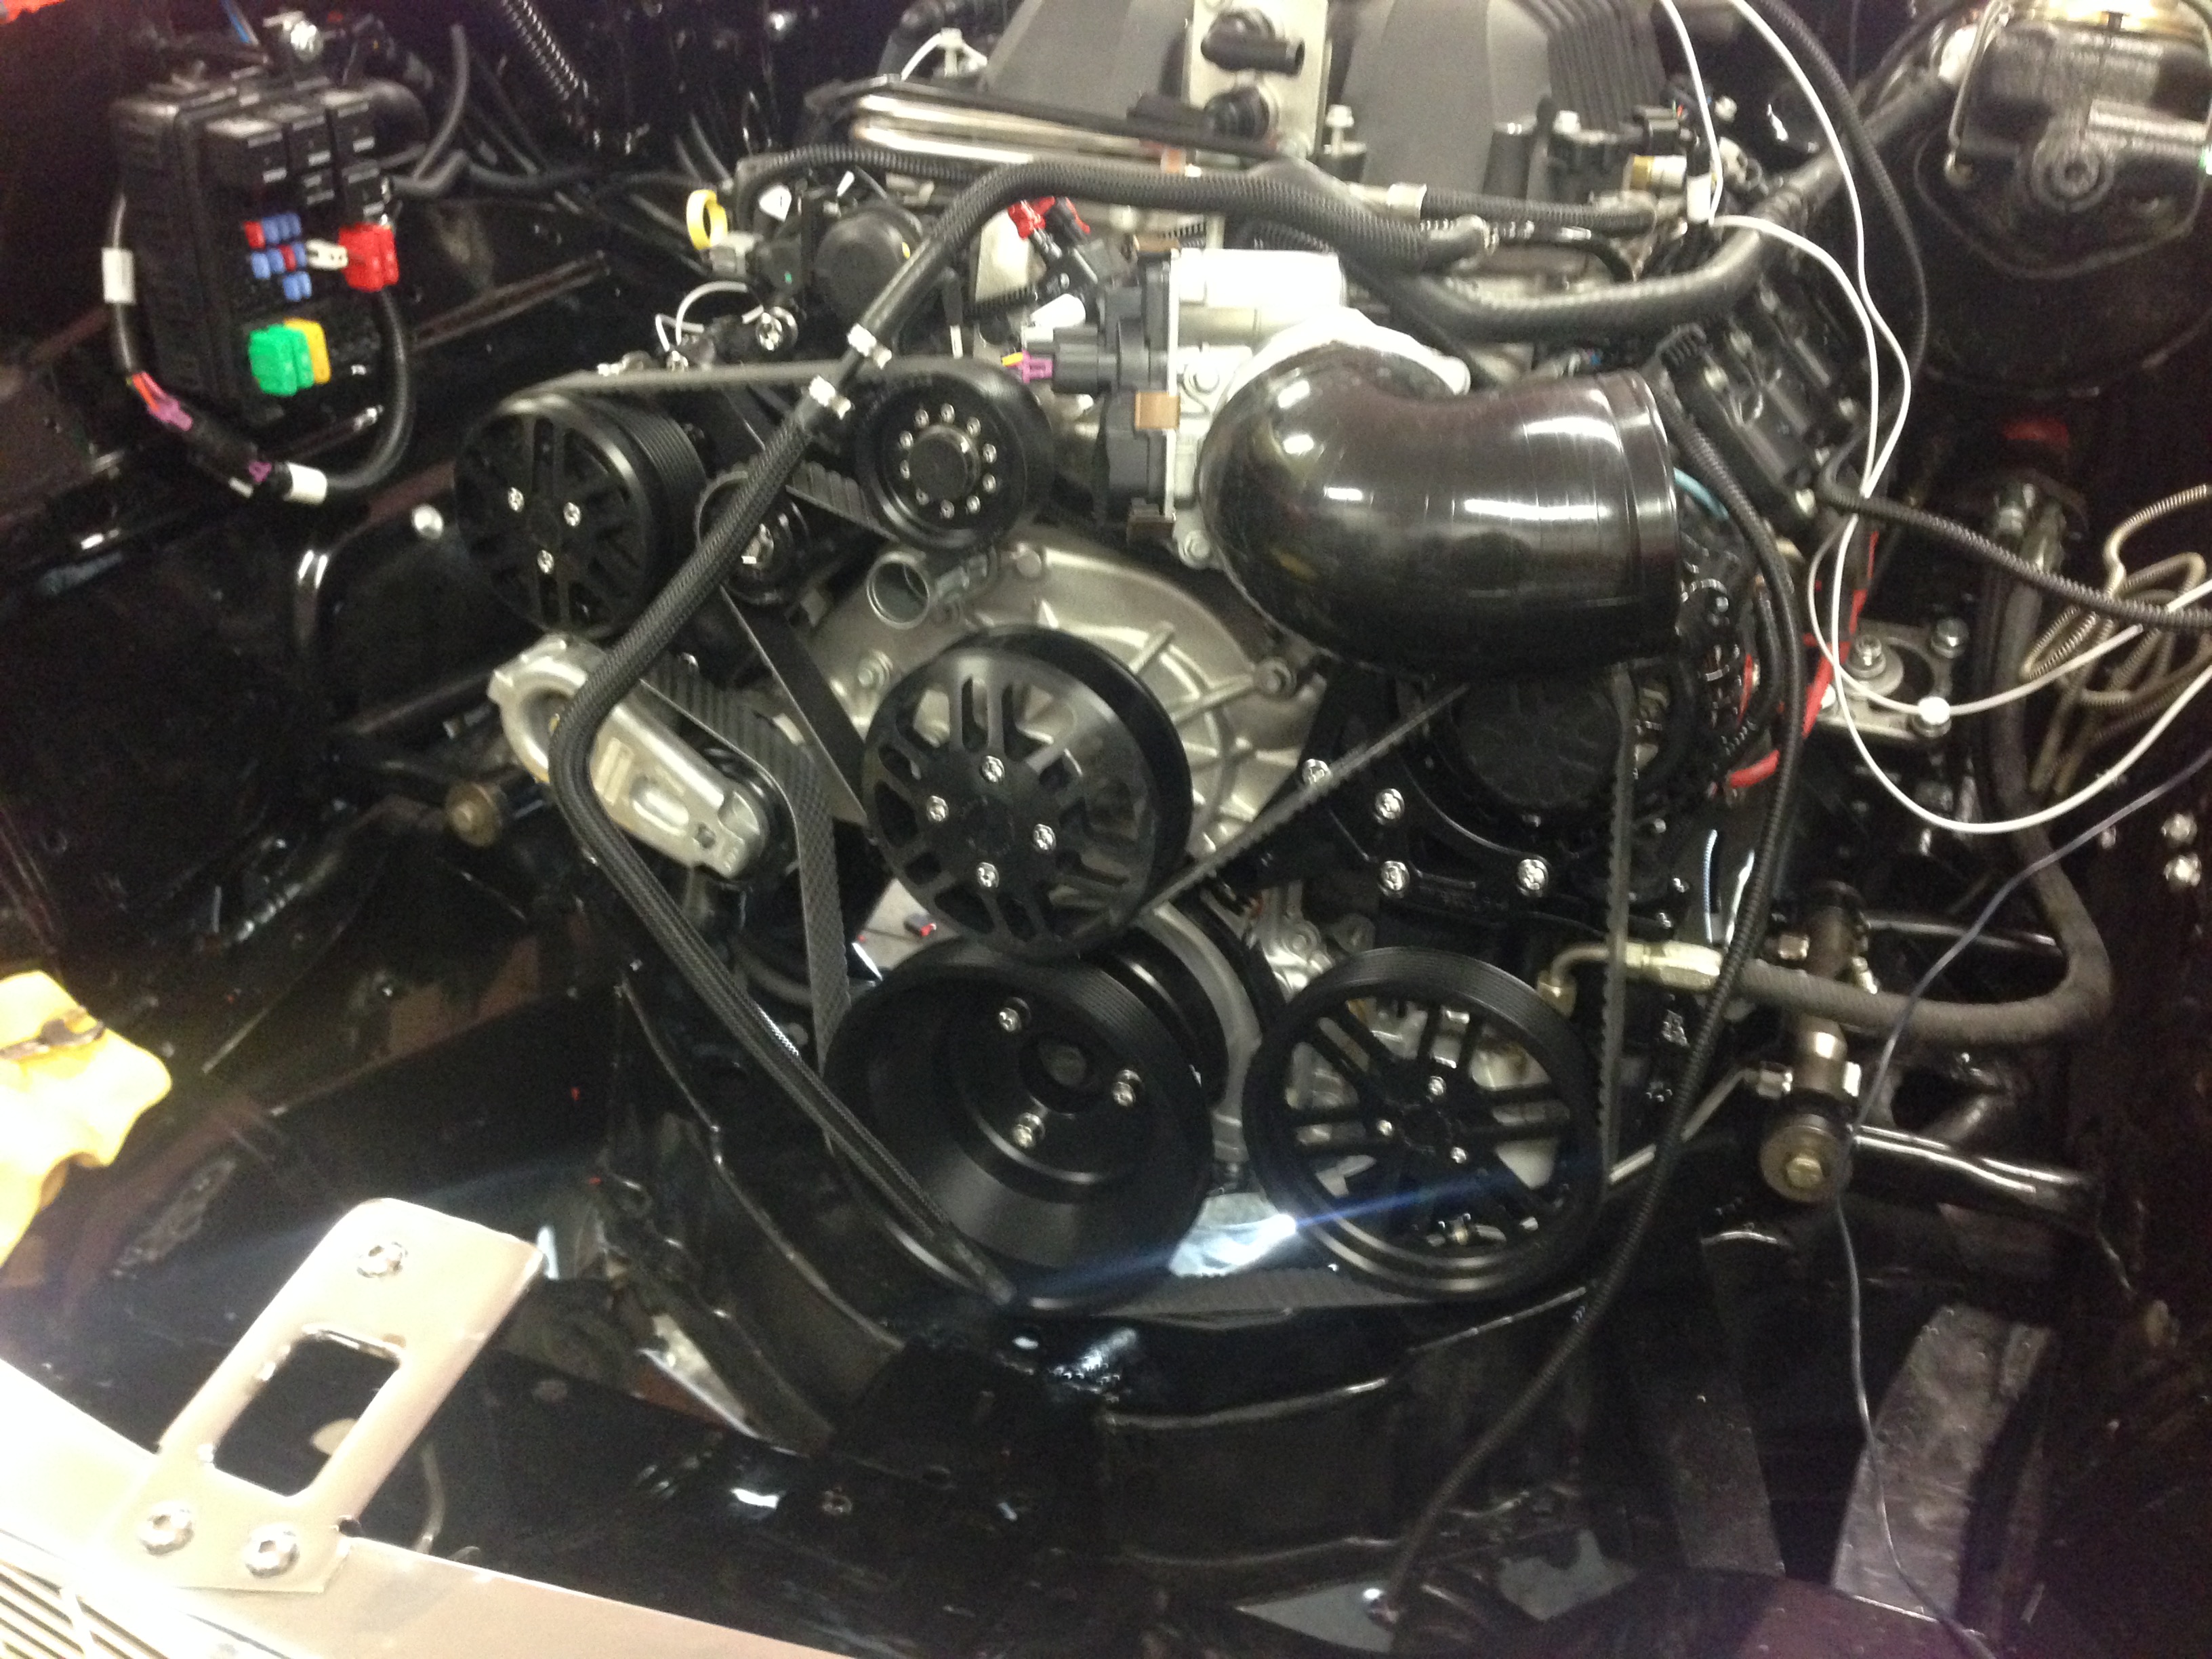
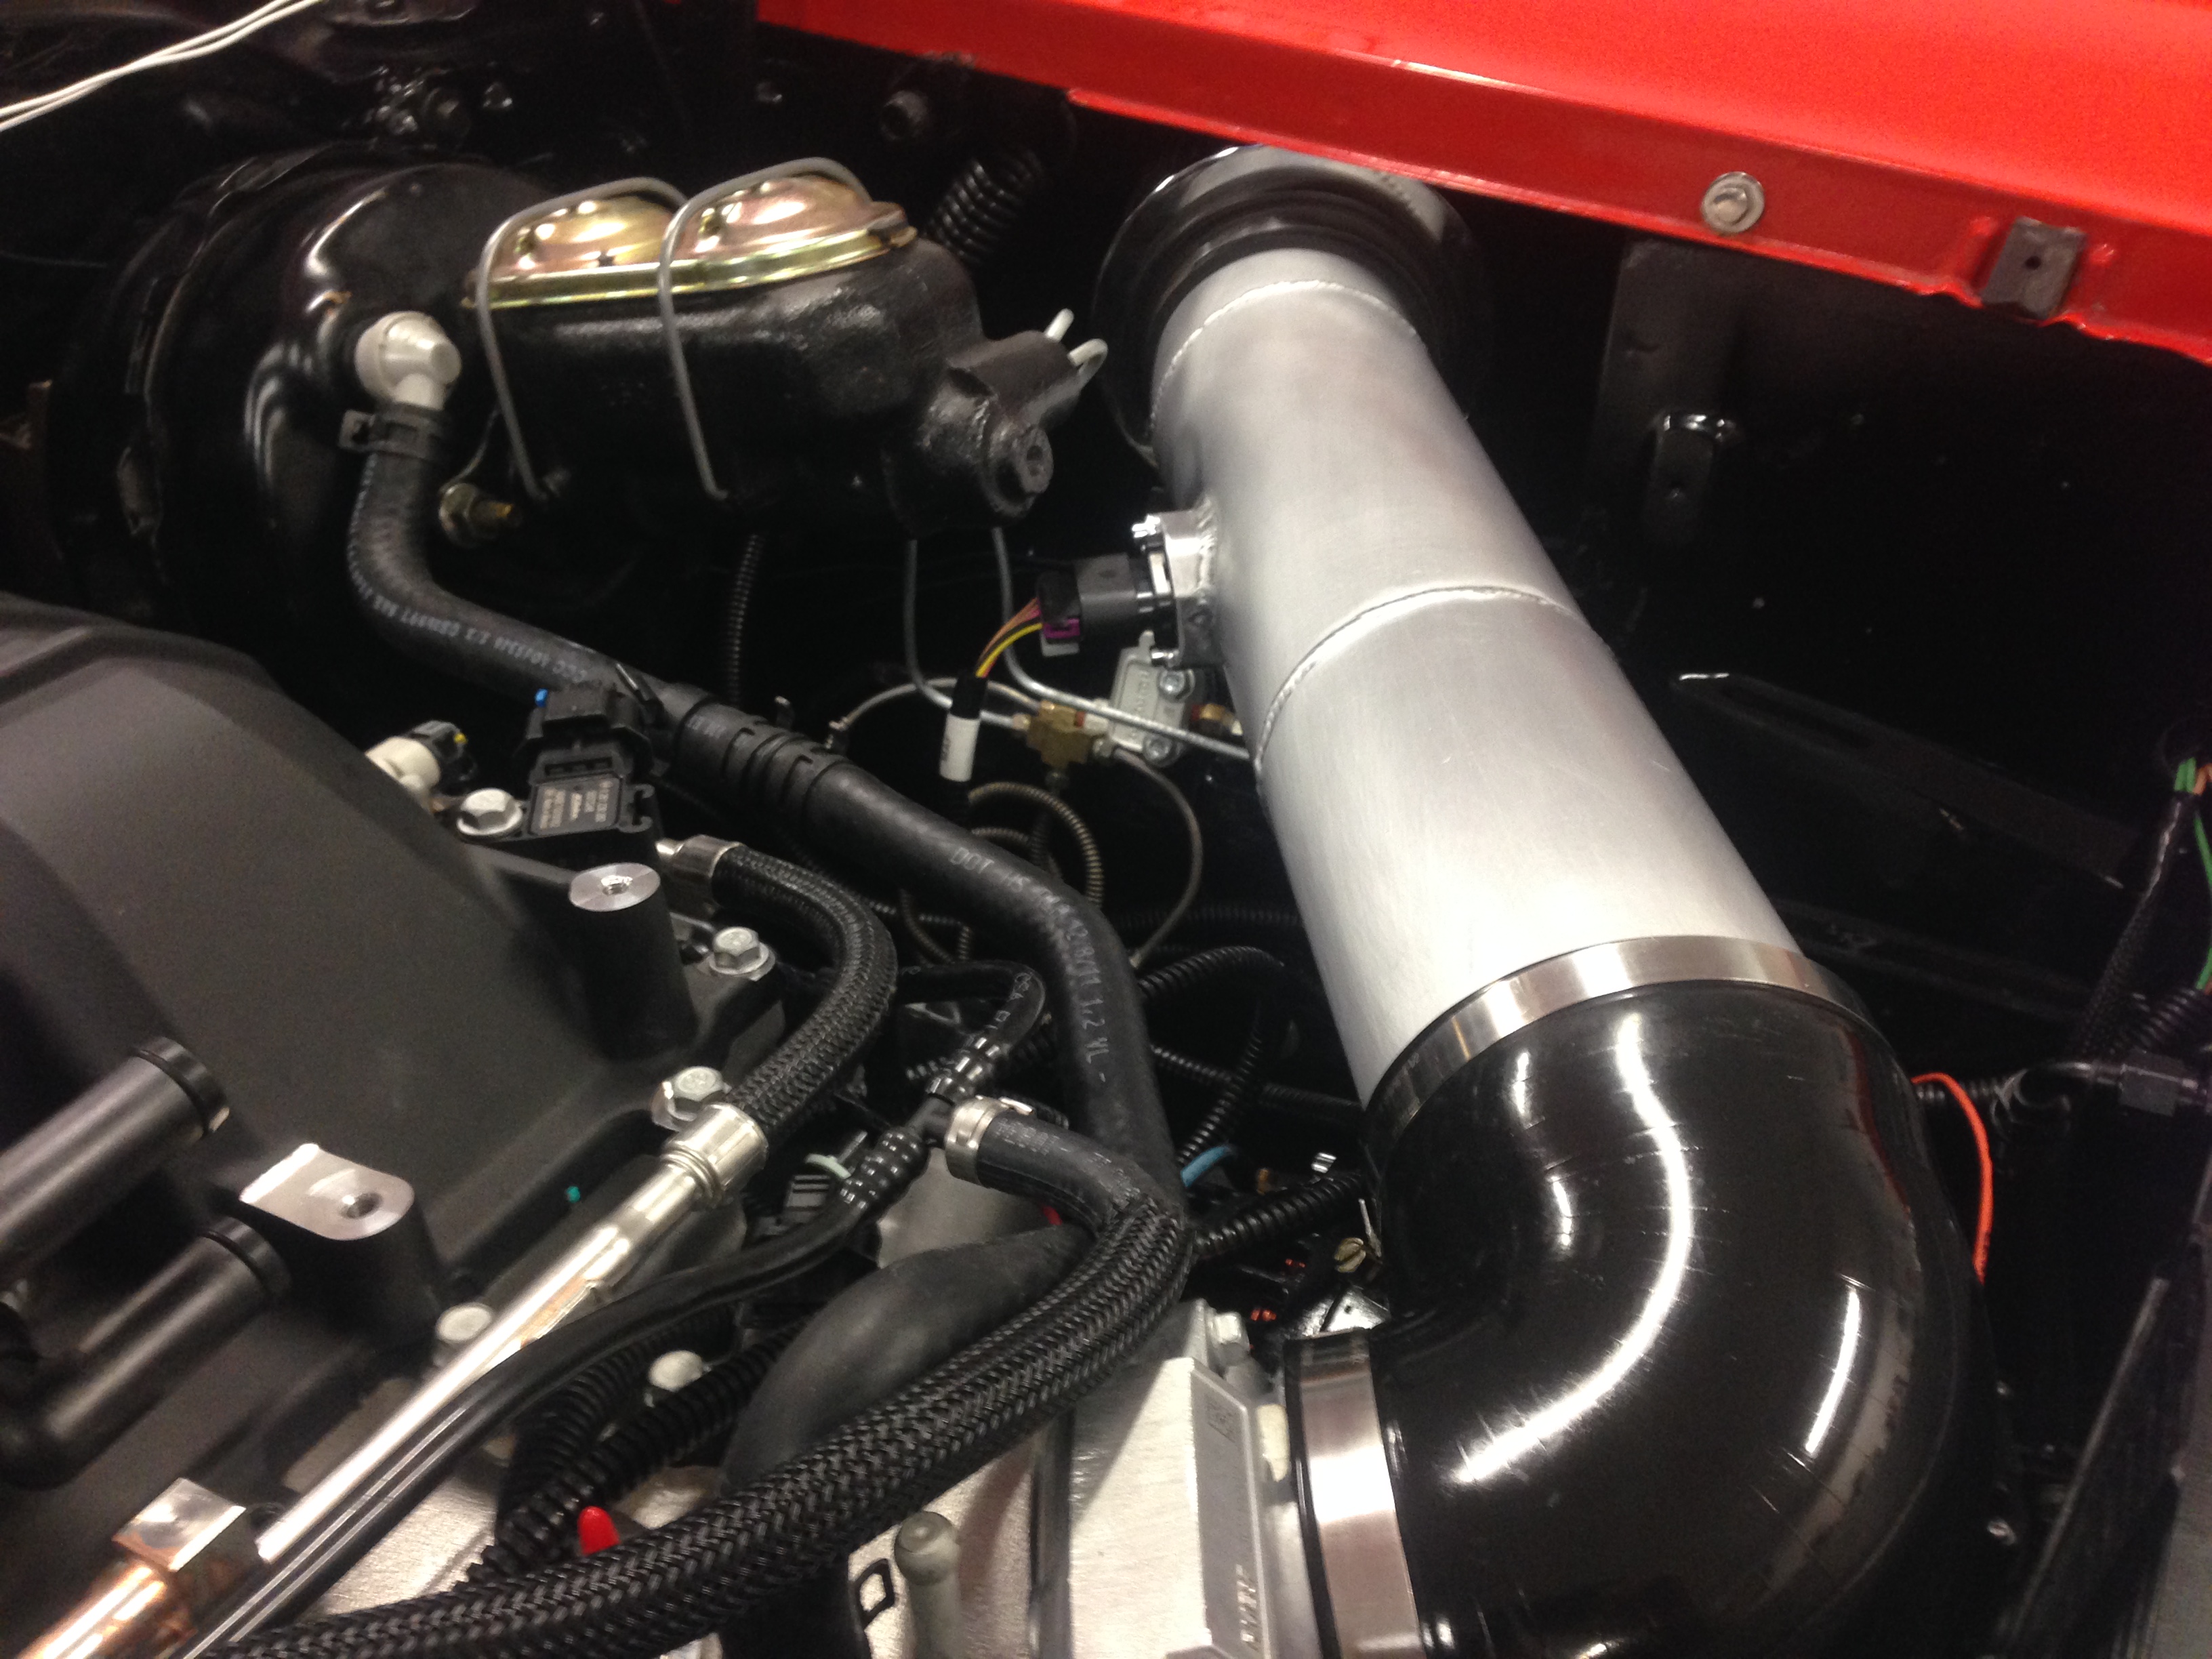
Got a lot of little stuff finished up.......Got the Air inlet tube finished up and got the Mass Air Flow sensor installed......Finished up the forward Light harness.......(Everything works)...........Just about finished the Fan Relays before having to go in and take a Nap..........

Hi Ken,
I was just looking at your previous pictures and I focused on the accessory drive. Just for giggles I looked up the stock accessory drive...It looks like this:
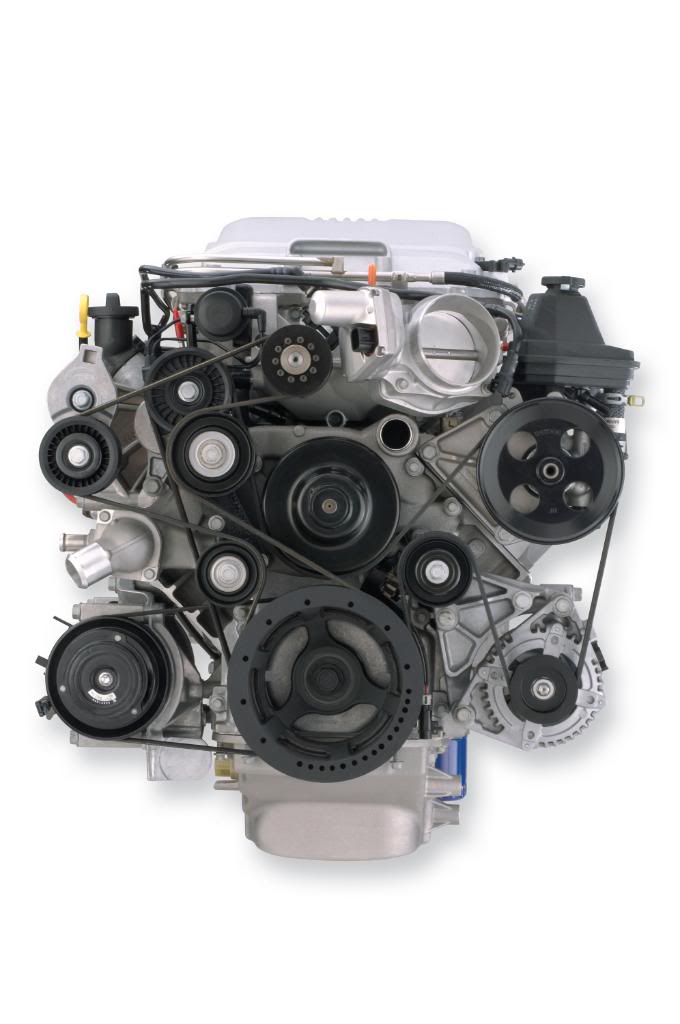
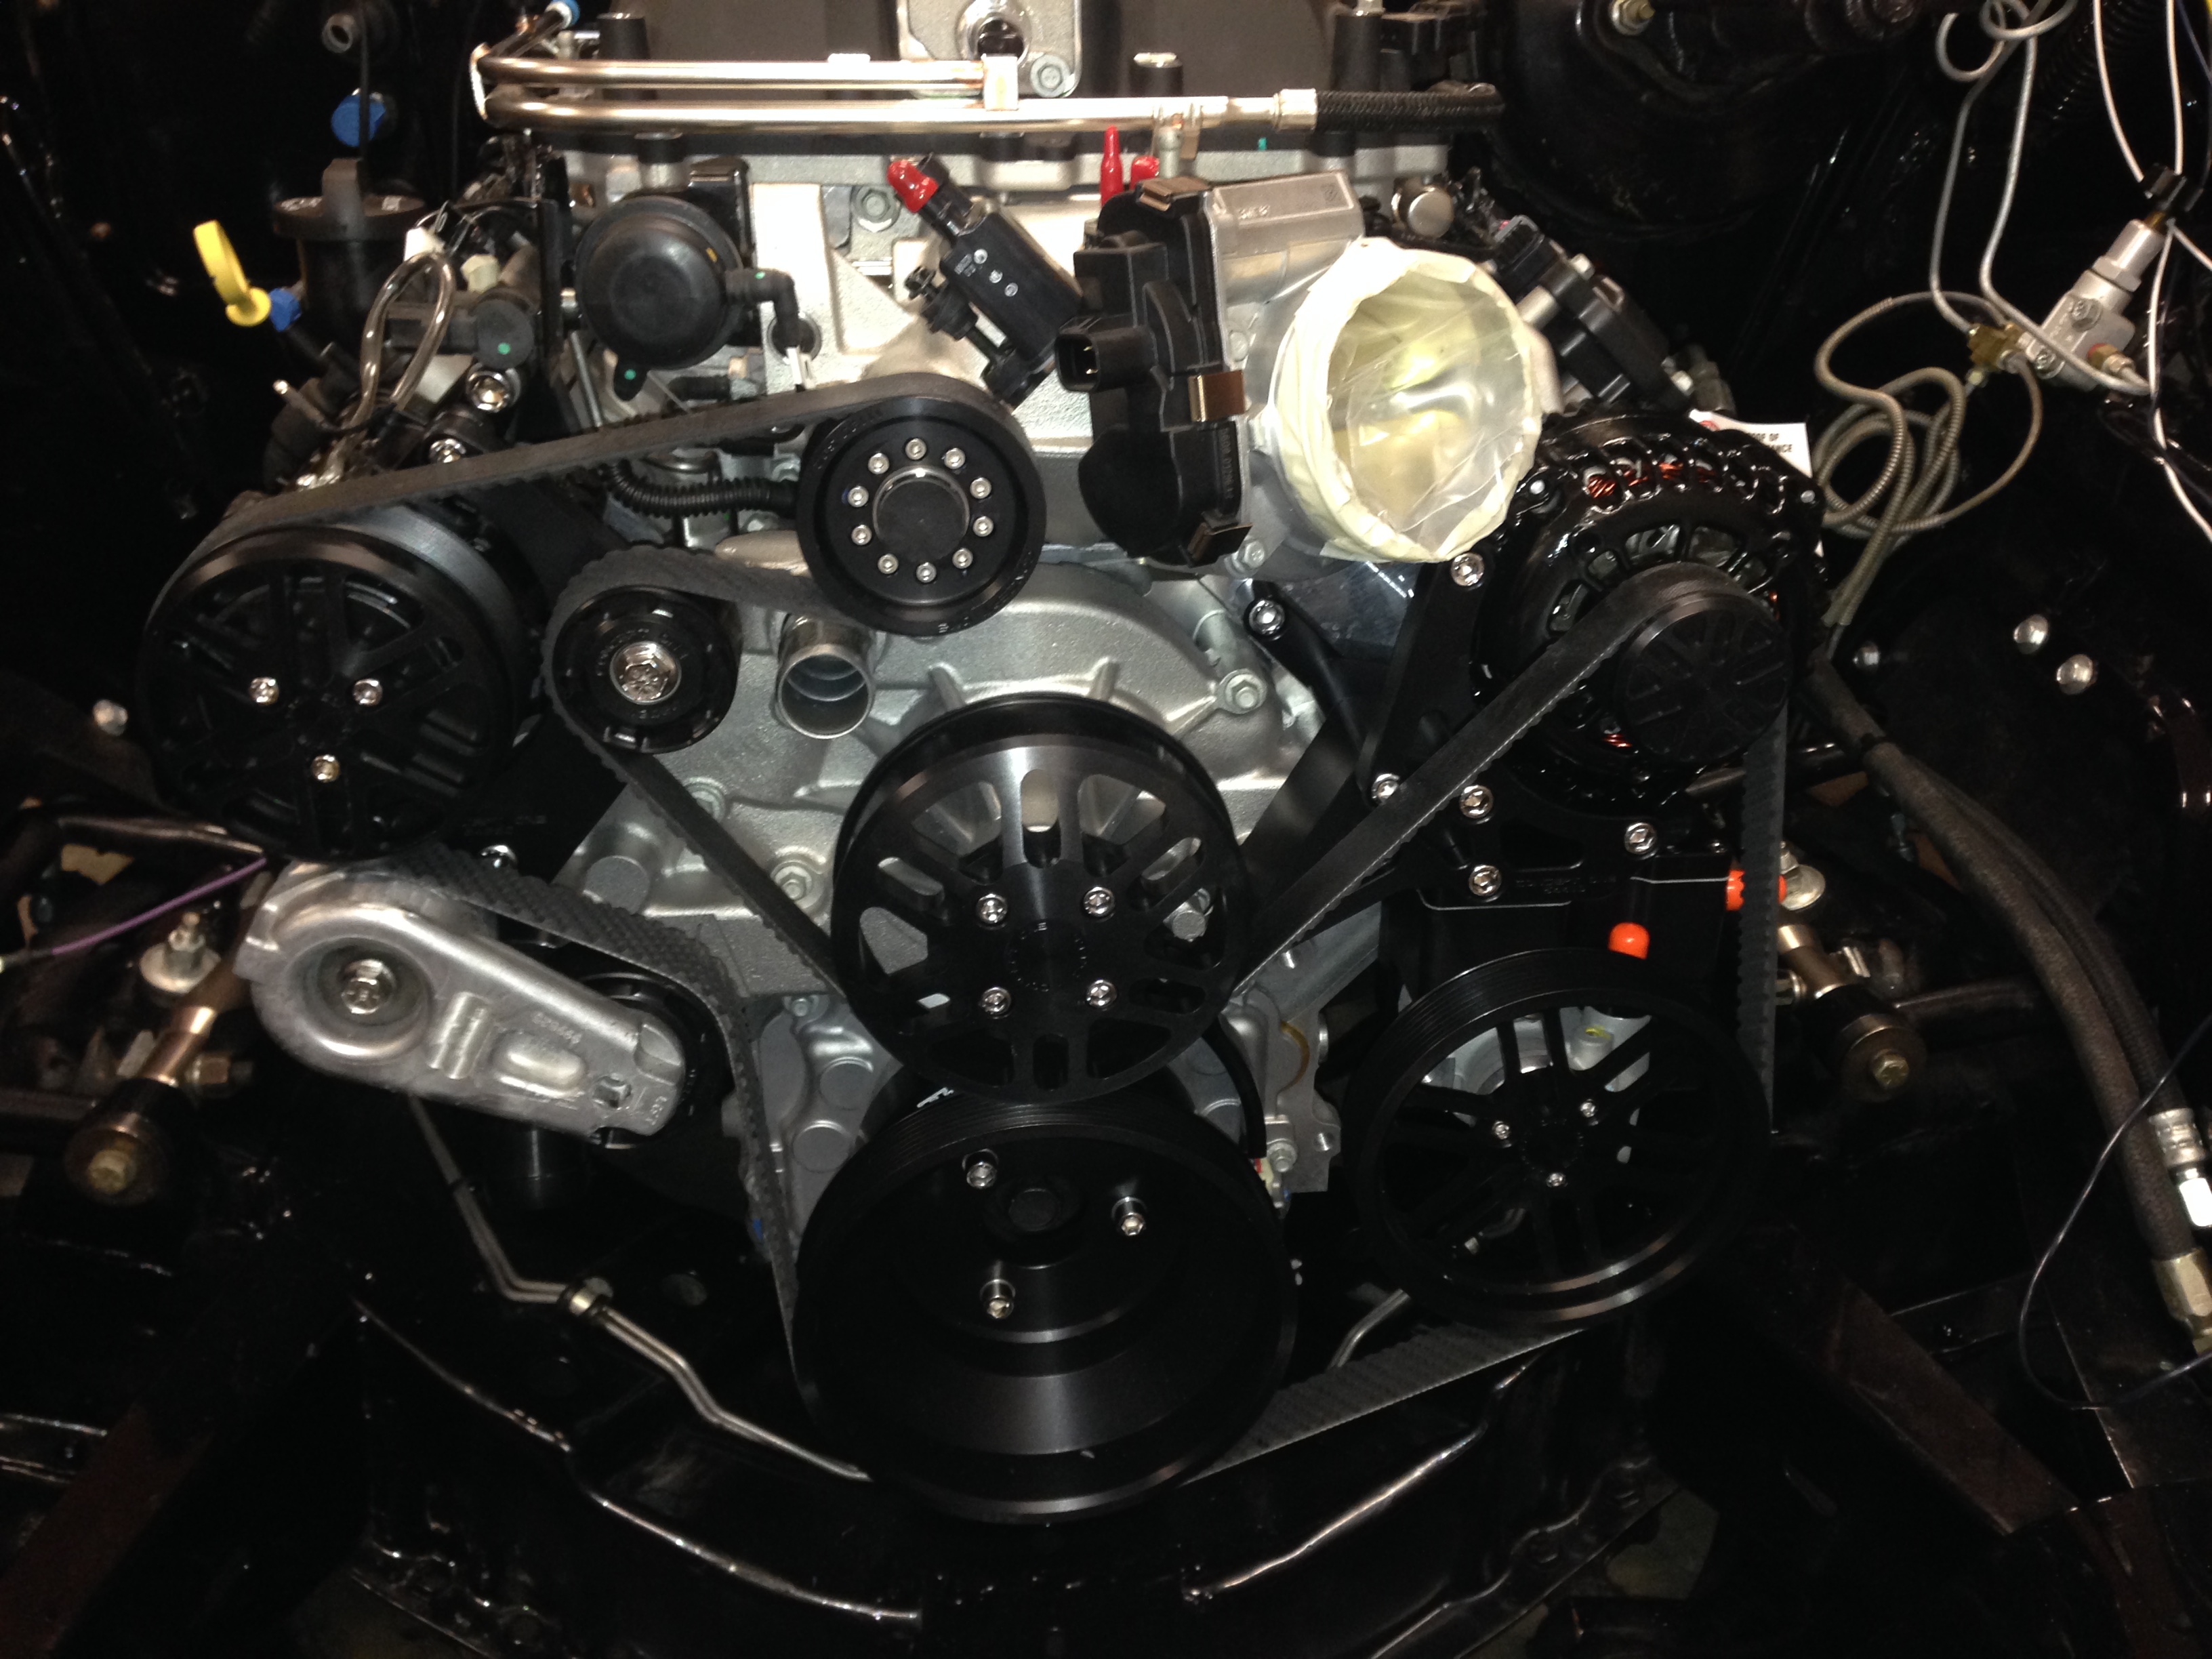
Look at how much belt wrap there is on the crank pulley compared to the Concept One set-up. I'd be shocked if the belt didn't start slipping before it made any boost. That supercharger probably takes 50-60HP to drive at full boost and that tiny sliver of belt on the crank is inappropriate.
Does the Concept One system have more ribs on the belt, maybe?
Andrew
I was just looking at your previous pictures and I focused on the accessory drive. Just for giggles I looked up the stock accessory drive...It looks like this:
Look at how much belt wrap there is on the crank pulley compared to the Concept One set-up. I'd be shocked if the belt didn't start slipping before it made any boost. That supercharger probably takes 50-60HP to drive at full boost and that tiny sliver of belt on the crank is inappropriate.
Does the Concept One system have more ribs on the belt, maybe?
Andrew
Last edited by Project GatTagO; Mar 2, 2016 at 11:47 AM.