
LQ4 into a 3rd Gen/1972 Nova

 06-29-2009, 10:12 AM
#162
 just making sure... although i'd probably be finished by now if i didn't spend so much damn time getting rowdy. and i'd probably have a ton more money.
i should have welded my subframe up when i had it out - the middle pass. side bracket was cracked, so we had to clean it up and reweld it anyway. have fun
 07-11-2009, 09:33 PM
#163
Small update today.
FULLY seam welded the subframe... phewf that was a lot of work, but feels great knowing that it should improve the stiffness/safety at least a little bit.
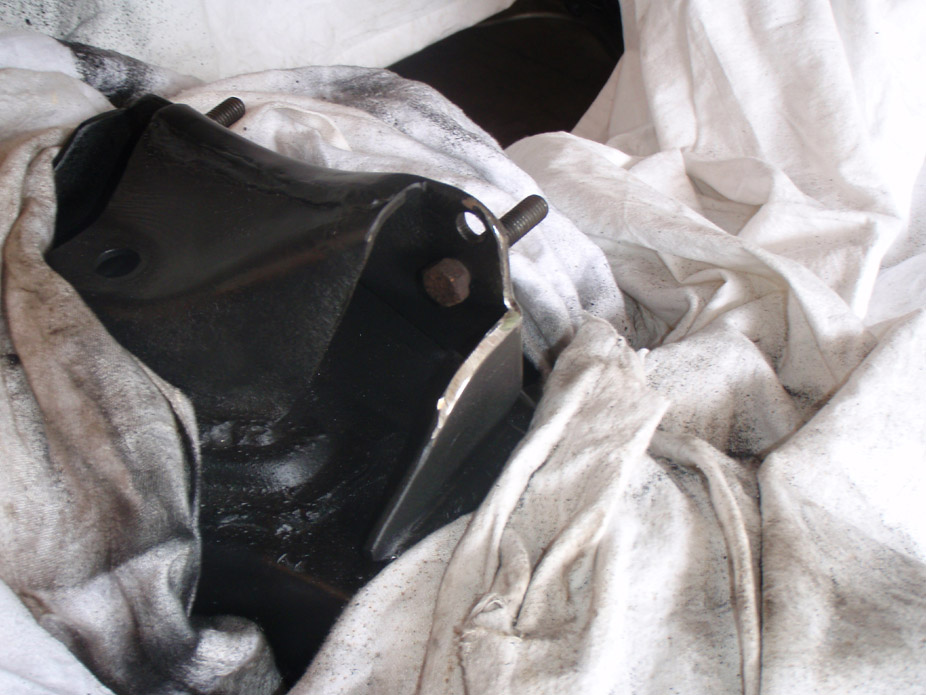
The driver's side front body mount was a little pitted, but still had good thickness so I decided not to replace it, but I did weld an 1/8" plate on the bottom side to help reinforce it, just in case...

Metalwork is fun!! OK the welds might not be perfect, but this will sure as hell be strong...
...especially when compared to what it looked like an hour earlier...
A little grinding and it's allllll good...

And a little paint and no one's the wiser. PS.. I'm pretty proud of the job I did considering it was my very first time for doing some rust repair/serious metal work...

FULLY seam welded the subframe... phewf that was a lot of work, but feels great knowing that it should improve the stiffness/safety at least a little bit.
The driver's side front body mount was a little pitted, but still had good thickness so I decided not to replace it, but I did weld an 1/8" plate on the bottom side to help reinforce it, just in case...
Metalwork is fun!! OK the welds might not be perfect, but this will sure as hell be strong...
...especially when compared to what it looked like an hour earlier...
A little grinding and it's allllll good...
And a little paint and no one's the wiser. PS.. I'm pretty proud of the job I did considering it was my very first time for doing some rust repair/serious metal work...
07-11-2009, 11:11 PM
#164
TECH Regular
iTrader: (8)
Join Date: Apr 2009
Location: Mount Bethel PA
Posts: 431
Likes: 0
Received 0 Likes
on
0 Posts

i had mine out of my car and now its back in for the time being but it has to come back out. it is in really nice shape no cracks or major rust. but the welds look like it was a Friday after noon car! last welds of the day lol!
07-12-2009, 11:11 AM
#165
11 Second Club
Join Date: Mar 2008
Location: New Westminster, B.C., Canada
Posts: 445
Likes: 0
Received 1 Like
on
1 Post
quote "And a little paint and no one's the wiser. PS.. I'm pretty proud of the job I did considering it was my very first time for doing some rust repair/serious metal work..."
I totally agree! Metalwork is fun, it takes some time, and bucket loads of patience, but in the end you can stand back and say, look what I can do!!! Good work Joe!
p.s. It's too bad the GF doesn't get it. I was showing Jenn my exhaust and she was, well, let's say she wasn't as excited as I was...
I totally agree! Metalwork is fun, it takes some time, and bucket loads of patience, but in the end you can stand back and say, look what I can do!!! Good work Joe!
p.s. It's too bad the GF doesn't get it. I was showing Jenn my exhaust and she was, well, let's say she wasn't as excited as I was...
07-12-2009, 11:19 AM
#166
TECH Regular
iTrader: (8)
Join Date: Apr 2009
Location: Mount Bethel PA
Posts: 431
Likes: 0
Received 0 Likes
on
0 Posts
quote "And a little paint and no one's the wiser. PS.. I'm pretty proud of the job I did considering it was my very first time for doing some rust repair/serious metal work..."
I totally agree! Metalwork is fun, it takes some time, and bucket loads of patience, but in the end you can stand back and say, look what I can do!!! Good work Joe!
p.s. It's too bad the GF doesn't get it. I was showing Jenn my exhaust and she was, well, let's say she wasn't as excited as I was...
I totally agree! Metalwork is fun, it takes some time, and bucket loads of patience, but in the end you can stand back and say, look what I can do!!! Good work Joe!
p.s. It's too bad the GF doesn't get it. I was showing Jenn my exhaust and she was, well, let's say she wasn't as excited as I was...
07-13-2009, 09:12 PM
#169
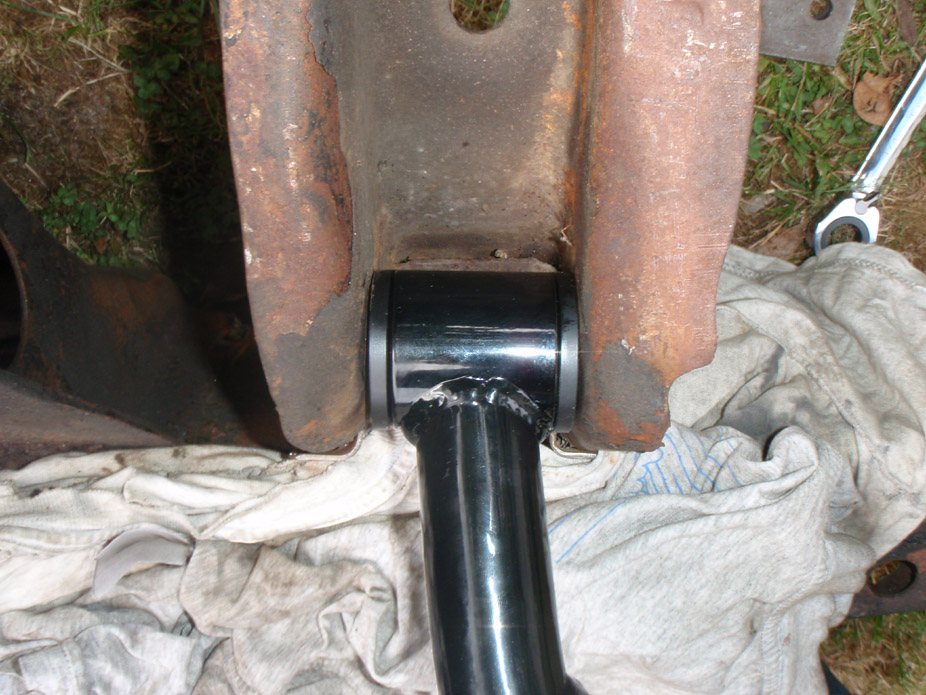
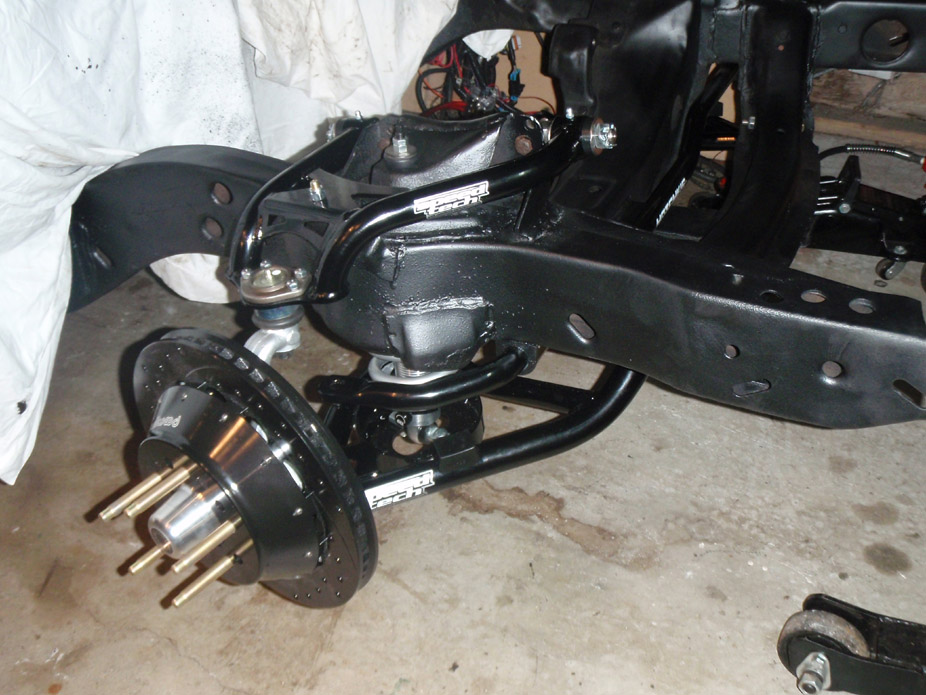
Went to mock up the SpeedTech controls arms before I went to reinforce the front cross-member.
They're purdy...

Blast! They don't fit...

For this problem, SpeedTech recommends using all-thread and two nuts. But I was too lazy to cut some all-thread, not to mention constantly un-threading the nut(s) to check if I'd opened it enough...

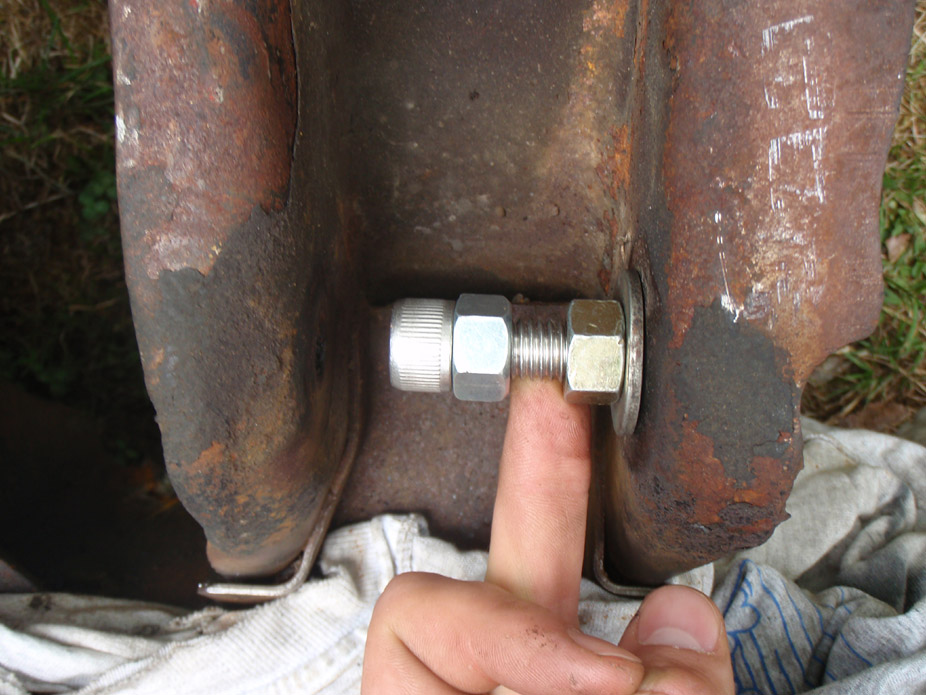
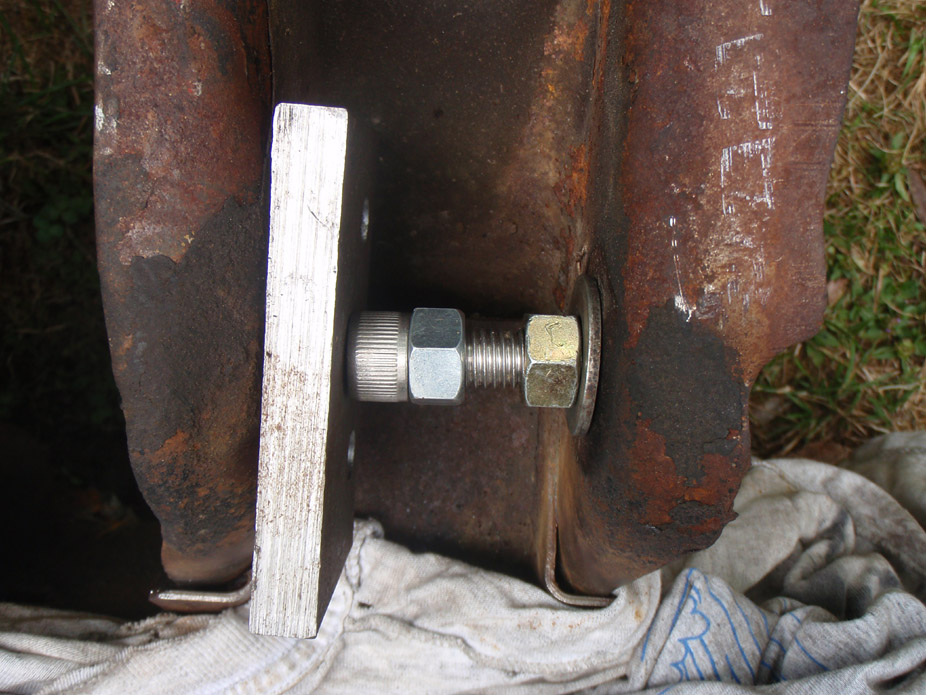
...took literally 2 seconds to remove the spreading bolt to check bushing clearance, made this task waaaay less annoying. For those that have no idea what I'm doing, you un-screw the nut on the bolt to spread open the cross-member to make more room for the control arm bushing...

Success...
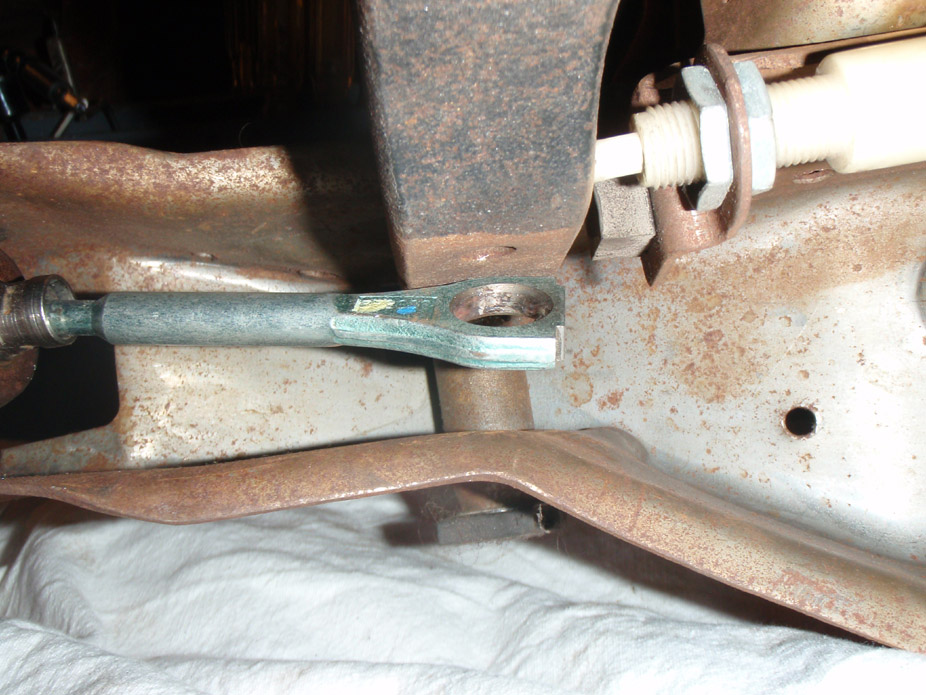
Here is the flimsy culprit. I could actually pinch this C-channel together a bit with two hands...

Boxing C-channels is always a good call for rigidity. Figure the extra 1-2lbs should definitely be worth it for any increase in stiffness...

I'll do the next side tomorrow, my stomach was too hungry to continue tonight...

They're purdy...
Blast! They don't fit...
For this problem, SpeedTech recommends using all-thread and two nuts. But I was too lazy to cut some all-thread, not to mention constantly un-threading the nut(s) to check if I'd opened it enough...
...took literally 2 seconds to remove the spreading bolt to check bushing clearance, made this task waaaay less annoying. For those that have no idea what I'm doing, you un-screw the nut on the bolt to spread open the cross-member to make more room for the control arm bushing...
Success...
Here is the flimsy culprit. I could actually pinch this C-channel together a bit with two hands...
Boxing C-channels is always a good call for rigidity. Figure the extra 1-2lbs should definitely be worth it for any increase in stiffness...
I'll do the next side tomorrow, my stomach was too hungry to continue tonight...
Last edited by frojoe; 07-13-2009 at 09:51 PM.
07-16-2009, 06:57 PM
#170
Finished boxing the other side of the front subframe cross-member...


Primered black. Still not sure if to go with pure paint or to "rock guard" the bottom surfaces of the subframe to protect against chipping...

Also boxed in the top of the center channel connecting the front & rear cross-members, as well as fully weld where the bottom of the center channel wraps up in front of the front cross-member (top, center)...

Primered black. Still not sure if to go with pure paint or to "rock guard" the bottom surfaces of the subframe to protect against chipping...
Also boxed in the top of the center channel connecting the front & rear cross-members, as well as fully weld where the bottom of the center channel wraps up in front of the front cross-member (top, center)...


 07-22-2009, 11:05 PM
#174
hookemdevils22... yeah I used 1/8" plate to fill it in, don't need crazy thick stuff when you're boxing stuff in, the strength comes from the "completed" geometry.
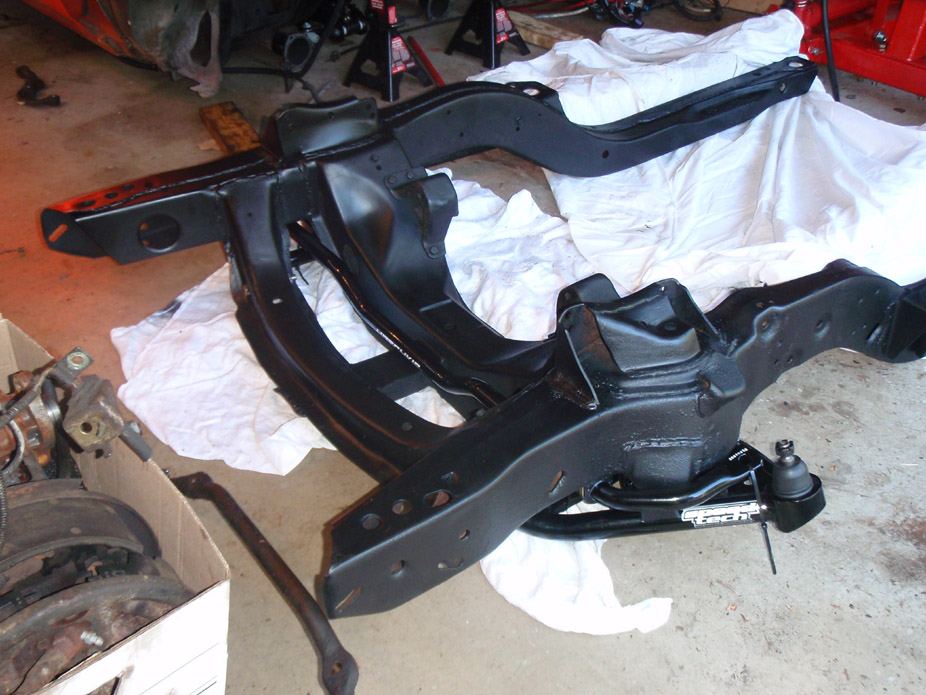
Little more progress, slowly going back together...

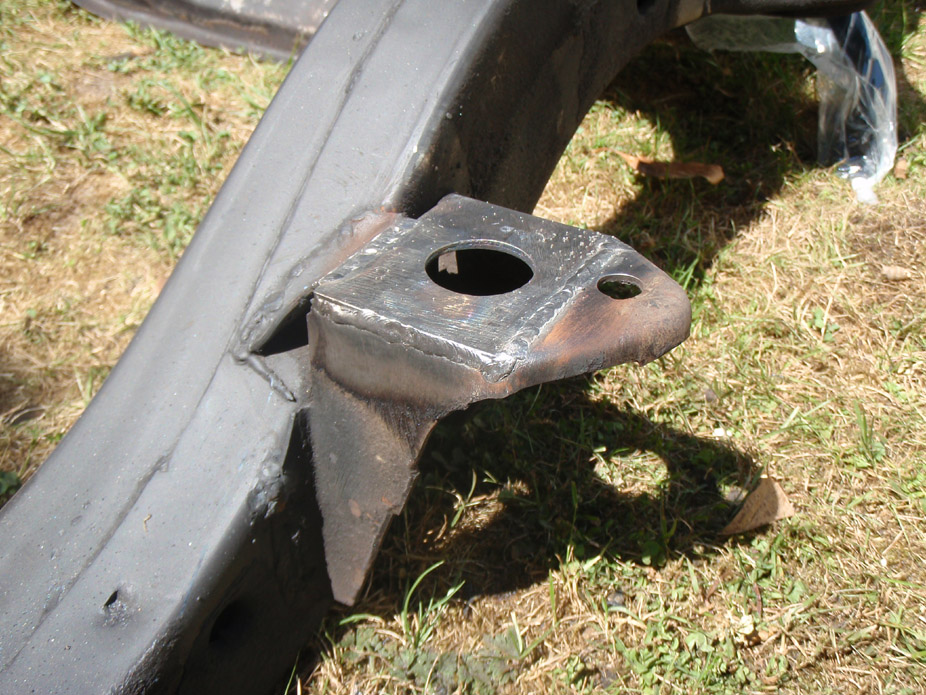
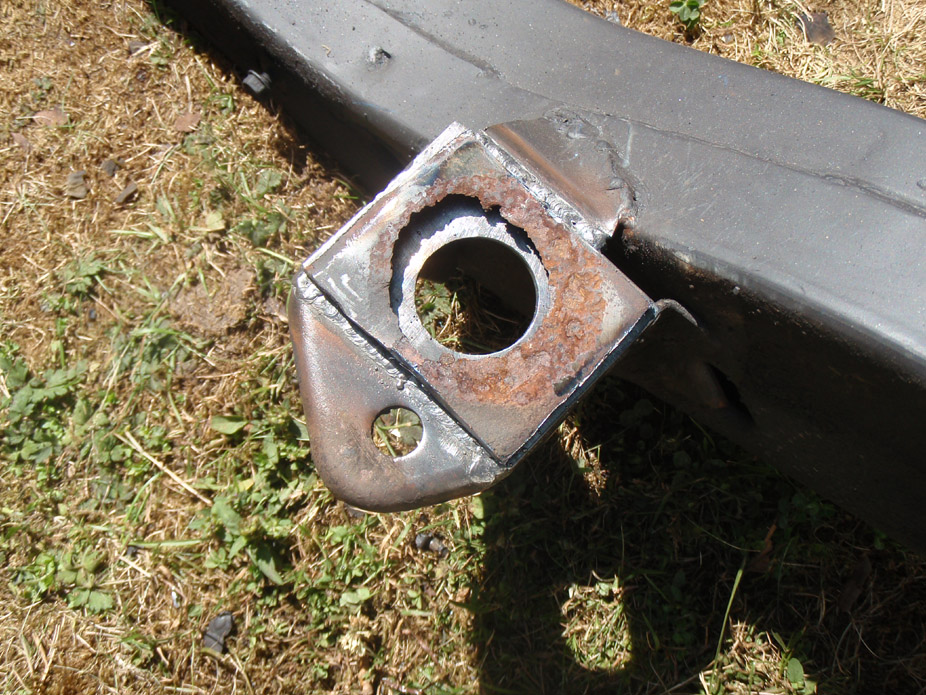
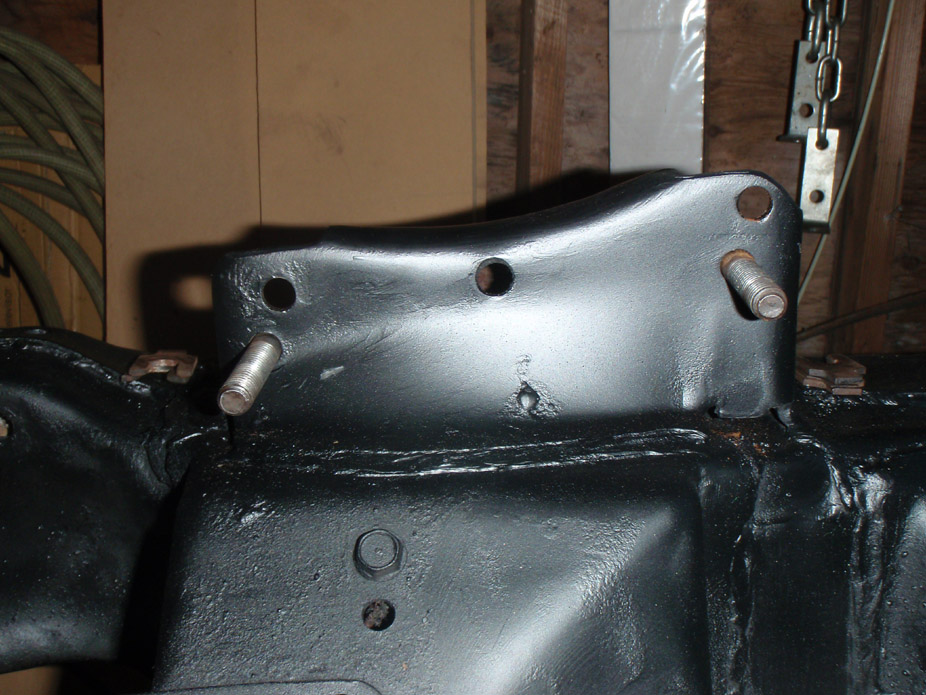
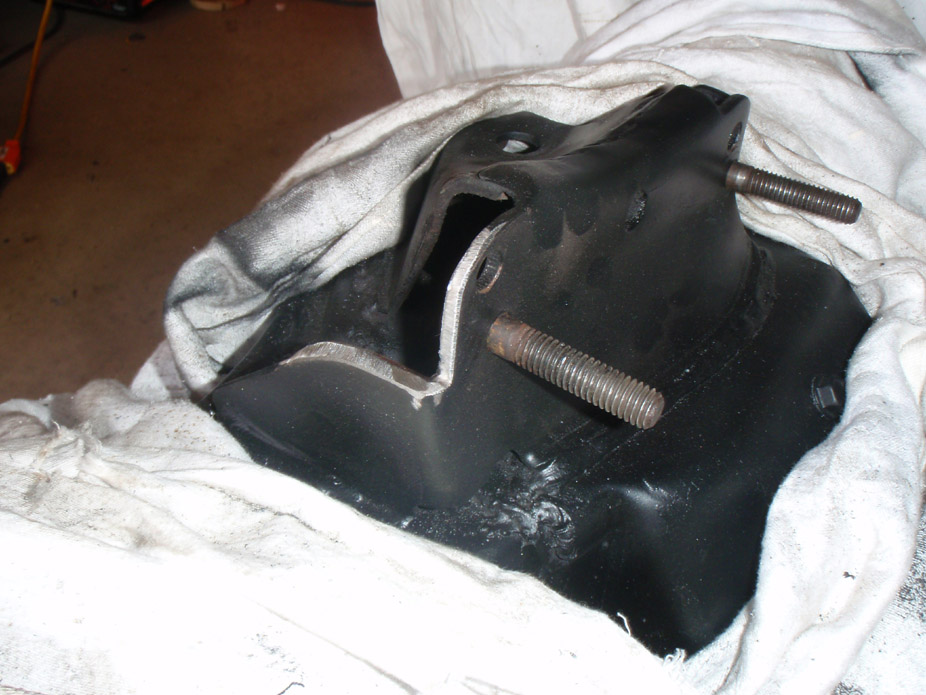
More progress.... NOT. Neither SpeedTech upper control arm clears the upper mount subframe metal with the Guldstrand mod. Driver side...


Pass side...


It looks like I can get away with only trimming a bit (hopefully!!) but I'm slightly worried that the control arms will contact metal all the way till full droop, and that's a LOT of cutting to do, might have to cut out a lot of the upper mount bracing and re-weld in for more clearance . And I thought I was done with this stupid part.
Although now I can't find it anywhere, I thought I remember SpeedTech saying the arms will work with the Guldstrand mod. And I know that my mod is legit because I got a template in the mail straight from Guldtrand motorsports. Down 0.75" and back 0.25"...
Little more progress, slowly going back together...
More progress.... NOT. Neither SpeedTech upper control arm clears the upper mount subframe metal with the Guldstrand mod. Driver side...
Pass side...
It looks like I can get away with only trimming a bit (hopefully!!) but I'm slightly worried that the control arms will contact metal all the way till full droop, and that's a LOT of cutting to do, might have to cut out a lot of the upper mount bracing and re-weld in for more clearance
. And I thought I was done with this stupid part.Although now I can't find it anywhere, I thought I remember SpeedTech saying the arms will work with the Guldstrand mod. And I know that my mod is legit because I got a template in the mail straight from Guldtrand motorsports. Down 0.75" and back 0.25"...
07-23-2009, 09:07 PM
#175
11 Second Club
Join Date: Mar 2008
Location: New Westminster, B.C., Canada
Posts: 445
Likes: 0
Received 1 Like
on
1 Post
I would think that if speed tech said they work with that mod then I would go ahead and cut away the extra metal there. As it is from the new hole there is a lot of extra metal there that I don't think is necessary. Personally, I would chop down the top of it and the angles on the sides and rebrace it with some gussets, to keep it rigid. You could also just box it back in like stock to regain any lost rigidity. Just rememer, there is no such thing as a 'bolt in' aftermarket part...
 07-24-2009, 12:52 AM
#177
11 Second Club
Join Date: Mar 2008
Location: New Westminster, B.C., Canada
Posts: 445
Likes: 0
Received 1 Like
on
1 Post
Quit dancing around the old holes. do a nice radius grind through the old hole, then take a piece of pipe of the same radius, cut a section of it, weld it onto the frame you ground and voila! better than new! (although it probably isn't necessary to box in anyway...If you take a straight line from the edge of the vertical support to the top support it looks like it intersects your bolt hole anyway, there is your strength.)
 07-26-2009, 12:10 AM
#180
A little more progress..

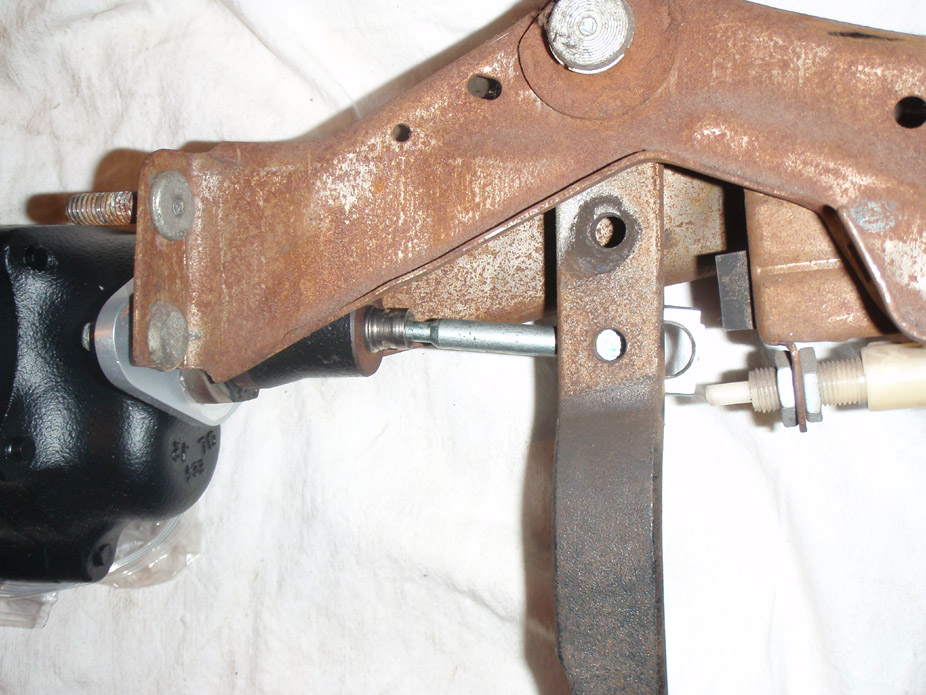
Moved on to brakes for now. I'm gonna mount my MC to the lower pair of studs on the 4pack of firewall brake pedal bracket studs. This is so I can retain the power brake pivot point on the pedal and not use an ugly angled firewall bracket to keep the MC rod straight.
This is the setup, with the MC spaced out 1/4" to simulate the bracket to hold the clutchmaster that will be sandwiched in there...

With the extra spacing of the clutch master bracket, the MC rod is almost perfectly lined up, the extra spacing of the firewall should make it fit nicely, will have to also adjust the brake pedal stop too..
With the pedal at the spot where it creates the most MC rod angle, it still isn't bad at all, this might all work out!!
Moved on to brakes for now. I'm gonna mount my MC to the lower pair of studs on the 4pack of firewall brake pedal bracket studs. This is so I can retain the power brake pivot point on the pedal and not use an ugly angled firewall bracket to keep the MC rod straight.
This is the setup, with the MC spaced out 1/4" to simulate the bracket to hold the clutchmaster that will be sandwiched in there...
With the extra spacing of the clutch master bracket, the MC rod is almost perfectly lined up, the extra spacing of the firewall should make it fit nicely, will have to also adjust the brake pedal stop too..
With the pedal at the spot where it creates the most MC rod angle, it still isn't bad at all, this might all work out!!
Last edited by frojoe; 02-03-2010 at 11:24 PM.