
2000 trans am backhalf build(pics)
 04-17-2009, 03:08 PM
#101
TECH Regular
Thread Starter
iTrader: (4)
Join Date: May 2007
Location: schaumburg,il
Posts: 425
Likes: 0
Received 0 Likes
on
0 Posts

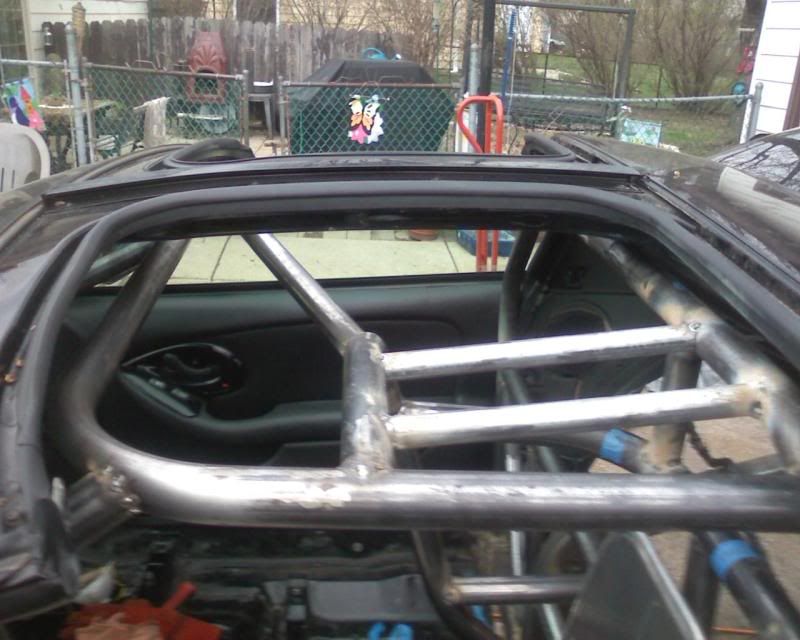
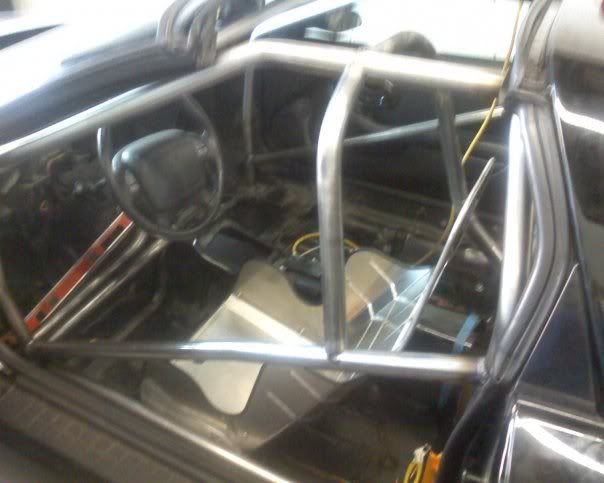
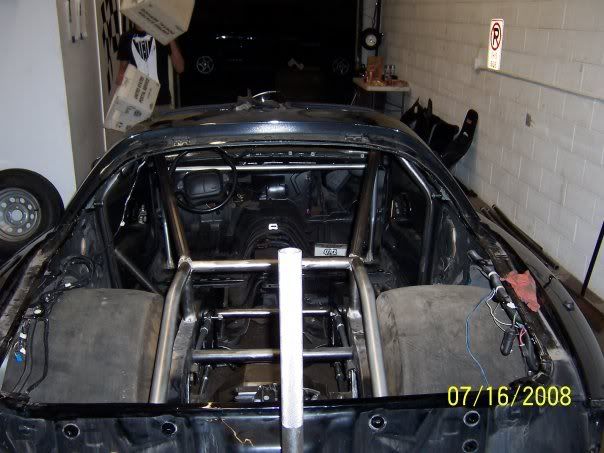
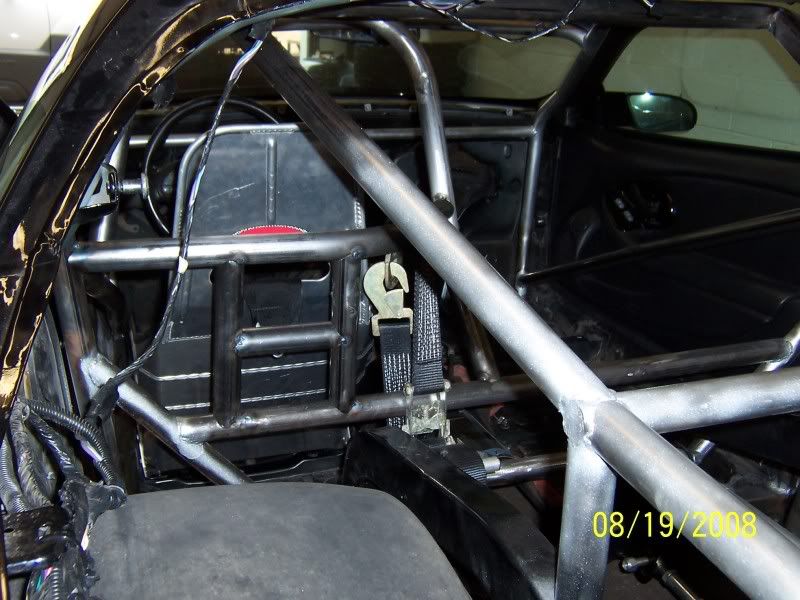
the main hoop is pretty much as wide as it can go and i got more than enough room,i have just enough room to fit my right arm between the main funny car hoop and the seat when sitting in the car and my door bar just clears the door
 04-17-2009, 07:53 PM
#102
On The Tree
iTrader: (6)
Join Date: Feb 2007
Location: hell
Posts: 161
Likes: 0
Received 0 Likes
on
0 Posts
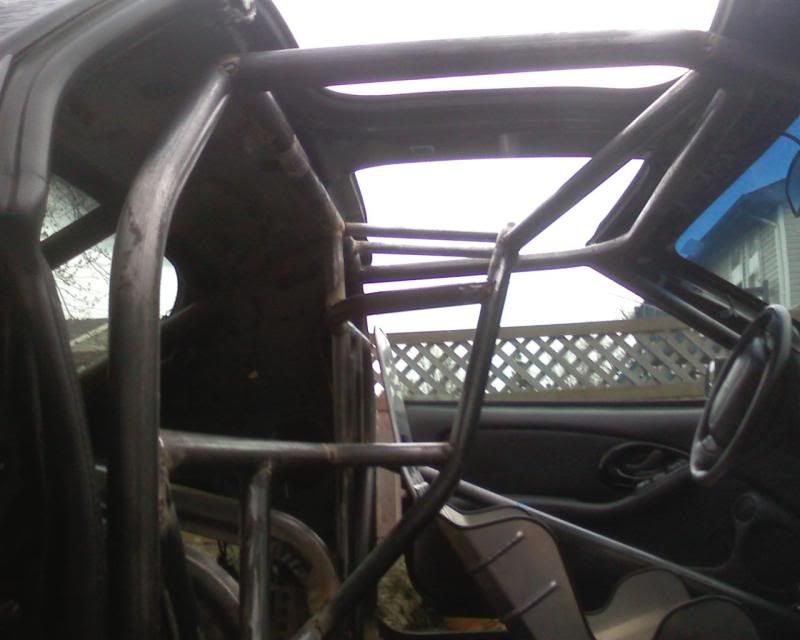
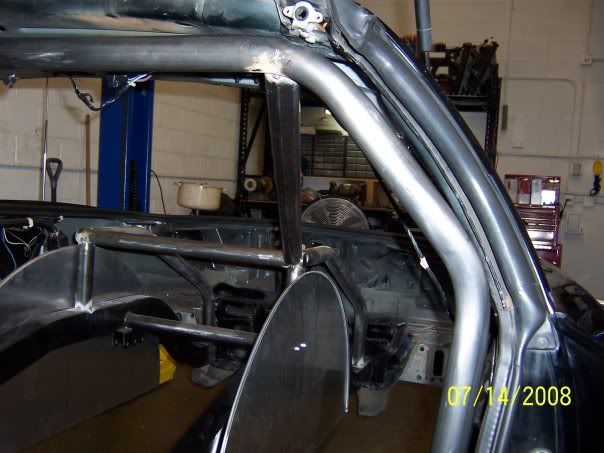
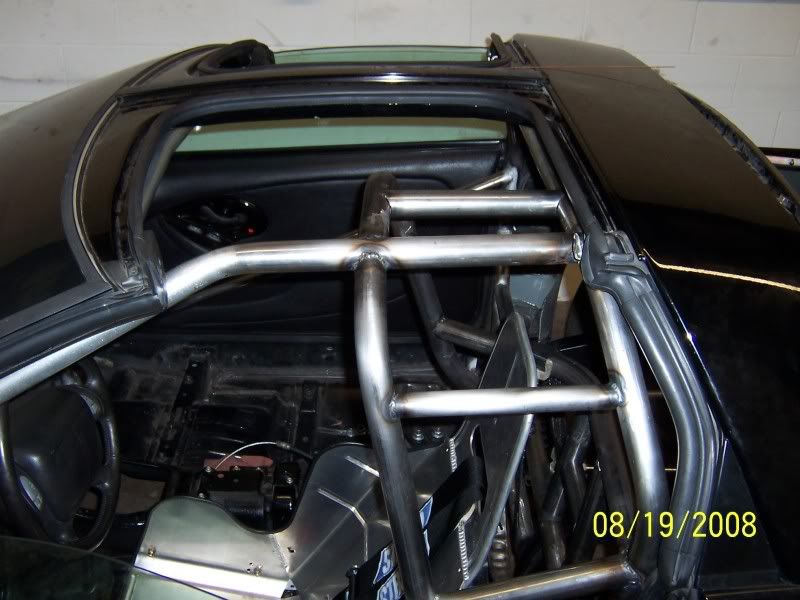
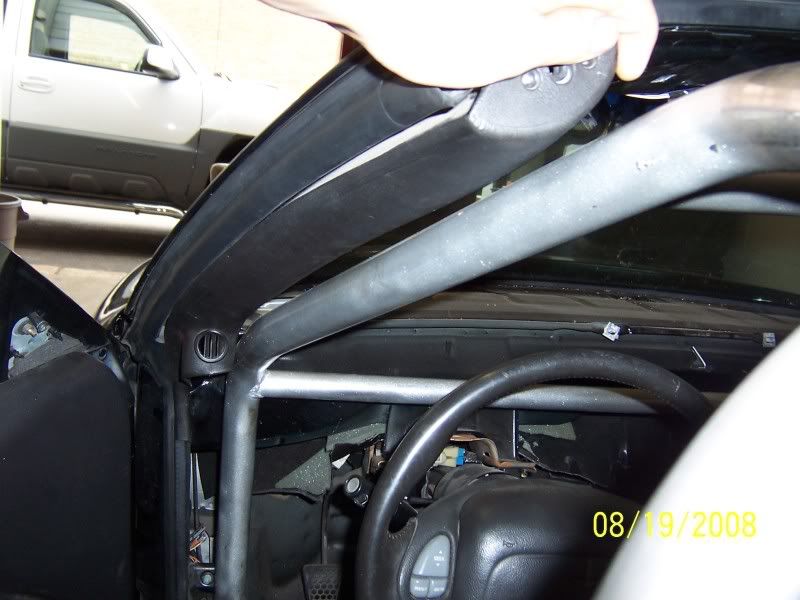
the main part of the hoop should have been wider at the top, before the downward bend. (circled in pencil)
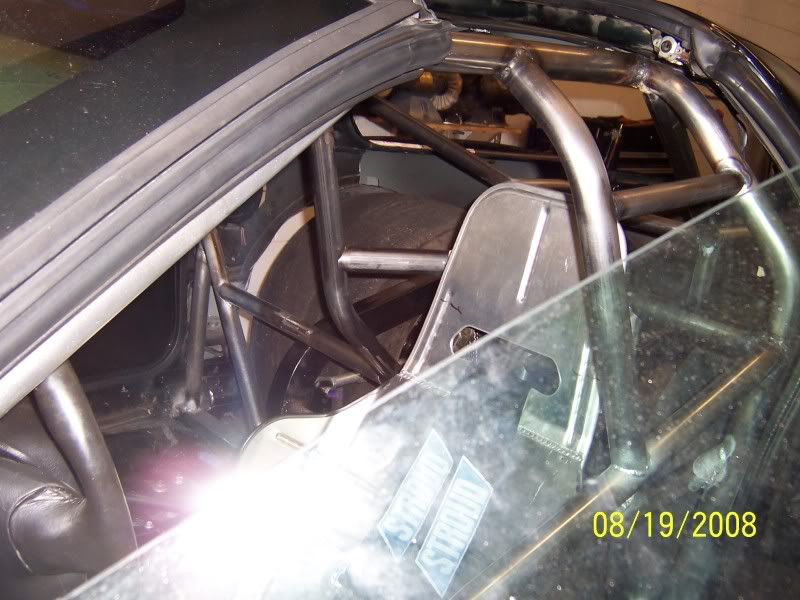
the side bar (facing the drivers window) should be kicked out a little before it goes down to the door bar (pic)
the two top bars can bee 1" and need to be straight out(or slightly up?) then curve down to meet your front funny cage bar. (pic)
i would also add a 1-5/8 bar from the corner of the front funny cage, back to the main hoop. then run a 1-5/8 bar straight down from the top of the main hoop to the shoulder bar and then continue from there with a bar straight to the lower cross bar (behind driver)
i'll also take a good pic of how my funny cage is tied in.
04-17-2009, 08:21 PM
#103
On The Tree
iTrader: (6)
Join Date: Feb 2007
Location: hell
Posts: 161
Likes: 0
Received 0 Likes
on
0 Posts
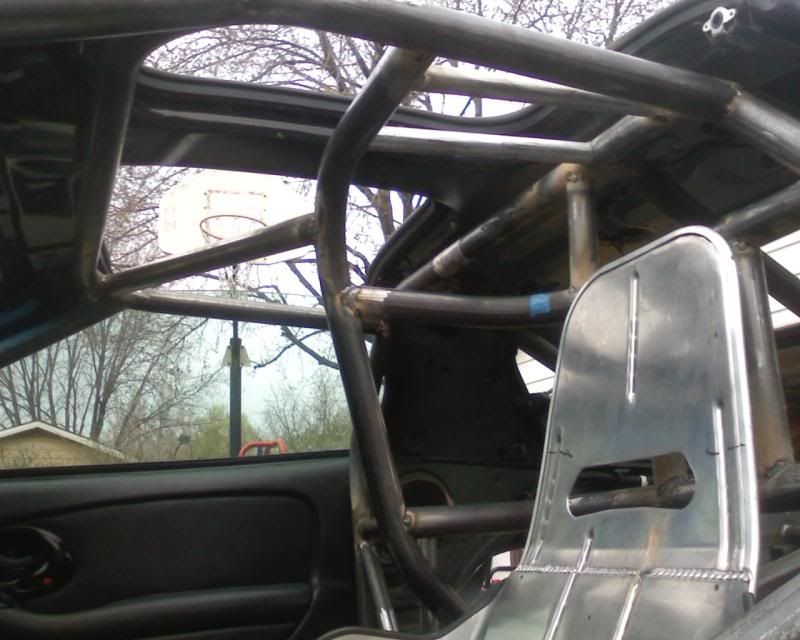
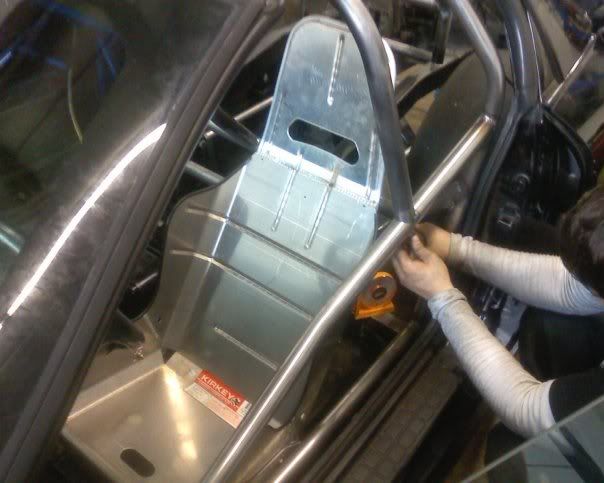
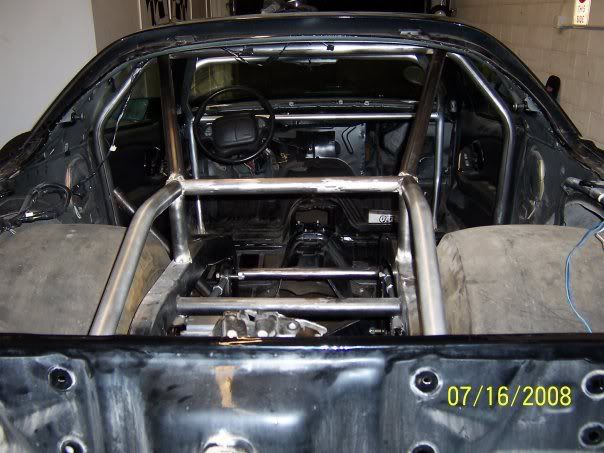
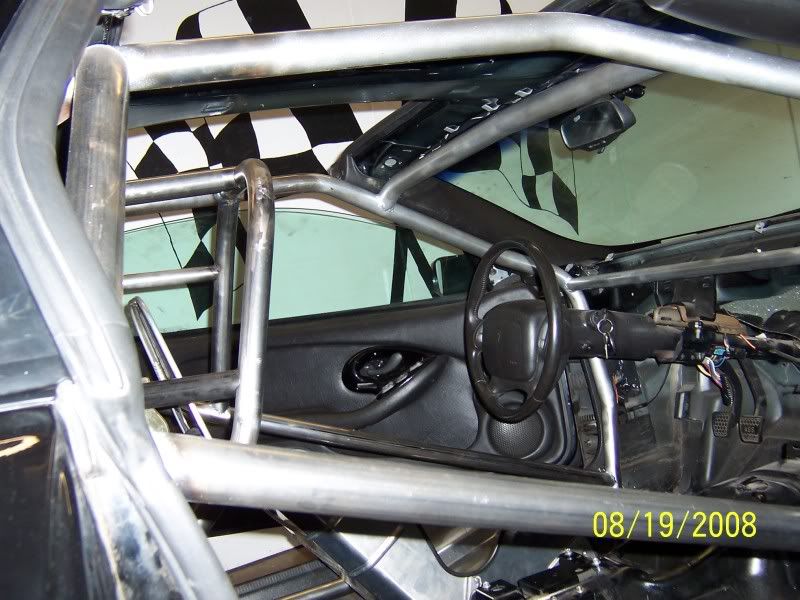
a couple more pics to give you a idea.
what is throwing it off is, the main hoop is higher then the front down bars! and it makes the cage look off center.
i would raise the front funny bar to match the same height as the main hoop and then run your funny bars then. it should look a lot better and give you a lot more room.
i modded your pics to give you a idea of how my cage is done. the blue is good bars and the green is bad bars.
i tried to take some pics! but the damm camera wants to go black when i shoot inside the car!
04-17-2009, 10:36 PM
#104
TECH Regular
Thread Starter
iTrader: (4)
Join Date: May 2007
Location: schaumburg,il
Posts: 425
Likes: 0
Received 0 Likes
on
0 Posts
my main funny car hoop is level with the main hoop, and the front door bars are getting redone im just having my chassis guy screw with them and ya that diagonal line u drew goin from the funny car hoop to the passenger side im also doing that i just forgot to put the tape on cause i was in a hurry to mask it out today to get pics up here so i can get your input before i work on it tomorrow
04-18-2009, 10:53 AM
#105
FormerVendor
iTrader: (38)

Join Date: Nov 2008
Location: Pearland, TX
Posts: 2,309
Likes: 0
Received 0 Likes
on
0 Posts
my main funny car hoop is level with the main hoop, and the front door bars are getting redone im just having my chassis guy screw with them and ya that diagonal line u drew goin from the funny car hoop to the passenger side im also doing that i just forgot to put the tape on cause i was in a hurry to mask it out today to get pics up here so i can get your input before i work on it tomorrow
I tell you what, KUDOS man!!! You are tackling a HUGE project and posting it here on a Forum for everyone to see and criticize, and you are taking the info and USING it instead of acting like everyone else is wrong and crazy like so many people do. You are actually using this forum for what it is meant to: GAIN KNOWLEDGE! So, I say, hell yeah, good job, keep pluggn away, and before you know it, you are gonna have a car that YOU built.
 Keep at it man and keep taking the info and using it like you are, and you are good to go!
04-18-2009, 07:36 PM
Keep at it man and keep taking the info and using it like you are, and you are good to go!
04-18-2009, 07:36 PM
#106
On The Tree
iTrader: (6)
Join Date: Feb 2007
Location: hell
Posts: 161
Likes: 0
Received 0 Likes
on
0 Posts
my main funny car hoop is level with the main hoop, and the front door bars are getting redone im just having my chassis guy screw with them and ya that diagonal line u drew goin from the funny car hoop to the passenger side im also doing that i just forgot to put the tape on cause i was in a hurry to mask it out today to get pics up here so i can get your input before i work on it tomorrow
just hate to see you have too do it twice! and like 414 said 'kudos" there is nothing wrong with asking for input before you do a big project like this. saves time and money!
i probally asked 4 thousands questions before i ever start anything.
i'm hopeing some others will chime in and give some info to help with your build, better to ask! then do and then do again!
04-19-2009, 12:12 AM
#107
TECH Regular
Thread Starter
iTrader: (4)
Join Date: May 2007
Location: schaumburg,il
Posts: 425
Likes: 0
Received 0 Likes
on
0 Posts
o i c what your talking about yea its a little low but i couldnt move it up anymore cause of the main hoop i bought it pre bent from s&w but i have more than enough room and it looks fine to me. and thanks gen414
 04-19-2009, 09:05 AM
#109
FormerVendor
iTrader: (38)
Join Date: Nov 2008
Location: Pearland, TX
Posts: 2,309
Likes: 0
Received 0 Likes
on
0 Posts
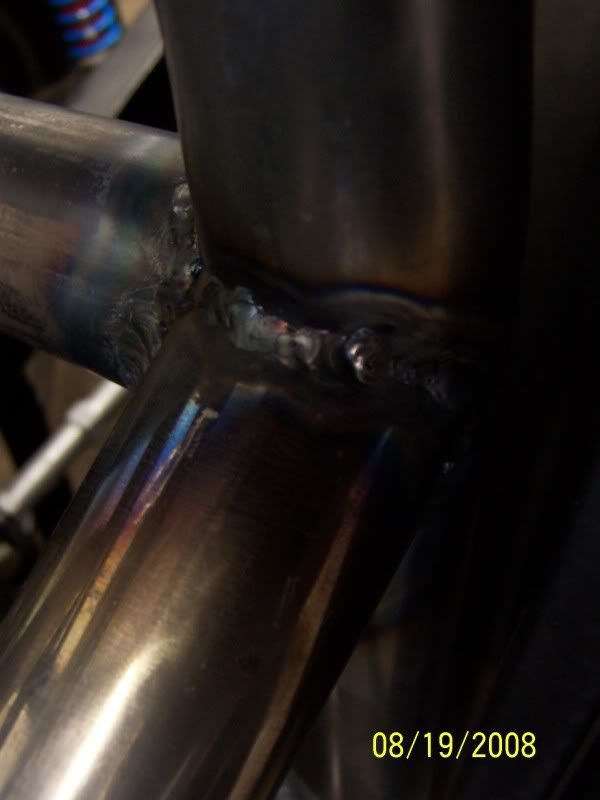
From teh looks of it, and I could be wrong, but I just want to run it by you for the "just in case", are you tacking it up with a stick/arc welder? From teh generous amount of residue @ teh tacks, appears so. Again, I could be wrong. But, if it is a stick, do NOT try and weld it out with a stick. For one, it will look like Bozo's ***. And two, not sure if it is even legal to stick weld a cage. The reason I know it will look like ***, is I did it before  Yeah, a LONG time ago when I was young, doing this for fun, and wanted a cage, but did not have money to have it done, or have access to a MIG, I Arc (stick) welded a cage in my car. I was a welder helper working pipeline construction, and I was a pretty good Arc welder, but it still came out like ***.
Not sure if I should be sharing that, but WTF. It's all good.
Yeah, a LONG time ago when I was young, doing this for fun, and wanted a cage, but did not have money to have it done, or have access to a MIG, I Arc (stick) welded a cage in my car. I was a welder helper working pipeline construction, and I was a pretty good Arc welder, but it still came out like ***. Not sure if I should be sharing that, but WTF. It's all good.
04-20-2009, 02:57 AM
#112
TECH Regular
Thread Starter
iTrader: (4)
Join Date: May 2007
Location: schaumburg,il
Posts: 425
Likes: 0
Received 0 Likes
on
0 Posts
well it was kinda crappy and rainy here all day so i really couldnt do much but i just started making my switch panel to mount to the top of the cage im gonna try to get it tigged up sometime this week at work.
and do any of you have an idea on how i can wire my headlights back up so they still flip on and closed since im ditching all the stock electronics.
and do any of you have an idea on how i can wire my headlights back up so they still flip on and closed since im ditching all the stock electronics.
04-20-2009, 04:00 PM
#113
FormerVendor
iTrader: (38)
Join Date: Nov 2008
Location: Pearland, TX
Posts: 2,309
Likes: 0
Received 0 Likes
on
0 Posts
Ok cool.
Well, if you are deleting your WHOLE wiring harness, just pick out the wiring from the motors to fuse panel/switch, and keep 'em in place. Unless you are deleting your wiper switch off teh steering column. Or are you deleting your stock fuse panel as well???
That is basically the long process I did with my wiring. I just wanted to keep power windows, horn, lights, and wipers. No AC, power door locks, cruise control ,map lights, etc....so, I just opened up teh wiring harness, and started tracking wires down, and eliminating the one's I did not need.
04-20-2009, 05:55 PM
#114
TECH Regular
Thread Starter
iTrader: (4)
Join Date: May 2007
Location: schaumburg,il
Posts: 425
Likes: 0
Received 0 Likes
on
0 Posts
im keeping the light switch on the dash i want to keep lights, power windows and possibly horn.the only question i had was with the flip up lights i know that normally they operated by the current draw as in when the lights were either up or down the motor would draw more current and they would stop then how can i keep this or should i just hook it up to a 2 pole switch
04-21-2009, 05:20 PM
#115
FormerVendor
iTrader: (38)
Join Date: Nov 2008
Location: Pearland, TX
Posts: 2,309
Likes: 0
Received 0 Likes
on
0 Posts
im keeping the light switch on the dash i want to keep lights, power windows and possibly horn.the only question i had was with the flip up lights i know that normally they operated by the current draw as in when the lights were either up or down the motor would draw more current and they would stop then how can i keep this or should i just hook it up to a 2 pole switch
Oh ok, my bad. That, I have no idea on, sorry.
08-18-2009, 10:37 PM
#116
TECH Regular
Thread Starter
iTrader: (4)
Join Date: May 2007
Location: schaumburg,il
Posts: 425
Likes: 0
Received 0 Likes
on
0 Posts
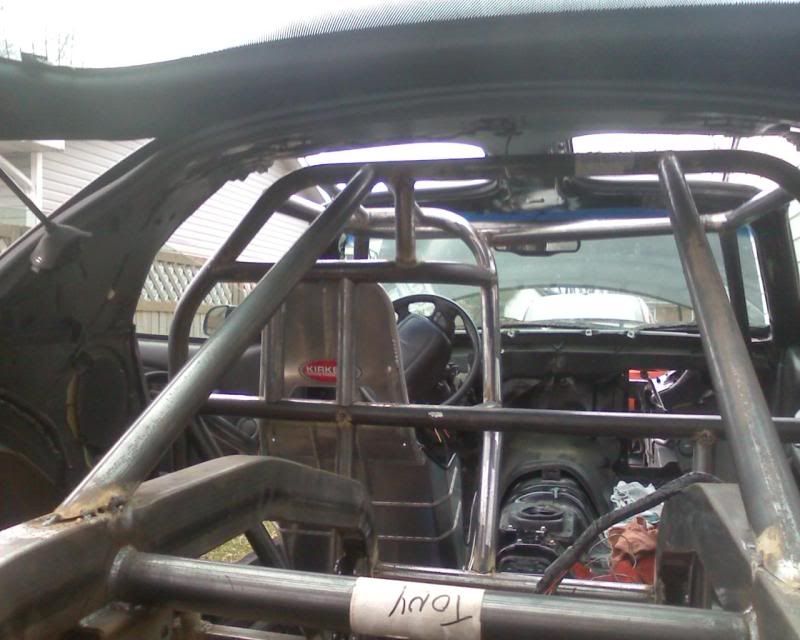
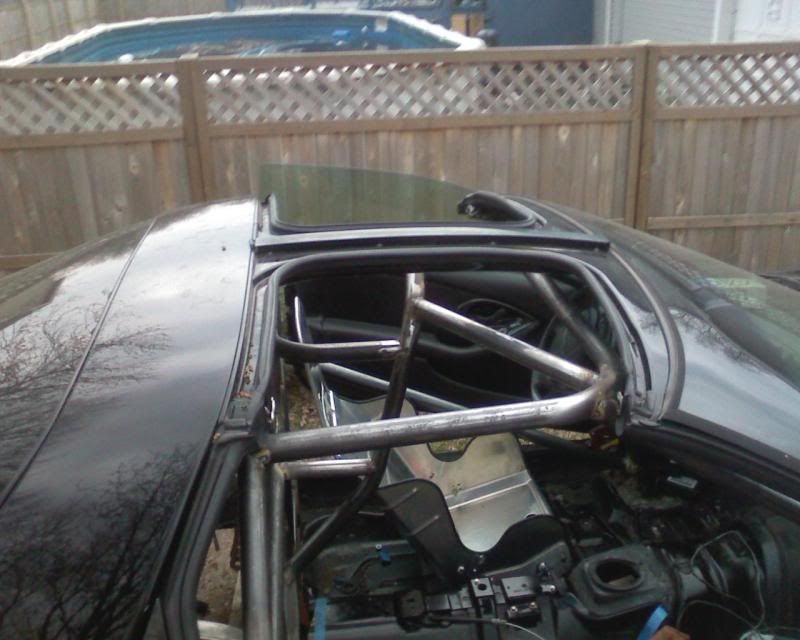
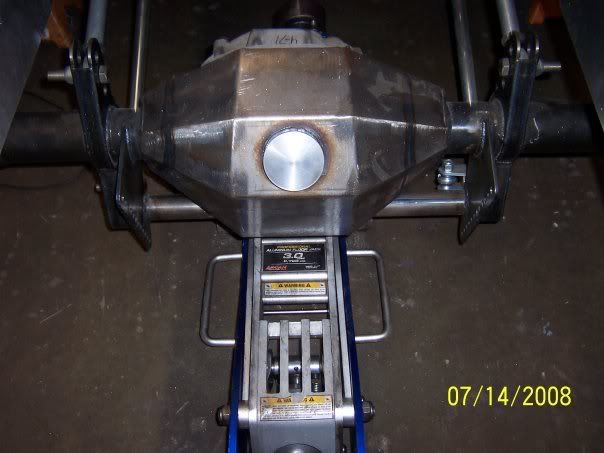
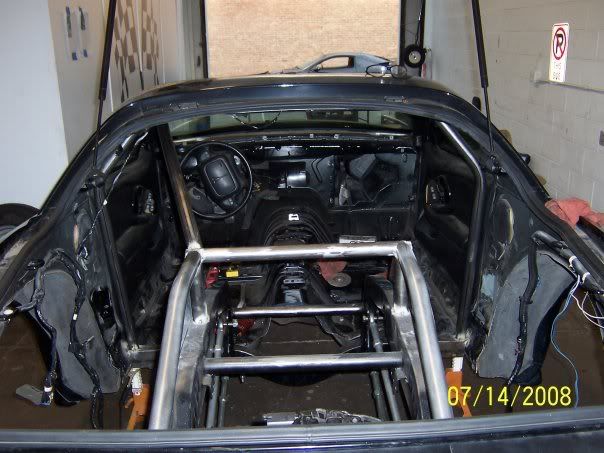
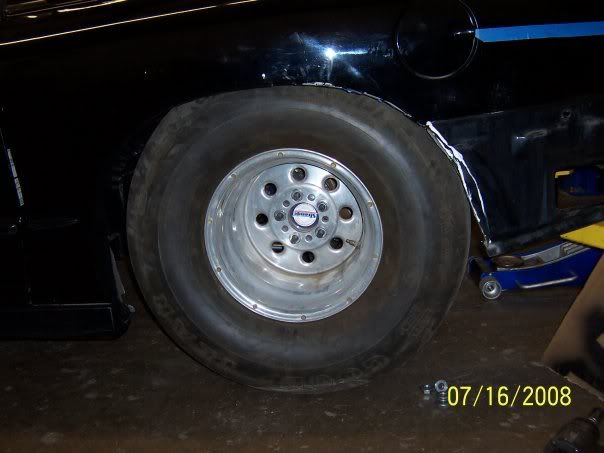
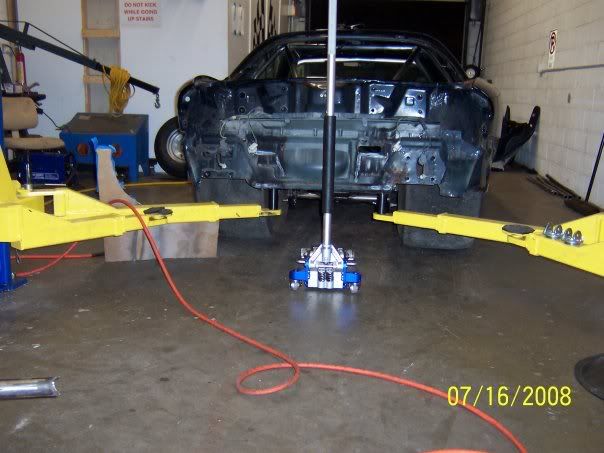
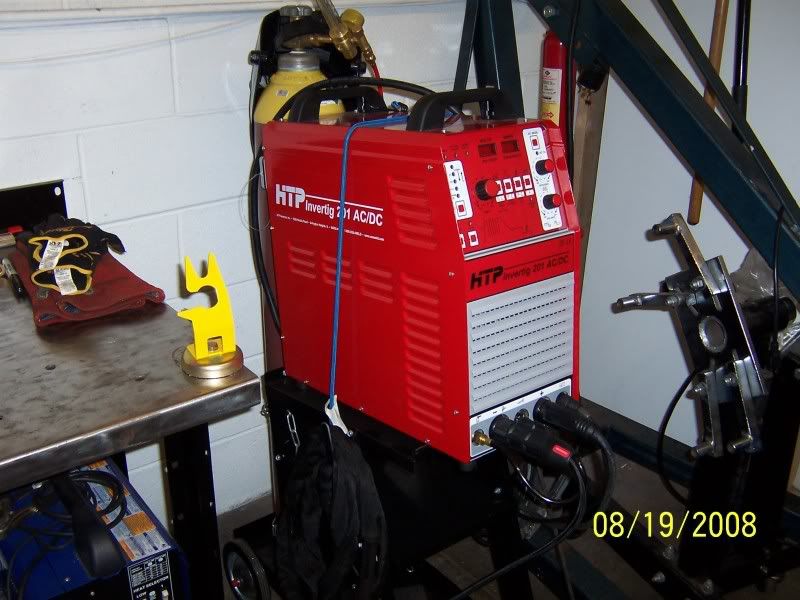
ok its been a while so here we go. i brought the car up to my chassis guy to get the cage fully welded and while its up there he tells me the backhalf is too high in the car, s&w never specified a height the backhalf has to be at. so the car sat up there for about 2 months while i decided what to do and since i didnt have 4g to spend on them ripping everything out and starting over again i brought it back here. so i ripped everything out and started from scratch, i got the backhalf in properly this time, i totally redid the cage i got the rear wheels and tires im gonna use and i got the rear end in the car. i ended up investing in a tig welder so i could weld everything up myself, so everything is done and fully welded except for a few bars on the funny car cage.

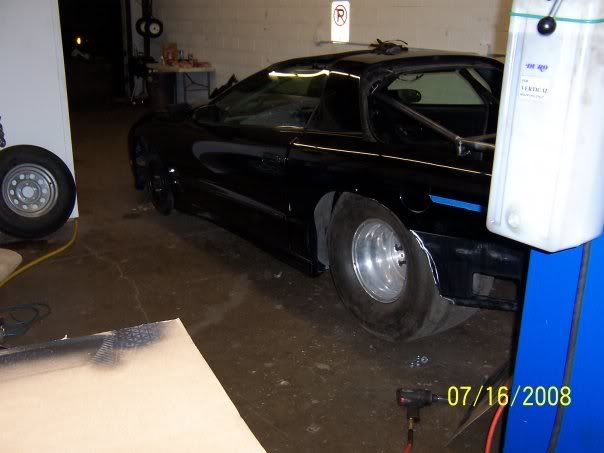
Last edited by chvypwr31; 08-19-2009 at 05:03 AM.
 08-20-2009, 07:12 PM
#120
TECH Regular
Thread Starter
iTrader: (4)
Join Date: May 2007
Location: schaumburg,il
Posts: 425
Likes: 0
Received 0 Likes
on
0 Posts
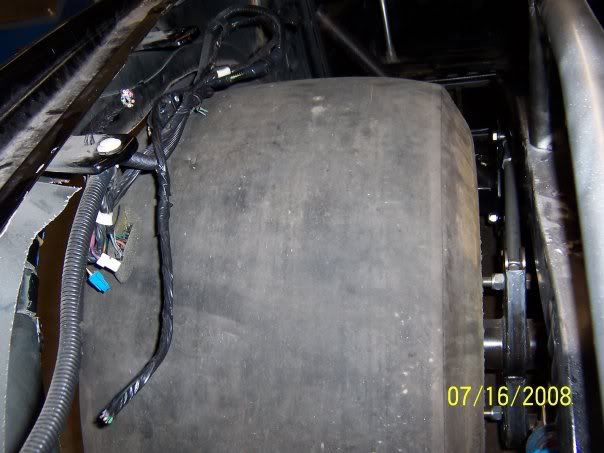
how did you mount the tubs to the fenders cause on the inside its a pittsburgh seam but im not sure on how to hold it to the body i was thinking just a bead of rtv or silicone on the top and bottom.