
DIY lightweght door panel
 03-20-2013, 01:06 AM
#1

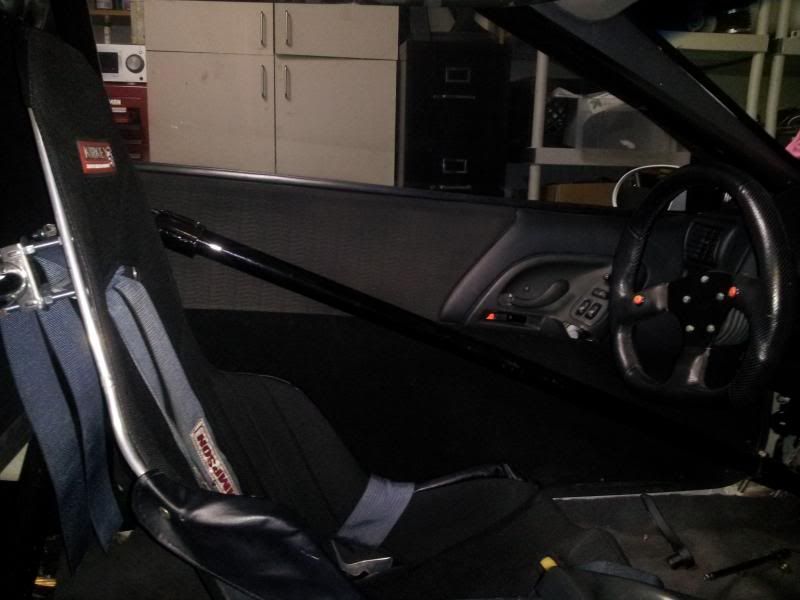
The reason I started this project was because my door bars bent in and were too close to me while in my seat. I wanted to flip them, but they hit the armrests. I needed to get rid of the armrest, but I didn't want to spend the money on aluminum panels and I really don't care for how they look. This is lighter than stock. I have not weighed everything yet because I am not finished, but the top half of the door panel is around 3.3lbs. The bottom is going to be much lighter than stock because I am using foamboard and putting carpet over it.
First I cut the door panel bottom section out. I found that I will need to completely removed the plastic from it. I intended on using that to mount my lower panel to, but found that it would be better to mount the lower panel to the door and then put the upper panel on.
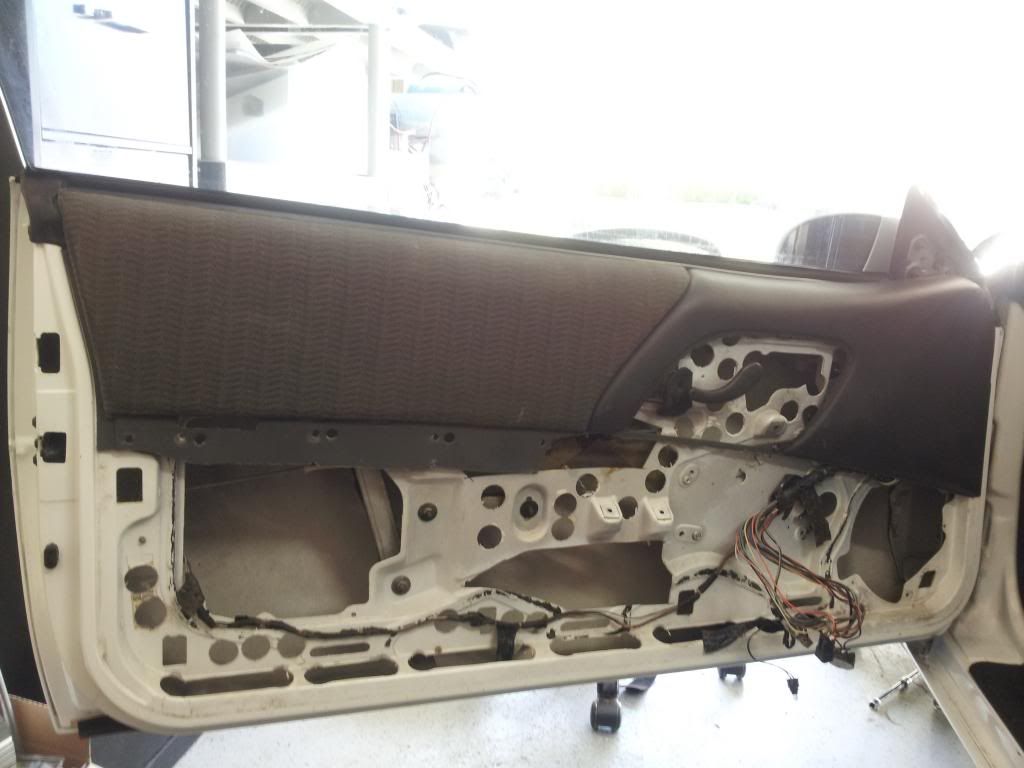
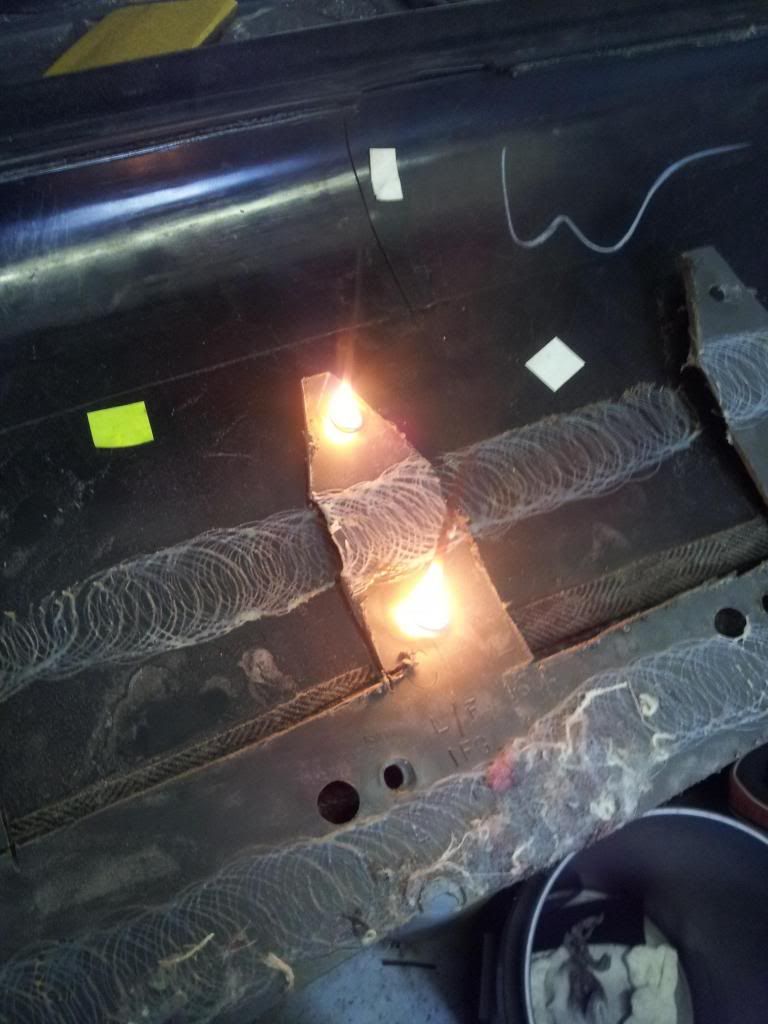
Getting all the plastic soldered parts out was pretty easy. The armrest and lower panel is on there like this. You will need to leave some of these and use a dermal to cut them. I will post more pics later, but to remove the solder I just used a small torch and the plastic solder will catch on fire and that is the only thing that will burn. Put pressure on each spot and it will pop out and the flame will go out or you can blow it out if not. The reason some of the plastic is already missing is because I had removed it a while back for weight reduction.
I used a razor knife to cut out the lower panel. I had to do it in two parts because my boards where not big enough. These are just plain foam posterboards. I had to cut off the place where the two bottom screws go from the armrest. This is the 2 big ones. They were in the way of the panel.
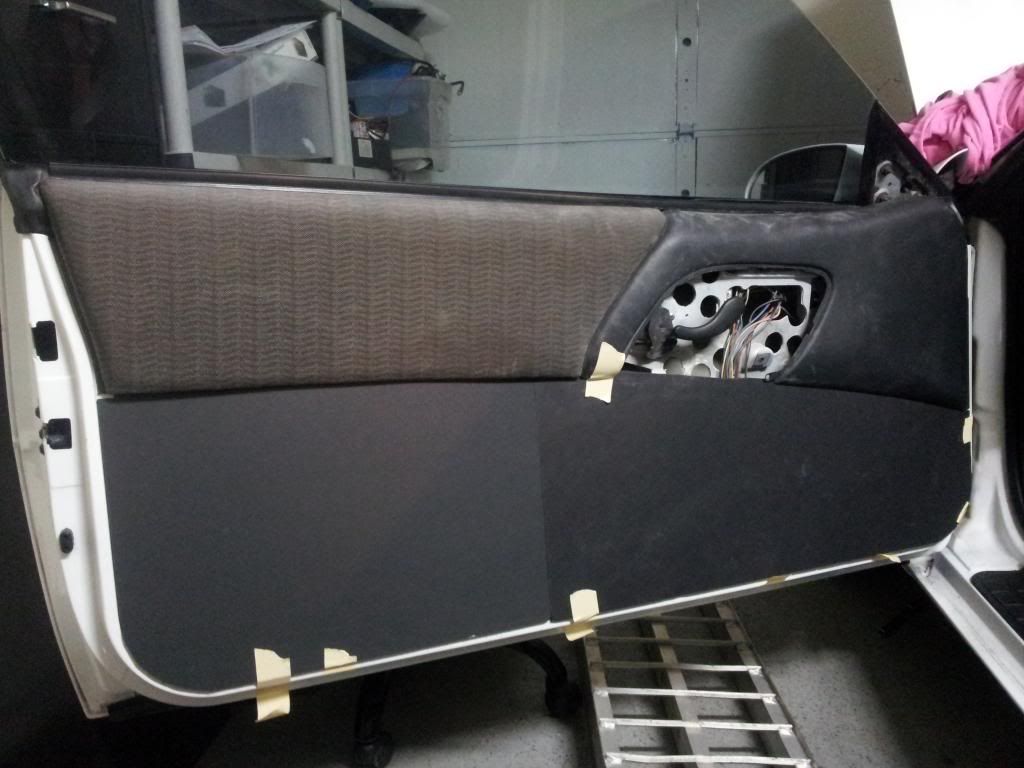
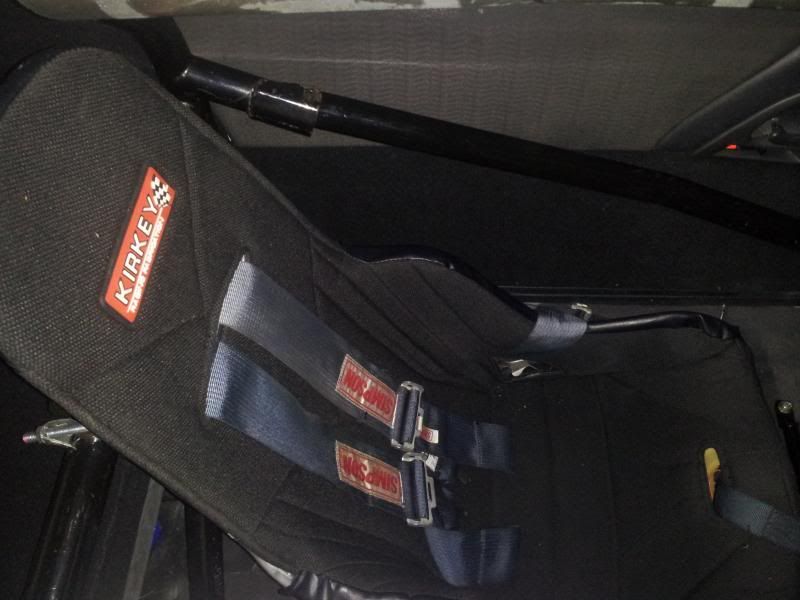
I plan to mend the two boards together and then carpet them. They will be screwed to the door with trim screws. I plan on getting the top portion that is cloth redone in black tweed to match my Kirkey seat. I also plan on putting some sort of handle on it. You can shut it with the door handle, but I want something easier to grab.
First I cut the door panel bottom section out. I found that I will need to completely removed the plastic from it. I intended on using that to mount my lower panel to, but found that it would be better to mount the lower panel to the door and then put the upper panel on.
Getting all the plastic soldered parts out was pretty easy. The armrest and lower panel is on there like this. You will need to leave some of these and use a dermal to cut them. I will post more pics later, but to remove the solder I just used a small torch and the plastic solder will catch on fire and that is the only thing that will burn. Put pressure on each spot and it will pop out and the flame will go out or you can blow it out if not. The reason some of the plastic is already missing is because I had removed it a while back for weight reduction.
I used a razor knife to cut out the lower panel. I had to do it in two parts because my boards where not big enough. These are just plain foam posterboards. I had to cut off the place where the two bottom screws go from the armrest. This is the 2 big ones. They were in the way of the panel.
I plan to mend the two boards together and then carpet them. They will be screwed to the door with trim screws. I plan on getting the top portion that is cloth redone in black tweed to match my Kirkey seat. I also plan on putting some sort of handle on it. You can shut it with the door handle, but I want something easier to grab.

 03-21-2013, 11:12 PM
#3
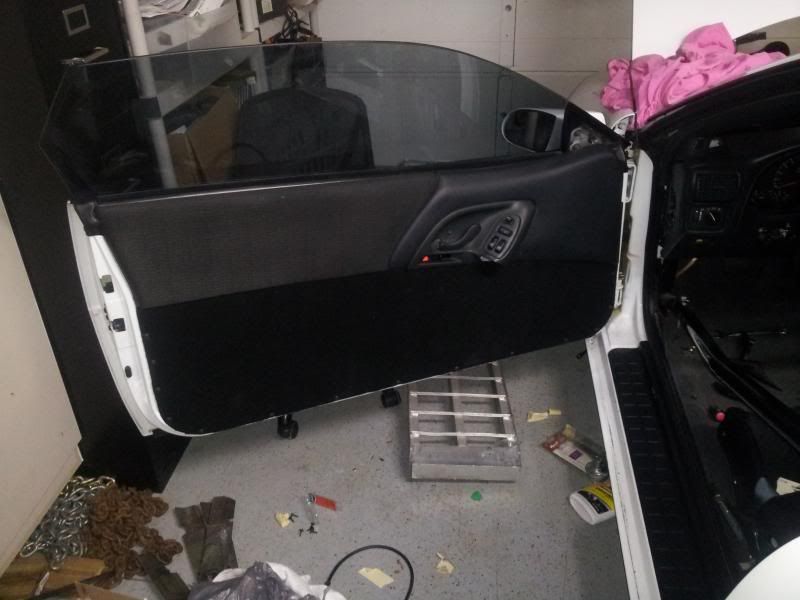
I decided not to put a handle on because I could find what I was looking for and nothing looked right on it. I decided I can just shut the door with the opening handle just fine. The piece I cut from the bottom weighs about 5.5lbs without the insulation. I got rid of that a long time ago. I left the 2 parts on the top panel that hold it on. These are the pieces that slide into the square slots. The 2 or 3 plastic solders where left in place for those and I just cut around them. I will post more detailed pics of the other side. I still have to take it to the upholstery shop to get the top panel recovered in black tweed.
When putting on the carpet, I just cut it even with the foamboard all the way around except the top where I just left the excess. In other words I didn't fold the carpet around the board. It would have made it too thick. for the door to shut.
Overall I saved a little over 10lbs counting both doors. I am going to weigh the bottom half when I do the other door, but I have to use a different scale because it doesn't show up on my current scale. I believe it is only a few ounces.
Now I can put my door bar to bow out instead of in and that was my main goal with this project. The weight saving was a bonus. Also this could easily be done with any material such as carbon fiber or aluminum.
Materials:
Black foam board $2.50 x 4 Kroger
Black carpet $11 autozone
Spray adhesive $11 autozone
Black trim screws $6 advance auto
Total: $38


