When you click on links to various merchants on this site and make a purchase, this can result in this site earning a commission. Affiliate programs and affiliations include, but are not limited to, the eBay Partner Network.
TwoThis is our going to be the first LS swap build that we are doing and wanted to share with everyone here and possibly get some opinions and or ideas. This truck was used as a work truck for some years and was parked as vehicles were purchased newer. This build will be funded solely from the pile of scrap we obtain from our daily jobs which will make for some interesting decisions.
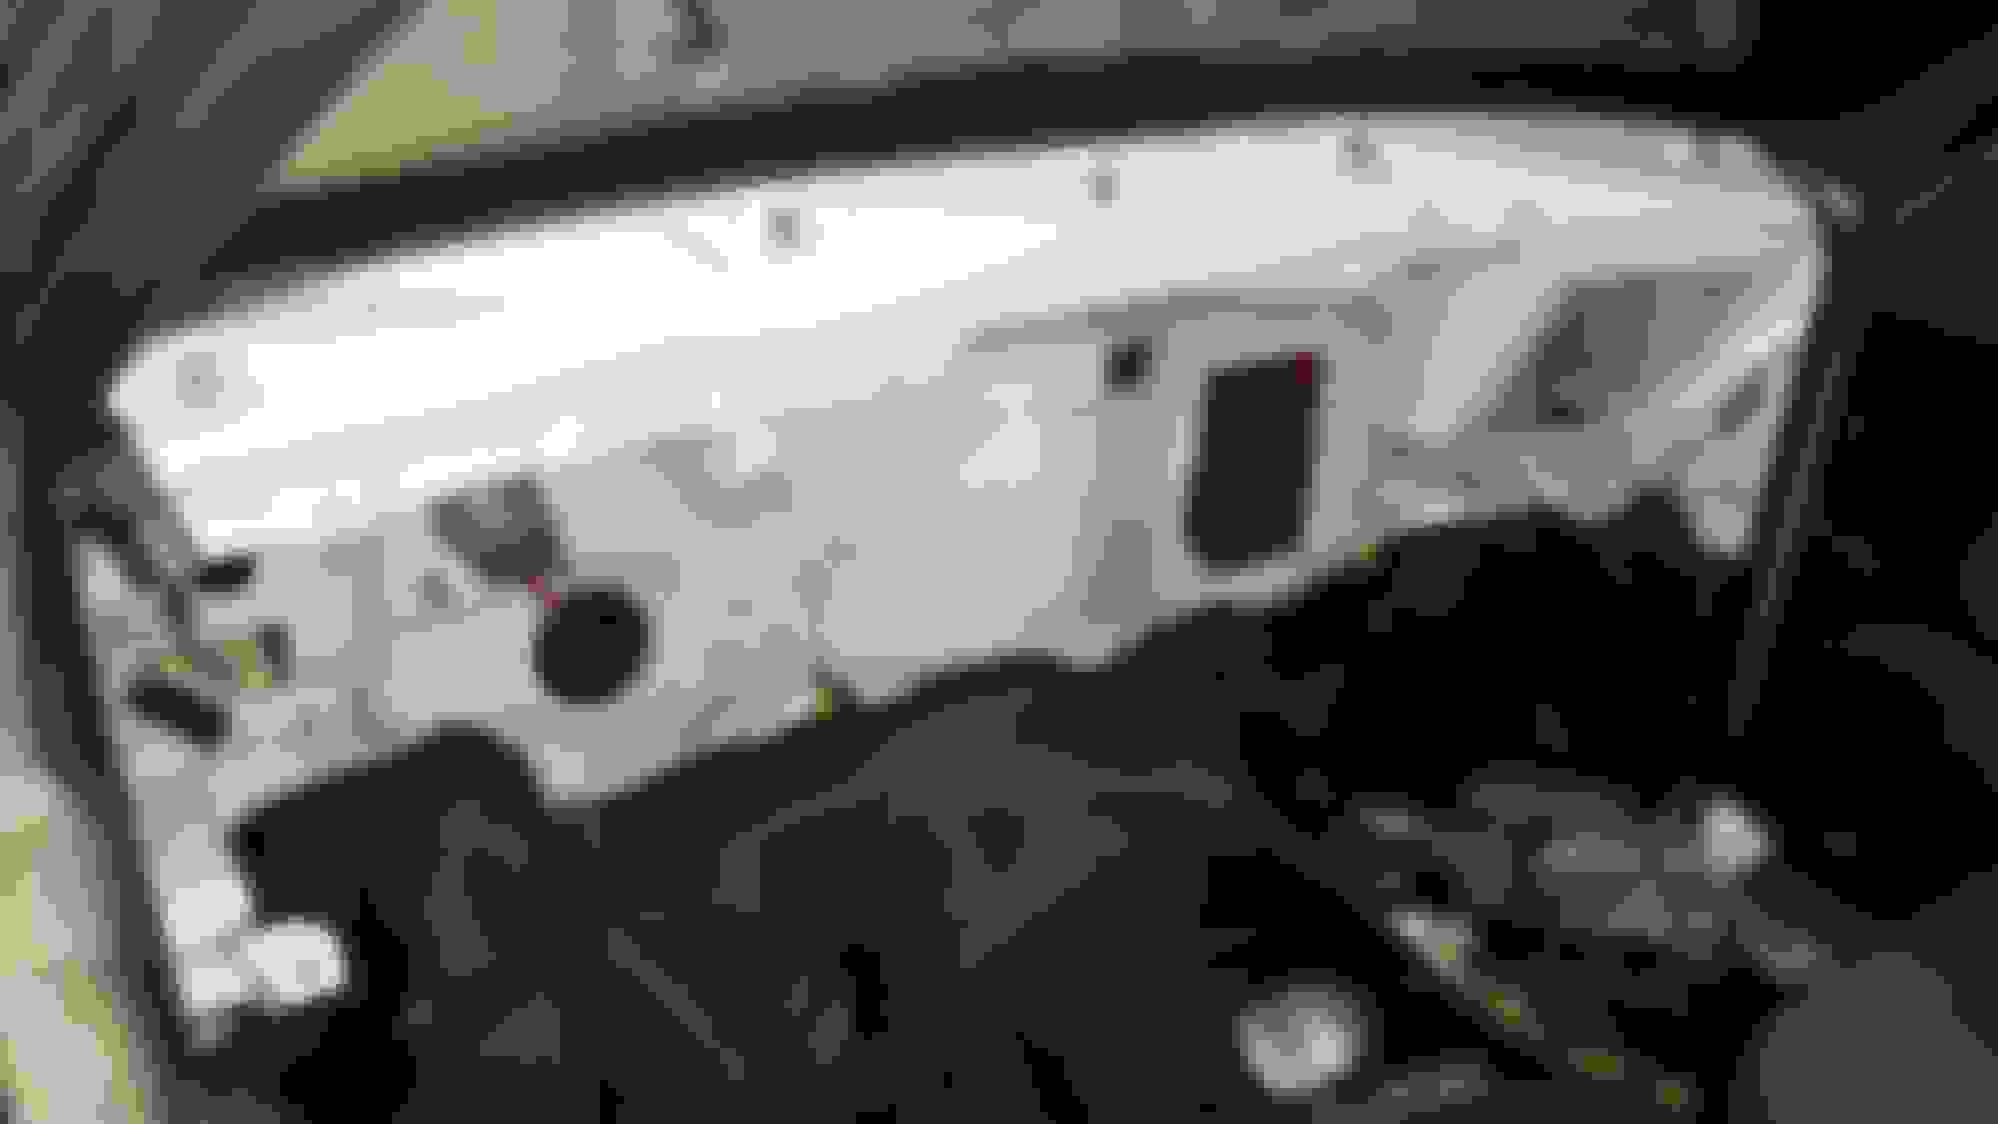
First the truck is a 1999 Chevy S10 4cyl manual. (GONE!).
Last edited by Cyrperformance; Feb 5, 2017 at 12:12 PM.
We then ripped the interior, dash, steering, etc leaving only the bench seat and flooring.
All that said and done it was time to obtain the engine trans wiring and so on. We loaded the trailer and off we went. Our source for parts already had a running 5.3 with the 4L60E and complete harness and ECM. $1500 for the lot and the option of fly by wire throttle or cable which we chose cable in this case.
One blown tire and 40 or so miles later our load handed us a little over $1600! Sweet.
Picked up the engine trans etc and began laying a plan for direction, just swap in and upgrade later was the first running thought, that lasted 2 minutes as we had already stuffed a turbo on an Escalade which has yielded pretty good results so we decided lets do a single and play with sizes an so on. 2 minutes later it was why not just go twin turbo now and if or when it grenades we do a properly built motor! Awesome!
The engine in but a little to quick to doing so as we noticed using the Trans Dapt mounts there are a few different ways these can bolt in. We went with the other option of not reading the INCLUDED instructions and swapping the engine mounts so as the pushed the engine up against the firewall. So with that being learned the engine came out this weekend and with the mounts corrected the frame notched and set the engine back hopefully for good.
Here are some picture of the forward header for the driver side we built from left over pre-bent tubing and flange I had left over from a previous thought. As The previous pictured shows the passenger side that was made a while back but never used on the Escalade.
Unfortunately my tig torch took a dump a while back and these had to be mig welded so they are not smoothed. The turbos we decided to go with are On3Performance 70mm's which we used their 78mm on the Escalade and it has been a daily driver on 10lbs for over a year and is holding up very well so for the price and previous experience we chose these. Waste gates were mounted yesterday and turbos arrived Saturday so we will post more in the next week but would like to get some feedback. Thanks for reading and hope all enjoy. SCRAPYARD here we come for round two!!!
Thanks, looking forward to getting it on the rollers and get real numbers and see where the curve is then make improvements. Should have a lot of work done to it this weekend as the last of the money from this scrap run has been spent on the radiator, fans and injectors. Still debating on air to air intercooler or air to water. Let me know what thoughts you have keeping in mind this is a weekend toy and living in Florida where the heat plays a big roll in a lot of things.
Radiator, 14" dual fans, Deka 80# injectors all arrived this week and concrete was poured at my partners house making it much easier to work on vehicles over there.
Progress is a little slow this weekend as I'll be sitting in for my daughters hunting class Saturday but hope to get some more fab done.
Trans is in and the crossmember is started. Need to add more support across it.
Started to get all the small things taken care of but ran into some snags. The coil packs for the drivers side hit the brake booster so need to research into a smaller booster.
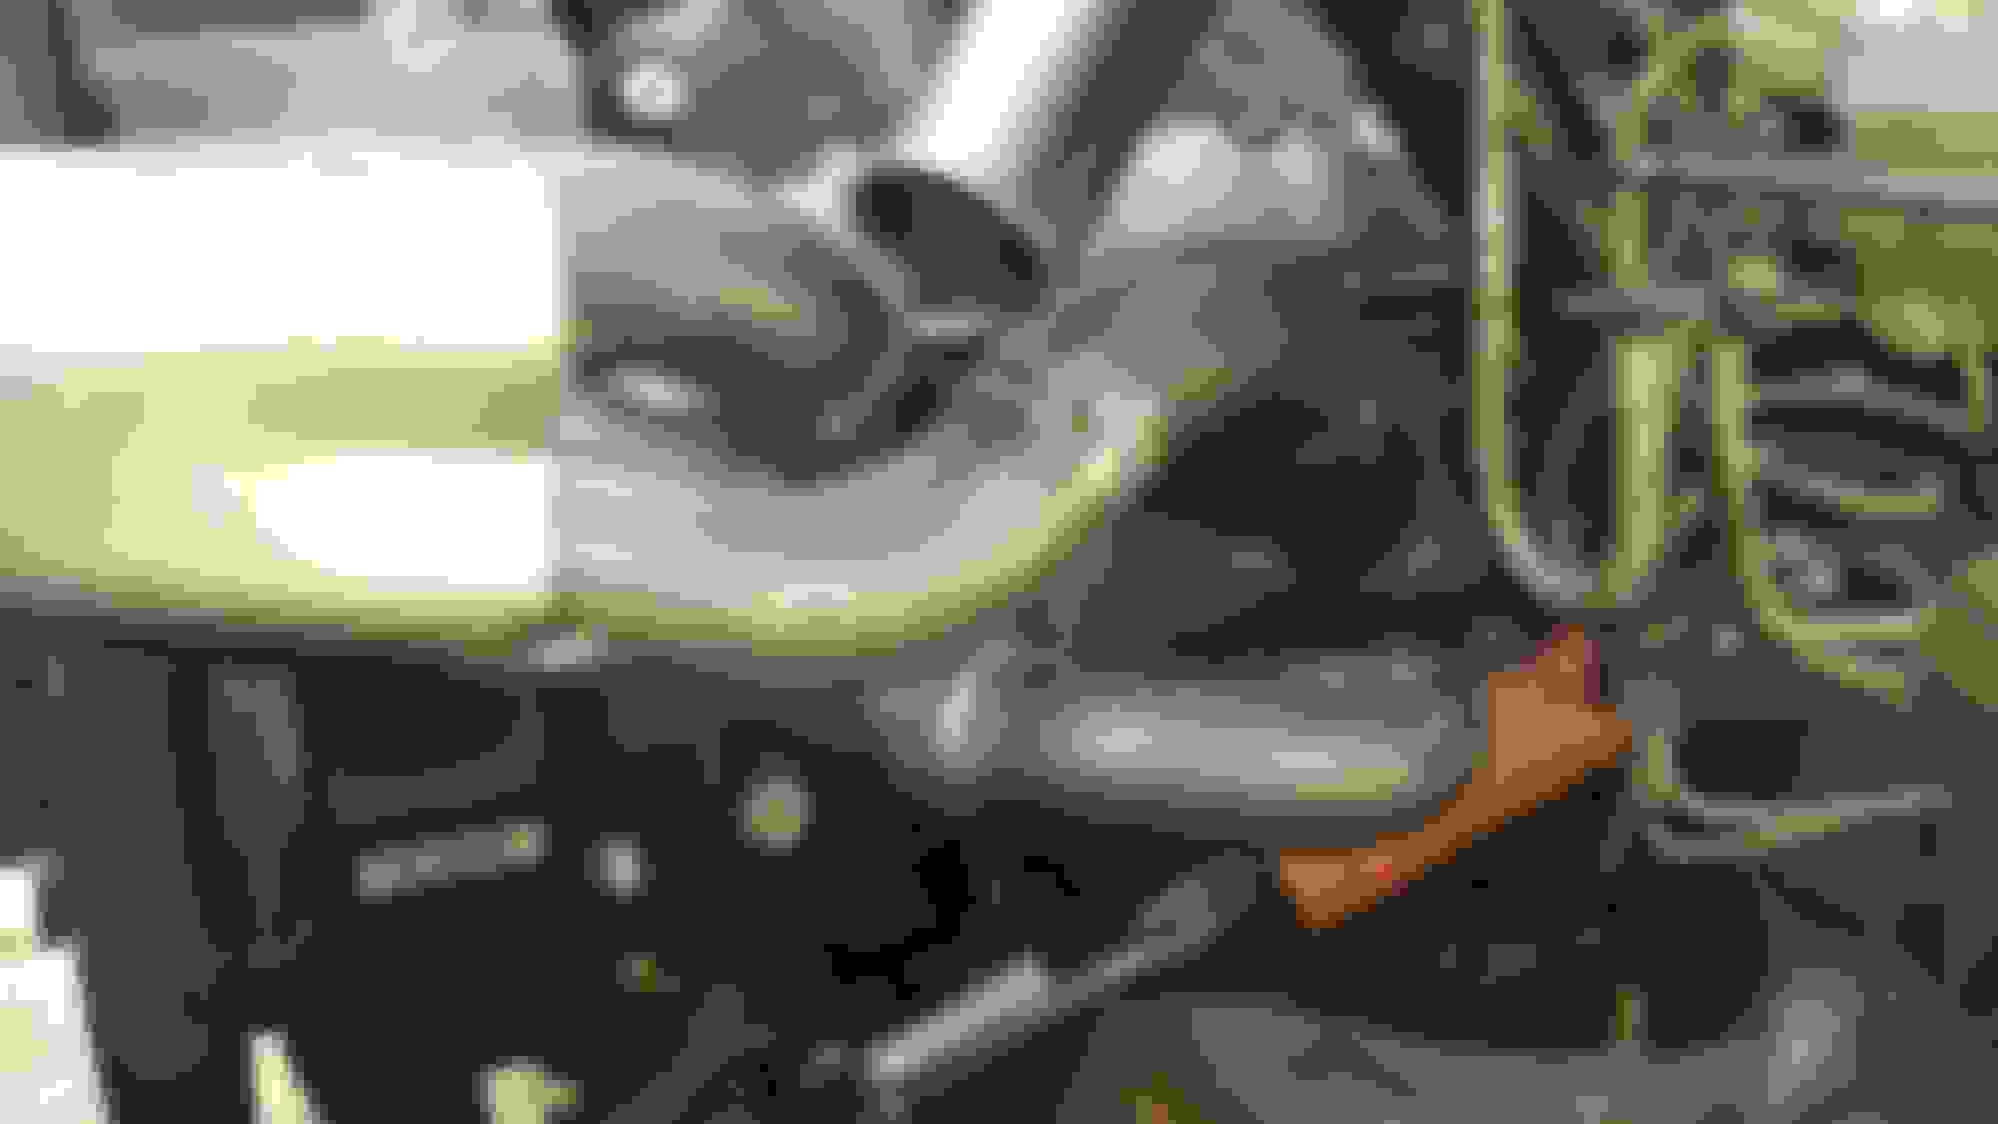
Got two of the three broken manifold bolts out of the heads but the front drivers side is staying until better solution arises. Both turbo feeds are on and AN fitting welded to pan for drain from turbos.
Yes that one was the one I welded a nub long enough to grab with vise grabs but she won't budge and the best part is now that it has been welded it basically hardened the bolt so I can't even drill it.
Good job documenting it with the pics, builds are much more interesting when show as a story.
BTW, are those the cx racing cast t4 flanges w/90s? If so what's your thoughts on them? They look good from what ive seen, nice and thick, I just with the t4s had 2.5 in vbands instead of the 3in.
Yes that one was the one I welded a nub long enough to grab with vise grabs but she won't budge and the best part is now that it has been welded it basically hardened the bolt so I can't even drill it.
Take a washer and weld your nib to the washer, then weld a nut to the washer. This gives you more to weld to and you should be able to get a wrench on the nut. It'll work.
Good job documenting it with the pics, builds are much more interesting when show as a story.
BTW, are those the cx racing cast t4 flanges w/90s? If so what's your thoughts on them? They look good from what ive seen, nice and thick, I just with the t4s had 2.5 in vbands instead of the 3in.
Thank you and yes they are. So far I really like them and having the ability to rotate the housing to position them better. Unfortunately I have to remake the driver side header as it puts the turbo out to the radiator shroud. Good thing is I have a new torch head for the tig welder and dont have to cringe at the mig welds that are on this one. Not sure of the 2.5 vband statement but these are 3".
Gas Monkey Built a 6-Wheel Ferrari Testarossa With a Corvette LT4 Engine
Slideshow: The controversial Ferrari F6 swaps its original flat-12 for a Corvette Z06-derived LT4 V8 and sends power to four rear wheels through a custom-built drivetrain.
7 Most Reliable High-Performance Engines GM Has Ever Built
Slideshow:These GM engines didn't just make huge power, they survived abuse, boost, track days, and six-digit mileage with a reputation for refusing to quit.
6 Common C5 Corvette Failures and What's Involved In Repairing Them
Slideshow: From wobbling harmonic balancers to failed EBCMs, these are the issues that define long-term C5 ownership and what repairs typically involve.
Retro Modern Bandit Pontiac Trans AM Comes With Burt Reynolds' Autograph
Slideshow: A modern Camaro transformed into a retro icon, this limited-run "Bandit" build blends nostalgia with brute force in a way few revivals manage.
Top 10 Greatest Cadillac V Series Performance Models Ever, Ranked
Slideshow: Cadillac didn't just crash the high-performance luxury vehicle party, it showed up loud, supercharged, and occasionally a little unhinged...