
My Build Thread: AI CNC 243s & Custom Grind Cam
 03-31-2011, 12:41 PM
#1

*This build thread is basically a recap of how my build went down with my new heads, the motor blowing, and then rebuilding it back to life*
Before these heads went on I had a Thunder Racing 230/236 .591 .601 112+4 LSA XER cam and all the usual bolt ons to include slightly ported FAST 92/NW tb, 1 3/4" ARH headers, Ud pulley etc. I made 419/392 to the rear wheels. While I was happy with this I wanted more.
My roommate had a set of the Z06 valved 243 heads with 14,000 miles on them that he sold me for $500. I then began research on who I wanted to port them. In the past I had read about Advanced Induction being pretty descent but didn't give them much thought. Previously I had planned to use TEA as my choice for CNC work. After getting a couple emails from Brian Tooley I then emailed AI to see what they could do. Pricing was about the same as well as turn around time but what really won me over was the way AI came across to me through emails. These guys knew their **** and they weren't afraid to admit it! I also knew that AI wasn't very well known, at least not to most people in the LS world besides a handful. They were a lot more well known in the LT1 world as I had read. I knew I wanted to be different, so I went with AI as my choice!
I have received nothing but helpful information from Ron/Phil at Advanced Induction and I would HIGHLY recommend them to anyone. These guys really know what they are doing and my dyno numbers are just one example. We all know dynos are not the end all be all answer around here though. So I have also included in this post my track slip and a video of the run at the end.
***I APOLOGIZE FOR THE LARGE PICTURES***
Well where to begin....
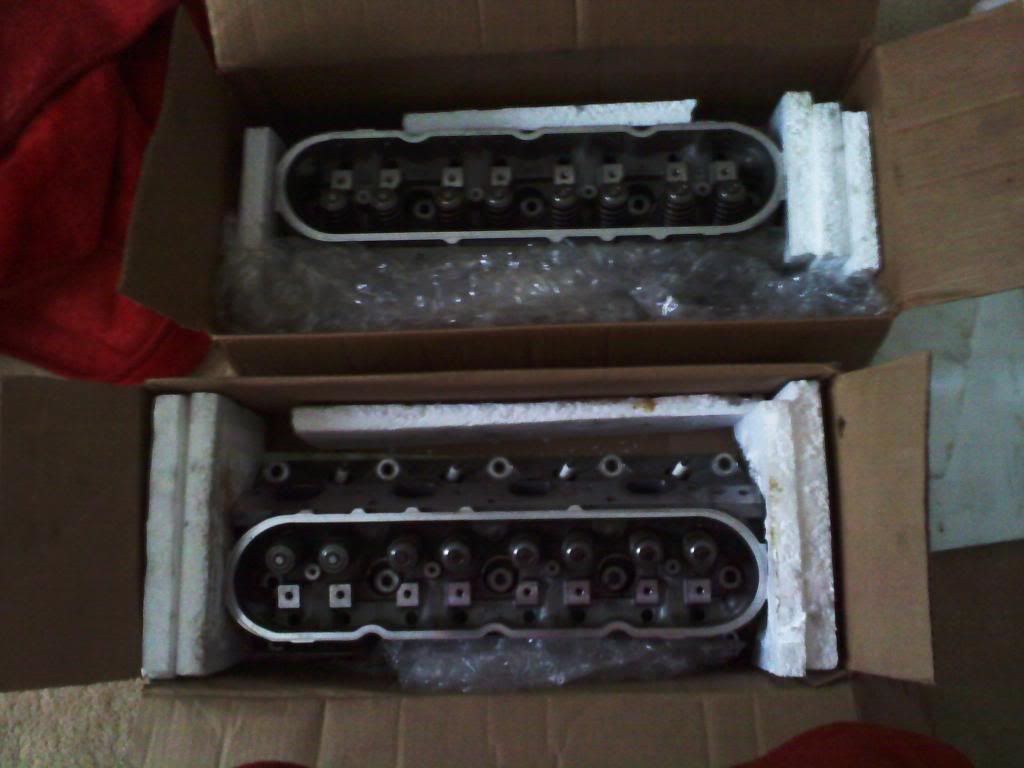
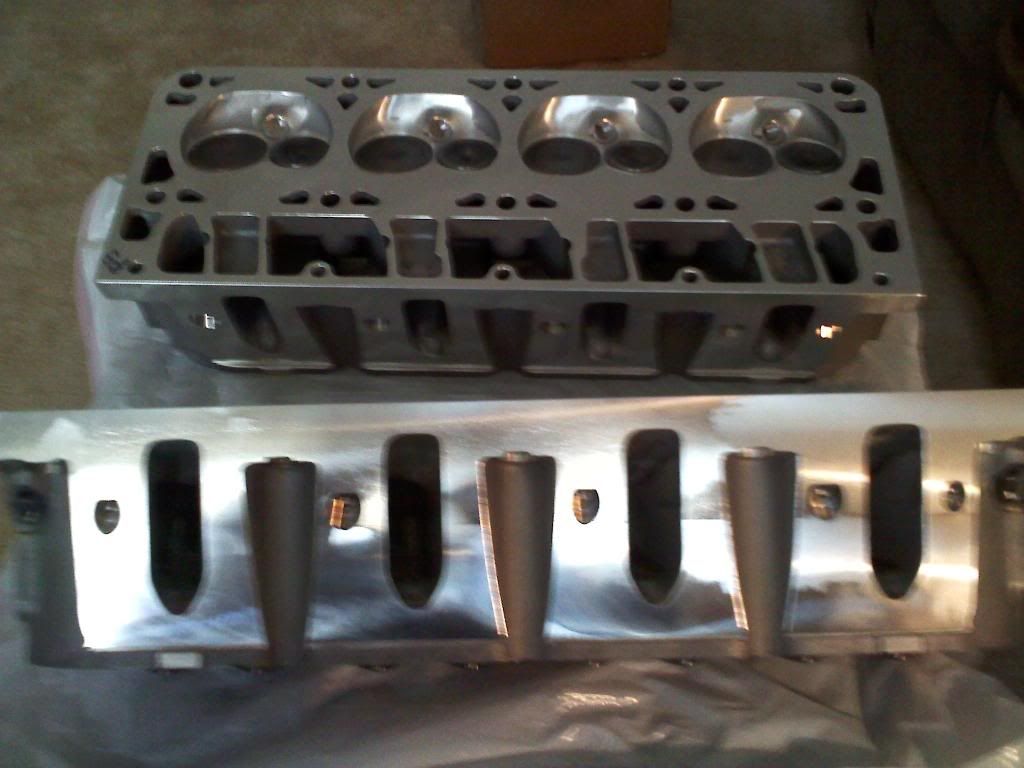
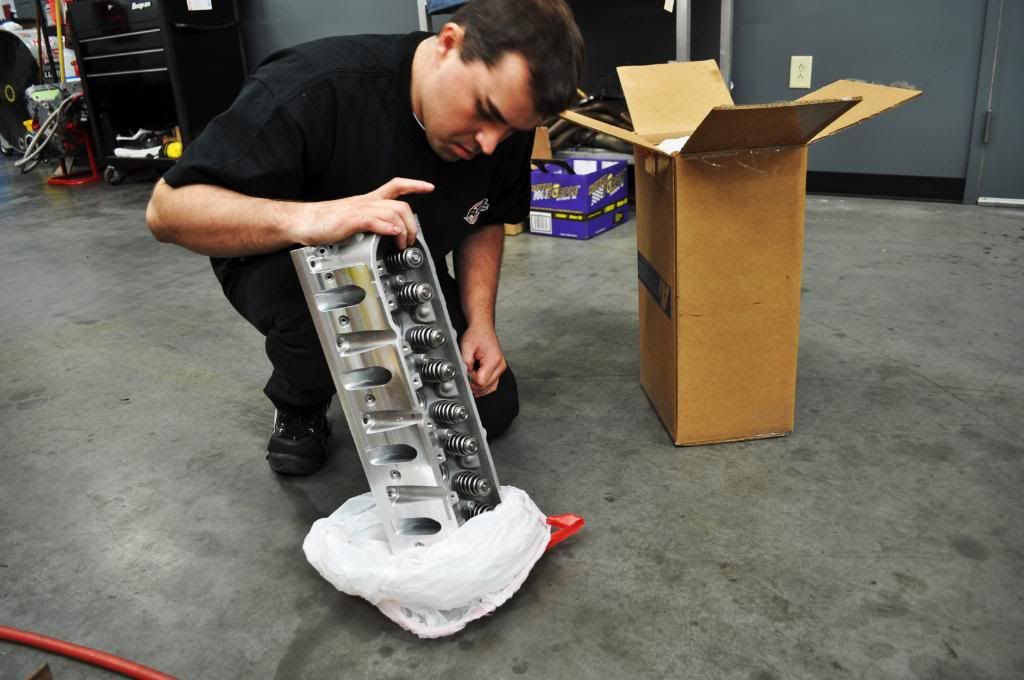
These are the heads as I first received them. They came off a 2004 Corvette Z06 so they had the sodium filled exhaust valves and hollow intake valves. They only had 14,000 miles on them so they were in great condition.
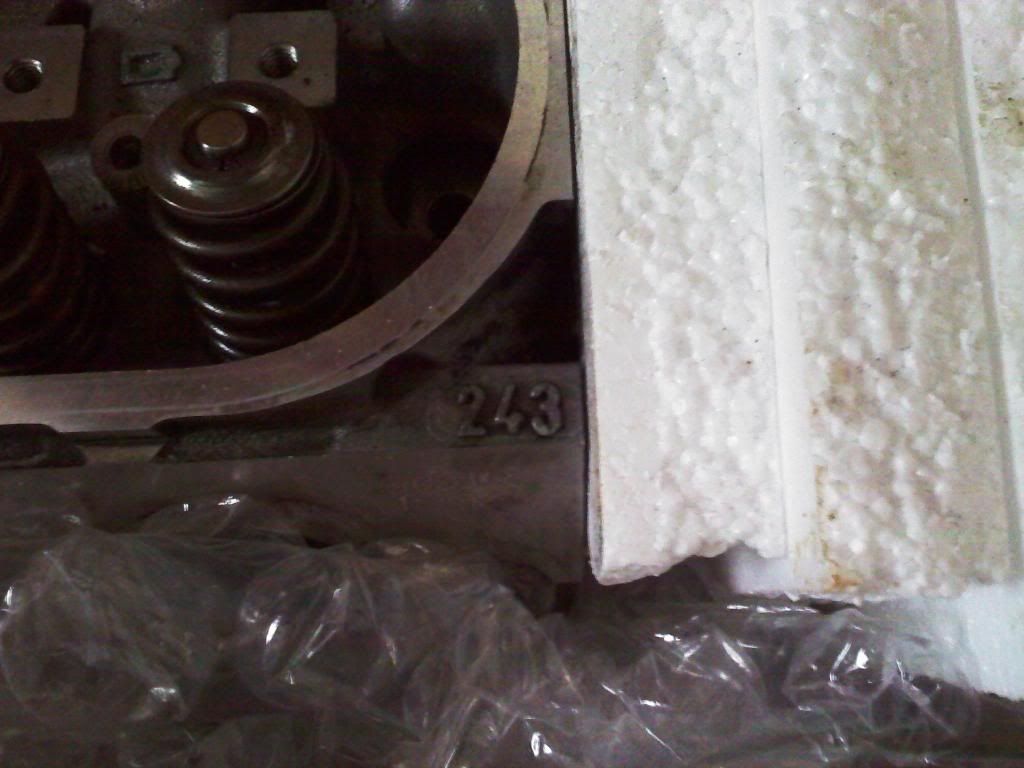
**Notice in this picture I have started some pre-cleaning on the combustion chambers and had just about finished with one that I was happy with. I knew that I didn't have to do this before sending them off but I wanted to anyways. I also took them to get disassembled and cleaned before sending to AI lol. Money wasted basically but I wanted them to be clean around the house.
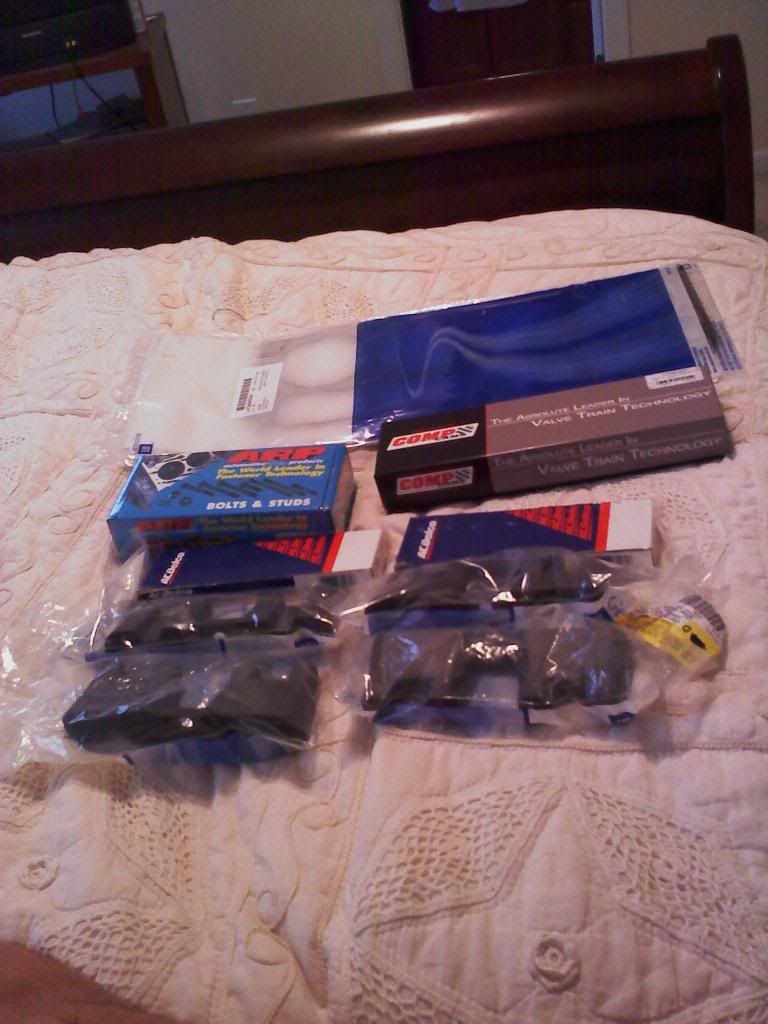
*While waiting on my heads I purchased some other parts for the build to include: ARP Head bolts, LS2 Lifter Trays, GM MLS Gaskets, LS7 Lifters, and the Comp Cams Trunion upgrade kit.
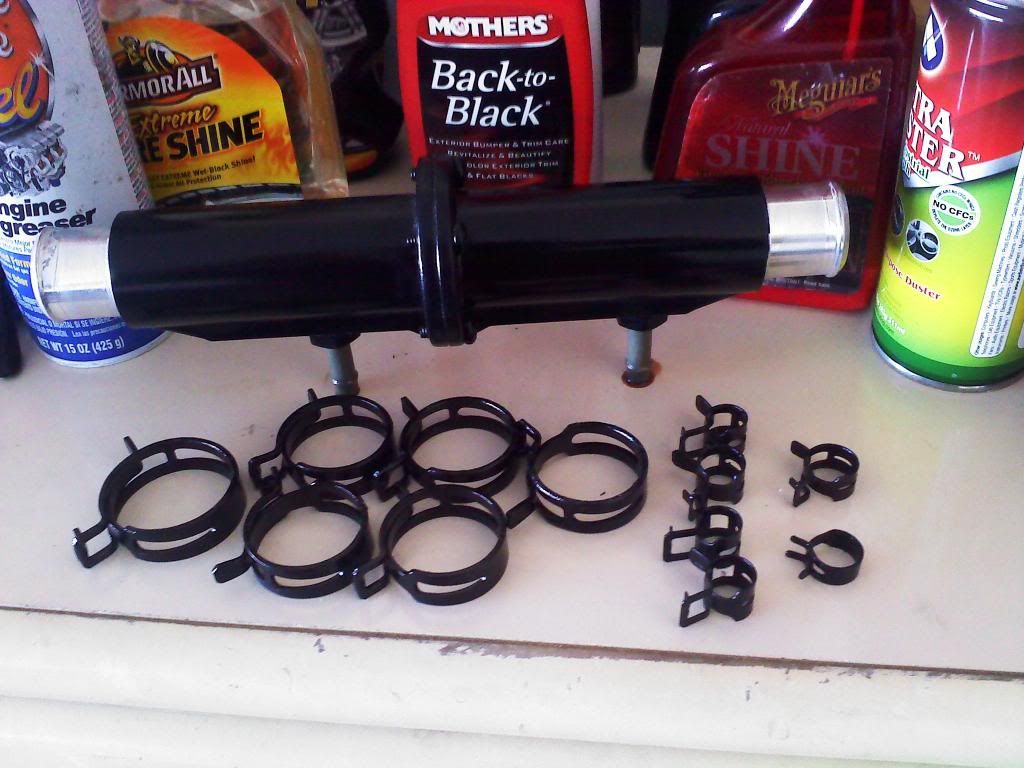
*I did some little appearance mods while waiting as well. I painted the power steering cooler and all the little hose clamps black.
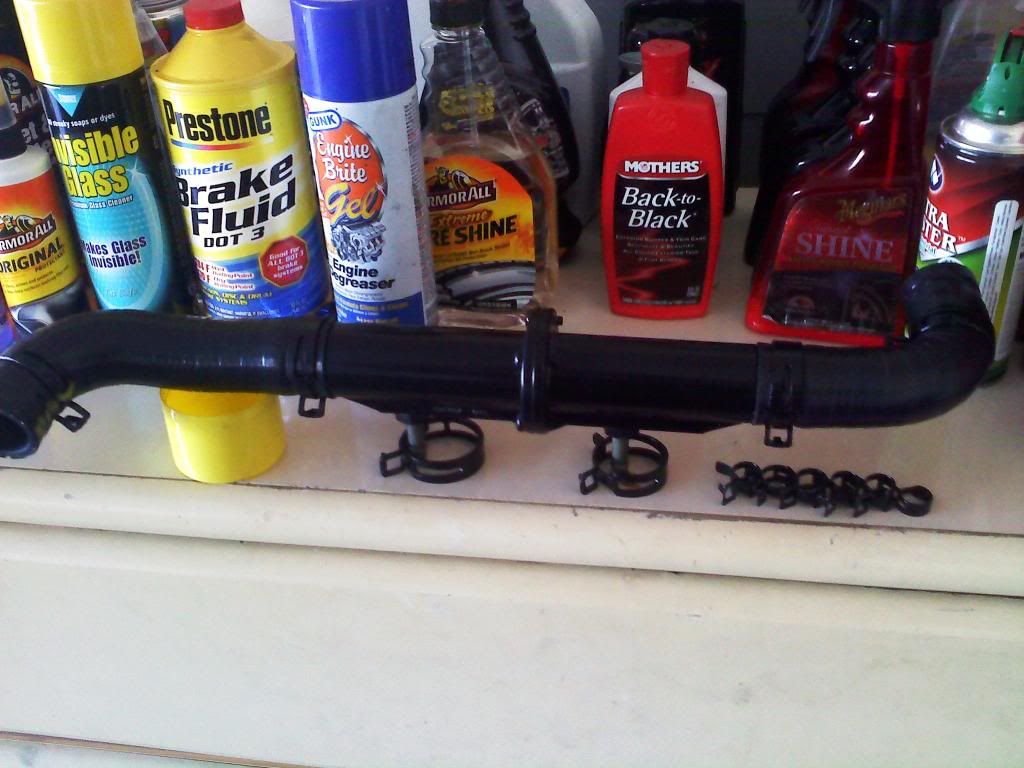
*I wrapped the rubber hoses in electrical tape to give it more of a shiny look. No other reason than that.
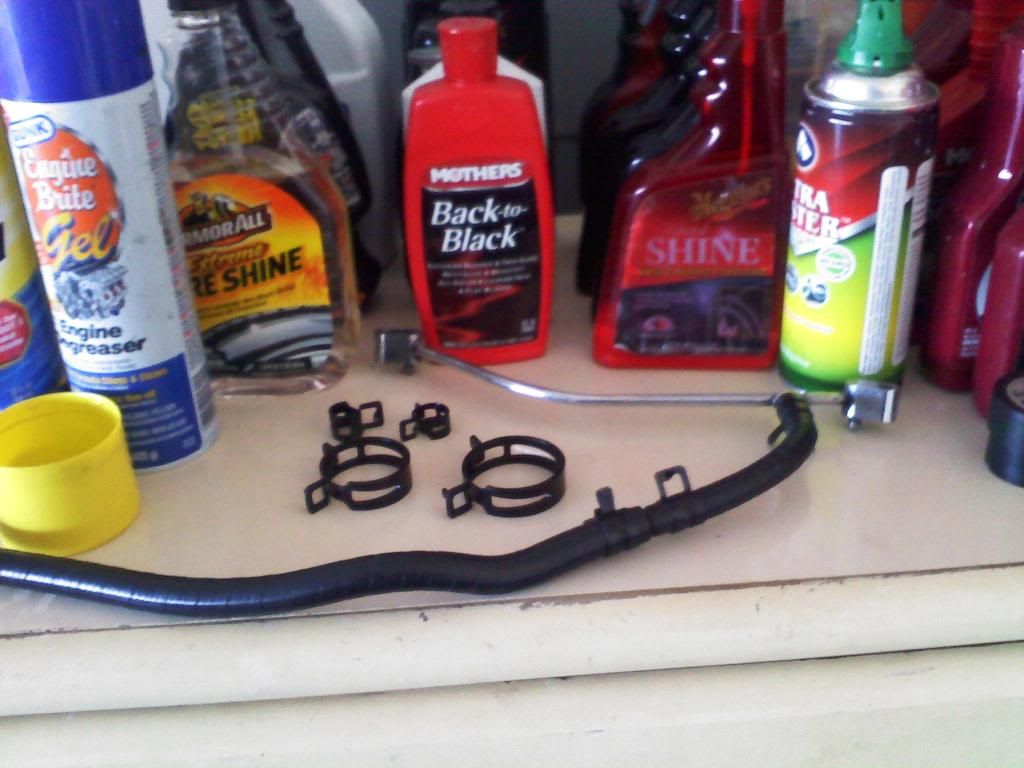
I polished the coolant crossover line, and wrapped some more rubber hoses in electrical tape as well.
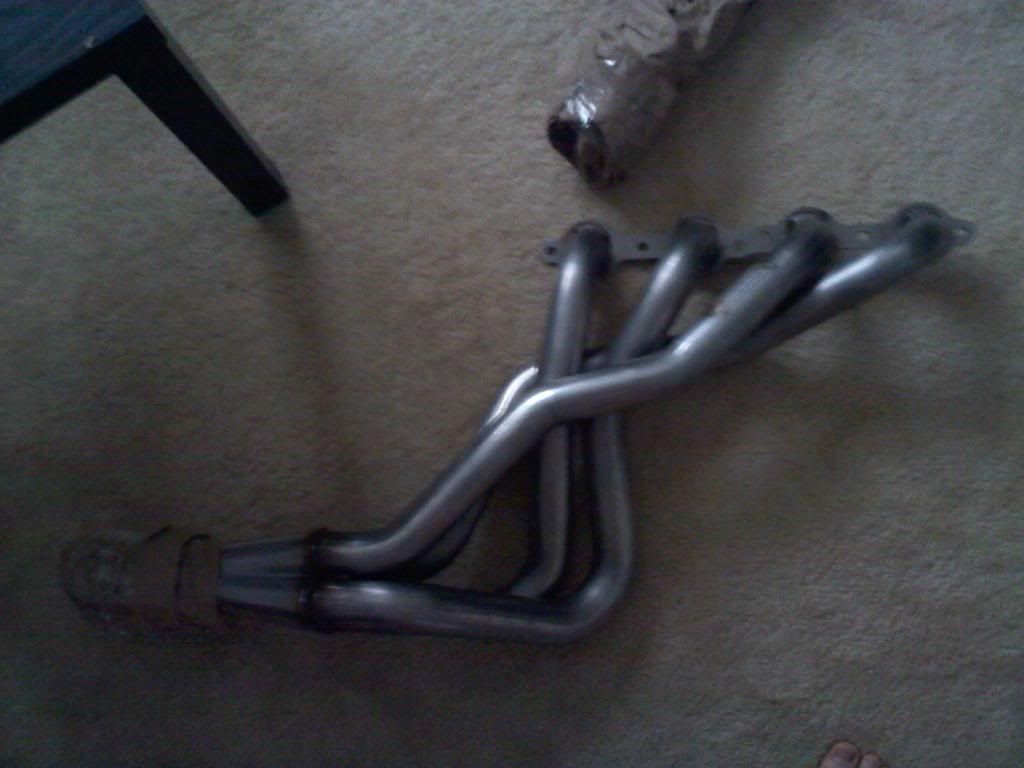
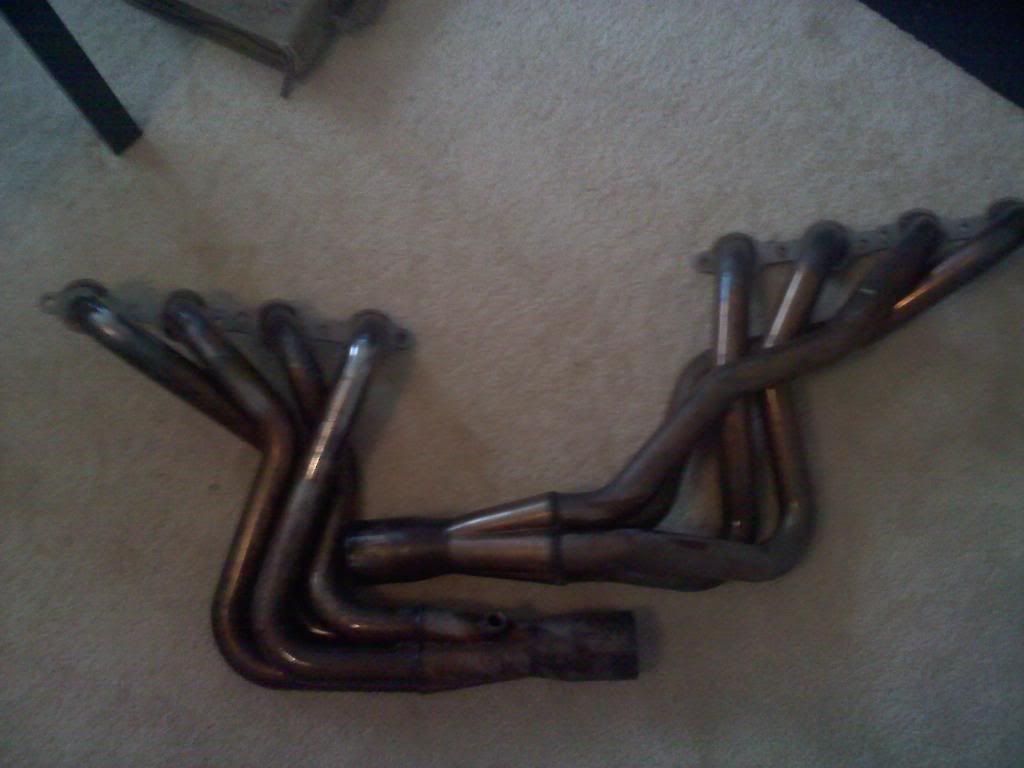
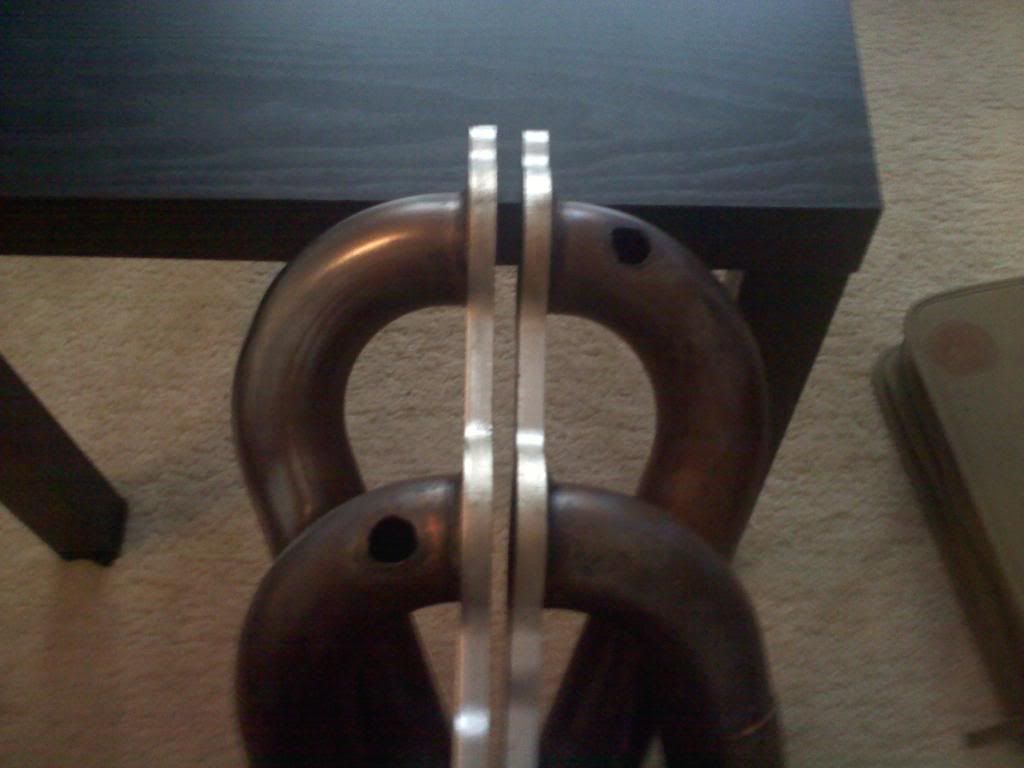
*Here is my brand new free header sent from American Racing Headers due to the air tube on the previous one busting off after about a years worth of driving. I can not say enough about Nick and his crew at ARH they are some stand up guys that actually stand behind their products unlike most these days! Great job ARH, I'll be a returning customer for life!
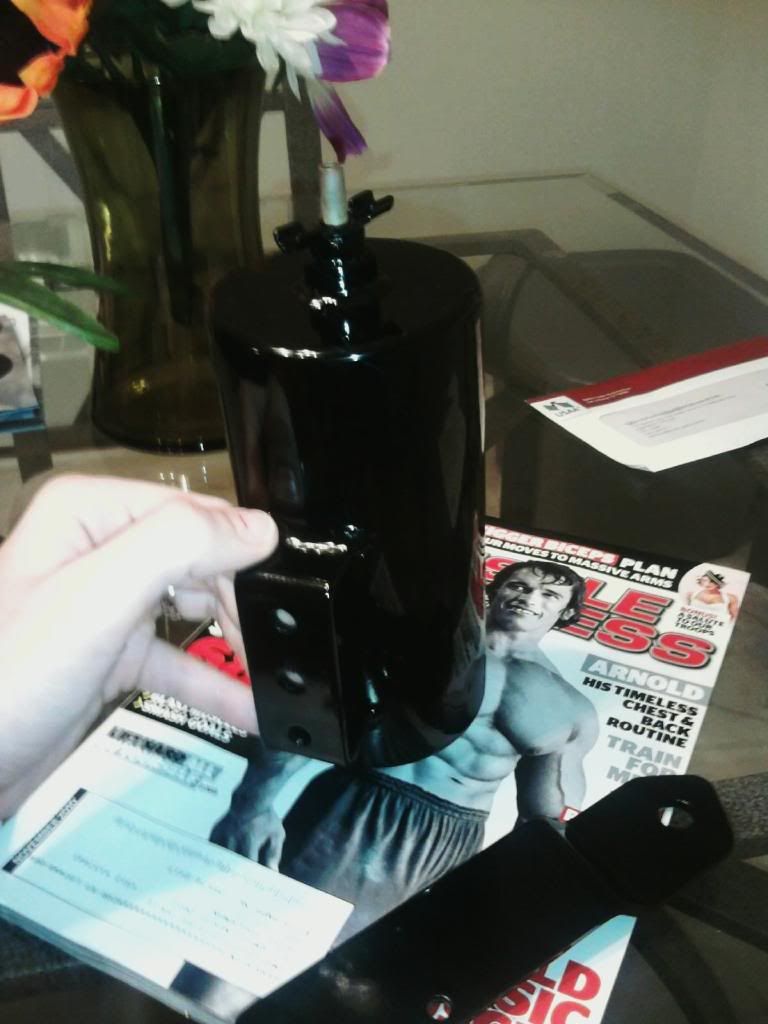
*I also purchased a Rev Extreme catch can and had it powder coated glossy black. Turned out great!
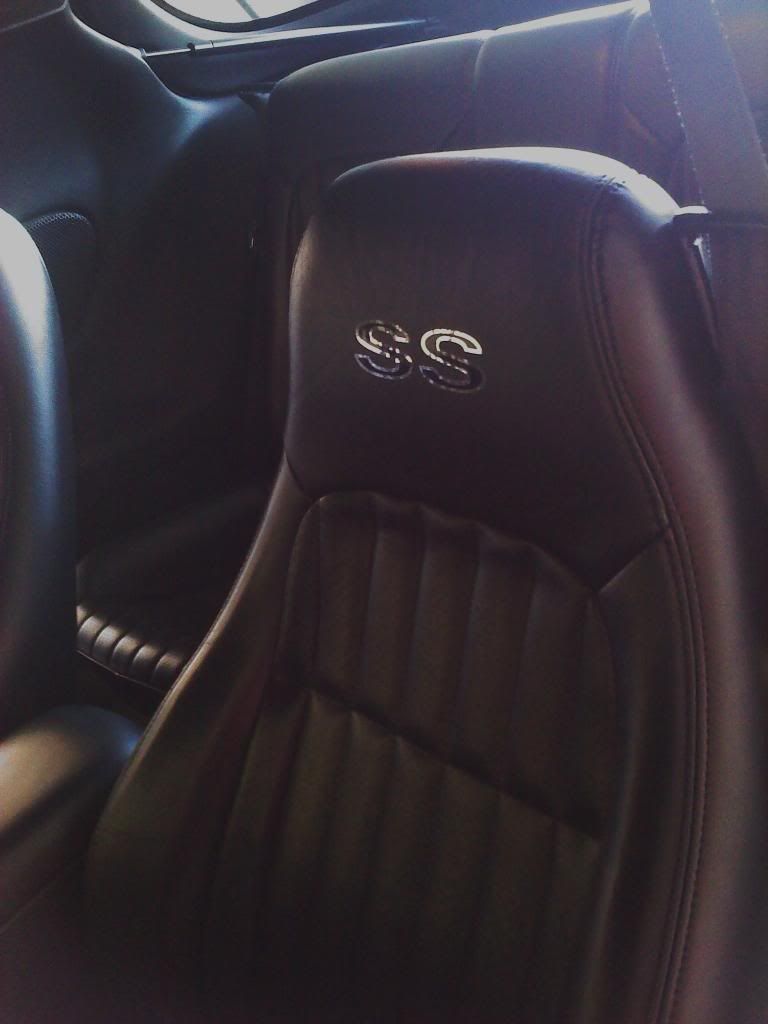
*These seat decals I got from 4th circle designs that didn't want to stick and have since been replaced with much better ones from Brent Franker that are simply awesome! There is a picture later on in the thread of these new better looking decals.
**** Drumroll please... dah dah dah daht daht dahhhht dahhhhhhhhhh ****
.
..
...
..
.
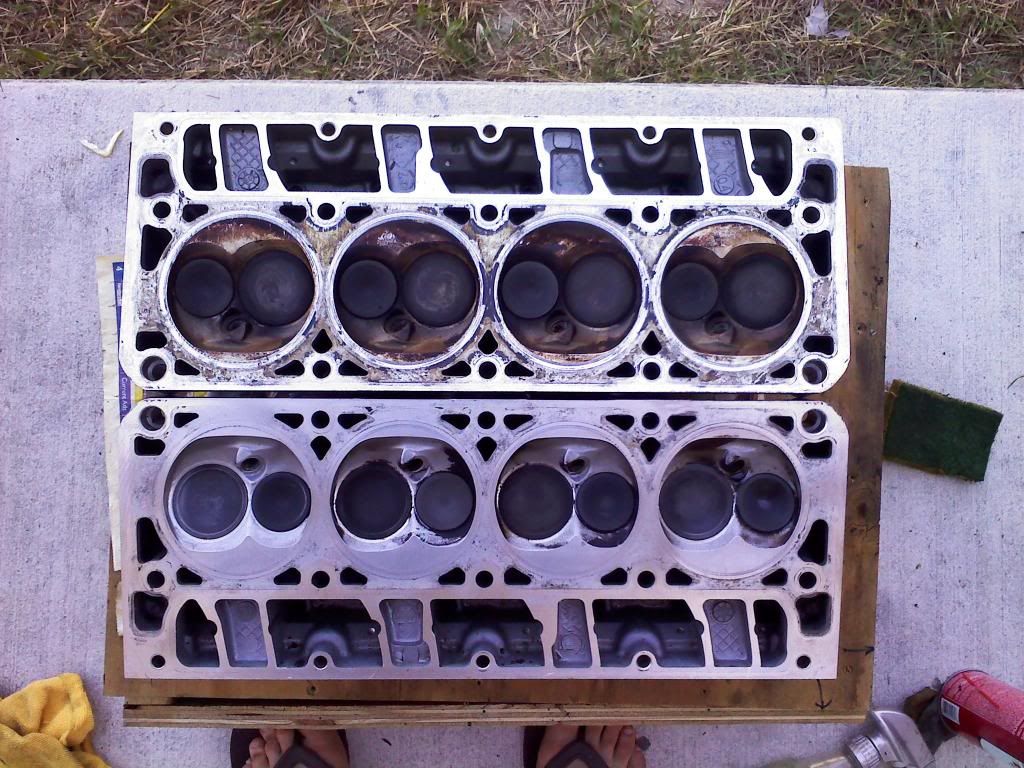
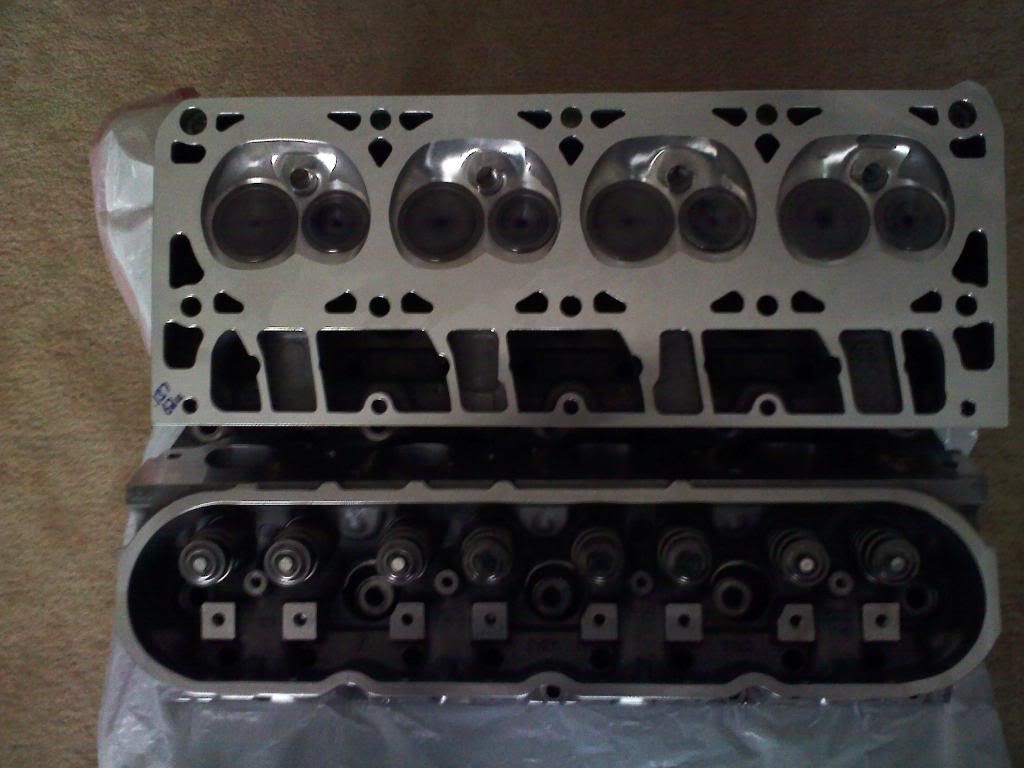
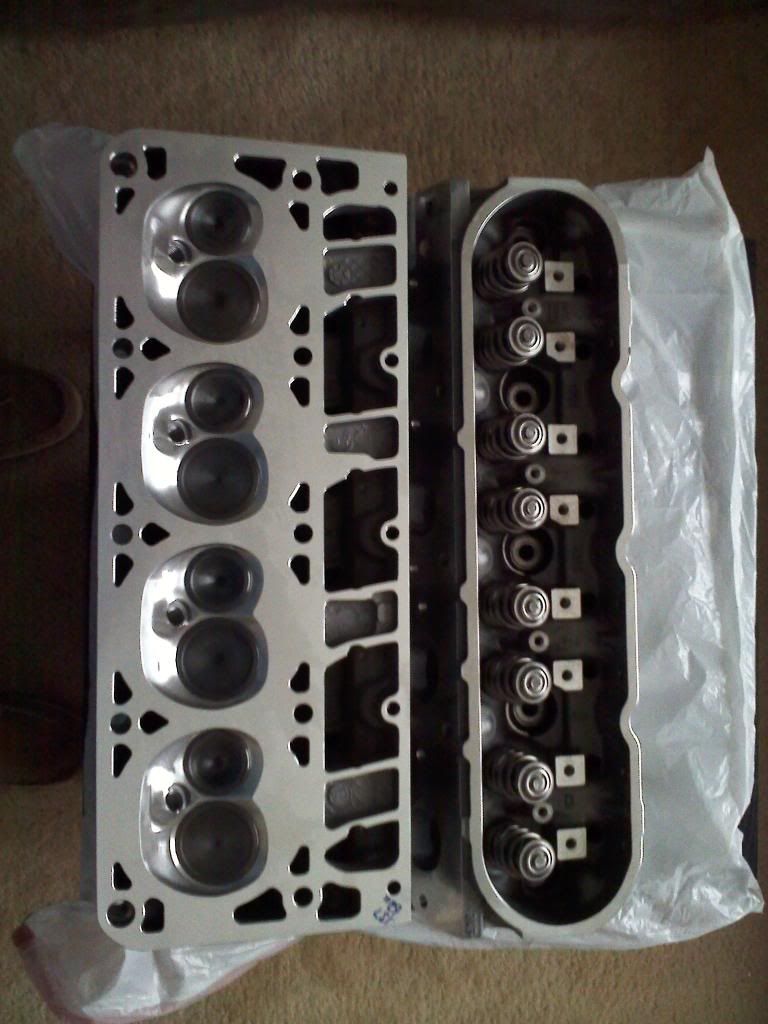
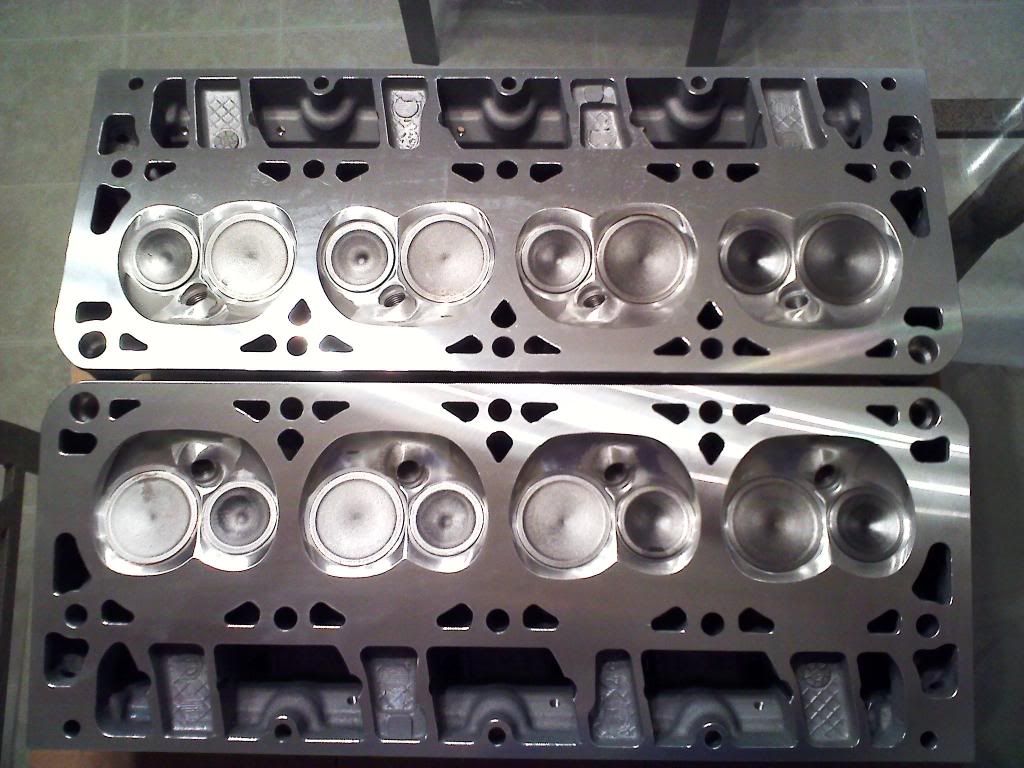
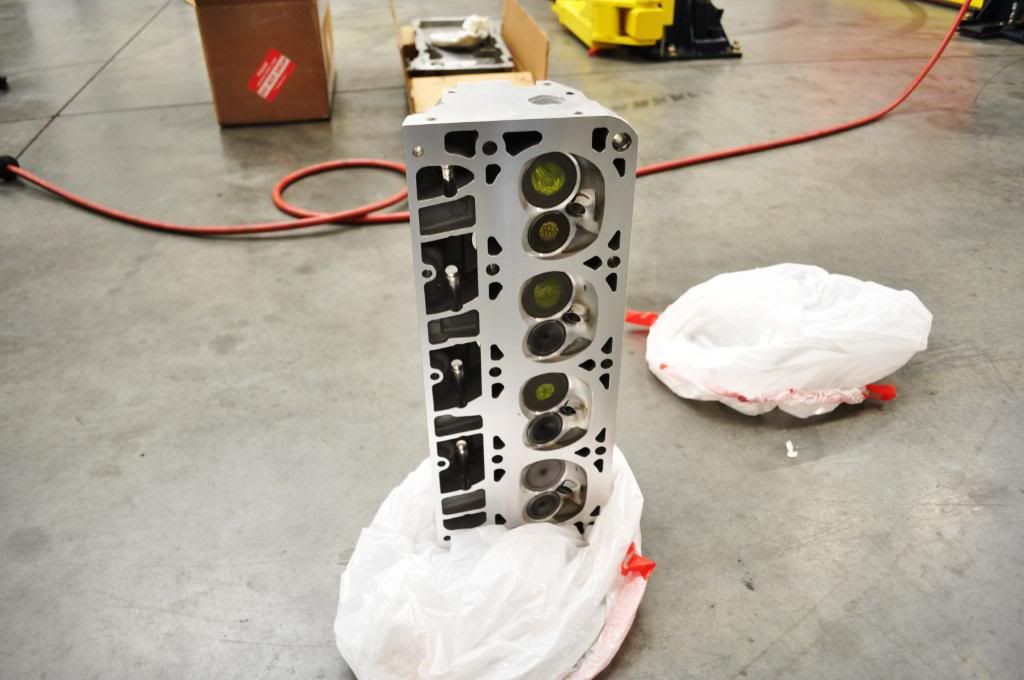
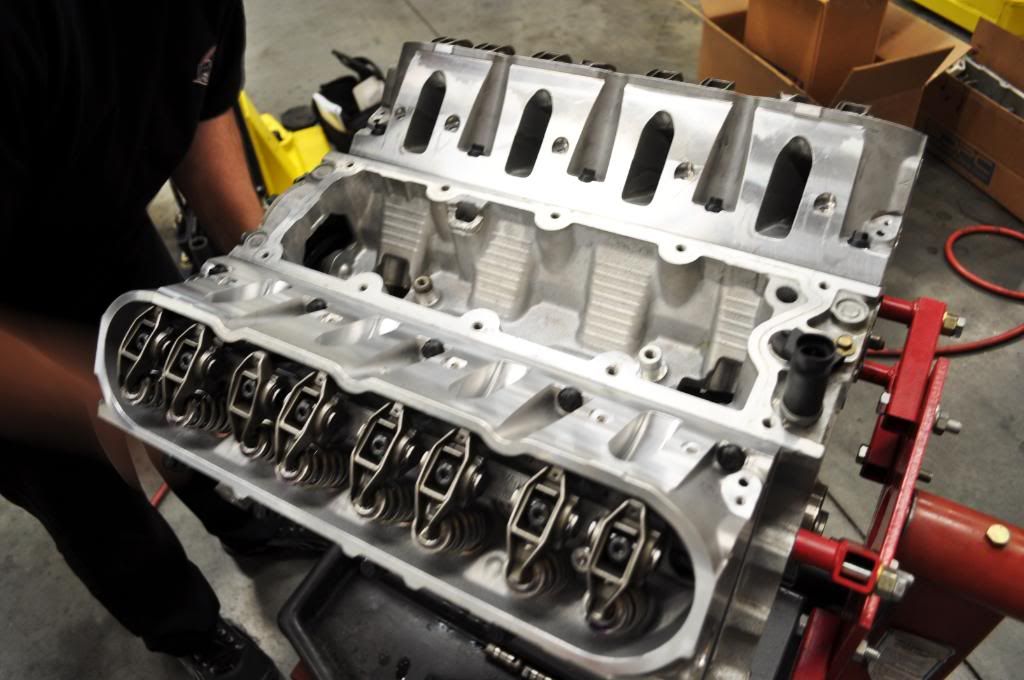
**** Here they are the 243s CNC'ed by Advanced Inductions in all their beauty****
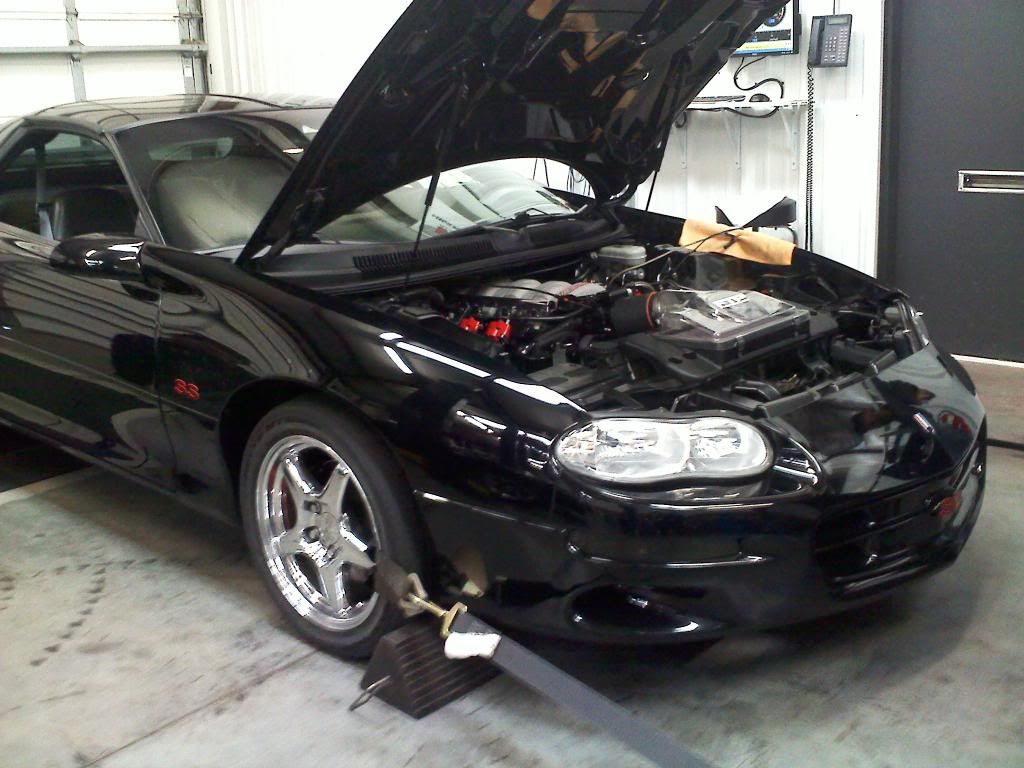
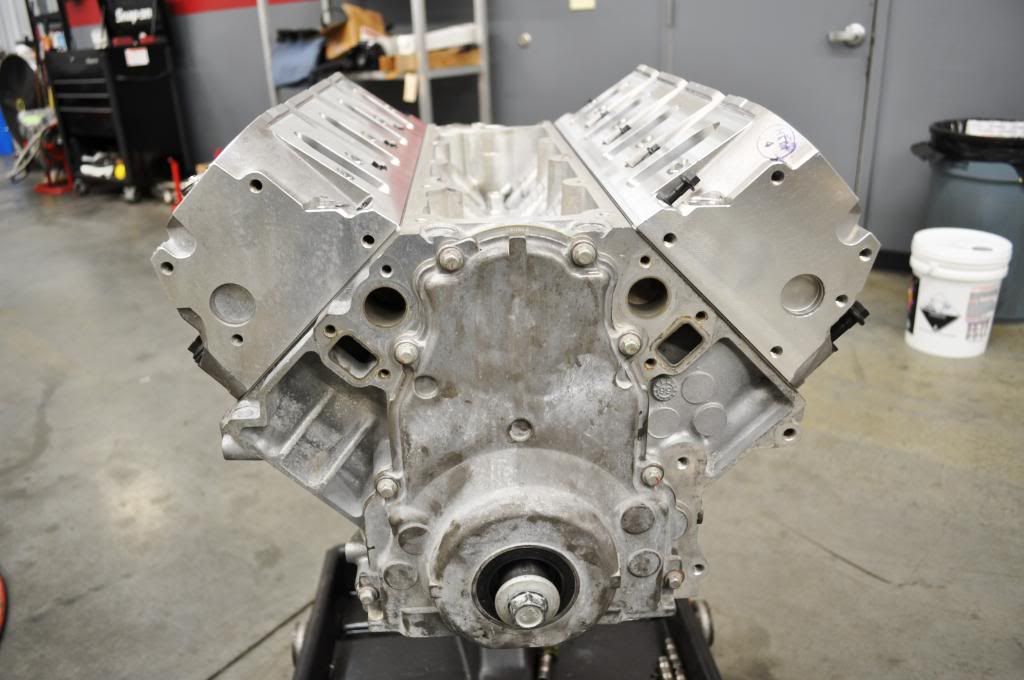
*Here are the heads about 2 hours after receiving them from the UPS man. Already installed and torque'd down!
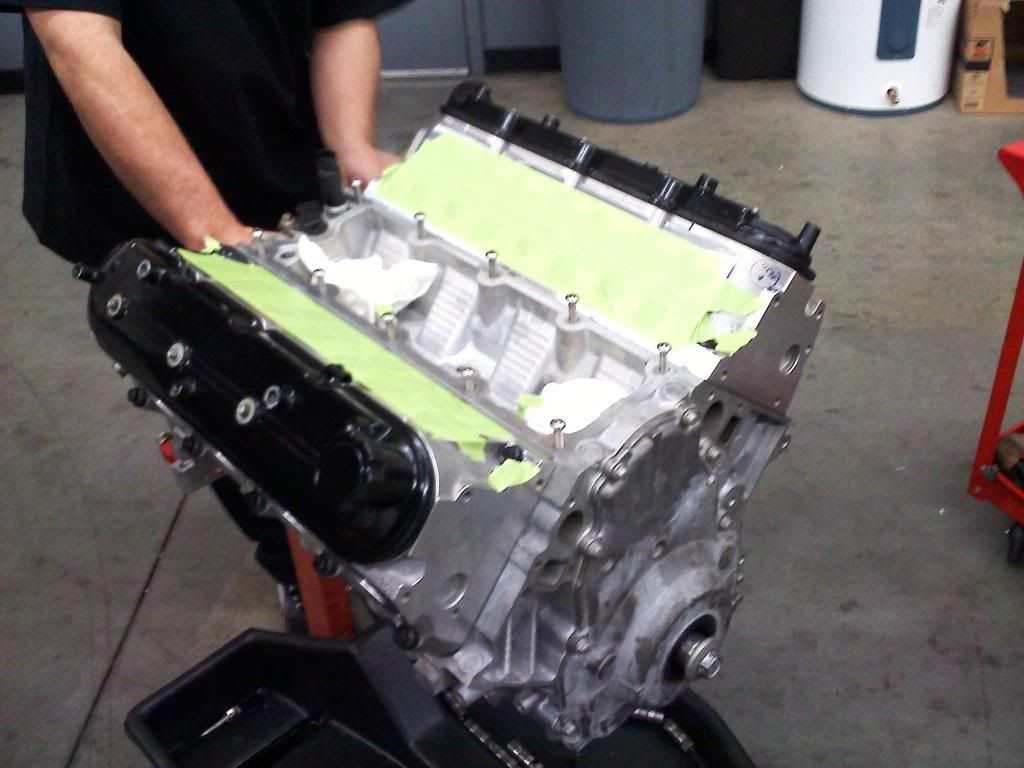
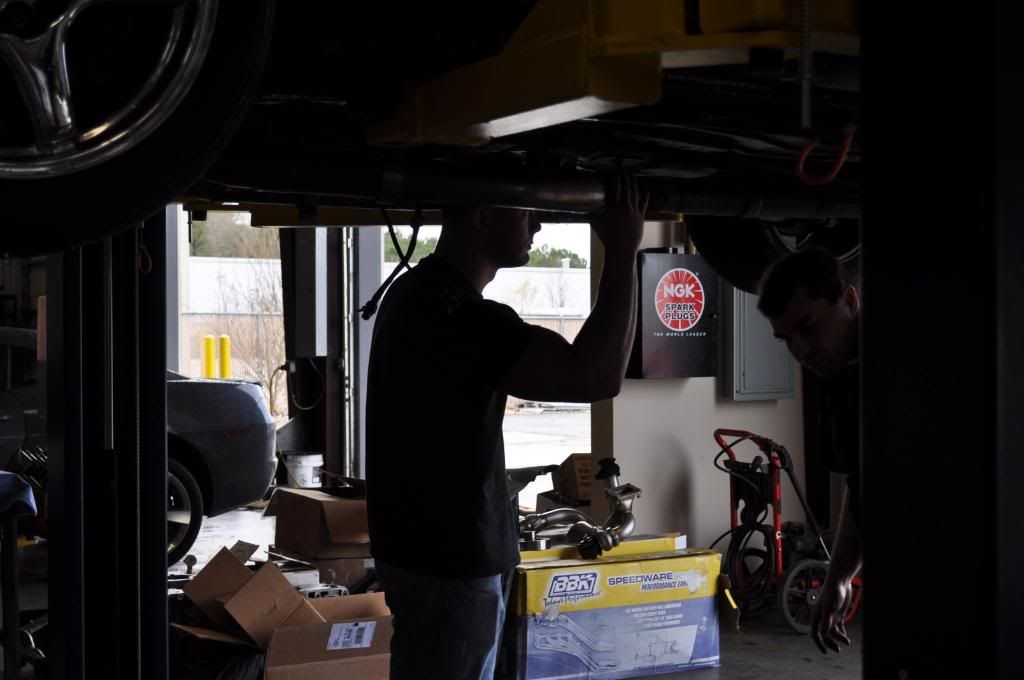
*The motor about 4 hours after receiving the heads.
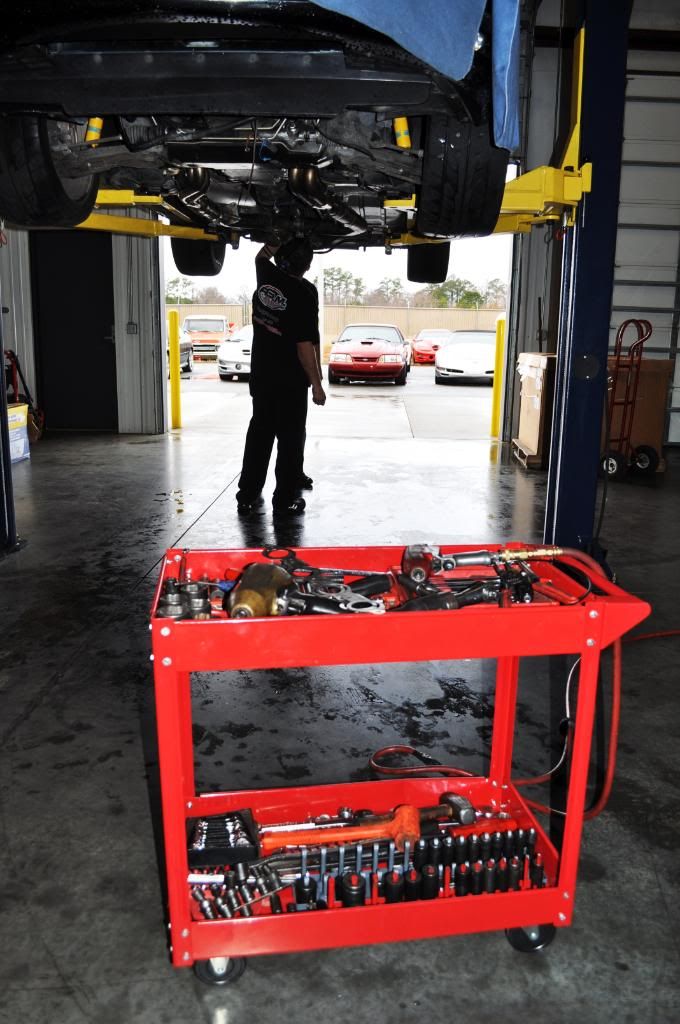
*And finally the completed project 6 hours after receiving them ready to roll!! This was the first time I had ever taken the heads off my car, let alone the rockers, pushrods, any of that. I followed the write up on LS1 How To and took some tips/tricks from some posts off here. All went well!
*Wife taking a picture as I am doing some last minute checks before first start up.
*I really like this picture, good lighting and the motor just pops.
*Mmmm LS1 w/ new heads.
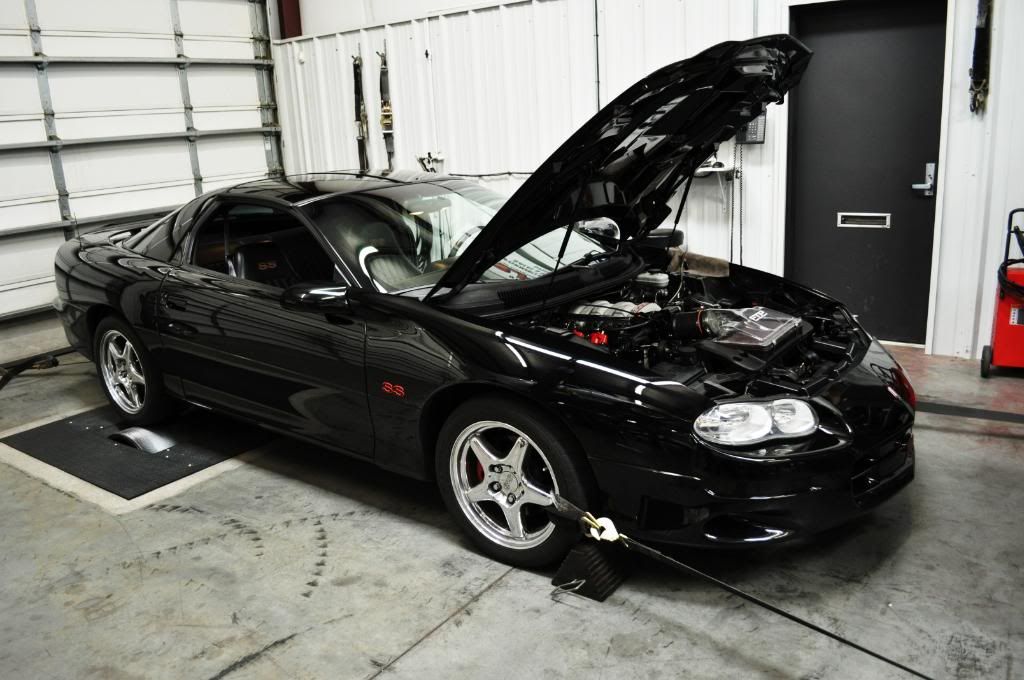
*Here are some pics of the car on the dyno before it blew up =(.
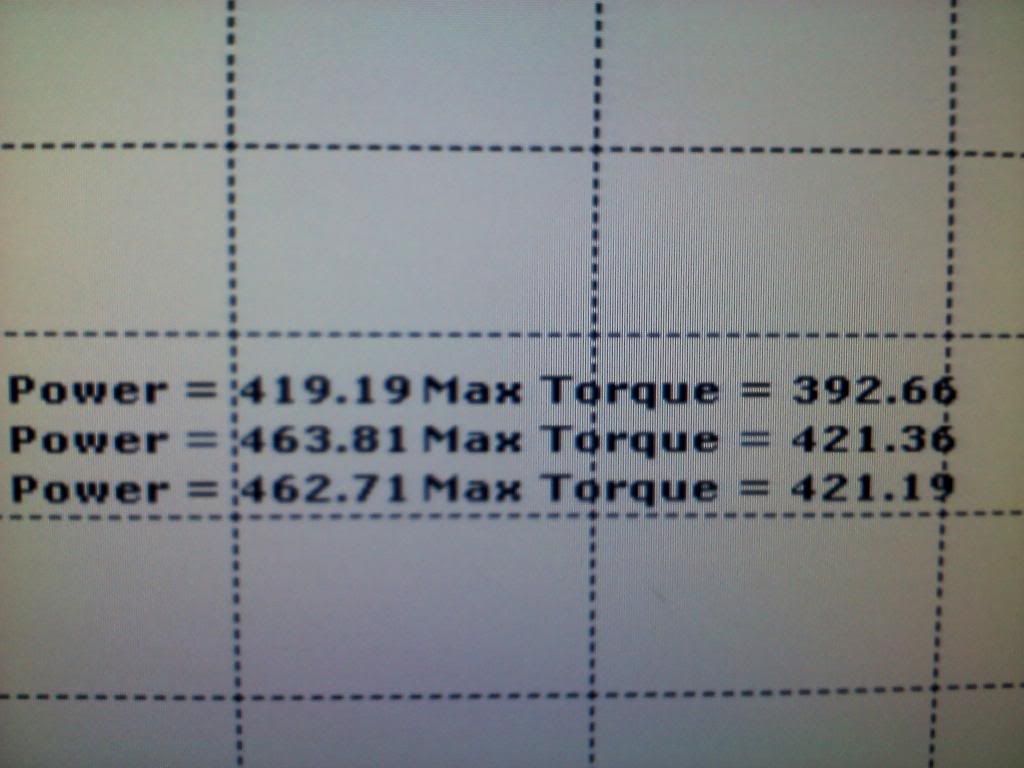
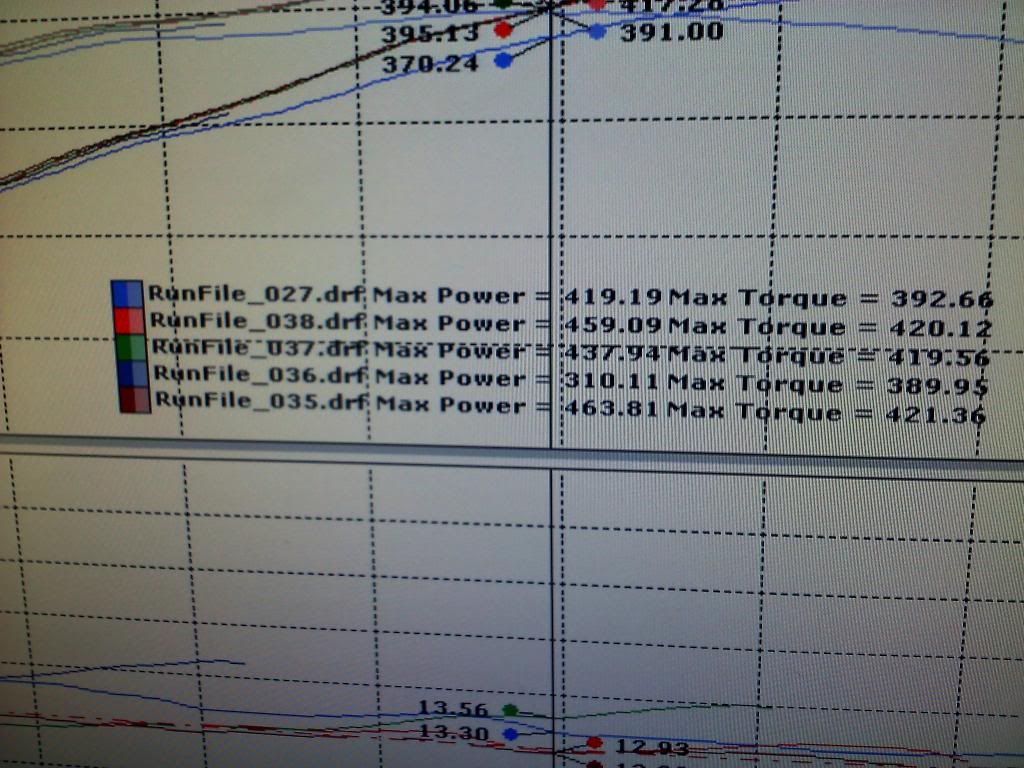
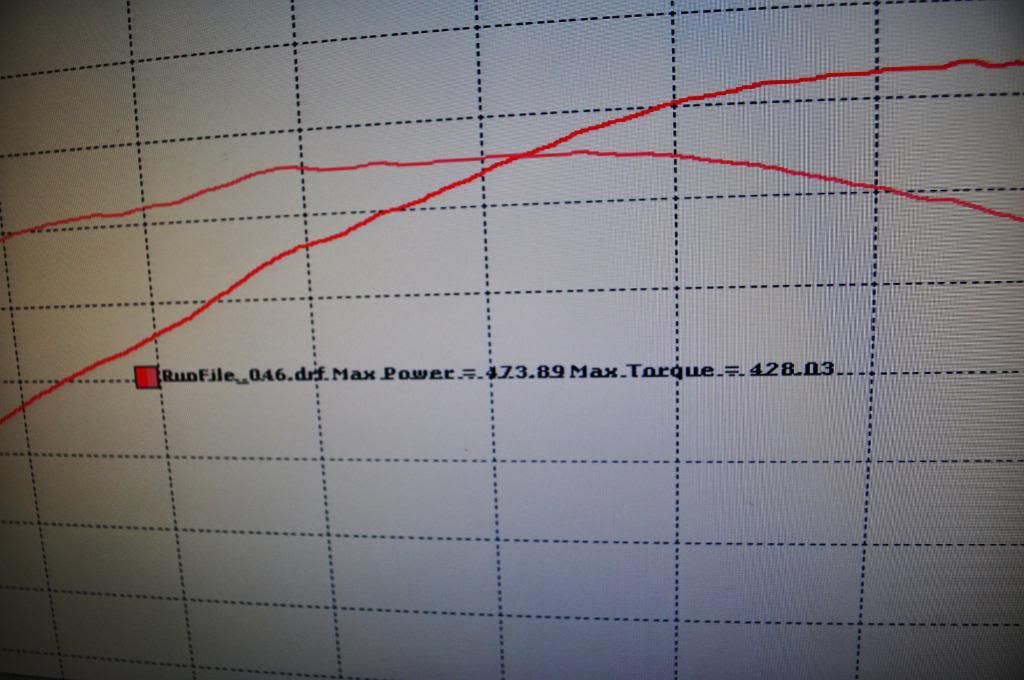
*Here are some pics of some of the numbers it put out. The peak numbers for the day were 474 rwhp and 422lb ft tq. I didn't get any pics of the peak numbers because I was too worried about the motor and how I was going to get home 125 miles away.
*Here is the video of the final dyno pull in which the motor blew on decel. You can't really hear anything in the video but at the last maybe couple hundred rpm or so before idle I heard clunking around and we shut it off.
http://www.youtube.com/watch?v=1SdmCCdSS1w
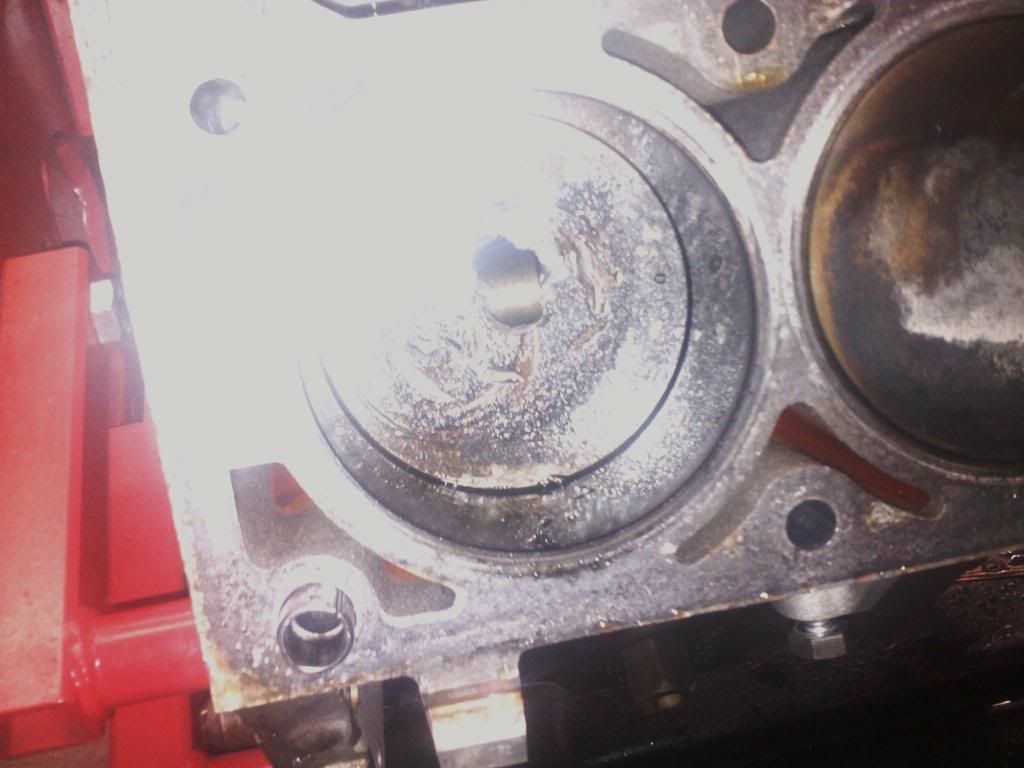
*After 200 street miles and 6-8 dyno pulls the #8 intake valve finally gave out and the valve head snapped out, wedged itself into the valve seat and blew a hole in one of my pistons. Turns out I didn't have enough PTV on the intake side. The valves were lightly kissing the pistons on the intake side. I called around to multiple places and talked to multiple knowledgable buddies and professionals about my combo getting opinions of PTV before starting, and most "thought" I would be ok, so I took their advice. Let me tell you though if you are ever in doubt or even think it might be close MEASURE MEASURE MEASURE!! I learned the hard way so I hope you take my advice and measure regardless. It is cheap insurance.
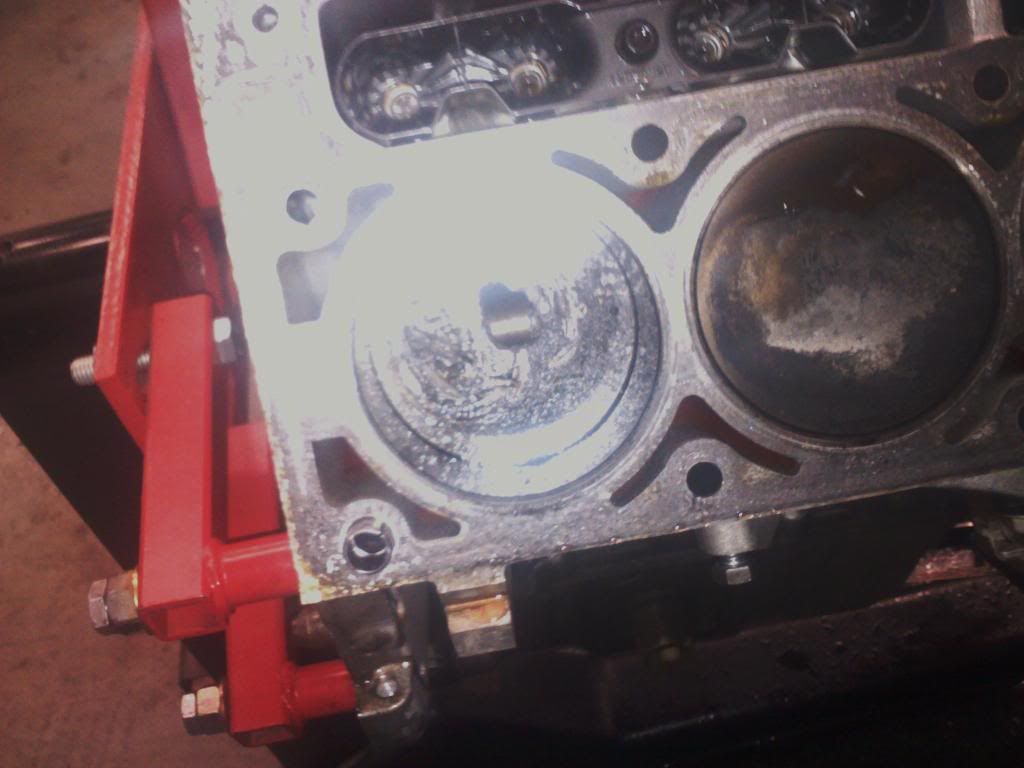
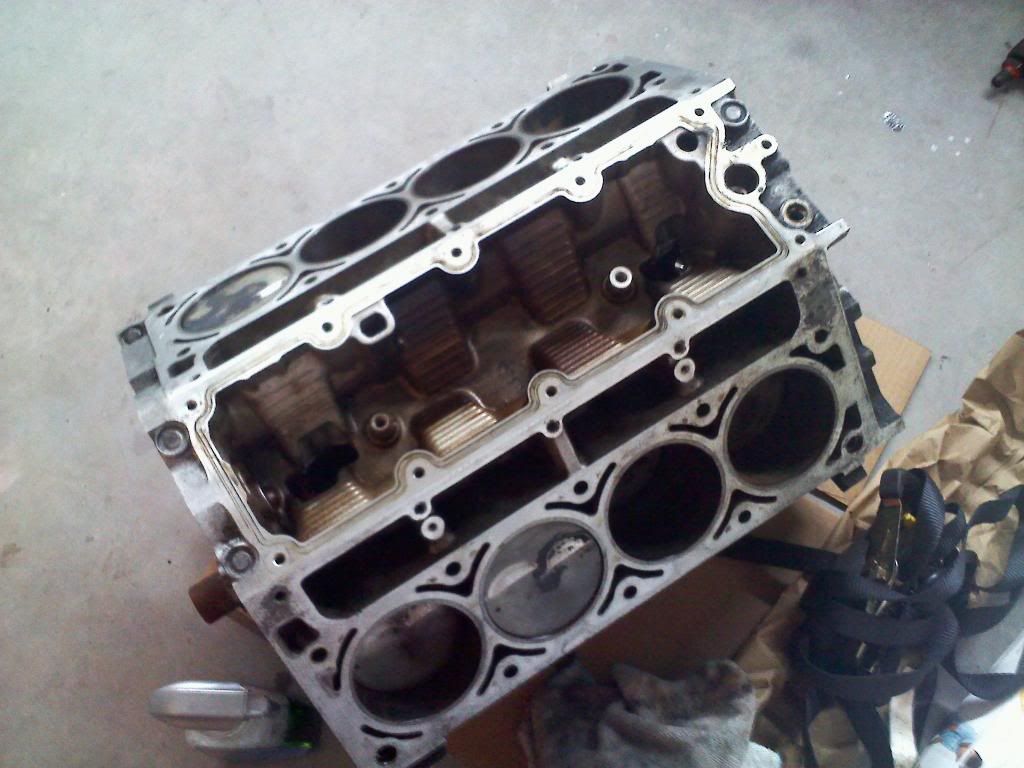
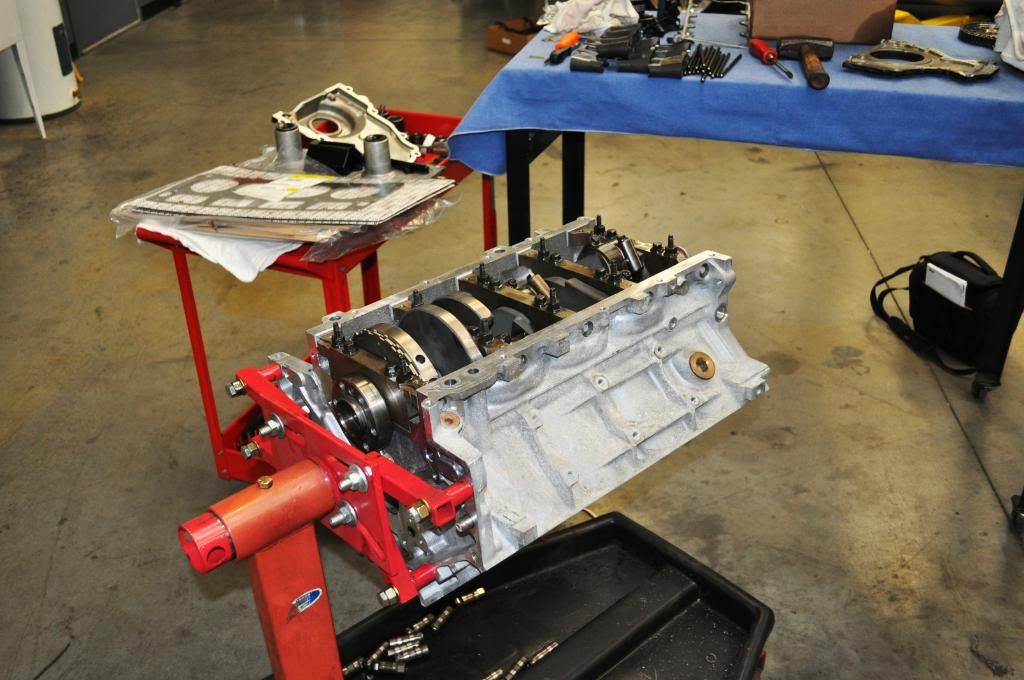
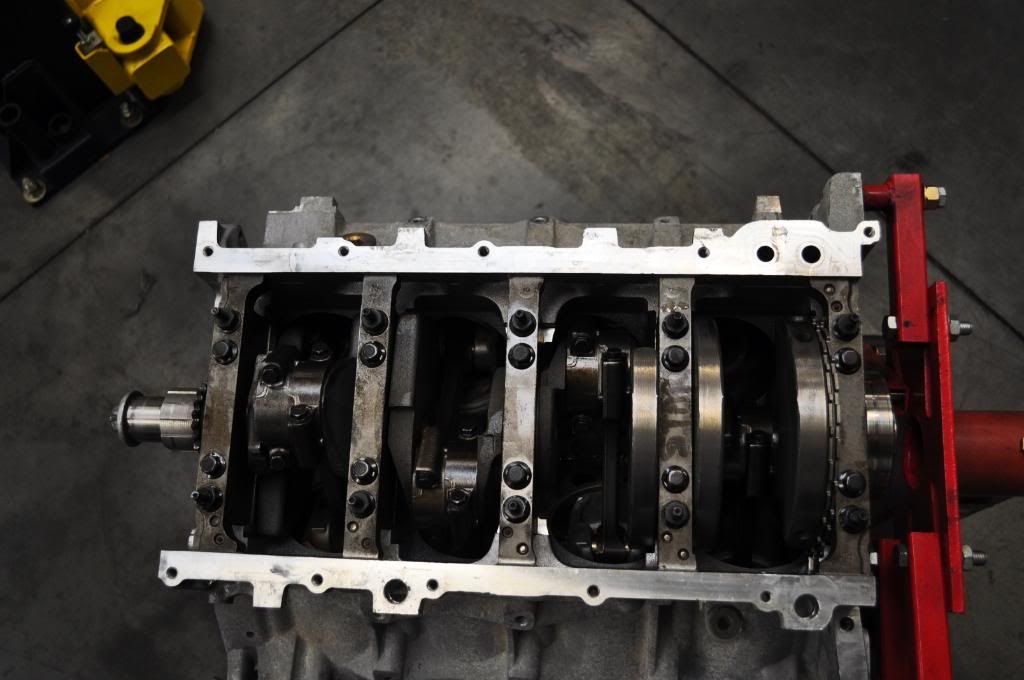
*The very next day after my motor blew I made a straight up trade with a local buddy with these old 1 3/4" American Racing Headers that just had the air tubes busted off both, for a stock LS1 shortblock with flycut pistons. (Thanks again Bill!) The motor had only spun a bearing so I used the block and pistons from this new motor, with my crank and rods from the blown motor. The cylinders in my old motor had scarring too large for a ball hone etc to fix so we used this new block instead.
*This is an LS6 intake painted that I bought for $175 and turned around and sold the next day for $400. Quick money for funding my project and getting some money back.
Before these heads went on I had a Thunder Racing 230/236 .591 .601 112+4 LSA XER cam and all the usual bolt ons to include slightly ported FAST 92/NW tb, 1 3/4" ARH headers, Ud pulley etc. I made 419/392 to the rear wheels. While I was happy with this I wanted more.
My roommate had a set of the Z06 valved 243 heads with 14,000 miles on them that he sold me for $500. I then began research on who I wanted to port them. In the past I had read about Advanced Induction being pretty descent but didn't give them much thought. Previously I had planned to use TEA as my choice for CNC work. After getting a couple emails from Brian Tooley I then emailed AI to see what they could do. Pricing was about the same as well as turn around time but what really won me over was the way AI came across to me through emails. These guys knew their **** and they weren't afraid to admit it! I also knew that AI wasn't very well known, at least not to most people in the LS world besides a handful. They were a lot more well known in the LT1 world as I had read. I knew I wanted to be different, so I went with AI as my choice!
I have received nothing but helpful information from Ron/Phil at Advanced Induction and I would HIGHLY recommend them to anyone. These guys really know what they are doing and my dyno numbers are just one example. We all know dynos are not the end all be all answer around here though. So I have also included in this post my track slip and a video of the run at the end.
***I APOLOGIZE FOR THE LARGE PICTURES***
Well where to begin....
These are the heads as I first received them. They came off a 2004 Corvette Z06 so they had the sodium filled exhaust valves and hollow intake valves. They only had 14,000 miles on them so they were in great condition.
**Notice in this picture I have started some pre-cleaning on the combustion chambers and had just about finished with one that I was happy with. I knew that I didn't have to do this before sending them off but I wanted to anyways. I also took them to get disassembled and cleaned before sending to AI lol. Money wasted basically but I wanted them to be clean around the house.
*While waiting on my heads I purchased some other parts for the build to include: ARP Head bolts, LS2 Lifter Trays, GM MLS Gaskets, LS7 Lifters, and the Comp Cams Trunion upgrade kit.
*I did some little appearance mods while waiting as well. I painted the power steering cooler and all the little hose clamps black.
*I wrapped the rubber hoses in electrical tape to give it more of a shiny look. No other reason than that.
I polished the coolant crossover line, and wrapped some more rubber hoses in electrical tape as well.
*Here is my brand new free header sent from American Racing Headers due to the air tube on the previous one busting off after about a years worth of driving. I can not say enough about Nick and his crew at ARH they are some stand up guys that actually stand behind their products unlike most these days! Great job ARH, I'll be a returning customer for life!
*I also purchased a Rev Extreme catch can and had it powder coated glossy black. Turned out great!
*These seat decals I got from 4th circle designs that didn't want to stick and have since been replaced with much better ones from Brent Franker that are simply awesome! There is a picture later on in the thread of these new better looking decals.
**** Drumroll please... dah dah dah daht daht dahhhht dahhhhhhhhhh ****
.
..
...
..
.
**** Here they are the 243s CNC'ed by Advanced Inductions in all their beauty****
*Here are the heads about 2 hours after receiving them from the UPS man. Already installed and torque'd down!
*The motor about 4 hours after receiving the heads.
*And finally the completed project 6 hours after receiving them ready to roll!! This was the first time I had ever taken the heads off my car, let alone the rockers, pushrods, any of that. I followed the write up on LS1 How To and took some tips/tricks from some posts off here. All went well!
*Wife taking a picture as I am doing some last minute checks before first start up.
*I really like this picture, good lighting and the motor just pops.
*Mmmm LS1 w/ new heads.
*Here are some pics of the car on the dyno before it blew up =(.
*Here are some pics of some of the numbers it put out. The peak numbers for the day were 474 rwhp and 422lb ft tq. I didn't get any pics of the peak numbers because I was too worried about the motor and how I was going to get home 125 miles away.
*Here is the video of the final dyno pull in which the motor blew on decel. You can't really hear anything in the video but at the last maybe couple hundred rpm or so before idle I heard clunking around and we shut it off.
http://www.youtube.com/watch?v=1SdmCCdSS1w
*After 200 street miles and 6-8 dyno pulls the #8 intake valve finally gave out and the valve head snapped out, wedged itself into the valve seat and blew a hole in one of my pistons. Turns out I didn't have enough PTV on the intake side. The valves were lightly kissing the pistons on the intake side. I called around to multiple places and talked to multiple knowledgable buddies and professionals about my combo getting opinions of PTV before starting, and most "thought" I would be ok, so I took their advice. Let me tell you though if you are ever in doubt or even think it might be close MEASURE MEASURE MEASURE!! I learned the hard way so I hope you take my advice and measure regardless. It is cheap insurance.
*The very next day after my motor blew I made a straight up trade with a local buddy with these old 1 3/4" American Racing Headers that just had the air tubes busted off both, for a stock LS1 shortblock with flycut pistons. (Thanks again Bill!) The motor had only spun a bearing so I used the block and pistons from this new motor, with my crank and rods from the blown motor. The cylinders in my old motor had scarring too large for a ball hone etc to fix so we used this new block instead.
*This is an LS6 intake painted that I bought for $175 and turned around and sold the next day for $400. Quick money for funding my project and getting some money back.
Last edited by djfury05; 03-16-2012 at 03:25 PM.
 03-31-2011, 12:42 PM
#2
*Here is some other parts I sold to fund the rebuild. Stock LS1 tb, fuel rails, and 26lb injectors.
*I also sold my recently acquired brand new CME tips and 90s with used NBM valance. I sold this setup for $500.
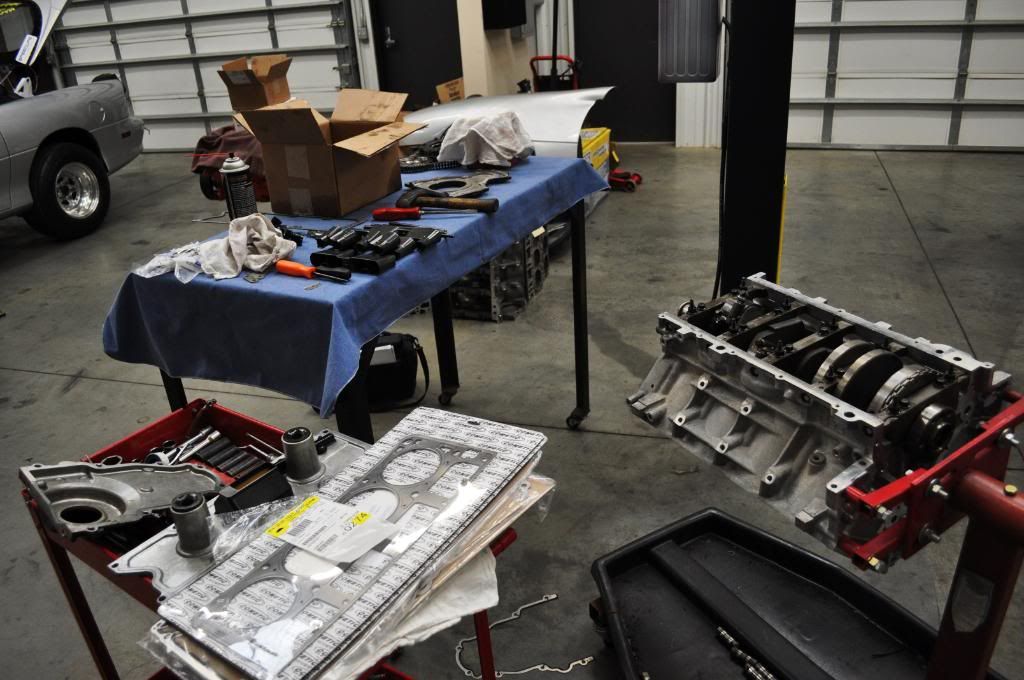
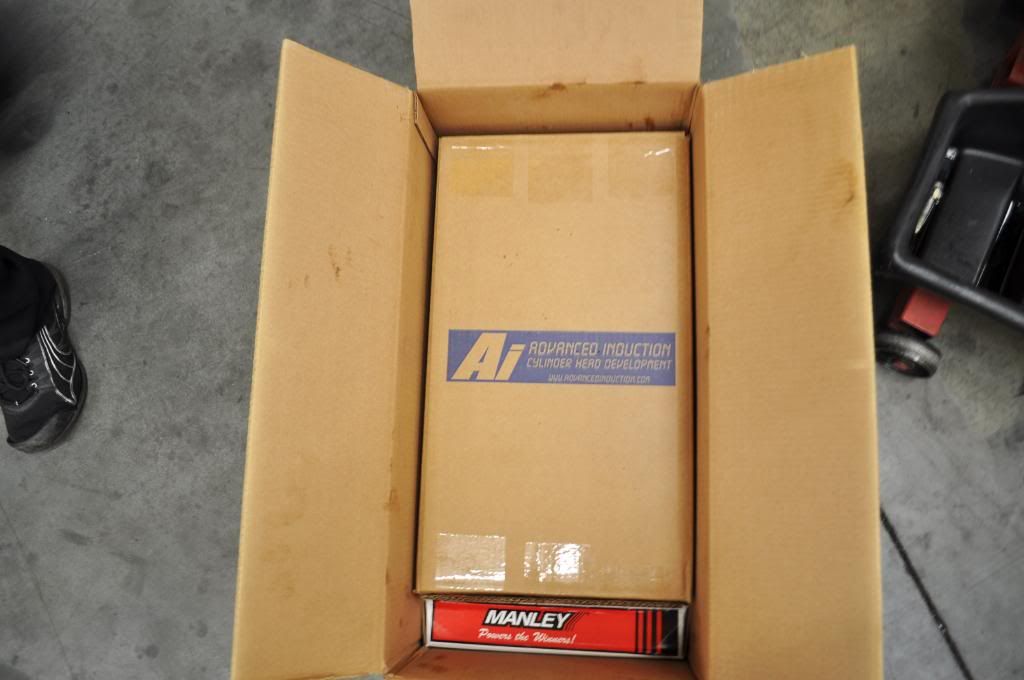
*After waiting about a month and a week or so I finally got a call saying my motor was ready. I got all new bearings, new rings, and had the flycuts touched up some. My heads had been fixed and new cam sent as well. I got a new cam because when we took apart the motor the old cam had been walking and had a crack on the timing cover side of it. My shop suggested a new one so I had AI custom spec me a grind to match their heads.
*Here is a picture of the new .040 Cometics I got to keep the compression up a bit from the flycuts.
*Some other parts. My 7 month old Melling 10296 oil pump had some scoring inside of it so I bought a new TSP LS6 ported oil pump from my shop to replace it per their advice.
*LS7 Lifters soaking in dino oil.
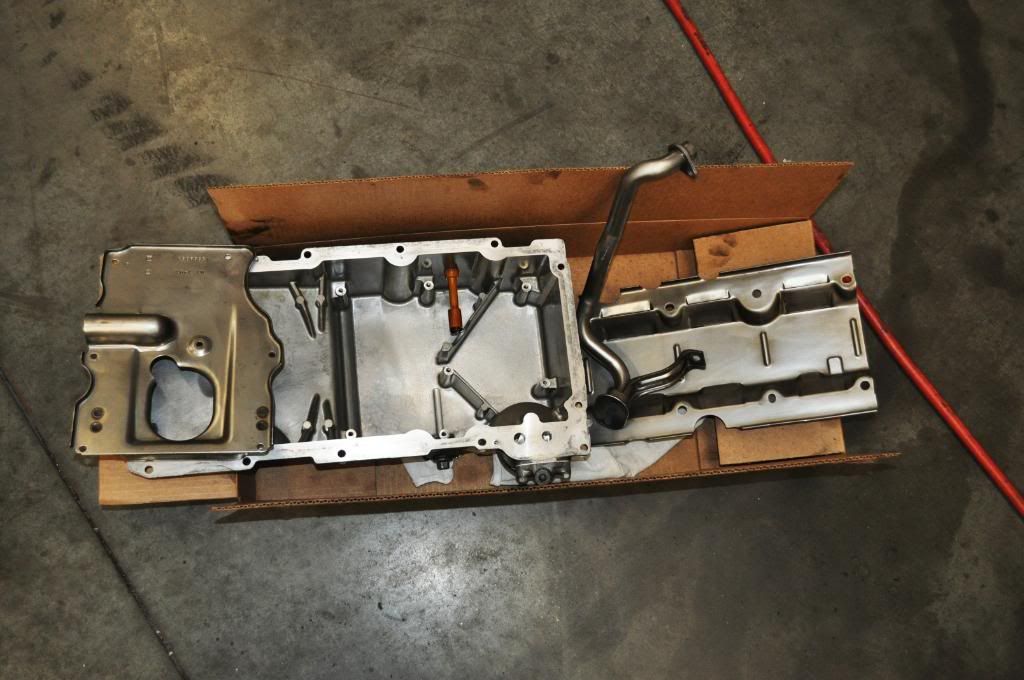
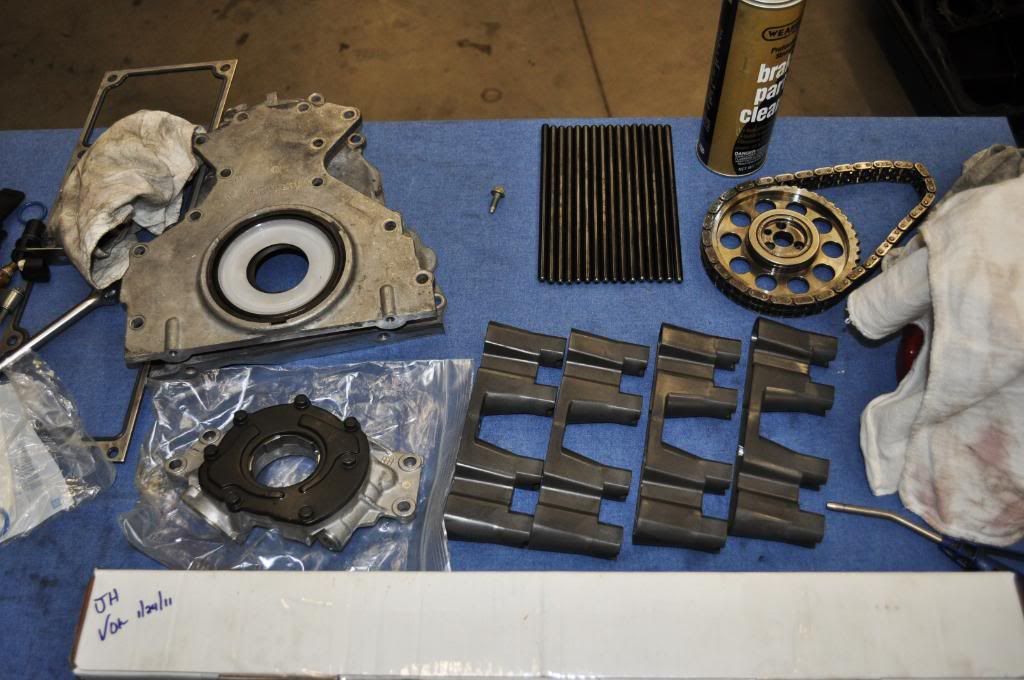
*My oil pan and windage tray that I had just freshly cleaned in the parts washer.
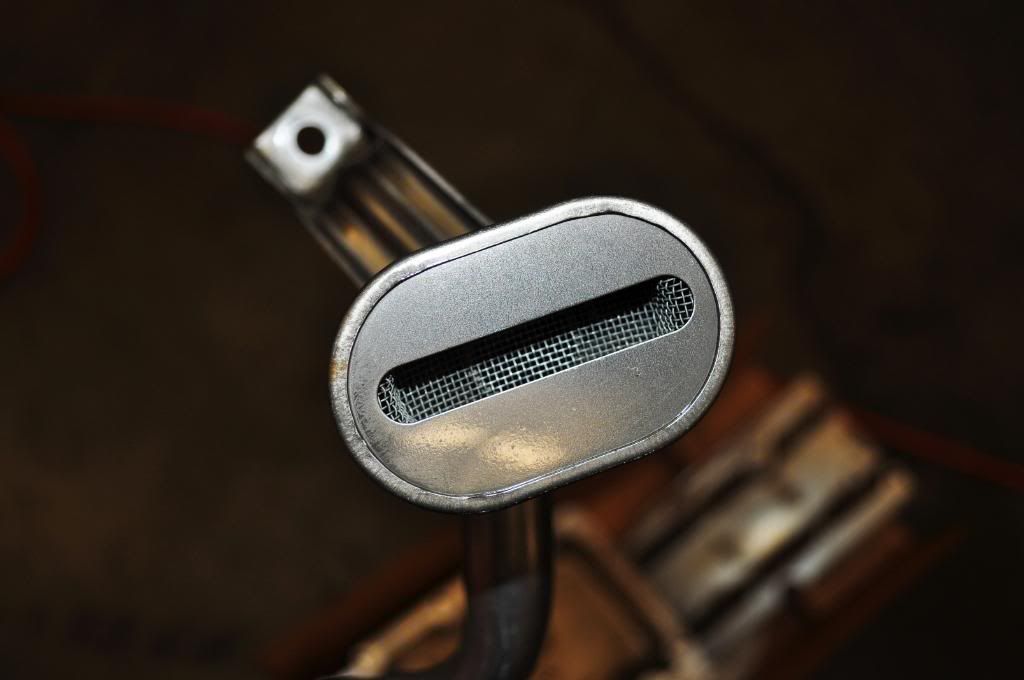
*Clean oil pickup tube.
*Uh oh!! Whose that?!? Could it really be?!? YESSSS IT IS!! Chris aka Veee8 working on my motor. I thought that was pretty cool to have a dude with a turbo setup in the 8's working on a lil' ole N/A LS1 lol.. Chris knows his **** and was a real cool dude.
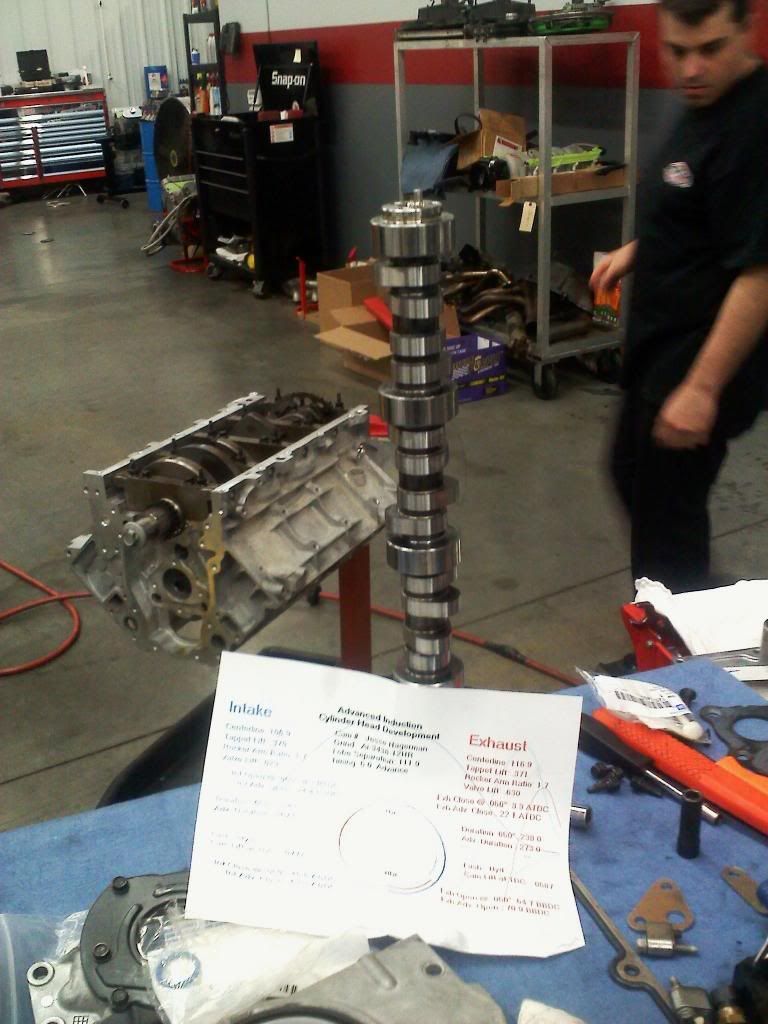
*New cam in it's unopened box.
*First light on the new cam! Advanced Induction receives the cam from Comp Cams and actually inspects it and provides a report to make sure it was ground correctly before shipping it off to the customer! Great way to know if you will have slightly more less ptv per cylinder.
*Chris preparing the cam retainer plate and bolts with loctite before install.
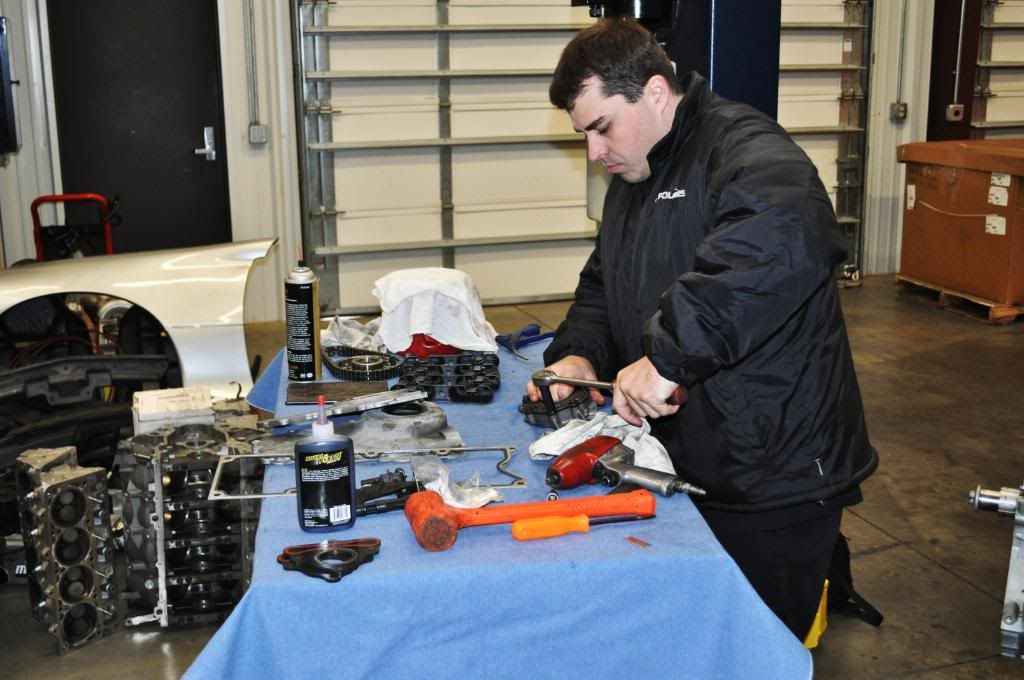
*The new cam is in. Starting to torque down.
*Intense focus here! Like a Jedi Master bitches
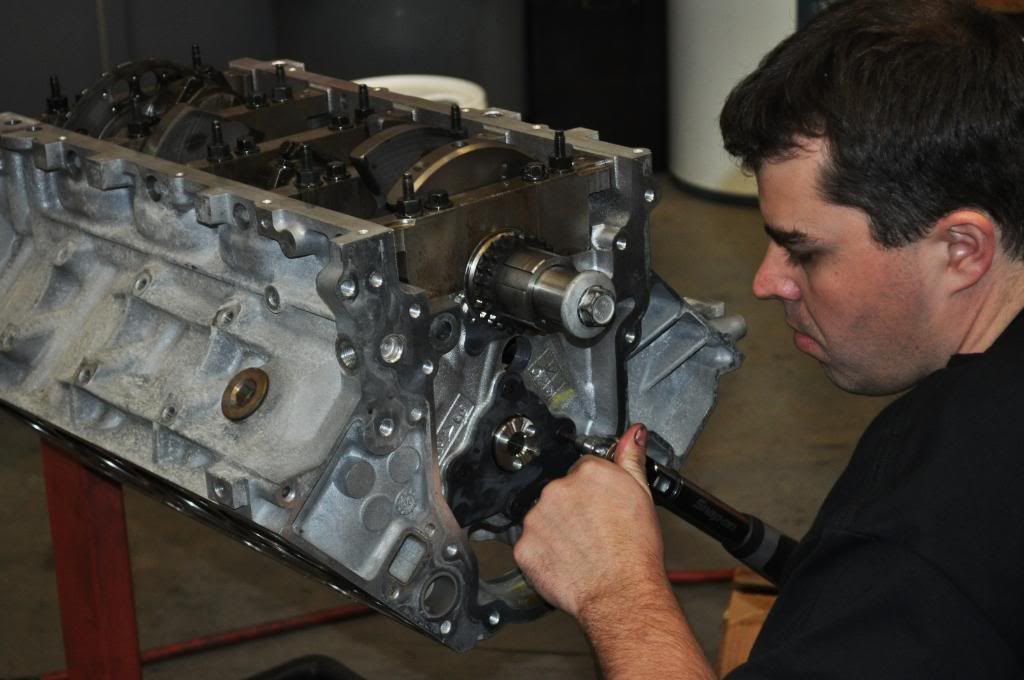
*Completed install of cam and torqued down to spec.
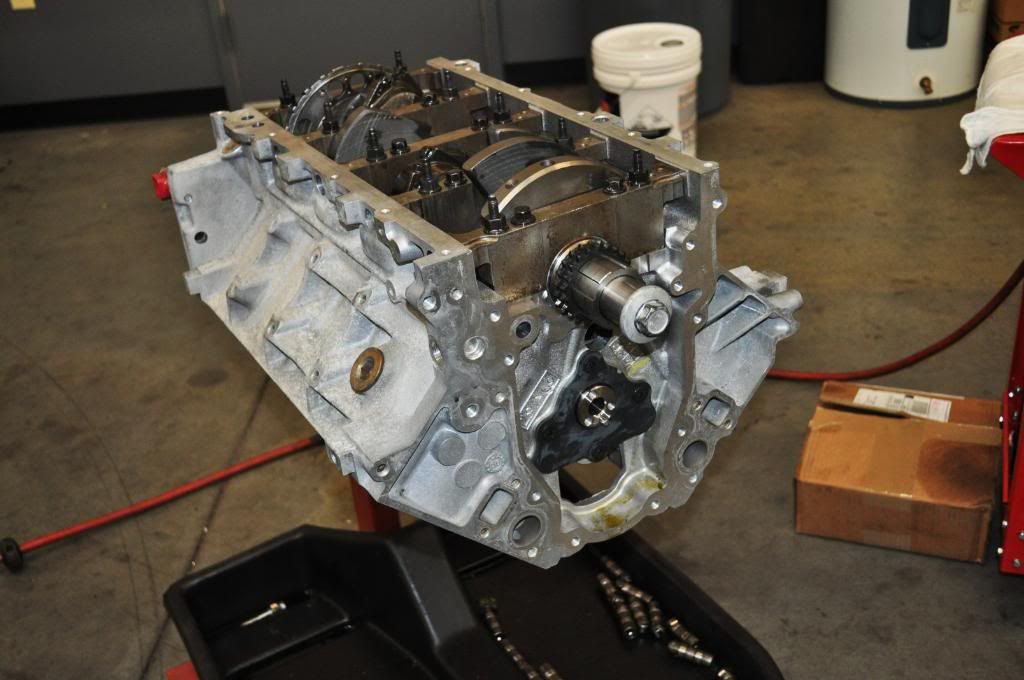
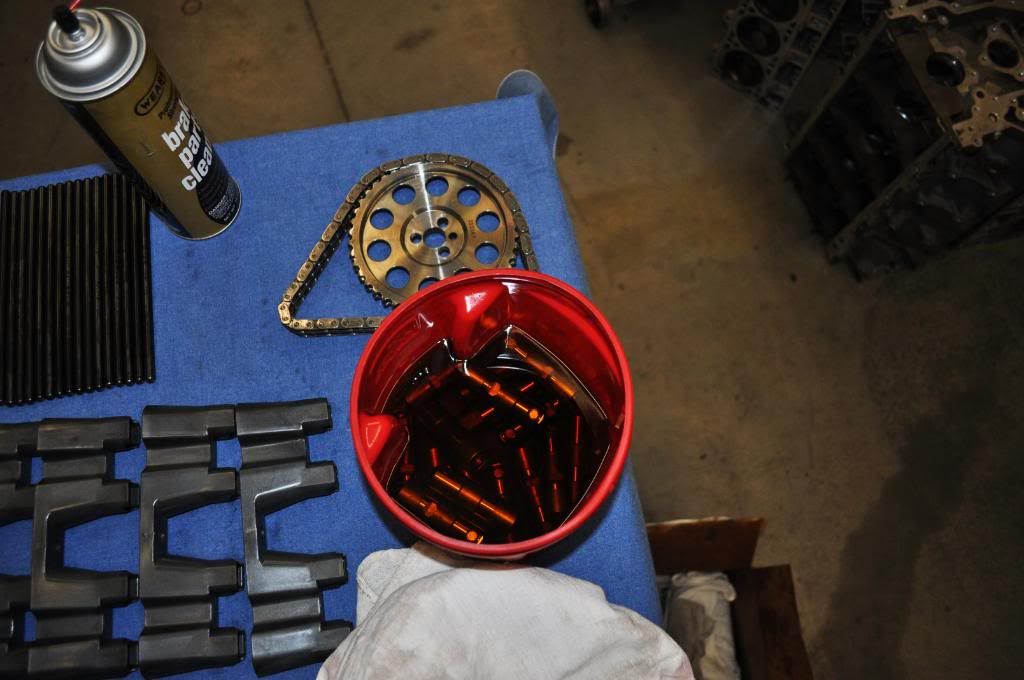
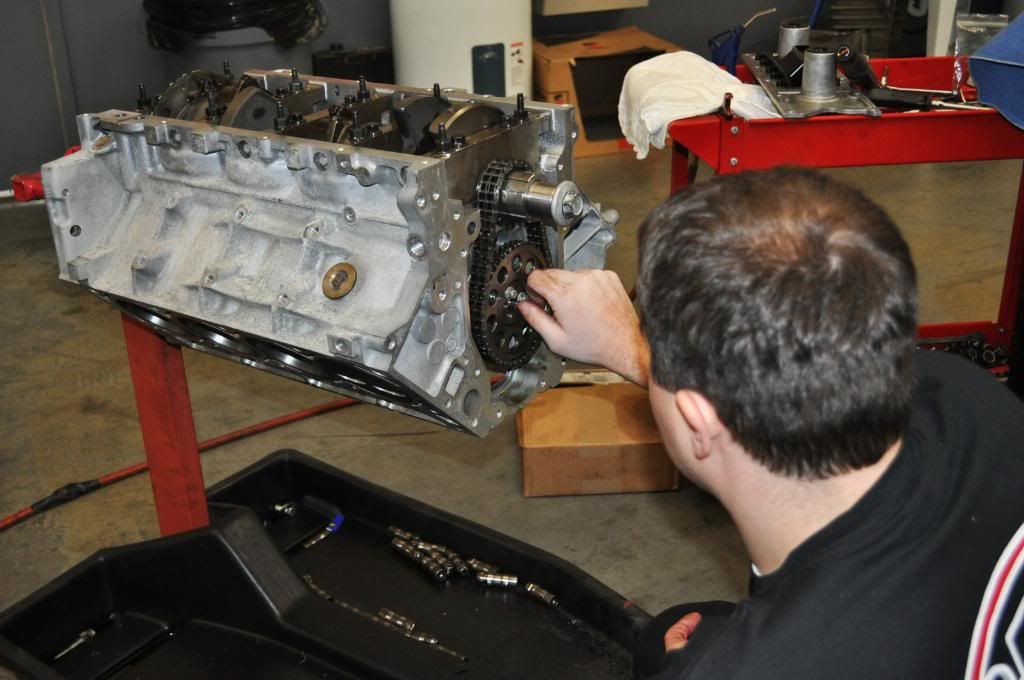
*Manley double roller timing chain set installed.
*My cart full of parts yet to go on!
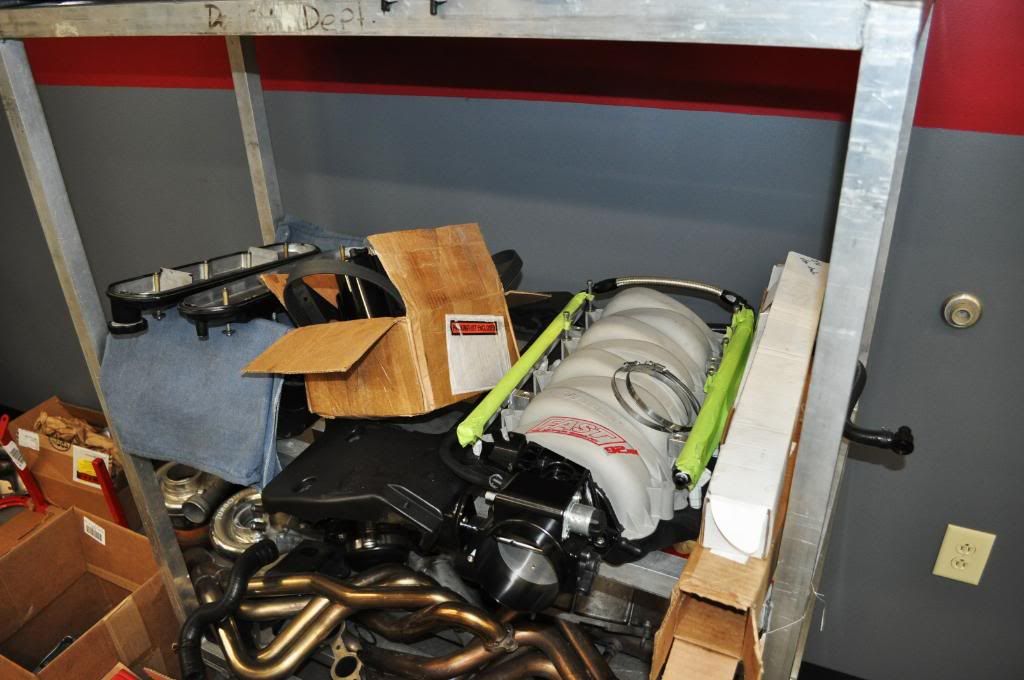
*Sorry to say but no the twin turbos are not mine lol.
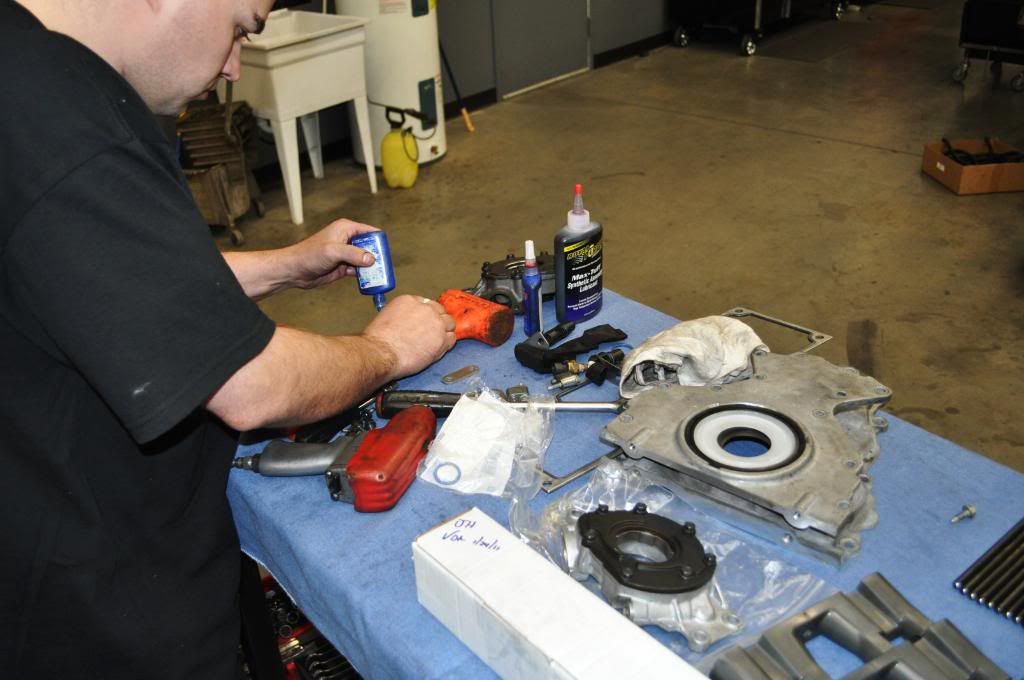
*New oil pump being installed. Before installation Chris took it apart to inspect it and lube it up. He has great attention to detail!

*Jason watching and pointing out how he could do it better but he has to strike a pose first lol..
*TSP LS6 oil pump all torqued down and ready to flow!
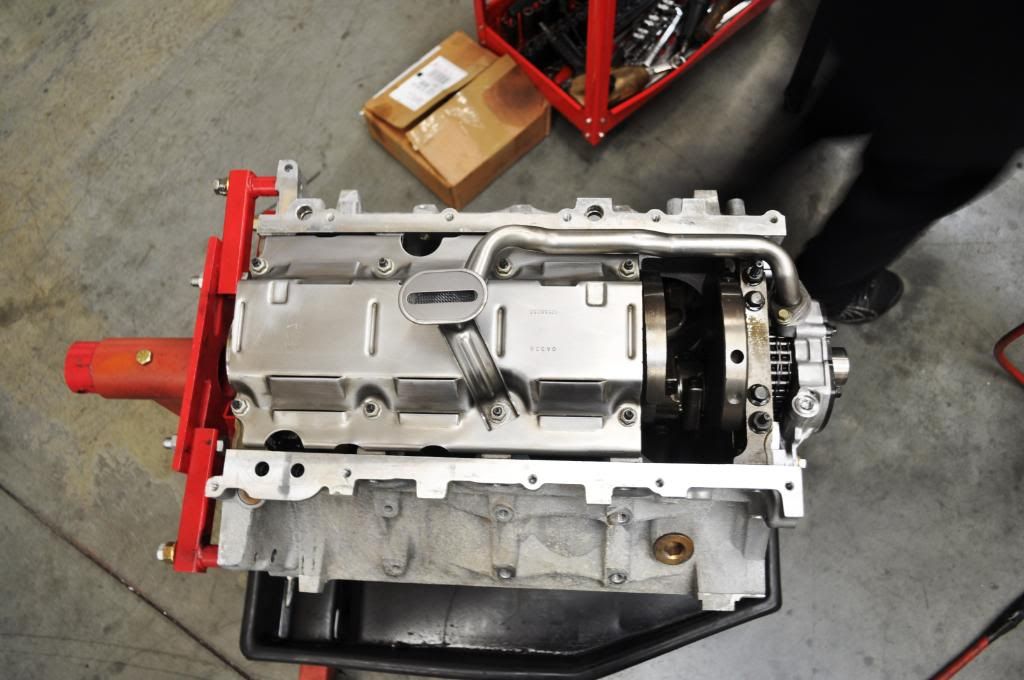
*Windage tray and oil pickup tube installed.
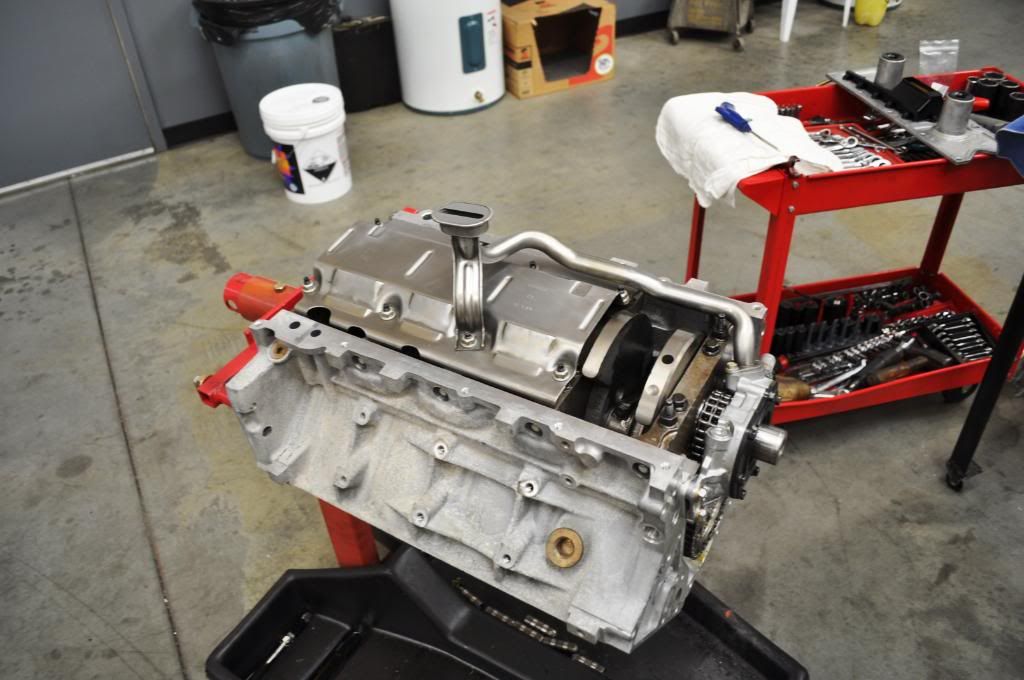
*Clean!
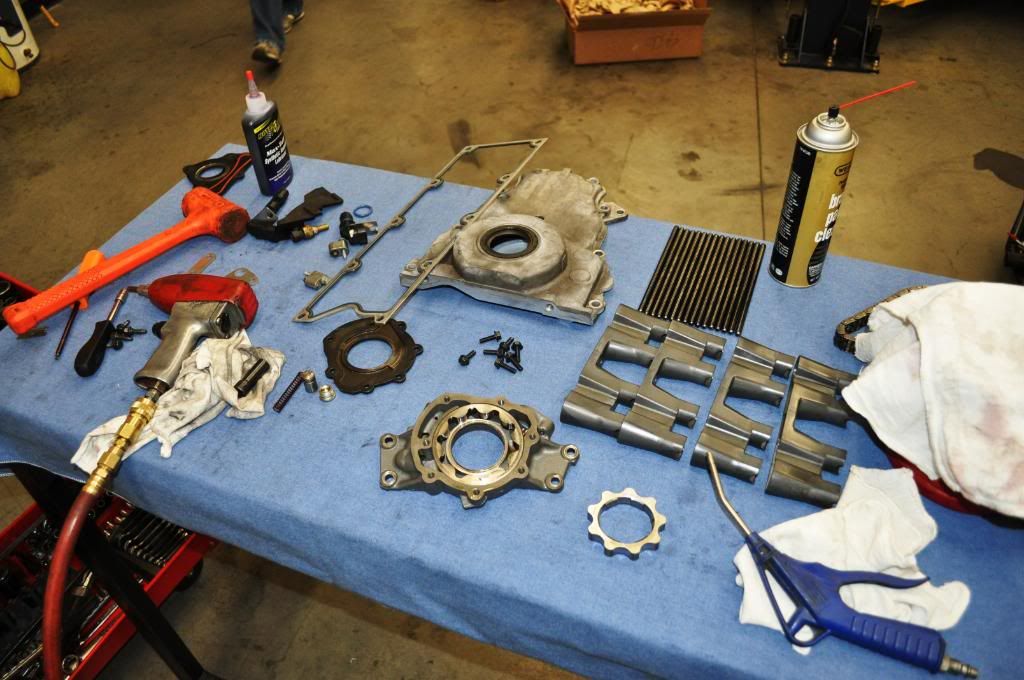
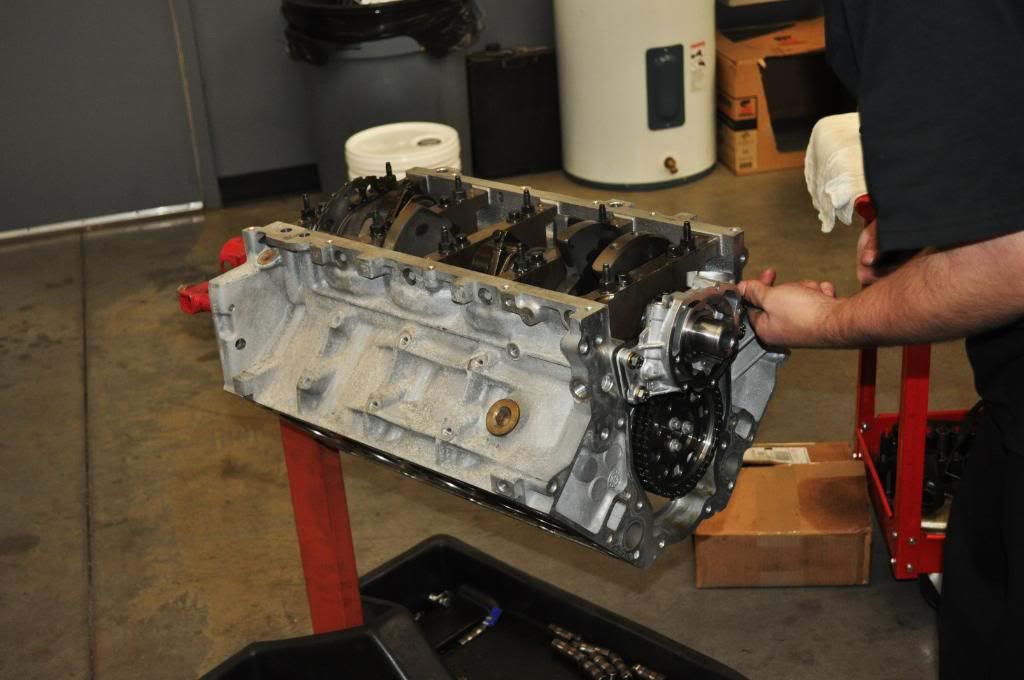
*Front of the motor before timing cover.
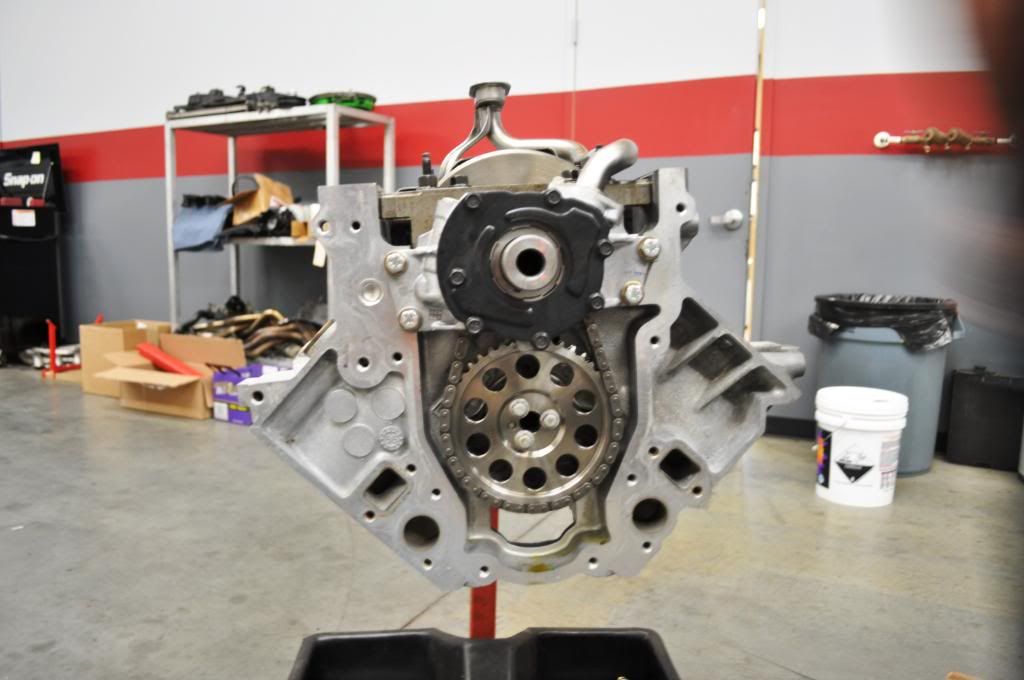
*Timing cover going on.

*Motor flipped over to continue assembly.
*I also sold my recently acquired brand new CME tips and 90s with used NBM valance. I sold this setup for $500.
*After waiting about a month and a week or so I finally got a call saying my motor was ready. I got all new bearings, new rings, and had the flycuts touched up some. My heads had been fixed and new cam sent as well. I got a new cam because when we took apart the motor the old cam had been walking and had a crack on the timing cover side of it. My shop suggested a new one so I had AI custom spec me a grind to match their heads.
*Here is a picture of the new .040 Cometics I got to keep the compression up a bit from the flycuts.
*Some other parts. My 7 month old Melling 10296 oil pump had some scoring inside of it so I bought a new TSP LS6 ported oil pump from my shop to replace it per their advice.
*LS7 Lifters soaking in dino oil.
*My oil pan and windage tray that I had just freshly cleaned in the parts washer.
*Clean oil pickup tube.
*Uh oh!! Whose that?!? Could it really be?!? YESSSS IT IS!! Chris aka Veee8 working on my motor. I thought that was pretty cool to have a dude with a turbo setup in the 8's working on a lil' ole N/A LS1 lol.. Chris knows his **** and was a real cool dude.
*New cam in it's unopened box.
*First light on the new cam! Advanced Induction receives the cam from Comp Cams and actually inspects it and provides a report to make sure it was ground correctly before shipping it off to the customer! Great way to know if you will have slightly more less ptv per cylinder.
*Chris preparing the cam retainer plate and bolts with loctite before install.
*The new cam is in. Starting to torque down.
*Intense focus here! Like a Jedi Master bitches
*Completed install of cam and torqued down to spec.
*Manley double roller timing chain set installed.
*My cart full of parts yet to go on!
*Sorry to say but no the twin turbos are not mine lol.
*New oil pump being installed. Before installation Chris took it apart to inspect it and lube it up. He has great attention to detail!
*Jason watching and pointing out how he could do it better but he has to strike a pose first lol..
*TSP LS6 oil pump all torqued down and ready to flow!
*Windage tray and oil pickup tube installed.
*Clean!
*Front of the motor before timing cover.
*Timing cover going on.
*Motor flipped over to continue assembly.
03-31-2011, 12:42 PM
#3
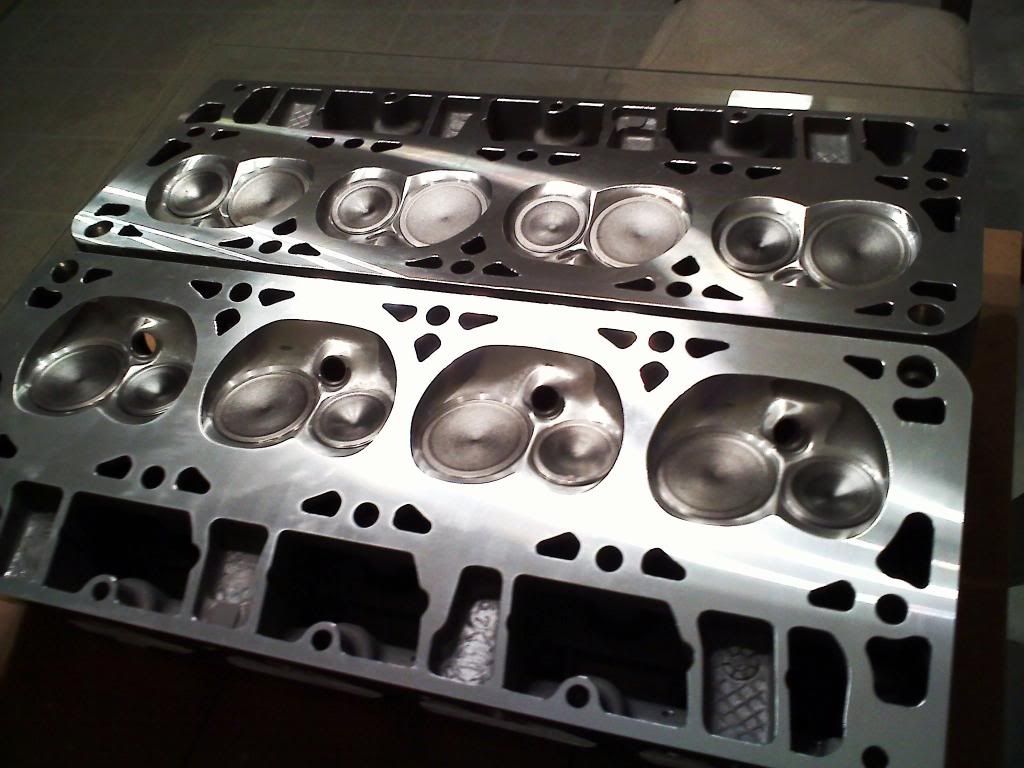
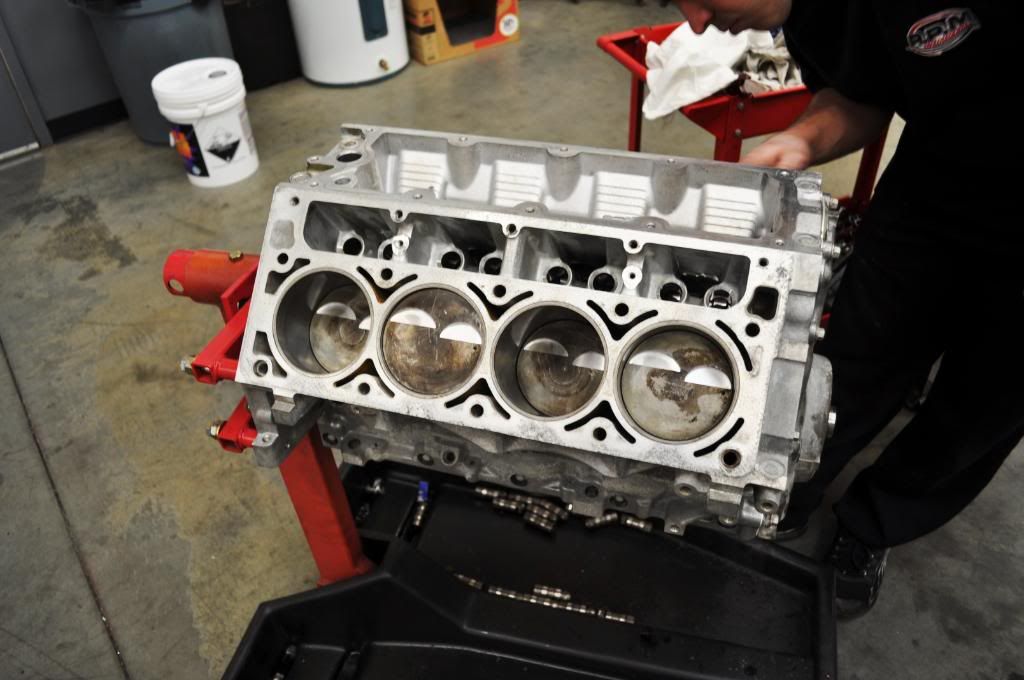
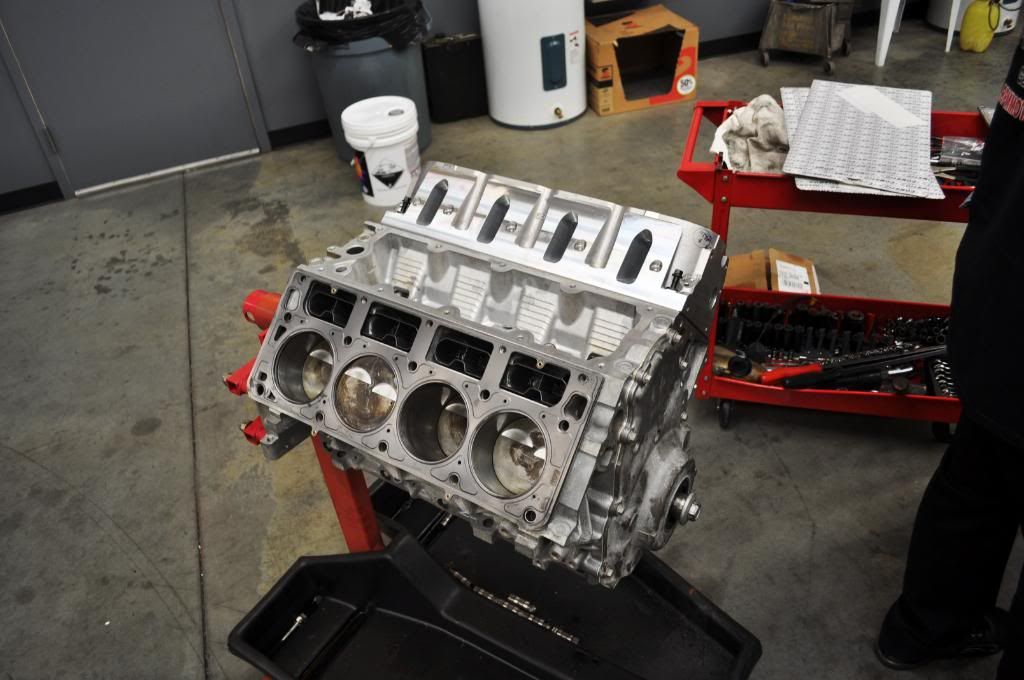
*Advanced Inductions 243 heads fixed!
*Chris checking out the new heads.
*One brand new 243 head NICE!!! The driver side head was not affected that much by the motor blowing so we re-used it.
*One head bolted up and Cometic gasket on the passenger side.
*PSI Maxlife prepared endurance springs for these heads.
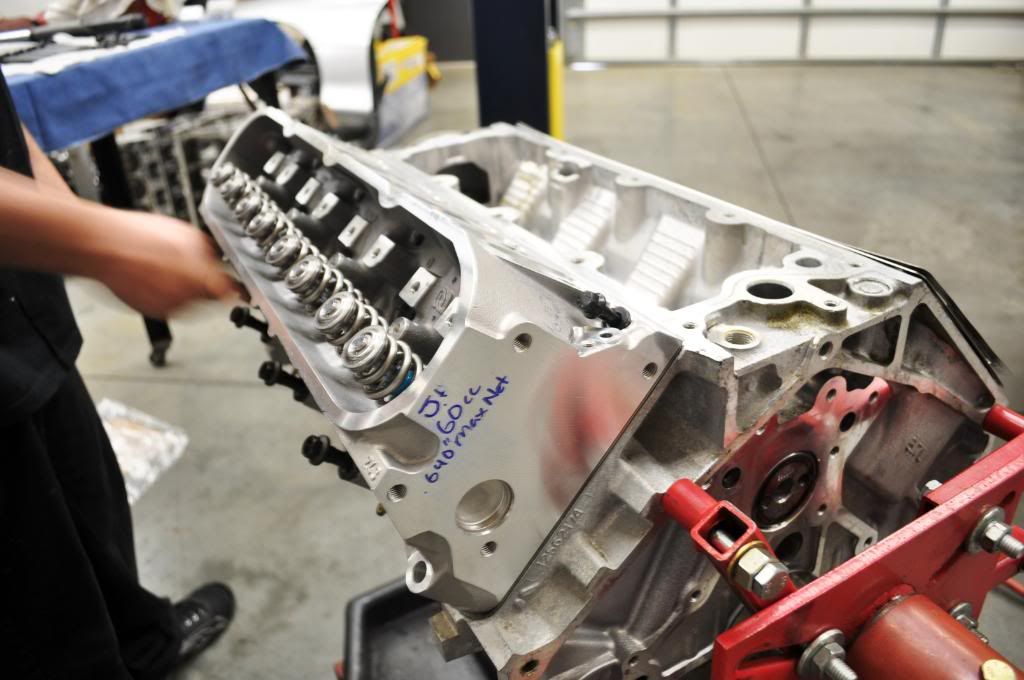
*Little closeup of the flycuts.
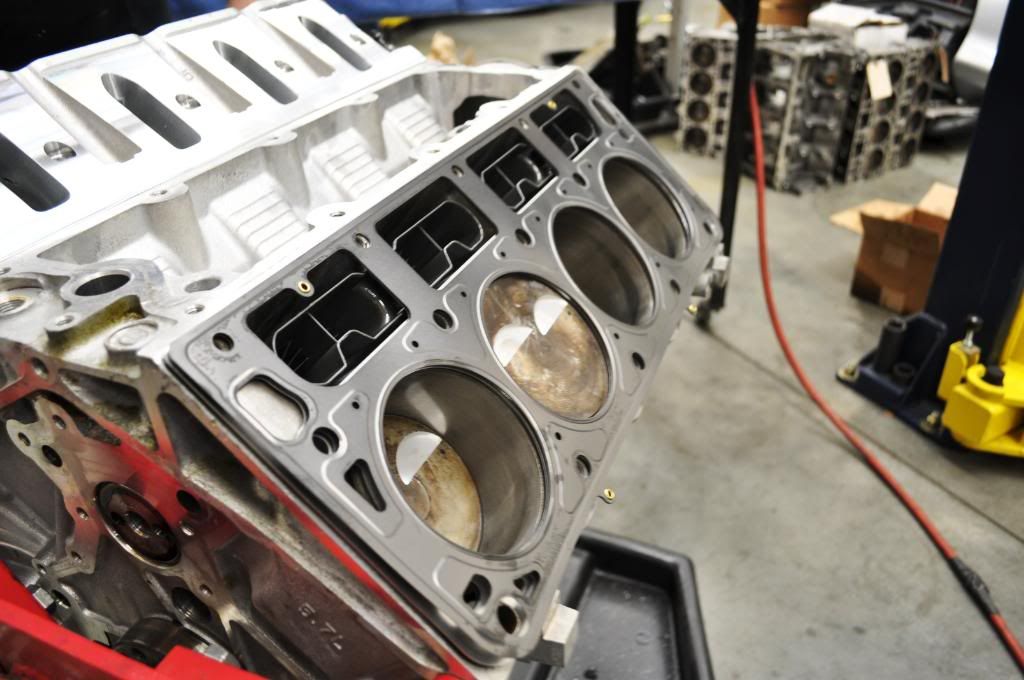
*Some money shots!
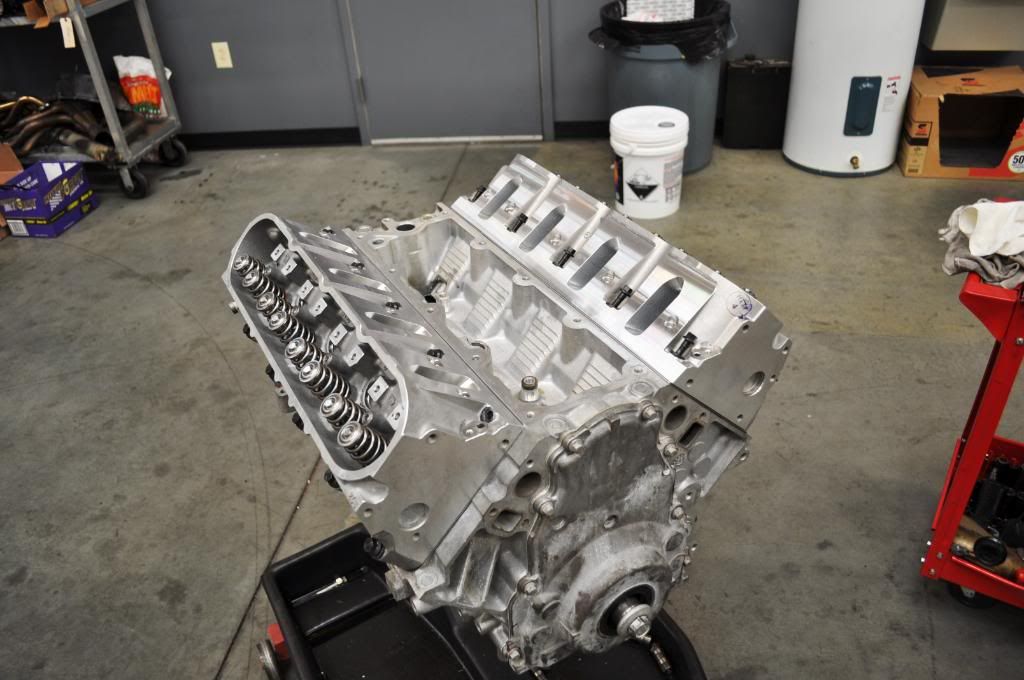
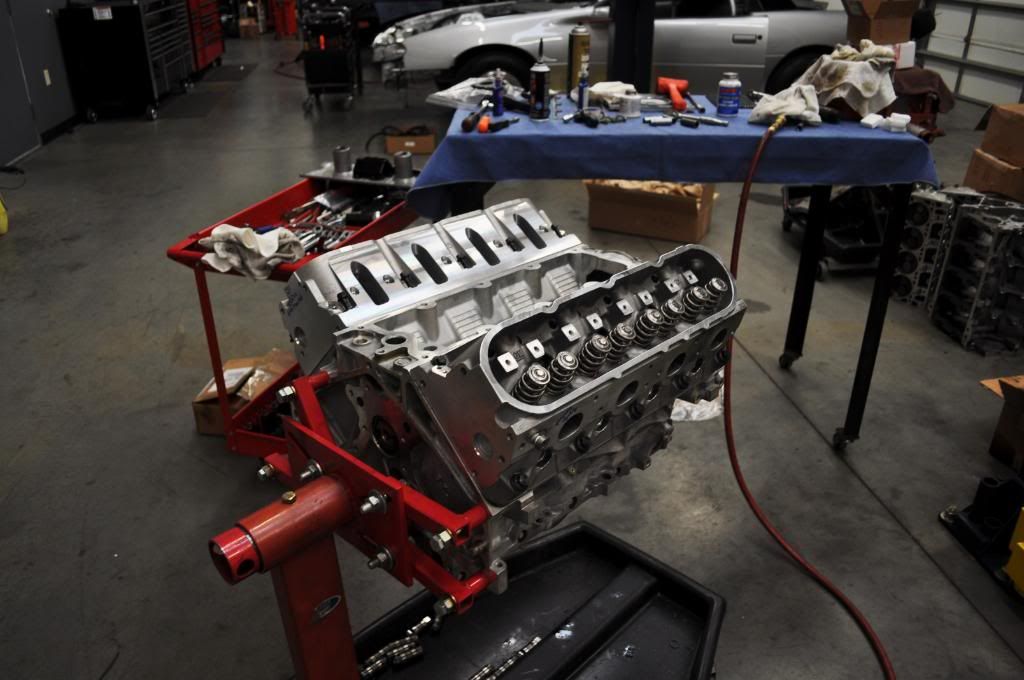
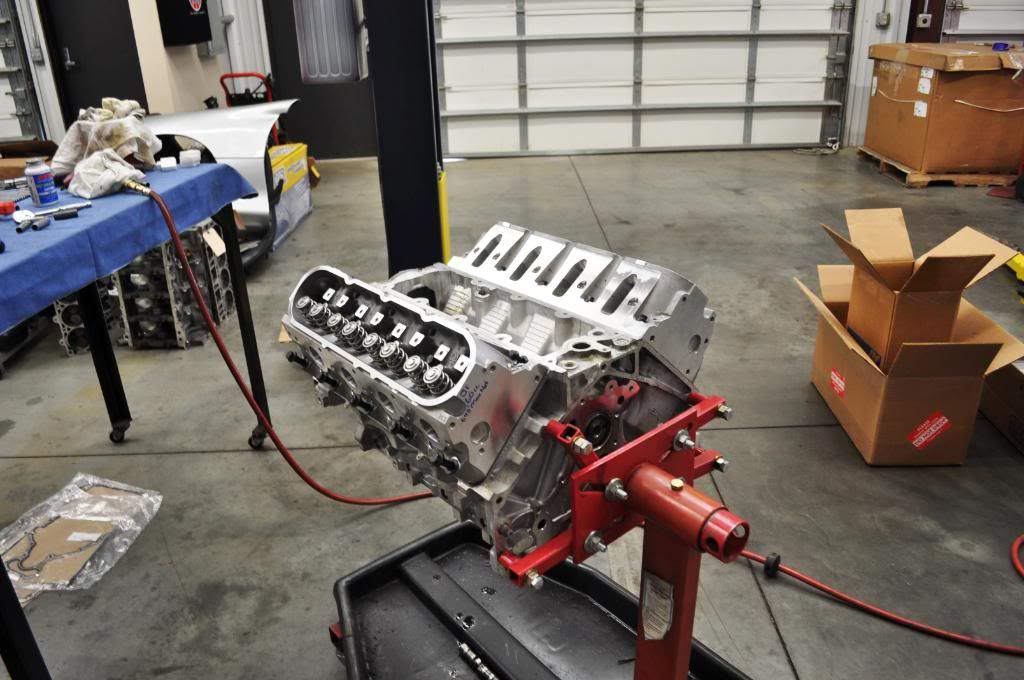
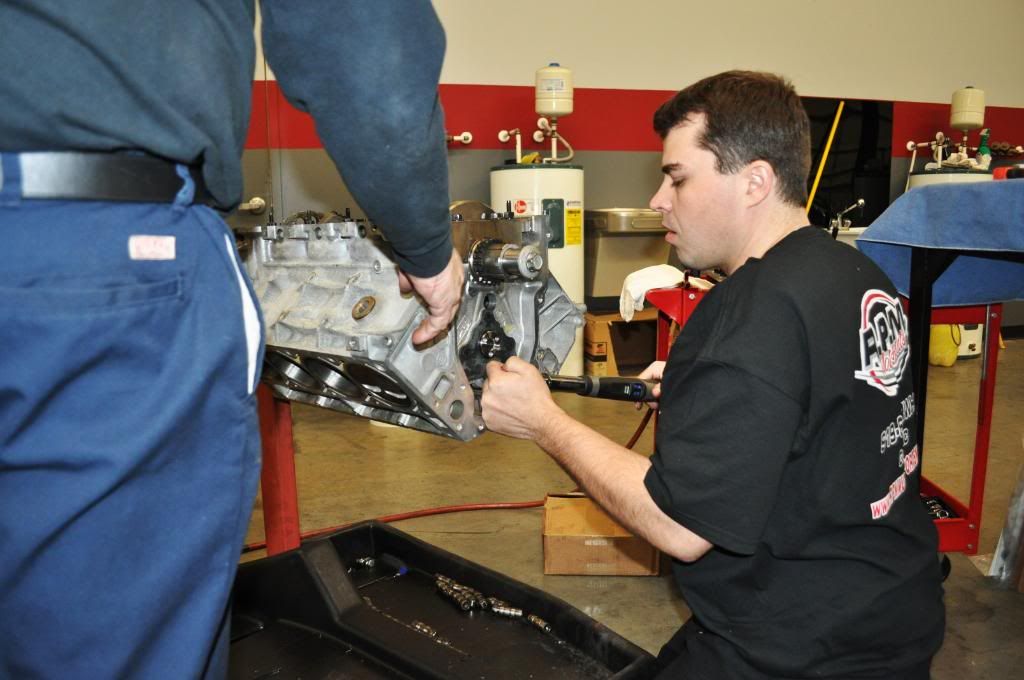
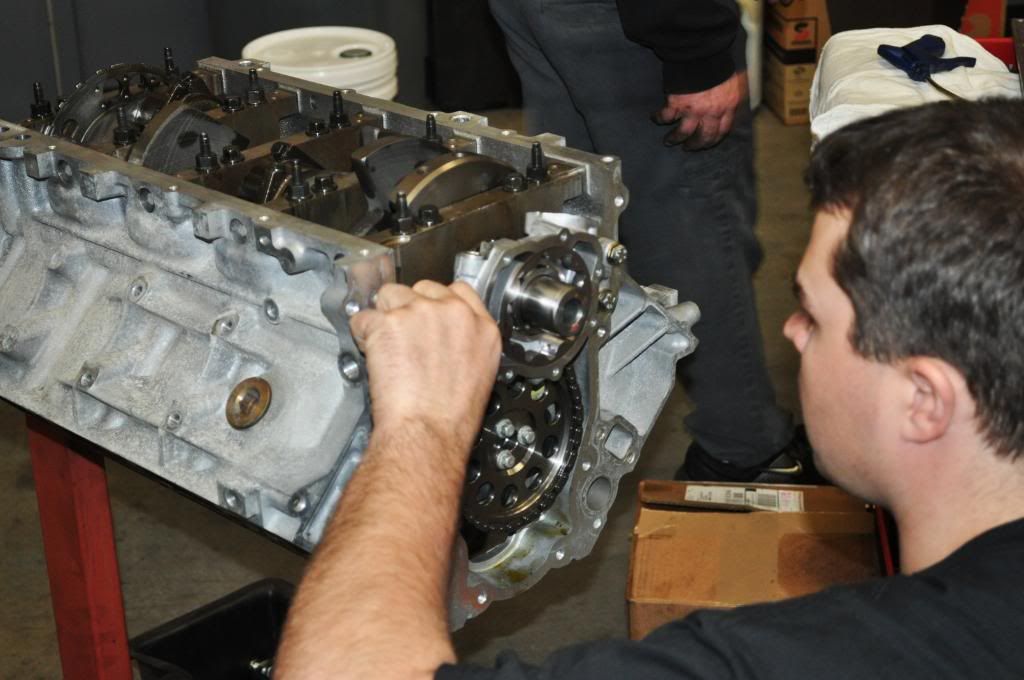
*Chris spinning the motor over by hand after rocker install.
*Buttoning up the motor for Tomorrow's engine install day!
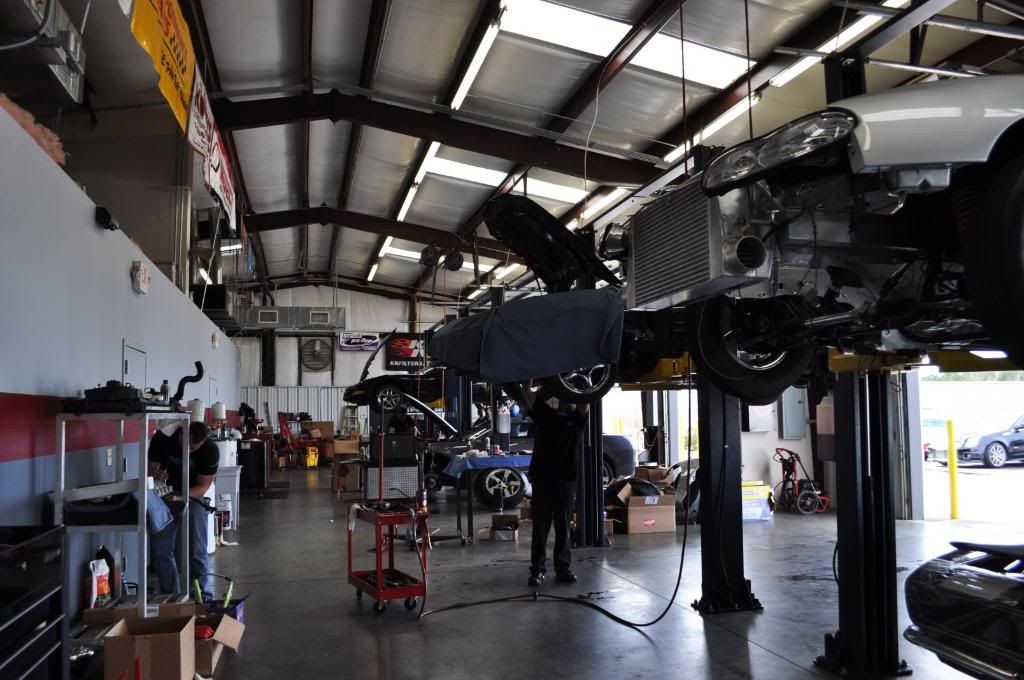
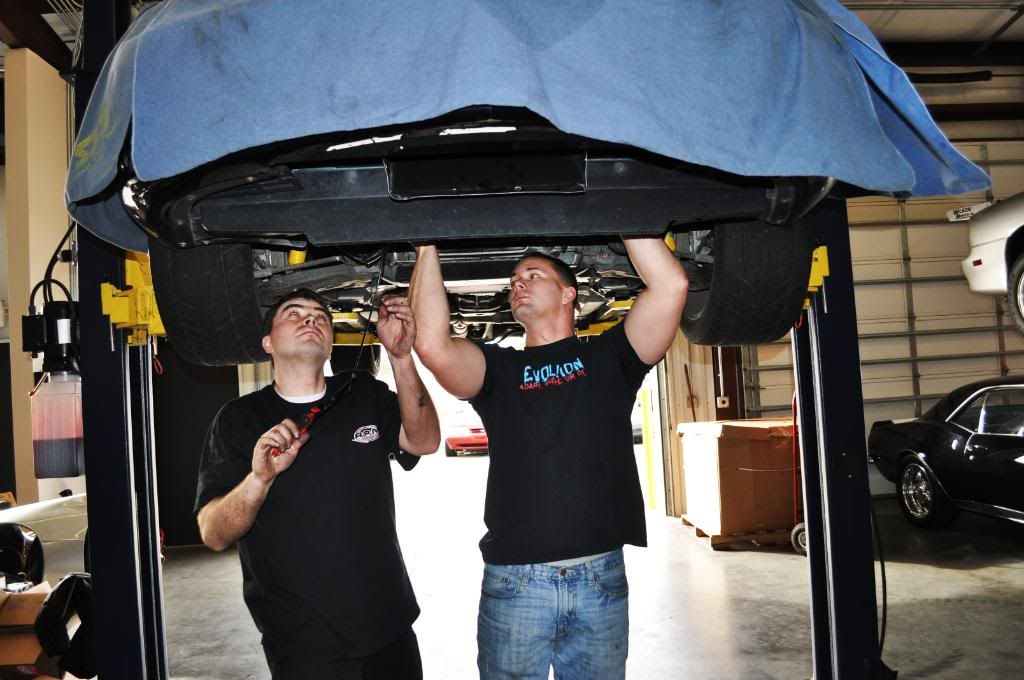
*The car its going in.
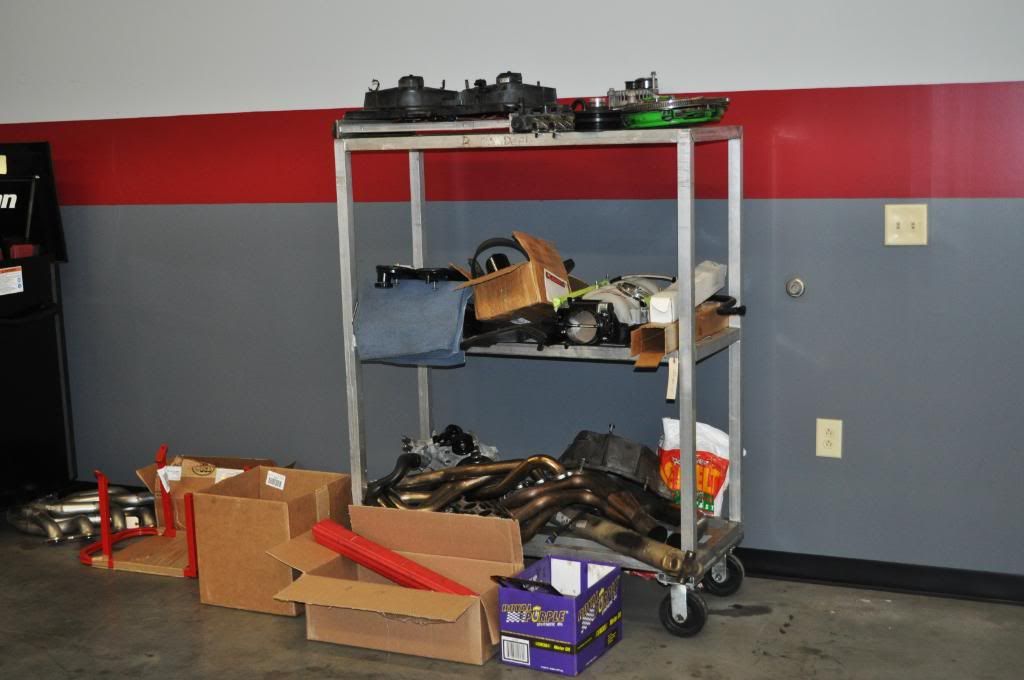
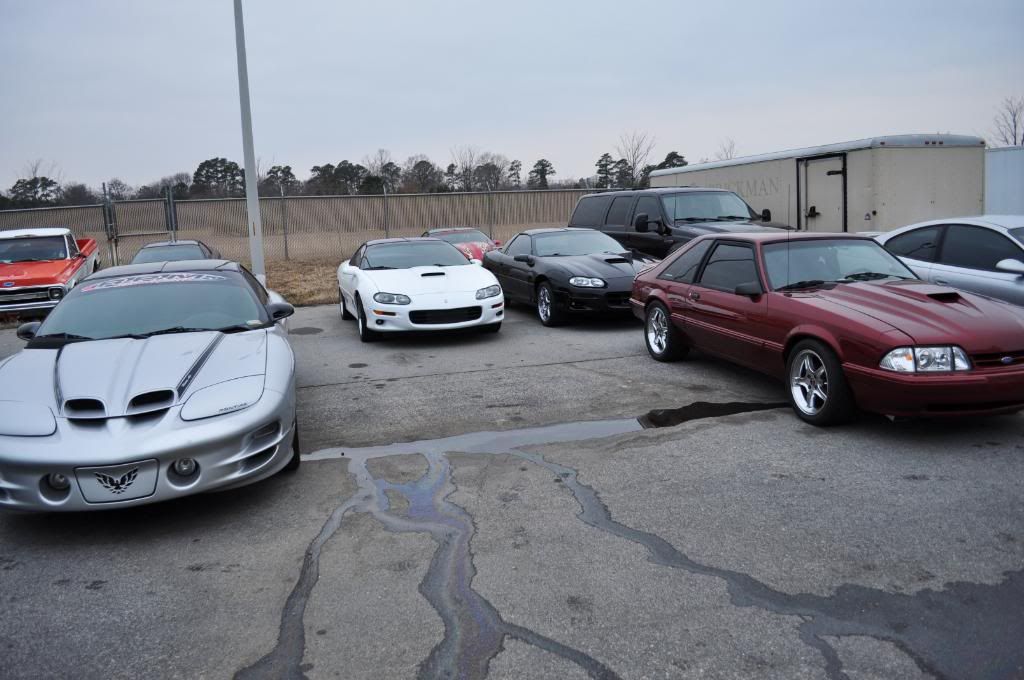
*Some other cars at the shop.
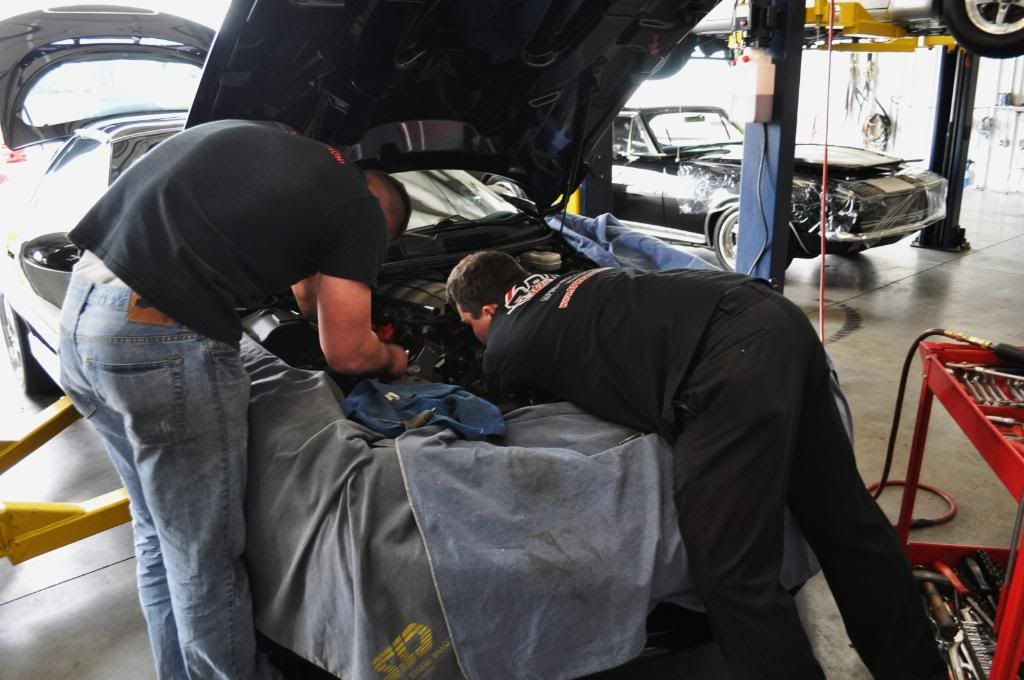
*The next day I wanted to help with the engine install but they were too damn quick and got it in before I got there lol.
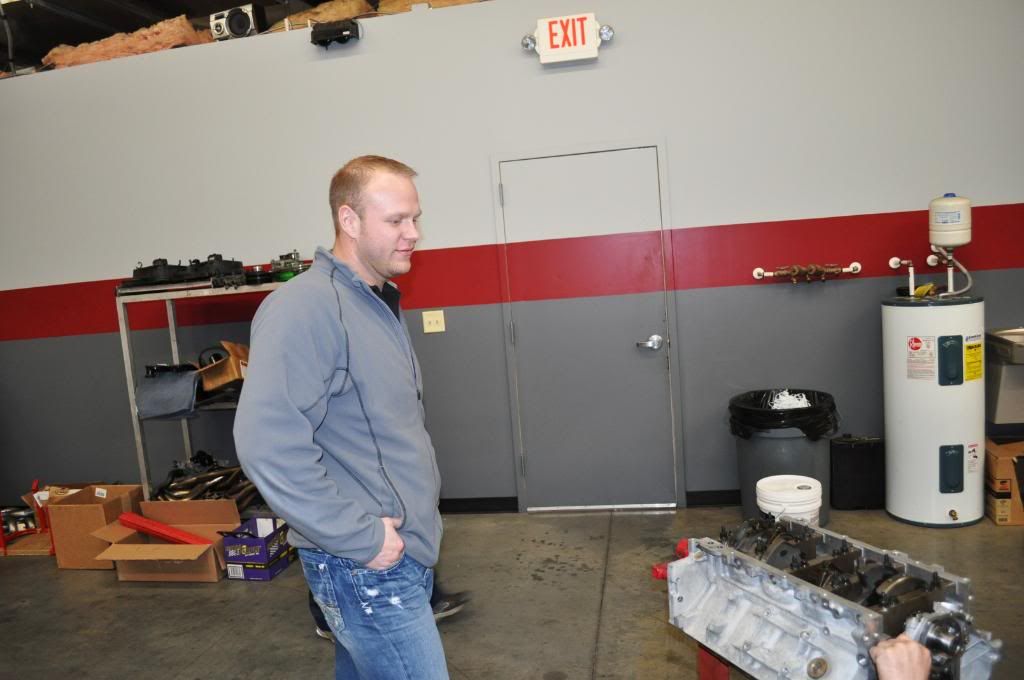
*Me on the left and Chris on the right.
**** shot in the air.

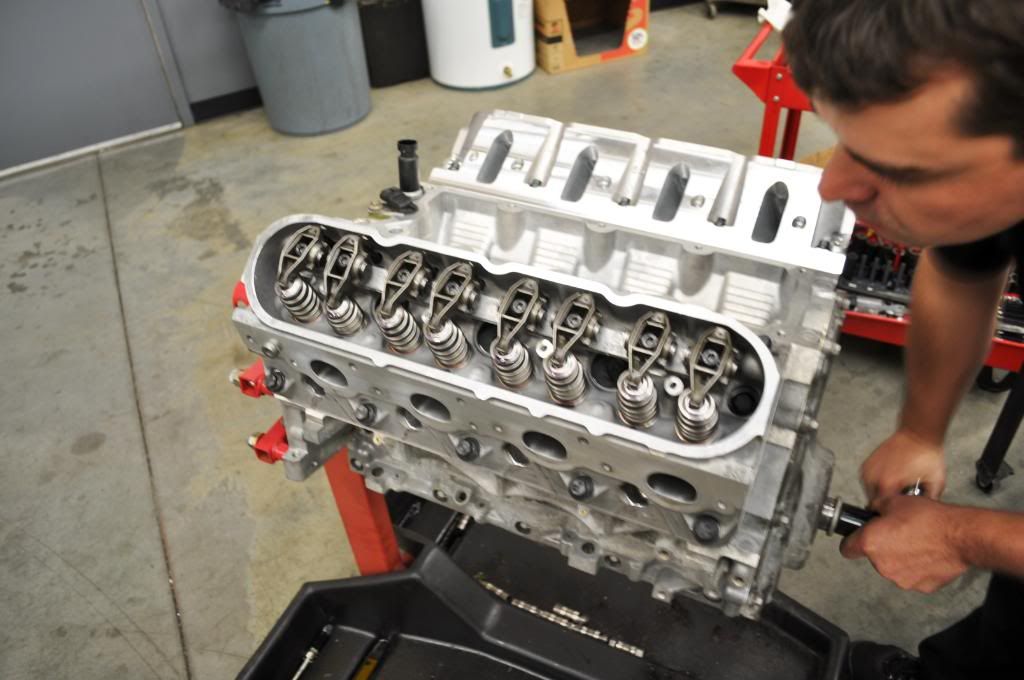
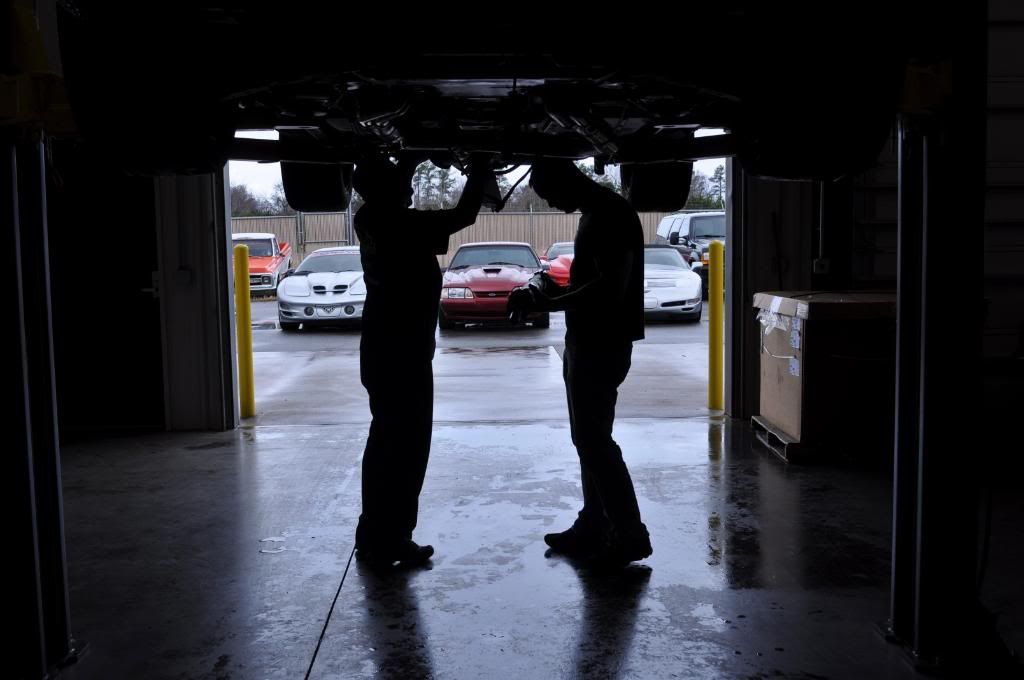
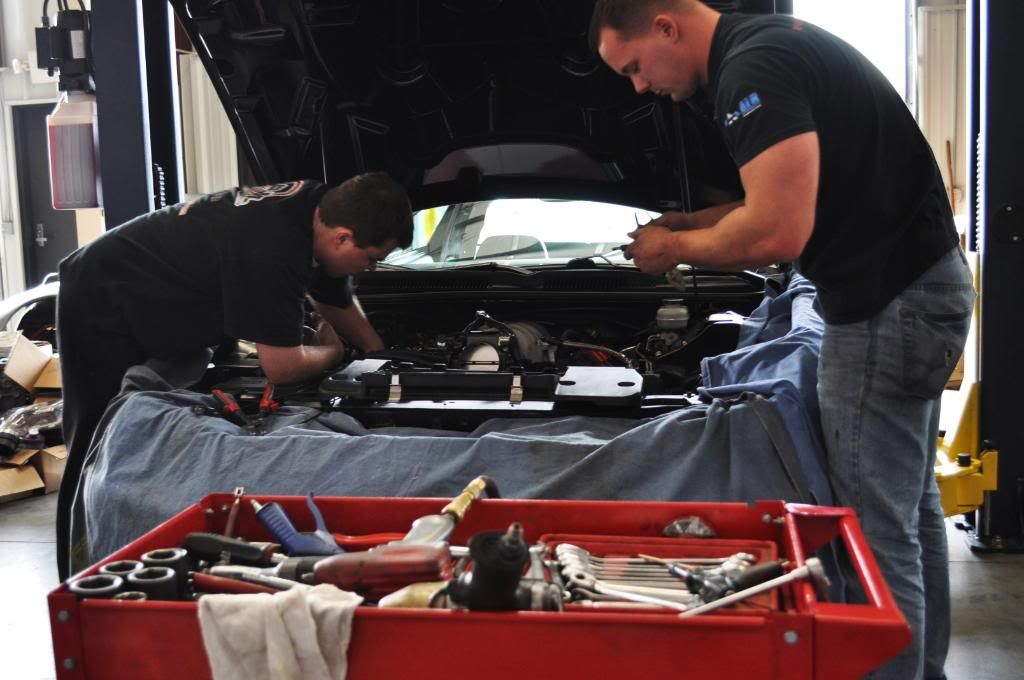
*Preparing to put the DS in.
*Some of the tools Chris has.
*Putting in the DS.
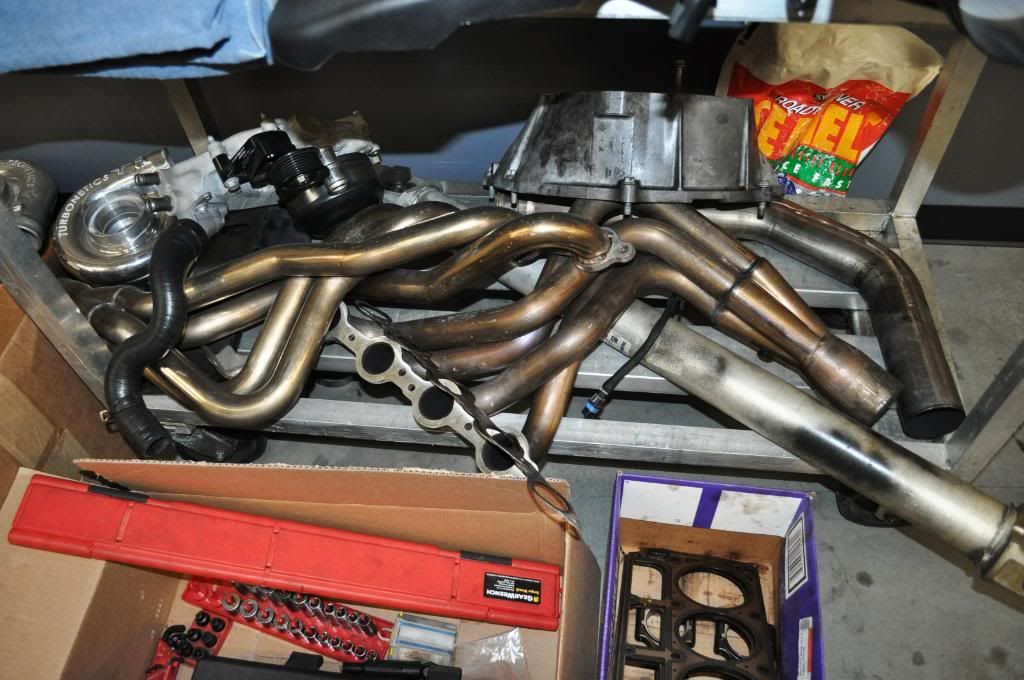
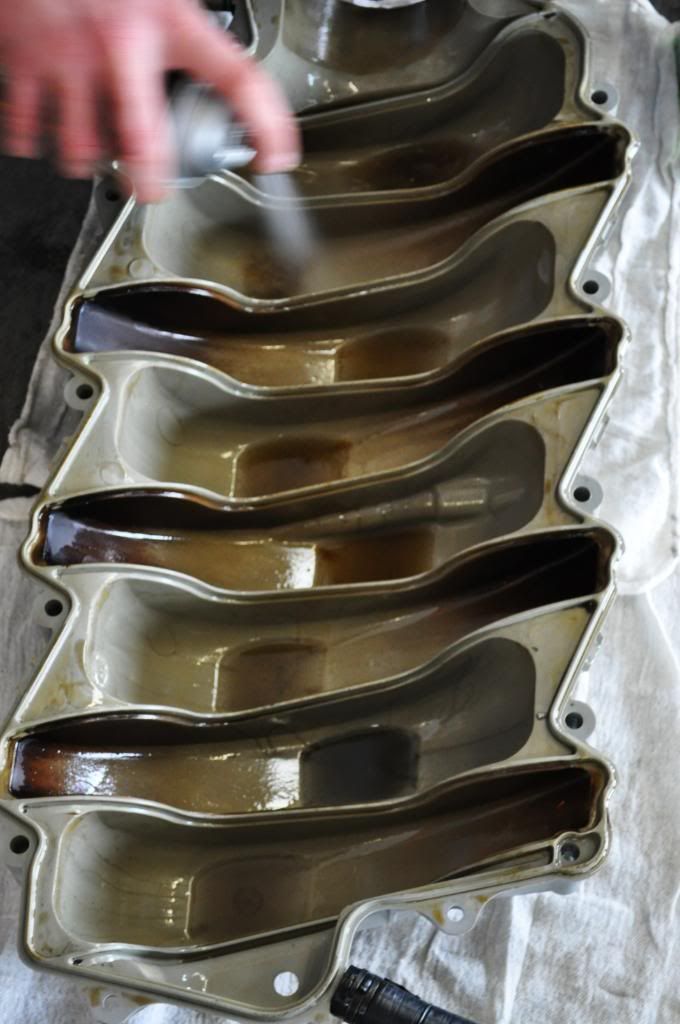
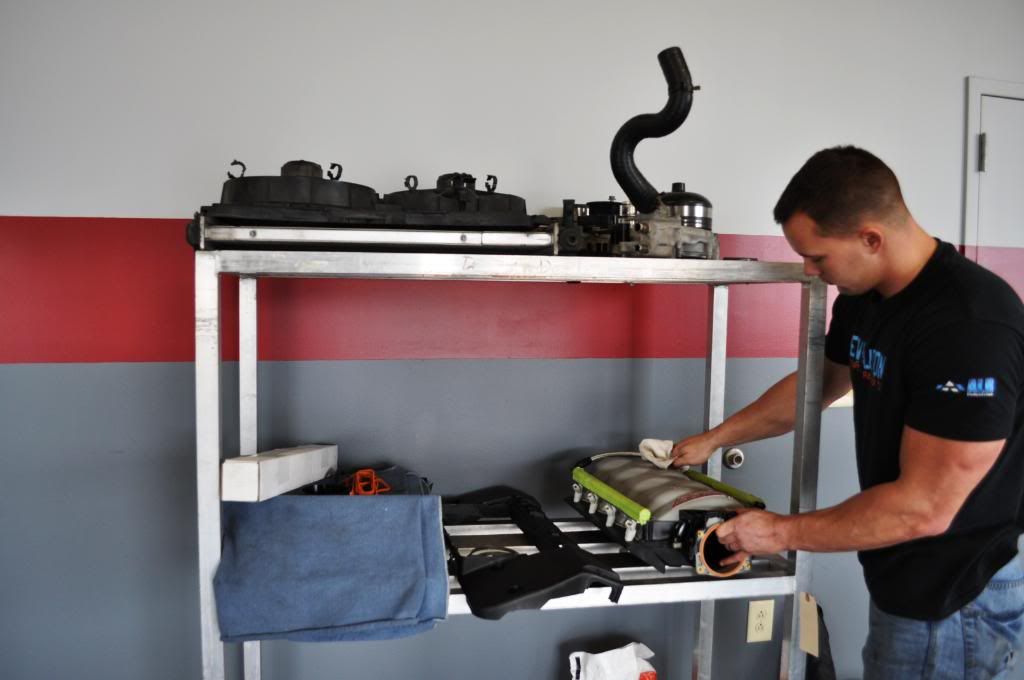
*Cleaning the FAST 92 intake as it had lots of metal shavings from the motor blowing and oil blow by.

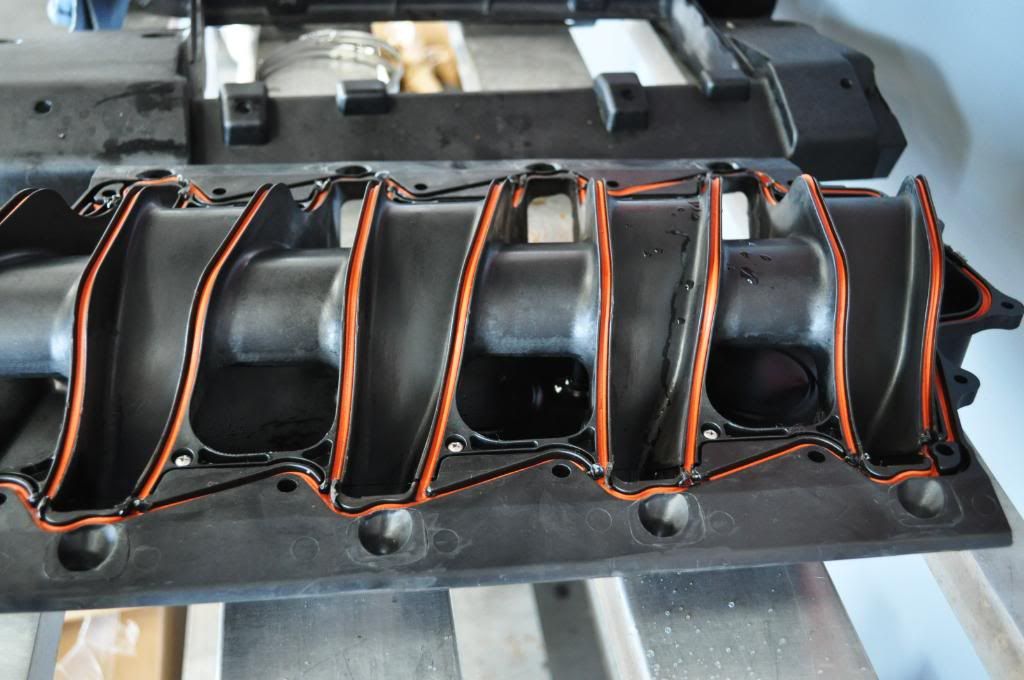
*Getting cleaner!
*Base all cleaned up.
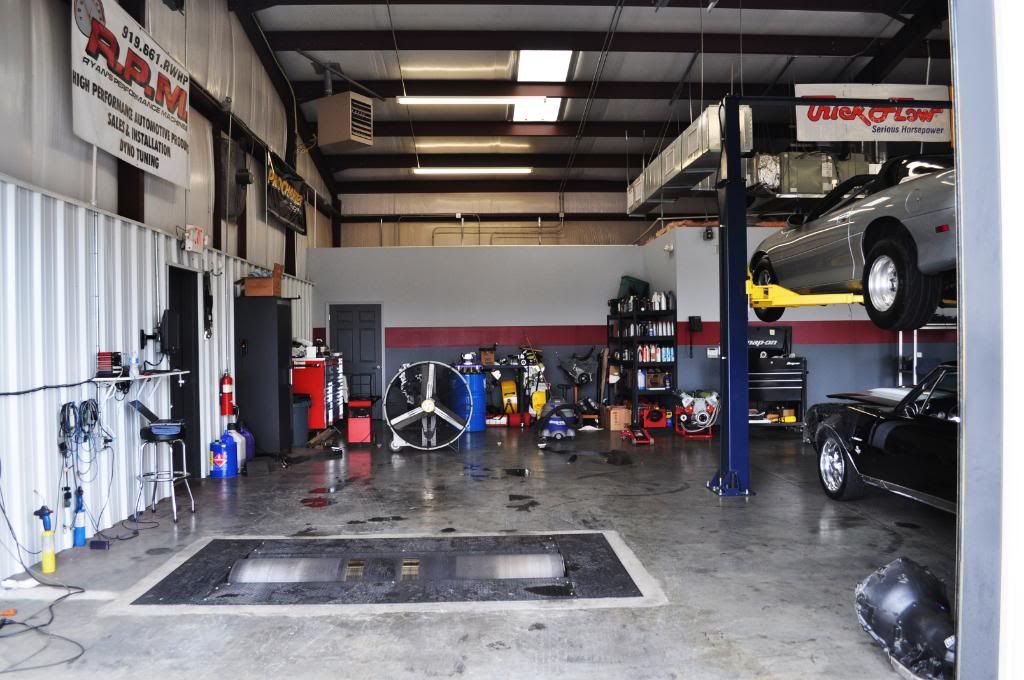
*Pic of part of the shop and in-ground Dynojet.
*Chris checking out the new heads.
*One brand new 243 head NICE!!! The driver side head was not affected that much by the motor blowing so we re-used it.
*One head bolted up and Cometic gasket on the passenger side.
*PSI Maxlife prepared endurance springs for these heads.
*Little closeup of the flycuts.
*Some money shots!
*Chris spinning the motor over by hand after rocker install.
*Buttoning up the motor for Tomorrow's engine install day!
*The car its going in.
*Some other cars at the shop.
*The next day I wanted to help with the engine install but they were too damn quick and got it in before I got there lol.
*Me on the left and Chris on the right.
**** shot in the air.
*Preparing to put the DS in.
*Some of the tools Chris has.
*Putting in the DS.
*Cleaning the FAST 92 intake as it had lots of metal shavings from the motor blowing and oil blow by.
*Getting cleaner!
*Base all cleaned up.
*Pic of part of the shop and in-ground Dynojet.
03-31-2011, 12:43 PM
#4
*Rusty *** 10 bolt soon to be replaced by a MWC 9" while I'm deployed.
*New Bilstein HD shocks and Sam Strano springs. Bald *** Nitto 555r's that I made my track passes with.
*Pic of the shop. Real nice place that is always very clean!
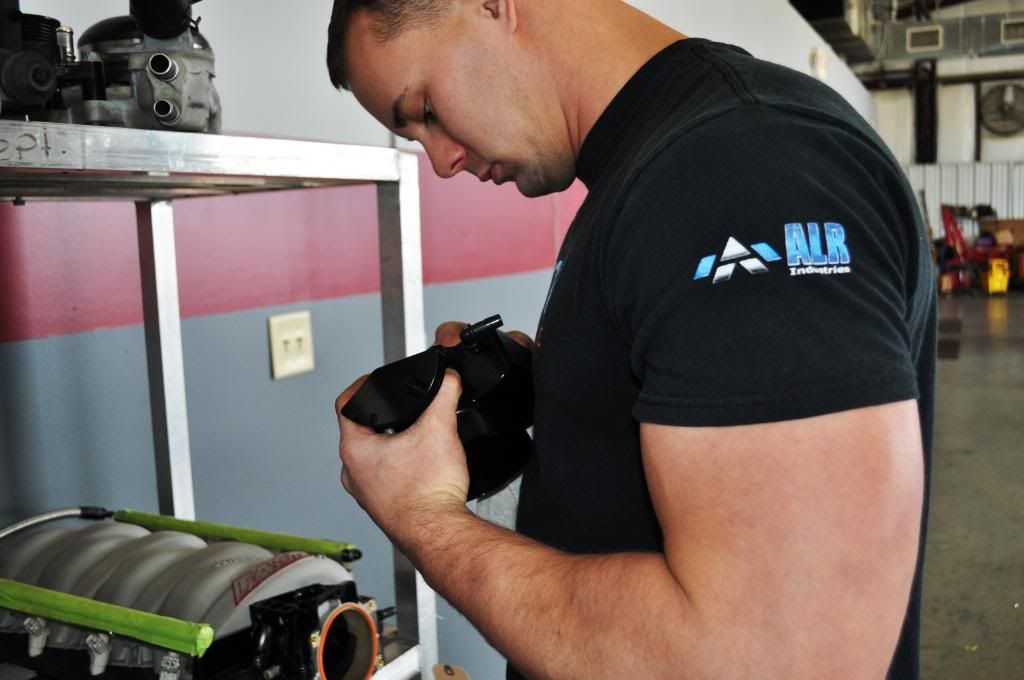
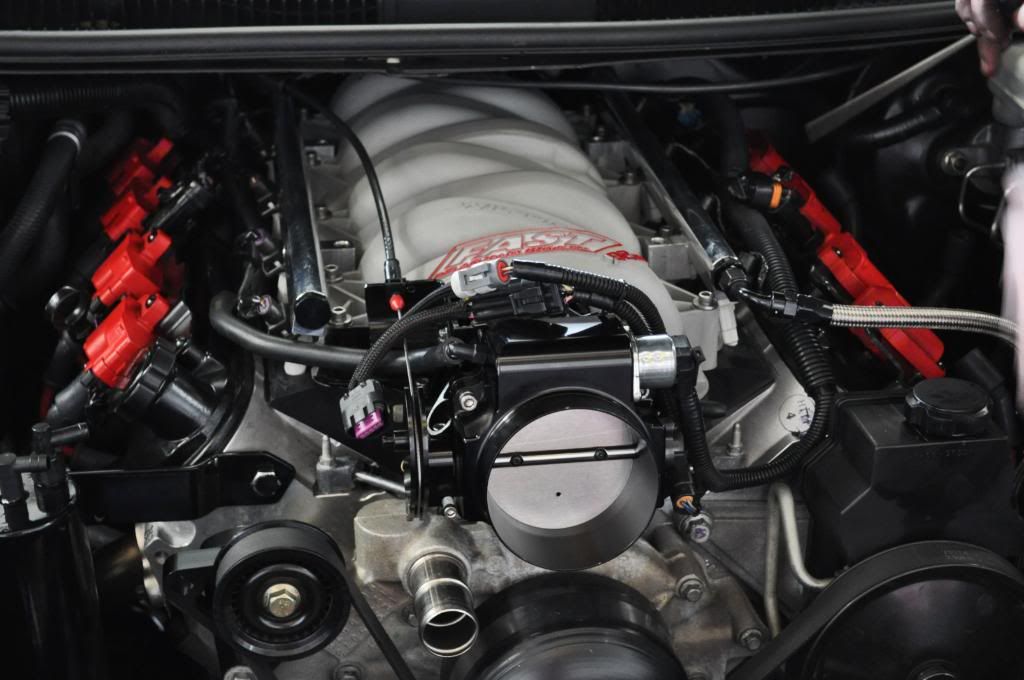
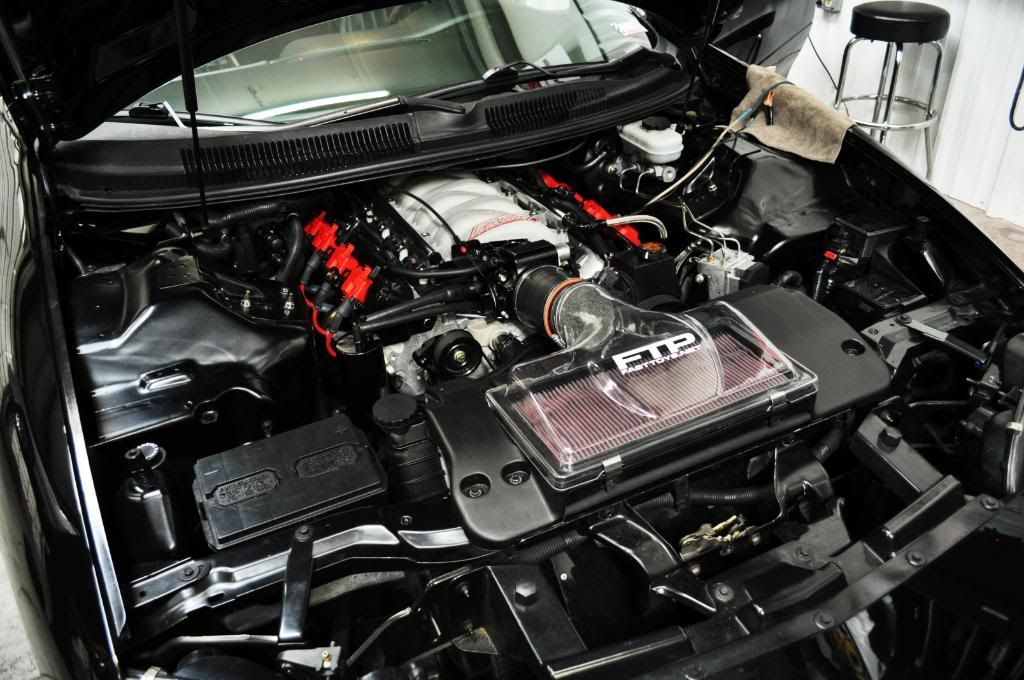
*Inspecting the freshly cleaned Nick Williams 92mm tb before installation. This is a great piece, no sticking issues what so ever and it looks simply badass in the anodized black version.
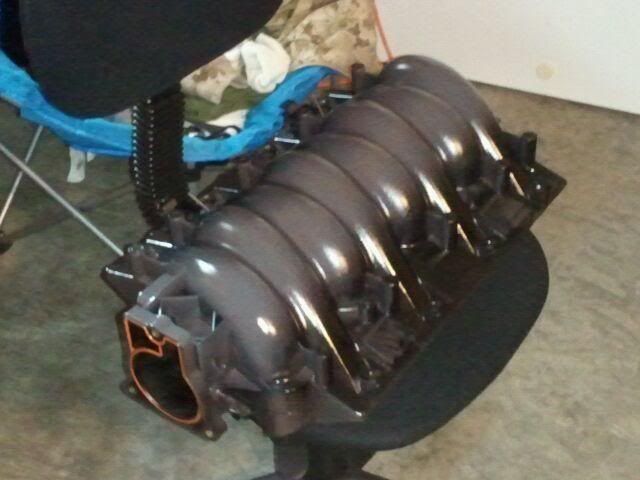
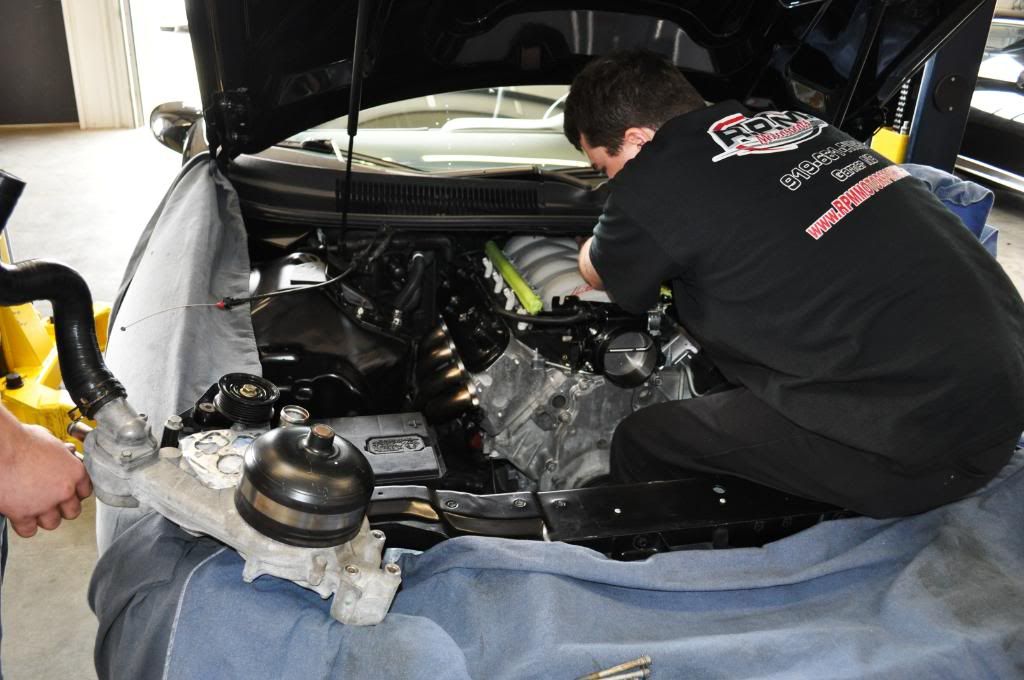
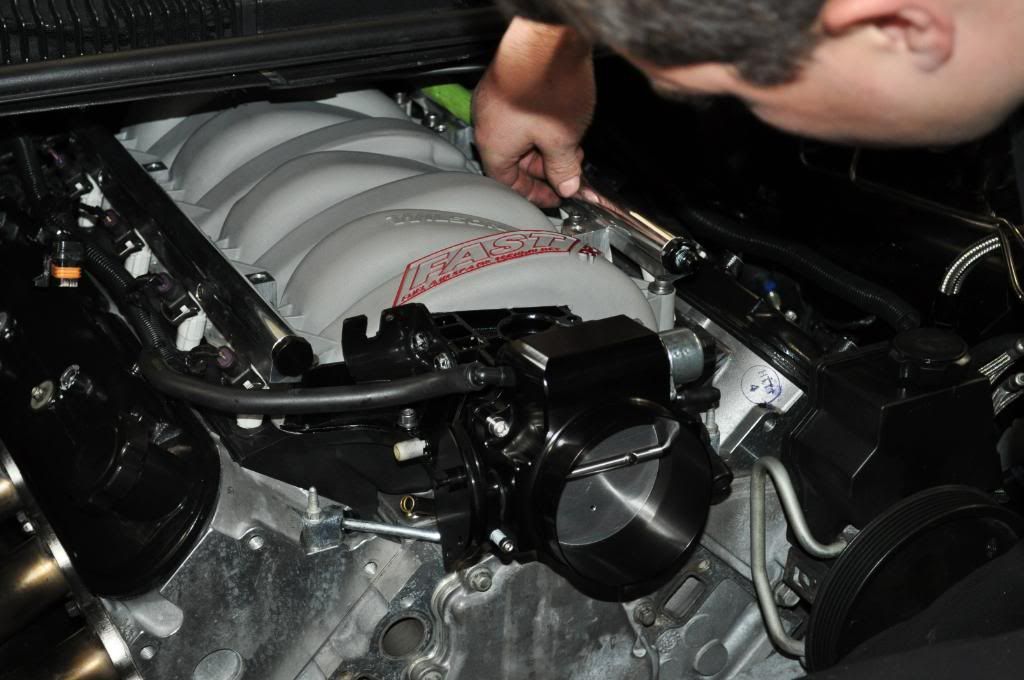
*Getting the FAST 92 intake for Chris to put on.
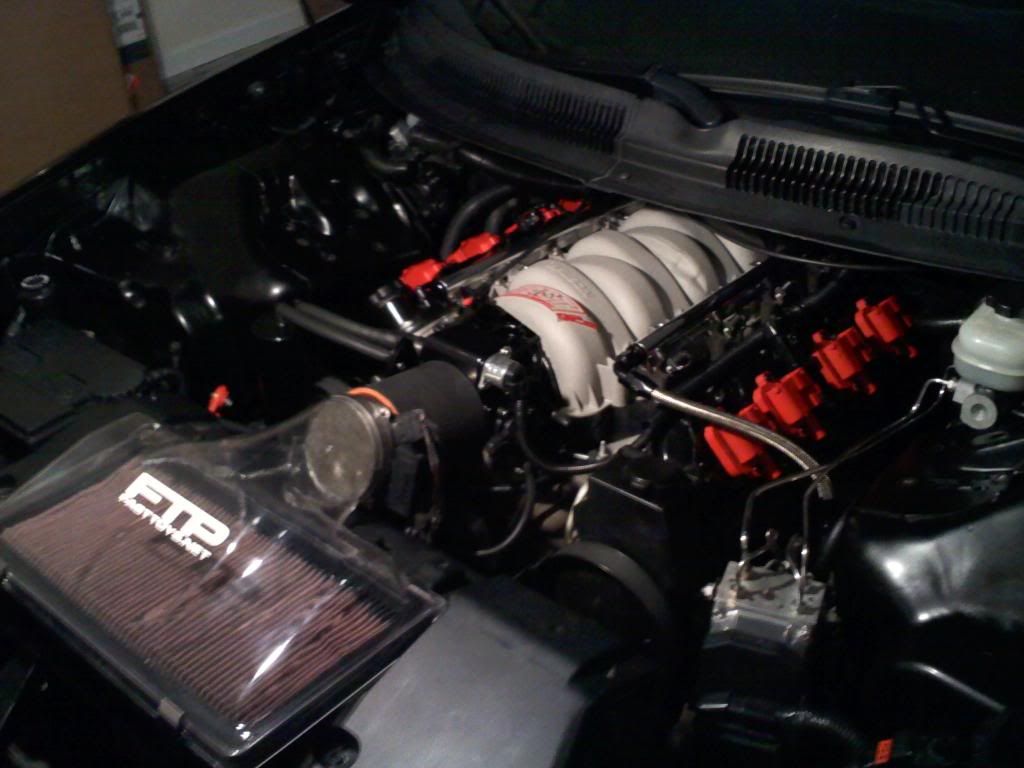
*Intake on, bolts being threaded down.
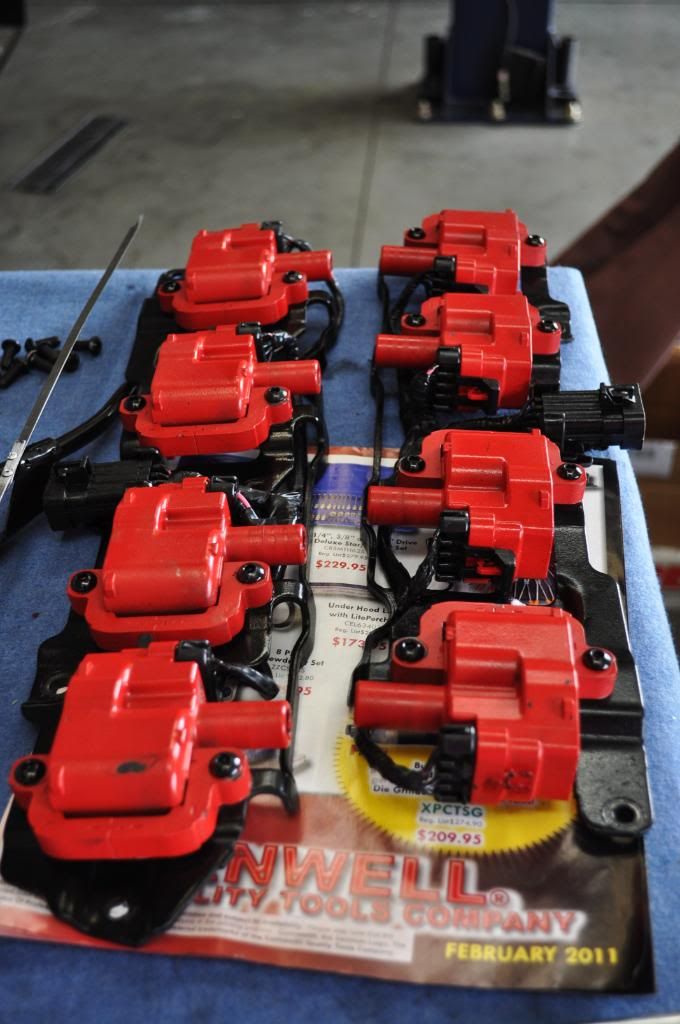
*My painted LS1 Coils with custom allen head bolts.
*Getting ready to pull off the green tape from the fuel rails.

*Ooooo shiny. These are the Nasty Performance polished billet fuel rails and braided stainless lines with black fittings.
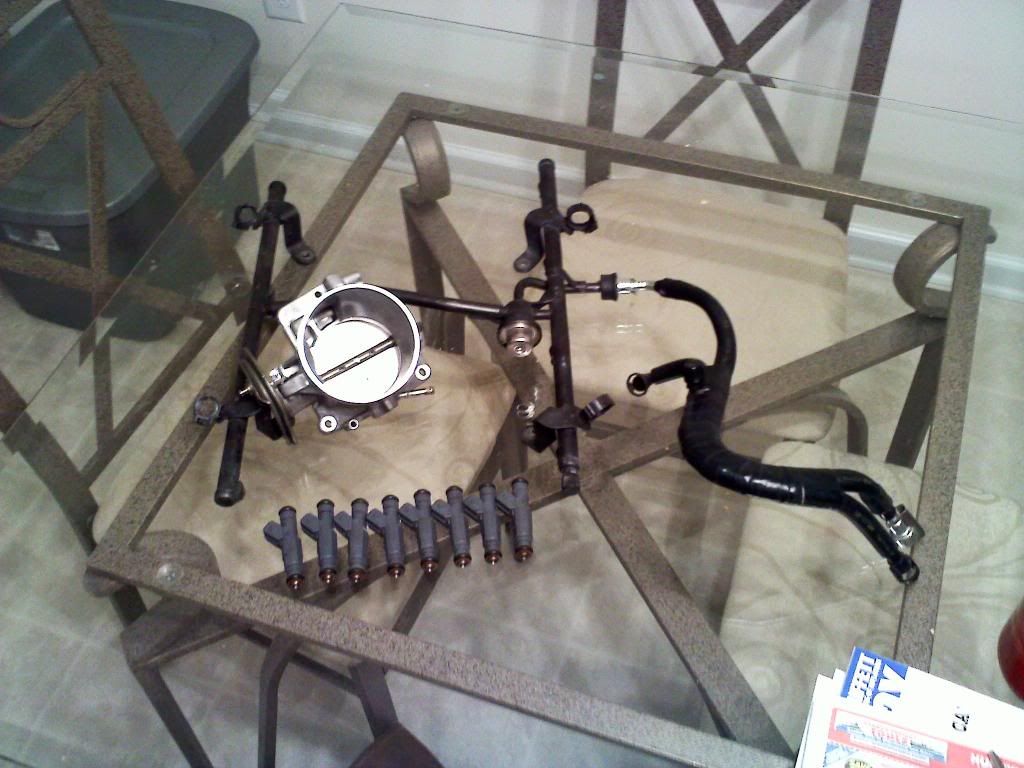
*Plugging the injector harnesses in to the FAST 36lb injectors.
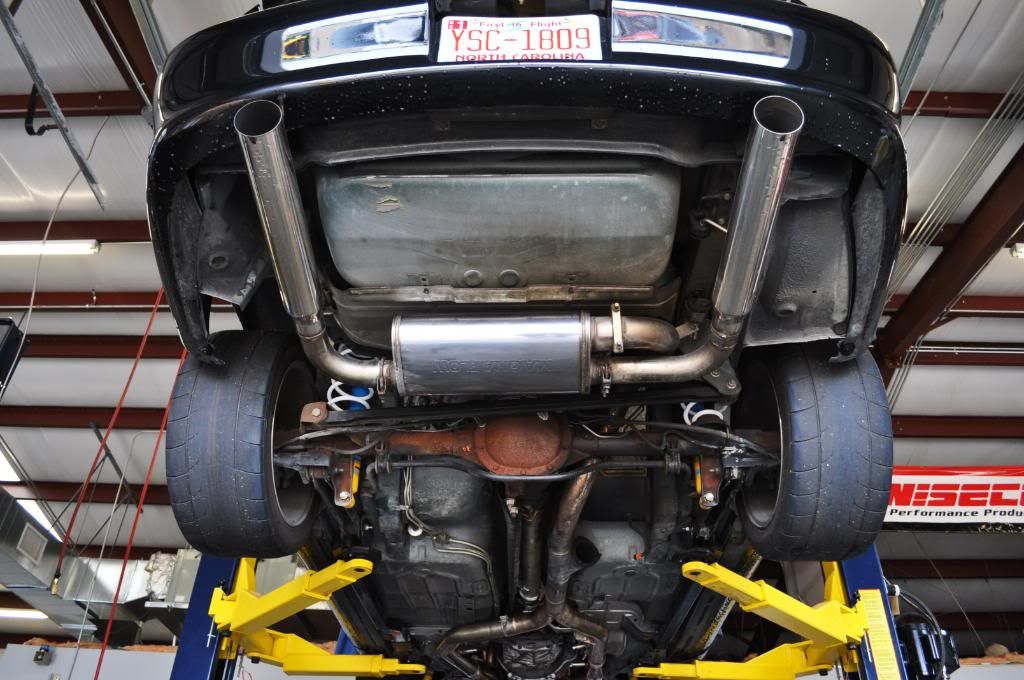
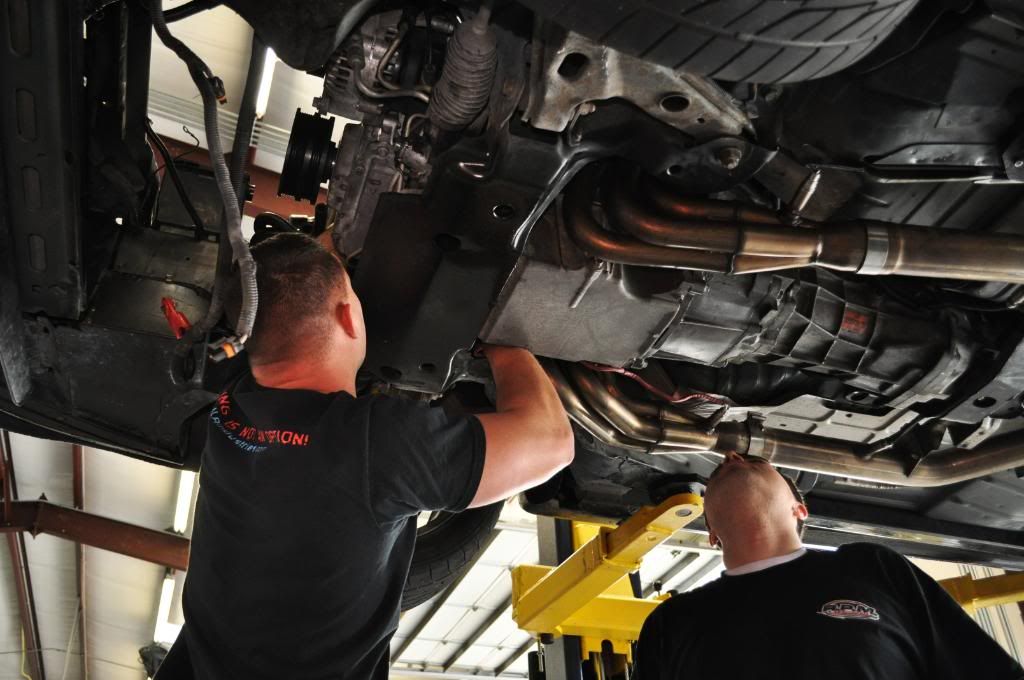
*Threading the dipstick through the headers into its hole.
*Still threading.. It was a pain in the *** being under the car trying to reach up through to guide it.
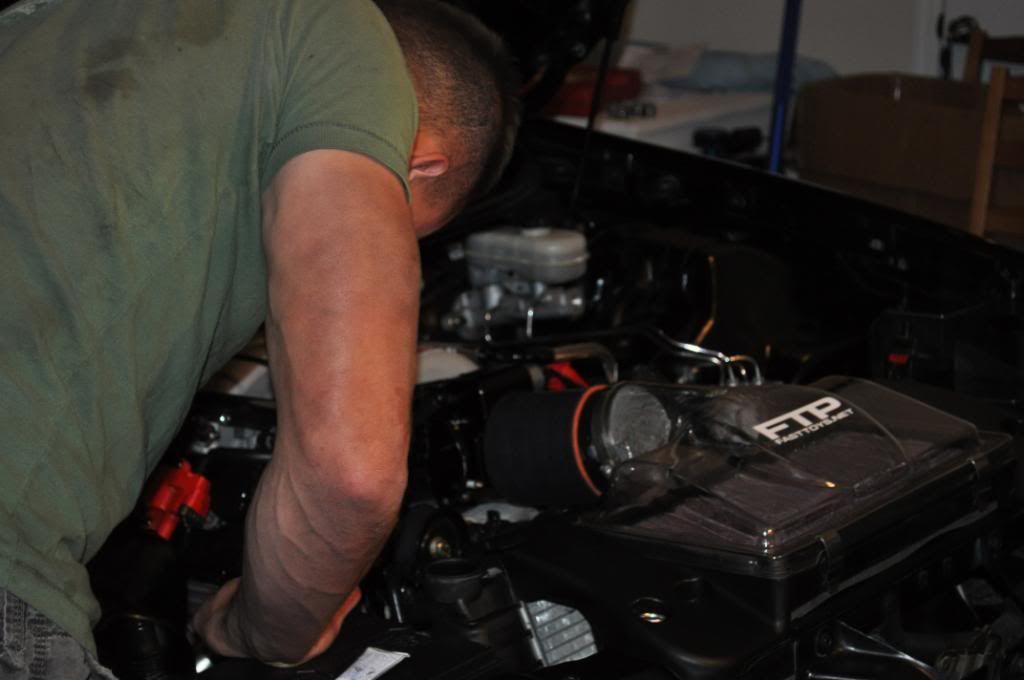
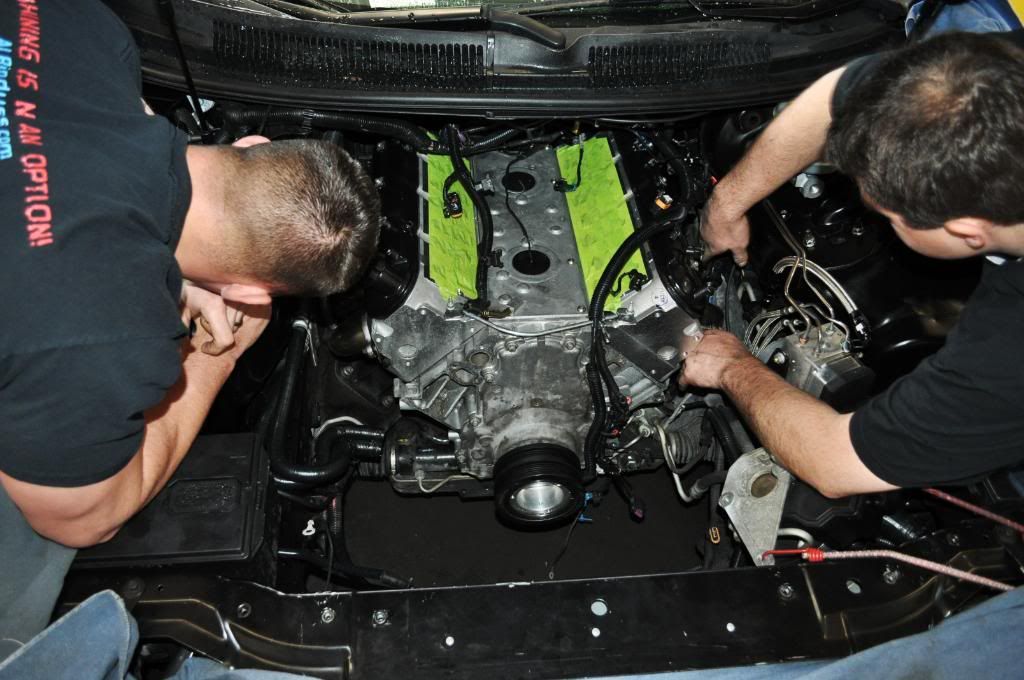
*No idea what we're doing here.
*Starting to come together now.
*Catch can installed and drive belt routed. I have a Katech solid billet tensioner that solved all my shredded belt issues. Great little piece.
*Getting ready for the radiator/fan assembly to be dropped in.
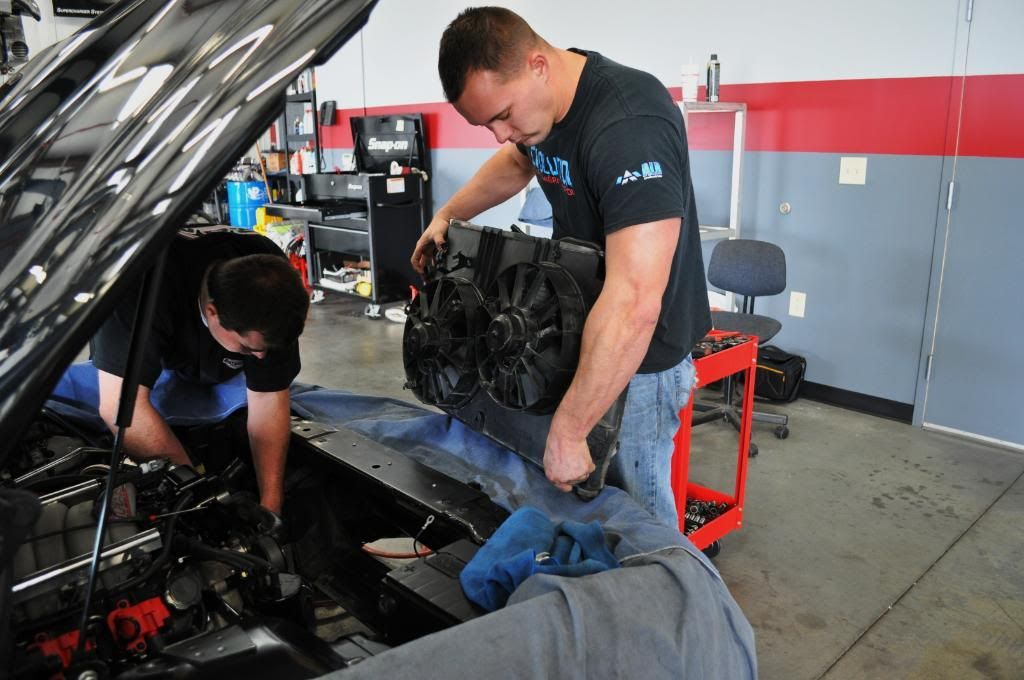
*Radiator and fans back in and looping the hose clamps around it.
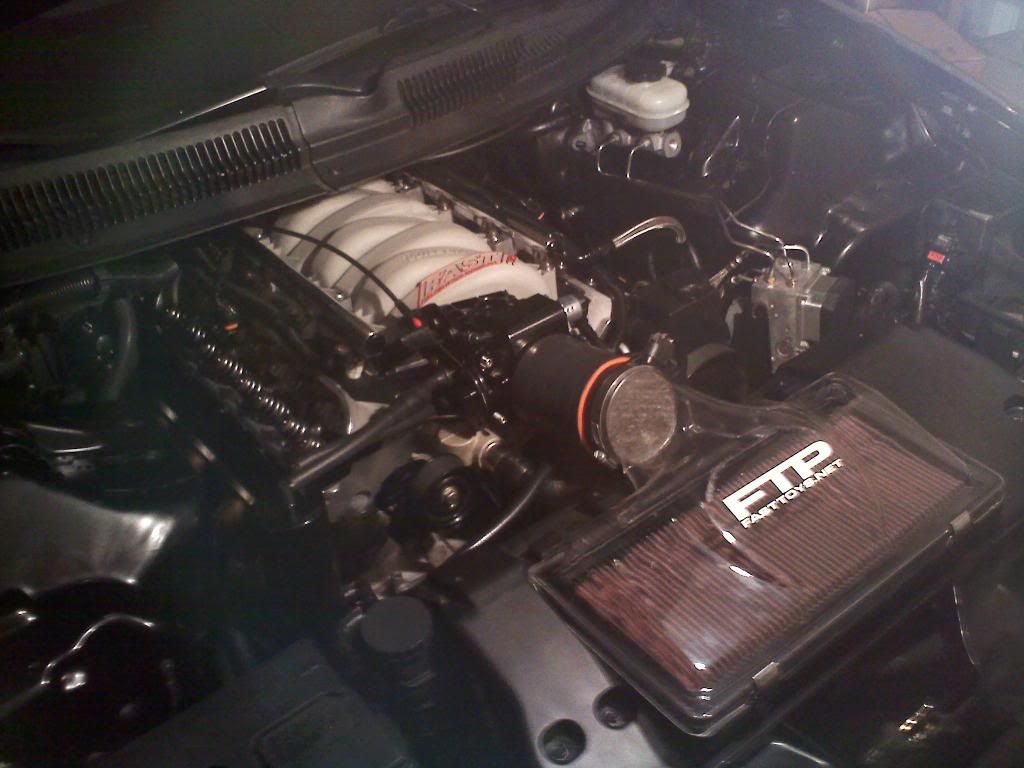
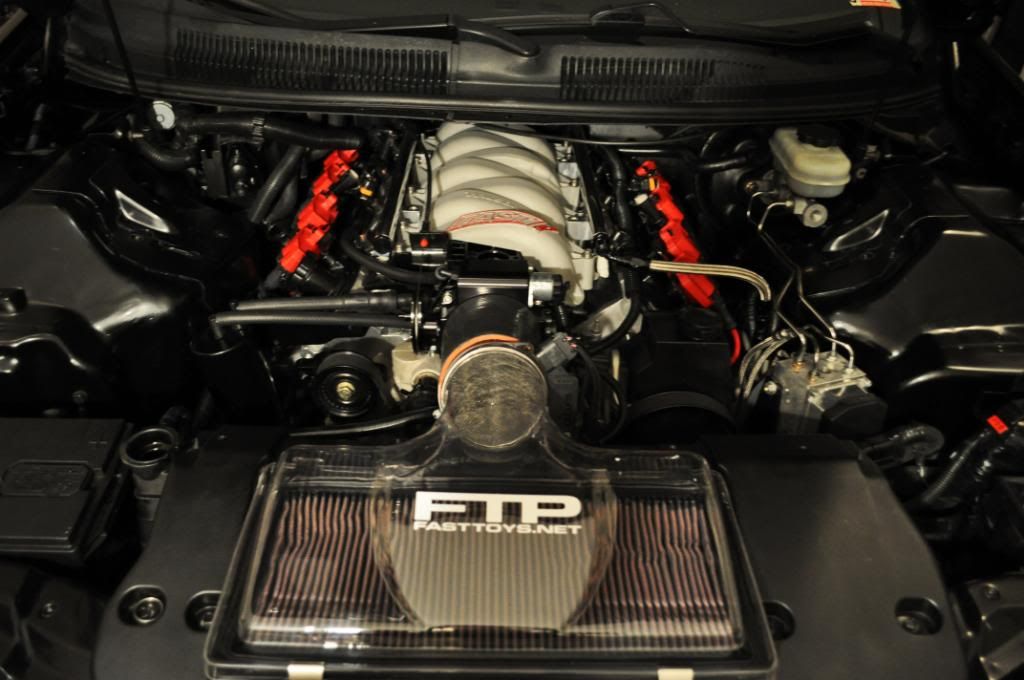
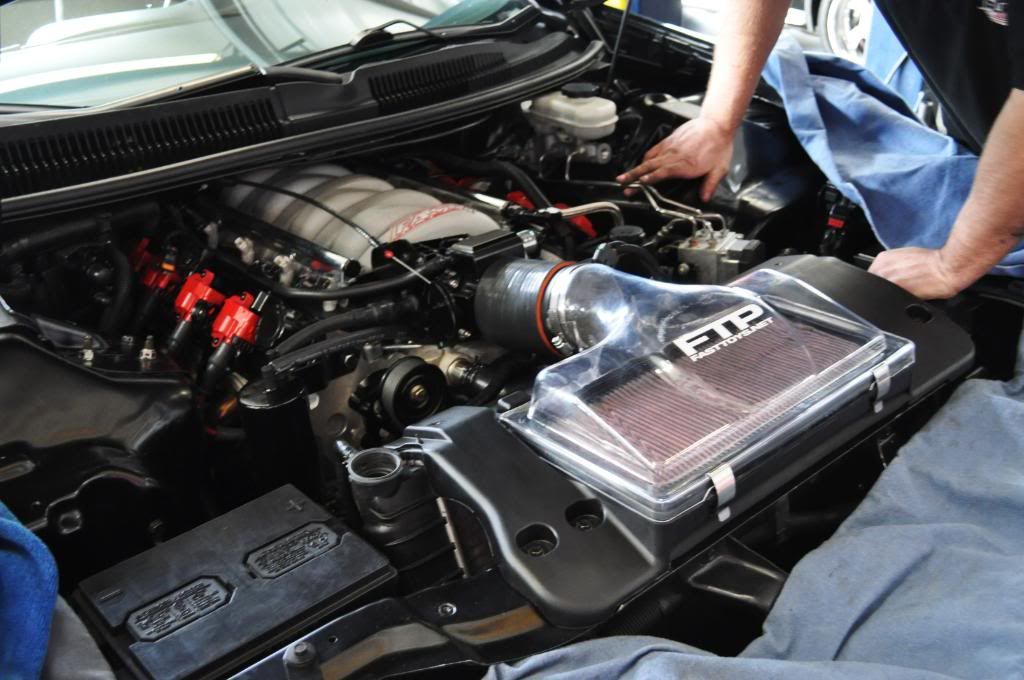
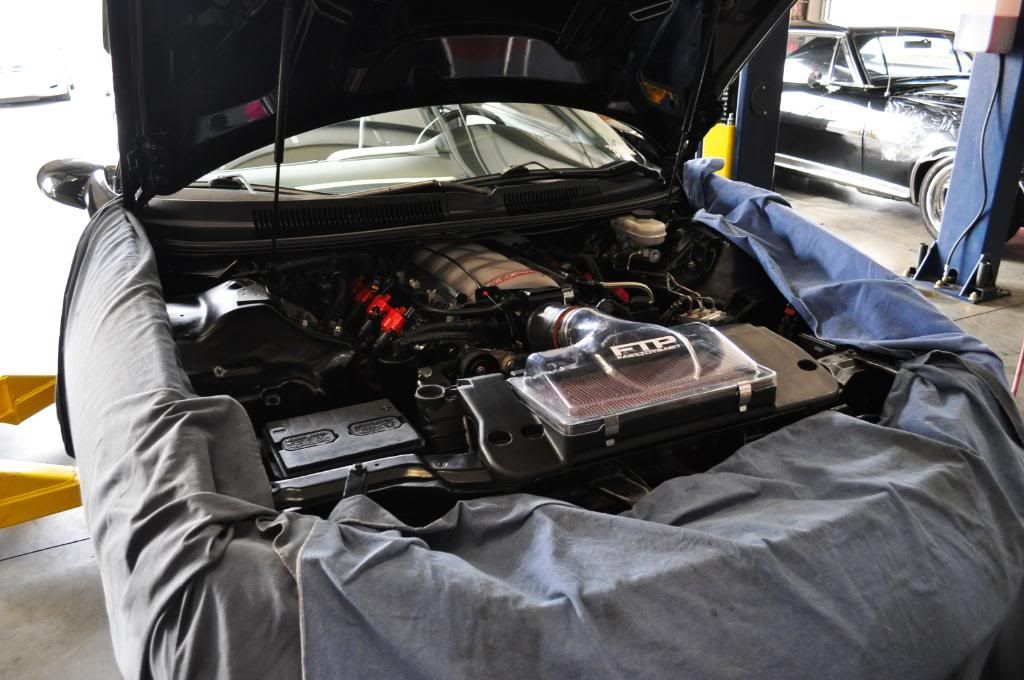
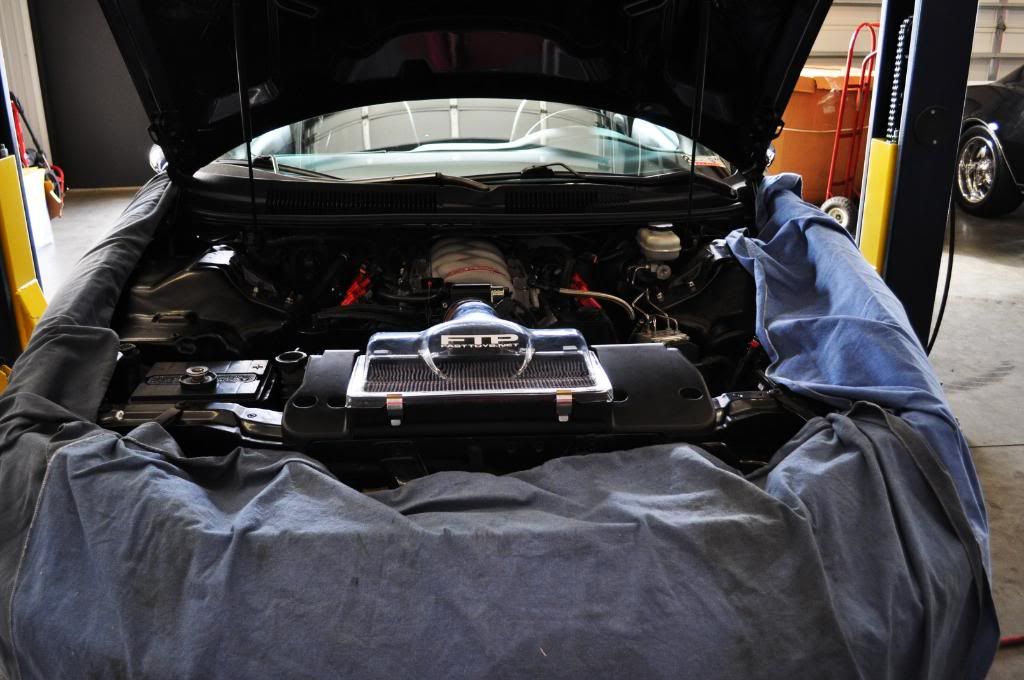
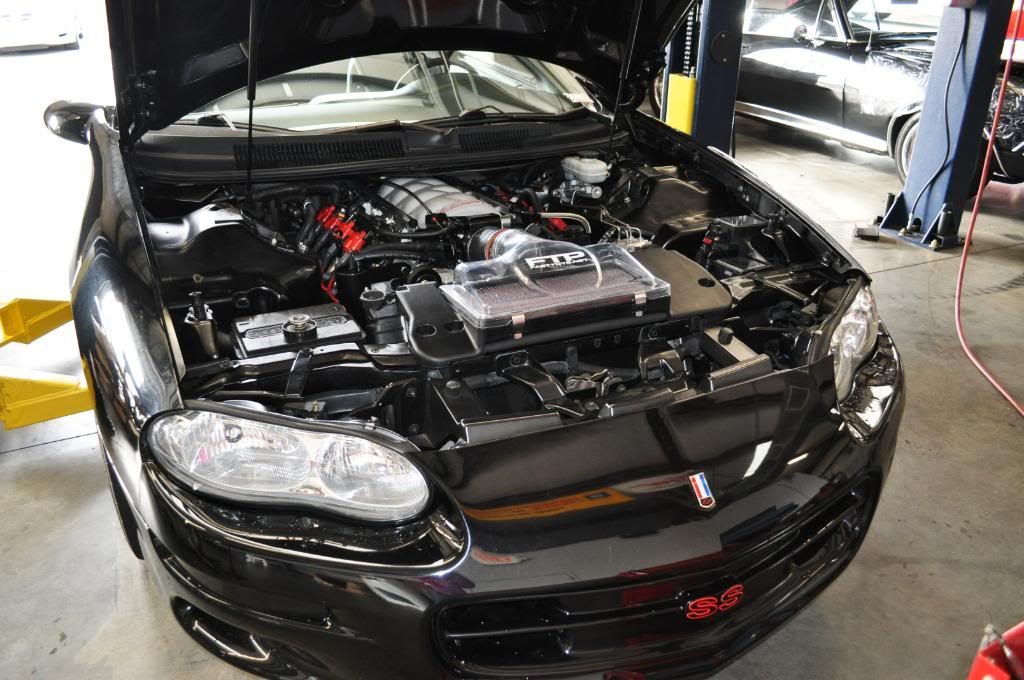
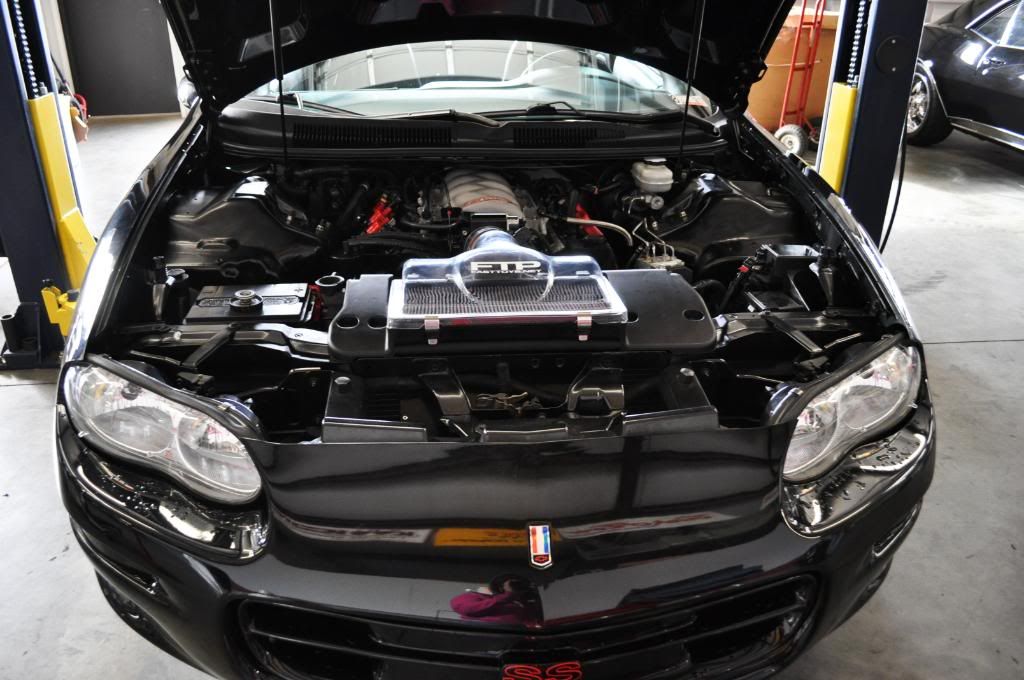
*Air lid base installed as well as Chrs1313 ram air intake which is amazing. I highly recommend it.
*FTP clear 98mm air lid on. Yes those are scratches on top from the hood. I haven't got around to fixing it or the clearance yet.
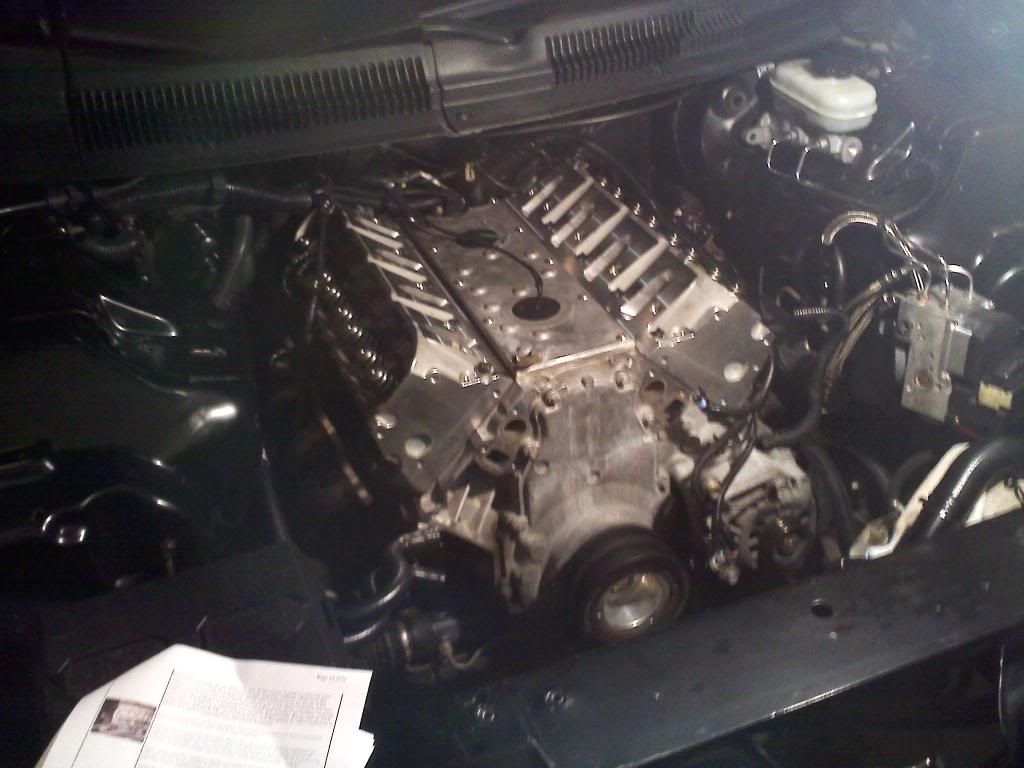
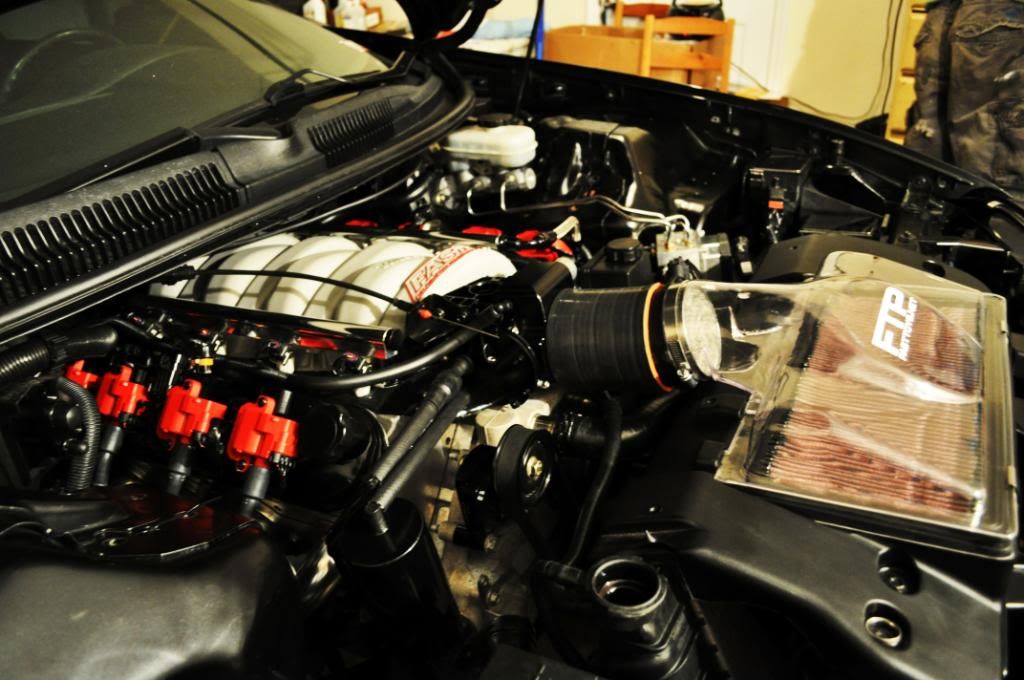
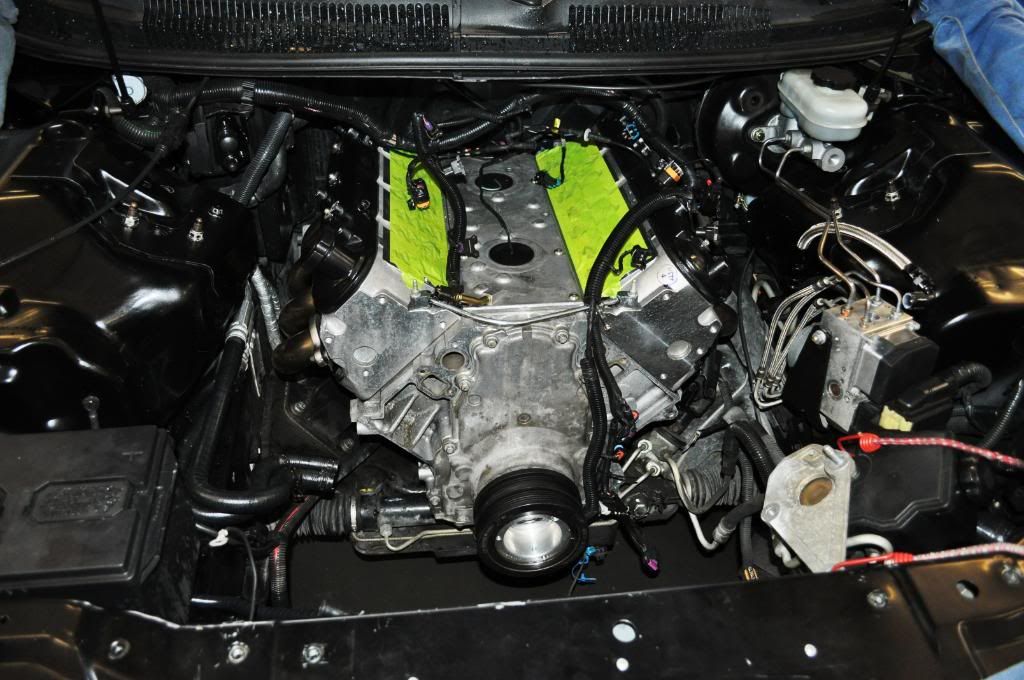
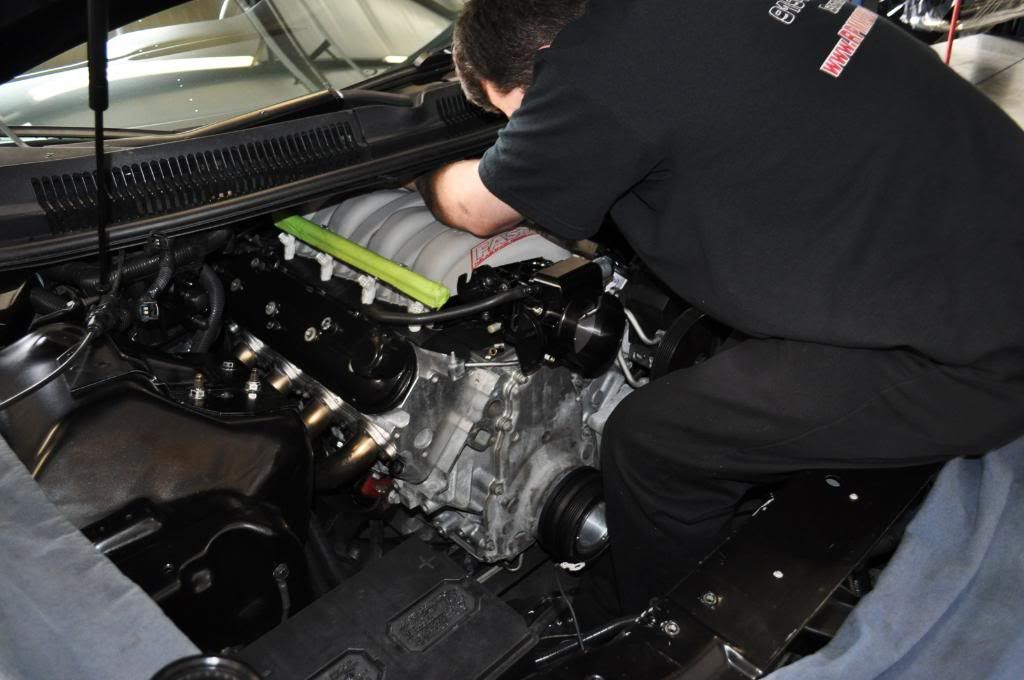
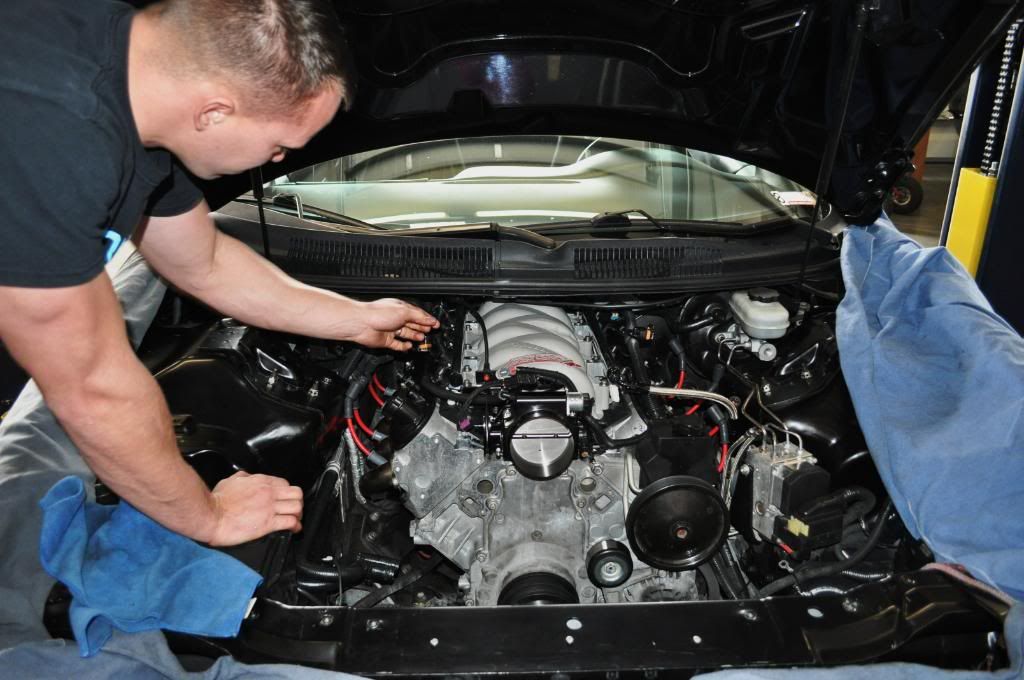
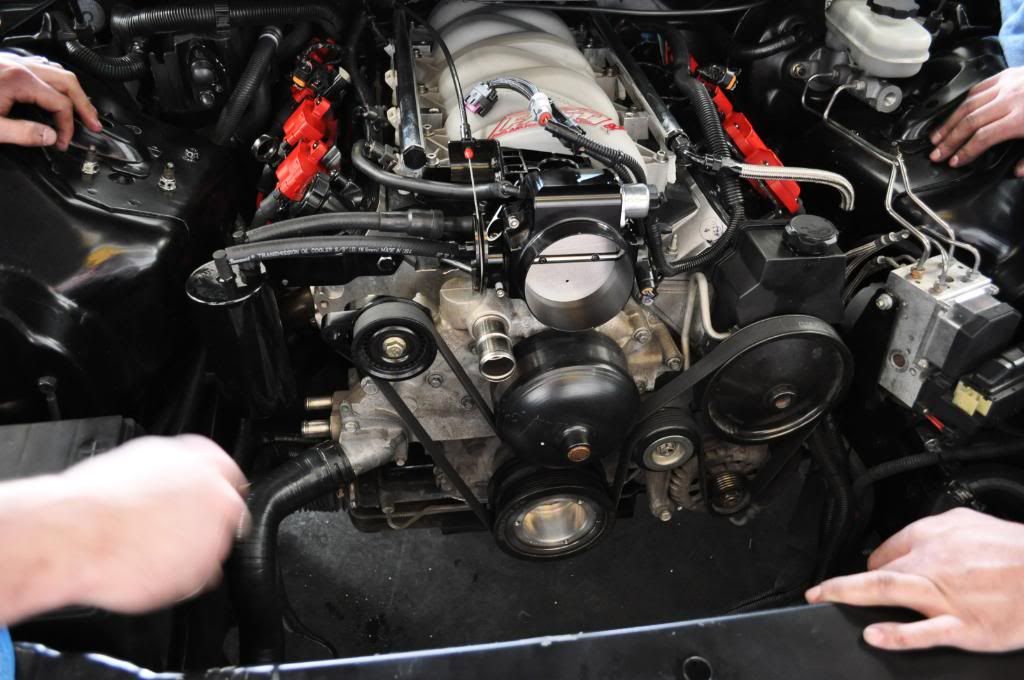
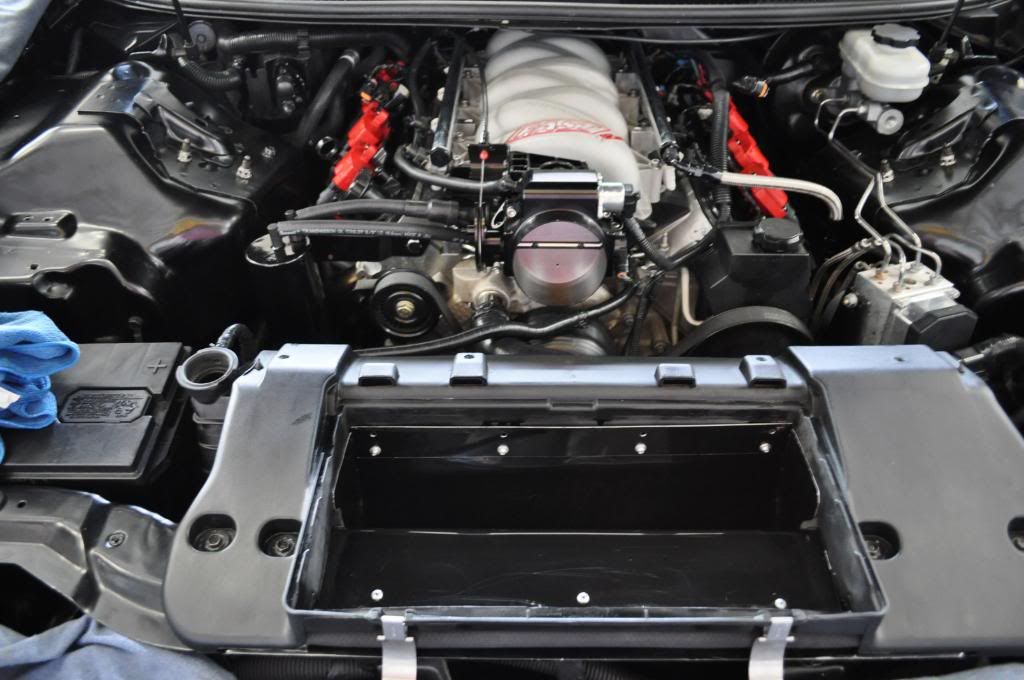
*Couple pics of the top end.

*Looping the hose clamps on the bottom hoses.
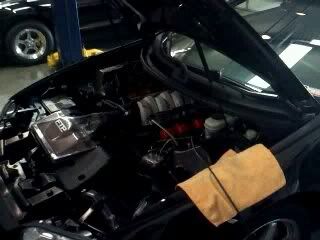
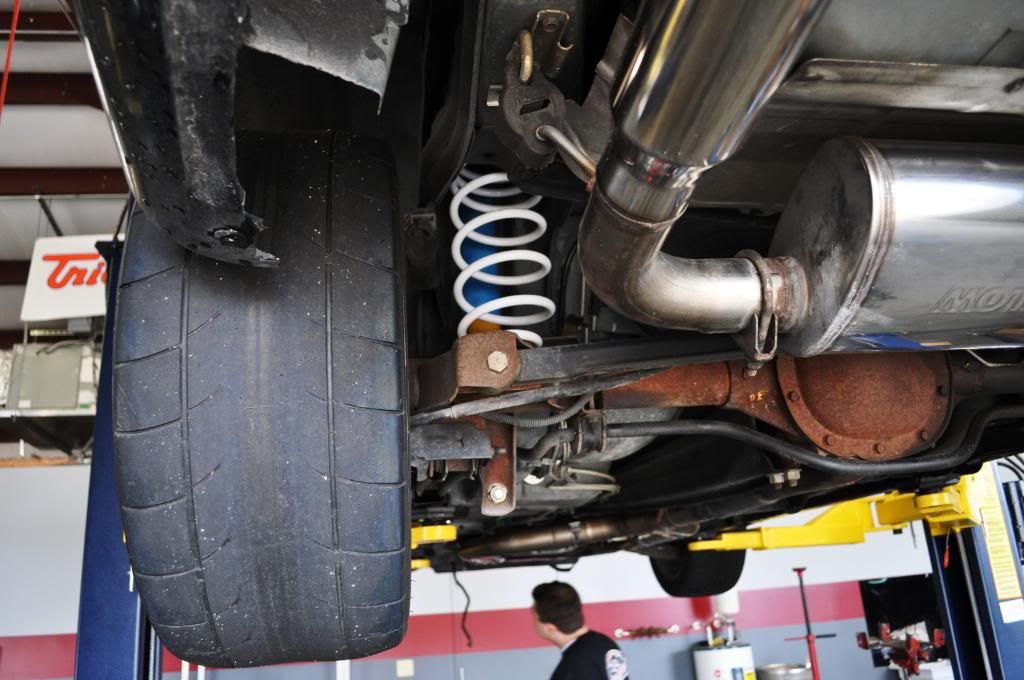
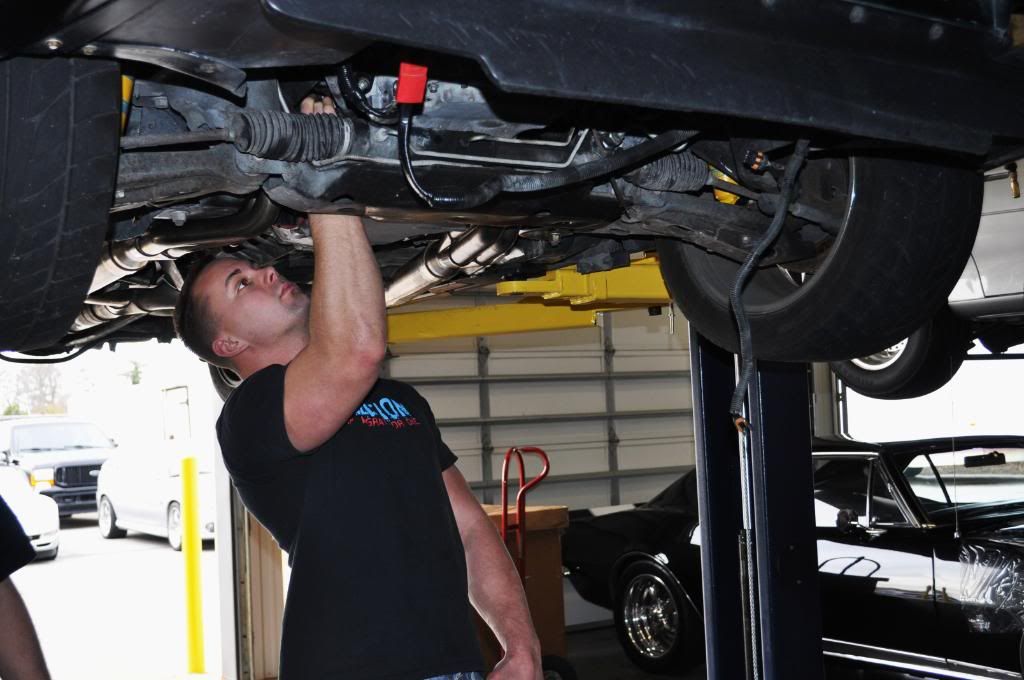
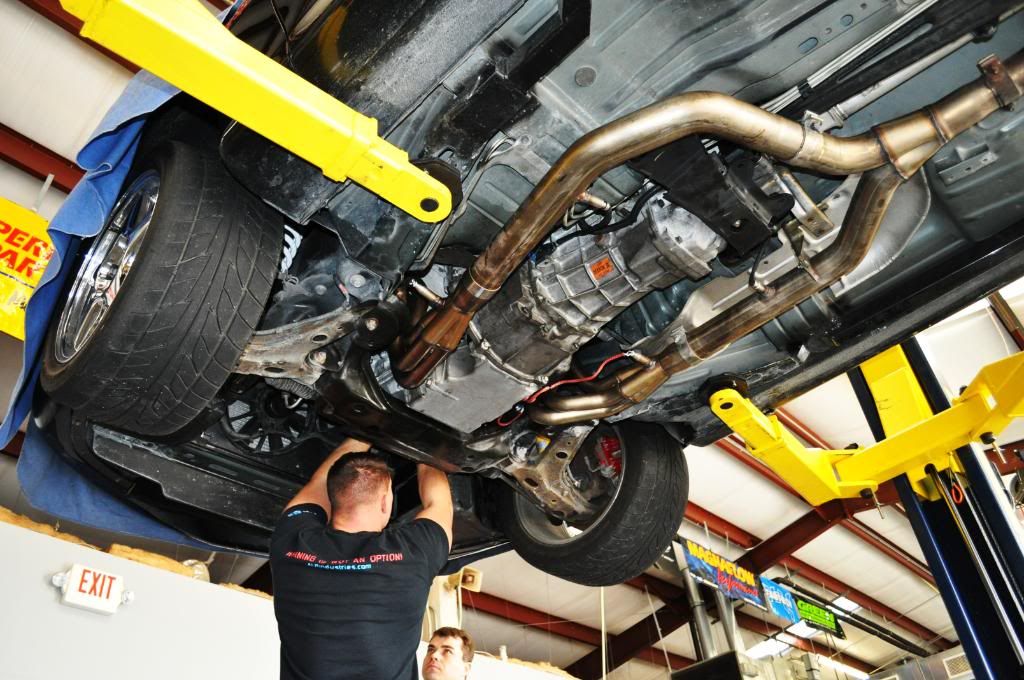
*Underneath the car. Decently clean. I plan to paint it sometime or another maybe with POR15.
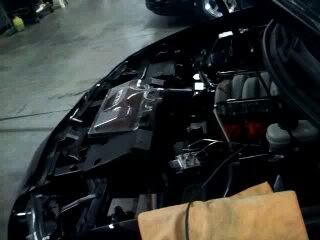
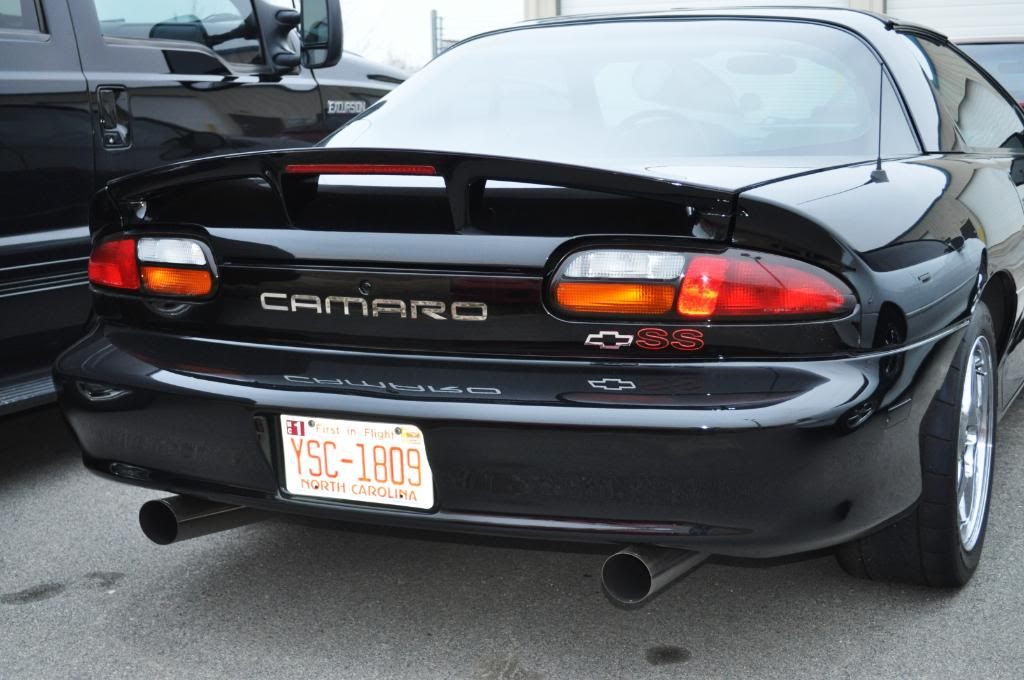
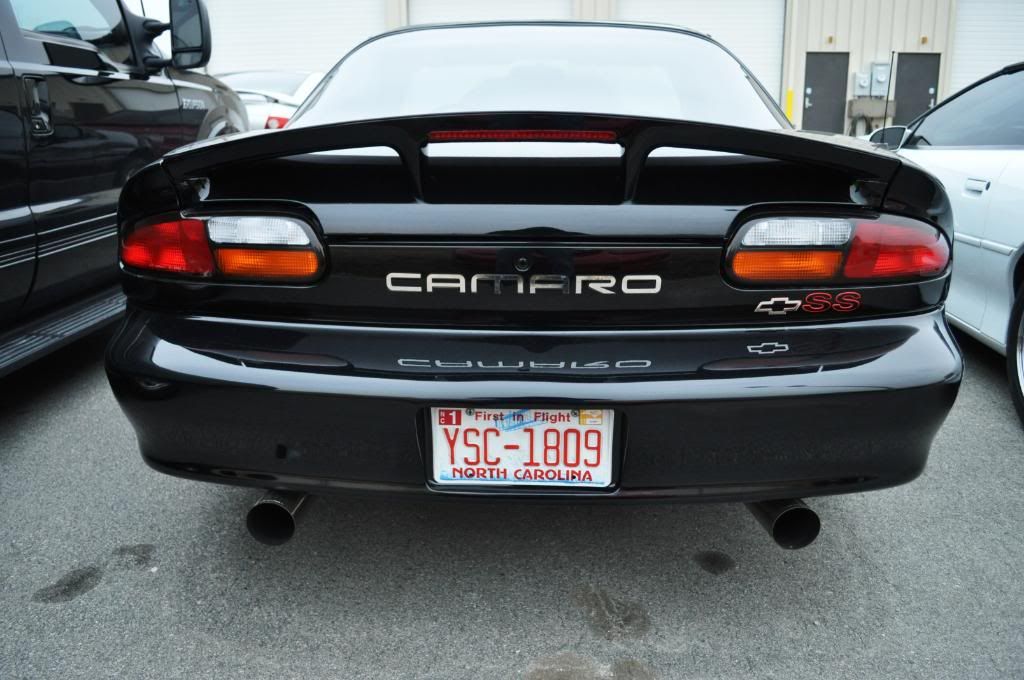
*Completed!!!
*Read and Learn!!
**** FIRST START UP VIDEO AFTER REBUILT MOTOR, FIXED HEADS, AND NEW CUSTOM CAM ****
http://www.youtube.com/watch?v=kiYKsv07ENM
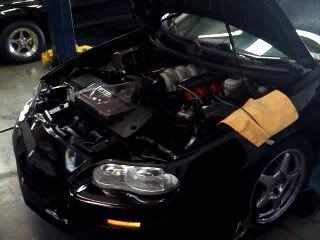
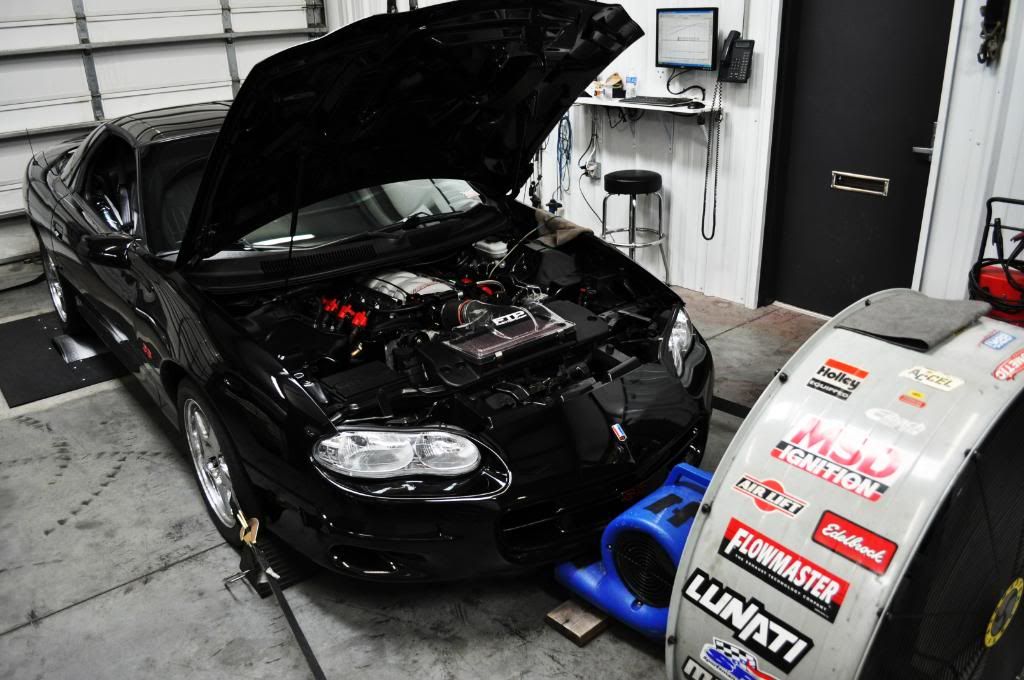
*Some pics while on the dyno!!
*My favorite picture of the car.
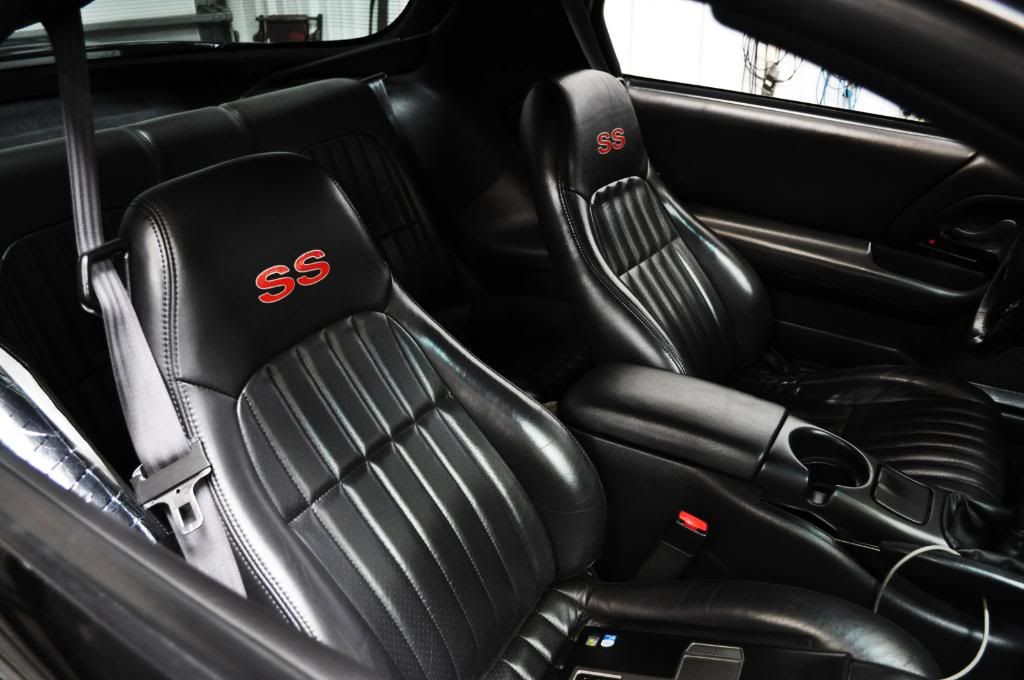
*My new Brent Franker seat decals.. Awesome!!
*Ryan the owner of RPM/Tuner checkin out some things on the Dynograph.

*Numbers! Still probably has a little more in it after a few thousand break in miles. Dyno was done with 350ish or so miles on the new motor.
**** TRACK VIDEO ****
http://www.youtube.com/watch?v=lFjQfULBZgQ
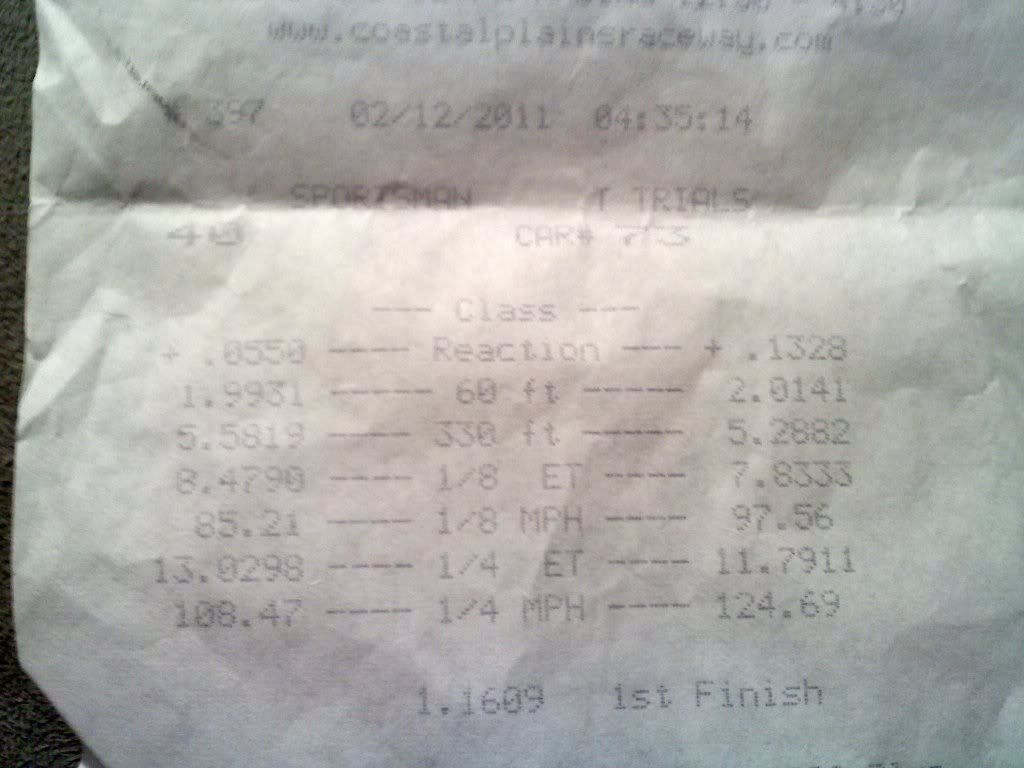
I am in the process of buying a new MWC 9" right now and I will definitely have it before I return from deployment and will lower my E.T significantly you can count on it.
It cost me roughly $3400 to get the car running again. $1000 to fix heads (including price of the new one), $425 custom cam, $150 oil pump, $110 Pushrods (needed shorter), $550 for the motor work, $280 or so for new rings/bearings, $800 in labor at RPM, and about $100 in other miscellaneous ****.
A big thanks goes out to RPM and Advanced Inductions. Without them I would still be stranded some where.
Also a big thanks goes out to my beautiful wife for all the pictures she took during the build. Thanks baby.
I hope everyone enjoyed my recap type thread of my build and if you have any questions at all please feel free to ask.
**** This thread took like 4 hours to put together. If you see any mistakes or anything let me know and I will fix them. Thank you. ****
*New Bilstein HD shocks and Sam Strano springs. Bald *** Nitto 555r's that I made my track passes with.
*Pic of the shop. Real nice place that is always very clean!
*Inspecting the freshly cleaned Nick Williams 92mm tb before installation. This is a great piece, no sticking issues what so ever and it looks simply badass in the anodized black version.
*Getting the FAST 92 intake for Chris to put on.
*Intake on, bolts being threaded down.
*My painted LS1 Coils with custom allen head bolts.
*Getting ready to pull off the green tape from the fuel rails.
*Ooooo shiny. These are the Nasty Performance polished billet fuel rails and braided stainless lines with black fittings.
*Plugging the injector harnesses in to the FAST 36lb injectors.
*Threading the dipstick through the headers into its hole.
*Still threading.. It was a pain in the *** being under the car trying to reach up through to guide it.
*No idea what we're doing here.
*Starting to come together now.
*Catch can installed and drive belt routed. I have a Katech solid billet tensioner that solved all my shredded belt issues. Great little piece.
*Getting ready for the radiator/fan assembly to be dropped in.
*Radiator and fans back in and looping the hose clamps around it.
*Air lid base installed as well as Chrs1313 ram air intake which is amazing. I highly recommend it.
*FTP clear 98mm air lid on. Yes those are scratches on top from the hood. I haven't got around to fixing it or the clearance yet.
*Couple pics of the top end.
*Looping the hose clamps on the bottom hoses.
*Underneath the car. Decently clean. I plan to paint it sometime or another maybe with POR15.
*Completed!!!
*Read and Learn!!
**** FIRST START UP VIDEO AFTER REBUILT MOTOR, FIXED HEADS, AND NEW CUSTOM CAM ****
http://www.youtube.com/watch?v=kiYKsv07ENM
*Some pics while on the dyno!!
*My favorite picture of the car.
*My new Brent Franker seat decals.. Awesome!!
*Ryan the owner of RPM/Tuner checkin out some things on the Dynograph.
*Numbers! Still probably has a little more in it after a few thousand break in miles. Dyno was done with 350ish or so miles on the new motor.
**** TRACK VIDEO ****
http://www.youtube.com/watch?v=lFjQfULBZgQ
I am in the process of buying a new MWC 9" right now and I will definitely have it before I return from deployment and will lower my E.T significantly you can count on it.
It cost me roughly $3400 to get the car running again. $1000 to fix heads (including price of the new one), $425 custom cam, $150 oil pump, $110 Pushrods (needed shorter), $550 for the motor work, $280 or so for new rings/bearings, $800 in labor at RPM, and about $100 in other miscellaneous ****.
A big thanks goes out to RPM and Advanced Inductions. Without them I would still be stranded some where.
Also a big thanks goes out to my beautiful wife for all the pictures she took during the build. Thanks baby.
I hope everyone enjoyed my recap type thread of my build and if you have any questions at all please feel free to ask.
**** This thread took like 4 hours to put together. If you see any mistakes or anything let me know and I will fix them. Thank you. ****
Last edited by djfury05; 04-01-2011 at 07:22 AM.
Trending Topics
03-31-2011, 06:23 PM
#12

very nice thread I am sure this will help some people...
always measure...I only had .086 with stock 241s and 230/230 111+2 cam, stock mls too
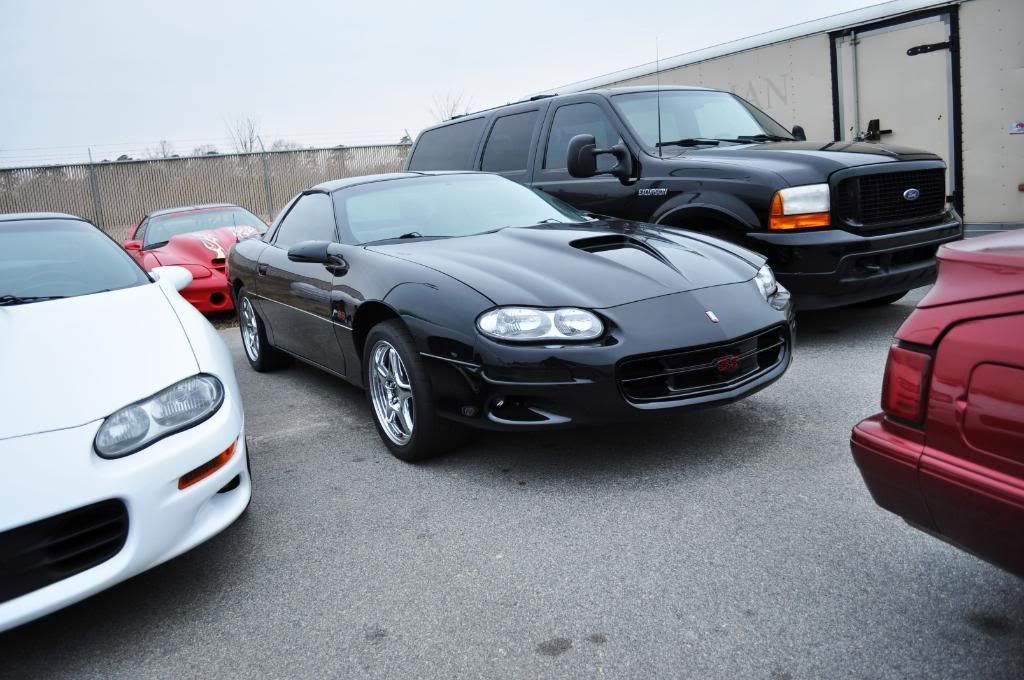
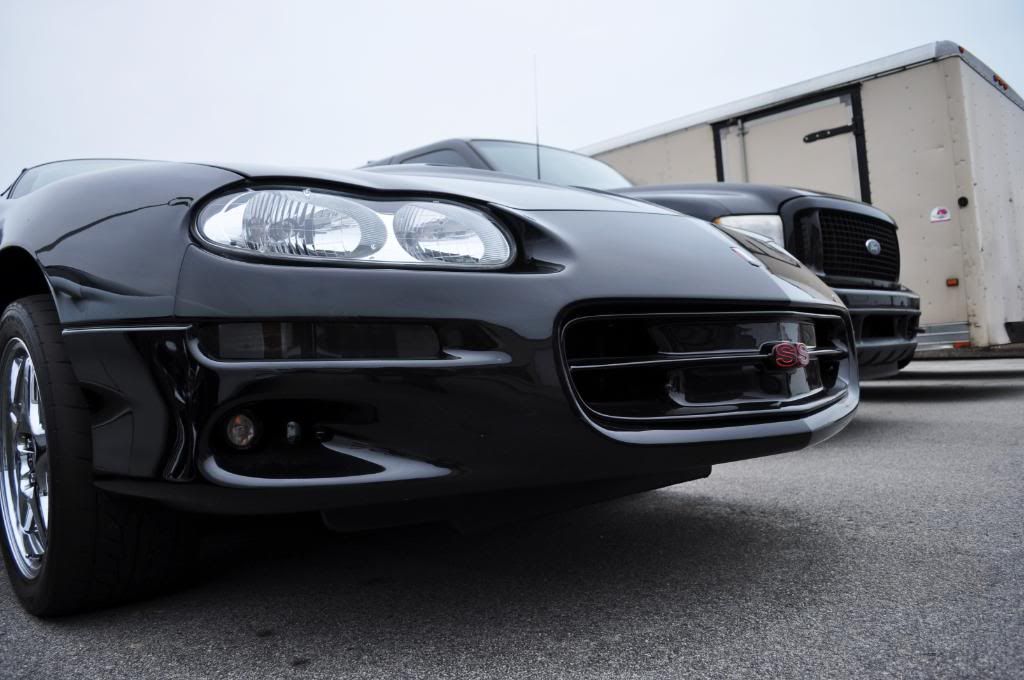
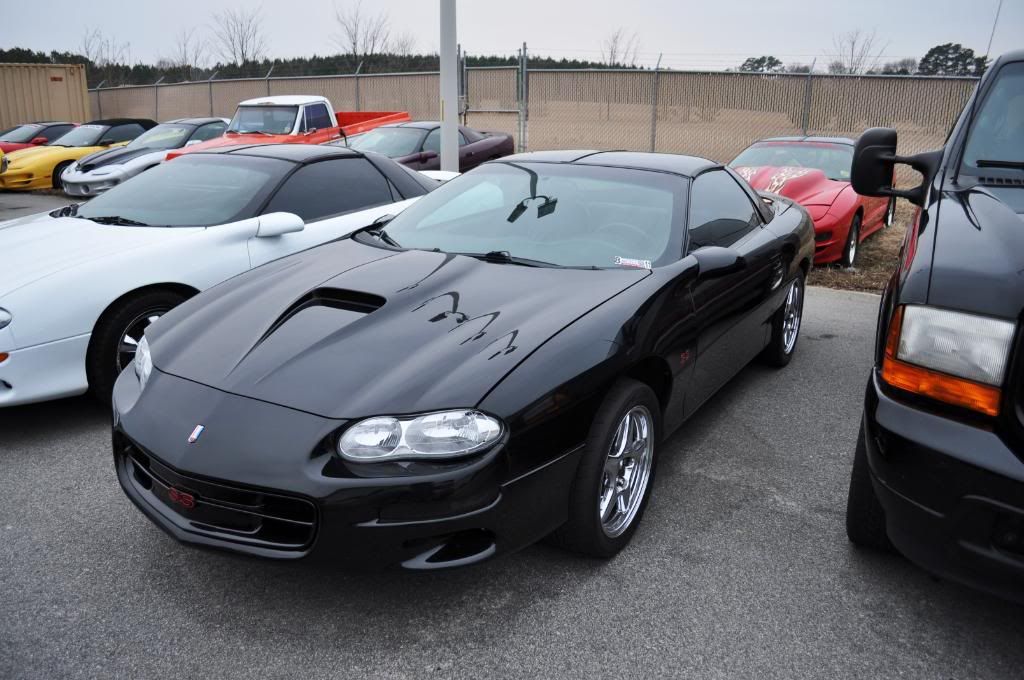
Car looks sick murdered out black...
Also that is stand up all the way by ARH...
always measure...I only had .086 with stock 241s and 230/230 111+2 cam, stock mls too
Car looks sick murdered out black...
Also that is stand up all the way by ARH...


 Impressive numbers.
04-01-2011, 01:24 AM
Impressive numbers.
04-01-2011, 01:24 AM
#19
All i can say is thank you for the awesome write up. These things take time! I'm sure somewhere along the line this thread will help somebody out tremendously.
That thing sounds great btw!
That thing sounds great btw!
04-01-2011, 06:41 AM
#20
Thanks man I appreciate it!
Thanks Jason! I had to sneak that pic of you in there some where lol.
I was running the TR 230/236 cam with my new 243 heads at 62cc. I had originally requested 61cc but Phil @ AI did some numbers on it and looked at the lobe data of my TR 230/236 cam and decided 62cc would be a better choice due to not knowing if the cam was ground correctly in the first place. But I still got bit =(.
Yessir blew up on Dec 10th and I was driving it again February 3rd.
Depends on the ICL of you cam and lobe events if yours will be a problem like mine was. Definitely measure though. Thanks for checkin out the thread and commenting!
Thanks man!
It is a blast to drive. Much more responsive and losing traction punching it at 60 now is fun!
Yea ARH is the ****. Kooks is good too but I'm gonna stick with ARH forever
Nah the discount in my eyes was being able to work along side professionals and learn a lot along the way. It was a great time with some great people!
Thanks!
Yep most people locally who don't know me or the car chuckle when they see the 243 casting on the heads and think it's going to be an easy win. then I proceed to put an ***-whooping on them over and over lol.
RPM is a great shop man they are very fair with pricing and when a deadline needs to be met they are always on point!
Thanks bro!
They are good enough for now lol
Thanks man I hope this thread will help some one out too. I'm glad I took so many pics of the build definitely will have to the same thing next time I build something.
Thanks Jason! I had to sneak that pic of you in there some where lol.
It is a blast to drive. Much more responsive and losing traction punching it at 60 now is fun!
Nah the discount in my eyes was being able to work along side professionals and learn a lot along the way. It was a great time with some great people!
Thanks!
Yep most people locally who don't know me or the car chuckle when they see the 243 casting on the heads and think it's going to be an easy win. then I proceed to put an ***-whooping on them over and over lol.
RPM is a great shop man they are very fair with pricing and when a deadline needs to be met they are always on point!
Thanks bro!
They are good enough for now lol
Thanks man I hope this thread will help some one out too. I'm glad I took so many pics of the build definitely will have to the same thing next time I build something.