NA 'street' LS2 403 build - "From Crate to Dyno"


 01-23-2010, 12:03 AM
#62
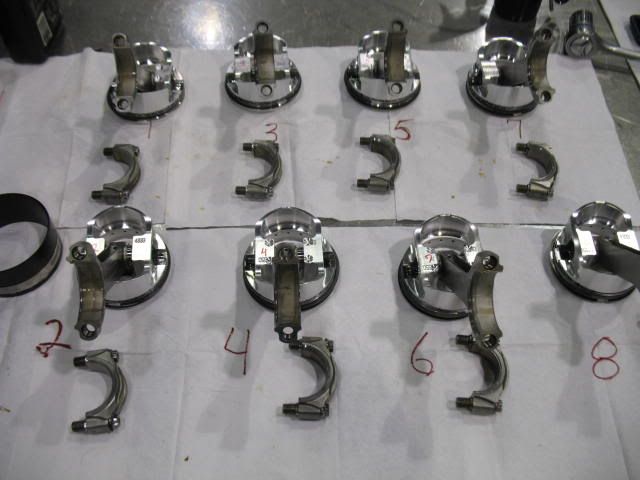
Next up was to build the rods and pistons. I started with getting the orientation right for all the rods and pistons and then marked them with the appropriate cylinders since they have offset piston pins dictating lefts and rights. This will make the install go faster when my hands are all oily.
I then started assembly by installing 2 spirolocks in each end of each of the pistons.
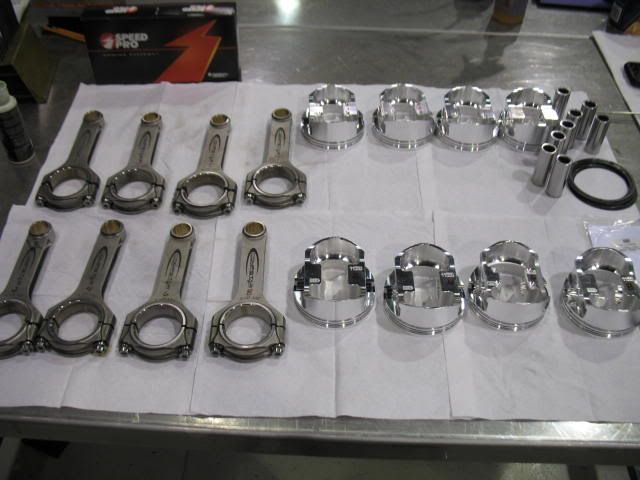
I used the same lube I did on the main bearings to coat the piston pins and the bronze bushings in the small ends of the rods before assembling the rods to the pistons.

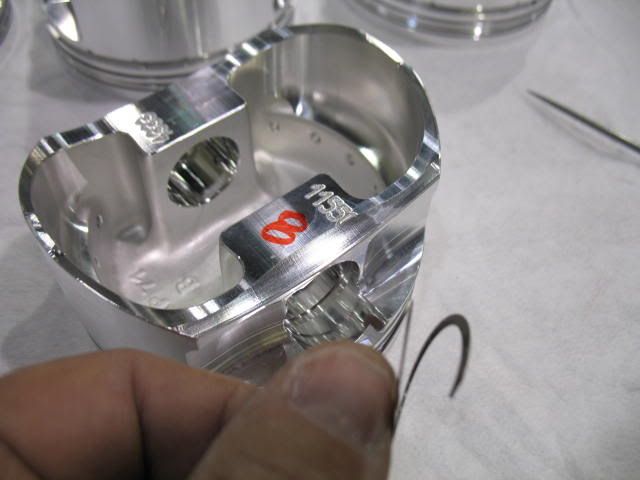
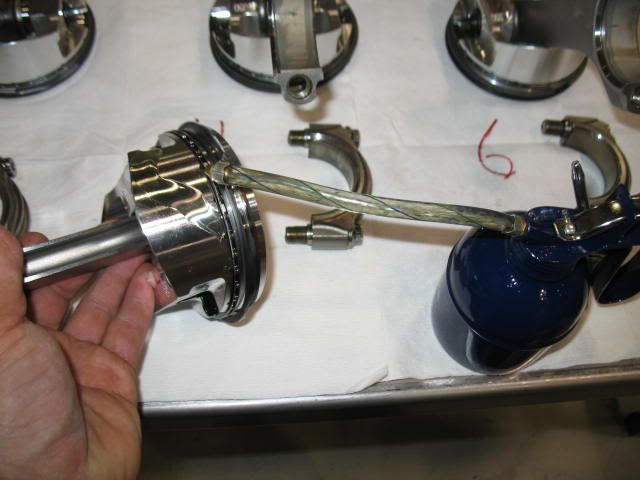
Once the pistons were on the rods I laid them out as they would go into the engine. I had the rings taped and marked from filing them to fit the bores earlier, so it was just a matter of matching everything up at that point. I started with the oil groove spacers, they have a detent that faces down and needs to end up in the piston pin bore.
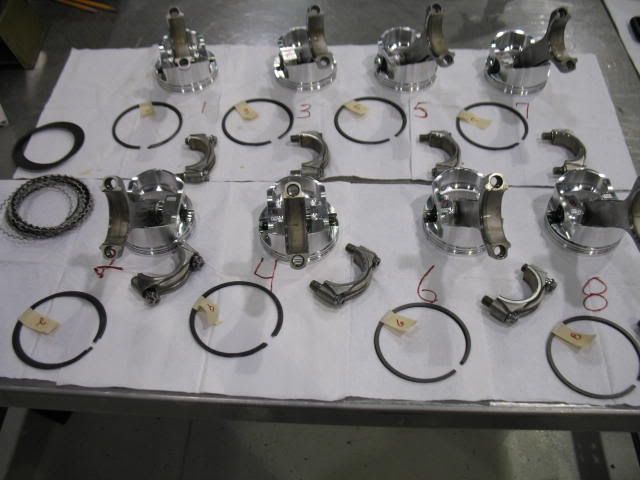
Once that was in I could install the rings starting with the oil expander and rails. I usually put the ends of the expander over the pin bore and the top rail 1 inch to the left of the pin bore and the bottom rail 1 inch to the right of the pin bore.
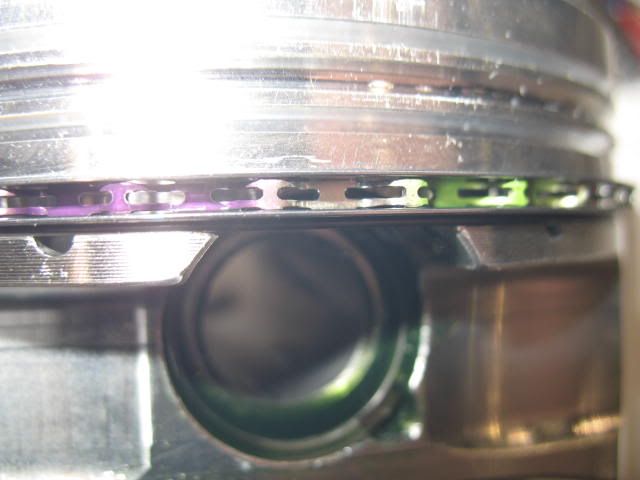
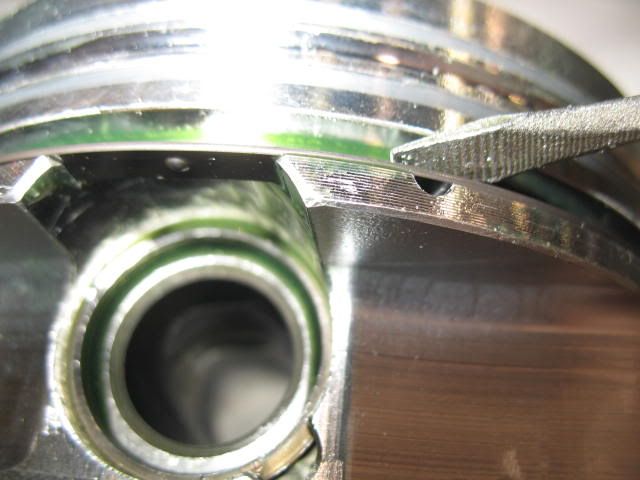
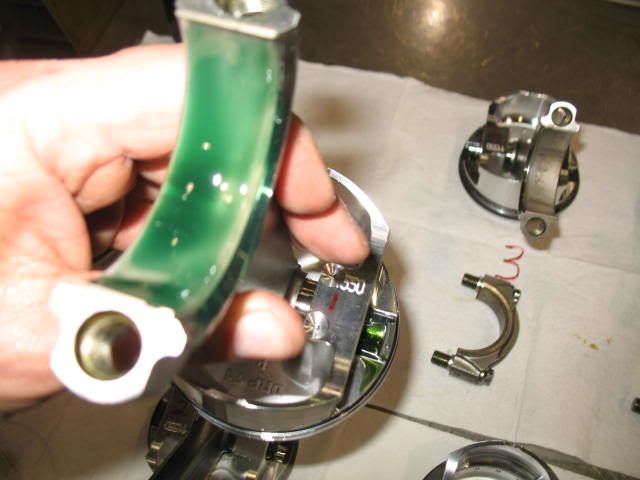
Following were the top and second rings. Be sure and note the bevels on the i.d. of the ring. One the second ring it faces down, it is a reverse twist ring. On the top ring it faces up, it is a positive twist ring. Also there are usually dots on the rings and of course they go up. Just be sure and get the right ring in the right groove.
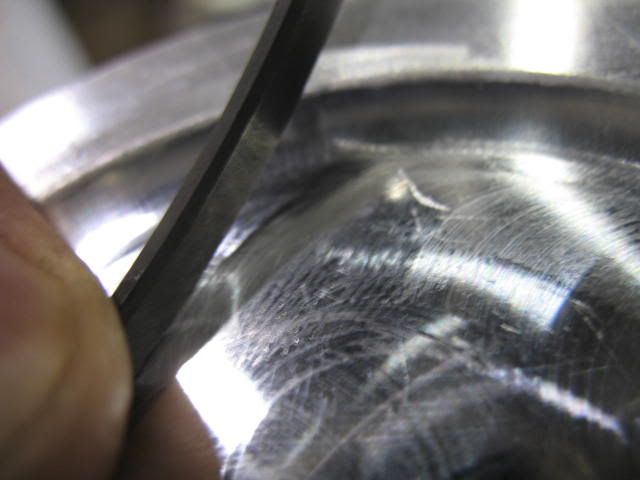
Second ring
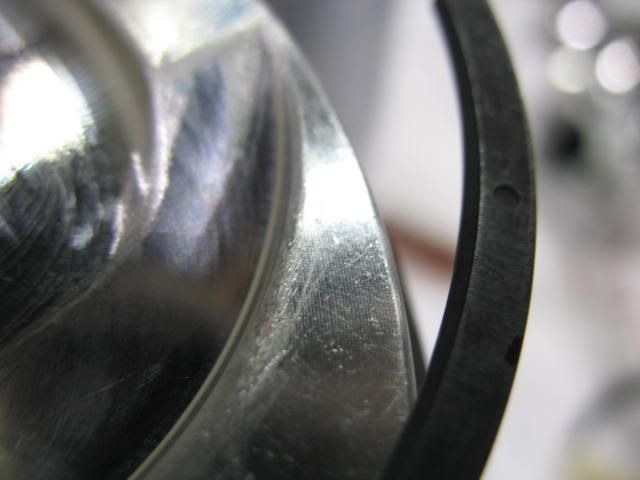
Top ring
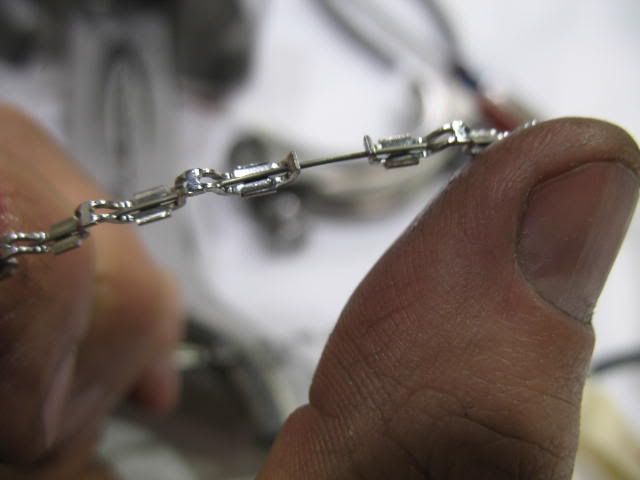
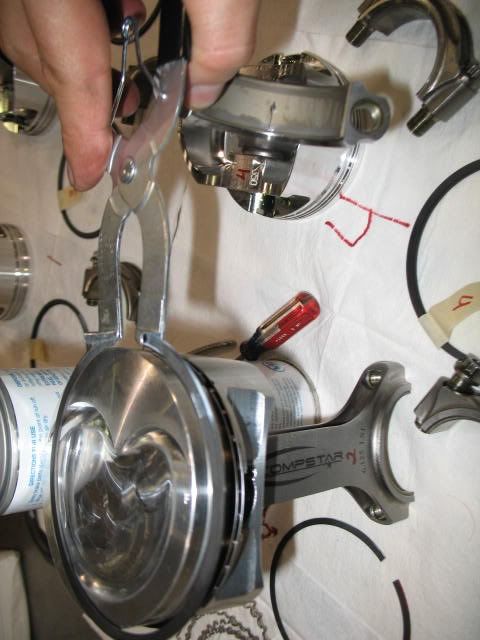
Using ring pliers are better than spinning them on by hand.
I then started assembly by installing 2 spirolocks in each end of each of the pistons.
I used the same lube I did on the main bearings to coat the piston pins and the bronze bushings in the small ends of the rods before assembling the rods to the pistons.
Once the pistons were on the rods I laid them out as they would go into the engine. I had the rings taped and marked from filing them to fit the bores earlier, so it was just a matter of matching everything up at that point. I started with the oil groove spacers, they have a detent that faces down and needs to end up in the piston pin bore.
Once that was in I could install the rings starting with the oil expander and rails. I usually put the ends of the expander over the pin bore and the top rail 1 inch to the left of the pin bore and the bottom rail 1 inch to the right of the pin bore.
Following were the top and second rings. Be sure and note the bevels on the i.d. of the ring. One the second ring it faces down, it is a reverse twist ring. On the top ring it faces up, it is a positive twist ring. Also there are usually dots on the rings and of course they go up. Just be sure and get the right ring in the right groove.
Second ring
Top ring
Using ring pliers are better than spinning them on by hand.
01-23-2010, 12:24 AM
#63
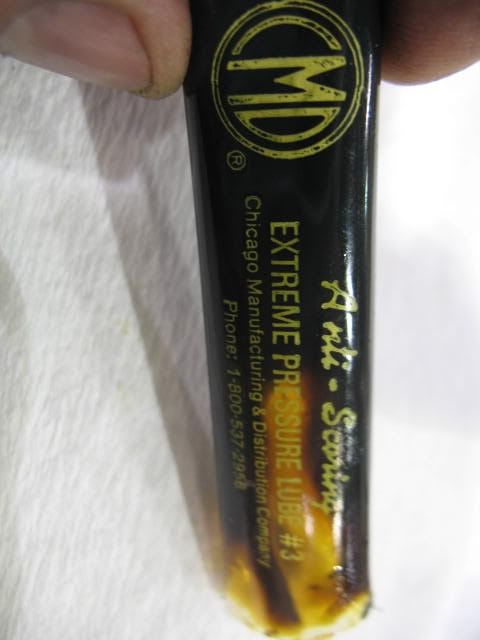
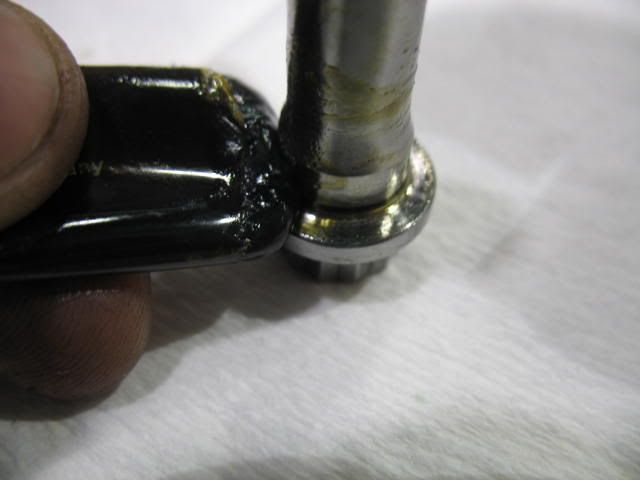
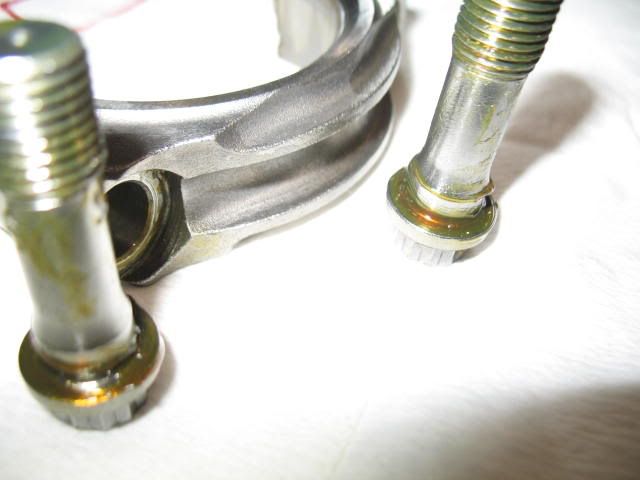
After the ring install I took off the rod caps and prepared the pistons for install. I wanted to re-lube the threads and bolt head shoulder on the ARP 2000 rod bolts since washing the rods. Callies provides CMD High Pressure lubricant with the con rods, so it is what I used 'generously'
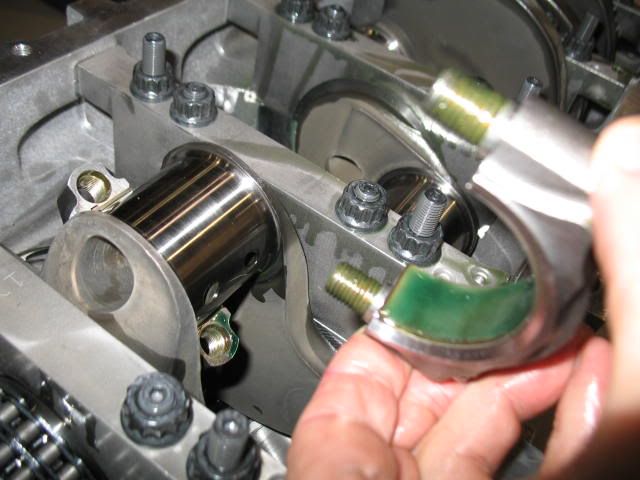
I oiled up the piston ring faces and the piston skirts with regular motor oil and lubed the rod bearings up with the same 55-400 Sealed Power assembly lubricant I used on the mains.
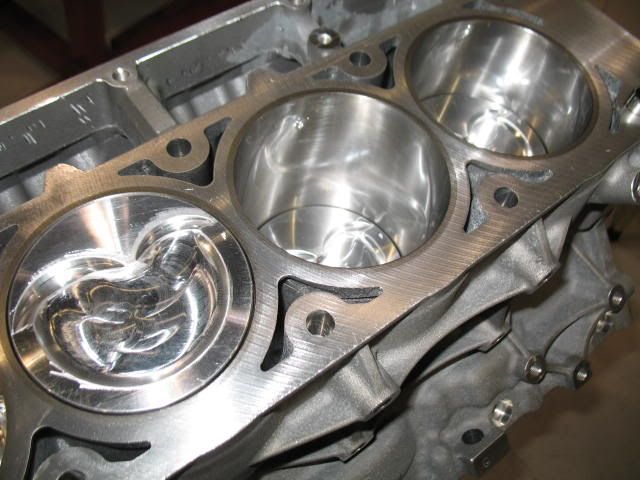
Using a tapered ring compressor for the bore size of the engine I compressed the rings and stuck the pistons into the block. The tapered ring compressors are the only way to fly.
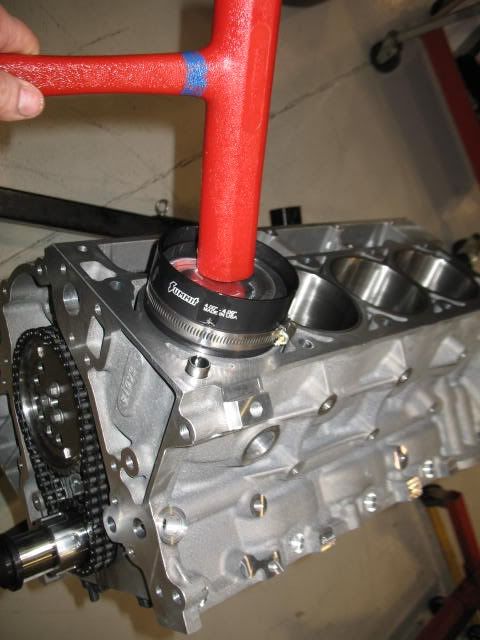
I oiled up the piston ring faces and the piston skirts with regular motor oil and lubed the rod bearings up with the same 55-400 Sealed Power assembly lubricant I used on the mains.
Using a tapered ring compressor for the bore size of the engine I compressed the rings and stuck the pistons into the block. The tapered ring compressors are the only way to fly.
Last edited by helicoil; 01-23-2010 at 12:40 PM.
01-23-2010, 12:37 AM
#64
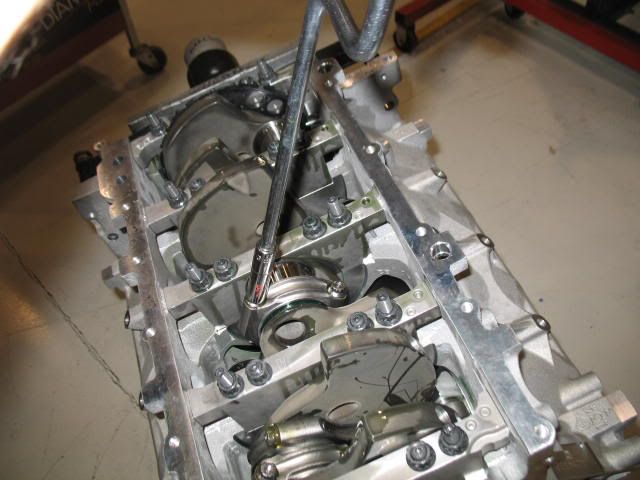
After all 8 rods and pistons were in it was time to stretch the ARP 2000 bolts. A critical step not worth skimping on. The two most stressed parts inside an engine are the rod bolts and valvesprings.
I started by seating the fastener and then put a rod bolt stretch gauge on the fastener and zeroed it. I then torqued it to the recommended torque value of 75# as per the Compstar rod instructions and measured the bolt stretch. (I actually knew this wouldn't be enough from doing this previously when I was calculating my oil bearing clearances)
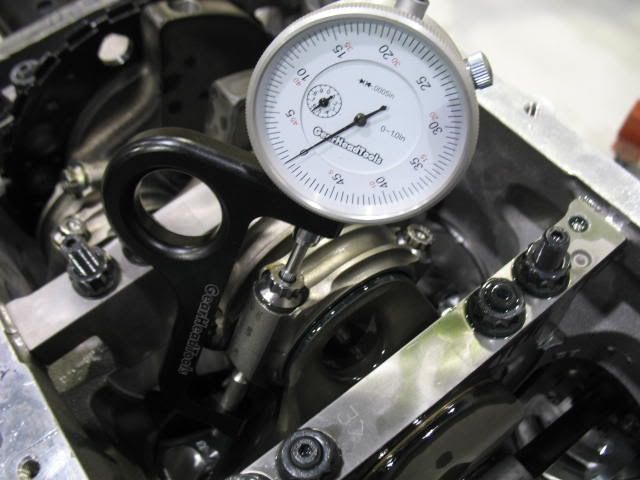
The ARP 2000 bolt spec for stretch was .0048" - .0052". I wanted to be a little closer to the .005" mark (the middle), so I torqued the bolt a little more to 82 ft. lbs. and re-measured. Another critical step was to match the stretch on the fastener here as I did during the oil clearance measuring.
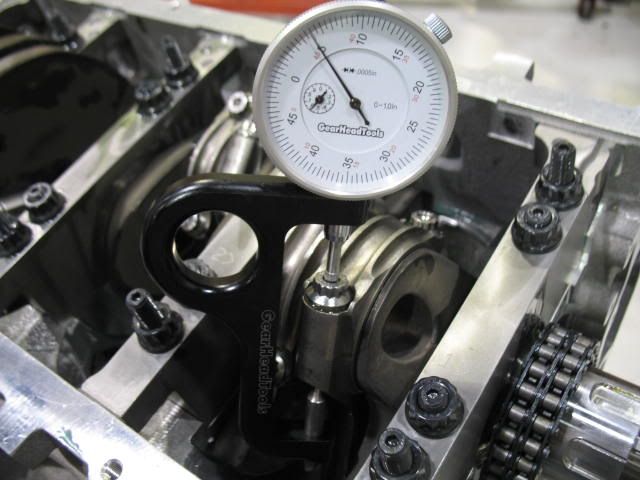
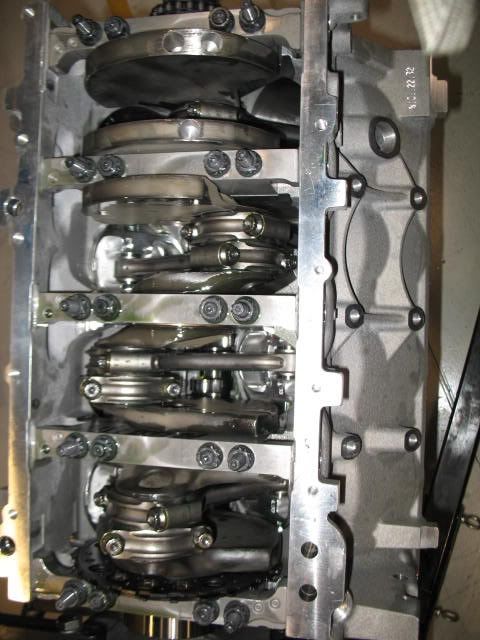
After going through and stretching all 16 rod bolts to get .005" I have a finished shortblock minus degreeing the cam and completing the lower end - ie (windage tray, pick up tube, oil pump, covers, etc.) That will be next.
I started by seating the fastener and then put a rod bolt stretch gauge on the fastener and zeroed it. I then torqued it to the recommended torque value of 75# as per the Compstar rod instructions and measured the bolt stretch. (I actually knew this wouldn't be enough from doing this previously when I was calculating my oil bearing clearances)
The ARP 2000 bolt spec for stretch was .0048" - .0052". I wanted to be a little closer to the .005" mark (the middle), so I torqued the bolt a little more to 82 ft. lbs. and re-measured. Another critical step was to match the stretch on the fastener here as I did during the oil clearance measuring.
After going through and stretching all 16 rod bolts to get .005" I have a finished shortblock minus degreeing the cam and completing the lower end - ie (windage tray, pick up tube, oil pump, covers, etc.) That will be next.
 01-23-2010, 05:57 PM
#70
Outstanding! It really makes you appreciate what goes into a quality engine build. I just wonder how much was put into my shortblock that I bought from a sponsor here.
01-23-2010, 07:26 PM
#71
Thanks guys! Engine building isn't rocket science. The single most key ingredient is finding someone to take the time required to measure all the parts and not overlook anything. That is the hard part! Most I know, even 25 year guys, assume way more than I would ever about parts quality and assembly clearances. In fact the longer guys do it, it seems the less they care. The work is very monotonous. Detail, Detail, Detail is what this trade is all about. The more **** you are the better the track record you end up with. Like anything, everyone wants to make a buck. Unfortunately, I just don't see anybody getting rich in this trade, including me. Sometimes it is not about the money, its about satisfaction.
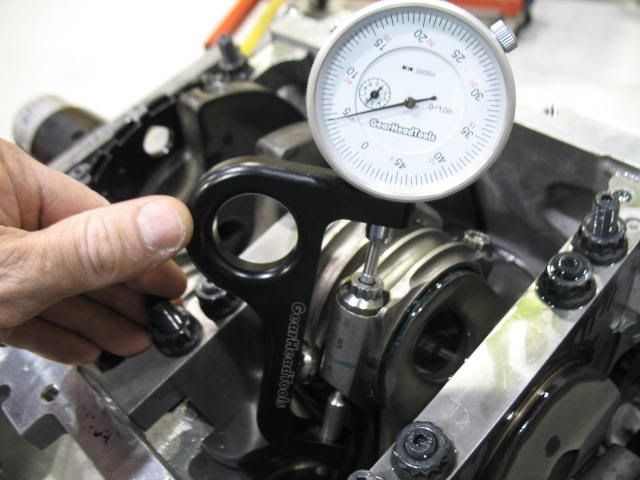
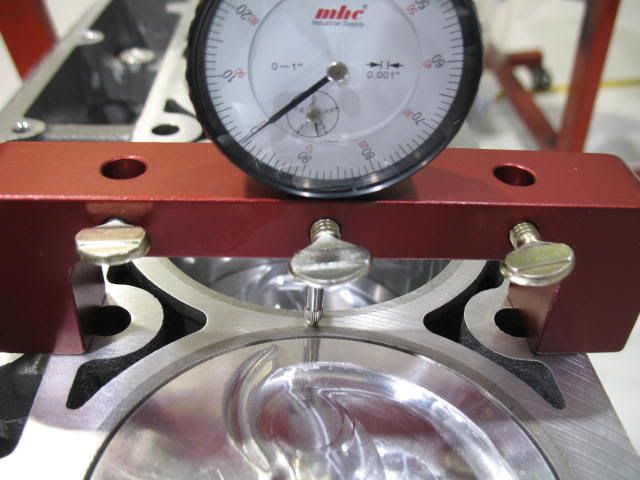
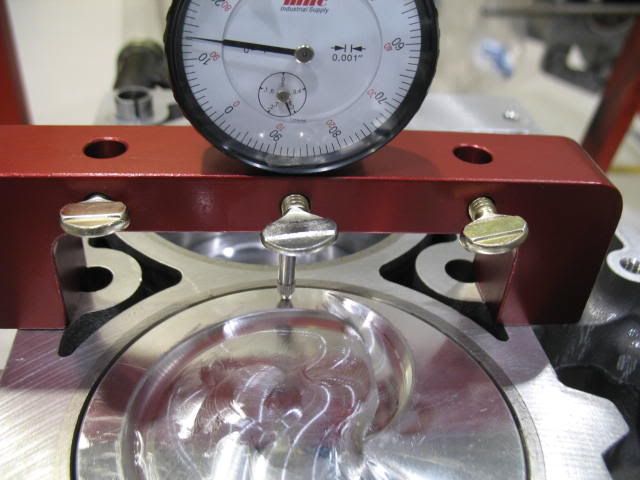
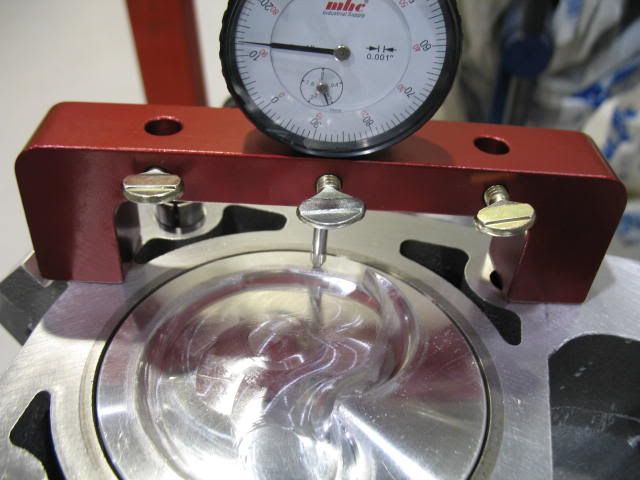
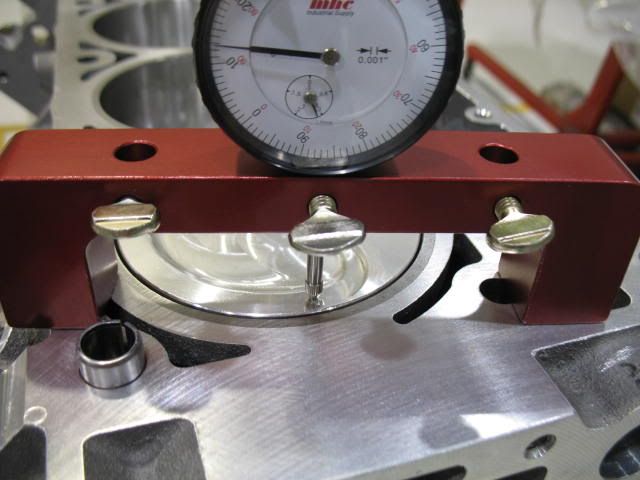
From an earlier post I calculated my deck clearance to be a Positive .012"-.013". It ended up being right were I calculated it. A testimony to the blueprinting job on the con rods and the crankshaft grind. Again, Callies does a nice job! Here is the piston to deck measured with a base indicator. I zeroed it off the deck and then brought 4 different pistons, two on opposite banks of the engine, to TDC and measured how far they were above deck. I averaged my readings by rocking the piston back and forth at TDC while measuring above the pin centerline.
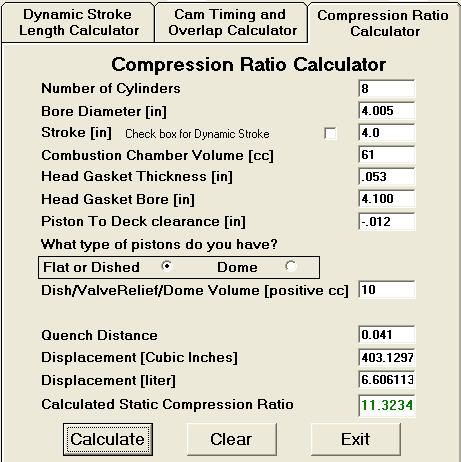
With these numbers I have done some calculations on my final compression ratio. I have some NEW TFS 225 heads that came at 64cc (advertised), so after cc'ing a couple of chambers I will end up bringing them down to 61cc to end up at a touch over 11.3:1 for this build. Since I want to run street gas, I don't think I should push it further. You just can't ever be sure you are getting good 93 octane all the time. I have no one to impress but myself. If it were a race car, it would be different I could add some extra octane just in case whenever I raced it. I also am planning a little shot for fun, so better to error on the safe side here. I really would like to get 20K out of this build, at least.
From an earlier post I calculated my deck clearance to be a Positive .012"-.013". It ended up being right were I calculated it. A testimony to the blueprinting job on the con rods and the crankshaft grind. Again, Callies does a nice job! Here is the piston to deck measured with a base indicator. I zeroed it off the deck and then brought 4 different pistons, two on opposite banks of the engine, to TDC and measured how far they were above deck. I averaged my readings by rocking the piston back and forth at TDC while measuring above the pin centerline.
With these numbers I have done some calculations on my final compression ratio. I have some NEW TFS 225 heads that came at 64cc (advertised), so after cc'ing a couple of chambers I will end up bringing them down to 61cc to end up at a touch over 11.3:1 for this build. Since I want to run street gas, I don't think I should push it further. You just can't ever be sure you are getting good 93 octane all the time. I have no one to impress but myself. If it were a race car, it would be different I could add some extra octane just in case whenever I raced it. I also am planning a little shot for fun, so better to error on the safe side here. I really would like to get 20K out of this build, at least.
 lol
01-23-2010, 11:42 PM
lol
01-23-2010, 11:42 PM
#76
Looks awesome, never knew what went into building a shortblock! I am sooooo happy i did not try to build mine now after seeing all of this!
This should be a sticky "so you want to build your shortblock..."
This should be a sticky "so you want to build your shortblock..."
01-24-2010, 01:37 AM
#78
TECH Senior Member
iTrader: (3)
Join Date: Apr 2006
Location: Western Burbs of Detroit
Posts: 6,524
Likes: 0
Received 1 Like
on
1 Post
Oh ok, just seems to me that something built as well as you have done it would last a long time. Unless you are talking about 20,000 miles of racing the 1/4 mile and other racing. Sorry bro, but I'm still drunk. Good **** though I can't wait to see the results of this motor once its installed and dyno'd and then taken to the track. Good night everyone!!!!!!!!!!!!!!
01-24-2010, 09:20 AM
#79
01-24-2010, 11:13 AM
#80
20K was just a number I pulled out of the air. I should watch my words my closely, that is what I get for trying to multi-task. lol I really have no set expectations, to me, 20K is a long time (4yrs or longer) in a weekend toy. I honestly can't see myself putting more than 20K on this engine. I get bored too easily, I will probably have it a couple of years and then move on. And honestly, if I do still have it, I would most likely be tearing back into it to change it.
This whole project comes about as a result of a car purchase I made late in 09. I needed to free up some cash to do it and I had a buyer for the Procharged 403. I was burnt out on it anyway. I just couldn't see parking this car for too long, so this is what I came up with. To me, it is proven combo with a pretty good bang, and I was able to use some of the parts that were already on the car that ended up fitting nicely. If I started from a clean slate and I had a pile of money to burn I would have done something a bit more trick and BIGGER.
I am not really sure how to answer the longevity question...... I would think that these 'aggresively' cammed 4.0" stroke LS engines would not be 50K engines without some maintenance. ie valve springs, lifters, rings, re-hone. Heck, I don't know maybe they are??