
NA 'street' LS2 403 build - "From Crate to Dyno"
 02-21-2010 | 10:07 PM
#121
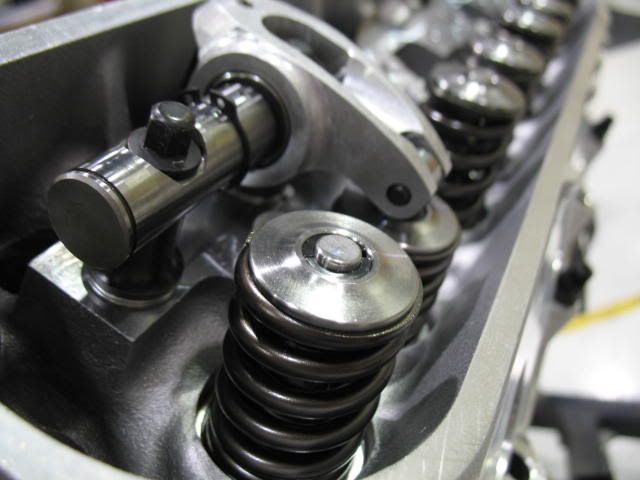
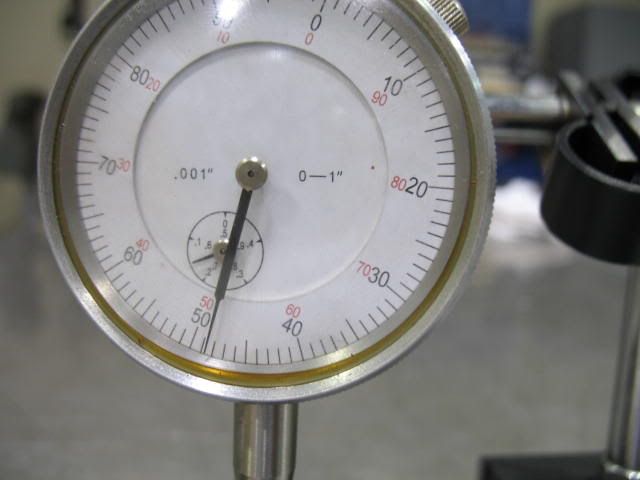
I first tried the Yella Terra Ultra Lights without the supplied .045" stand shim and got this.

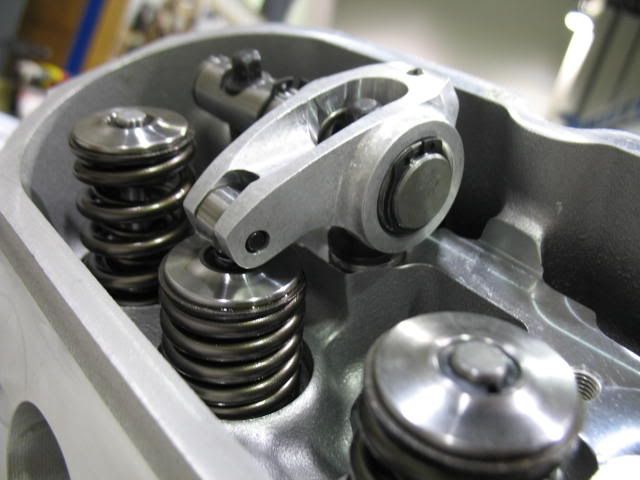
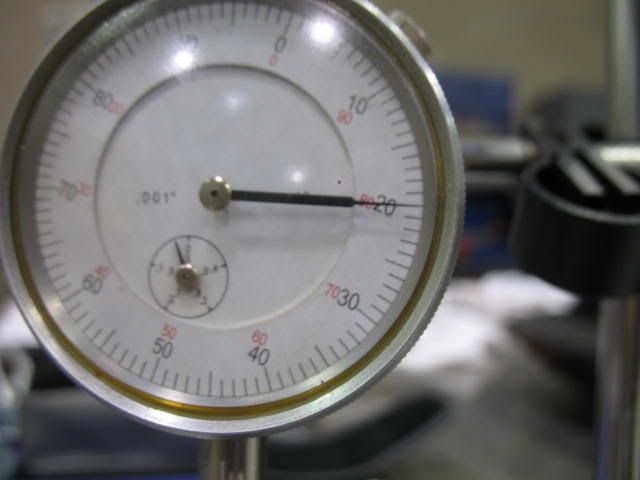
Then when I installed the .045" shim under the stand and lengthened the adjustable pushrod to match I got this.
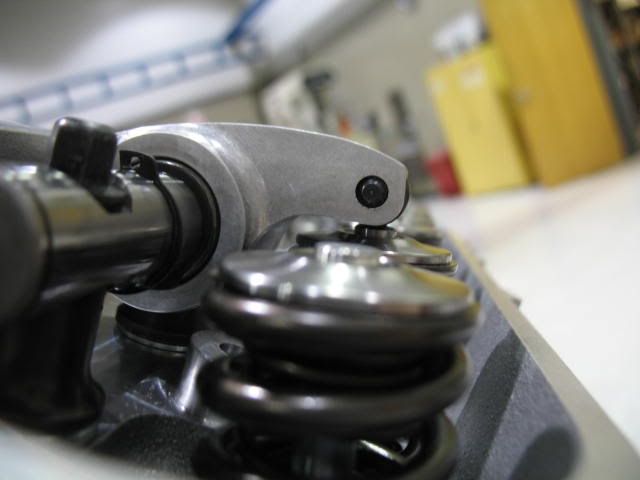
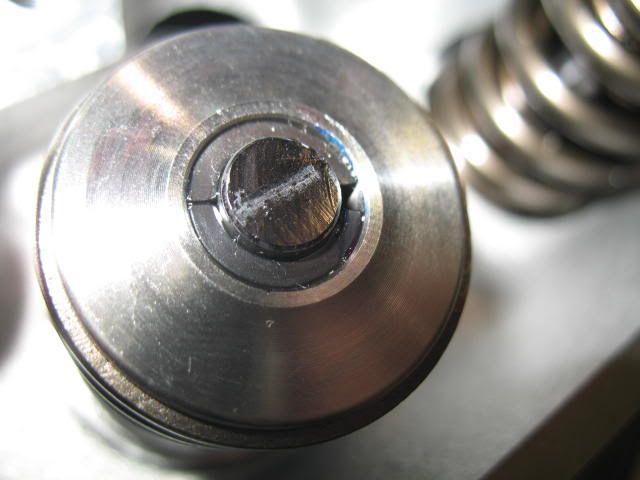
I can't ask for much better. That is nice .045" wide wipe dead center in the valve tip.
As a note, the Morel lifters seem to like a .030"-.050" pre-load, so somewhere between 1/2 and 3/4 of a turn on a 'cold' engine should be good. Expansion, or growth, of the casting materials (bock and head) should be considered for FINAL cold pre-load measurements. Up to a FULL turn would be fine on an aluminum/aluminum engine.
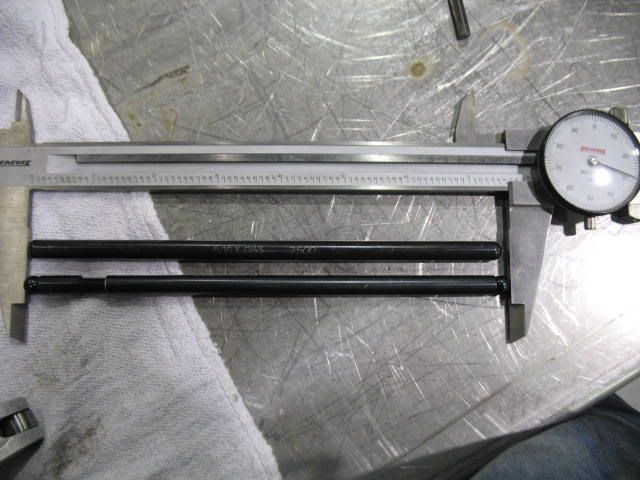
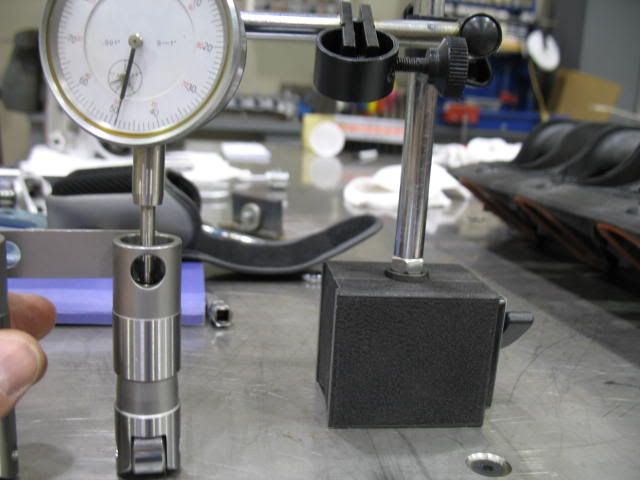
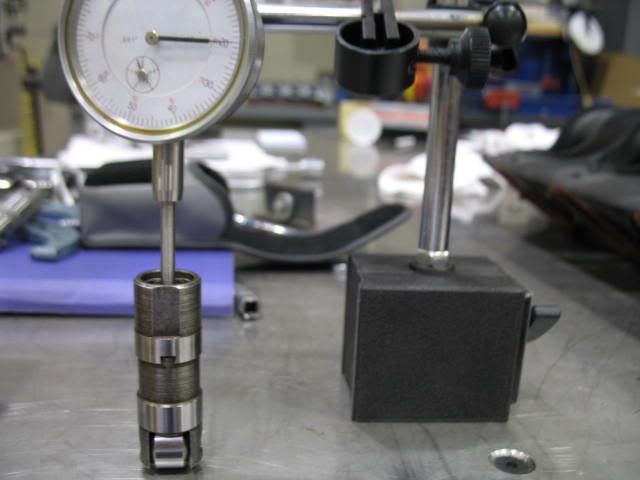
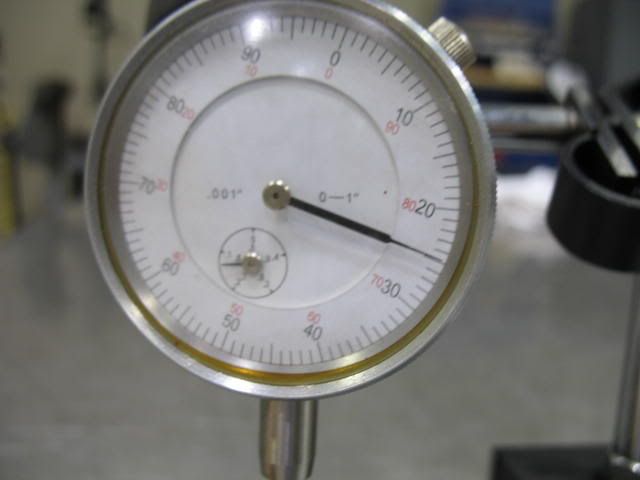
Also I measured the differences between stock LS1 replacement lifter, a Comp Cams 850 OEM replacement lifter, and the Morel lifter as far as lifter plunger position was considered. This will obviously explain why certain length pushrods work for some, but not for others. I didn't have the LS7 lifter to measure, so it could be different as well.
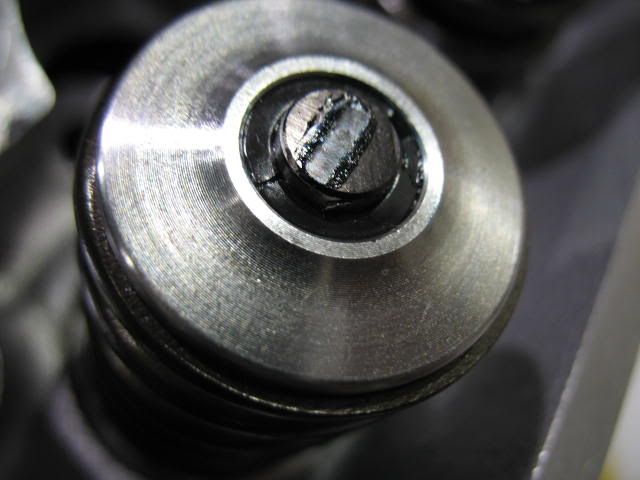
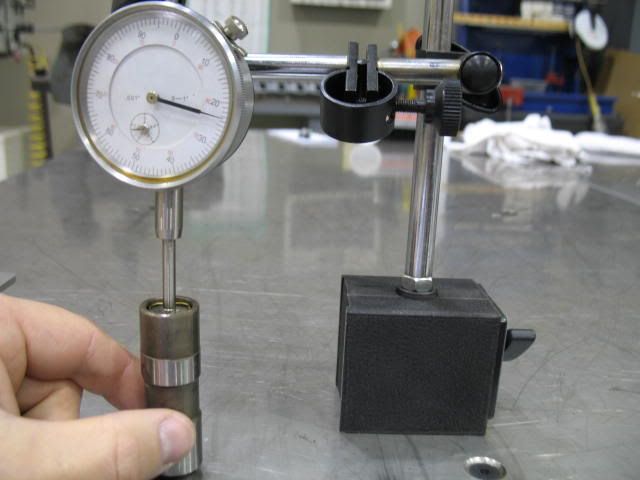
Here was the Morel measured for reference.
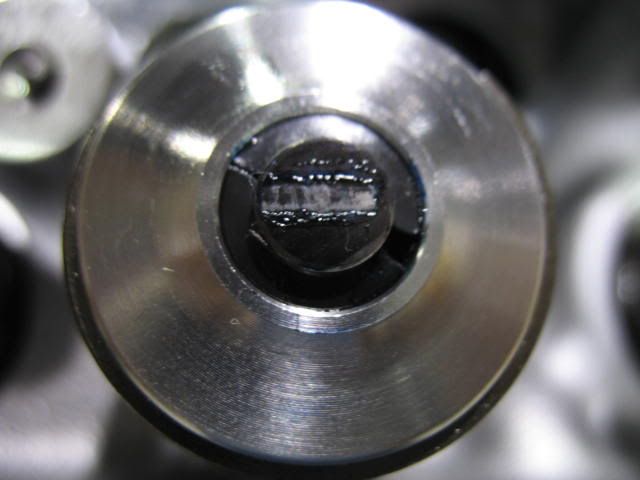
The stock LS1 replacement lifter's plunger was .130" deeper than the Morel lifter's plunger position.
The Comp Cams 850 OE replacement lifter was .025" deeper than the Morel lifter's plunger position.
 02-21-2010 | 10:20 PM
#122
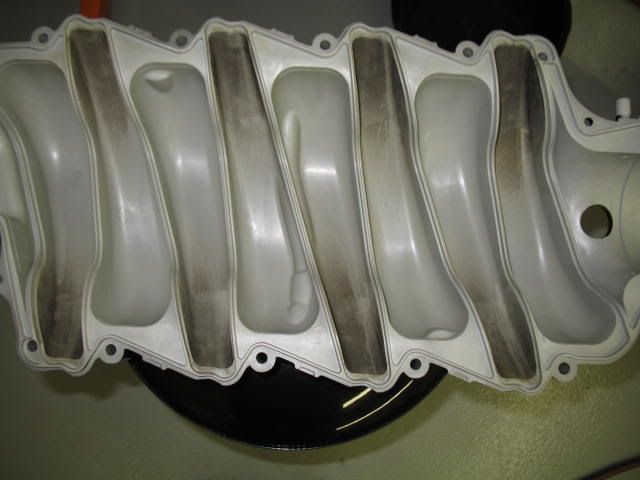
I have been pre-occupied with paying projects lately, but I have managed to find some time to spend smoothing my FAST 90, actually got about 4 hrs in all so far sanding it by hand starting with 80 grit paper, then moving to 220 grit and finally to 320 grit paper to prep it for paint.
I am going to spray it tomorrow night with plastic adhesion promoter, then seal it, and finally lay some base 'gloss black' urethane followed up with some clear urethane.
As smooth as I got it, it shouldn't need any primer. I was trying to avoid using it, to avoid having to sand in all those nooks and crannies on the thing. I couldn't get all the texture out of it, such as between the lettering and in the FAST 90 box, so we will see how it turns out in that area, but the rest of it should come out extremely slick.
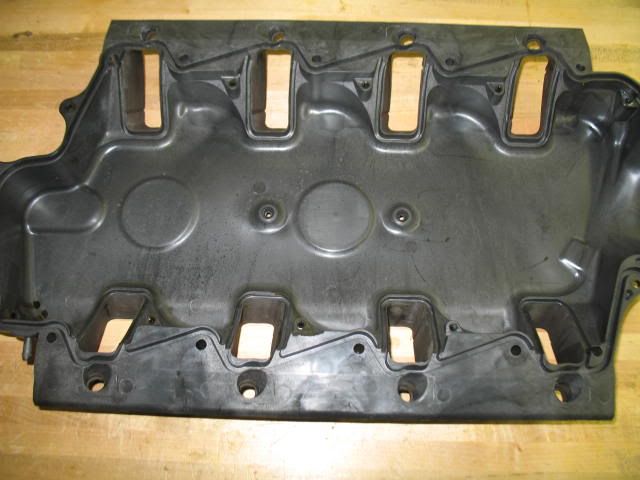
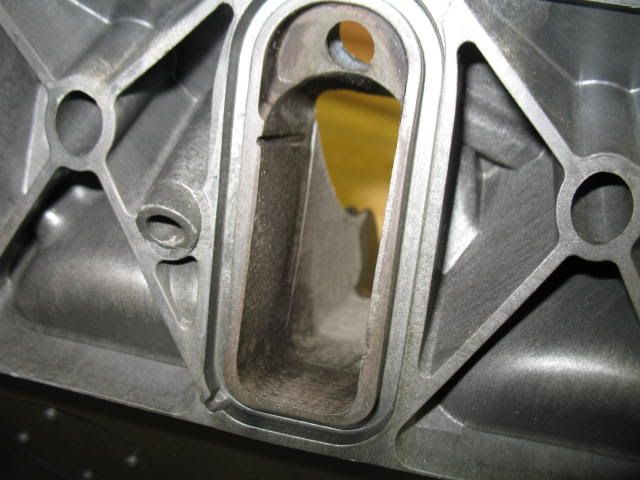
Here are some prep pics.
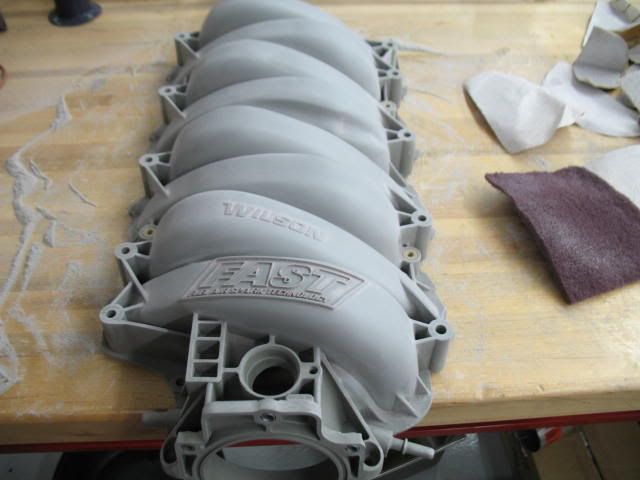
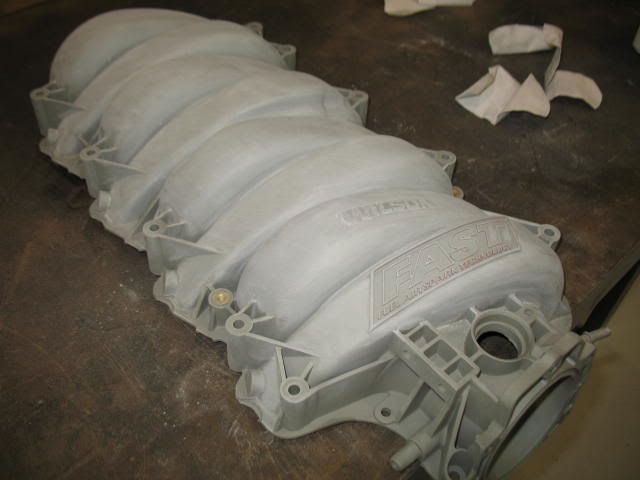
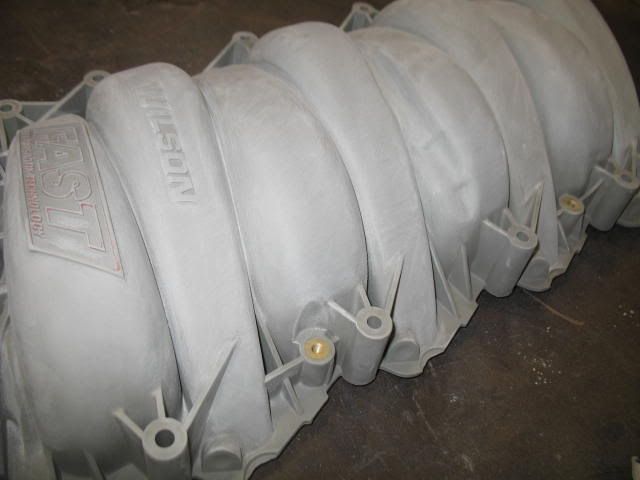
Hard to believe how much time and money is invested in this piece of plastic.
I am going to spray it tomorrow night with plastic adhesion promoter, then seal it, and finally lay some base 'gloss black' urethane followed up with some clear urethane.
As smooth as I got it, it shouldn't need any primer. I was trying to avoid using it, to avoid having to sand in all those nooks and crannies on the thing. I couldn't get all the texture out of it, such as between the lettering and in the FAST 90 box, so we will see how it turns out in that area, but the rest of it should come out extremely slick.
Here are some prep pics.
Hard to believe how much time and money is invested in this piece of plastic.

 02-28-2010 | 09:01 PM
#125
Thanks guys.
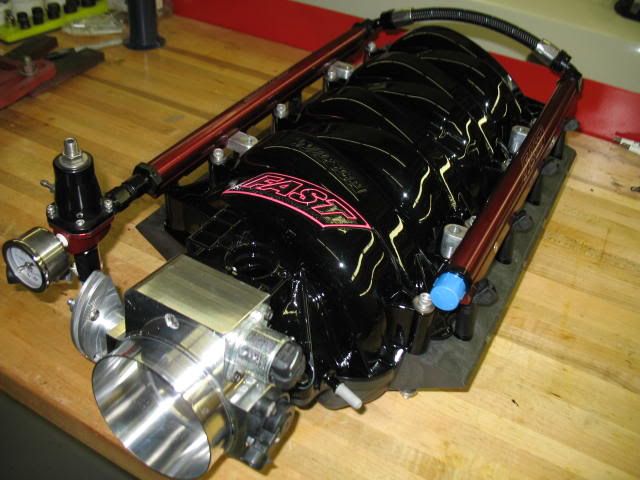
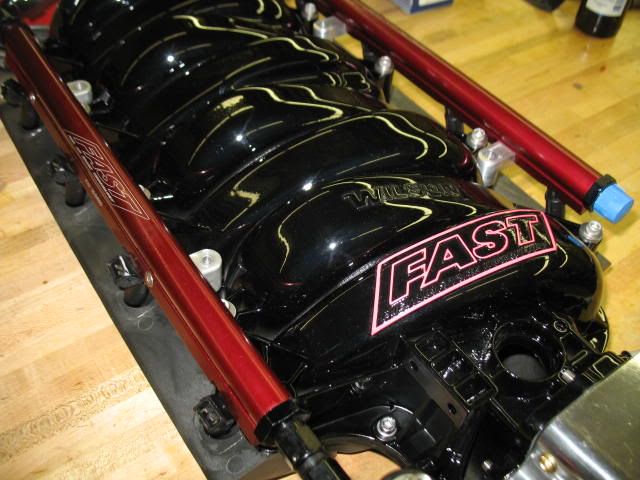
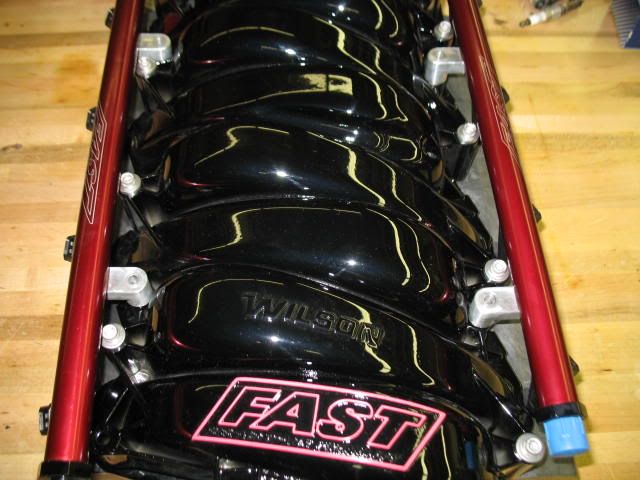
I painted the FAST manifold earlier in the week and was able to get it all re-assembled today. It came out nice and is ready to go on the engine when I get around to finishing it.
These intakes are alot of work. They are really a PITA, in my opinion. If this were more of track car instead of a street car I would get out from underneath this piece of plastic. It is nice they come apart for porting and cleaning, but they are just so cheesey, at least to me. I would much rather have a piece of aluminum, I know the plastic has its benefits, but it feels so cheap and I can't see it lasting forever especially for the amount of time and money invested into it.
I took the center apart to re-seal it and spent about 2hrs picking the silicon out of it since it is glued into the lower half and then re-siliconed it to assure it was sealed since being pressure washed several times after getting pulled off my Prochraged 403. I then put the NEW O-ring cord in and glued the corners with more silicon and bolted down the top, finally got the stainless hardware for it too, another 50.00 bucks into it.
Hoping to get a little more done on the engine this week, just got my renewal in the mail for the Camaro. Need to get it inspected by the end of April.

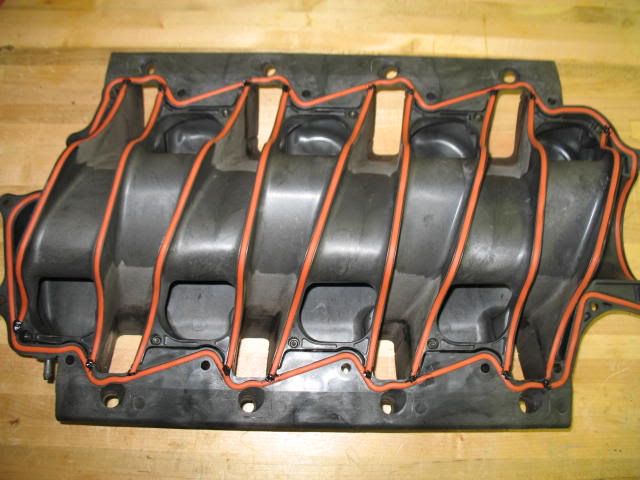
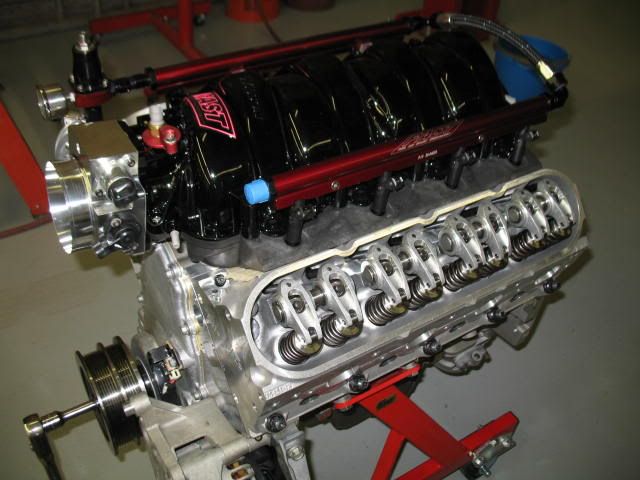
Here it is back together with a couple of coats of single stage Dupont gloss black urethane and the NW 90MM TB, FAST fuel rails, Siemens injectors, Aeromotive regulator and Earls black AN fittings and hose.
I painted the FAST manifold earlier in the week and was able to get it all re-assembled today. It came out nice and is ready to go on the engine when I get around to finishing it.
These intakes are alot of work. They are really a PITA, in my opinion. If this were more of track car instead of a street car I would get out from underneath this piece of plastic. It is nice they come apart for porting and cleaning, but they are just so cheesey, at least to me. I would much rather have a piece of aluminum, I know the plastic has its benefits, but it feels so cheap and I can't see it lasting forever especially for the amount of time and money invested into it.
I took the center apart to re-seal it and spent about 2hrs picking the silicon out of it since it is glued into the lower half and then re-siliconed it to assure it was sealed since being pressure washed several times after getting pulled off my Prochraged 403. I then put the NEW O-ring cord in and glued the corners with more silicon and bolted down the top, finally got the stainless hardware for it too, another 50.00 bucks into it.
Hoping to get a little more done on the engine this week, just got my renewal in the mail for the Camaro. Need to get it inspected by the end of April.
Here it is back together with a couple of coats of single stage Dupont gloss black urethane and the NW 90MM TB, FAST fuel rails, Siemens injectors, Aeromotive regulator and Earls black AN fittings and hose.
Last edited by helicoil; 03-01-2010 at 08:37 AM.

 !
! 
 03-07-2010 | 12:41 PM
#131

TECH Senior Member

Joined: Jul 2009
Posts: 7,927
Likes: 608
03-28-2010 | 09:06 PM
#134
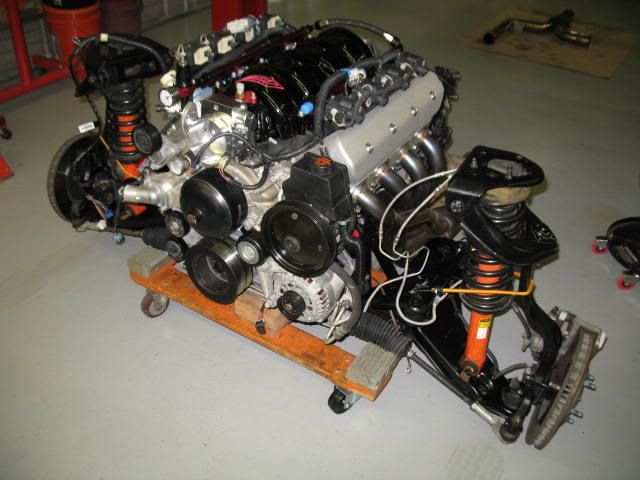
Finally found the time to finish it off and haul it home. Will be installing it this week. Already started on it. We will see how the week goes.
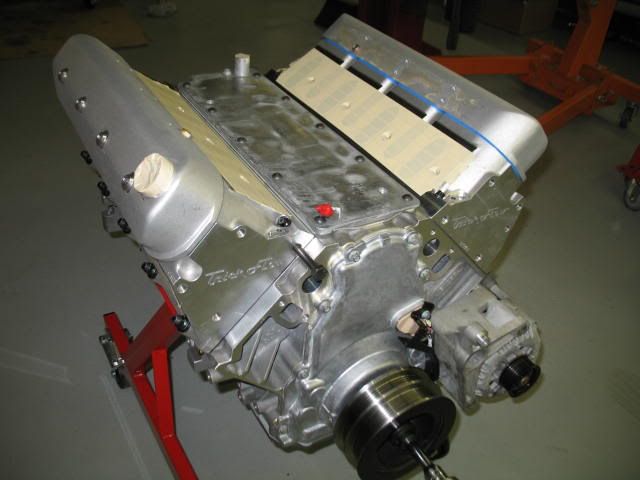
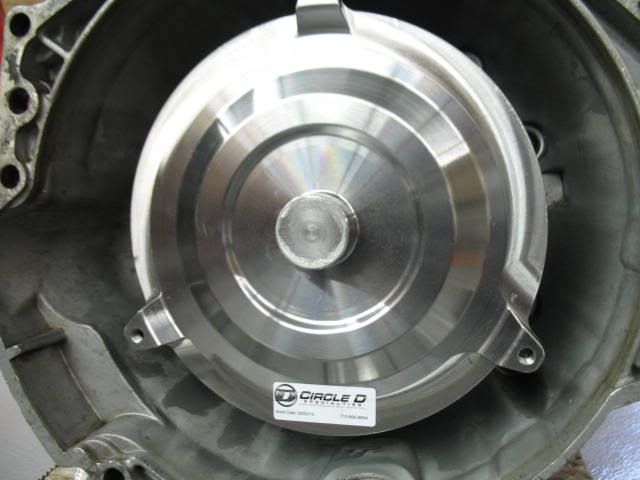
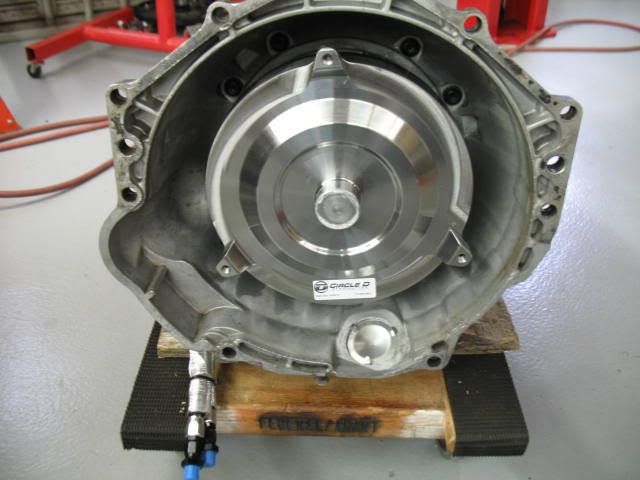
Special thanks to Chris at Circle D for nice looking converter. Hopefully it does what I want it to.
Got it set in the K-member today.

Also got all the accessories on. Should be lowering the body onto it one day this week.
Special thanks to Chris at Circle D for nice looking converter. Hopefully it does what I want it to.
Got it set in the K-member today.
Also got all the accessories on. Should be lowering the body onto it one day this week.
03-28-2010 | 10:03 PM
#136
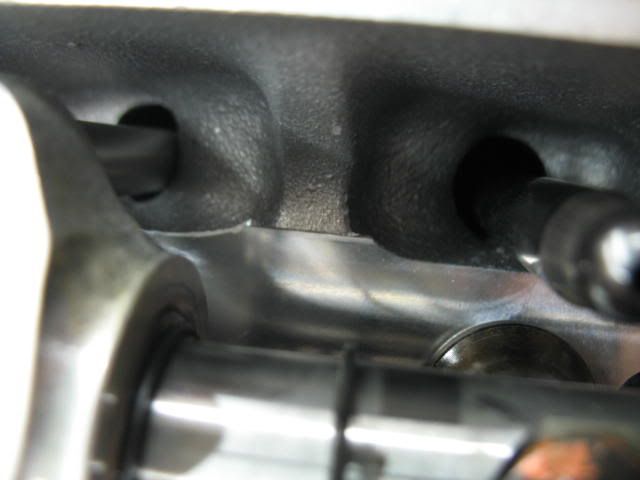
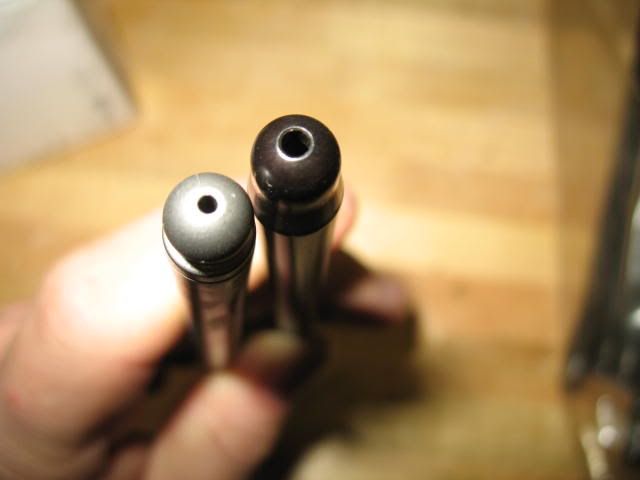
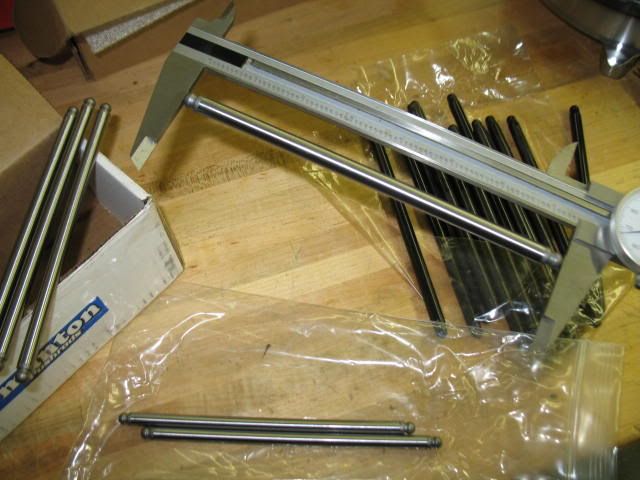
Only issue I ran into was the intake pushrods, I went with a Manton 11/32" opposed to machining clearance for the 3/8" Trends, at least on the intakes. The TFS heads are thin, really thin in the push rod tube area on the intake port side, thin enough that if you push hard enough with your finger you can deflect the aluminum so I thought I had better not relieve any in that area. I have (8) 3/8" Trends on the exhaust and (8) 11/32" Mantons on the intake because I was too cheap to buy 16 Mantons
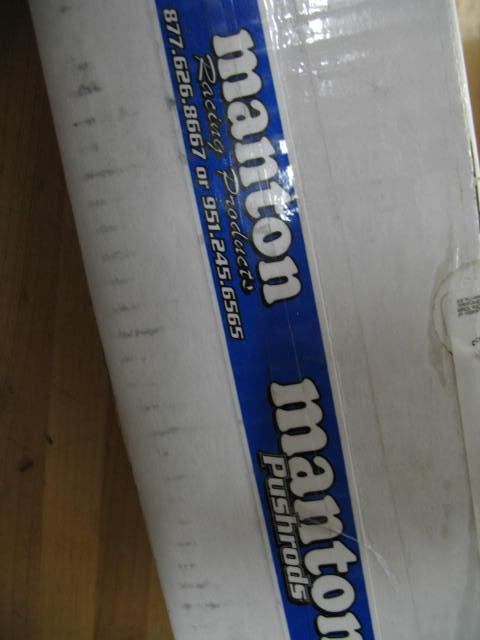
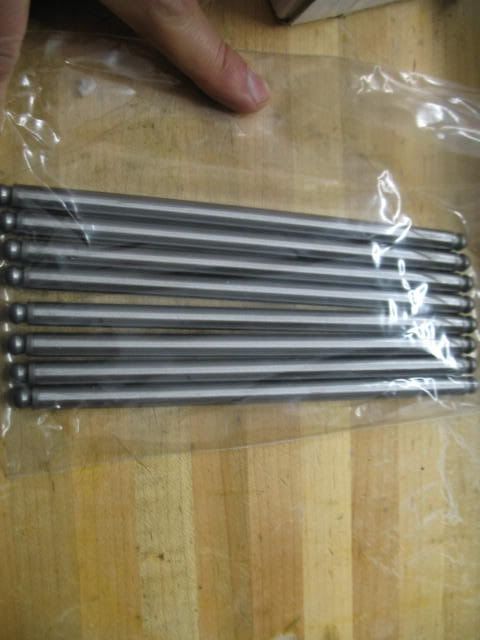
The Mantons have a smaller oil hole that I like (.060" vs. .090"), next time I will go with Terrys pushrods all the way through since I now have an account with him. His were also closer for OAL when I measured them.
The Mantons have a smaller oil hole that I like (.060" vs. .090"), next time I will go with Terrys pushrods all the way through since I now have an account with him. His were also closer for OAL when I measured them.
03-30-2010 | 09:38 PM
#139
Glad you enjoyed the read so far that was one of my goals, easy reading with alot of behind the scenes pics...... Not of the more 'exotic' builds in here, just an average LS2 that didn't break the bank. 
