
Operation Engine Bay of Pigs

 01-21-2010, 10:01 PM
#63
update 1/21/2010
I got that little bitch of a plug on the passenger side head.
That's all I did today, it didn't take my dad too long, but whatever.
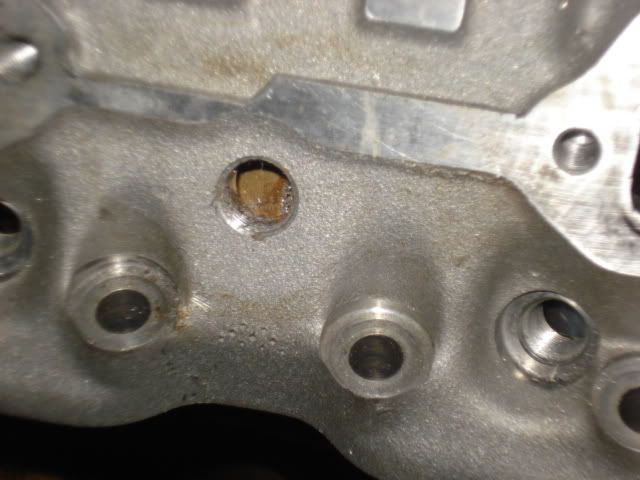
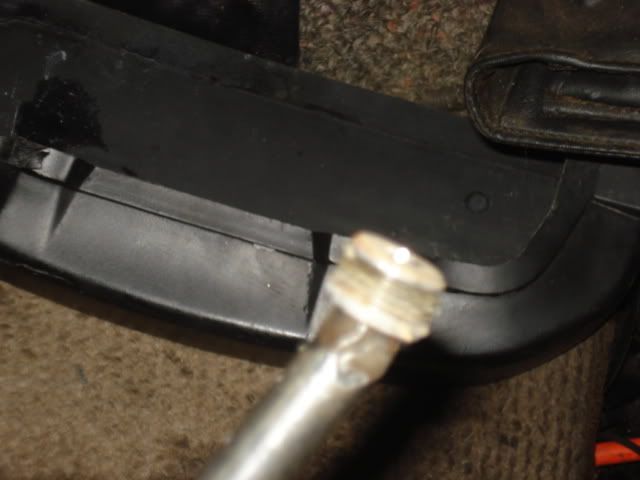
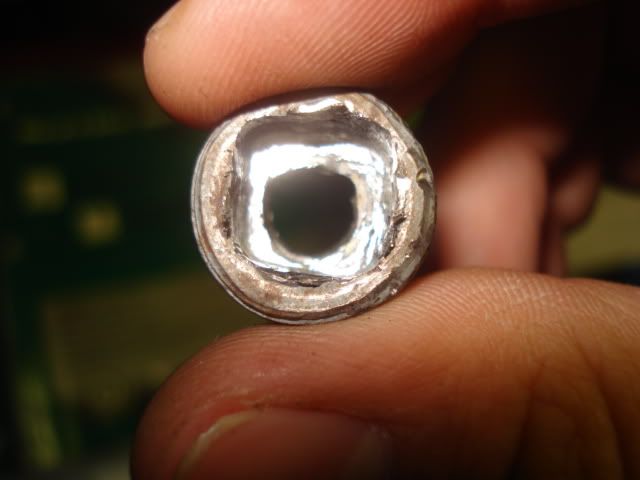
Took the rotozip to it and resquared the "hole" but bigger for the 3/8" extension to fit and drilled a hole through it to that the plug could retain the heat from the torch and thus come off. Thank god for the "old man" and all our "old men" out there.

I got that little bitch of a plug on the passenger side head.
That's all I did today, it didn't take my dad too long, but whatever.
Took the rotozip to it and resquared the "hole" but bigger for the 3/8" extension to fit and drilled a hole through it to that the plug could retain the heat from the torch and thus come off. Thank god for the "old man" and all our "old men" out there.
01-24-2010, 02:45 PM
#66
Update for today: 1/24/2010
Took the L-Bracket that I found at Home Deport and did some measuring and lining up w/ a caliper and T- Square.
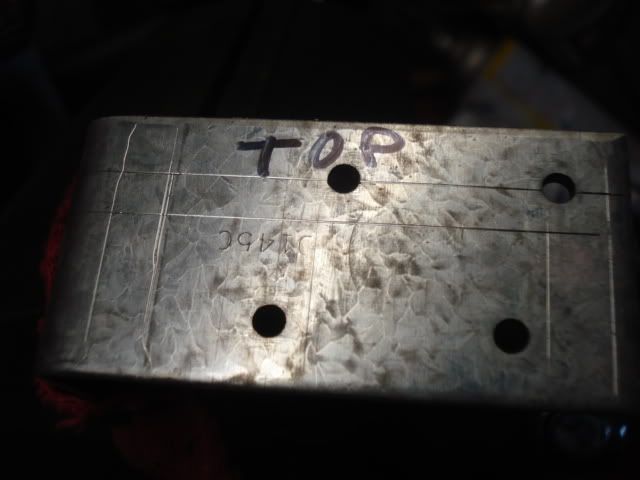
Test fitting the first holes to mount the bracket on the back of the IM where the EGR goes. Holes lined up pretty well, not perfect but it'll work, nice and tight.
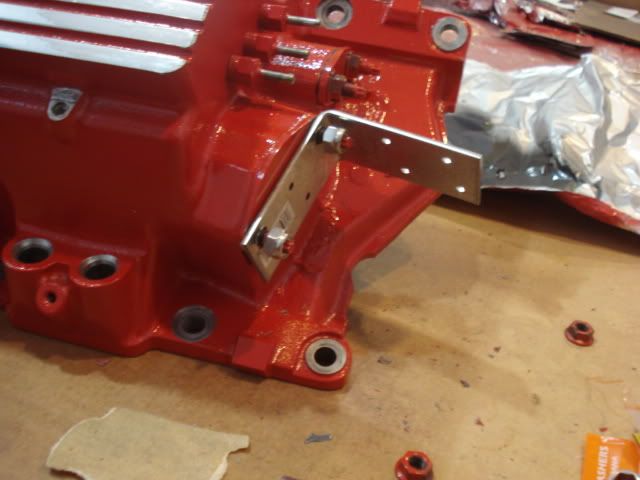
After a whole lot of measuring and screwing up, and redrilling and whatnot I finally got it done and mounted the map sensor.
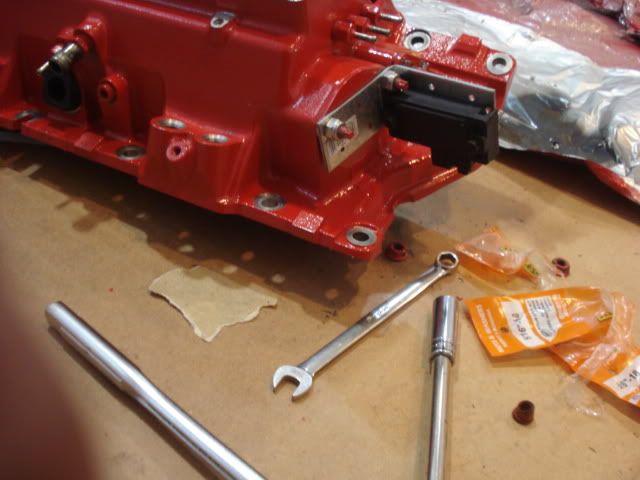
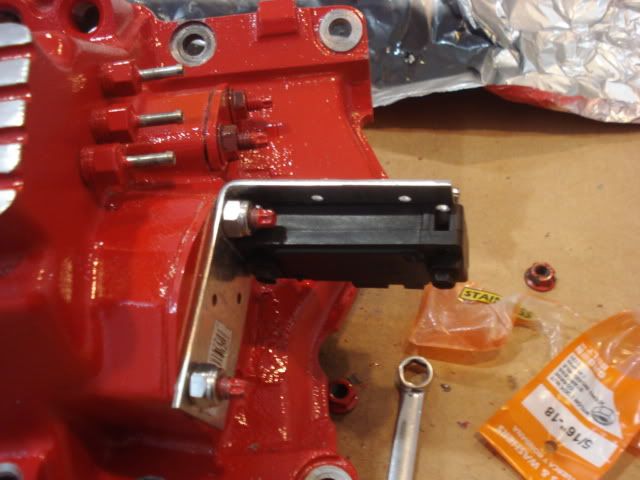
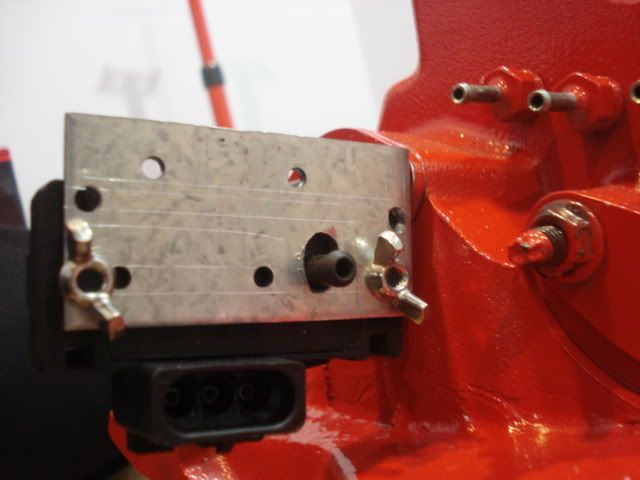
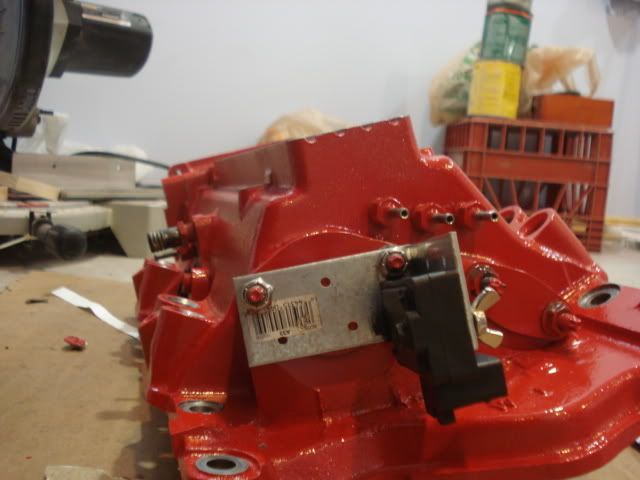
wing nuts probably won't stay, but I need longer screws/bolts because I'm currently using the factory ones.
01-24-2010, 03:13 PM
#68
Banned
iTrader: (22)
Join Date: Jan 2004
Location: Schaumburg,IL
Posts: 4,957
Likes: 0
Received 0 Likes
on
0 Posts
nice to hear I was a part of your build
I say std. nuts over the wing nits and sating black on the bracket. I wish I would have done the vac. port and MAP relocate when I did mine, but I'm not pulling it back apart now....no leaks are nice for a junk LT1
I say std. nuts over the wing nits and sating black on the bracket. I wish I would have done the vac. port and MAP relocate when I did mine, but I'm not pulling it back apart now....no leaks are nice for a junk LT1
 01-24-2010, 04:18 PM
#71
TECH Fanatic
iTrader: (1)
Join Date: Jul 2006
Location: Washington DC
Posts: 1,444
Likes: 0
Received 0 Likes
on
0 Posts


im ok with everything except replacing stock fuel lines with stainless braided. thats an expensive option that is less reliable and heavier than the stock stuff. less reliable not because of the hose itself, but you will now have several hose ends that could fail or just come unscrewed.
i think NHRA should mandate all top fuel cars to use plastic fuel lines with GM quick disconnect fittings.
reading a comment like that, i dont know how you managed to build a 9 second car...

 01-24-2010, 11:11 PM
#77
1/24/2010
You had seen previously that I painted my valve covers red. Well I messed that paint job up, and didn't let it cure properly.
Well, I said **** it and just redid the whole job.
Base gloss black coat.
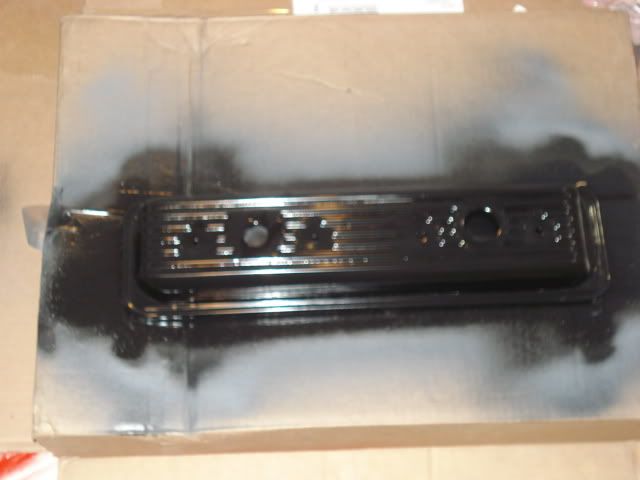
Vinyl applied
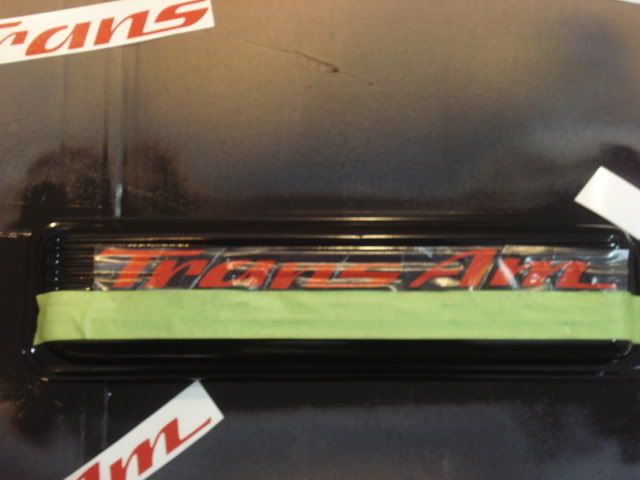
It's really difficult to get nice looking because of the waves in our valve covers. That's why I want to buy the flat surface valve covers on my signature, I just can't afford to pay 100 for them right now. I'll redo them when I can afford them, maybe even powdercoat.
All my pics of the vcs are pretty crappy, that lighting sucks.
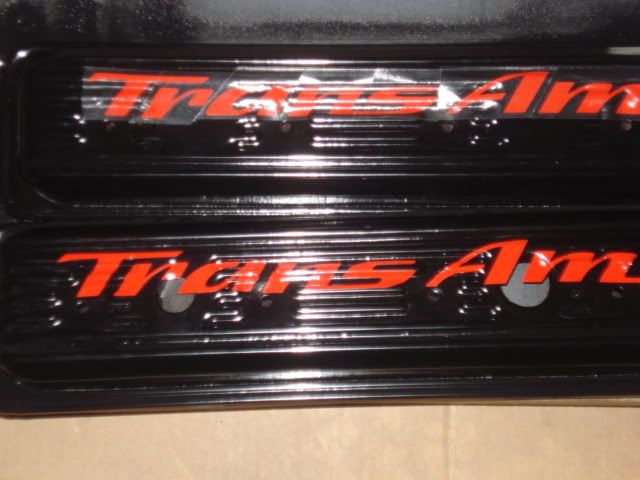
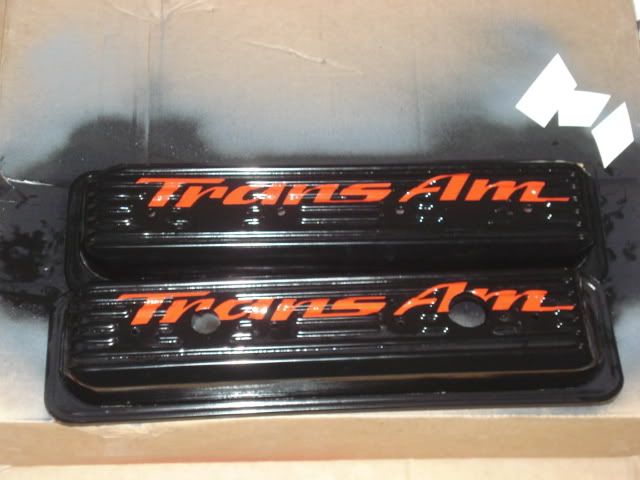
Clear over the stickers.
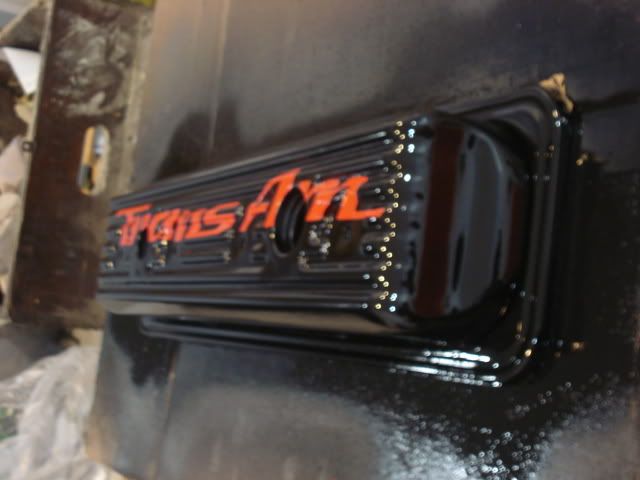
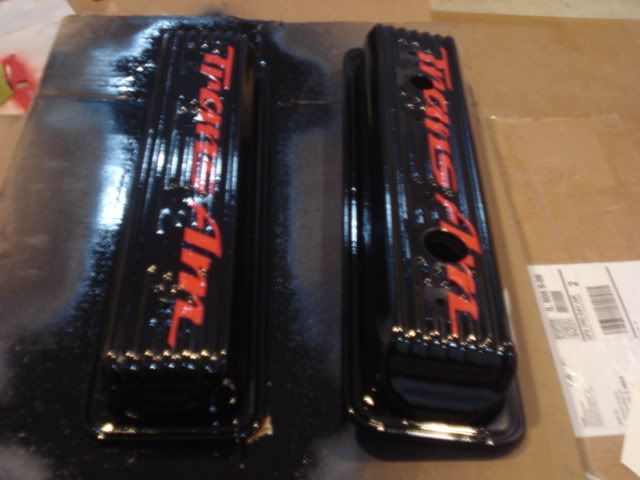
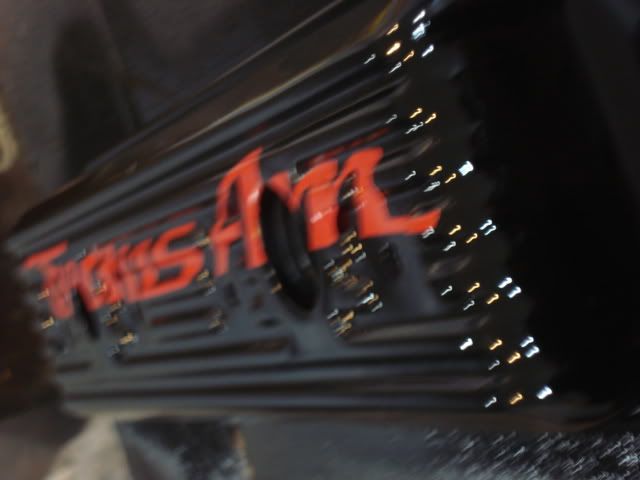
Originally the base coat was red and then I was supposed to apply the stickers paid black over the stickers and then peel them off, but since it's hard to lay the stickers properly it's pretty hard to get the right paint w/o it creeping into the tiny gaps btn the stickers and weird angles.
You had seen previously that I painted my valve covers red. Well I messed that paint job up, and didn't let it cure properly.
Well, I said **** it and just redid the whole job.
Base gloss black coat.
Vinyl applied
It's really difficult to get nice looking because of the waves in our valve covers. That's why I want to buy the flat surface valve covers on my signature, I just can't afford to pay 100 for them right now. I'll redo them when I can afford them, maybe even powdercoat.
All my pics of the vcs are pretty crappy, that lighting sucks.
Clear over the stickers.
Originally the base coat was red and then I was supposed to apply the stickers paid black over the stickers and then peel them off, but since it's hard to lay the stickers properly it's pretty hard to get the right paint w/o it creeping into the tiny gaps btn the stickers and weird angles.

