Operation Engine Bay of Pigs
 02-04-2010, 12:05 PM
#101
Launching!
iTrader: (10)
Join Date: Apr 2009
Location: Gilbert, AZ
Posts: 295
Likes: 0
Received 0 Likes
on
0 Posts
yeah its all good keep on keepin on lol youll get there... my car will be dead for a while especially with the wire mod and fuel line mod... have to decide on what to do with my fuse relay box

 02-05-2010, 01:03 AM
#107
1/4/10
Today was a pain in the ***. I decided not to do the fuel lines but rather do the wiring first. Didn't get very far.
It was a headache trying to tuck the wires under the fuel rail and then bolting the POS down. The back driver side screw/hole wouldn't line up.

Finally got it but I'm still not too sure on the injectors being put in the holes properly for injectors 5 and 7. See picture, it's sticking out too high, but would go down when I pushed down on it.
Anyway here's the mess:
Drilled holes for zip ties to hold the bundle of wires up high and tight to the cowl to reduce its visibility.
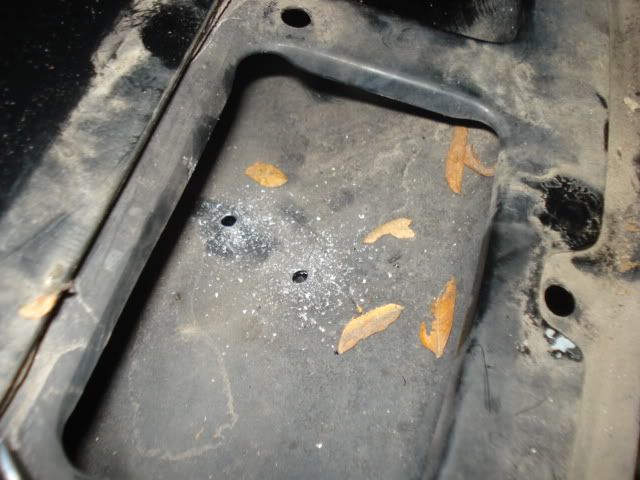
Covered the holes w/ RTV so water won't drop through.
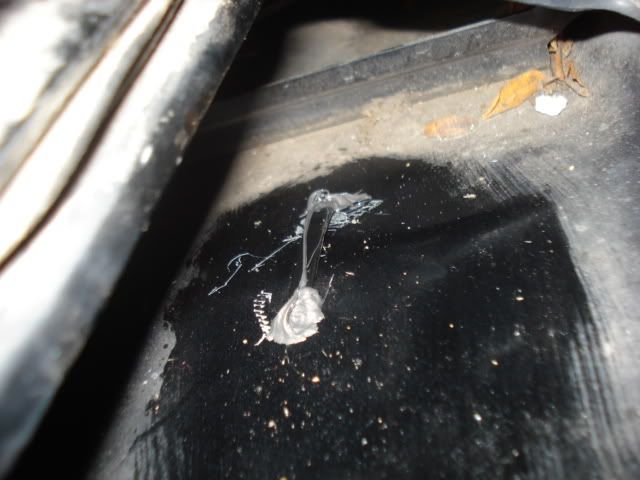
Barely visible now
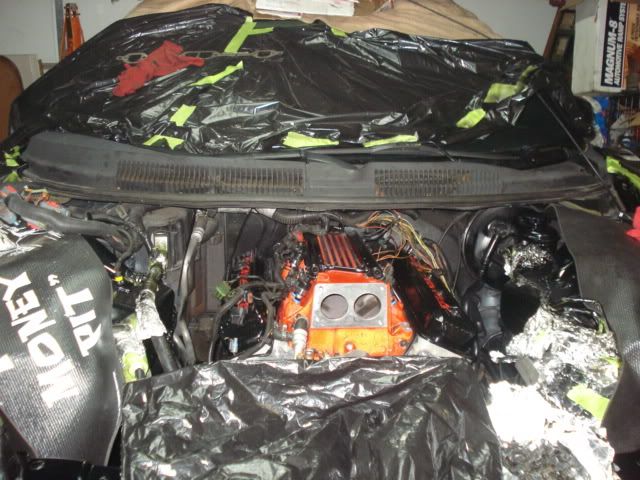
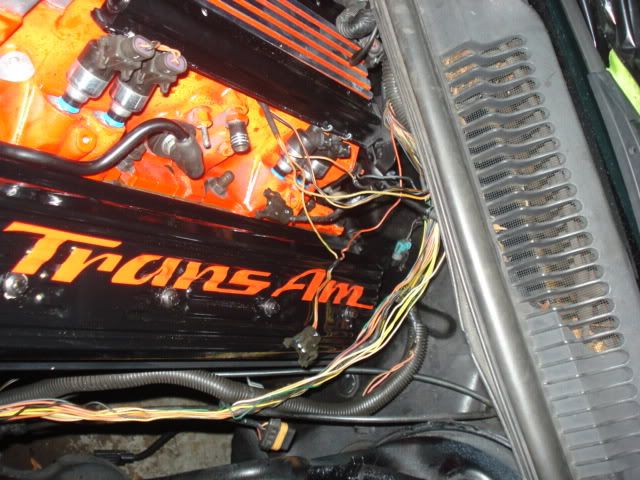
Tucked the damn injector wires and cleaned up the exposed wire at the back of the rail as best as possible.
****Also see how injectors 5and7 seem way too highVVVVVVVVVVVVV
Tackling this mess tomorrow, cutting, splicing, adding wire, soldering, etc tomorrow.
Today was a pain in the ***. I decided not to do the fuel lines but rather do the wiring first. Didn't get very far.
It was a headache trying to tuck the wires under the fuel rail and then bolting the POS down. The back driver side screw/hole wouldn't line up.
Finally got it but I'm still not too sure on the injectors being put in the holes properly for injectors 5 and 7. See picture, it's sticking out too high, but would go down when I pushed down on it.
Anyway here's the mess:
Drilled holes for zip ties to hold the bundle of wires up high and tight to the cowl to reduce its visibility.
Covered the holes w/ RTV so water won't drop through.
Barely visible now
Tucked the damn injector wires and cleaned up the exposed wire at the back of the rail as best as possible.
****Also see how injectors 5and7 seem way too highVVVVVVVVVVVVV
Tackling this mess tomorrow, cutting, splicing, adding wire, soldering, etc tomorrow.
 02-14-2010, 10:25 AM
#110
Alright, WTF?!
I'm trying to finish this damn car up, but I can't for the life of me get the passenger header back on.
When I first did my headers I put the passenger on w/o having to remove the motor mount, but now I can't fit it in with it on. My AC lines are not even on the car now, like they were then and I can't even fit them through.
So, I decided to take the motor mount bolt off, I did, lifted the engine, and it went threw. Now I can't get the proper angle to mate the header w/ the head and be flush (or parallel).
I'm so frustrated.
02-14-2010, 11:16 AM
#111
TECH Enthusiast
Join Date: Jul 2008
Location: Miles City Mt
Posts: 732
Likes: 0
Received 0 Likes
on
0 Posts
Alright, WTF?!
I'm trying to finish this damn car up, but I can't for the life of me get the passenger header back on.
When I first did my headers I put the passenger on w/o having to remove the motor mount, but now I can't fit it in with it on. My AC lines are not even on the car now, like they were then and I can't even fit them through.
So, I decided to take the motor mount bolt off, I did, lifted the engine, and it went threw. Now I can't get the proper angle to mate the header w/ the head and be flush (or parallel).
I'm so frustrated.
I'm trying to finish this damn car up, but I can't for the life of me get the passenger header back on.
When I first did my headers I put the passenger on w/o having to remove the motor mount, but now I can't fit it in with it on. My AC lines are not even on the car now, like they were then and I can't even fit them through.
So, I decided to take the motor mount bolt off, I did, lifted the engine, and it went threw. Now I can't get the proper angle to mate the header w/ the head and be flush (or parallel).
I'm so frustrated.
03-03-2010, 07:46 PM
#113
Final Update? 3/3/2010
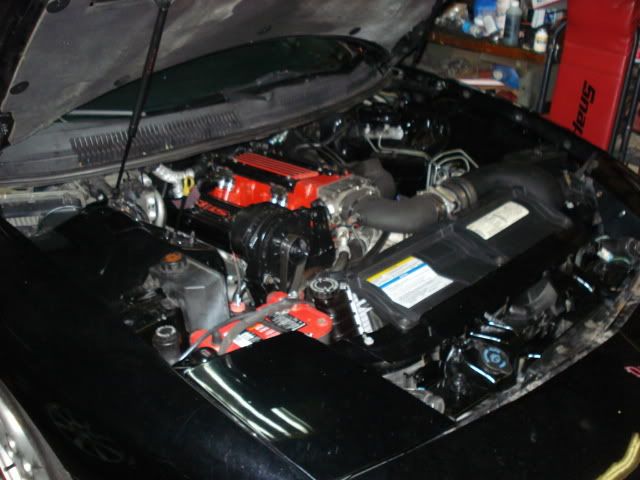
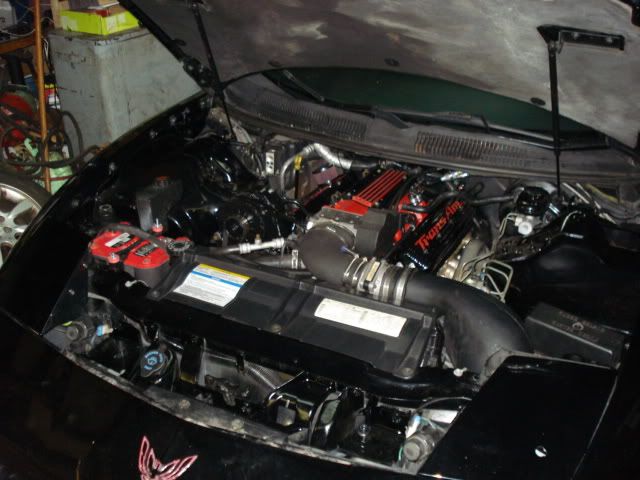
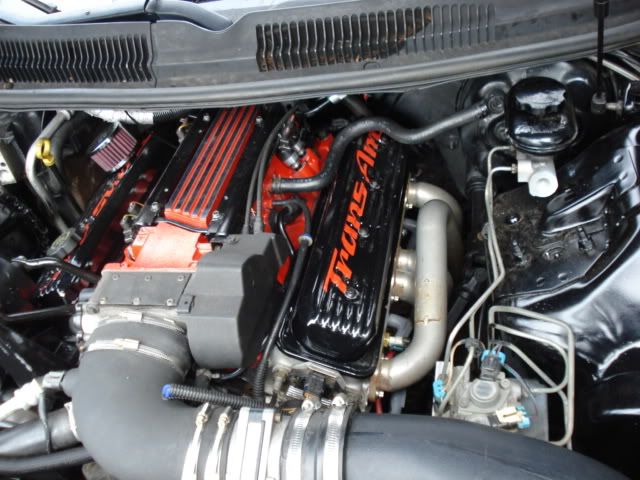
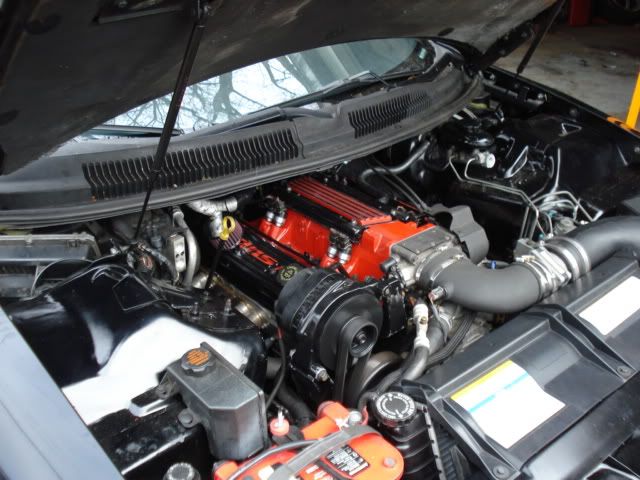
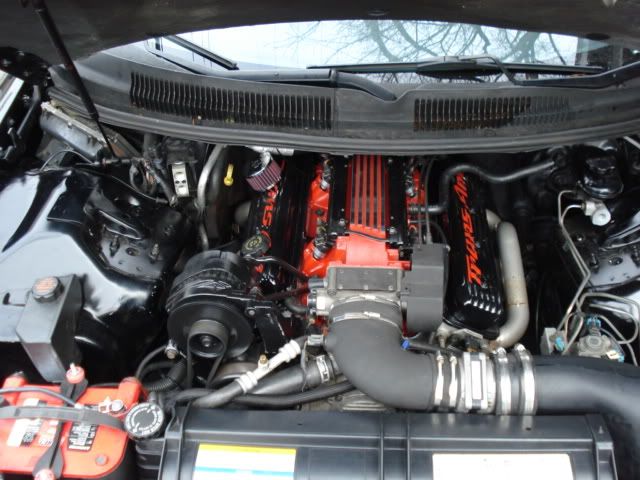
So, I'm pretty much finished but I've run into a bunch of little small problems, mainly fuel leaks from the lines. It's the first time I've ever done AN fittings, so I'm working on it. I think I finally got it done, but I still need to run the car for several minutes, and take it out on another test drive.
Here are the pics that I didn't bother posting up while I was working on the car. It's been a long tedious job this past month.
I actually decided to get rid of the AC, after my dad broke the box in the engine bay during torquing of the heads. Oh well.
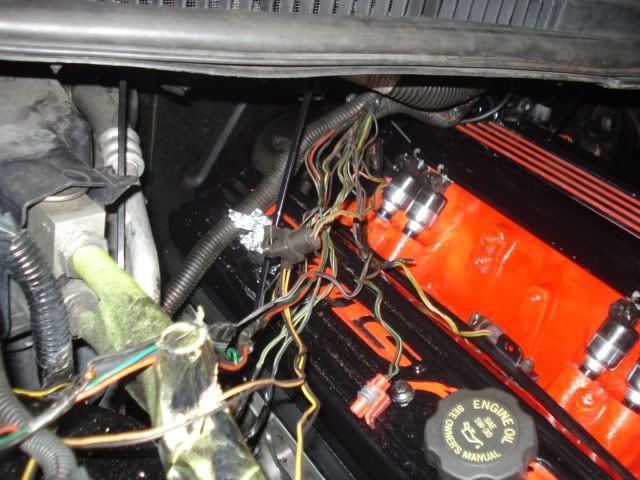
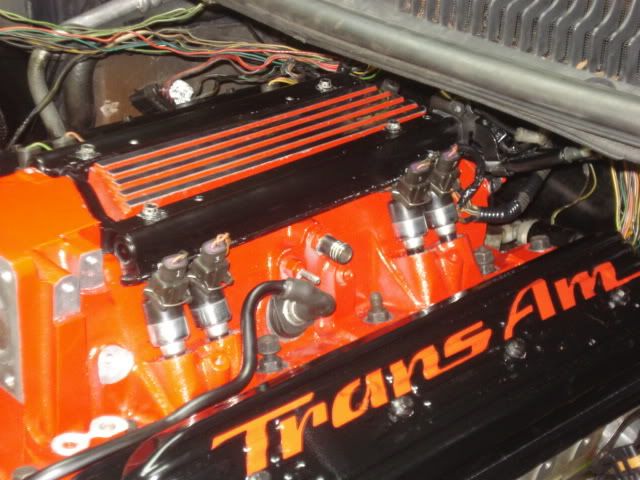
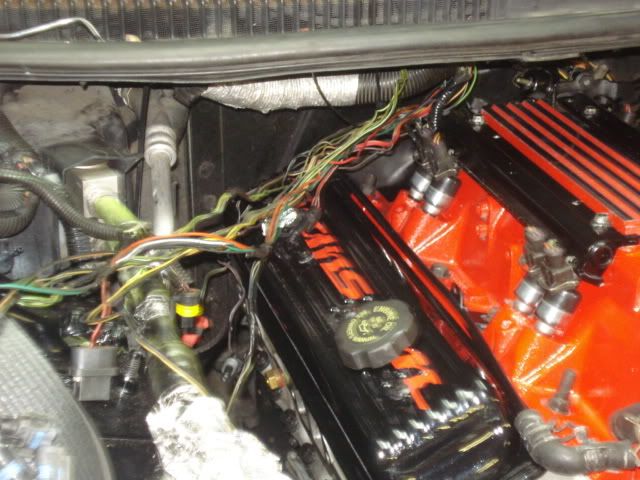
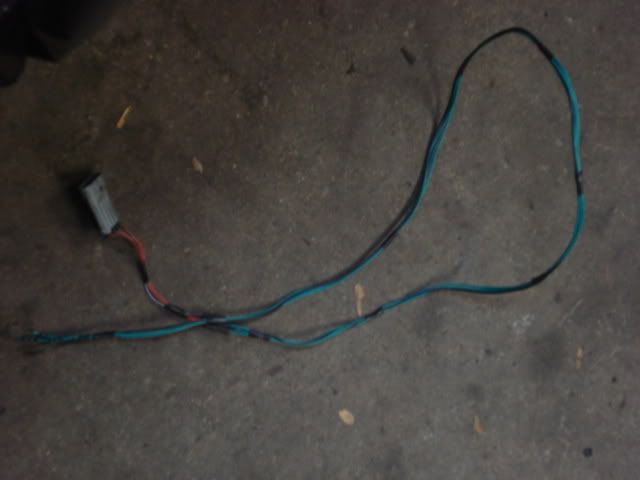
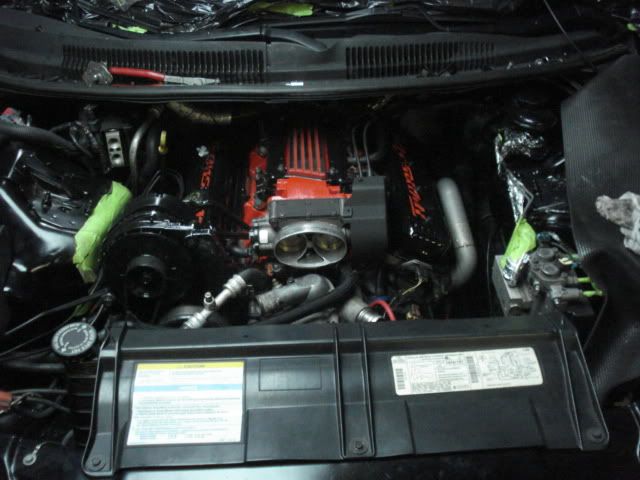
Rerouting wires underneath the engine to create the clean bare look up top.
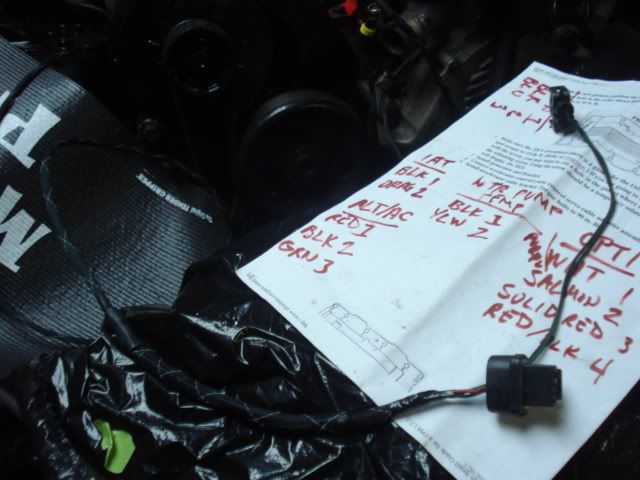
Bare wires, cut and lengthened, soldered and covered with heat shrink.
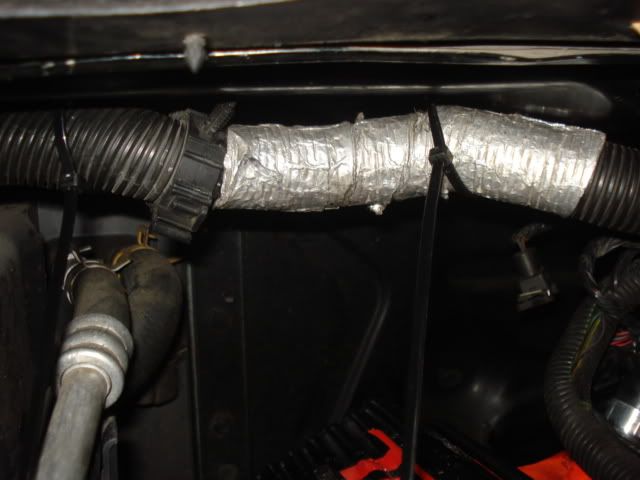
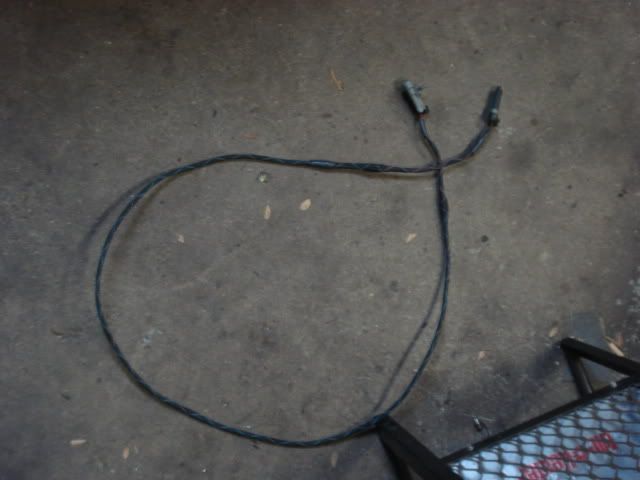
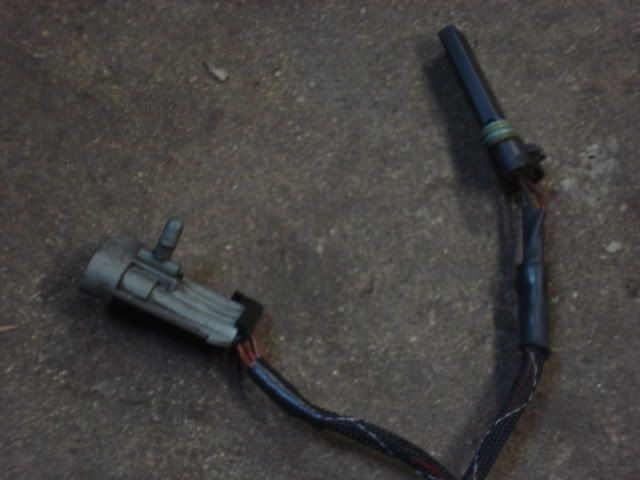
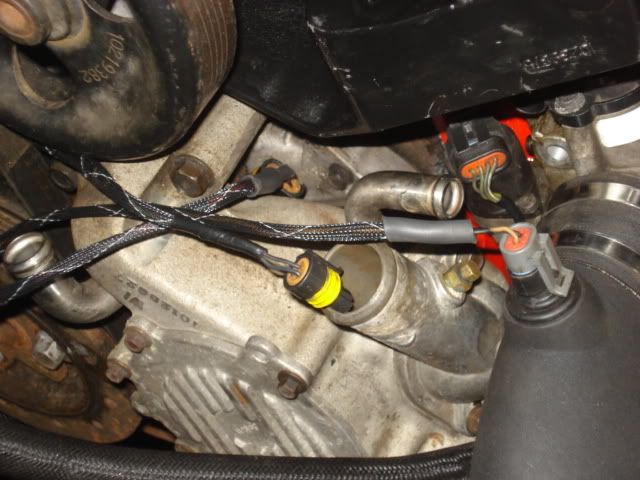
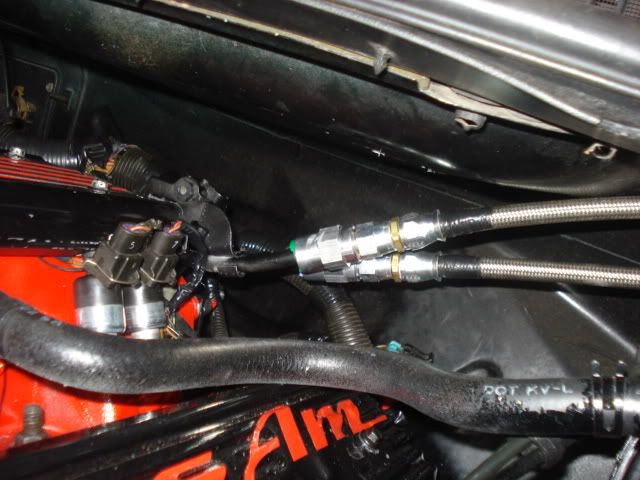
Covered the wires in Flame Retardant braided sleeving.
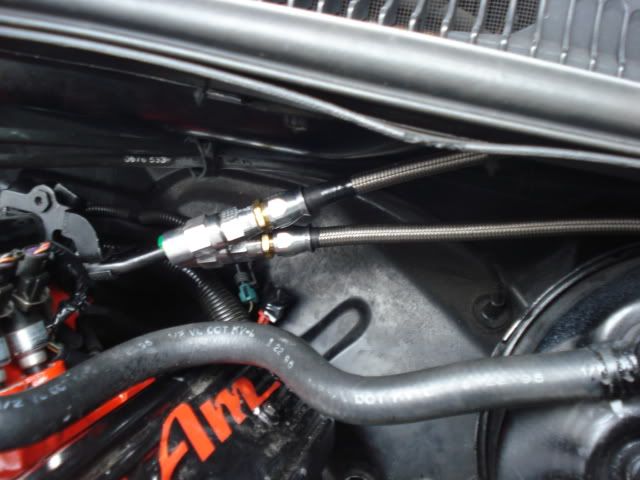
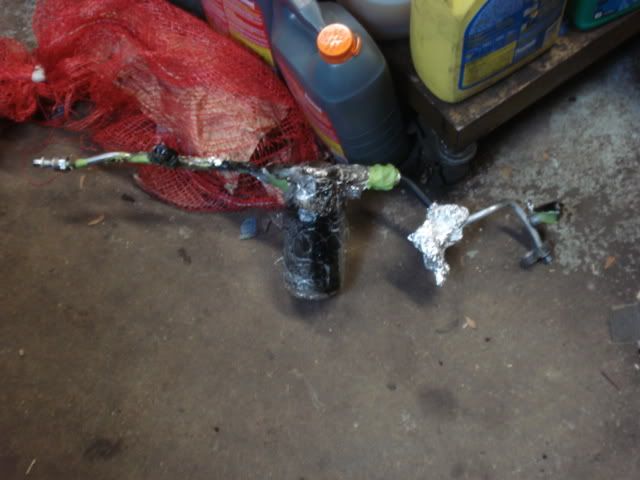
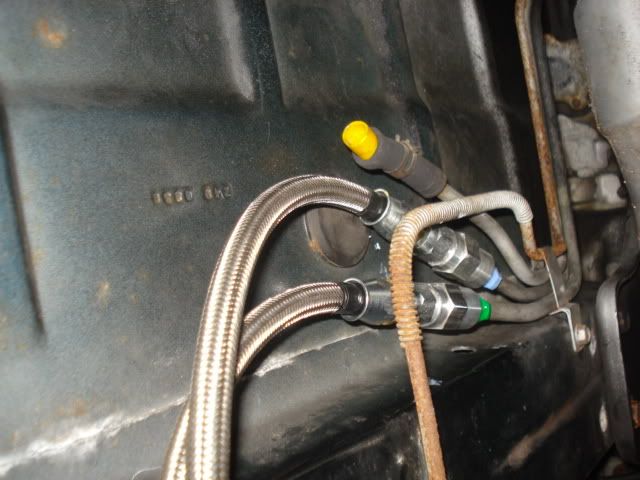
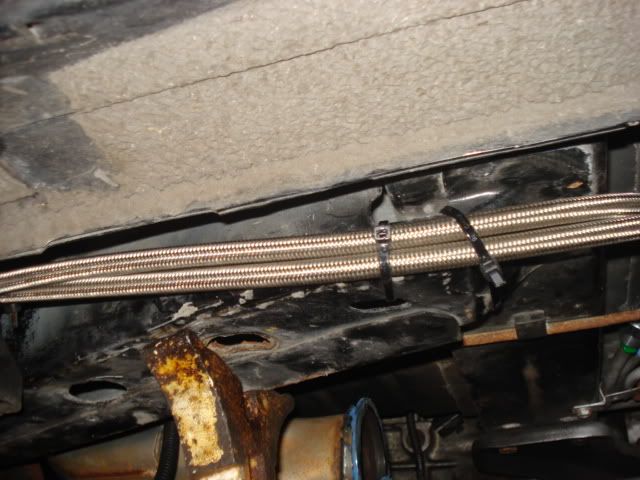
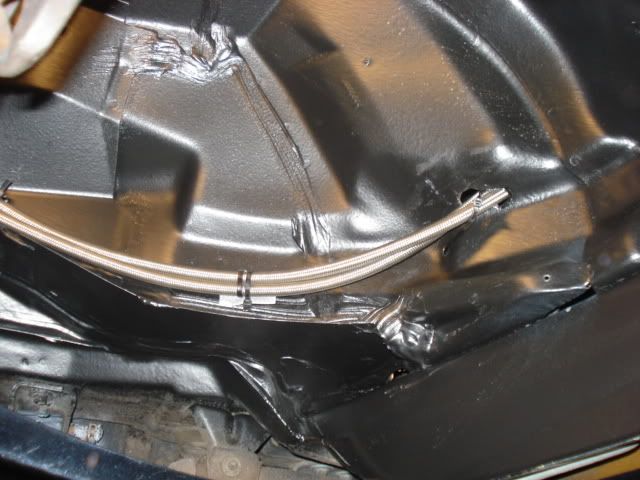
Fuel lines routed and ziptied in place.

So, I'm pretty much finished but I've run into a bunch of little small problems, mainly fuel leaks from the lines. It's the first time I've ever done AN fittings, so I'm working on it. I think I finally got it done, but I still need to run the car for several minutes, and take it out on another test drive.
Here are the pics that I didn't bother posting up while I was working on the car. It's been a long tedious job this past month.
I actually decided to get rid of the AC, after my dad broke the box in the engine bay during torquing of the heads. Oh well.
Rerouting wires underneath the engine to create the clean bare look up top.
Bare wires, cut and lengthened, soldered and covered with heat shrink.
Covered the wires in Flame Retardant braided sleeving.
Fuel lines routed and ziptied in place.
03-03-2010, 10:35 PM
#117
TECH Enthusiast
Join Date: Jul 2008
Location: Miles City Mt
Posts: 732
Likes: 0
Received 0 Likes
on
0 Posts
 My friend, you have inspired me to do a better job cleaning up my engine bay. I will get started on it ASAP and post pictures as soon as I am done
EDIT: I just need to tuck my wires