Vortech V1 T-Trim install
 06-17-2014, 08:37 PM
#1
TECH Resident
Thread Starter
iTrader: (9)

Join Date: May 2009
Location: Austin/Cedar Park
Posts: 809
Likes: 0
Received 0 Likes
on
0 Posts
Hey guys, the other forums are boring so I wanted to post here my vortech install.
I picked up a used vortech V1 kit for a pretty good price, its missing a few things but notthing major. only after I got the kit did I realize i need a custom AC line made so thats about the worst part, other then that I need a belt and air filter.
Im doing a LT4 hot cam install at the same time along with a EWP.


 06-17-2014, 08:40 PM
#2
TECH Resident
Thread Starter
iTrader: (9)
Join Date: May 2009
Location: Austin/Cedar Park
Posts: 809
Likes: 0
Received 0 Likes
on
0 Posts
You can see in the last picture why I need the AC line.. unless I can figure out some other way to run the intake tubing.
I am planning to install the complete Lt4 hot cam kit, Do you think ill have valve float with boost at 6 or 7 lbs?
Still need to order injectors and maybe a fuel pump. I really want to get it running by the weekend but I dont know how thats going to go.. cam won't be here untill Thursday.
I am planning to install the complete Lt4 hot cam kit, Do you think ill have valve float with boost at 6 or 7 lbs?
Still need to order injectors and maybe a fuel pump. I really want to get it running by the weekend but I dont know how thats going to go.. cam won't be here untill Thursday.
06-17-2014, 08:57 PM
#3
TECH Addict
Why the hotcam?
Yes, valve float will occur on the hotcam kit valve springs under boost.
You can always try and relocate your drier first before making a whole new line.
Yes, valve float will occur on the hotcam kit valve springs under boost.
You can always try and relocate your drier first before making a whole new line.
06-17-2014, 10:07 PM
#4
11 Second Club
Don't forget a good set of headers. I see you still have the stock manifolds on the car..
06-17-2014, 10:12 PM
#5
TECH Resident
Thread Starter
iTrader: (9)
Join Date: May 2009
Location: Austin/Cedar Park
Posts: 809
Likes: 0
Received 0 Likes
on
0 Posts
Headers are coming.
I did the hot cam because it was $100, I know its not idea under boost. this is not a max effort build. Street car that sounds good and has some giddy up.
I did the hot cam because it was $100, I know its not idea under boost. this is not a max effort build. Street car that sounds good and has some giddy up.
06-18-2014, 04:18 PM
#6
TECH Addict
Trending Topics
06-18-2014, 05:50 PM
#8
TECH Addict
They are supposed to last about 5-10K miles depending on use and cam selection. No direct experience here though. I have Howards Cam Springs and supposedly they are in the same boat as Alex Springs.
Not sure how they'd do with boost.
Not sure how they'd do with boost.
 06-19-2014, 02:30 AM
#10
Hotcam springs barely have enough seat pressure to control heavy LT1 valves NA. Adding boost to that will be a disaster. A blower will fight the intake valve spring allowing it to float.
You need more than just tougher springs. Hardened pushrods, NSA rockers, guideplates, studs, possibly lifters, etc. Everything in the valvetrain will be under more stress with stiff springs and relatively aggressive aftermarket lobes. Even the timing set could be affected.
The Hotcam is okay for boost with the duration split and the overlap at -1 (not ideal but pretty good). There are definitely better shelf cams out there. The cc305 is a tiny bit better but only because there's more duration and lift (overlap @ -3 which is in the wrong direction for a blower). If you want more zing without going overboard then I'd go with the 224/236. Don't remember the specs exactly, but I know the overlap is a few degrees positive and there's more lift on the exhaust side where it really counts.
06-19-2014, 08:51 AM
#11
TECH Regular
Another vote to ditch the hotcam and go with the 224/236. Specs on it are 224/236 .536/.555 lift. 114 lsa. It's a known quantity and makes a ton of useable power and torque under the curve. Drives and sounds just as well as the hotcam too.
06-19-2014, 02:39 PM
#12
TECH Resident
Thread Starter
iTrader: (9)
Join Date: May 2009
Location: Austin/Cedar Park
Posts: 809
Likes: 0
Received 0 Likes
on
0 Posts
I already bought the hotcam - I didnt really intend to do a cam, but wanted to go ahead with something cheap since I had to take the timing cover off anyways for the EWP.
Later down the line when I want more power I would replace the cam with a LE cam and a forged bottom end but for now im gona run this setup.
Later down the line when I want more power I would replace the cam with a LE cam and a forged bottom end but for now im gona run this setup.
06-20-2014, 11:13 PM
#13
TECH Resident
Thread Starter
iTrader: (9)
Join Date: May 2009
Location: Austin/Cedar Park
Posts: 809
Likes: 0
Received 0 Likes
on
0 Posts
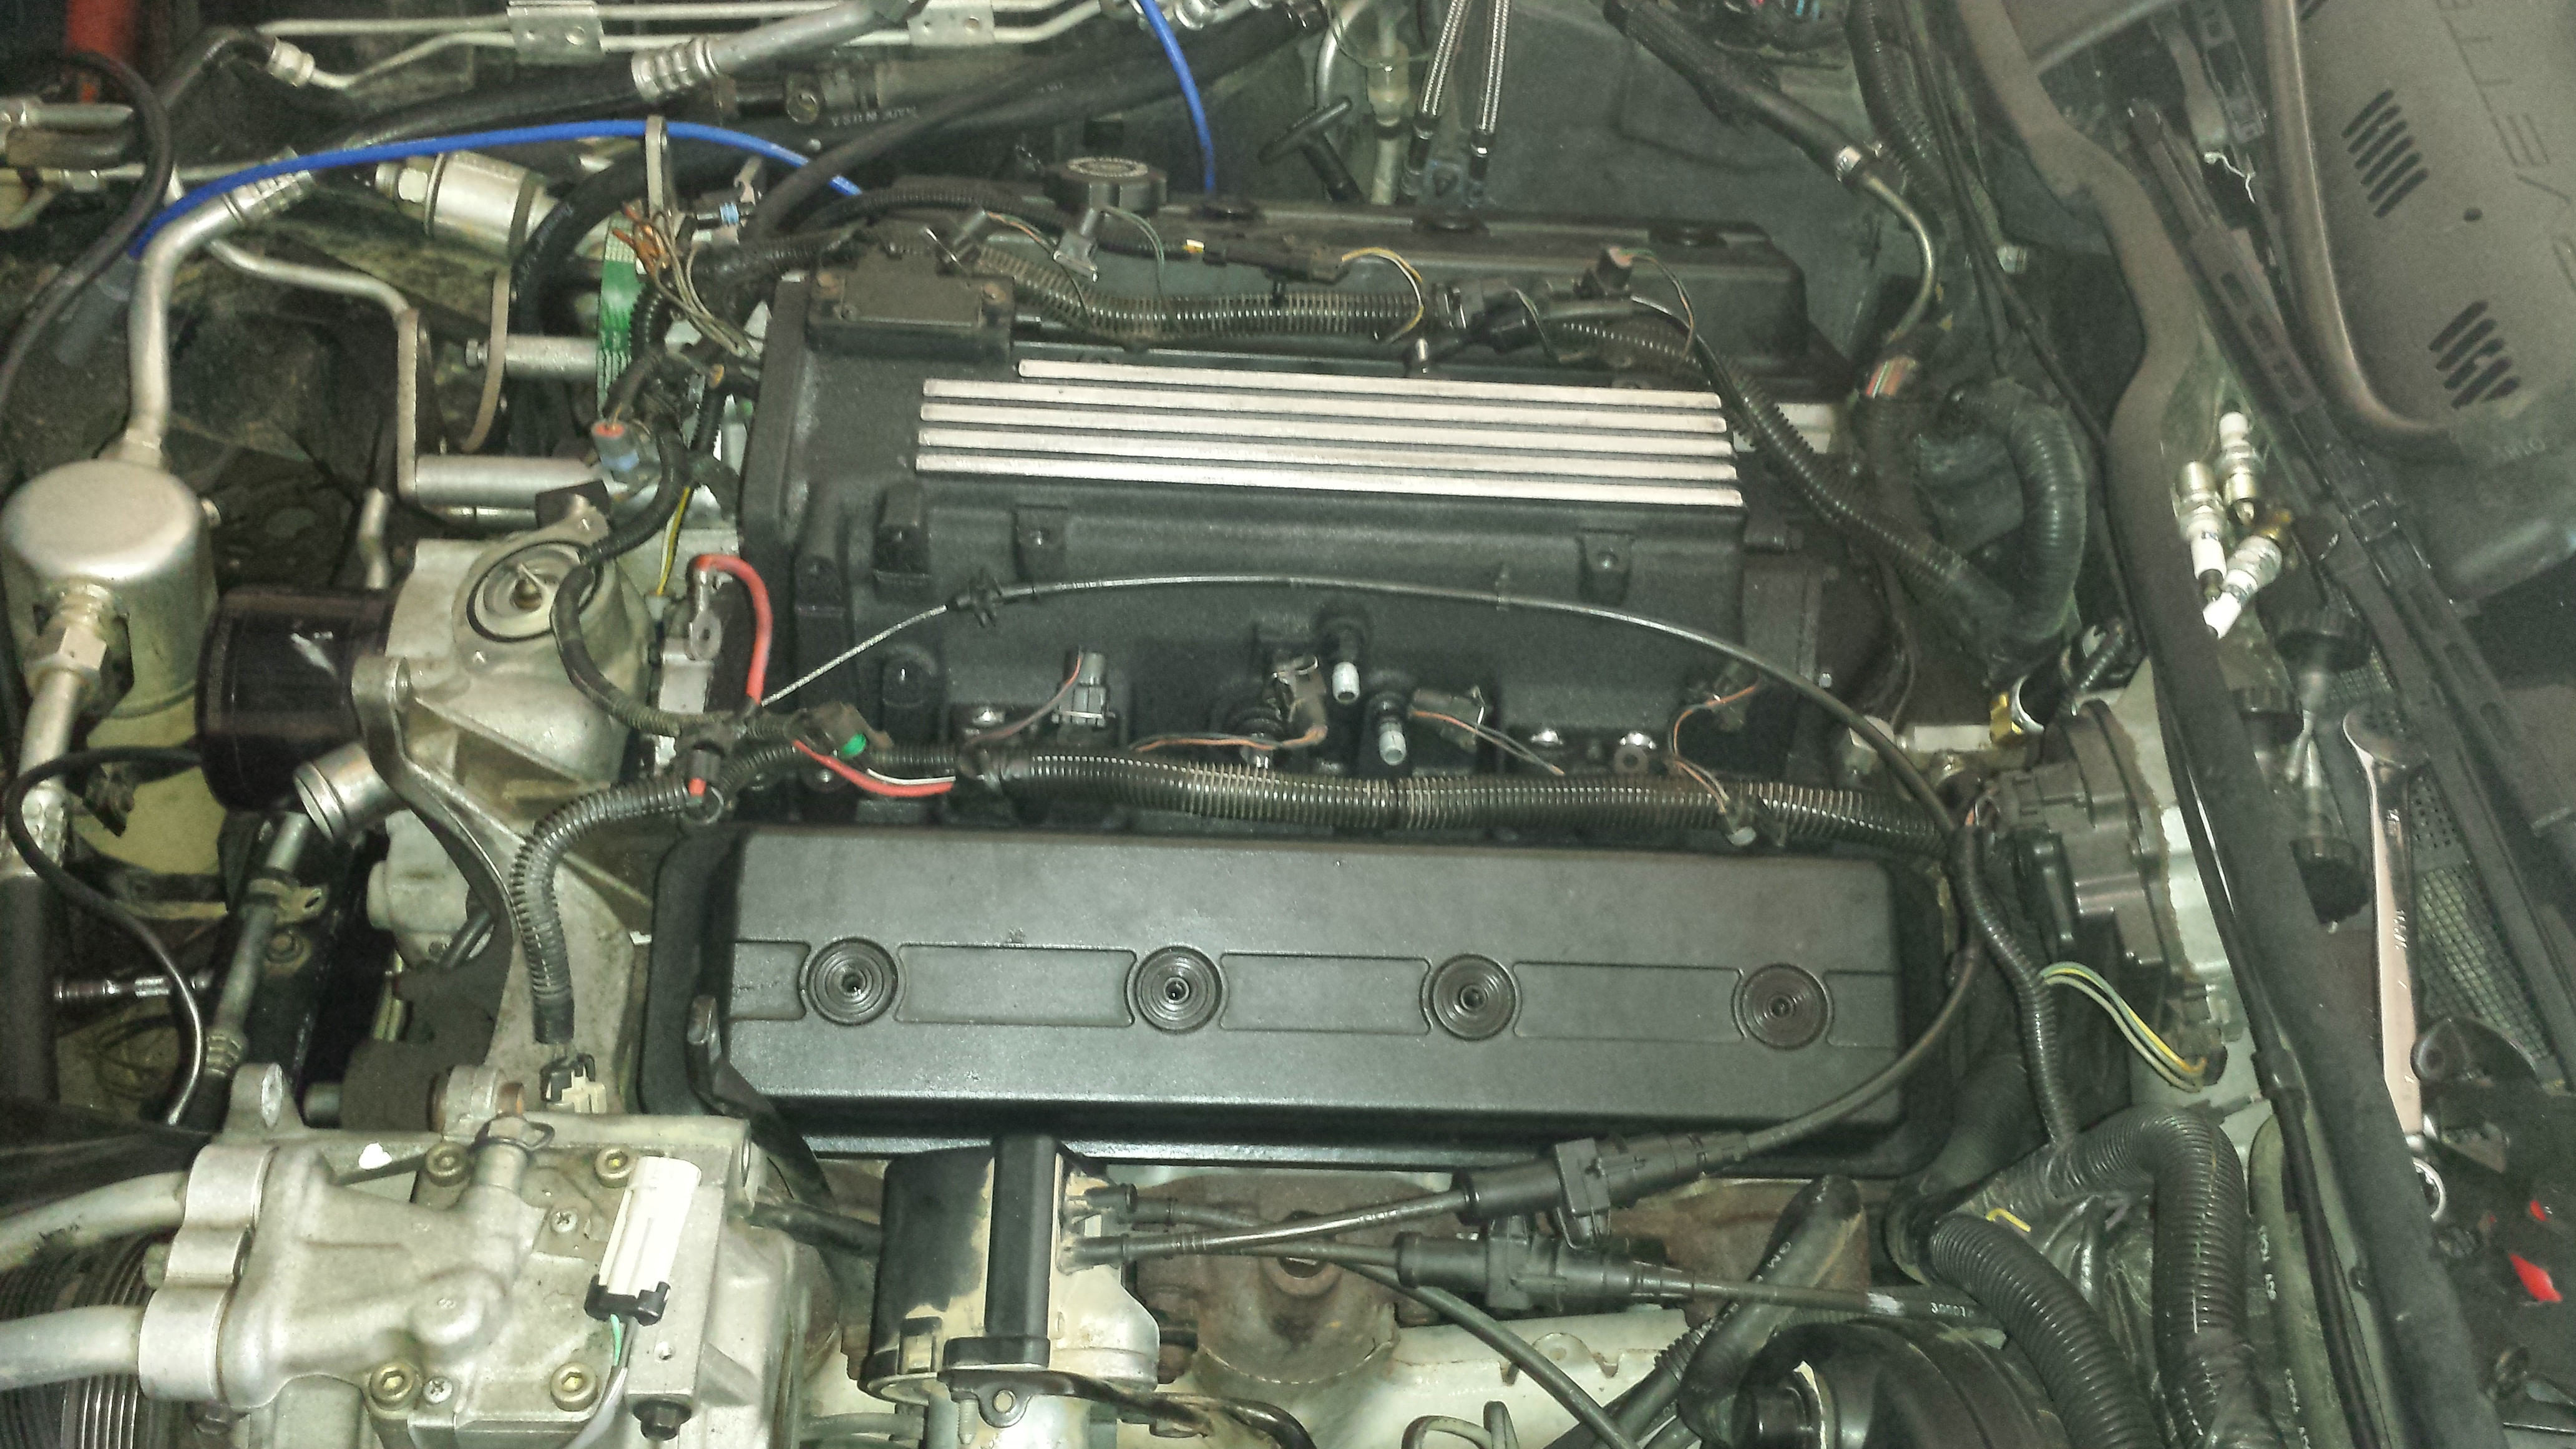
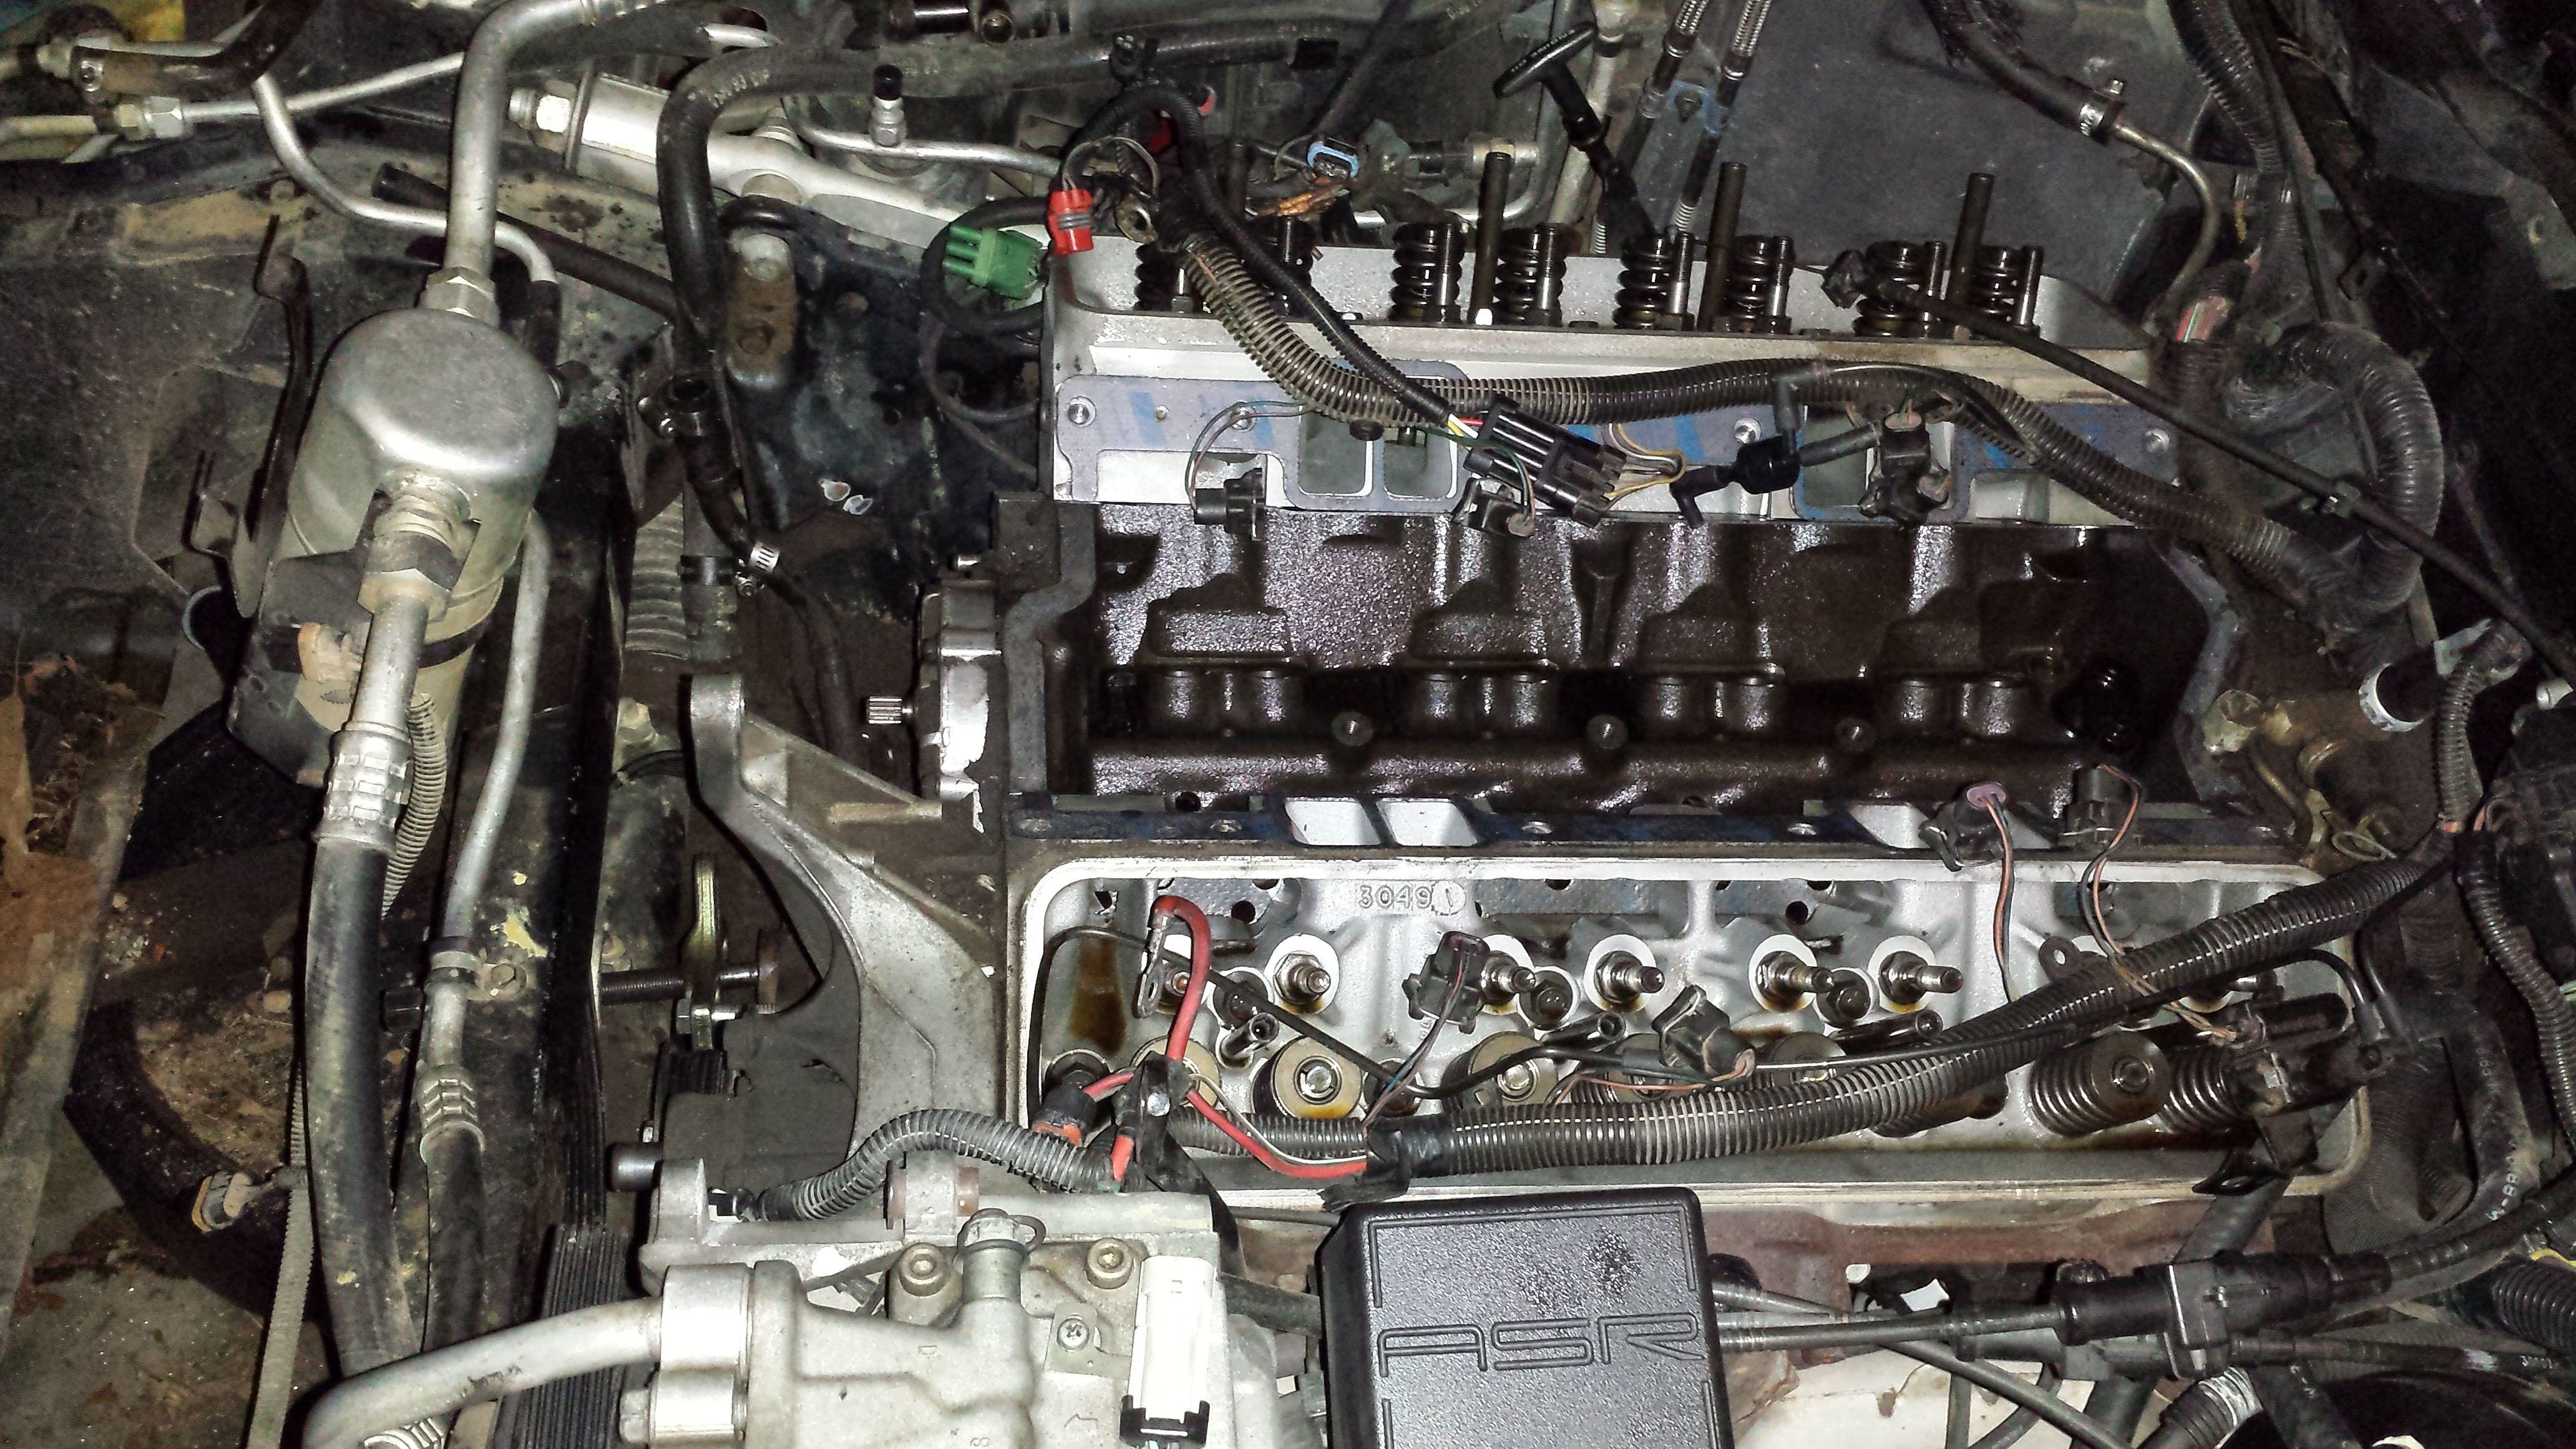
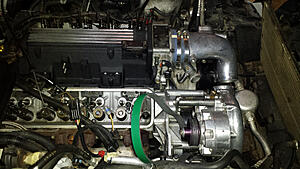
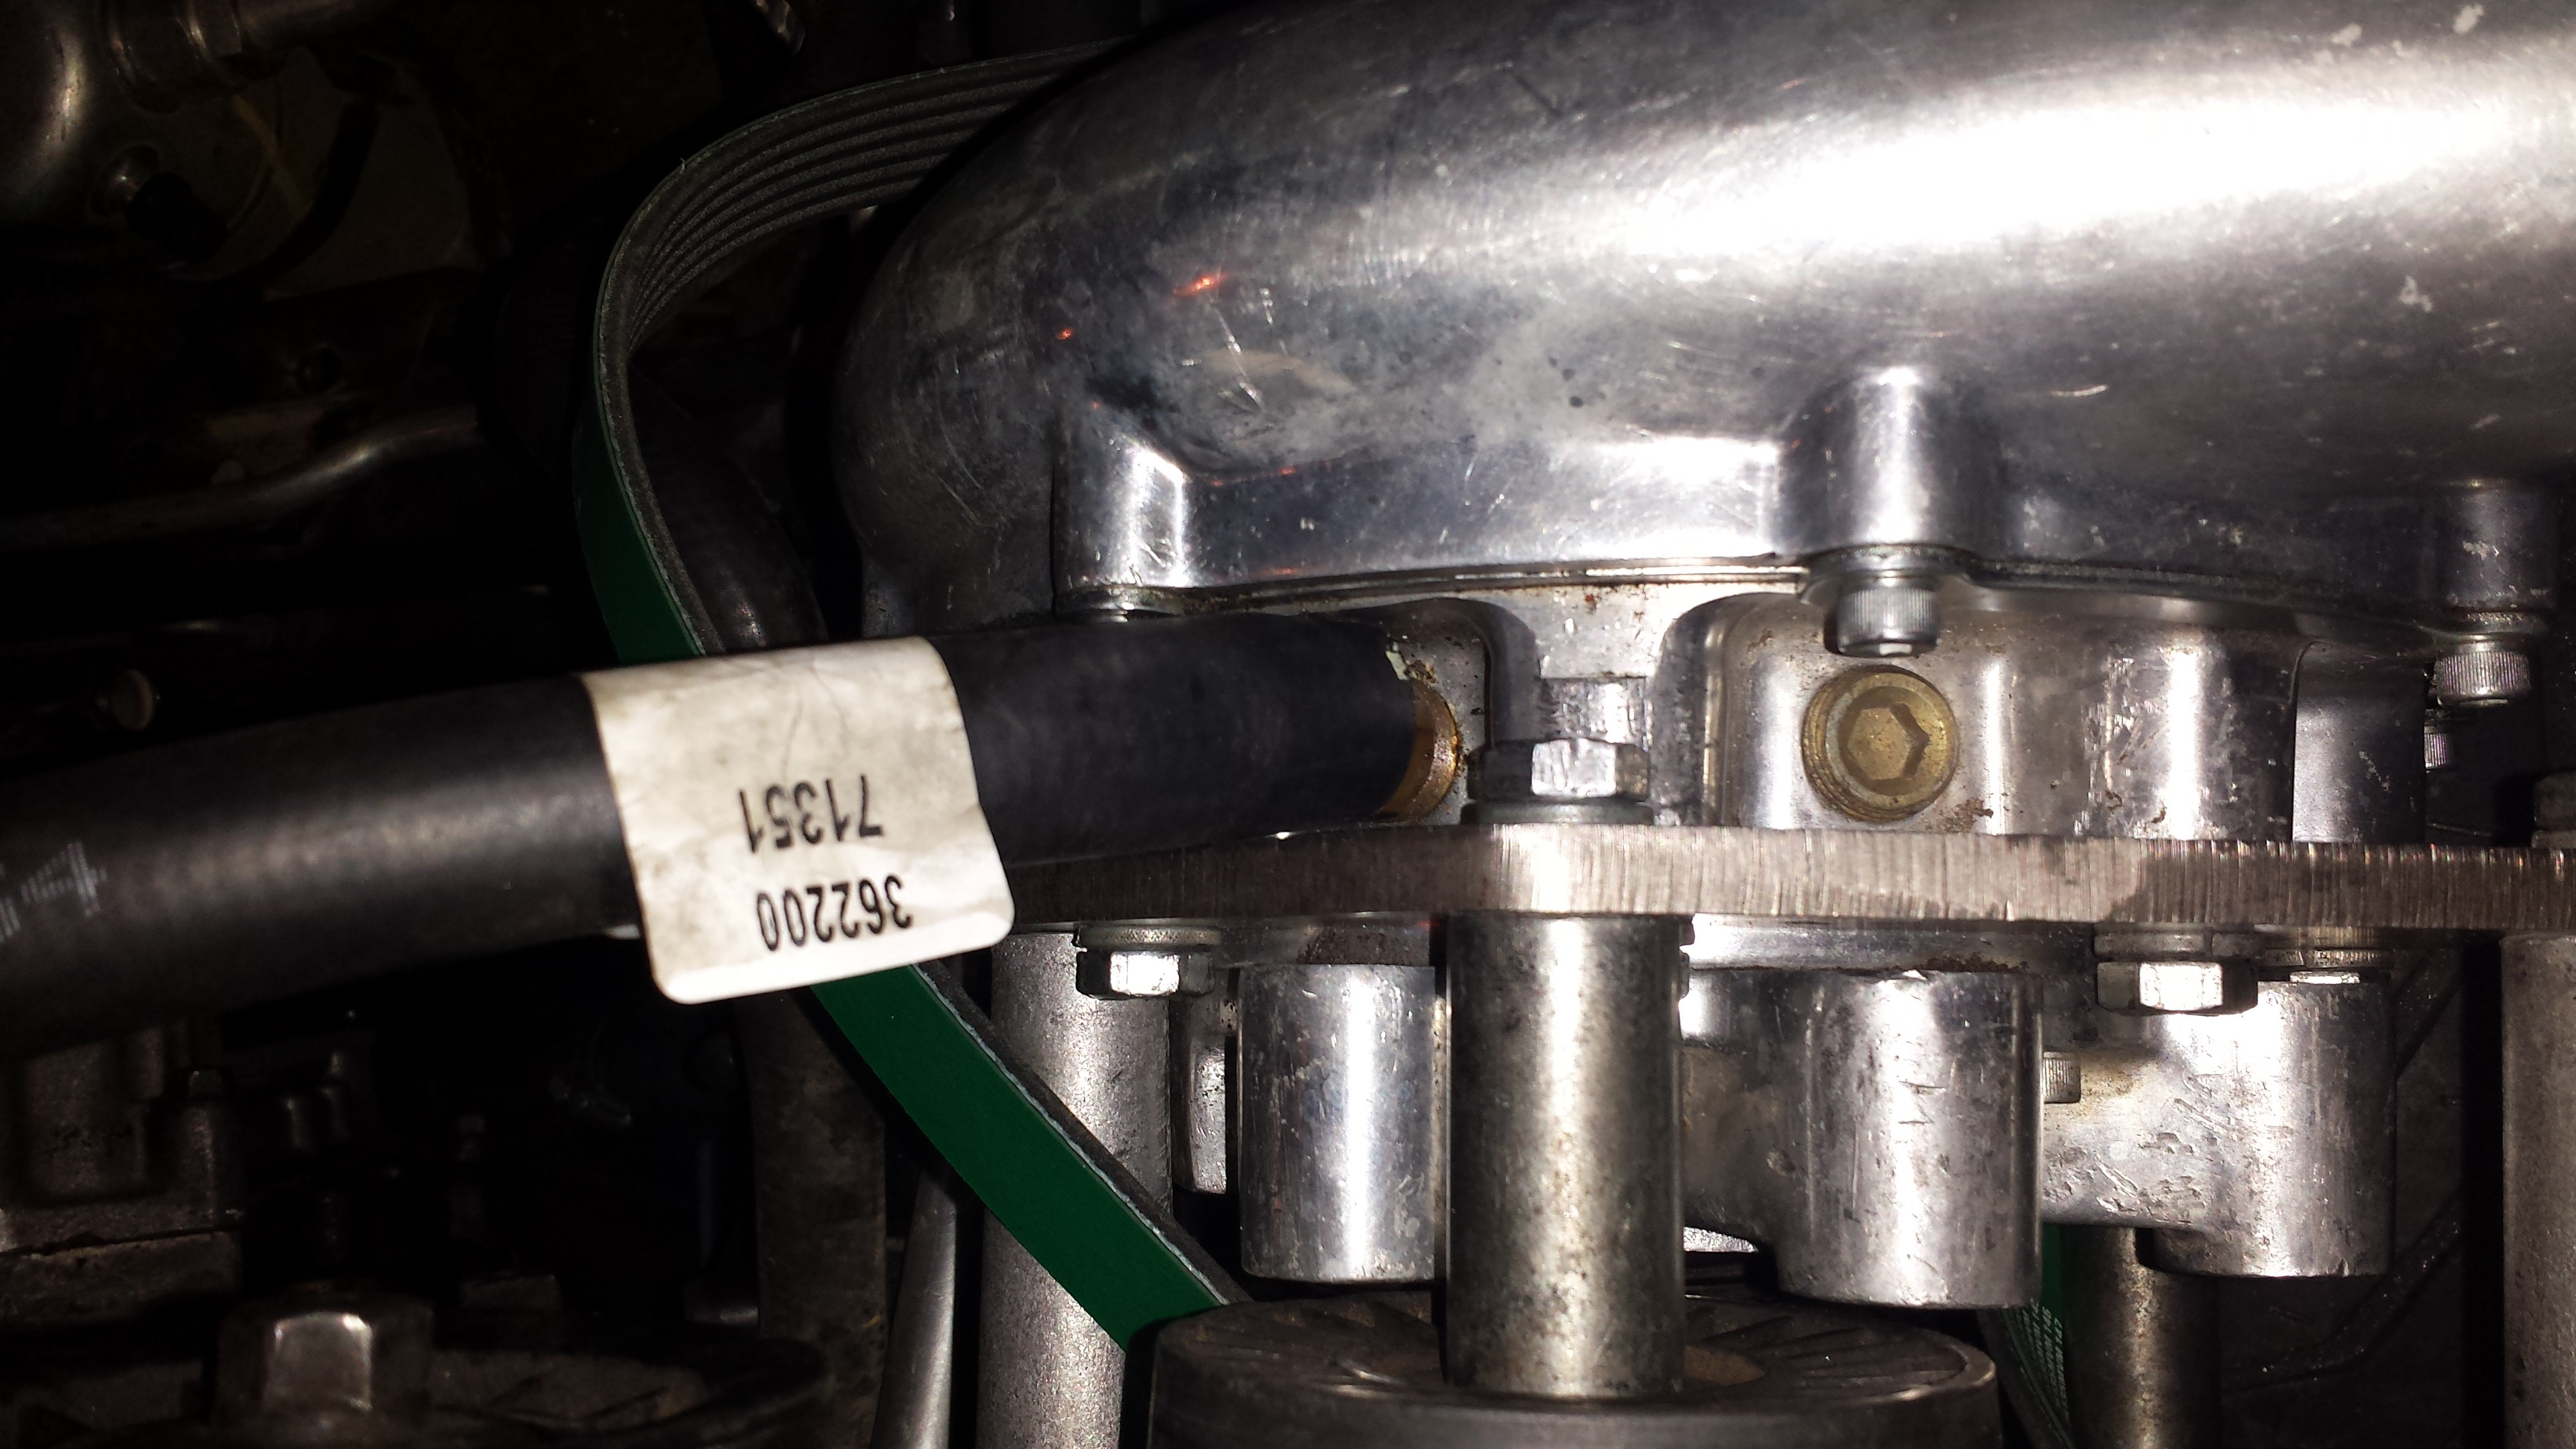
Got the new cam installed and the lifters back in before calling it quits for the night, had the pull a motor mount and jack the motor up to get the cam out.
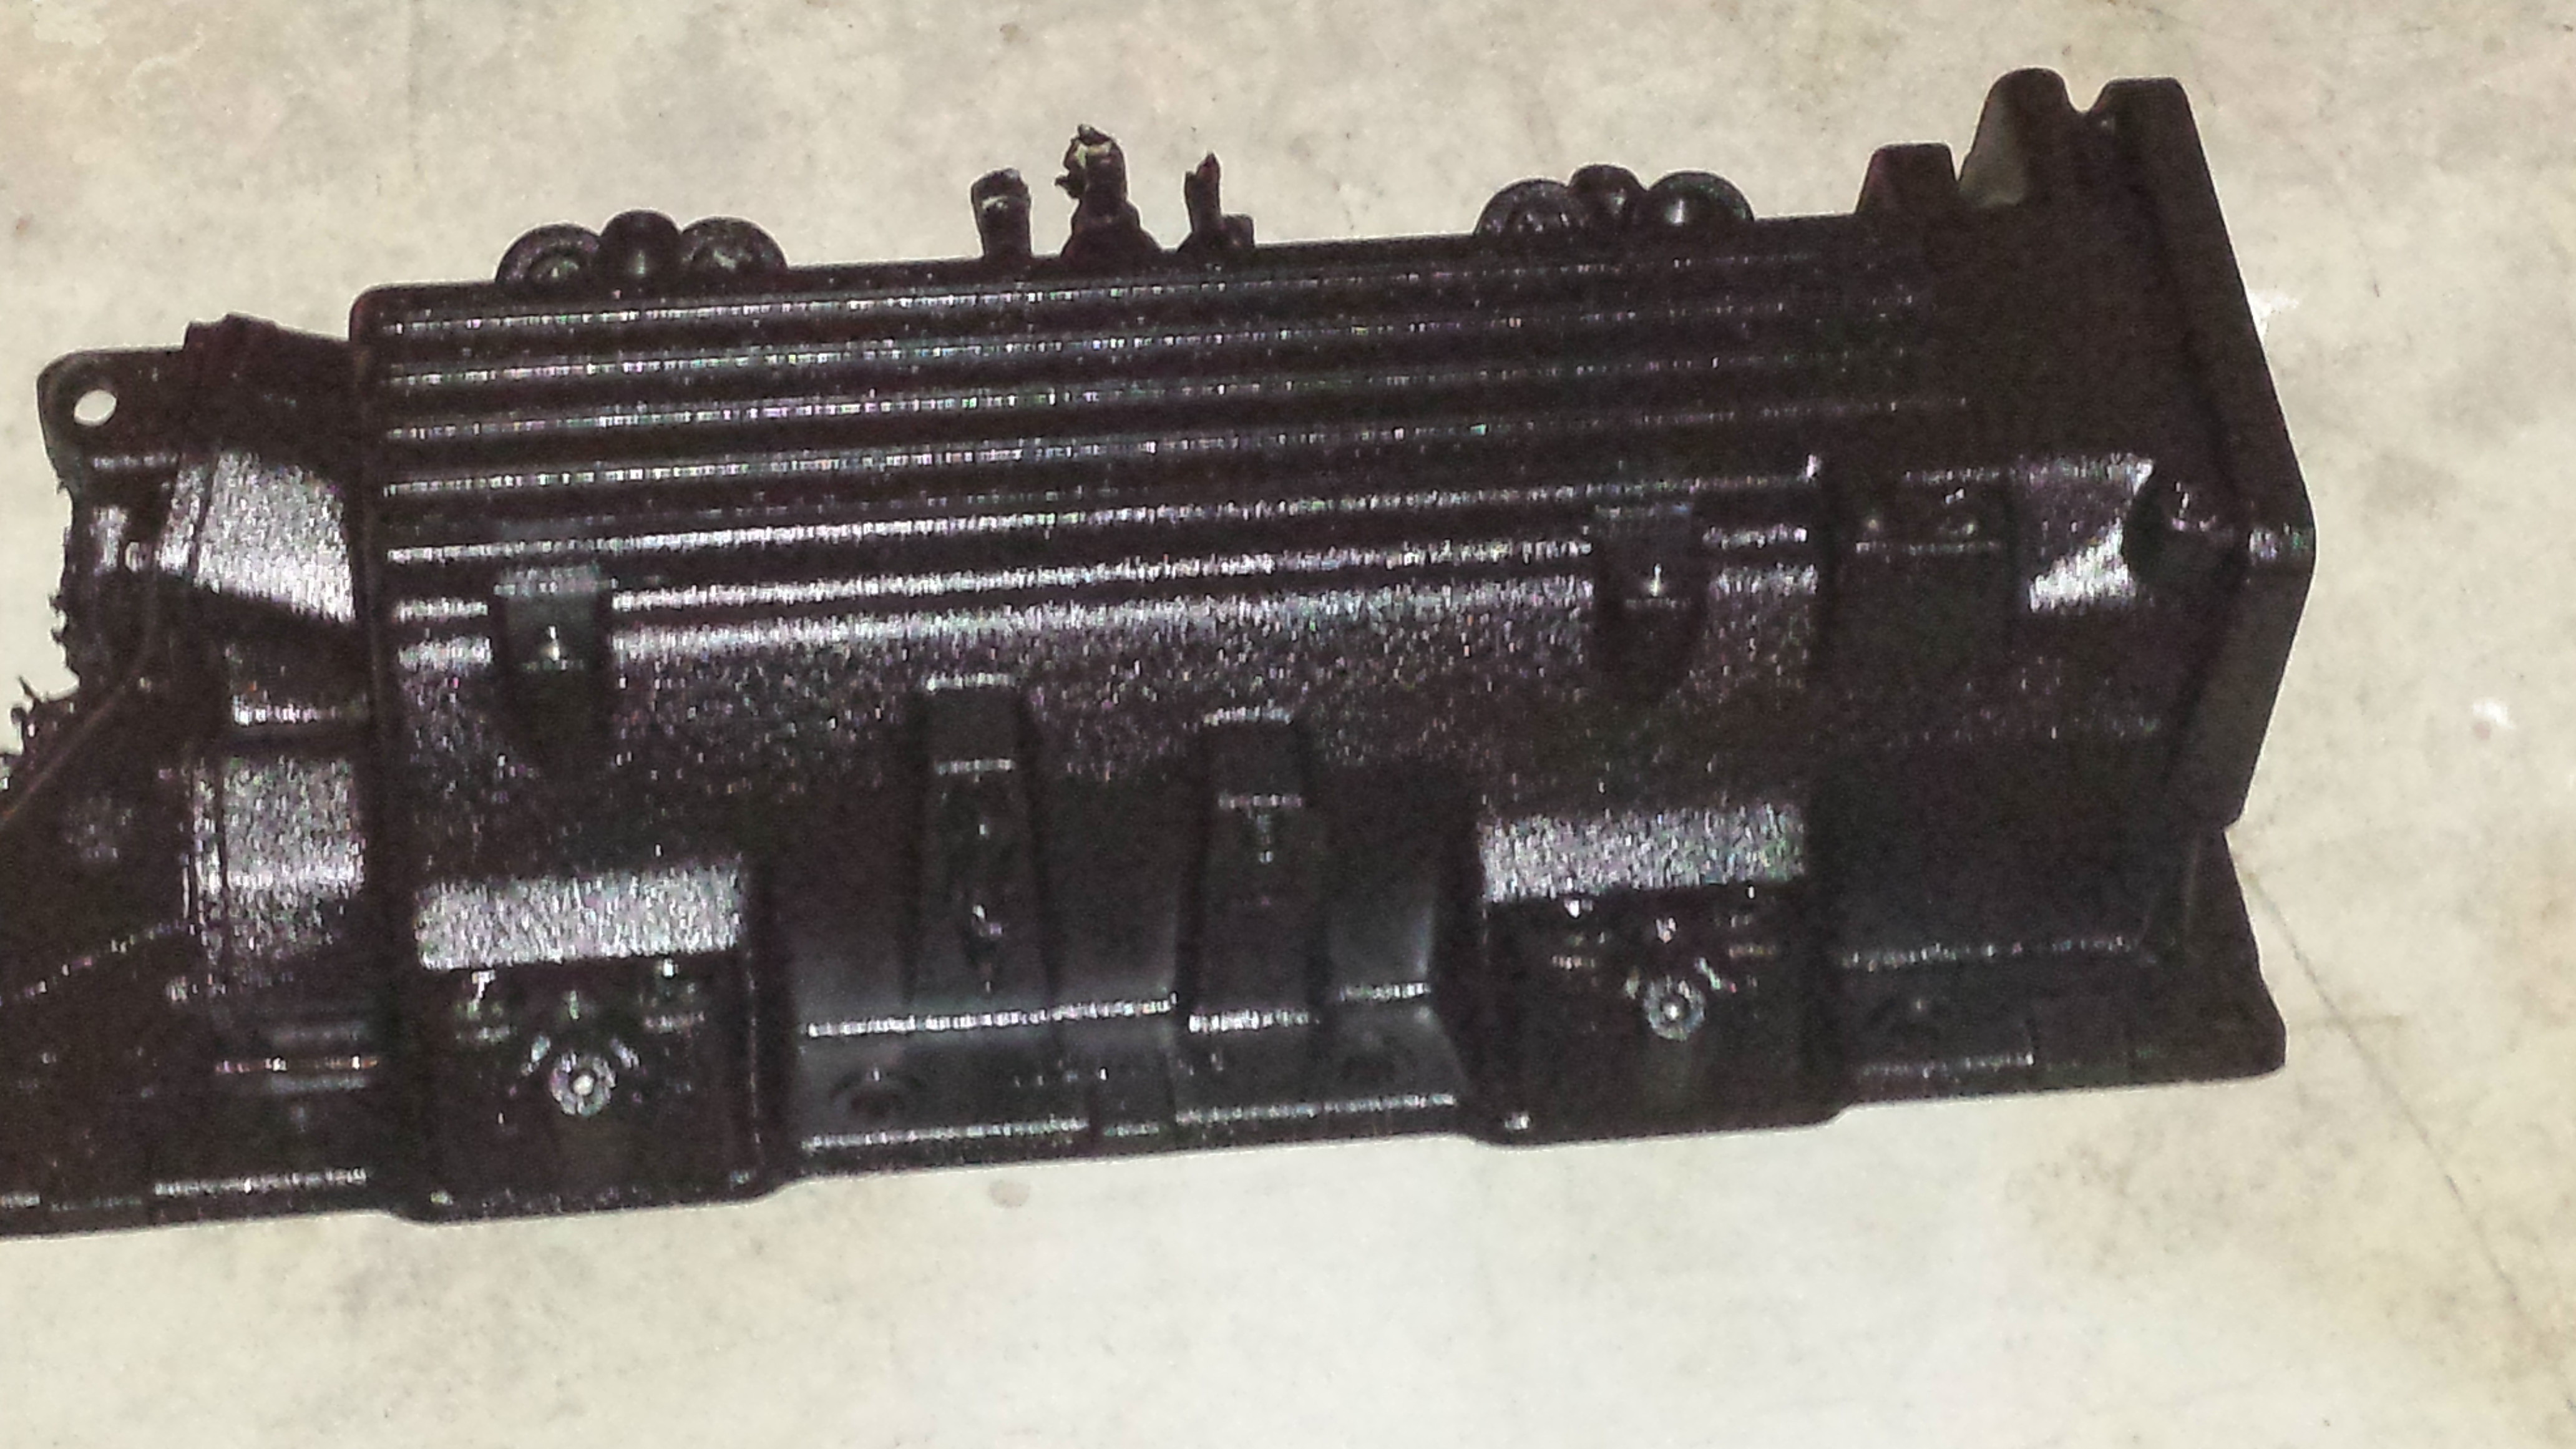
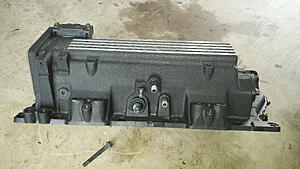
also painted the intake, Gona polish the lines that run across the top and leave the rest as it is.
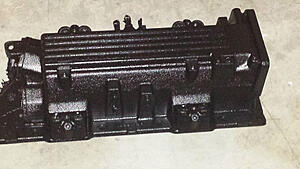
also painted the intake, Gona polish the lines that run across the top and leave the rest as it is.
 06-22-2014, 12:11 AM
#14
TECH Resident
Thread Starter
iTrader: (9)
Join Date: May 2009
Location: Austin/Cedar Park
Posts: 809
Likes: 0
Received 0 Likes
on
0 Posts
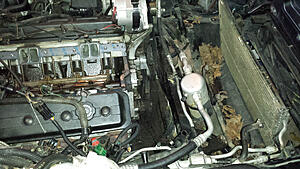
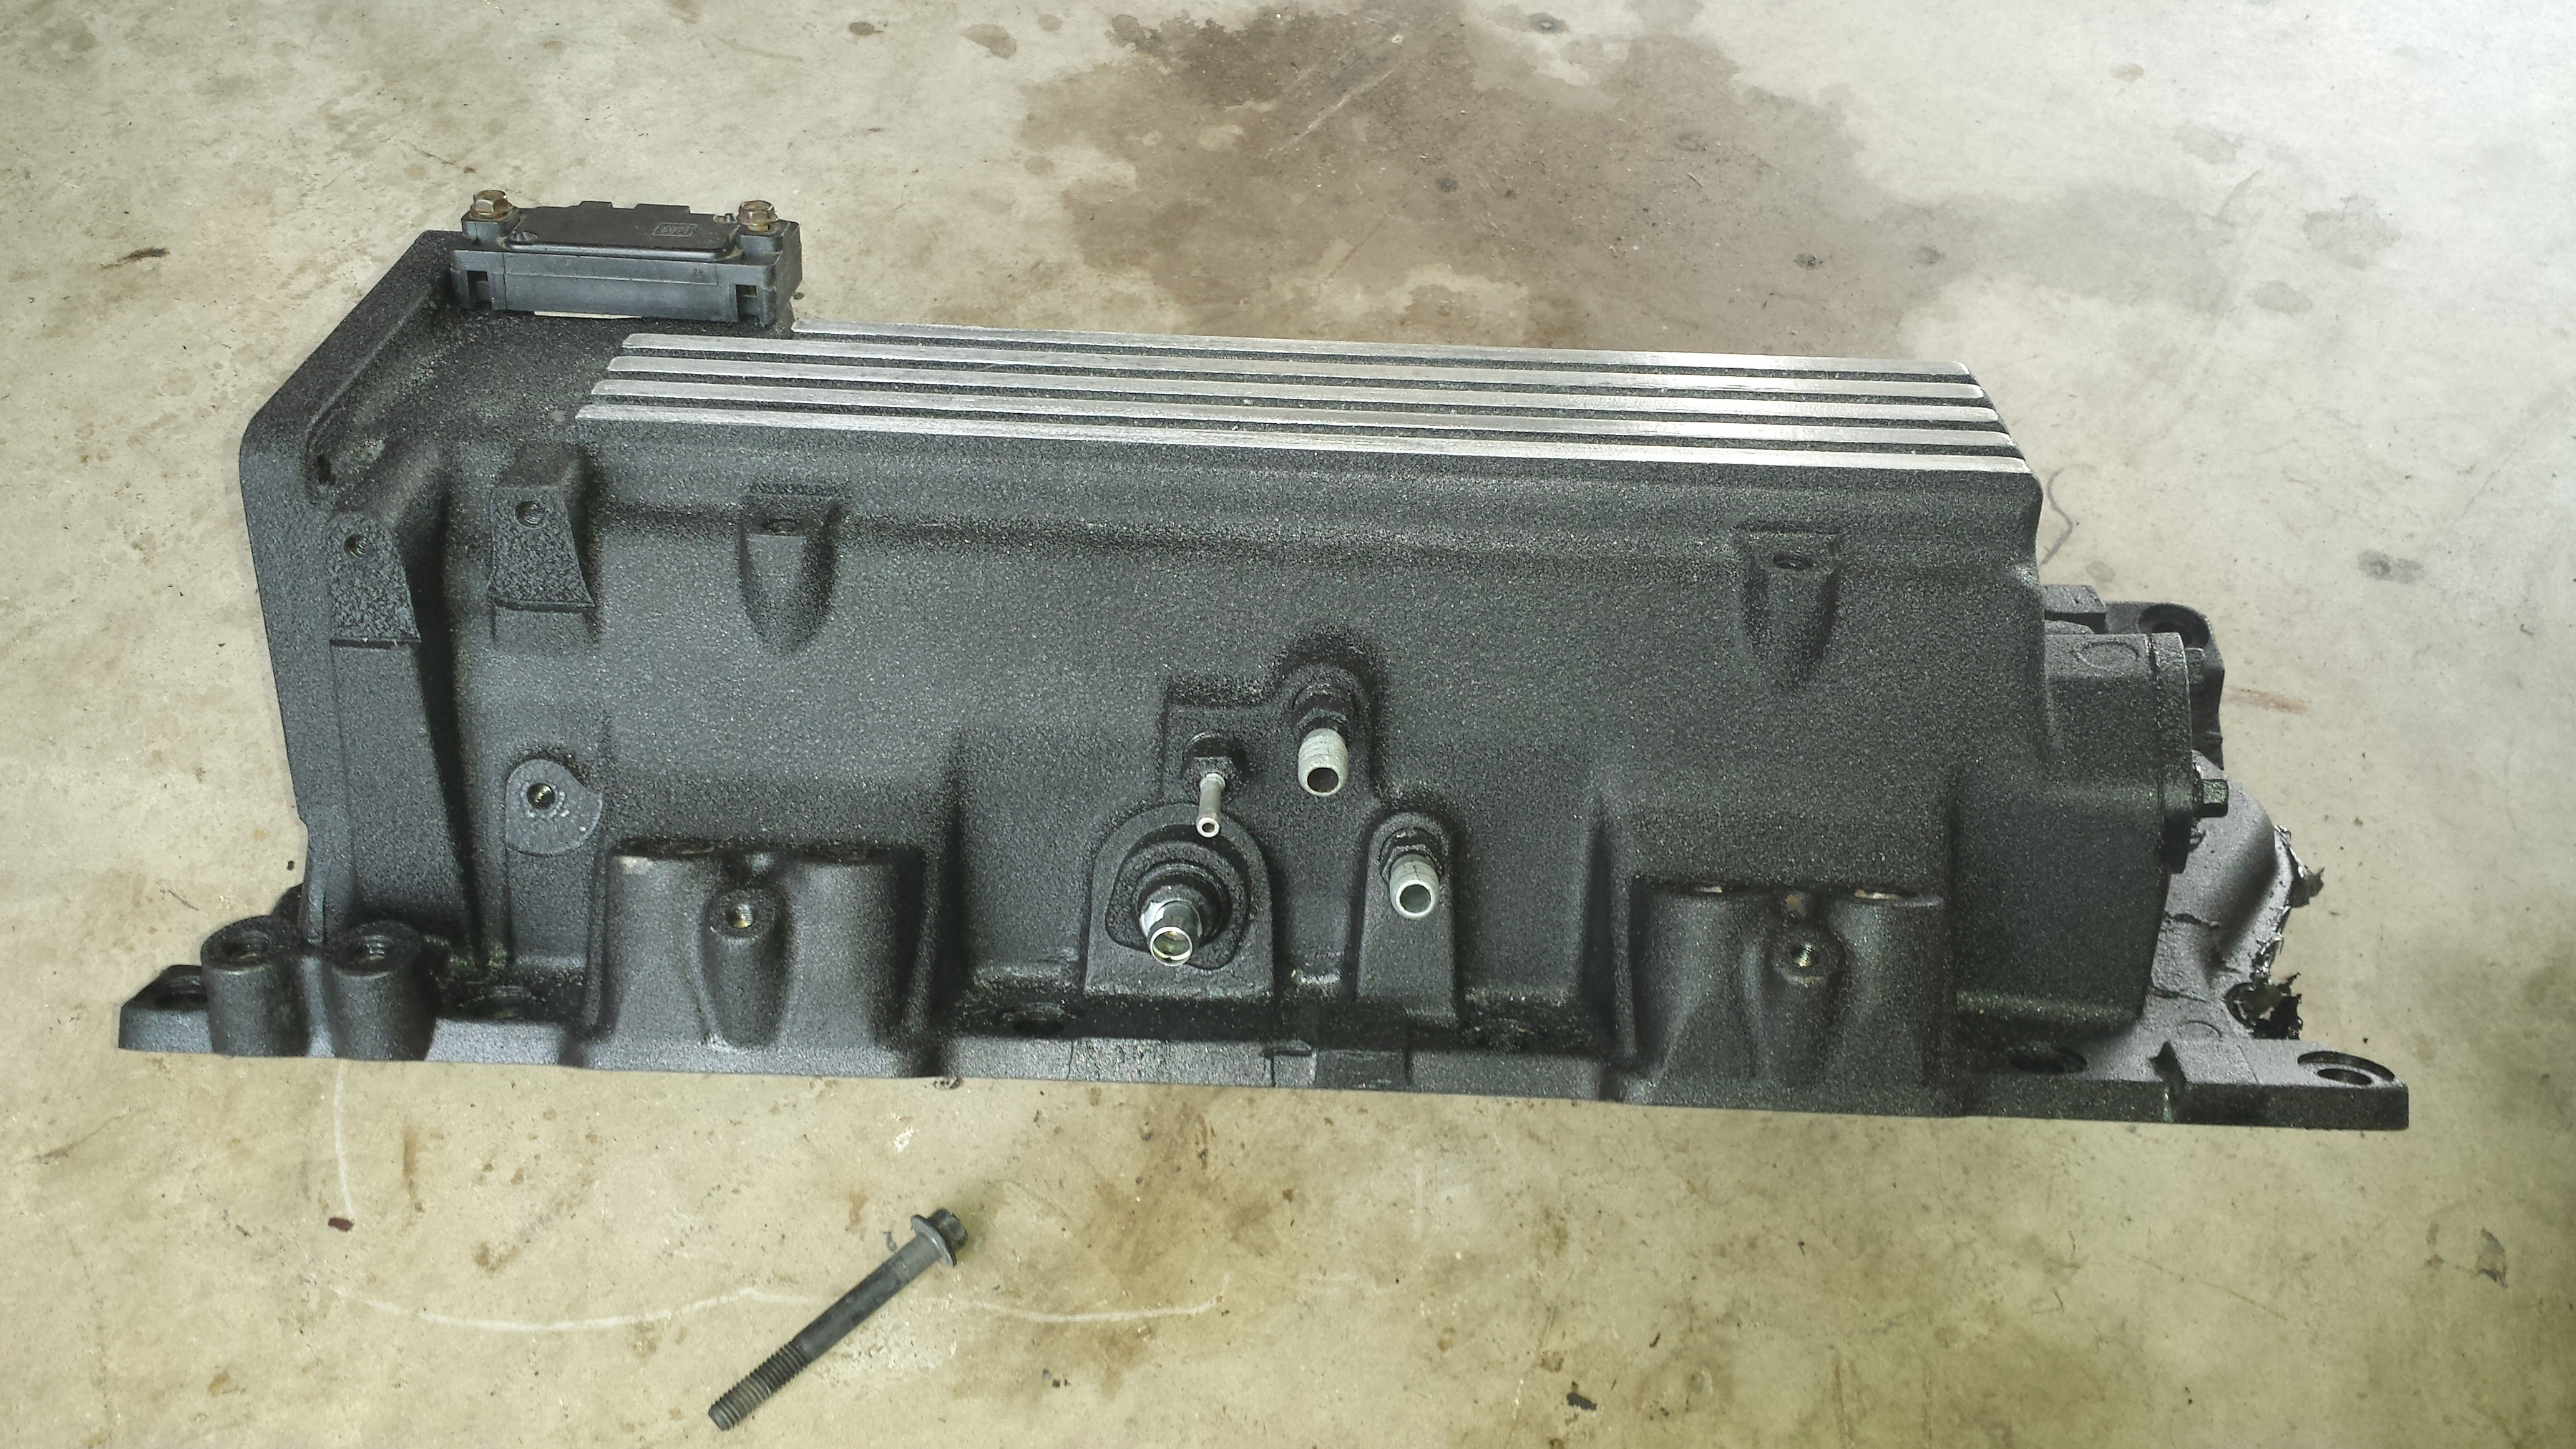
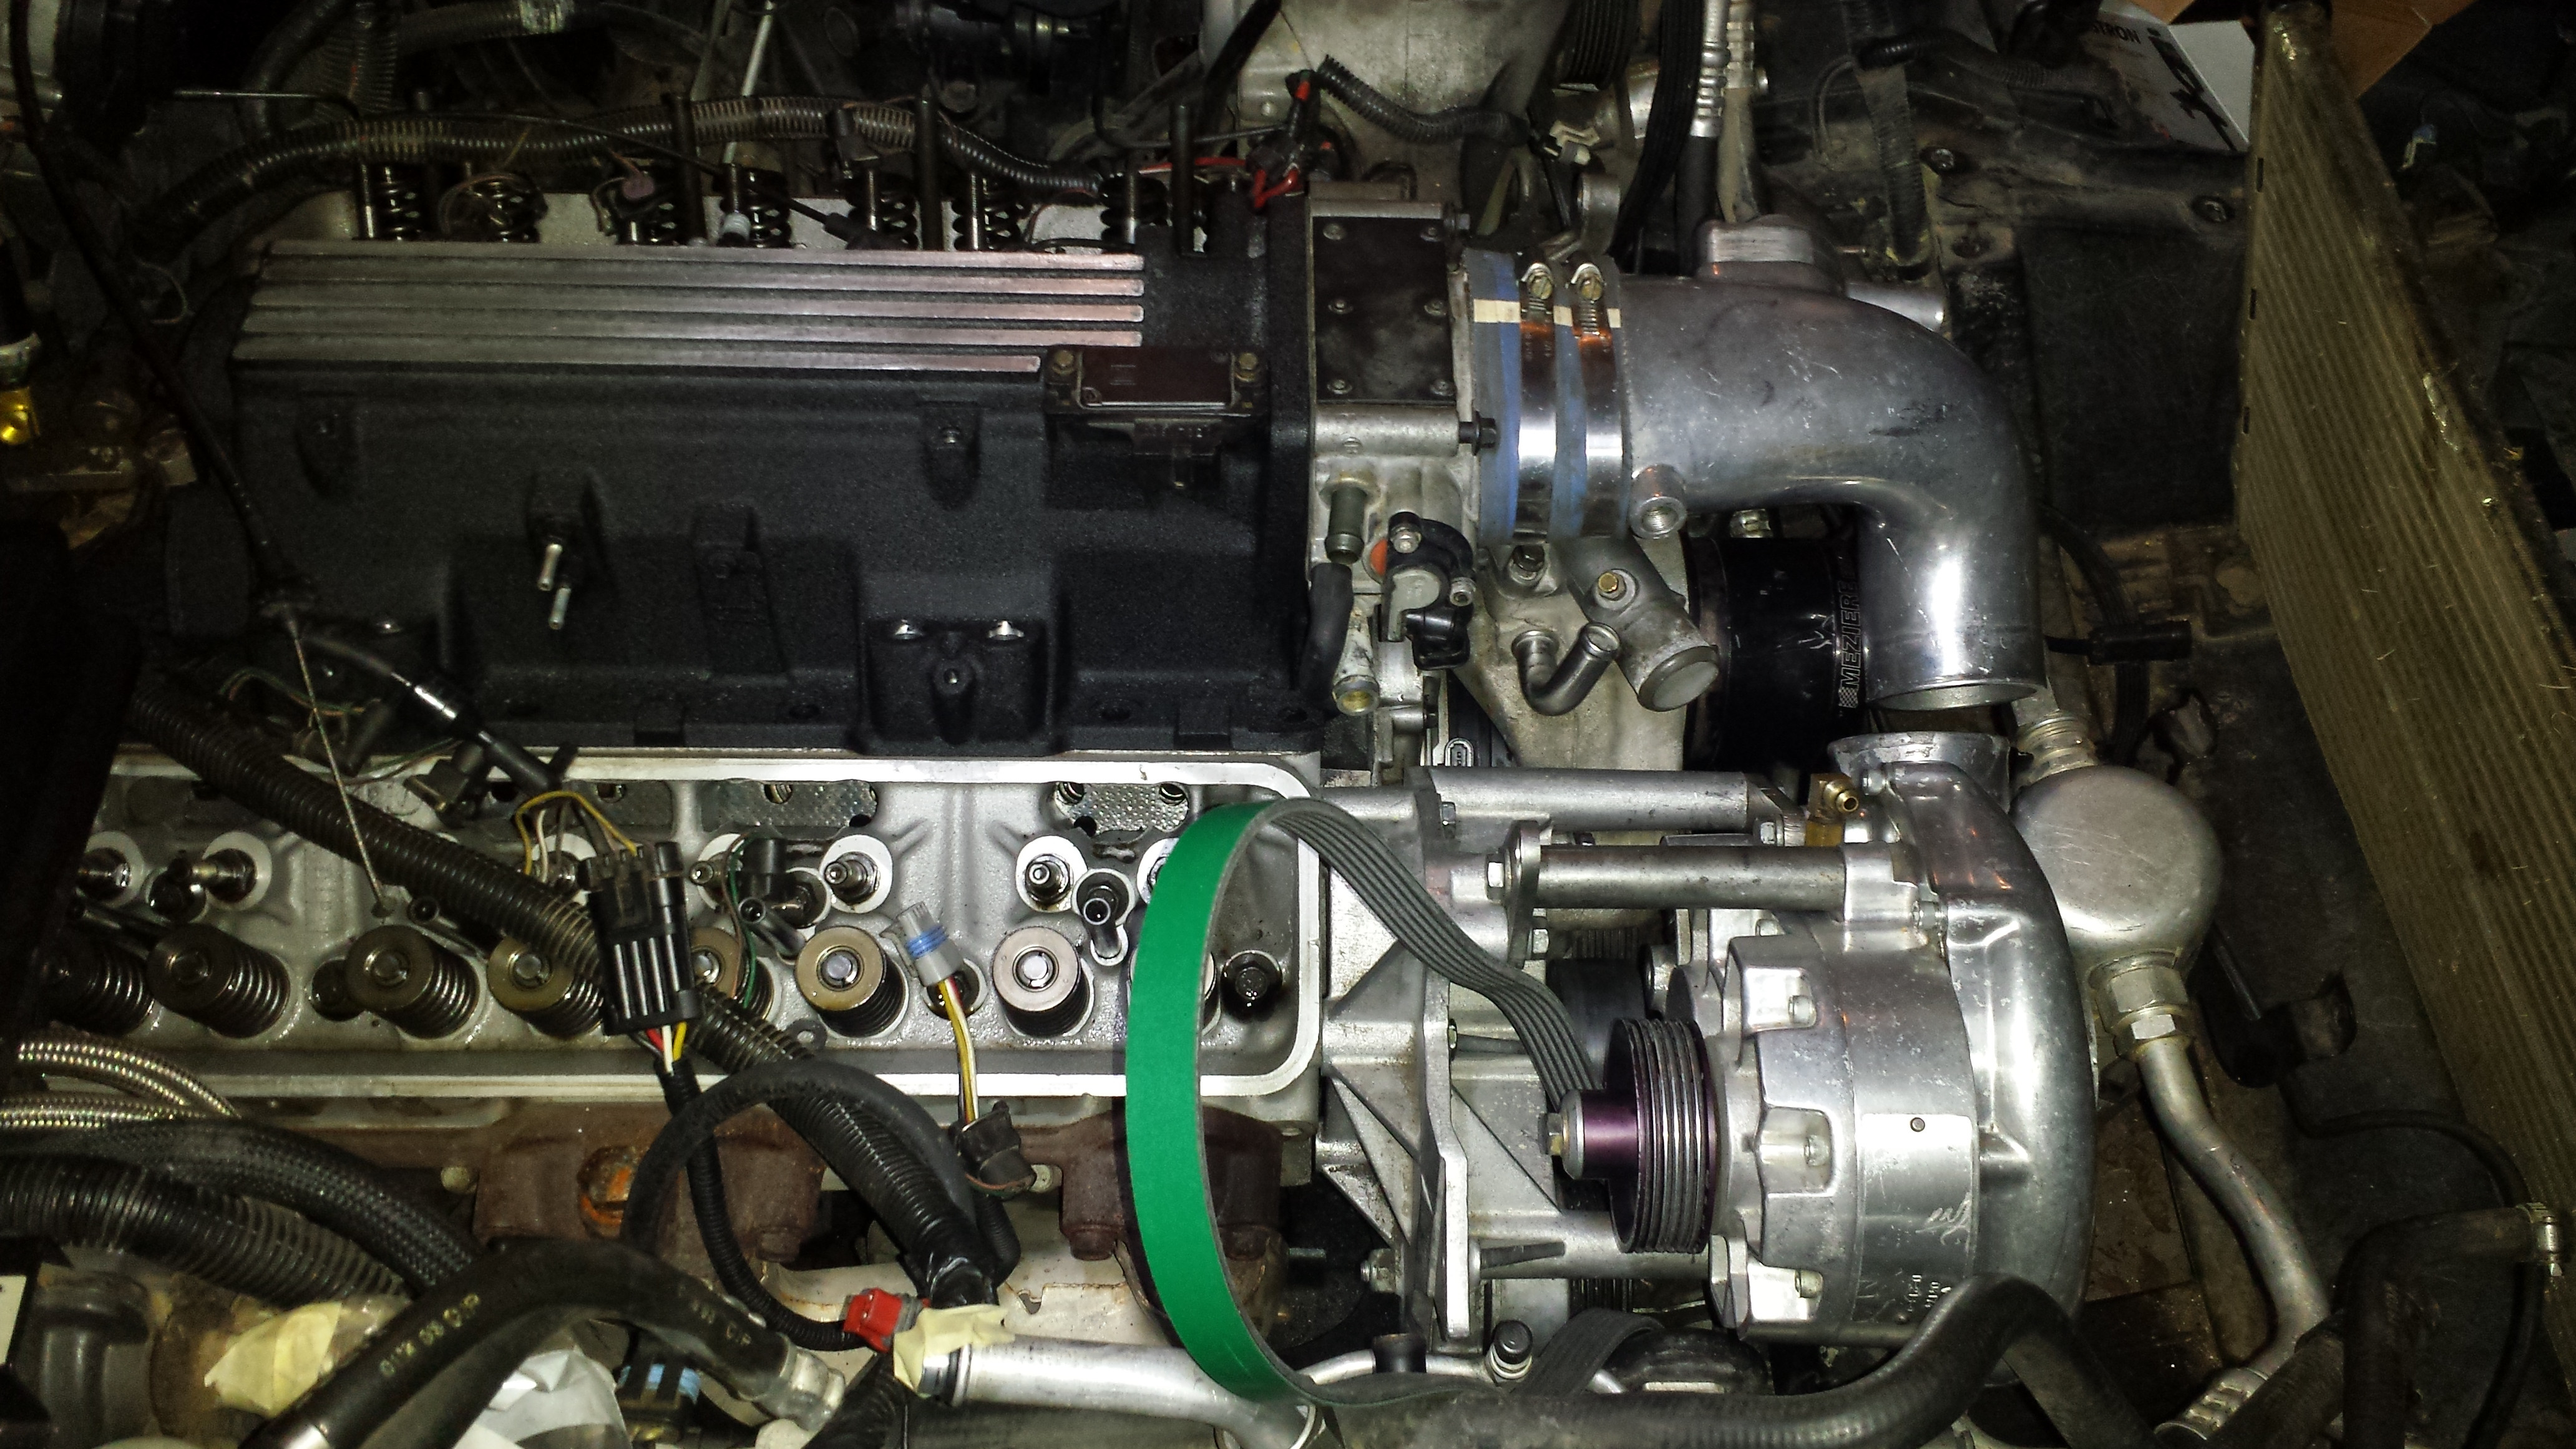
timing cover and opti back on, radiator back in. worked on the intakes finish a little bit, going smooth. Im annoyed my valve springs havn't showed up yet though.
 06-23-2014, 09:13 PM
#15
TECH Resident
Thread Starter
iTrader: (9)
Join Date: May 2009
Location: Austin/Cedar Park
Posts: 809
Likes: 0
Received 0 Likes
on
0 Posts
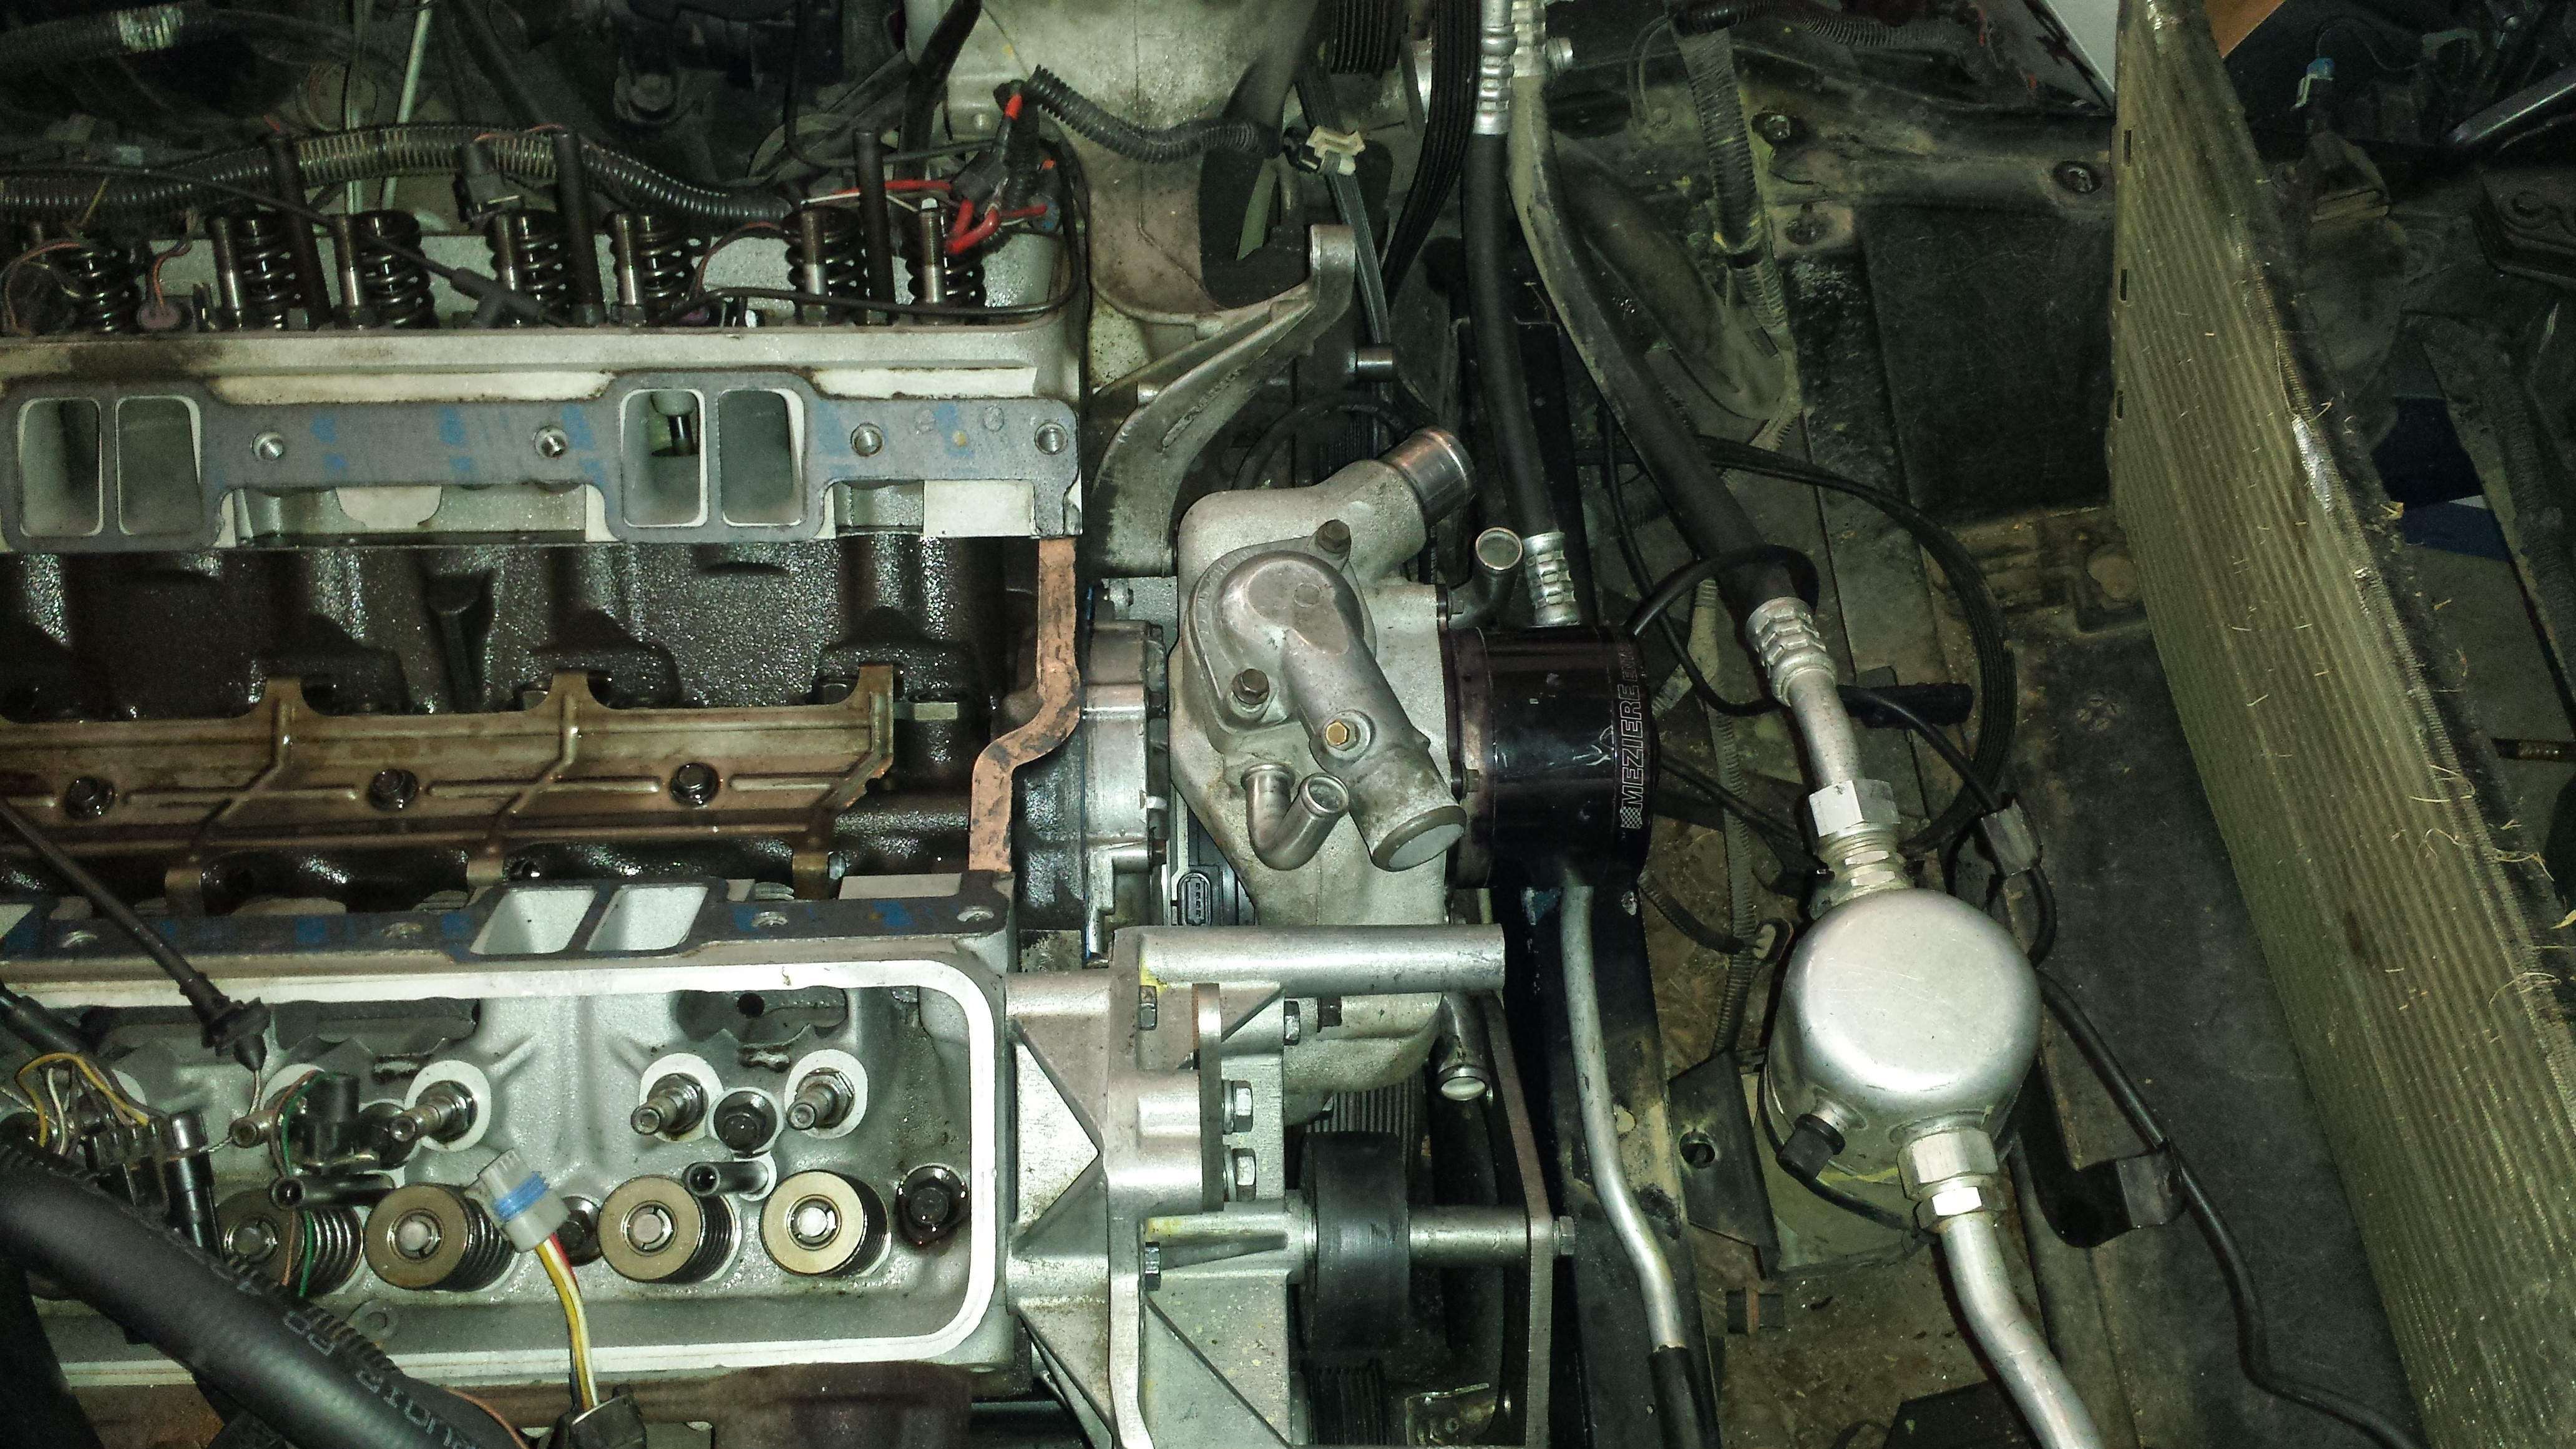
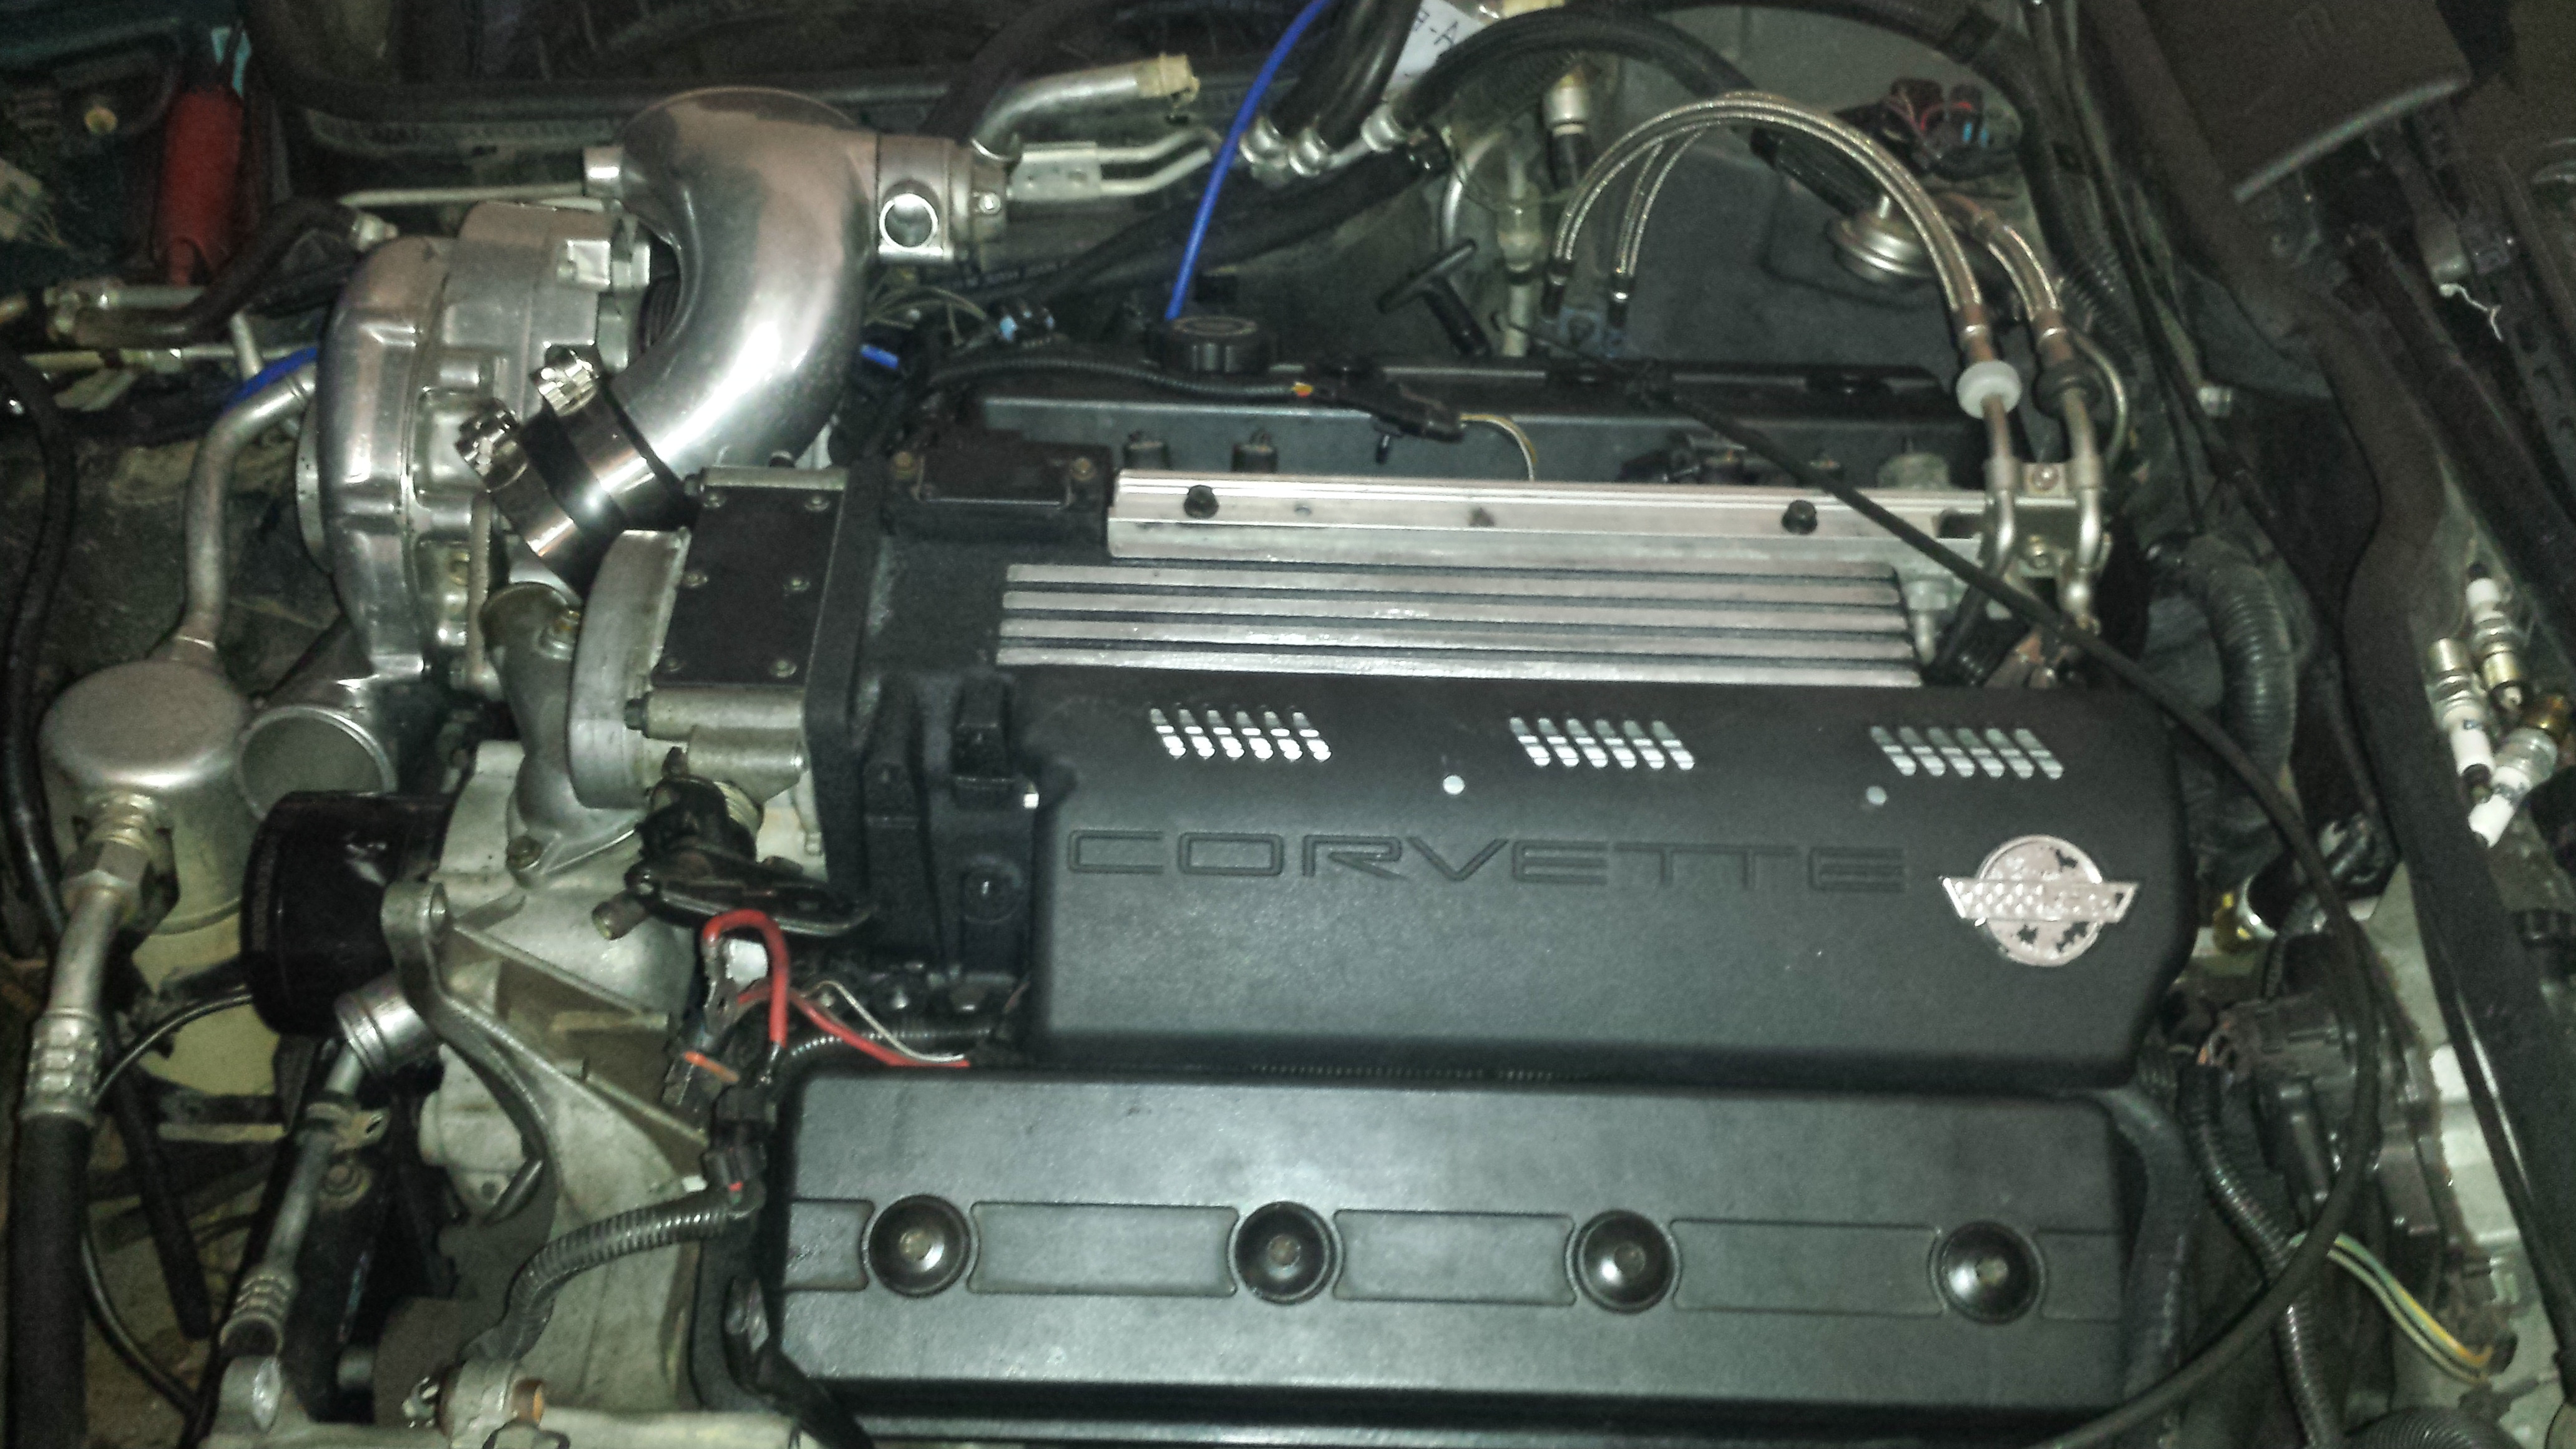
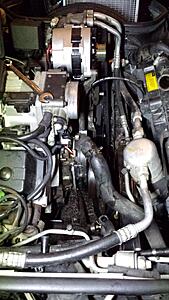
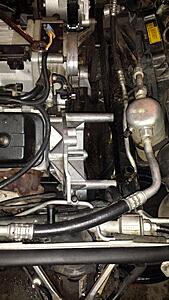
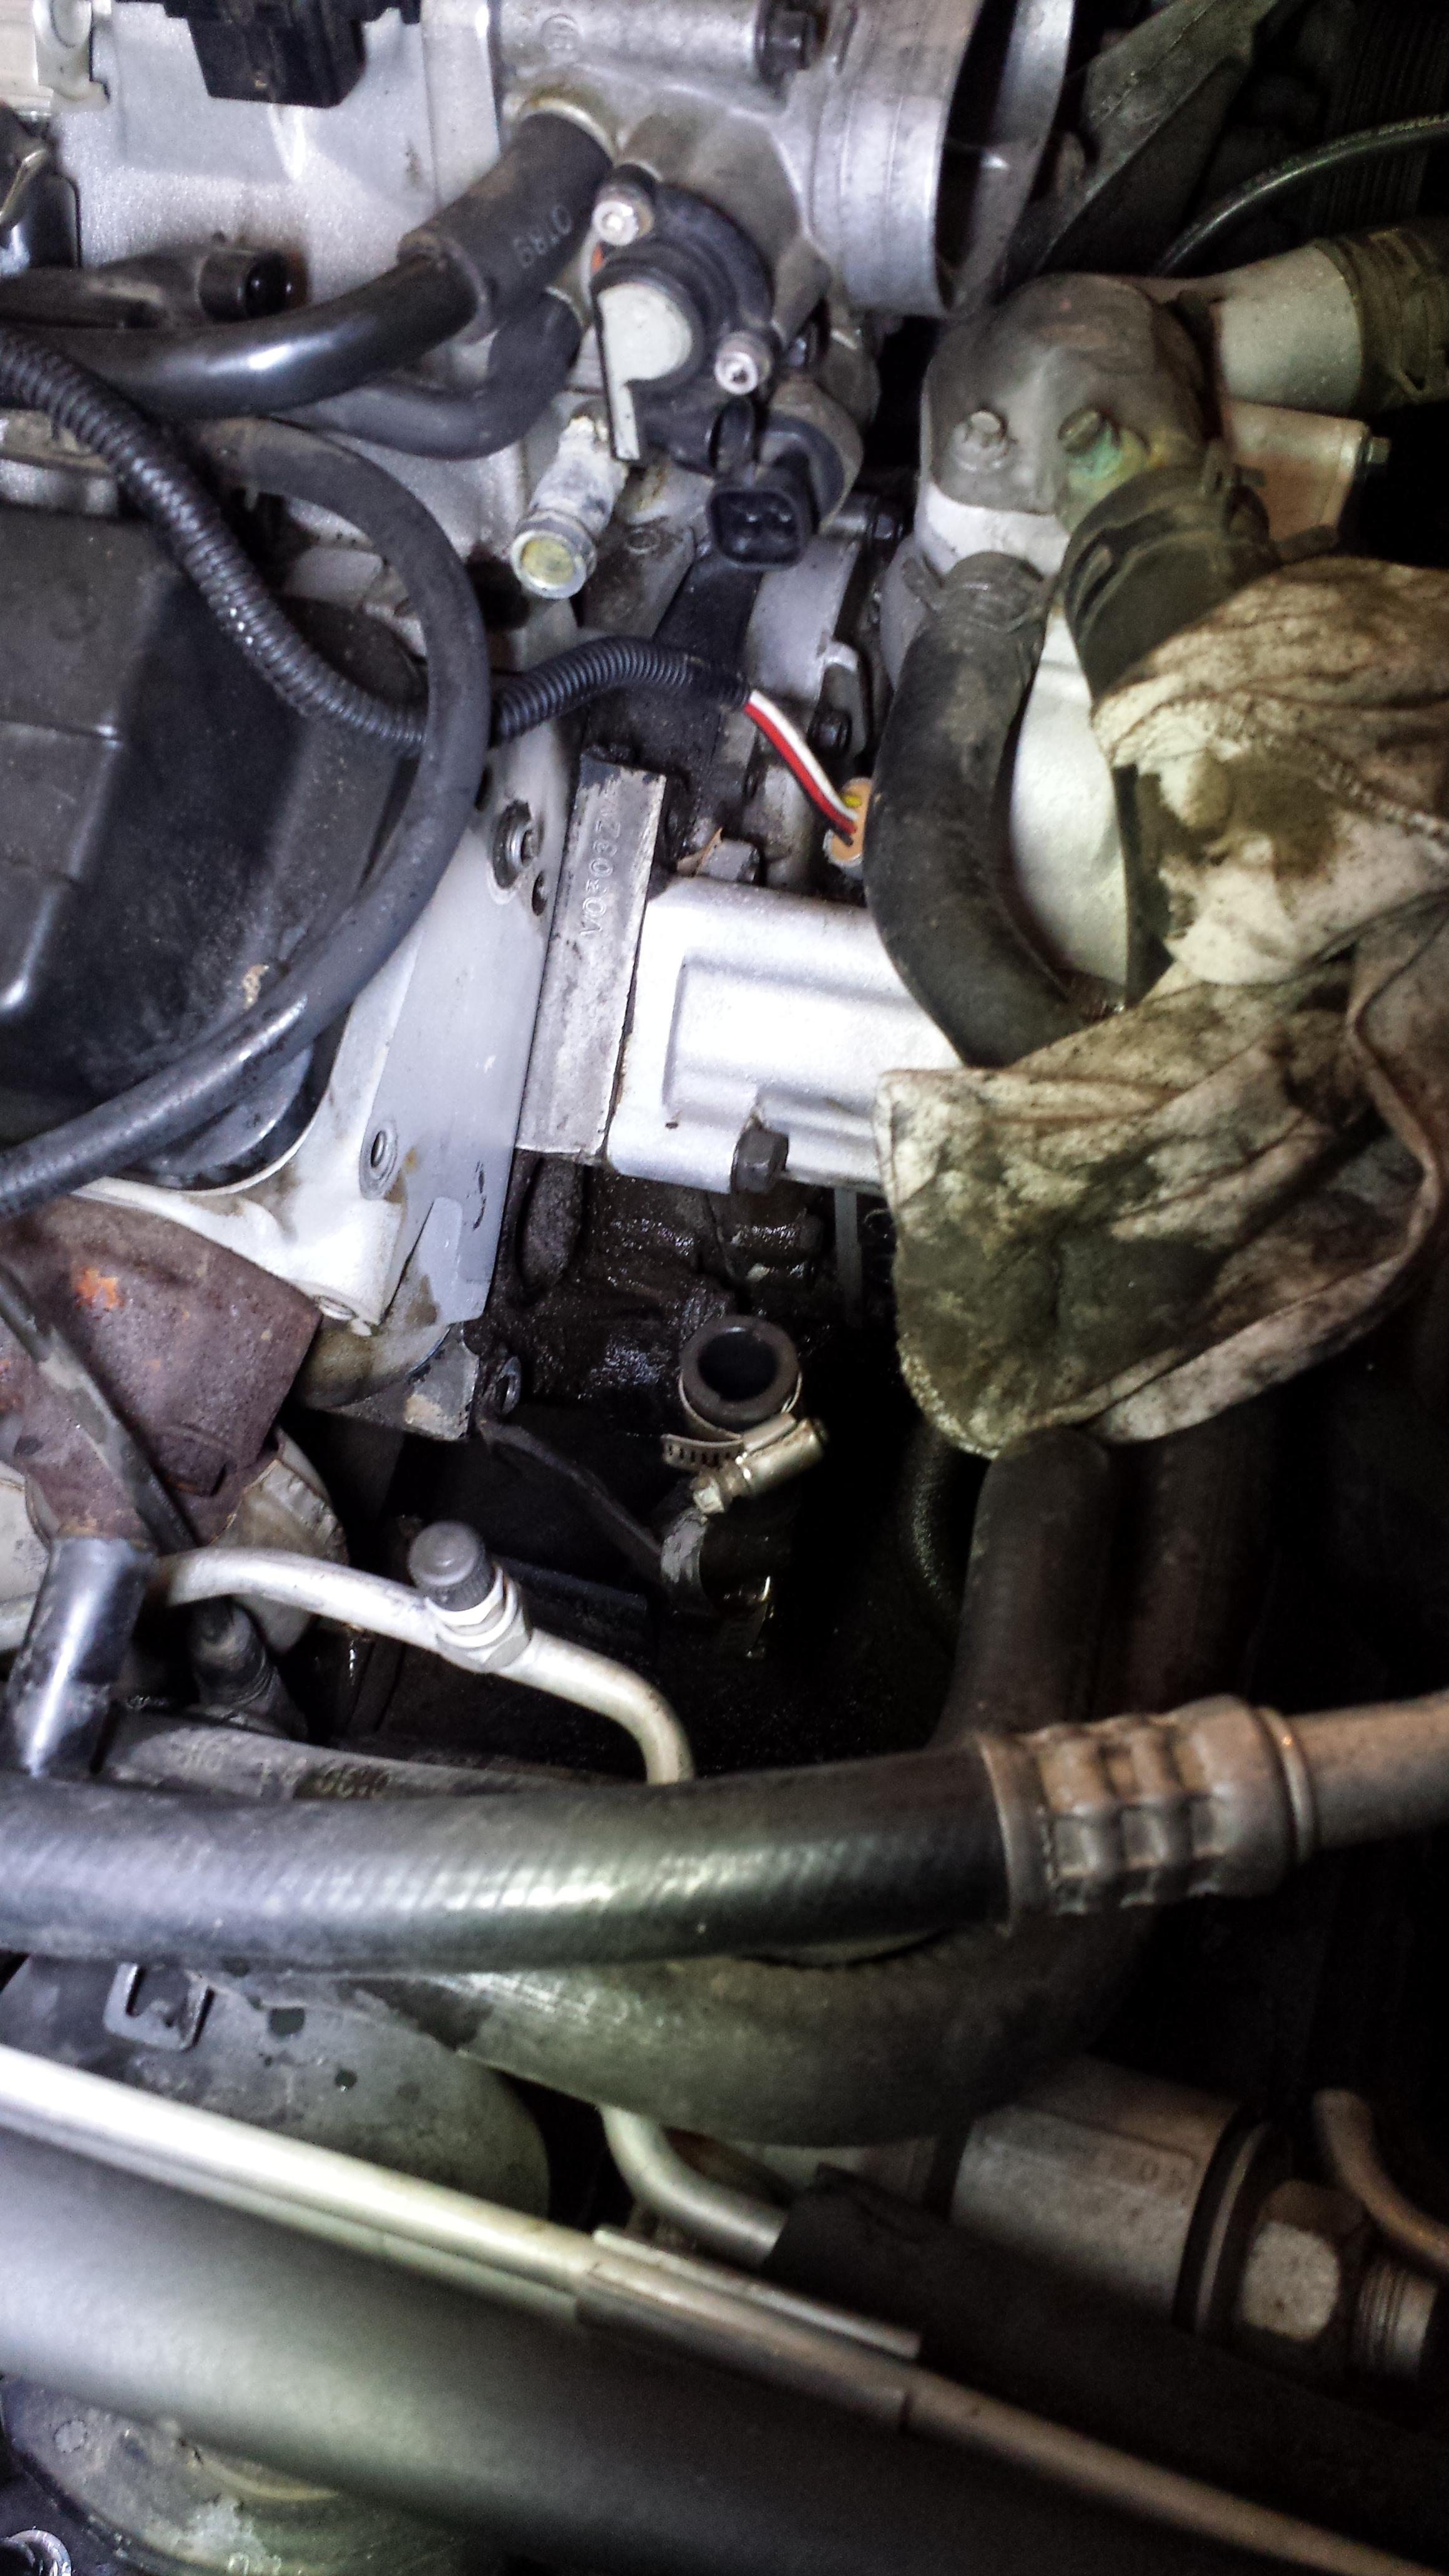
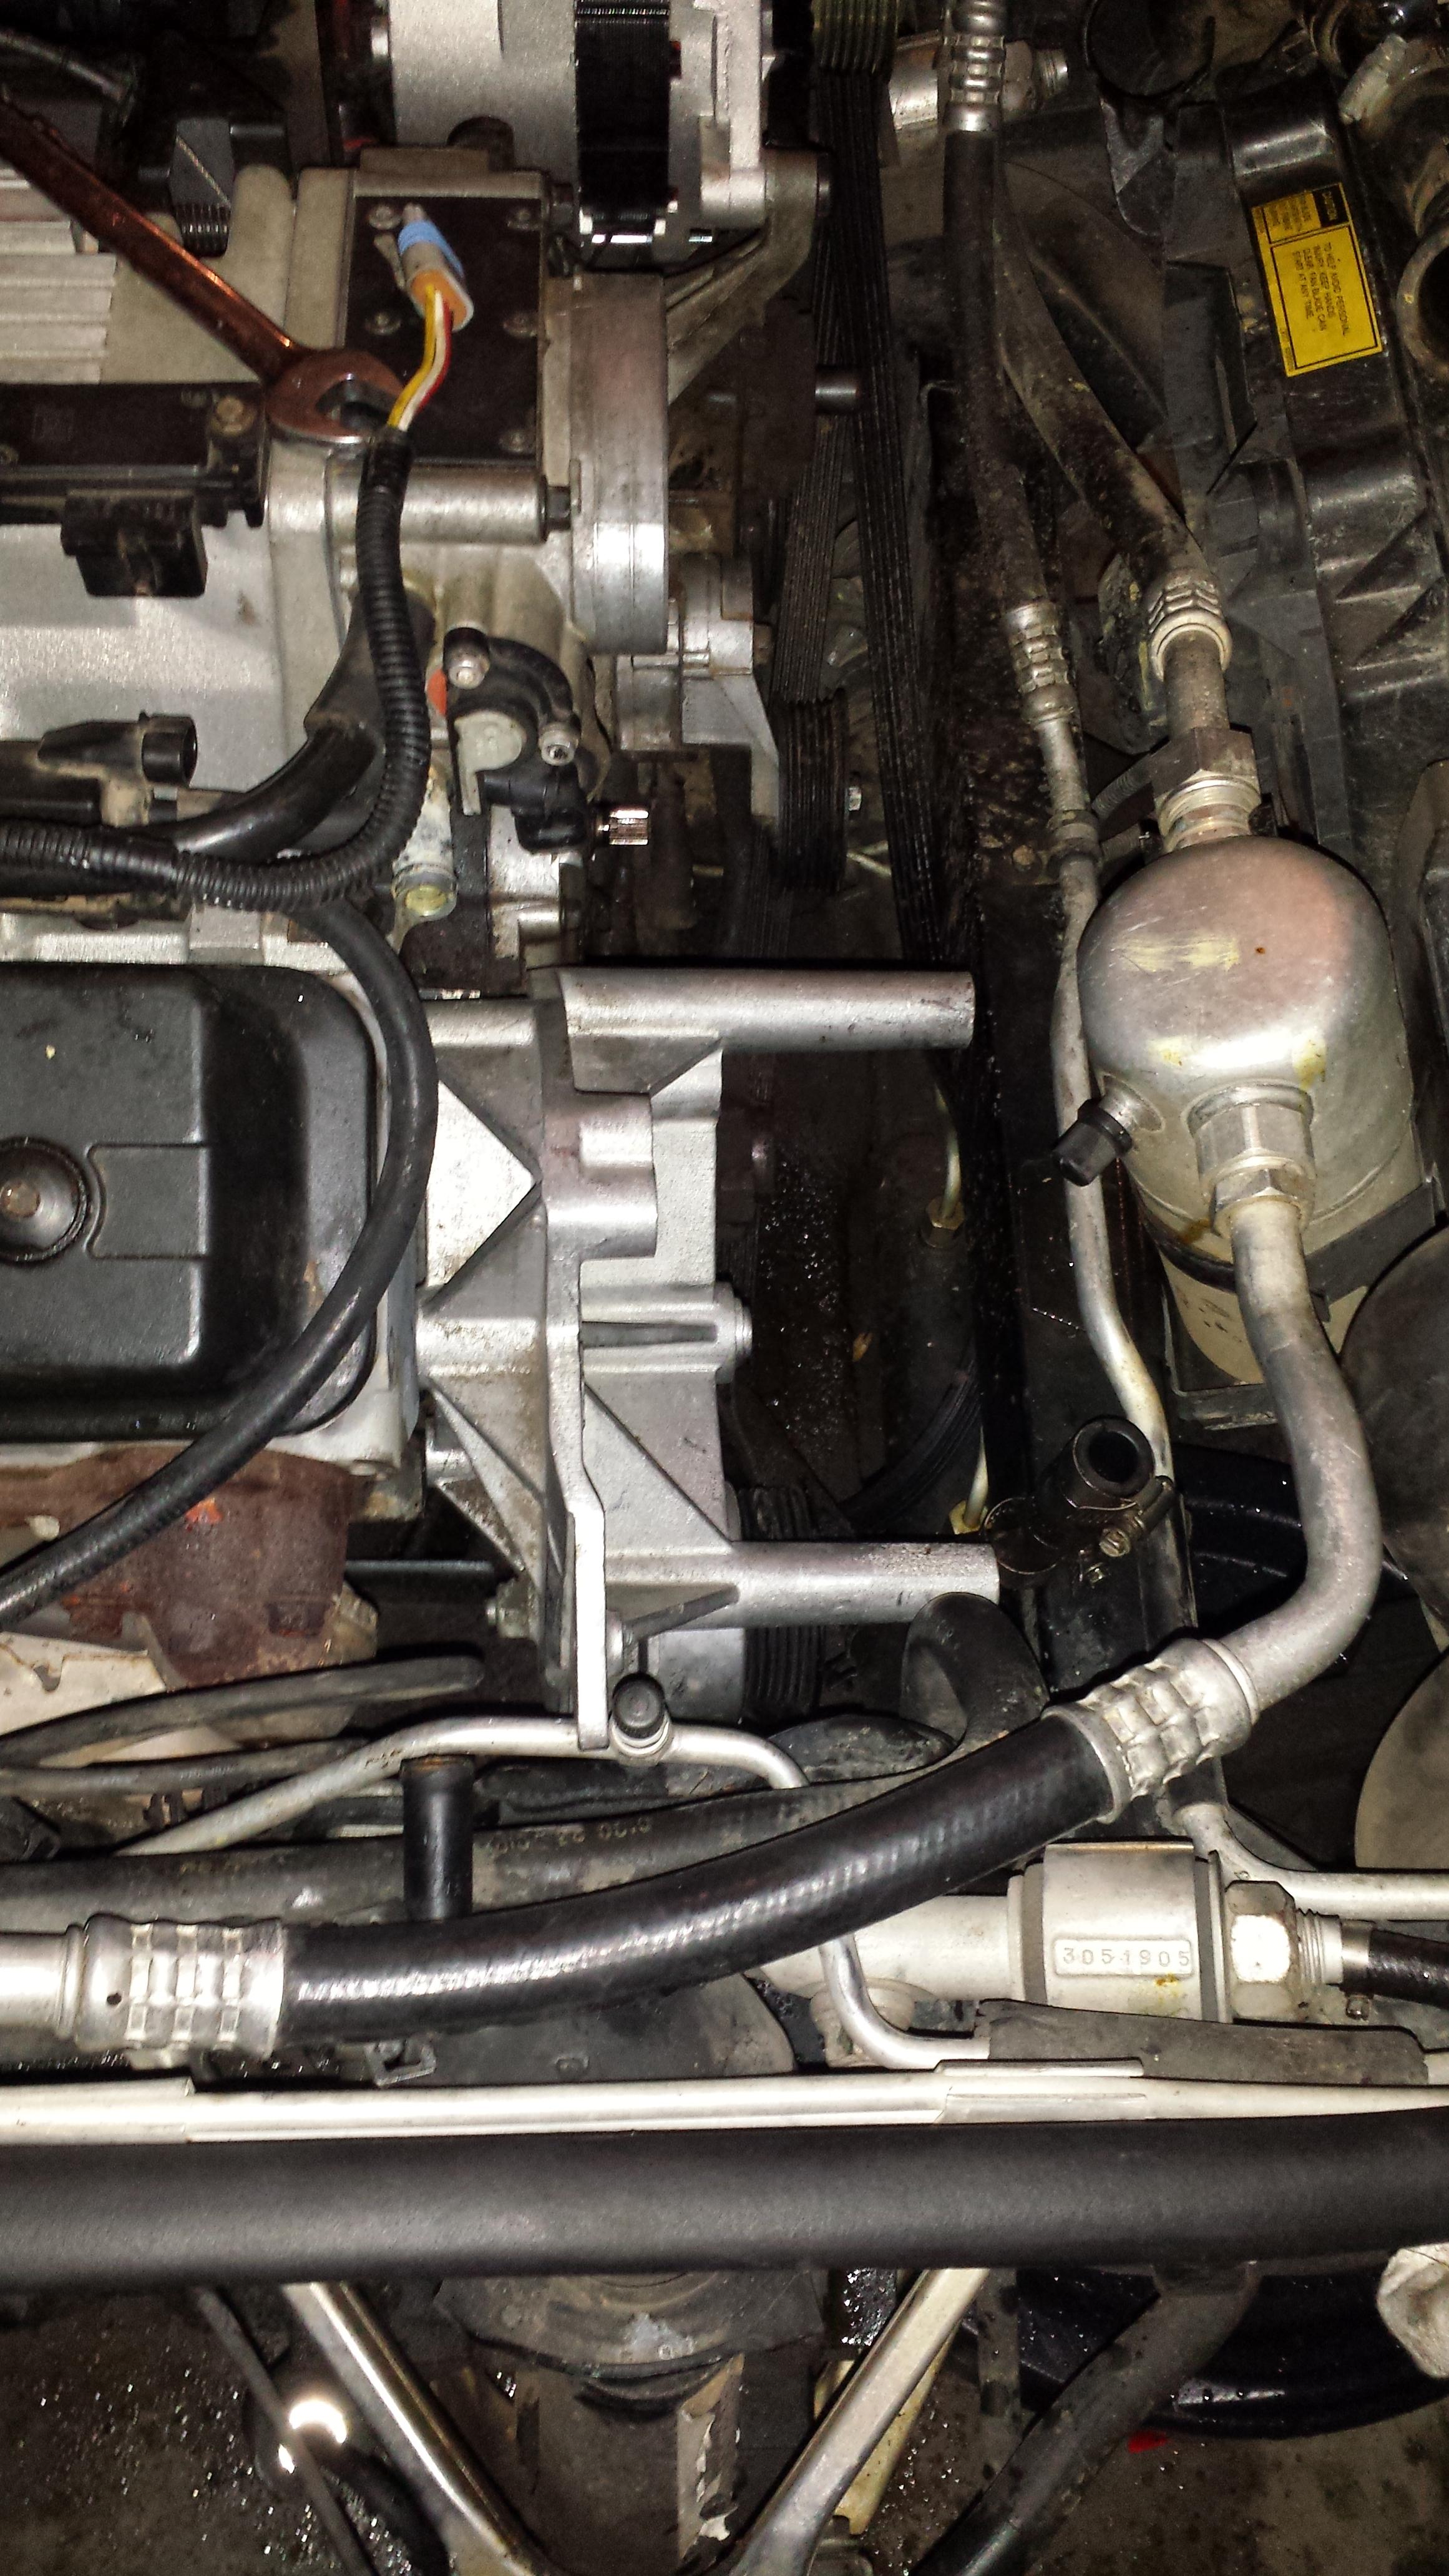
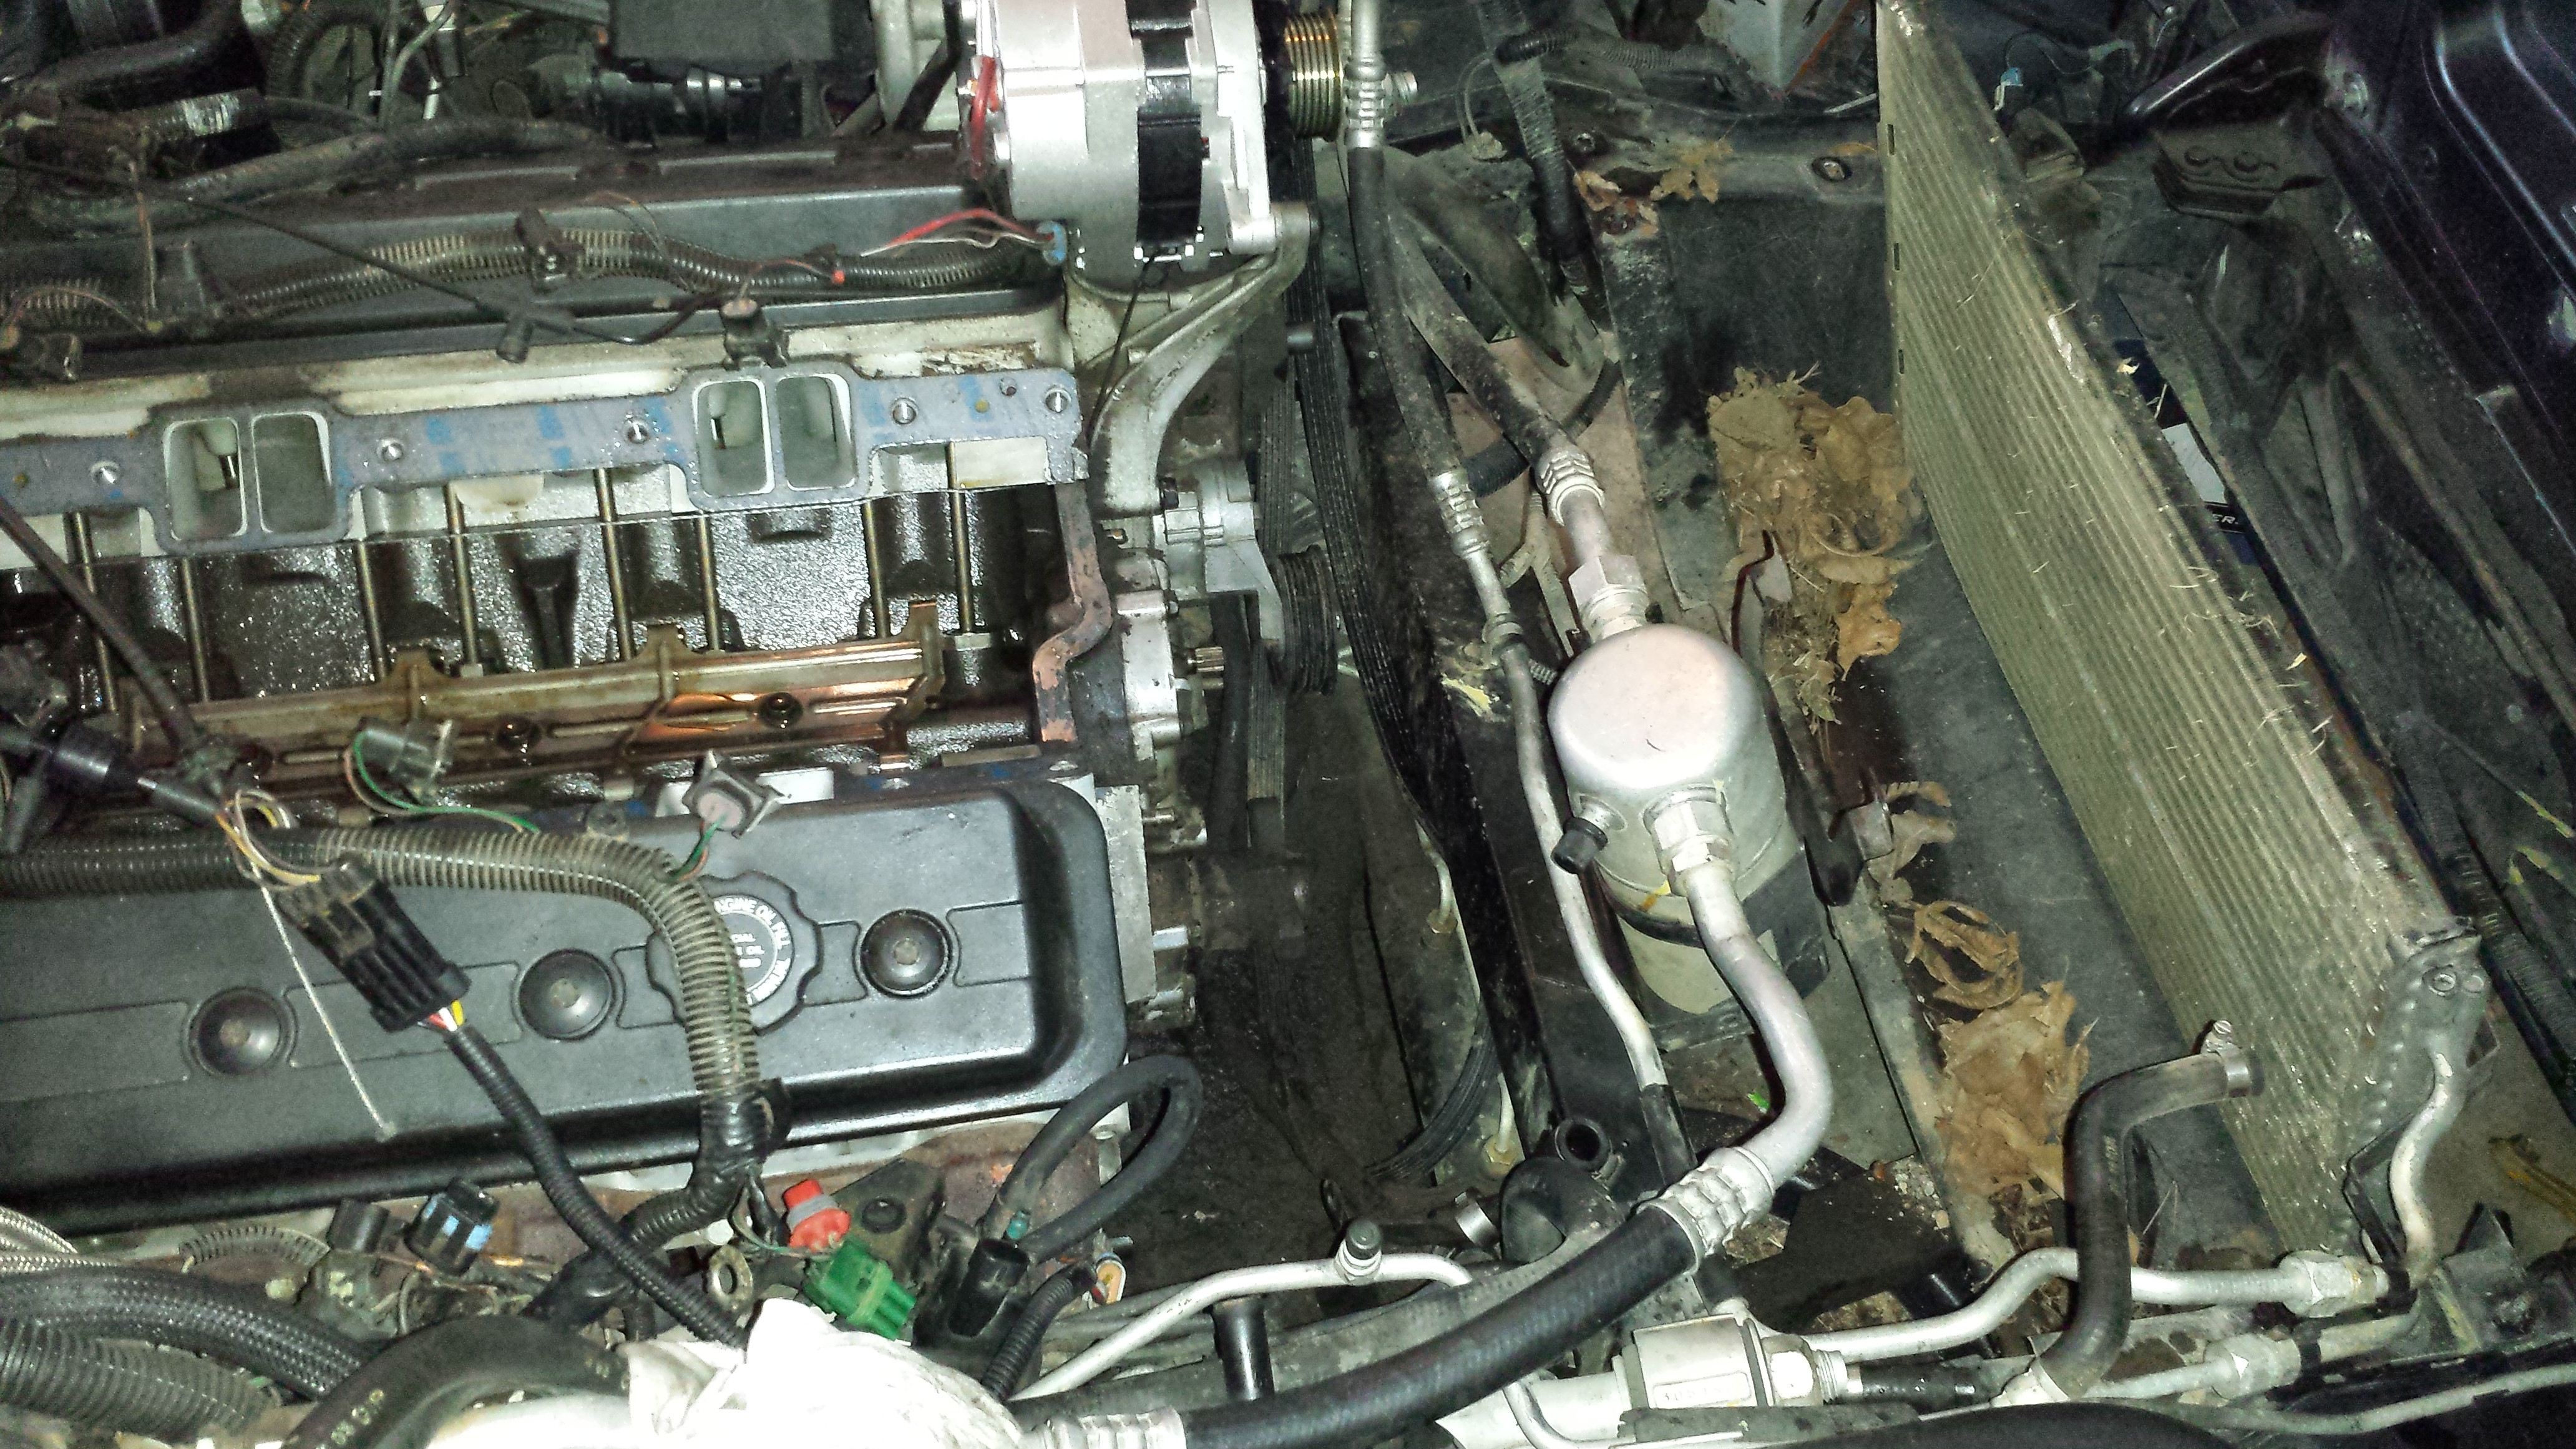
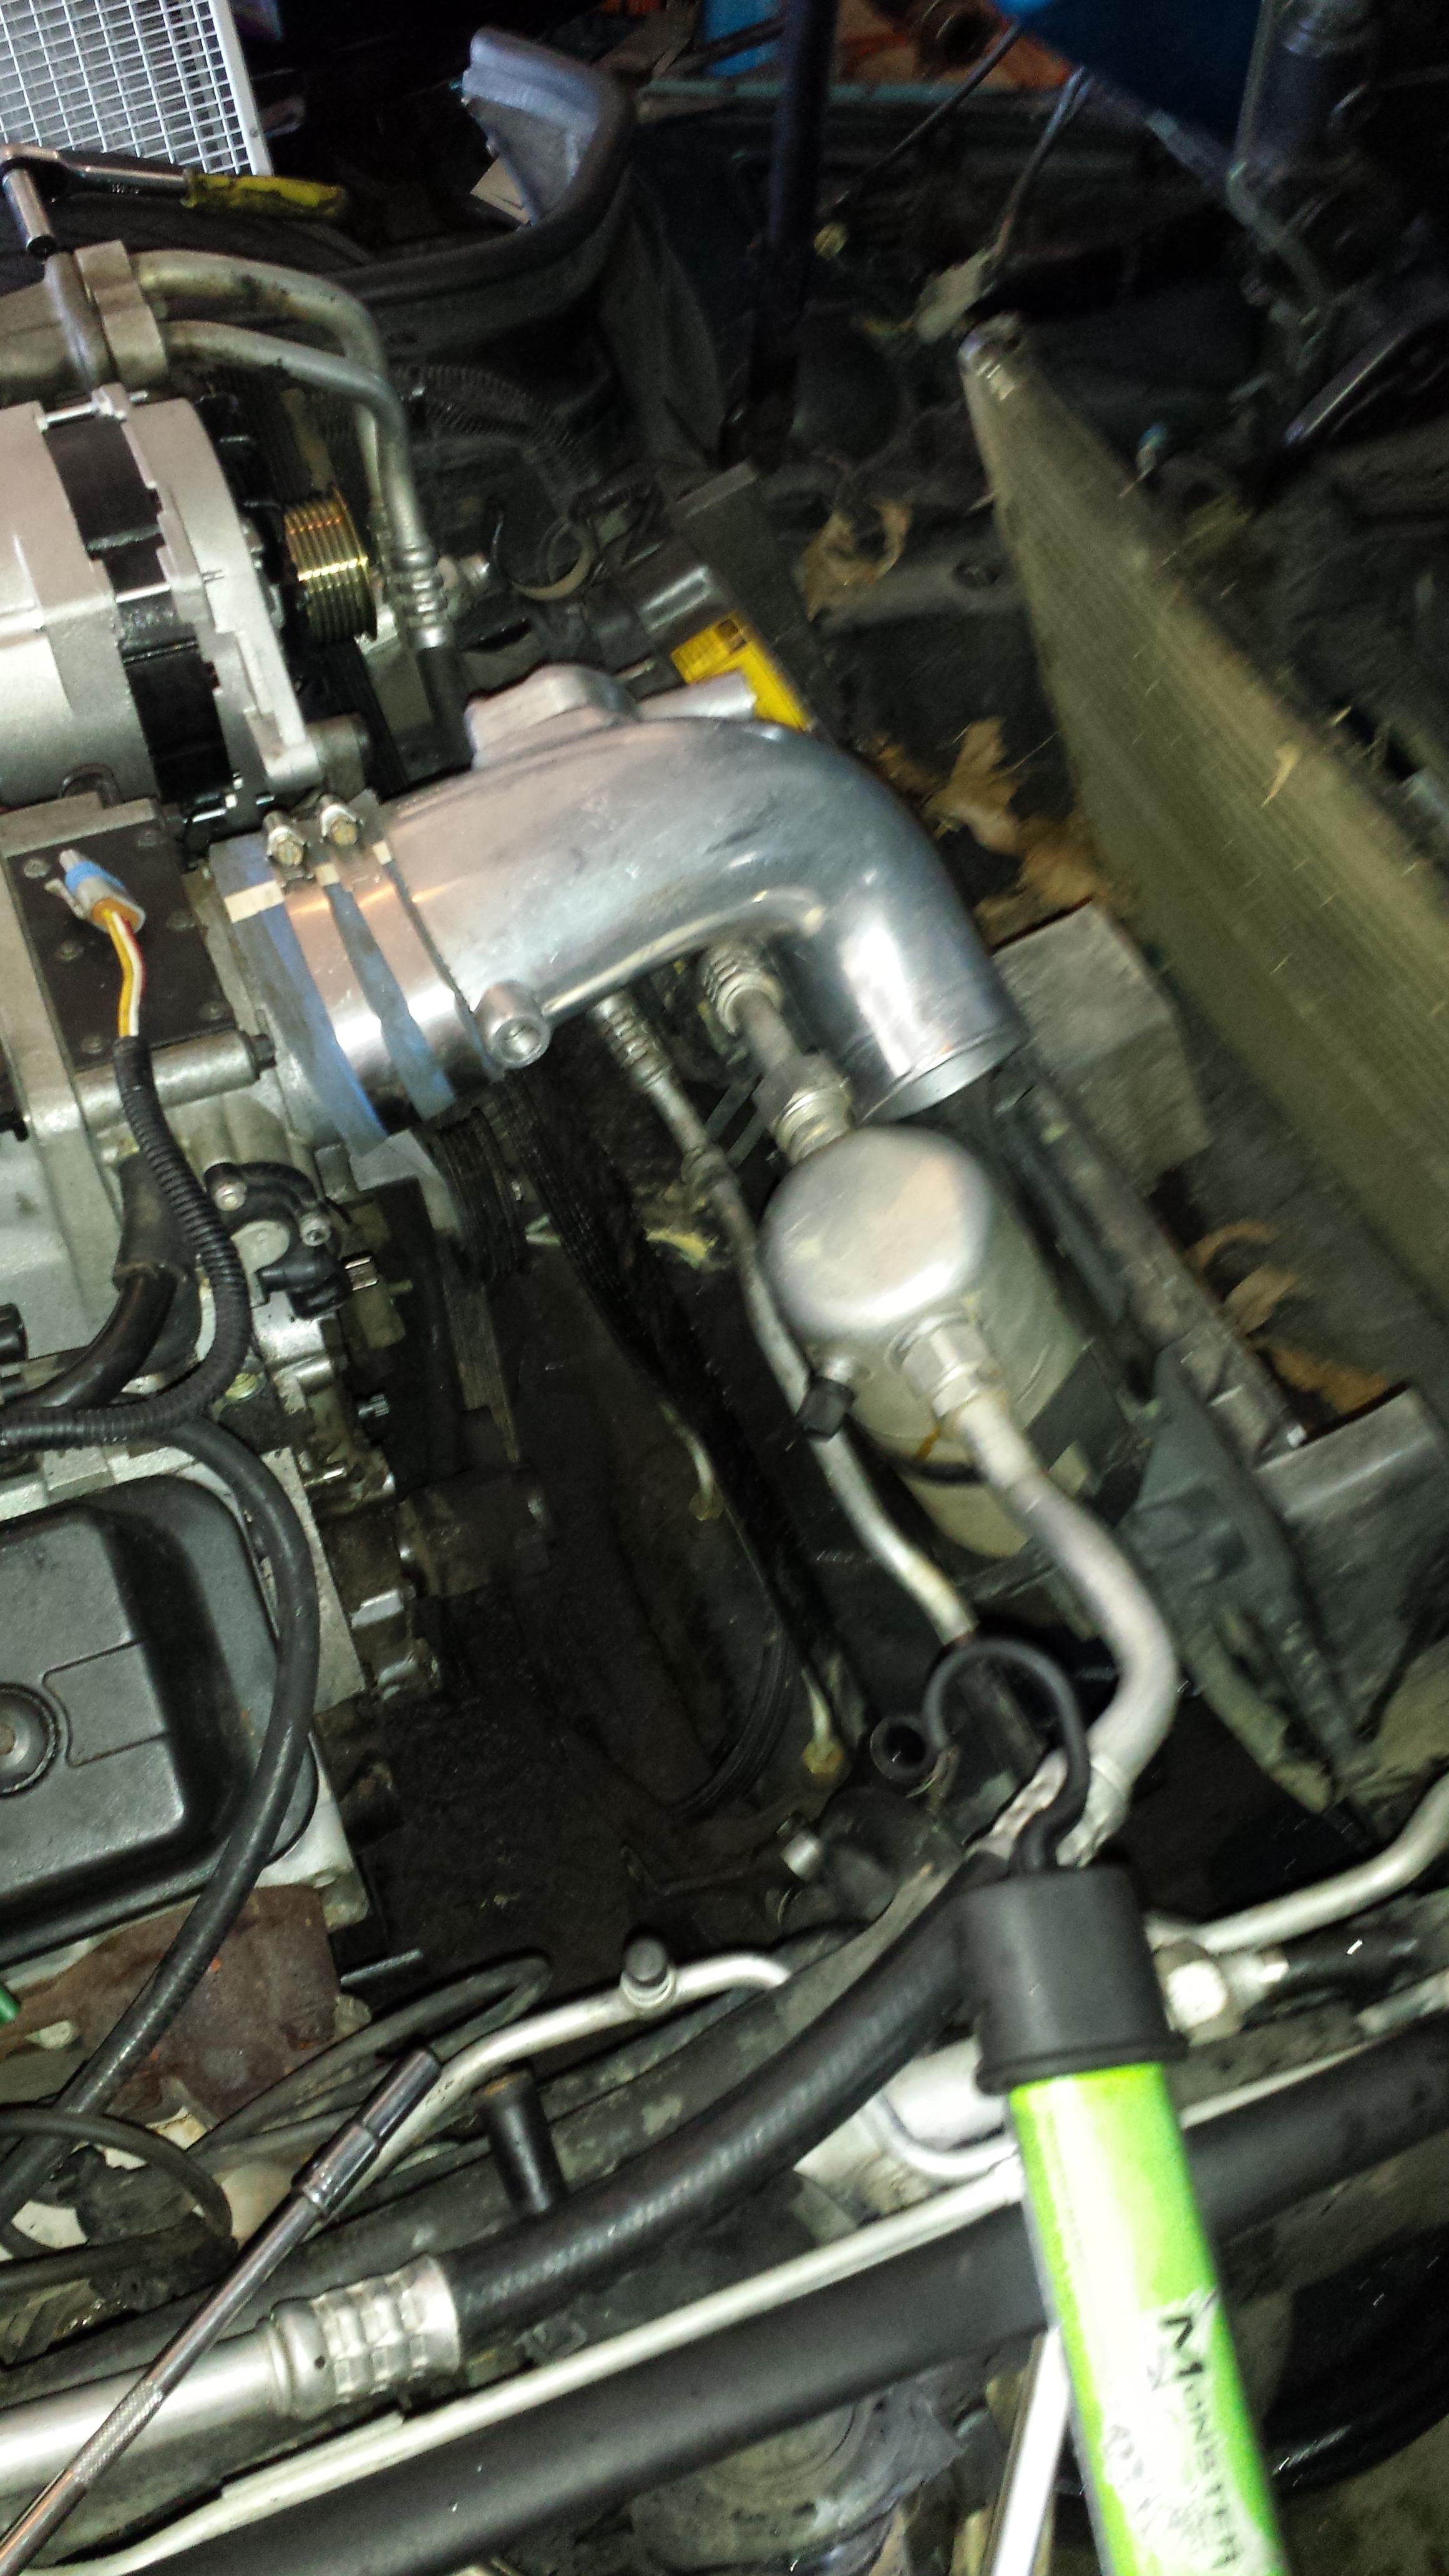
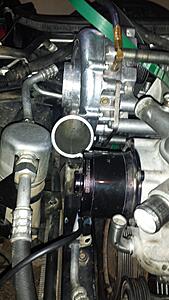
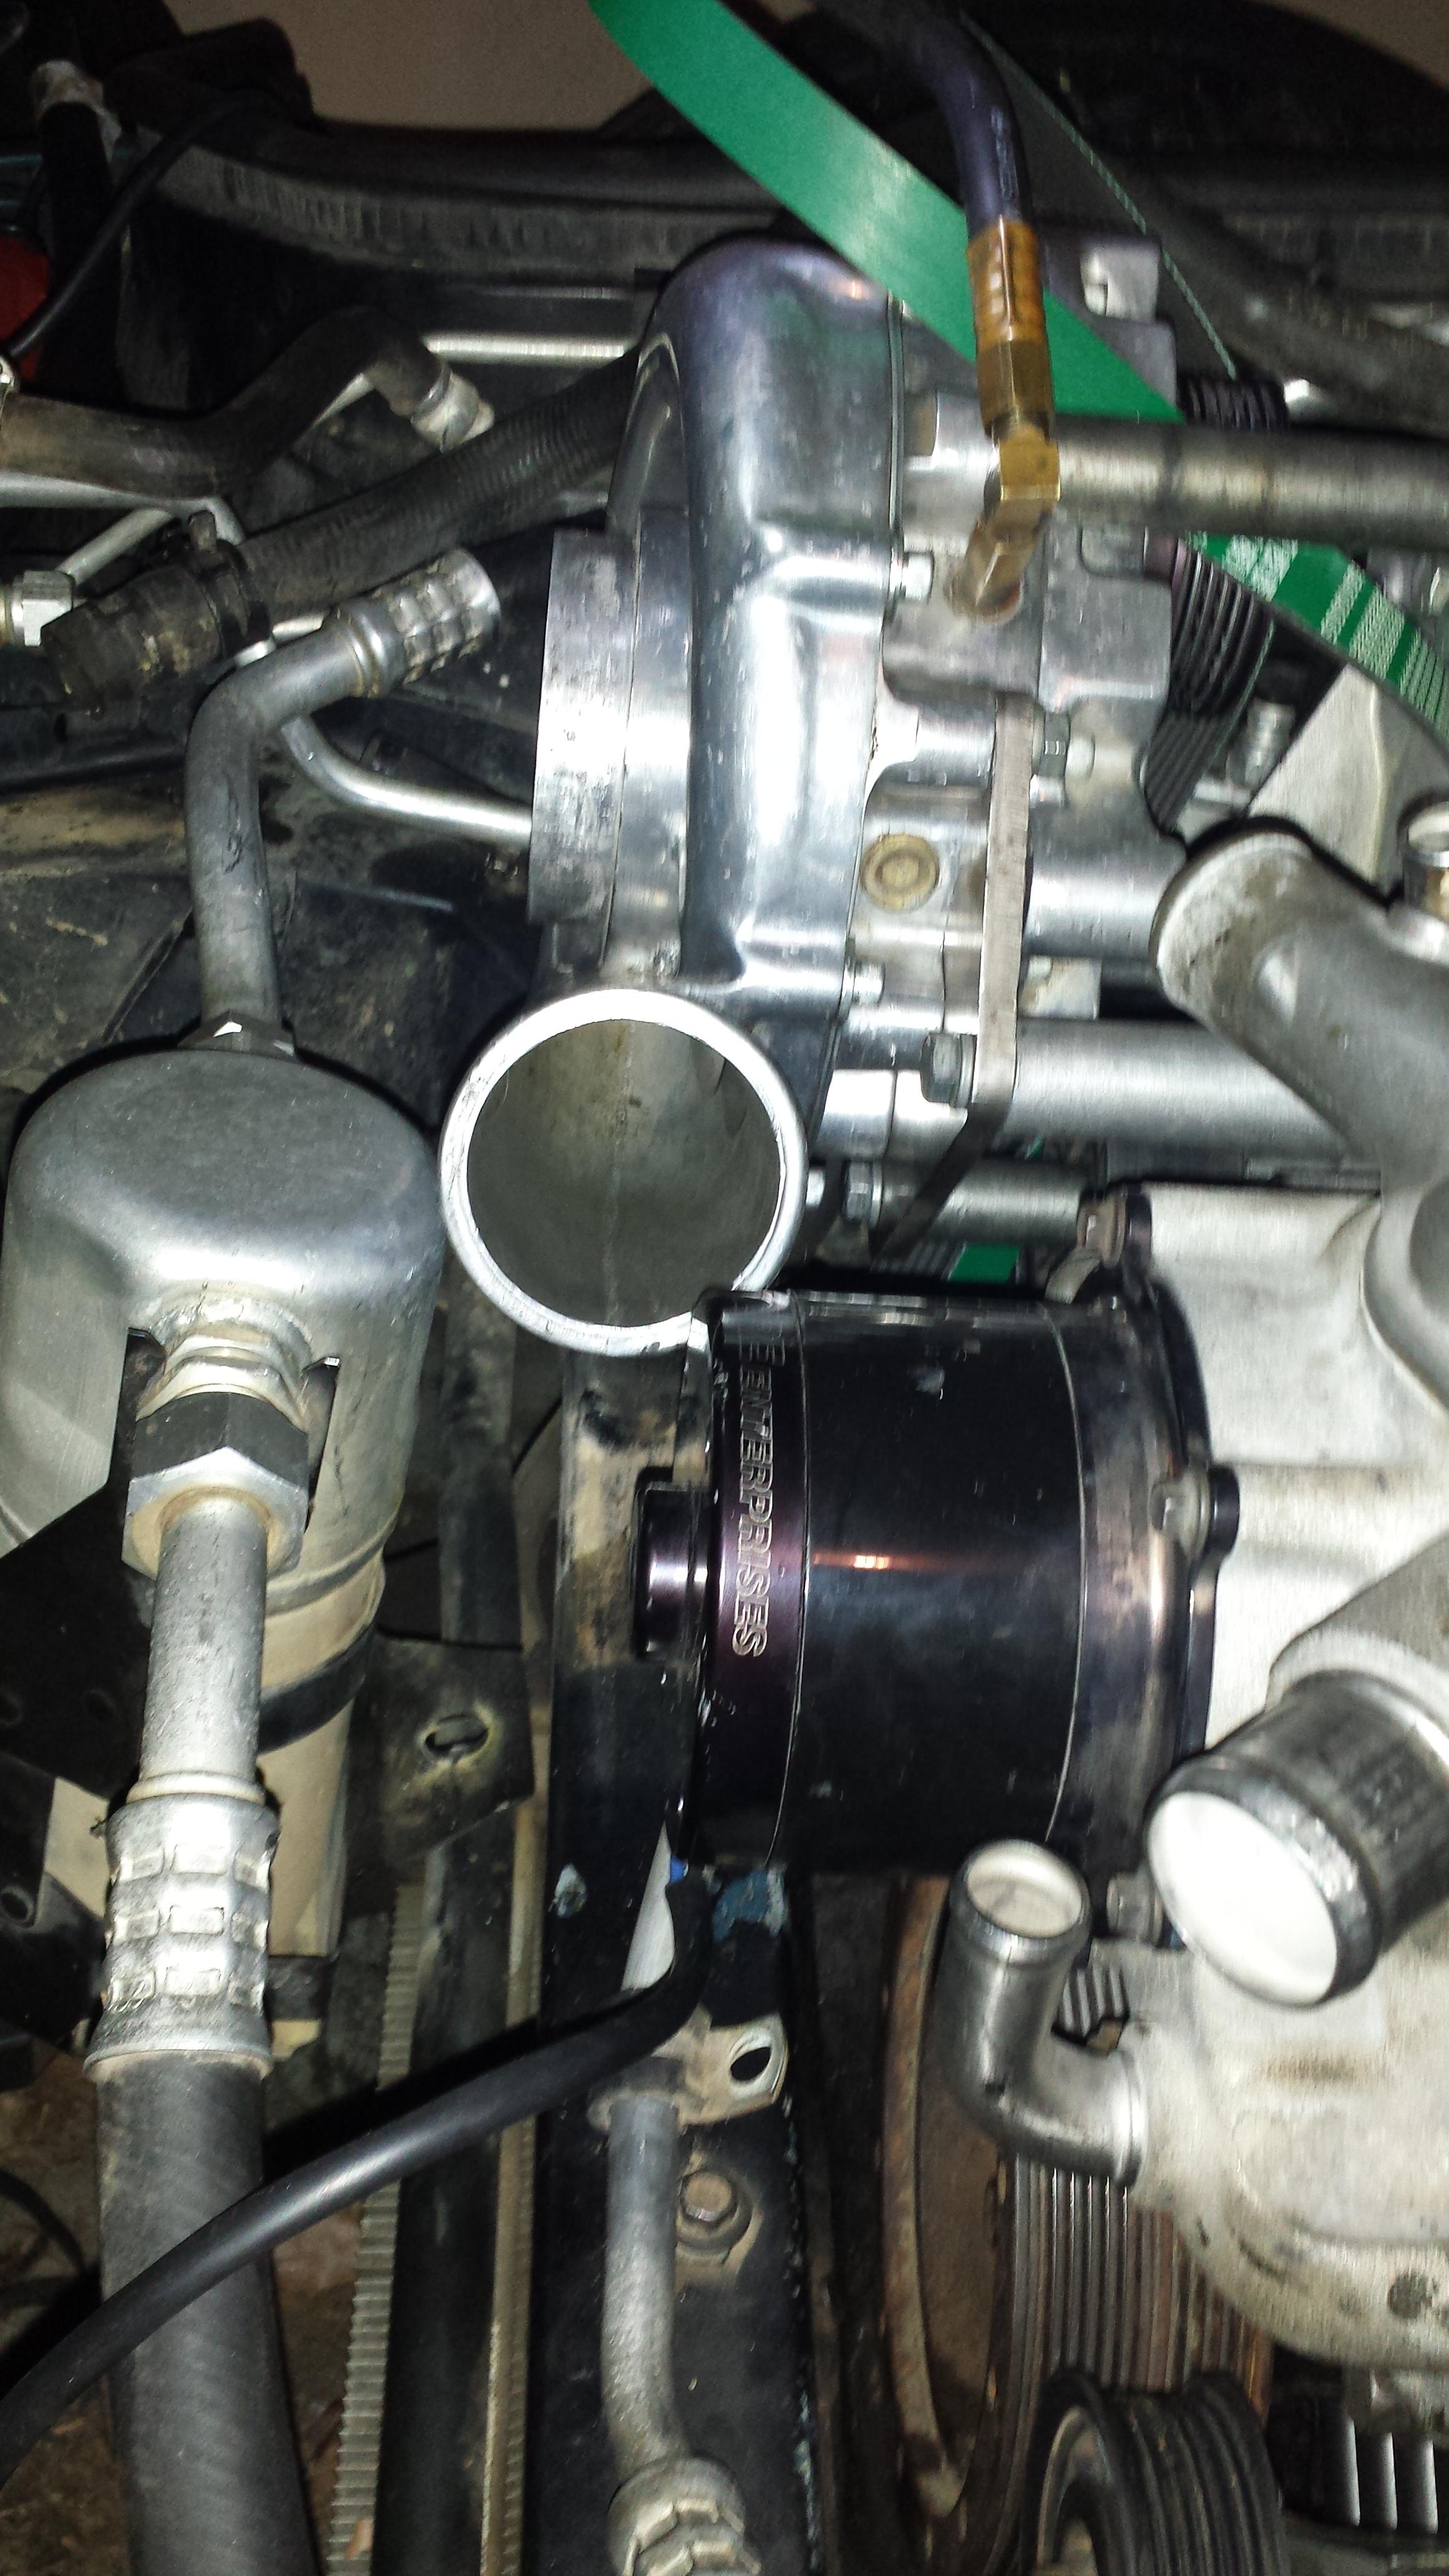
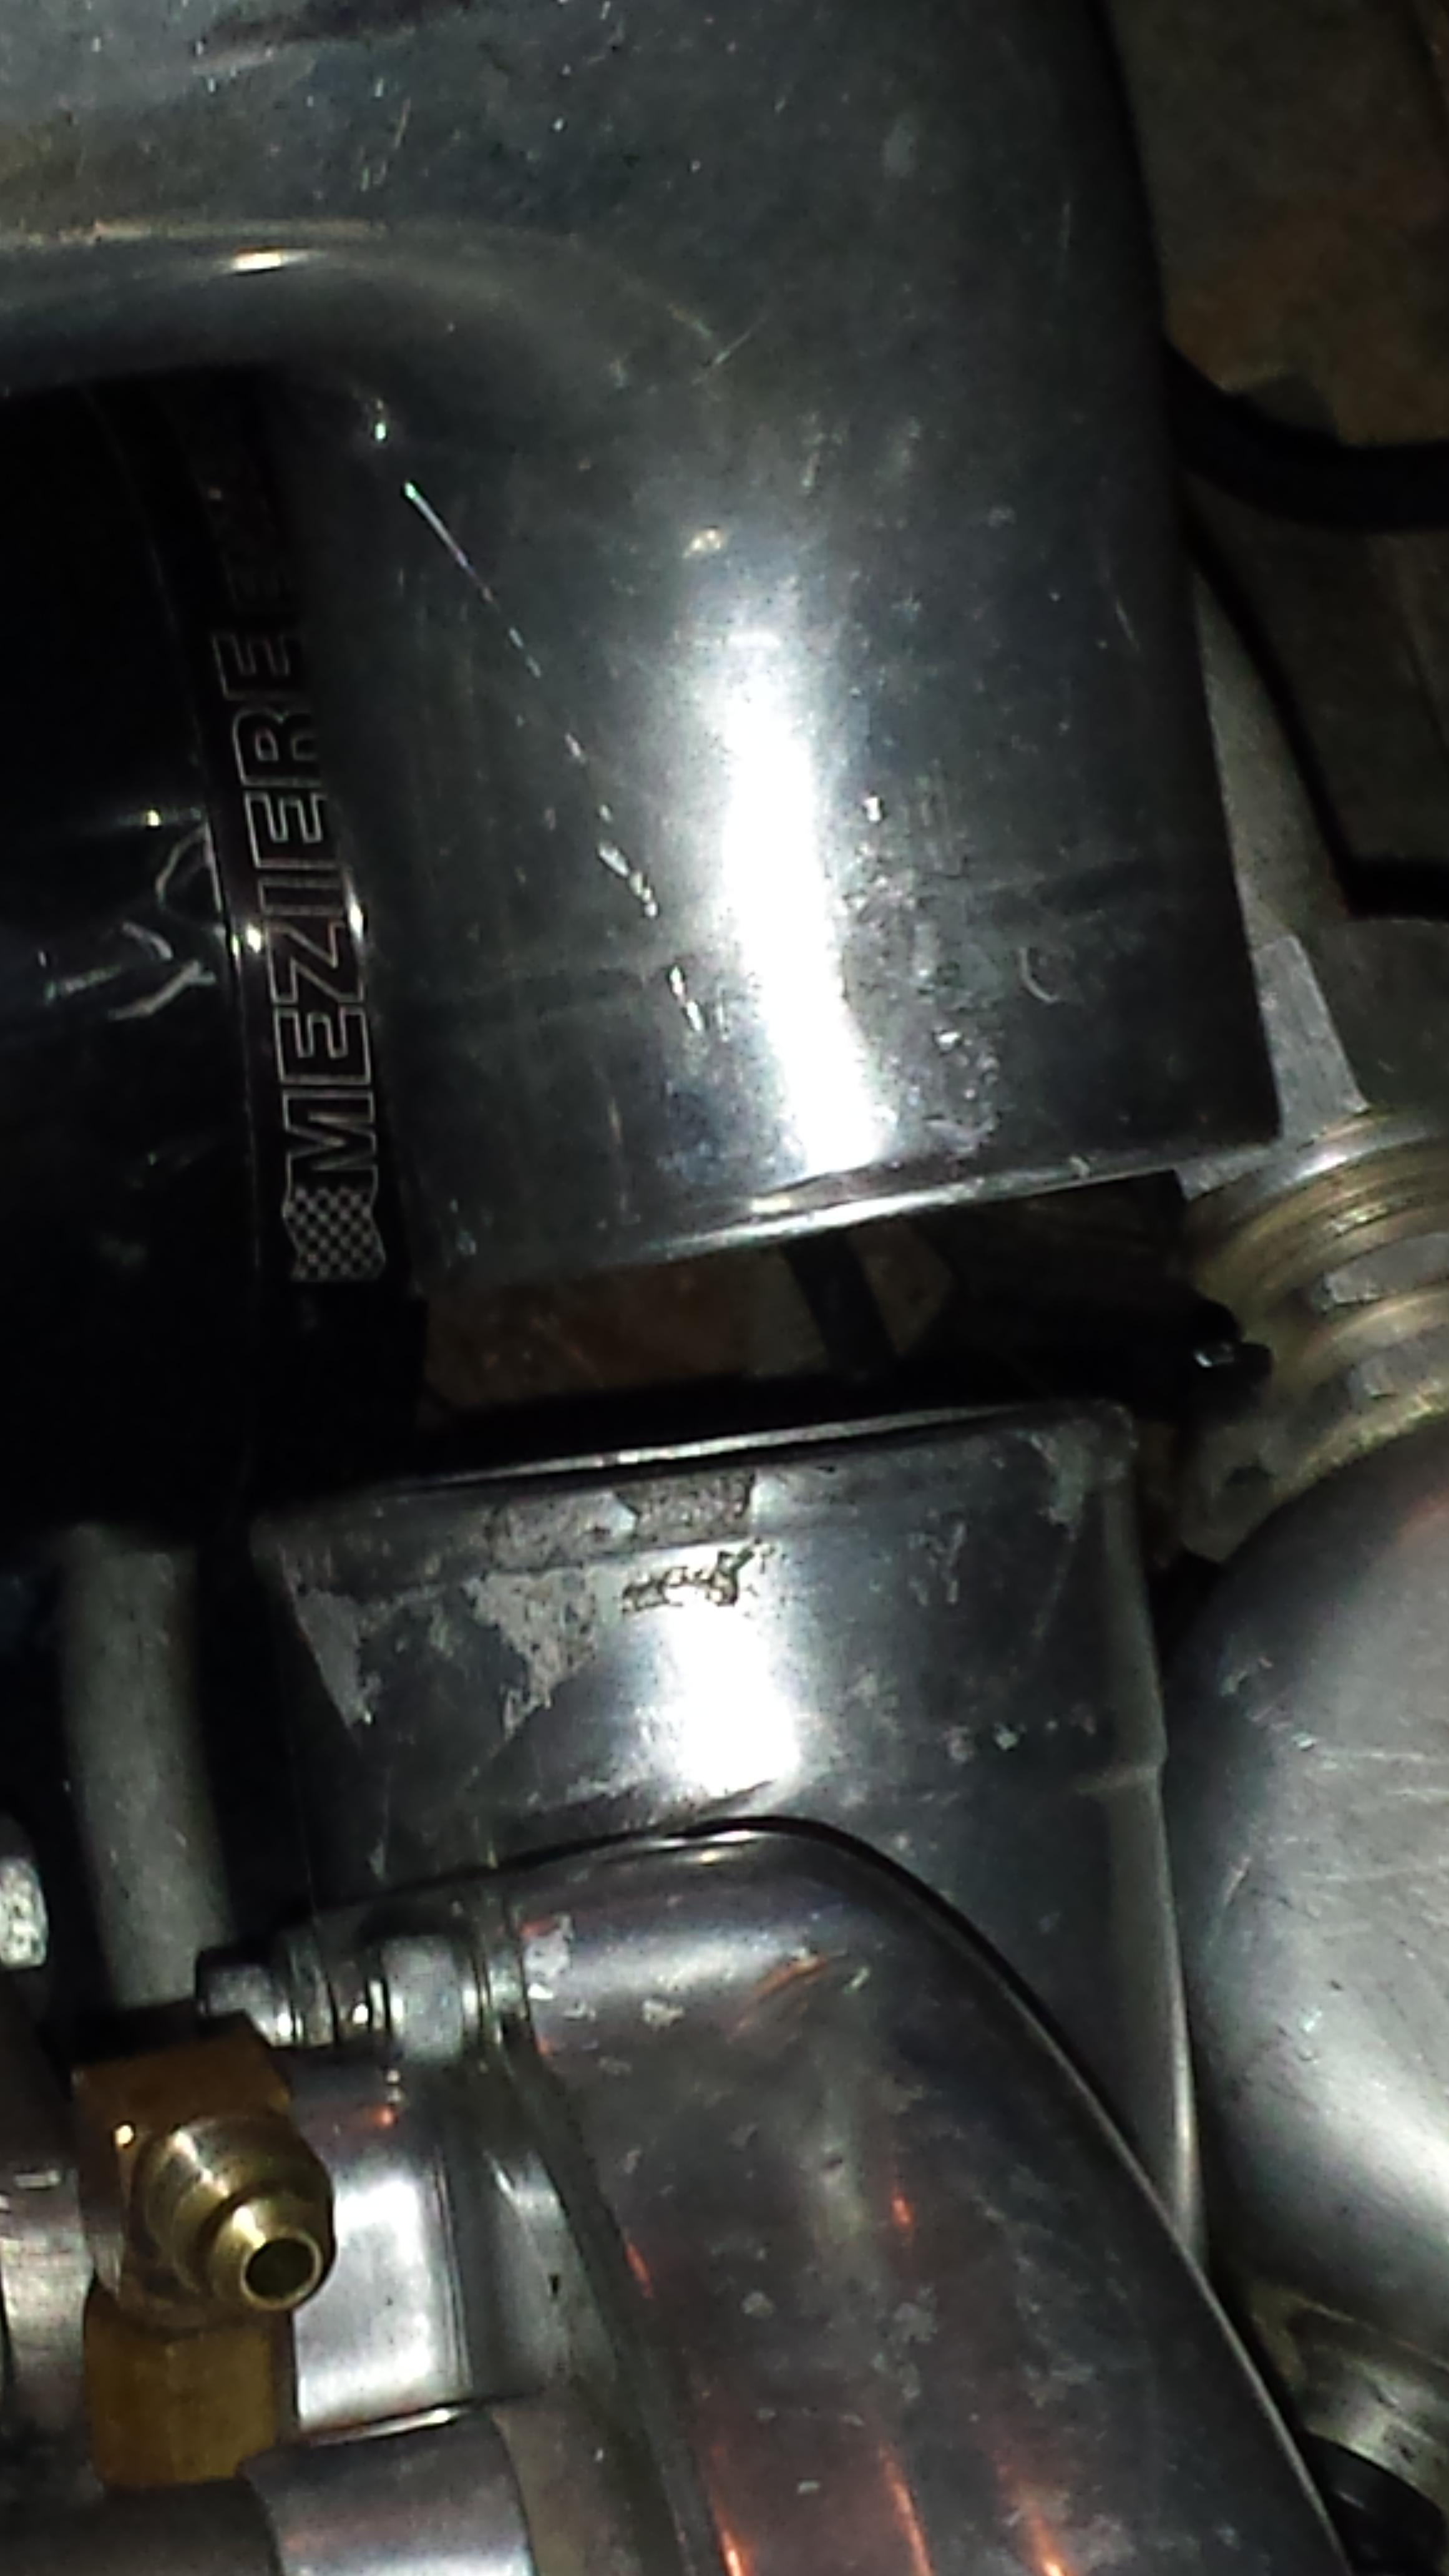
Ok, having some problems.
First.. I dont see how the hell I am going to get a clamp on my oil drain.
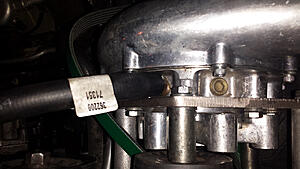
next up, with the blower installed and the intake mocked up.. I got this problem.
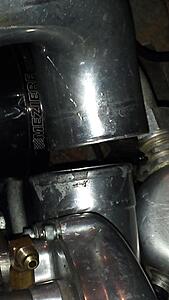
First.. I dont see how the hell I am going to get a clamp on my oil drain.
next up, with the blower installed and the intake mocked up.. I got this problem.

 06-25-2014, 07:22 PM
#16

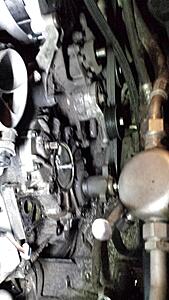
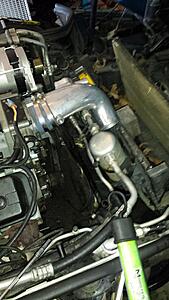
What does the alignment look like without the silicone coupler on there? If that is keeping the elbow out a bit because it is pushing on the IAT bung, maybe a narrower one would let the elbow get closer to the throttle body. Obviously, if they are already metal to metal, then that isn't the case.
As for your oil drain - mine is the same way and if you put on the bracket before the hose clamp, then it is practically impossible to get the hose clamp on. You might be able extend the drain though with a longer pipe nipple, then go from there.
As for your oil drain - mine is the same way and if you put on the bracket before the hose clamp, then it is practically impossible to get the hose clamp on. You might be able extend the drain though with a longer pipe nipple, then go from there.
06-25-2014, 11:37 PM
#17
TECH Resident
Thread Starter
iTrader: (9)
Join Date: May 2009
Location: Austin/Cedar Park
Posts: 809
Likes: 0
Received 0 Likes
on
0 Posts
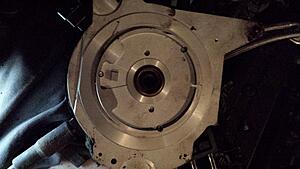
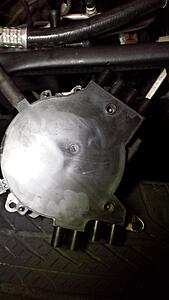
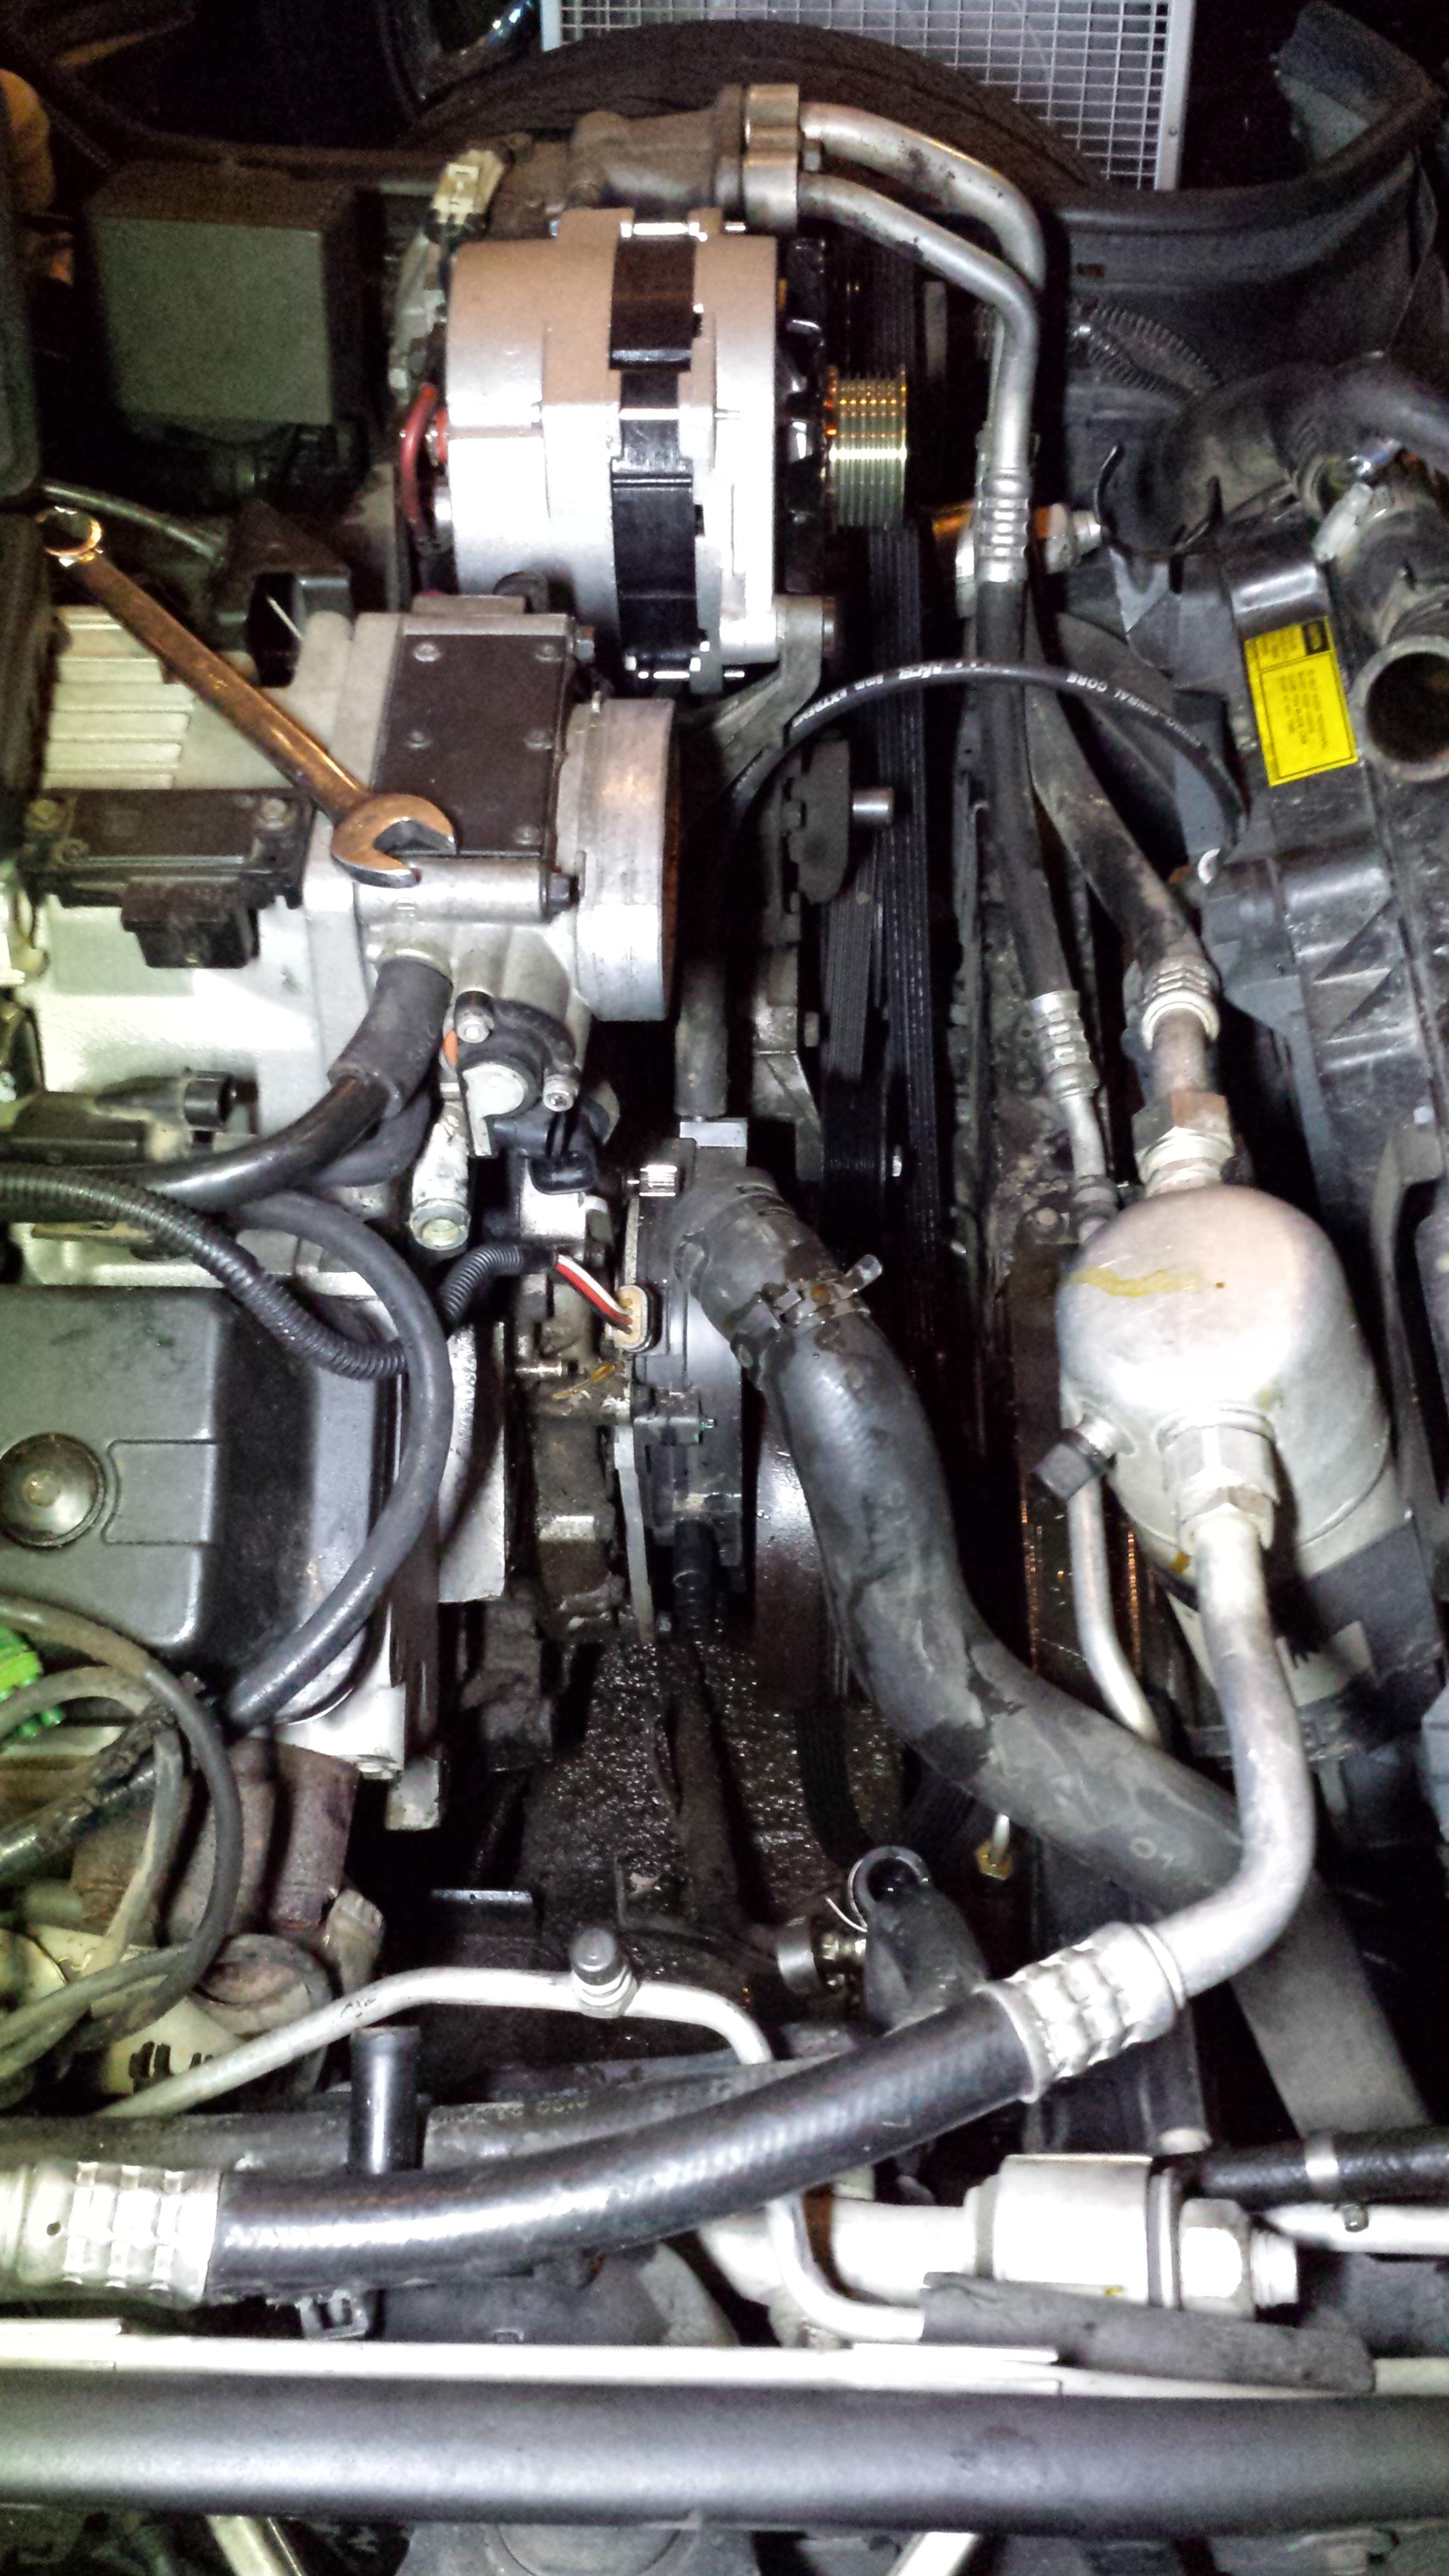
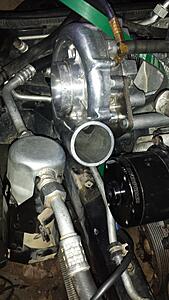
The problem is how the EWP housing is much larger then factory so its sticking out. Right now i need to finish mounting the blower up and ill address it further. I ended up taking the blower apart and am reinstalling it as per vortechs instructions instead of blowerworks, so I can get a proper clamp on the drain.
I got my Alex's valve springs today, having fun installing those..Hopefully I can start it Friday night or Saturday morning.
I got my Alex's valve springs today, having fun installing those..Hopefully I can start it Friday night or Saturday morning.
 06-26-2014, 07:26 PM
#19
TECH Apprentice
Join Date: Feb 2005
Posts: 384
Likes: 0
Received 0 Likes
on
0 Posts

I'd need a photo from the front to be certain it's possible, but judging from the photos posted, I'd try to re-clock the supercharger's exducer housing (counter-clockwise) to get its outlet away from the EWP. If you can't route the ductwork next to it, then route it over it.