Getting my Frankenstein TA painted start to finish.
 05-06-2011, 03:03 PM
#1
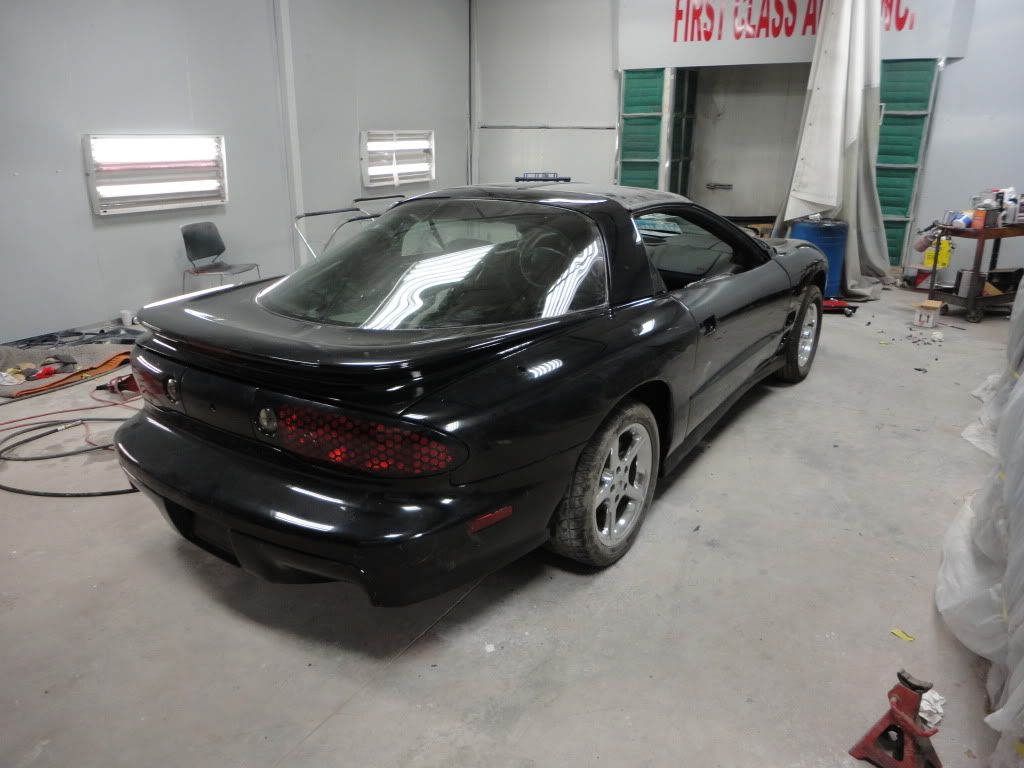
Well here's my start to almost finished paint job for my car.
One of my friends told me if I did it all the prep and sanding he would paint it.
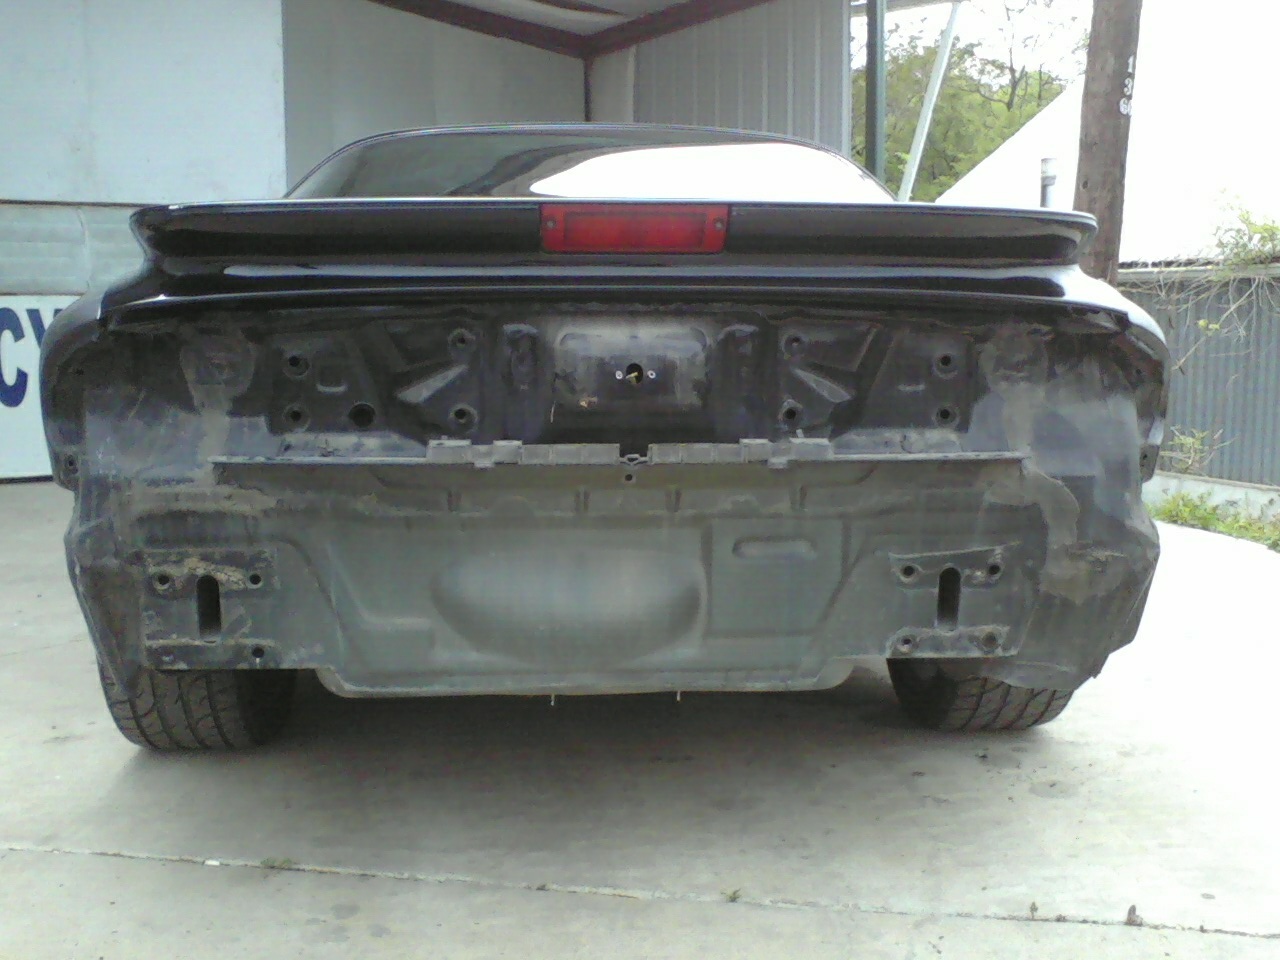
Going to do some repair to the rip on the bottom right of the LP area.

So far I have spent about 6 hours sanding this bumper

nding little things out about the car I didn't know.

Damn bondo top right of the bumper

Sanded down the red bumper ...

Only took 2 days of my time going to the shop to do this.

Got half way done and time to leave for the night.

Getting all the bumps off.

I will need to detail the car after Im done lol inside has a lot of dust.

Getting all the bumps out of the side.. I think someone back up into a poll and had a shitty repair job done.

Time to start wet sanding this one.

More bondo on the car ... The people that did the this most have really liked it.. Taking it all off to see how bad it was.

Completed the sanding on this..

Side skirting sanded down.

Both fenders sanded down.

Sanded down back quarter panel

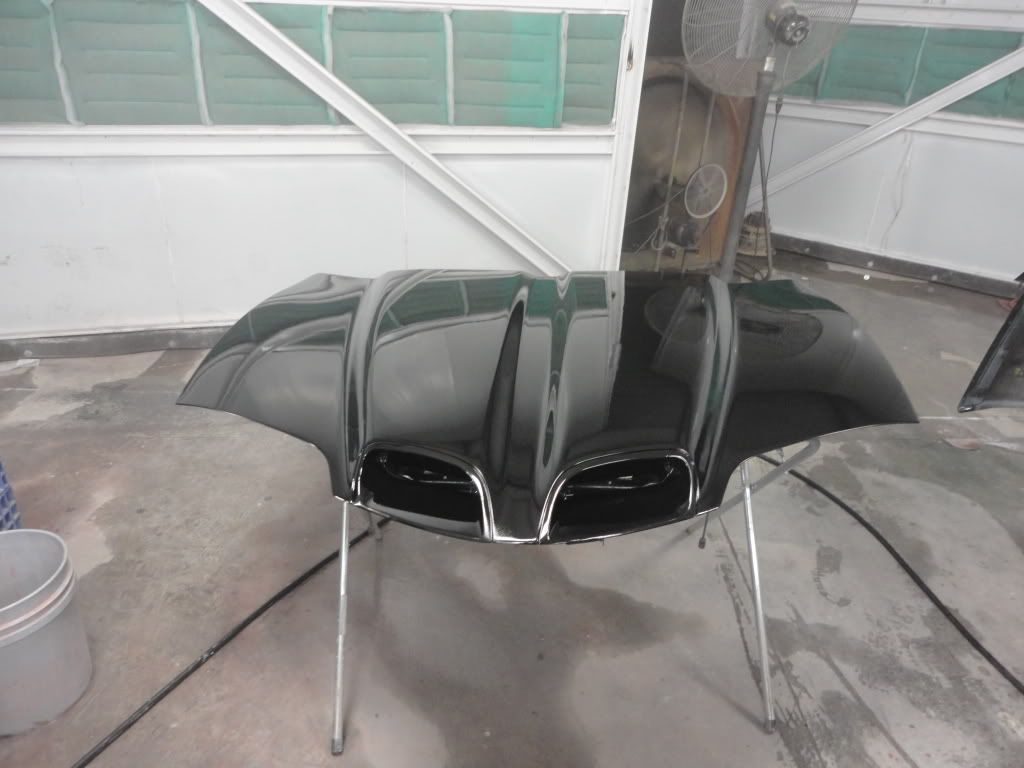
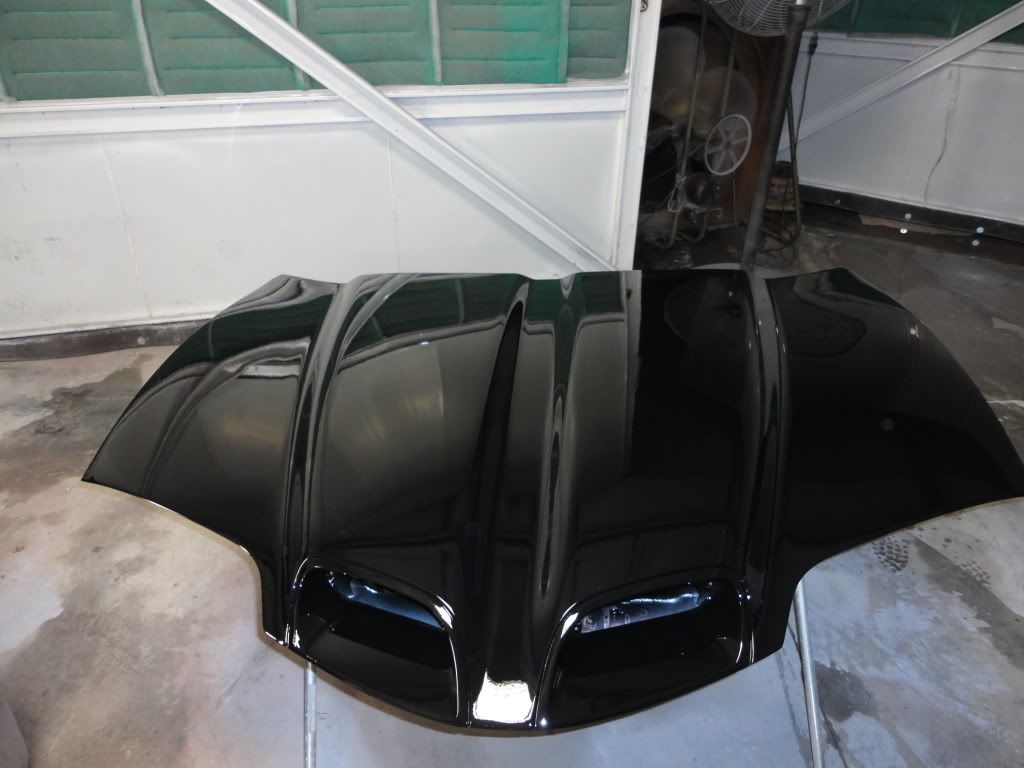
Finished the Spolier. Damn that took along time.

Getting it ready for paint.

Off with the doors. sorry bad picture


Better shot of the doors. Also getting to door jams painted.

I have the car tapped and ready for primer.
Not a very good day on Friday..
Getting the hatch ready for paint.

Fixing the lines on the door i meesed up.

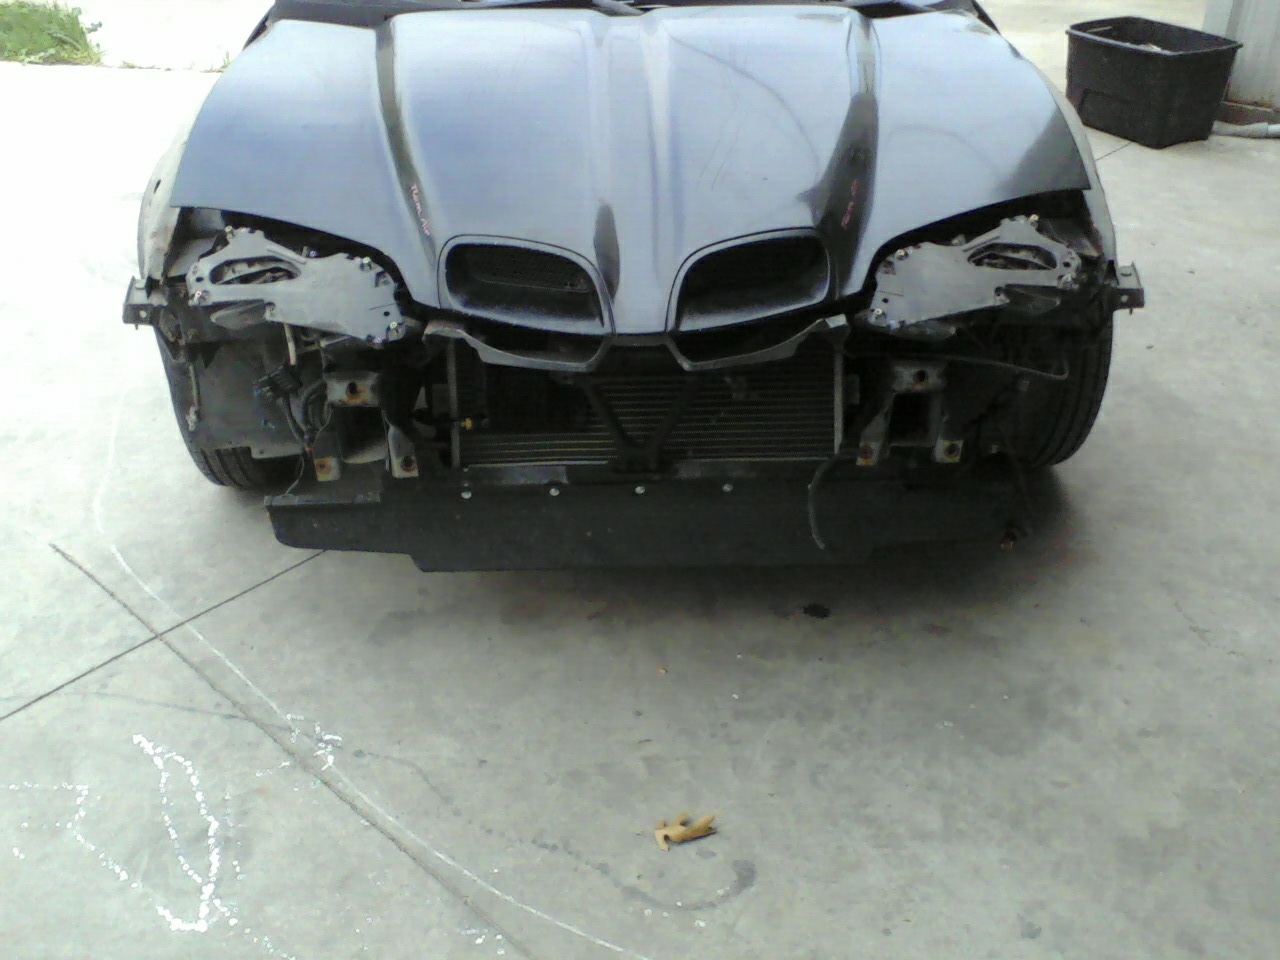
Put the hood back on the front after primering it.

Primered /Sealing the sail panel.

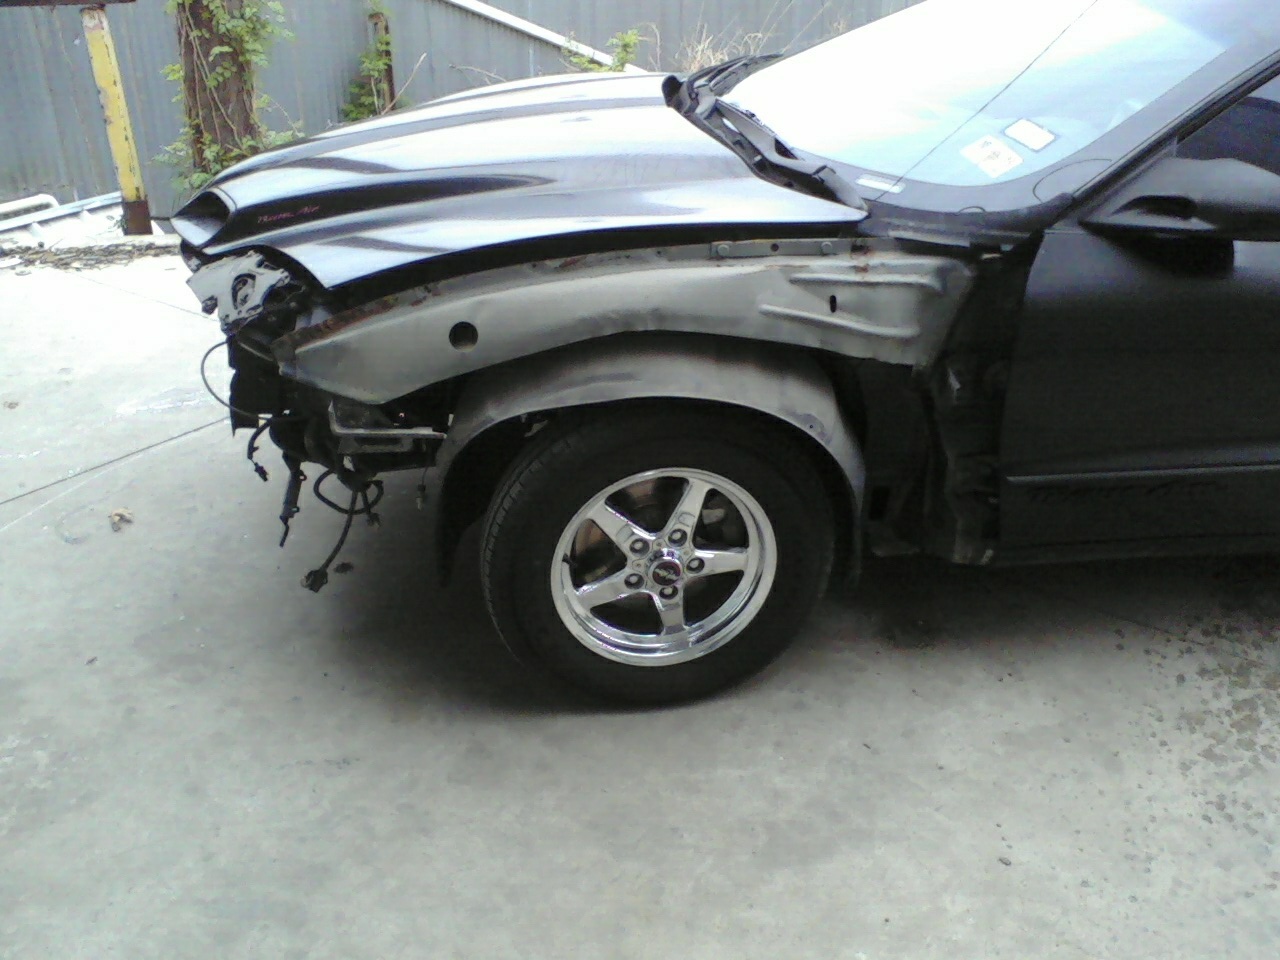
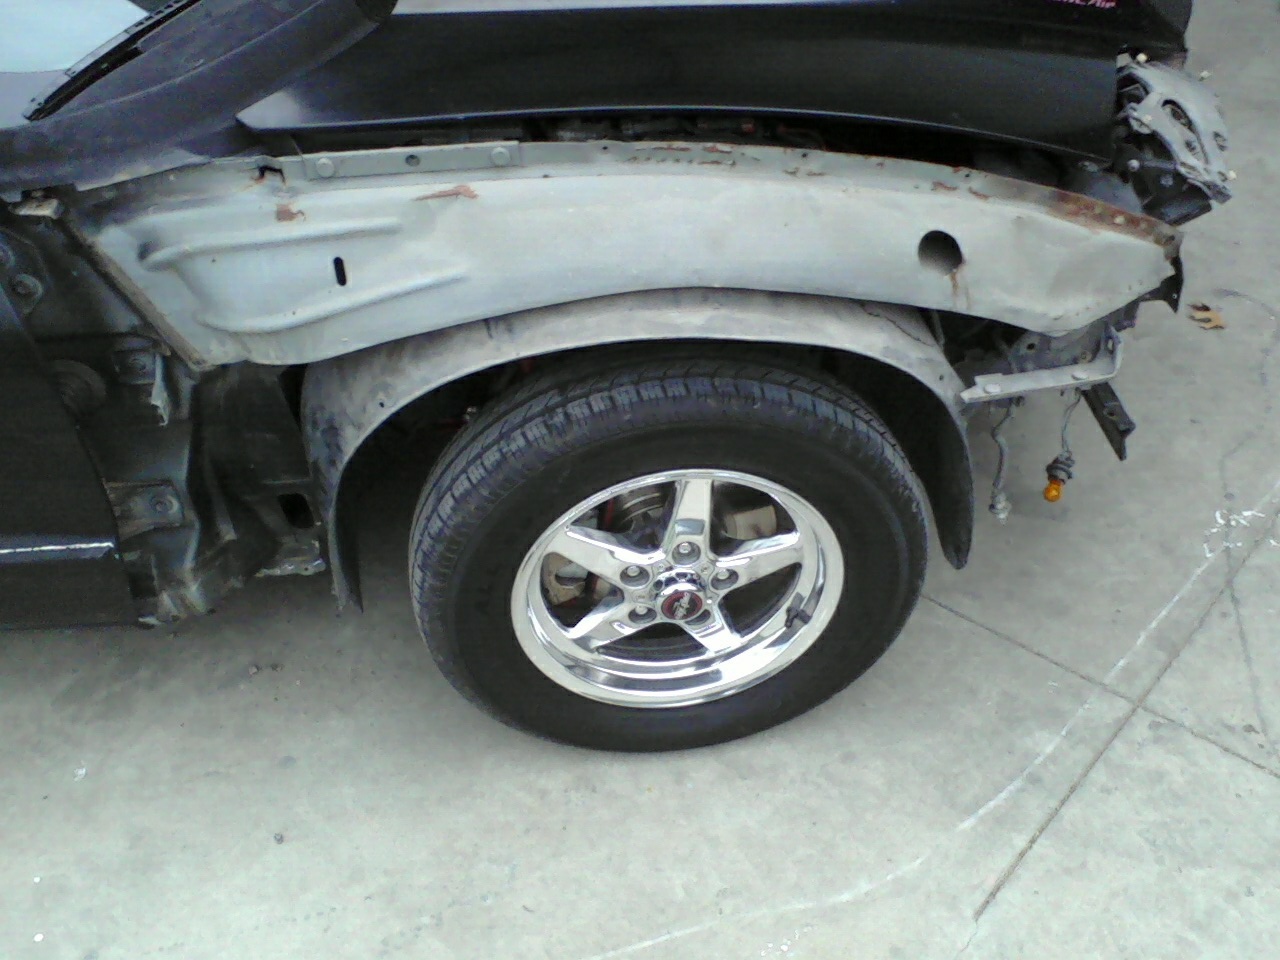
Started to roll the fender and found out some more bad news. Found out the people that did the work just used 1/4 in of bondo to fix a dent.

Another shoot of the bondo.

Shitty body shop drilled holes to pop out some of the dents and didn't even weld up the holes.

We needed to see how bad the damage really was... We got out a grinder and just went at it.. Car probably has 15 pounds of bondo on the one panel.

Took it all down to metal to see what im working with.. Im to scared to go any closer to the edge of the door ...Im afraid it might be all bondo too.

Just finished wet sanding the front bumper. Ready for paint

Wet sanded the primer to find any small bumps in the metal we might need to fill.

Getting all the nails set to pull the dents.

lol Hellraiser..

Welded up all the damn holes that the other body shop drilled.


One of my friends told me if I did it all the prep and sanding he would paint it.
Going to do some repair to the rip on the bottom right of the LP area.
So far I have spent about 6 hours sanding this bumper
nding little things out about the car I didn't know.
Damn bondo top right of the bumper
Sanded down the red bumper ...
Only took 2 days of my time going to the shop to do this.
Got half way done and time to leave for the night.
Getting all the bumps off.
I will need to detail the car after Im done lol inside has a lot of dust.
Getting all the bumps out of the side.. I think someone back up into a poll and had a shitty repair job done.
Time to start wet sanding this one.
More bondo on the car ... The people that did the this most have really liked it.. Taking it all off to see how bad it was.
Completed the sanding on this..
Side skirting sanded down.
Both fenders sanded down.
Sanded down back quarter panel
Finished the Spolier. Damn that took along time.
Getting it ready for paint.
Off with the doors. sorry bad picture
Better shot of the doors. Also getting to door jams painted.
I have the car tapped and ready for primer.
Not a very good day on Friday..
Getting the hatch ready for paint.
Fixing the lines on the door i meesed up.
Put the hood back on the front after primering it.
Primered /Sealing the sail panel.
Started to roll the fender and found out some more bad news. Found out the people that did the work just used 1/4 in of bondo to fix a dent.
Another shoot of the bondo.
Shitty body shop drilled holes to pop out some of the dents and didn't even weld up the holes.
We needed to see how bad the damage really was... We got out a grinder and just went at it.. Car probably has 15 pounds of bondo on the one panel.
Took it all down to metal to see what im working with.. Im to scared to go any closer to the edge of the door ...Im afraid it might be all bondo too.
Just finished wet sanding the front bumper. Ready for paint
Wet sanded the primer to find any small bumps in the metal we might need to fill.
Getting all the nails set to pull the dents.
lol Hellraiser..
Welded up all the damn holes that the other body shop drilled.
 05-06-2011, 03:03 PM
#2
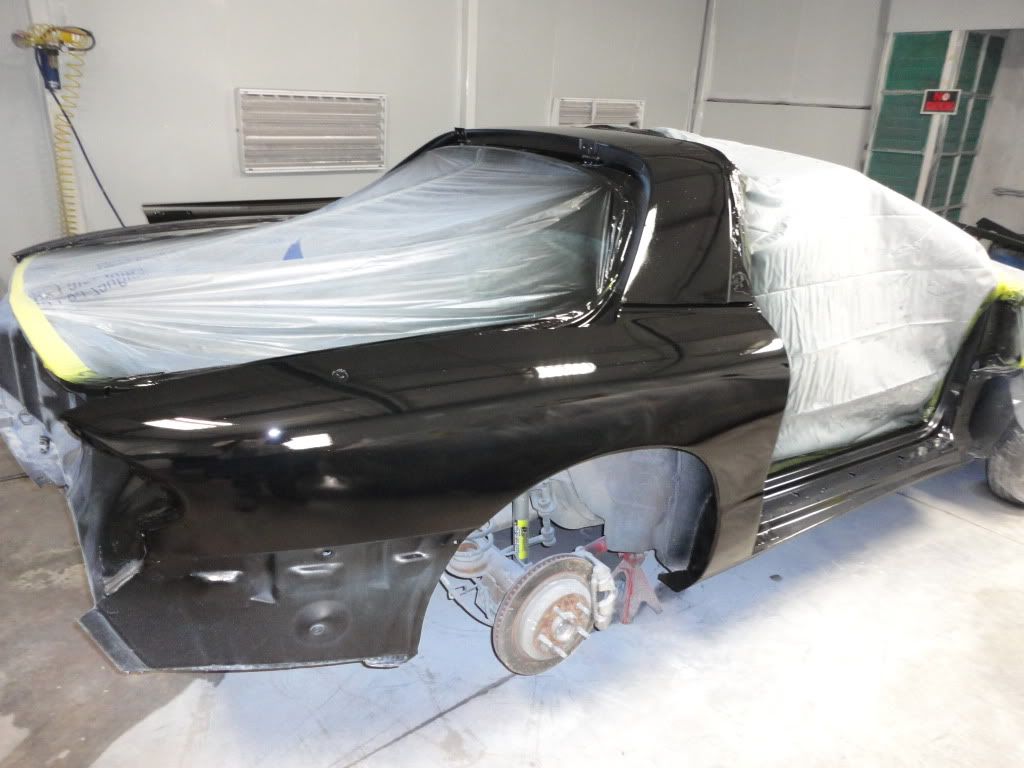
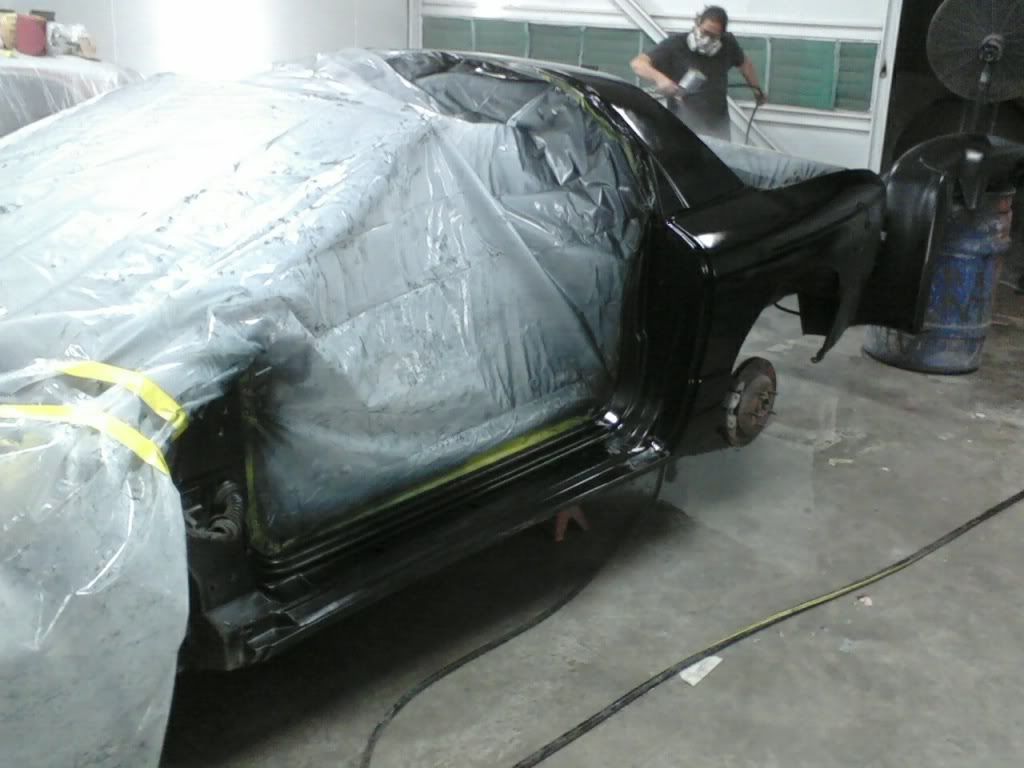
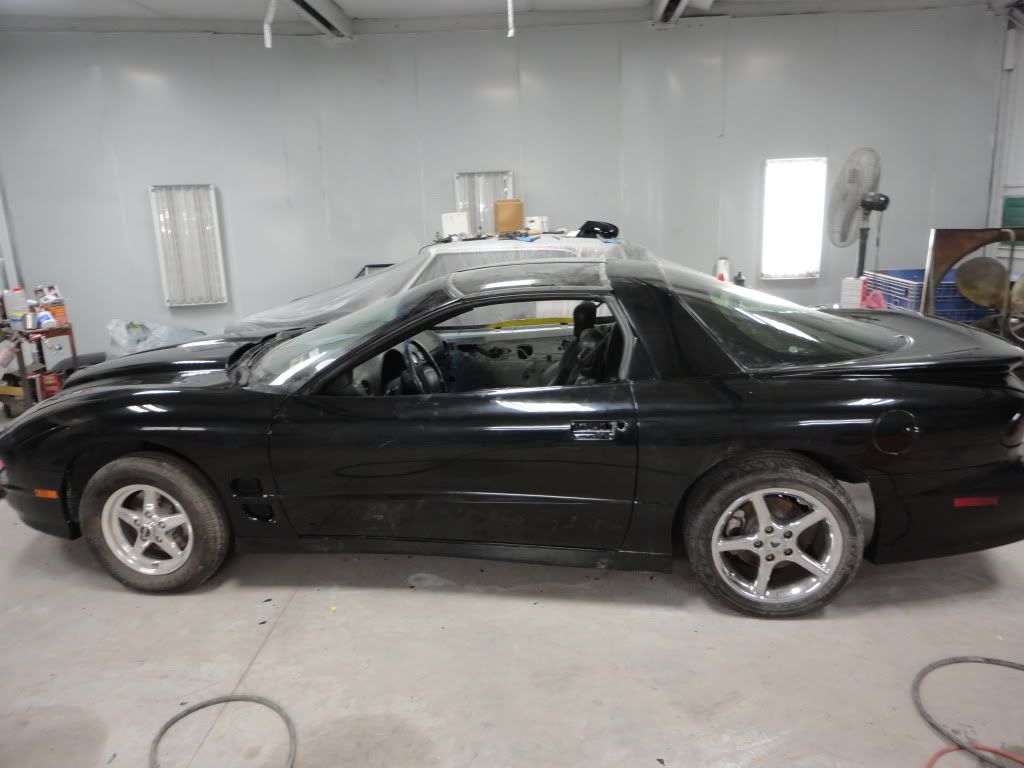
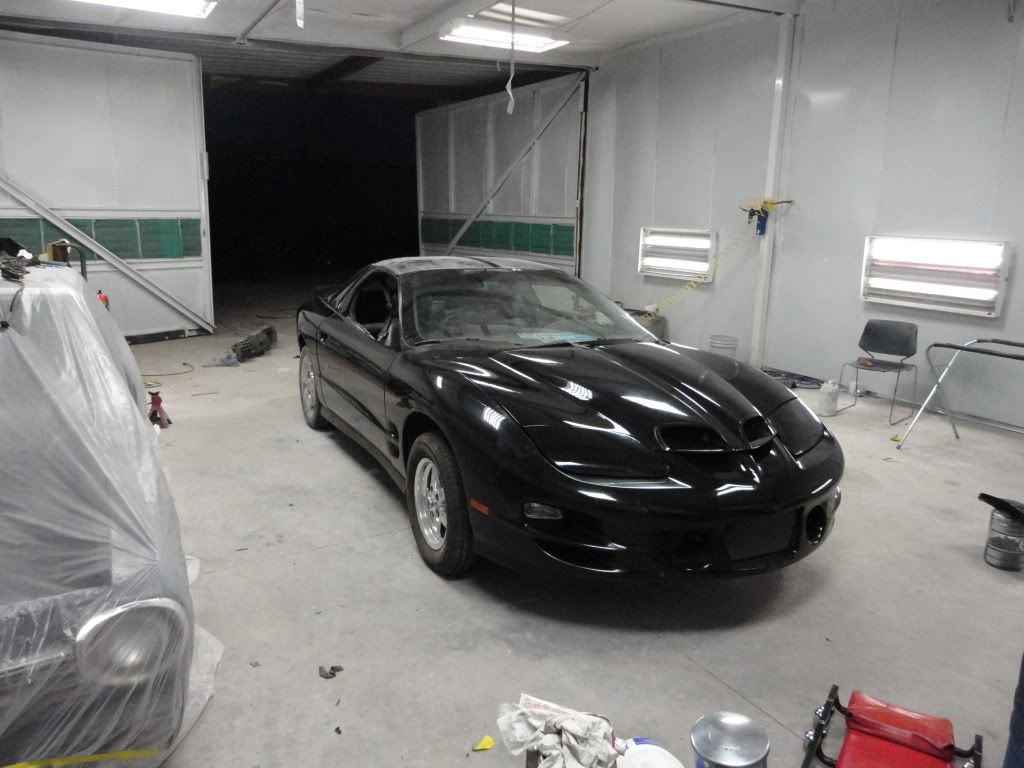
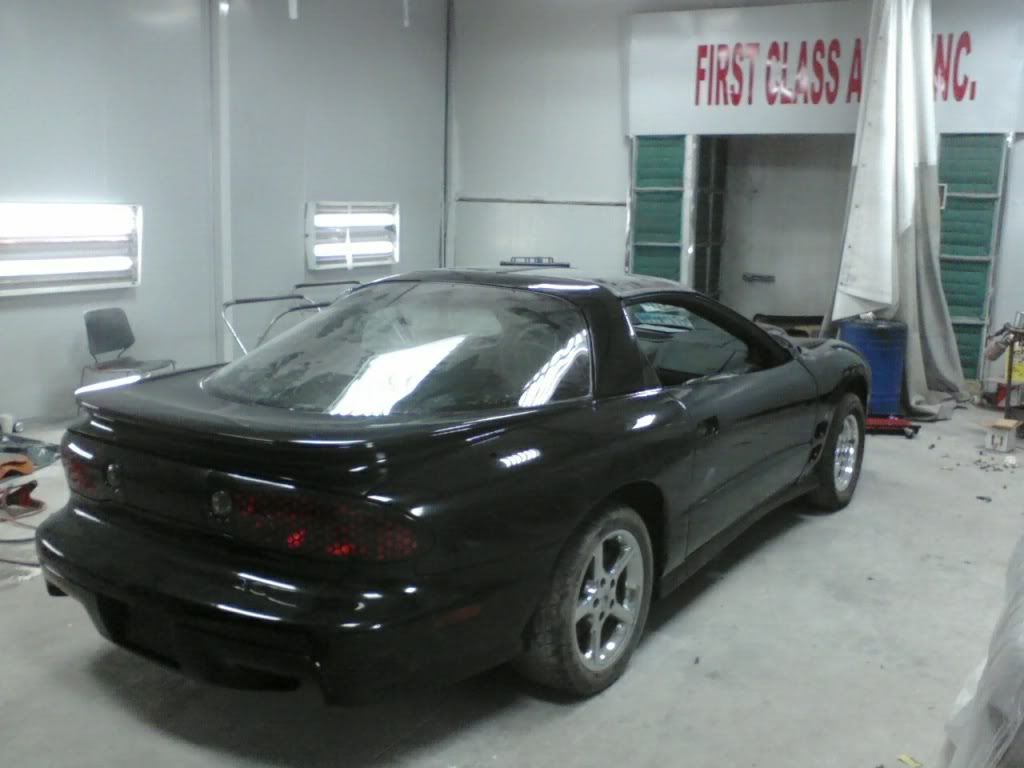
Got the front ready for paint

Finally ready for paint.

I haven't buffed or sanded any of this yet.


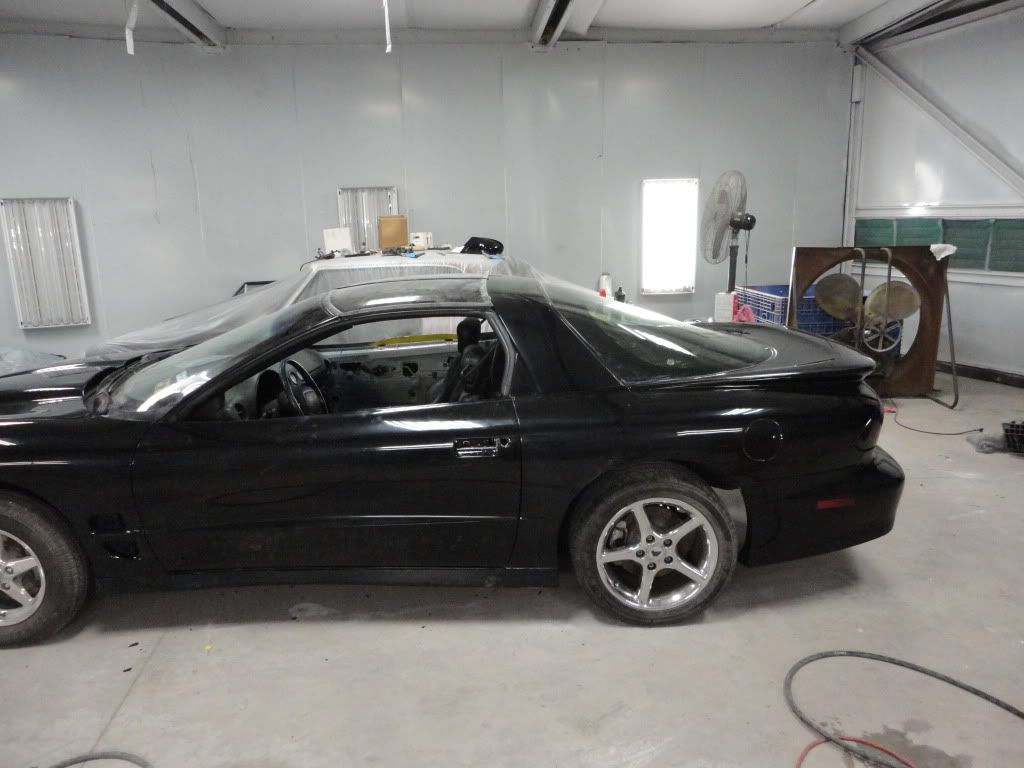
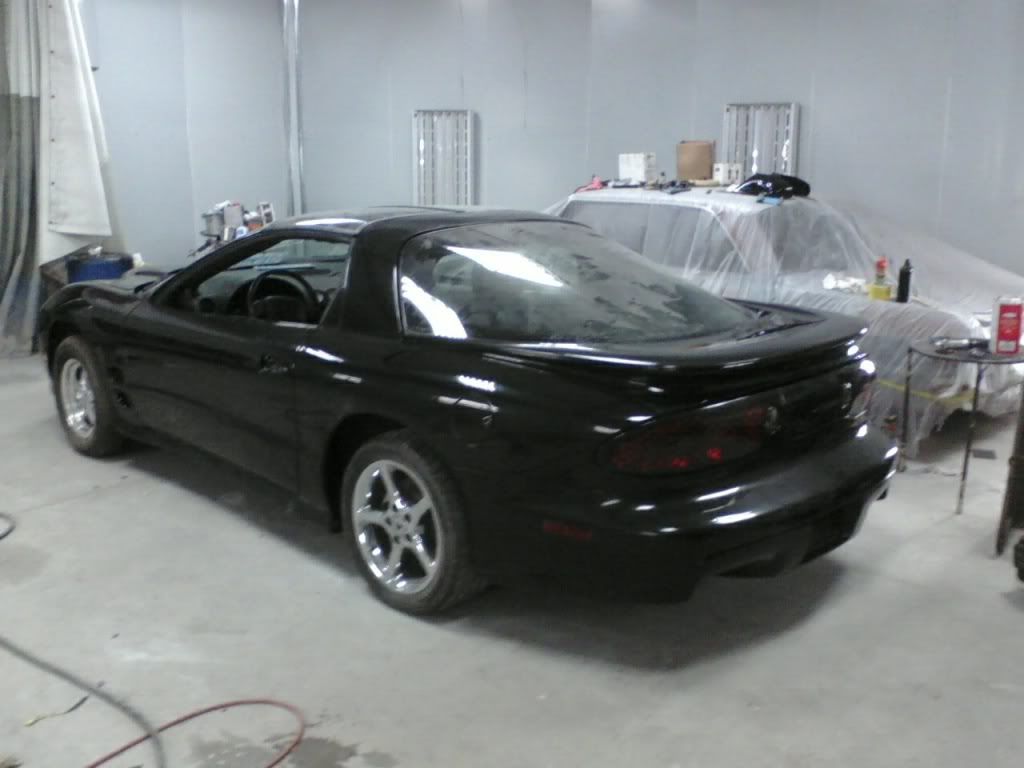
Wet sanding and putting buffing compound on.


Just put the first coat of wax on the one side of the hood.

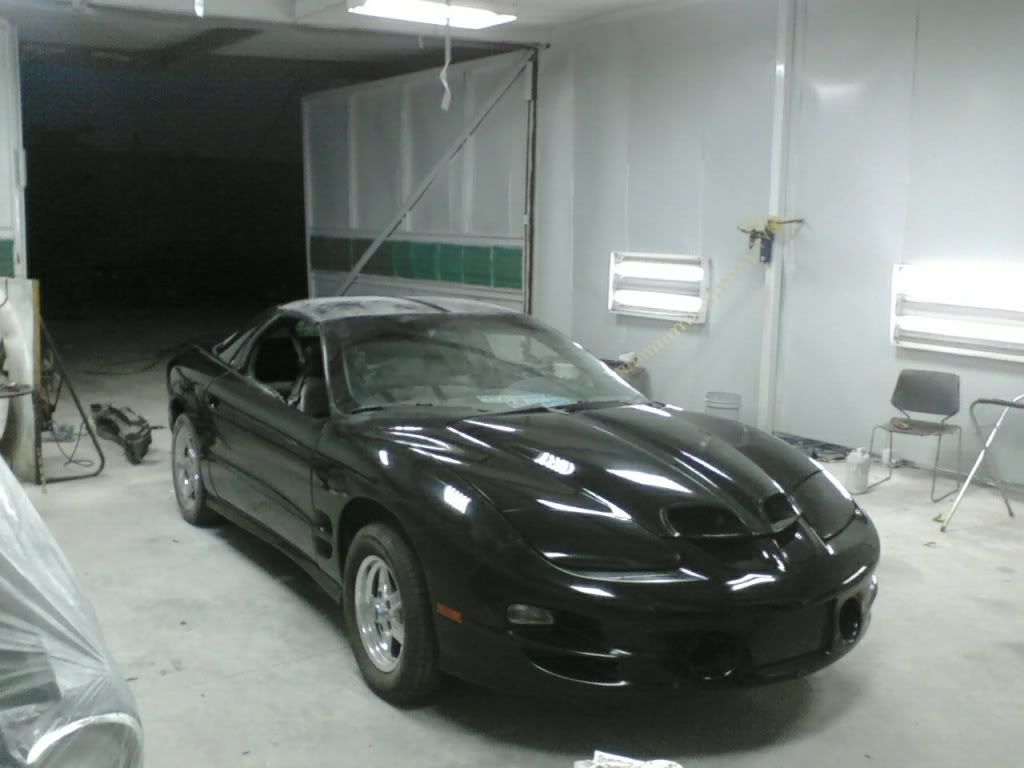
Got all of it back on but the front bumper. I haven't buffed the fender just wet sanded it..
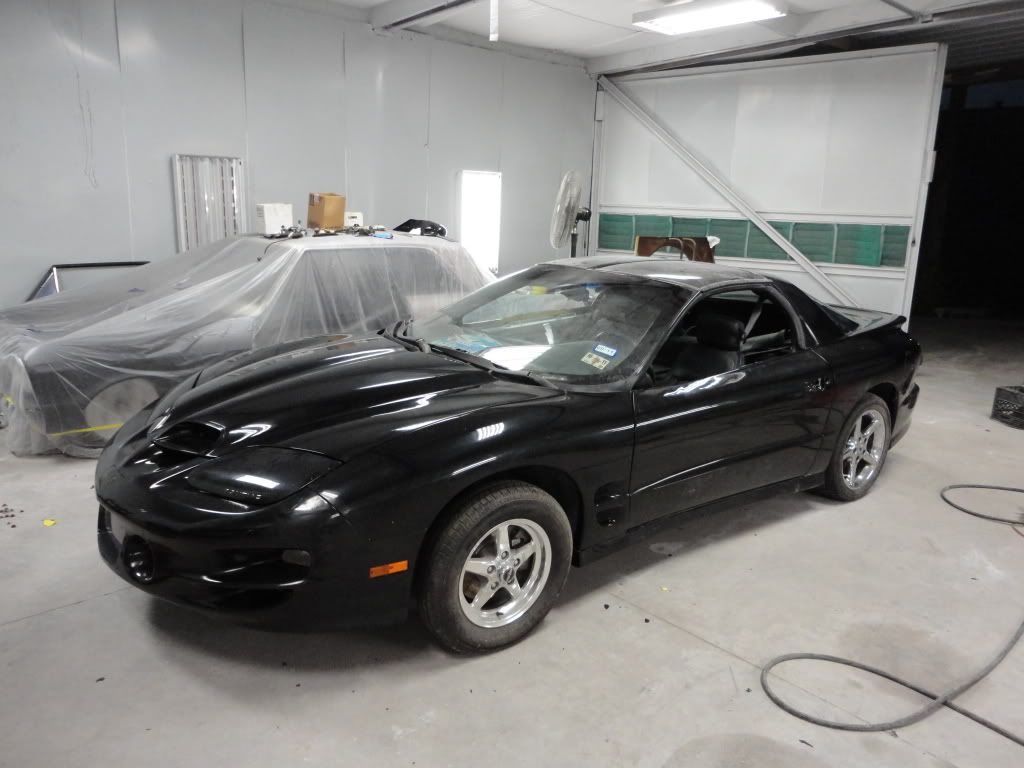
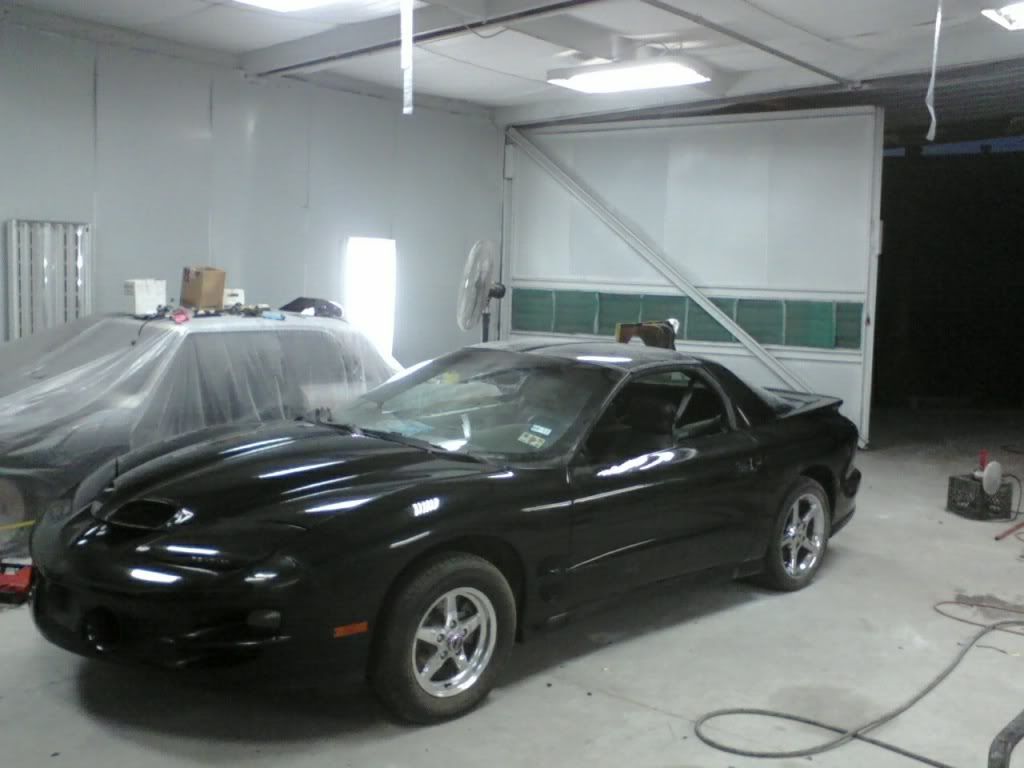
Putting all the parts back on.

Getting it ready to do the first coat of wax.

I haven't buffed the fender just wet sanded it..

Still waiting on the door handles grrrrr. I also need to do all the wiring on the doors and line up the hood a little better. I will have some more pics up waiting for them to load.
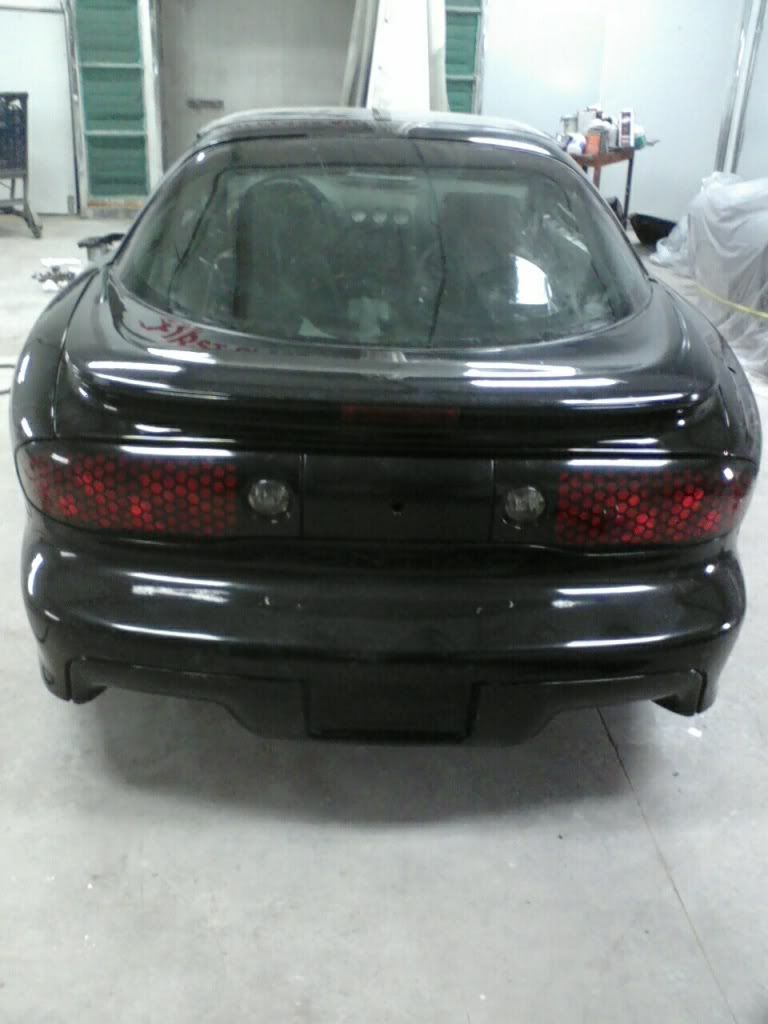
Car hasn't been washed or waxed yet.
Finally ready for paint.
I haven't buffed or sanded any of this yet.
Wet sanding and putting buffing compound on.
Just put the first coat of wax on the one side of the hood.
Got all of it back on but the front bumper. I haven't buffed the fender just wet sanded it..
Putting all the parts back on.
Getting it ready to do the first coat of wax.
I haven't buffed the fender just wet sanded it..
Still waiting on the door handles grrrrr. I also need to do all the wiring on the doors and line up the hood a little better. I will have some more pics up waiting for them to load.
Car hasn't been washed or waxed yet.
05-06-2011, 03:17 PM
#4
That was my goal to do this right the first time and to take everything down to it�s bare state.
This was my first time to do any of this. But I had my buddy telling me how to do things the whole time. He told me I would hate him when I was done with it� I loved every bite of it�
05-06-2011, 05:17 PM
#5
TECH Regular
iTrader: (21)
Join Date: Apr 2010
Location: AZ
Posts: 443
Likes: 0
Received 0 Likes
on
0 Posts
wow you really went to town prepping those panels for paint!
My car goes in to the booth tomorrow for paint
https://ls1tech.com/forums/appearanc...-5-1-11-a.html
My car goes in to the booth tomorrow for paint
https://ls1tech.com/forums/appearanc...-5-1-11-a.html
05-06-2011, 10:57 PM
#6
TECH Regular
iTrader: (4)
Join Date: Apr 2010
Location: Bristol,TN
Posts: 472
Likes: 0
Received 0 Likes
on
0 Posts

Good job,had the same thing in my old camaro quarter but it probably had 60 holes in it from a screw type pulled,I just sold it cheap though and let someone else worry about fixin it.didn't want to mess with it already striped n painted a 95 z,so I decided to get a 02 TA that was in good shape.I'll paint it but it has a good foundation for me to start with,anyway looks awsome it always more rewarding in the in when u can do it yourself!
05-07-2011, 01:11 AM
#7
TECH Fanatic
iTrader: (1)

Join Date: Aug 2005
Location: San Diego
Posts: 1,081
Likes: 0
Received 0 Likes
on
0 Posts
Why do you keep saying that you've waxed it and then say you haven't waxed the car yet? You can't wax fresh paint for at least 60 days. It needs to cure after baking.
Trending Topics
 05-07-2011, 02:11 AM
#9
Launching!
Join Date: Apr 2011
Location: orbiting caprica
Posts: 280
Likes: 0
Received 0 Likes
on
0 Posts
my hands hurt thinking about all the sanding you had to do....looks like you doing it the right way!
to me black has to be by far the hardest color to re-do and make look right. ive owned 2 black cars in the past....love the color....but never again!
to me black has to be by far the hardest color to re-do and make look right. ive owned 2 black cars in the past....love the color....but never again!
05-07-2011, 03:46 PM
#12
As for why it says getting ready to wax a lot I had a lot of things come up each time I was about to do this. I have another post like this in the Texas section.. The post is in my Sig.
As for the 60 days things that the first I have ever heard of that.
I was told 48 hours from someone else.
05-07-2011, 04:04 PM
#13
wow you really went to town prepping those panels for paint!
My car goes in to the booth tomorrow for paint
https://ls1tech.com/forums/appearanc...-5-1-11-a.html
My car goes in to the booth tomorrow for paint
https://ls1tech.com/forums/appearanc...-5-1-11-a.html
Good job,had the same thing in my old camaro quarter but it probably had 60 holes in it from a screw type pulled,I just sold it cheap though and let someone else worry about fixin it.didn't want to mess with it already striped n painted a 95 z,so I decided to get a 02 TA that was in good shape.I'll paint it but it has a good foundation for me to start with,anyway looks awsome it always more rewarding in the in when u can do it yourself!
Thank you!
Thank you.
05-07-2011, 06:58 PM
#14
TECH Apprentice
iTrader: (8)
Join Date: Apr 2011
Location: Felton, DE
Posts: 305
Likes: 0
Received 0 Likes
on
0 Posts
You must mean polish instead of wax right? Because you are definately not supposed to wax fresh paint. Paint "gasses" off for a long time after it is painted and wax does not allow all of the solvents to gas out.
05-09-2011, 09:59 AM
#17
On The Tree
iTrader: (2)
Join Date: Aug 2010
Location: Dallas,TX
Posts: 170
Likes: 0
Received 0 Likes
on
0 Posts
Seen you around the board talking about you getting it painted. Looks like you did everything correct the first time. Looks great, and glad you will be back on the street soon with a shiny new T/A.
Enjoy your hard work
 Not exactly in that order LOL!
Enjoy your hard work
Not exactly in that order LOL!  05-13-2011, 09:09 AM
#20

Umm, you did an excellent job on the prep and everything, but you do realize those bubbles are gonna come back, right? Theres no two ways about it. You can even see the strips where it was glued on, so you can tell there coming back, and it won't take long either. Your only way to fix that is to REPLACE it, not sand the bumps out. Sorry to burst your bubble (pun intended  ).
).
Car came out great regardless though.
). Car came out great regardless though.