When you click on links to various merchants on this site and make a purchase, this can result in this site earning a commission. Affiliate programs and affiliations include, but are not limited to, the eBay Partner Network.
I had a lot of research to do before taking the plunge, one was finding some engine mounts that would work with gm b-body's. Went with kds-performance.com engine mounts, they have mounts specially for 90's GM b-bodyies.
First though had to do a rough mock up of the engine & transmission. Found out that I needed some more clearance on the oil pan against the front crossmember, again the mounts have the adjustment for this. So now the oil pan is fitting very nicely, not extending out of the crossmember. Using a F-Body (Camaro) Oil Pan. This means that the transmission now sits about 3/8's back and the transmission mount needed to modified. Easy fix with a grinder to elongate the mounting holes on the trans mount. I did this rather than hacking up the trans crossmember, the mount is easy replaceable than the crossmember if something needed to be replaced.
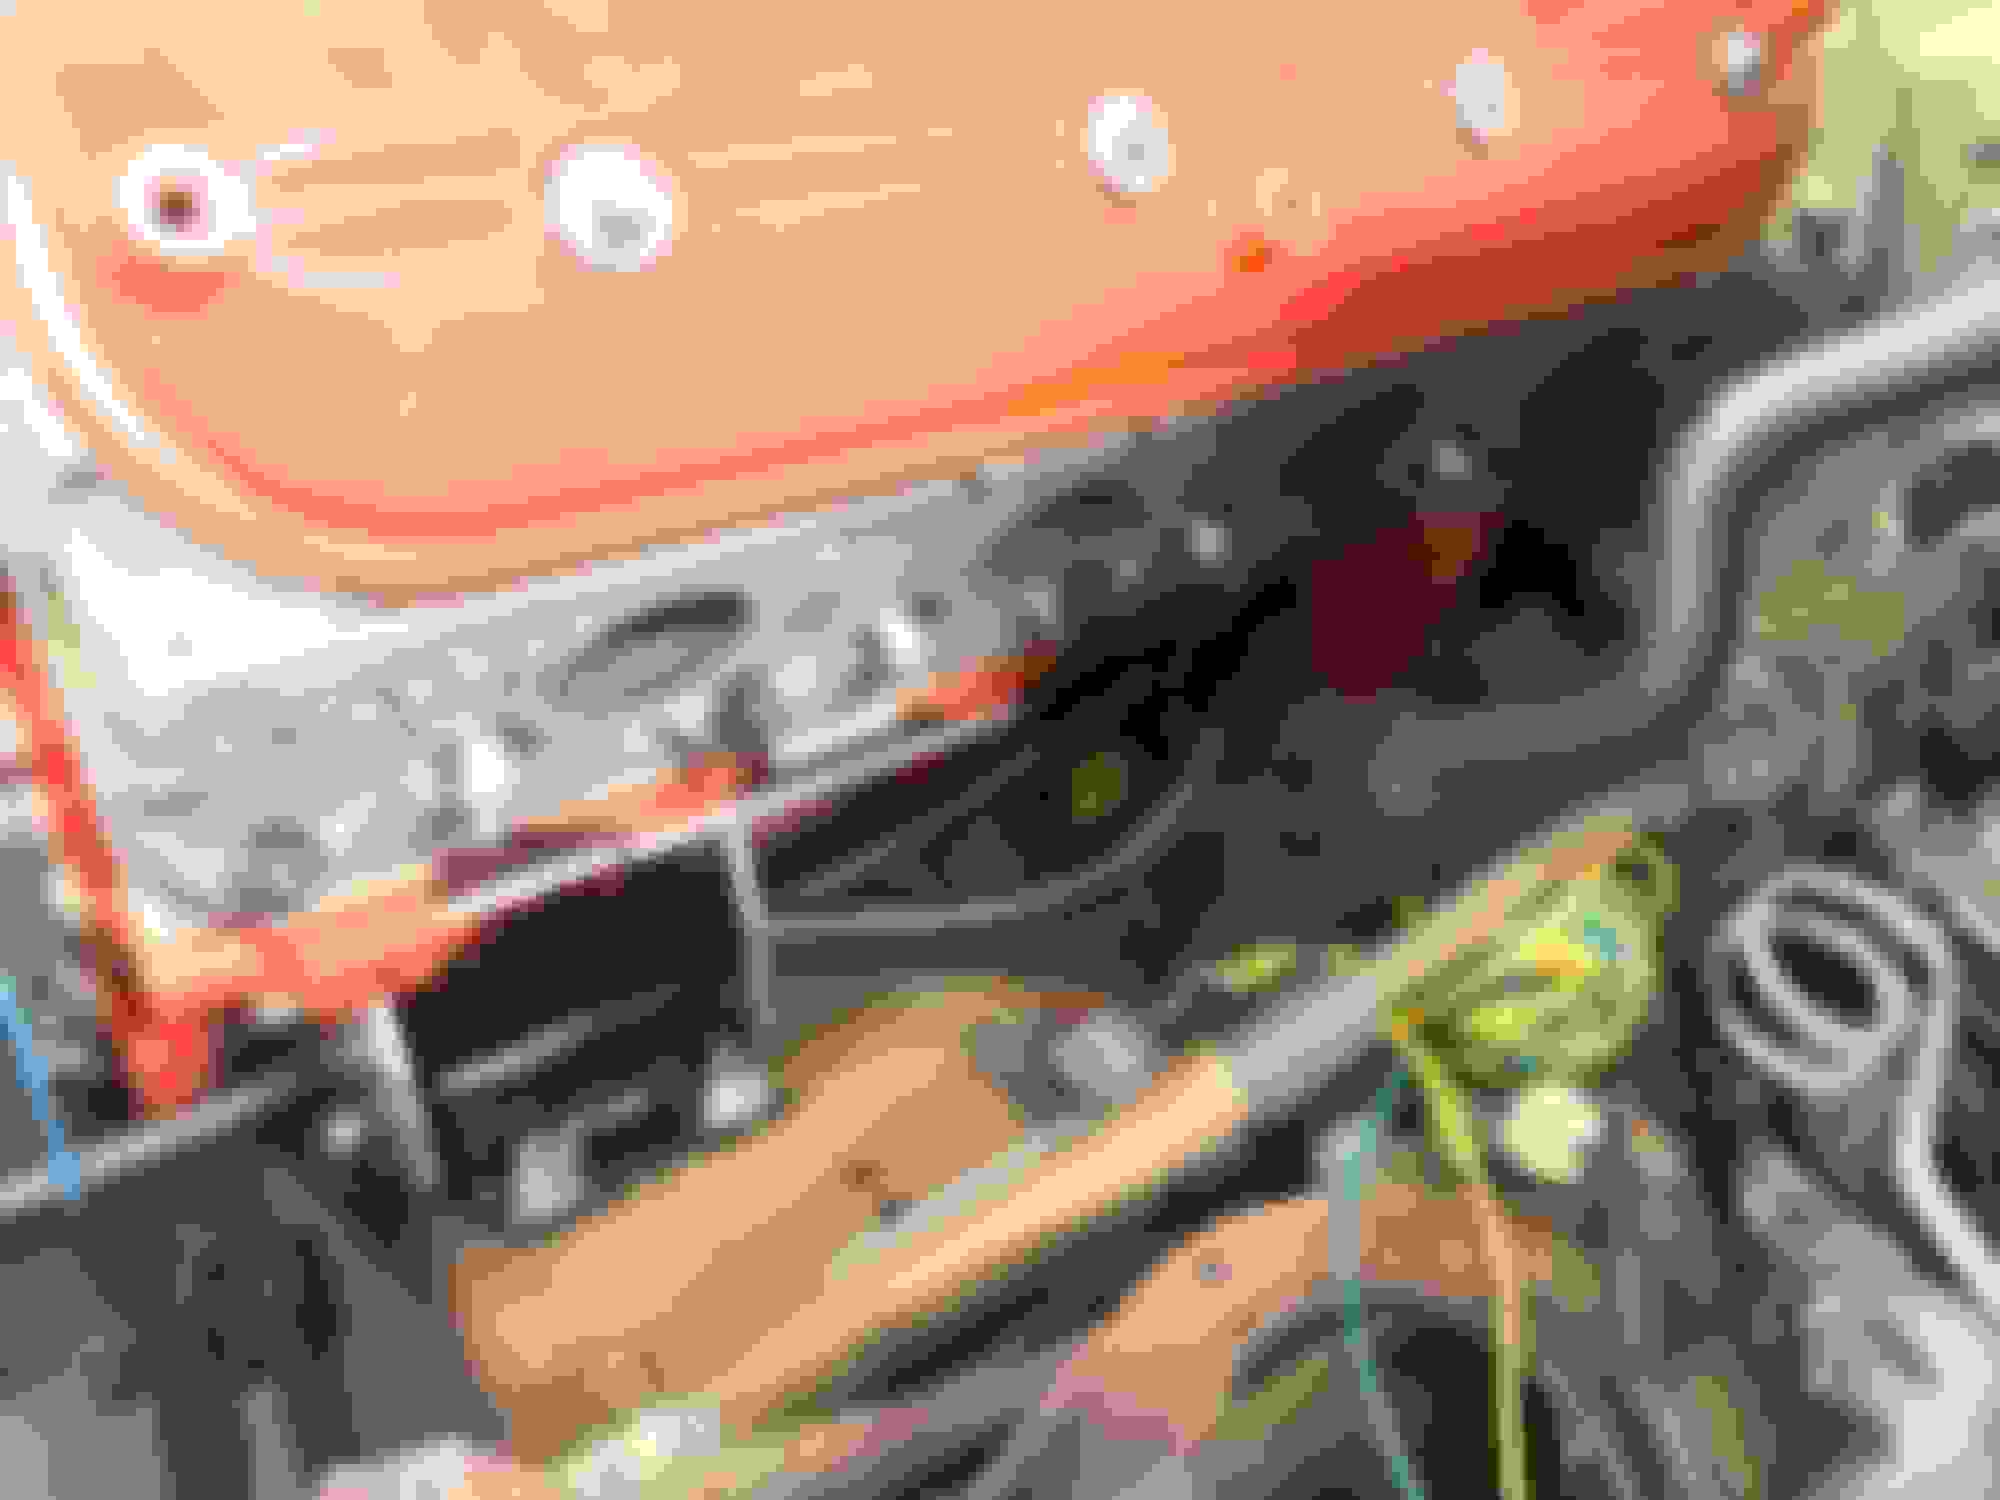
One thing that I did have to bang out of the way was the firewall lip on the drivers side, It was too close to the bell housing bolt.
Now before I finished up, i needed to create the trans cooler lines as I don't have any room to install the hoses once the transmission is in place...
This blew my whole budget for the week, over $250 for the fittings and hoses for both the Trans & Oil cooler.. man... I never thought these hoses were so expensive... And I still need to create the fuel lines... safe to say I prolly wont get the engine running this week.
More to come tomorrow.
Last edited by AnimeFunTV; 04-19-2017 at 12:54 AM.
Reason: edit
Finishes mounting the converter to the flex plate, yup, had to grind out the holes a bit to mount it. I didn't have to remove the trans for this used a 90 degree angle grinder.
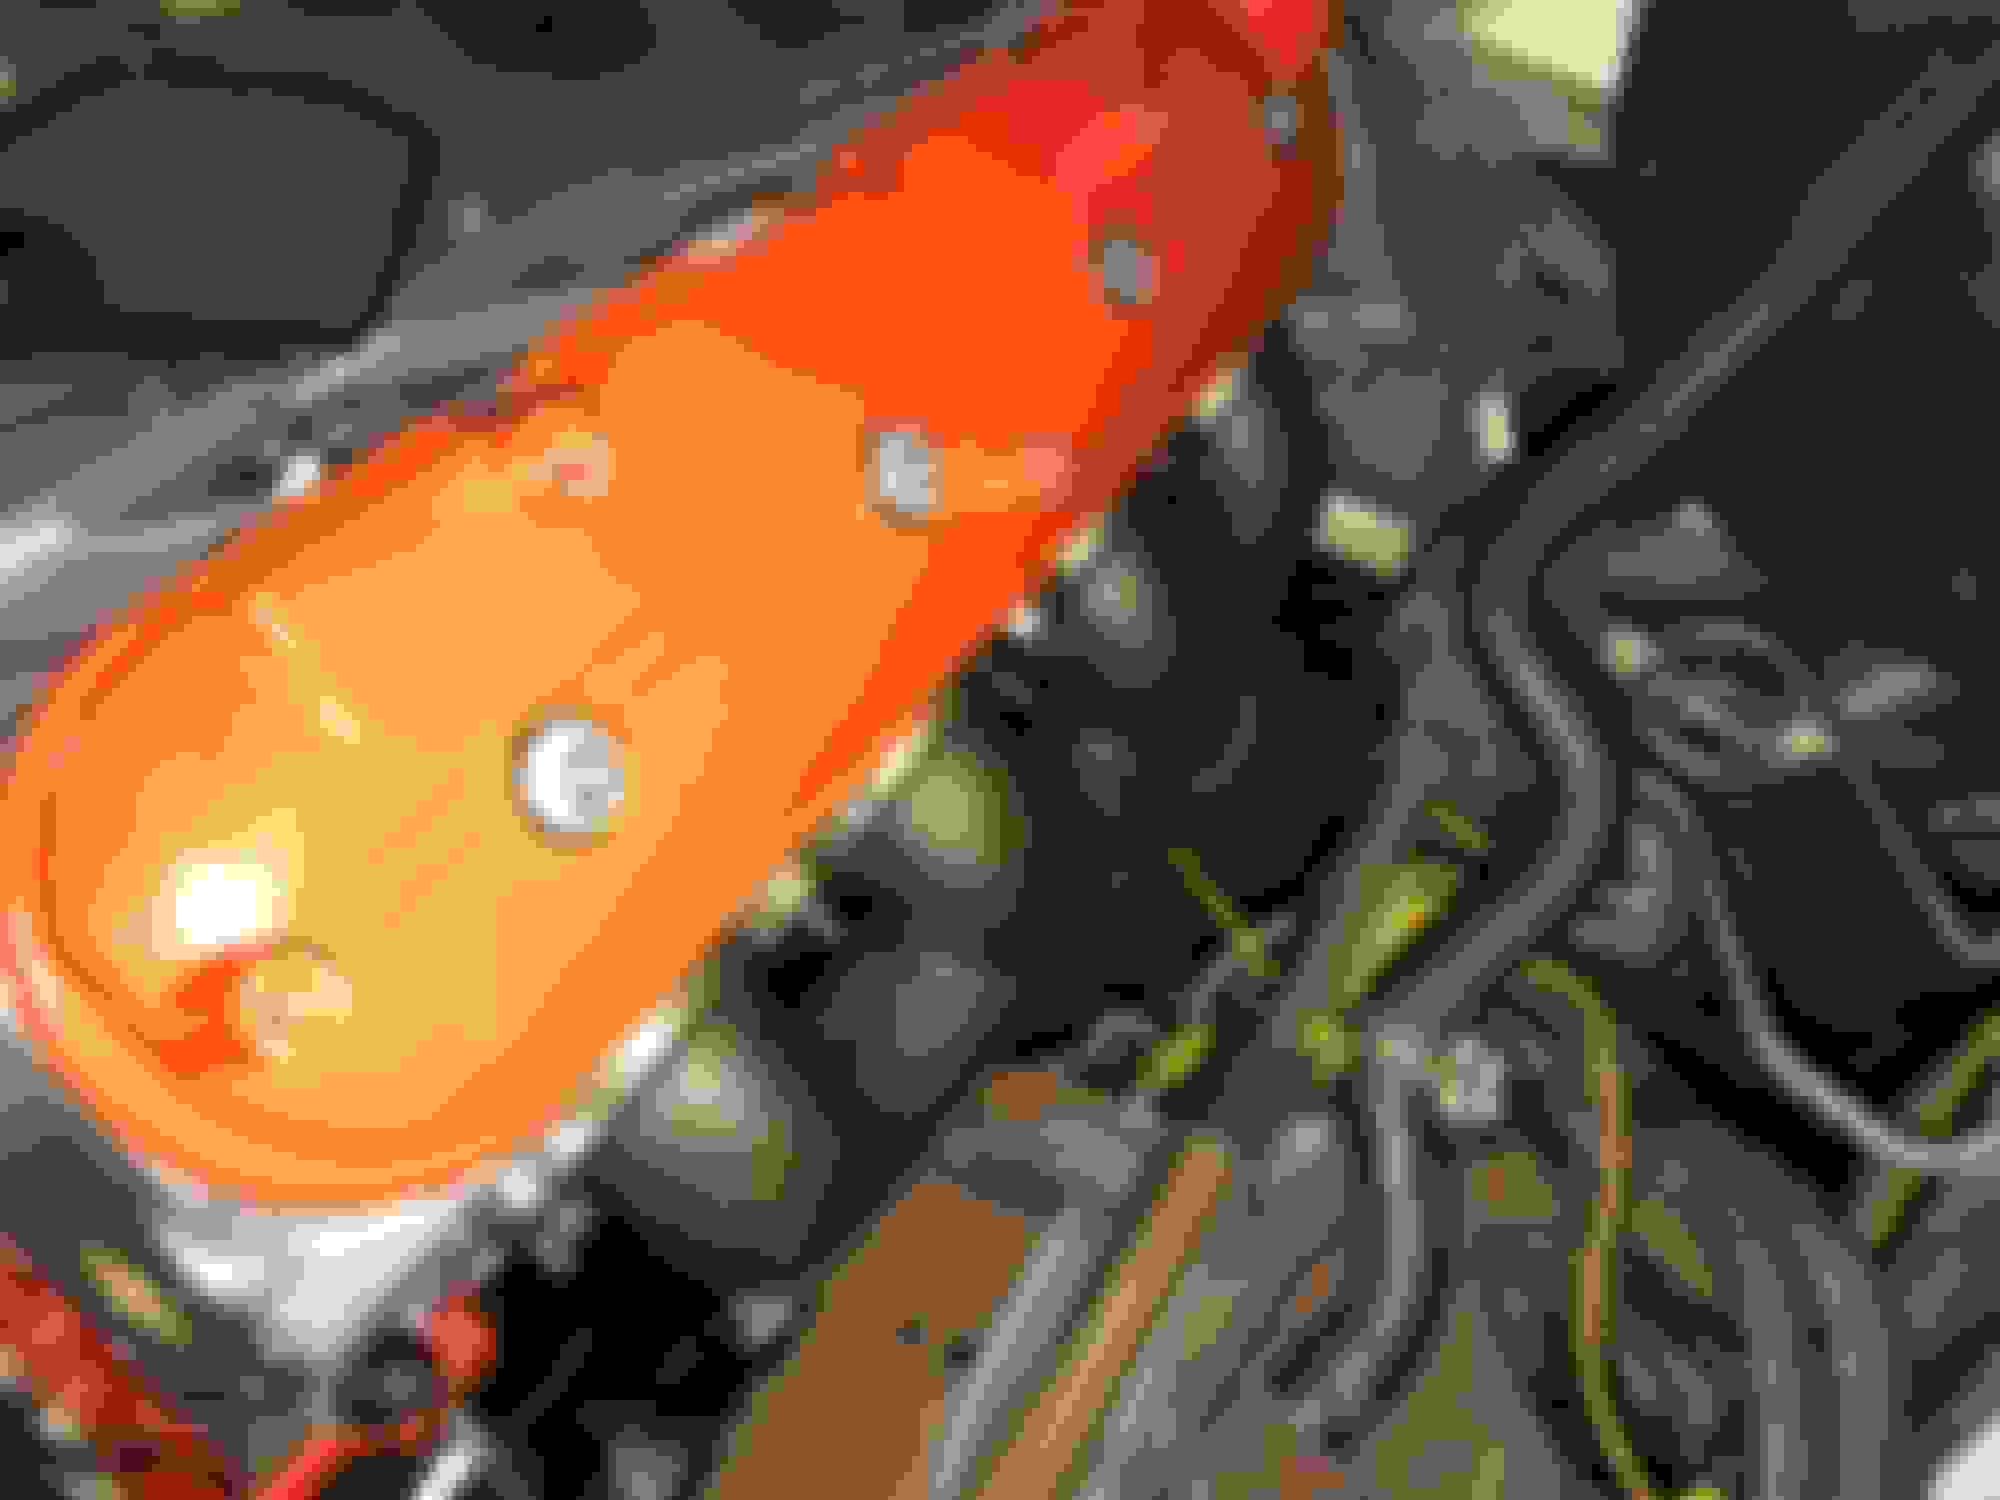
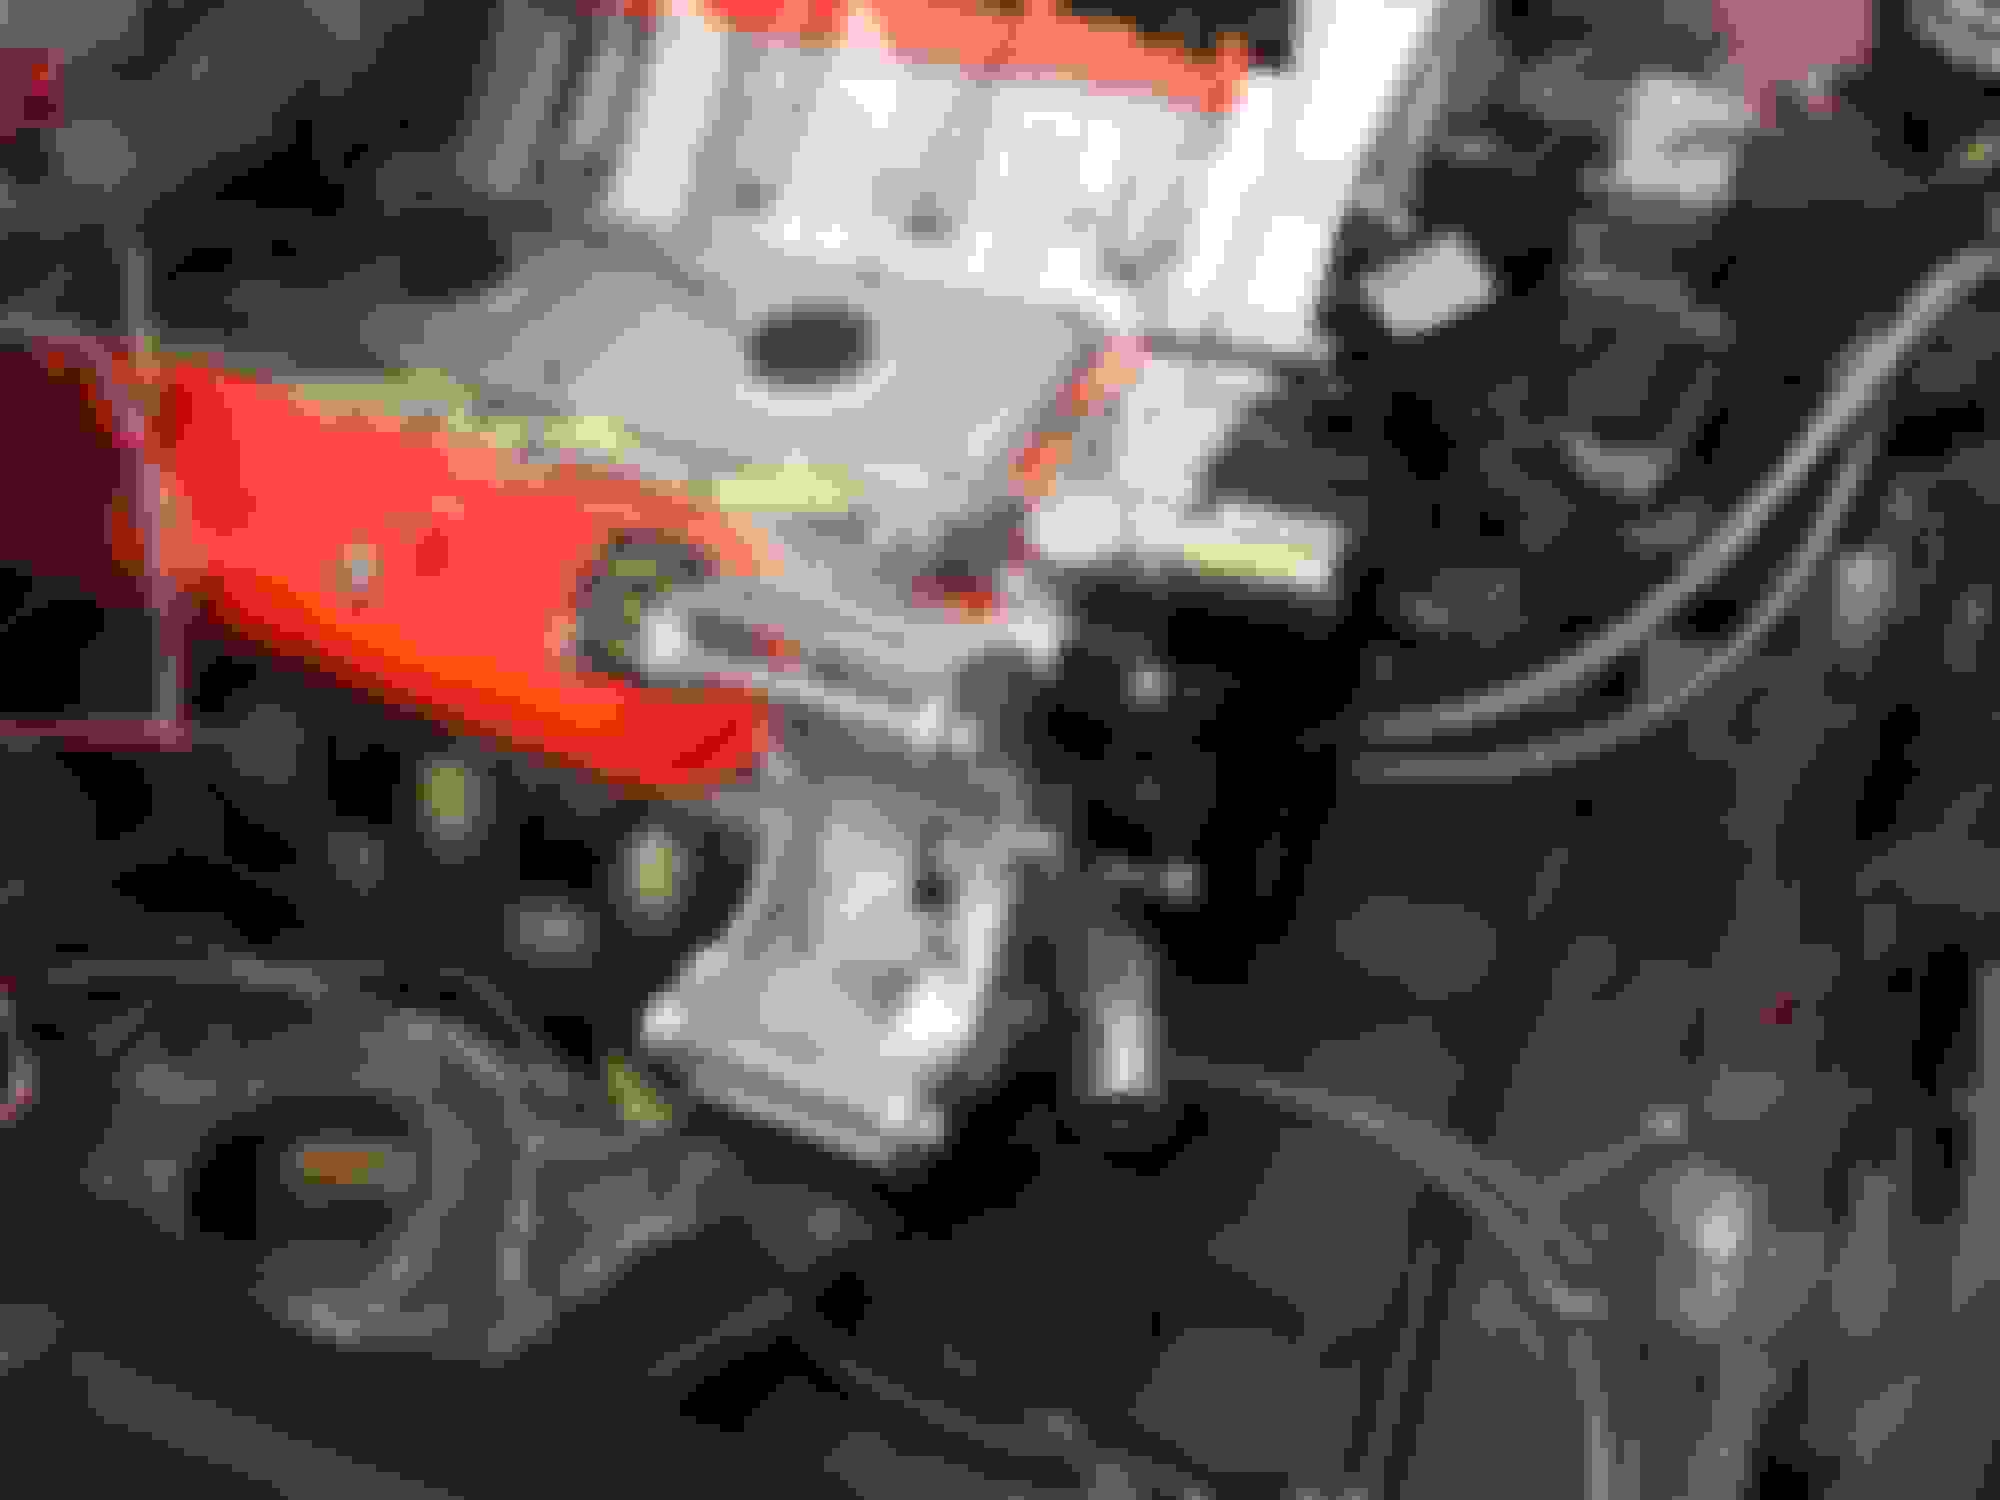
Next was pluming up the Oil Cooler lines to the eBay cooler adapter. Used a 90 & 120 degree AN10 fittings. The very top need to be positioned little outward to clear the block plug that above it.
One thing I ran into was how in the world can I tighten these fittings?? Well a crows foot worked perfectly, all the wrenches I had were just too large being that the fitting needed a 1 inch wrench.
Not to bad from above. You can see how I had to angle the fitting outward.
Next was mating it up to the oil cooler. The oil cooler was a factory option on 9C1 Caprice cop cars and several years ago I was able to get one from the junkyard. This worked out perfect but needed some work, the line coming from the engine was AN10 but the hard line to AN was a AN8. No biggie, just used some up/down sizers.
Another thing was the electric fans, my wagon originally came with a mechanical fan & a electric ac fan, but there are many Caprices that came out with electric dual fans. I had picked them up several years ago knowing I'll be doing a LS swap, now was the time to install them and man, loving how I don't have to hack things up just to make thing work so far.
Trans cooler lines, looking like factory fitment lol.
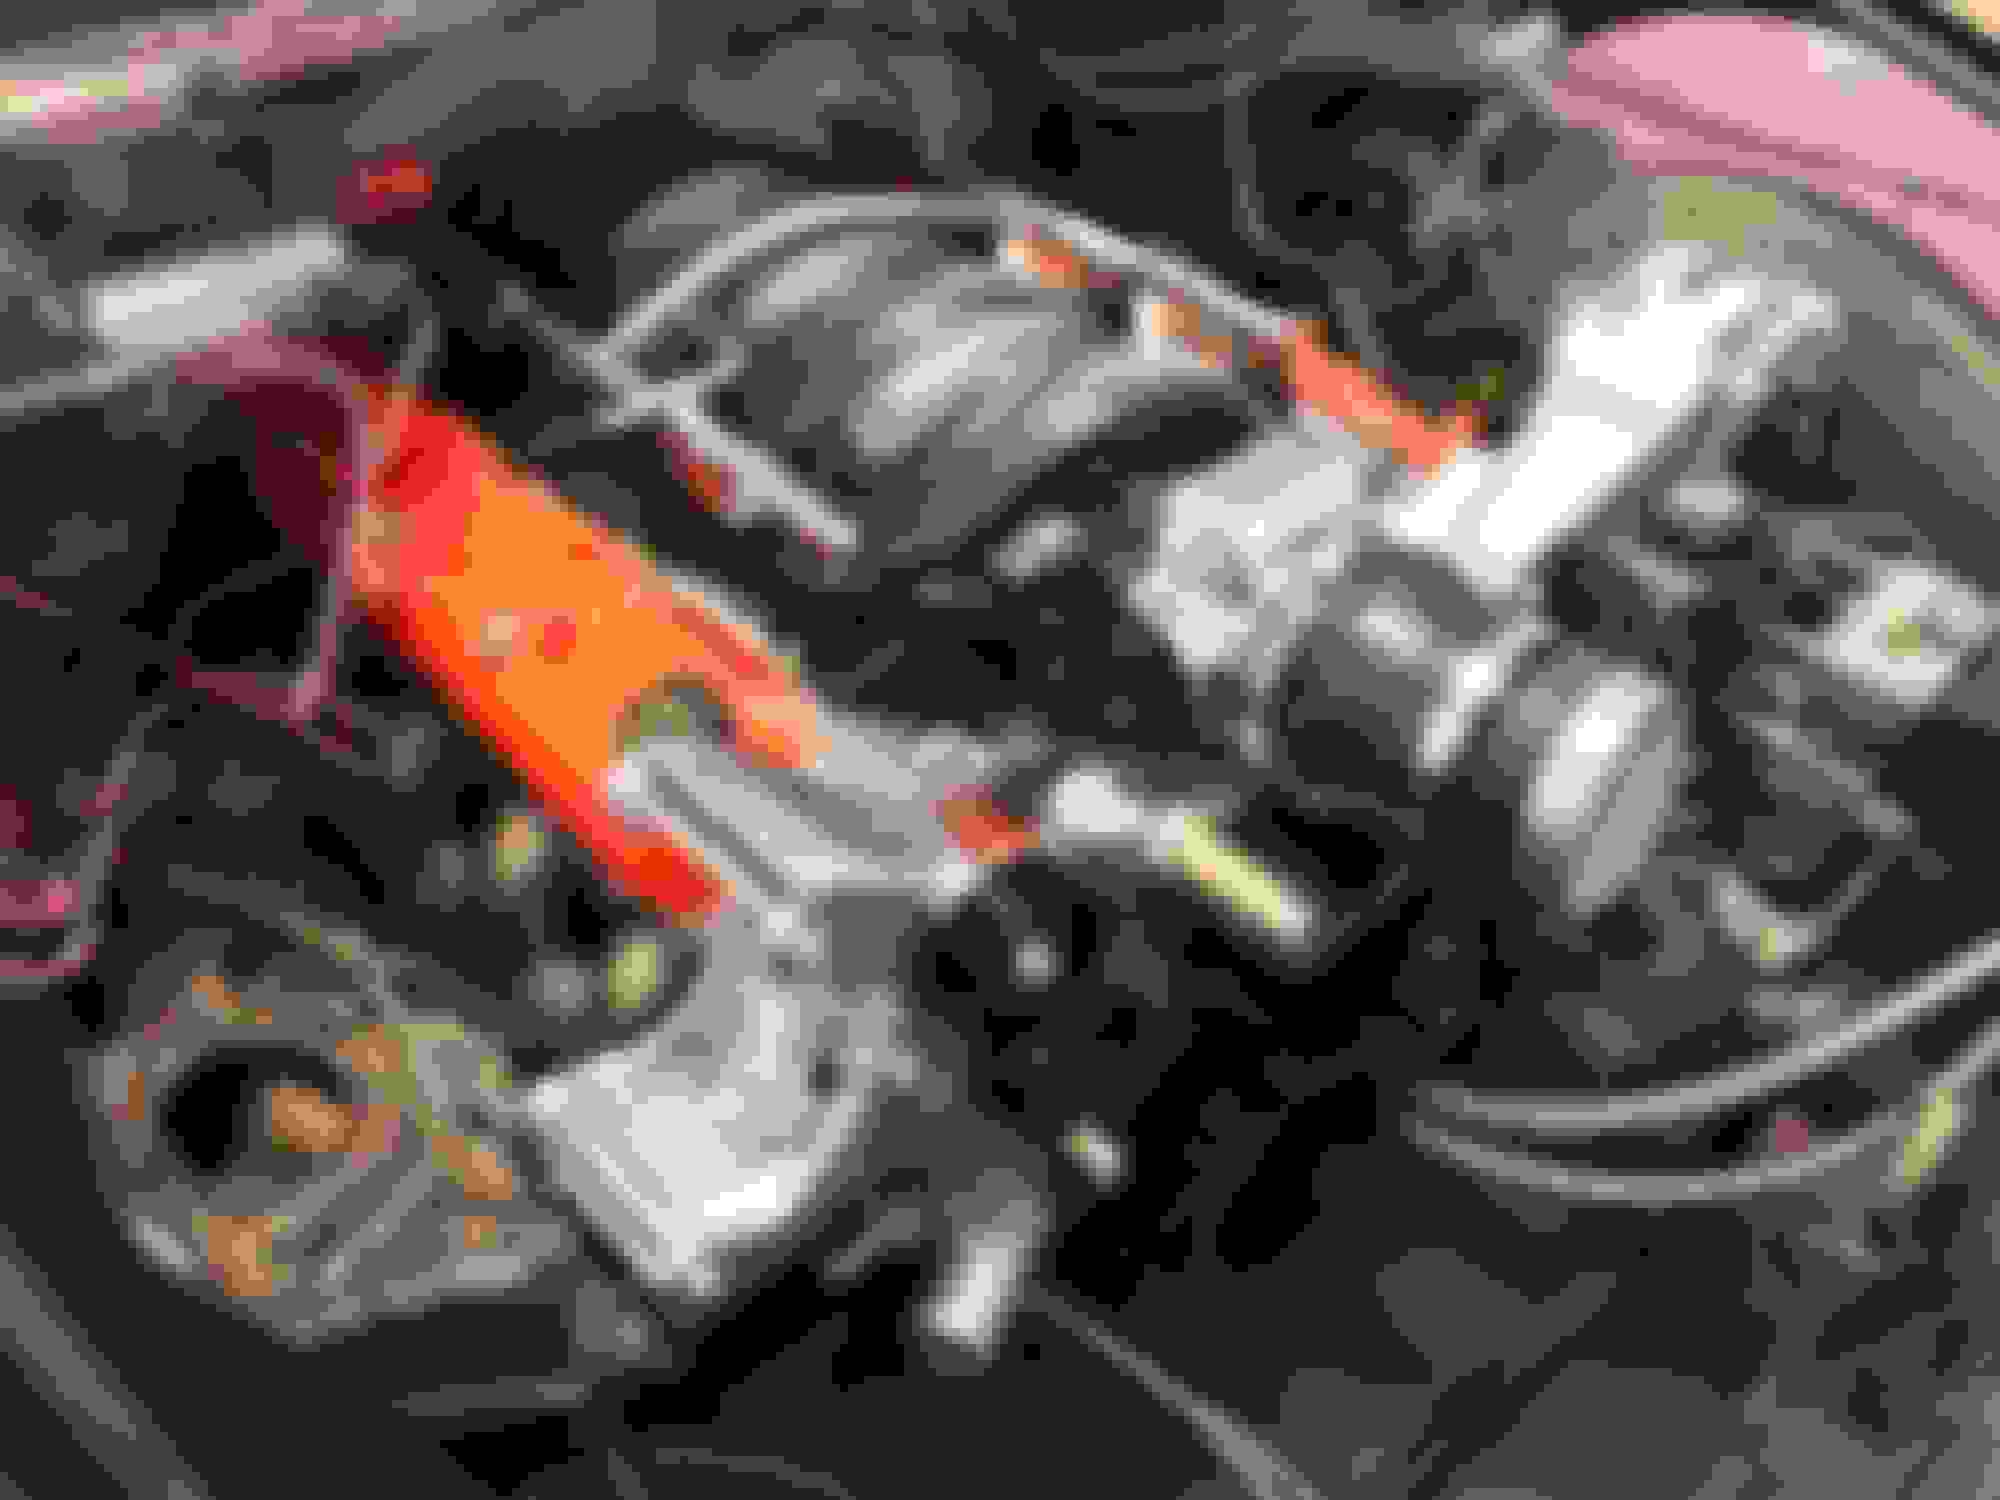
Test fitting the exhaust manifolds I got from Holley/Hooker, Nice and snug.
For a moment it looks like the Oil Cooler line would be hitting the exhaust manifold, but the angle is deceiving.
Oil Cooler hose clears fine, but will end up having to wrap it with some heat shielding. Same goes for the transmission lines too.
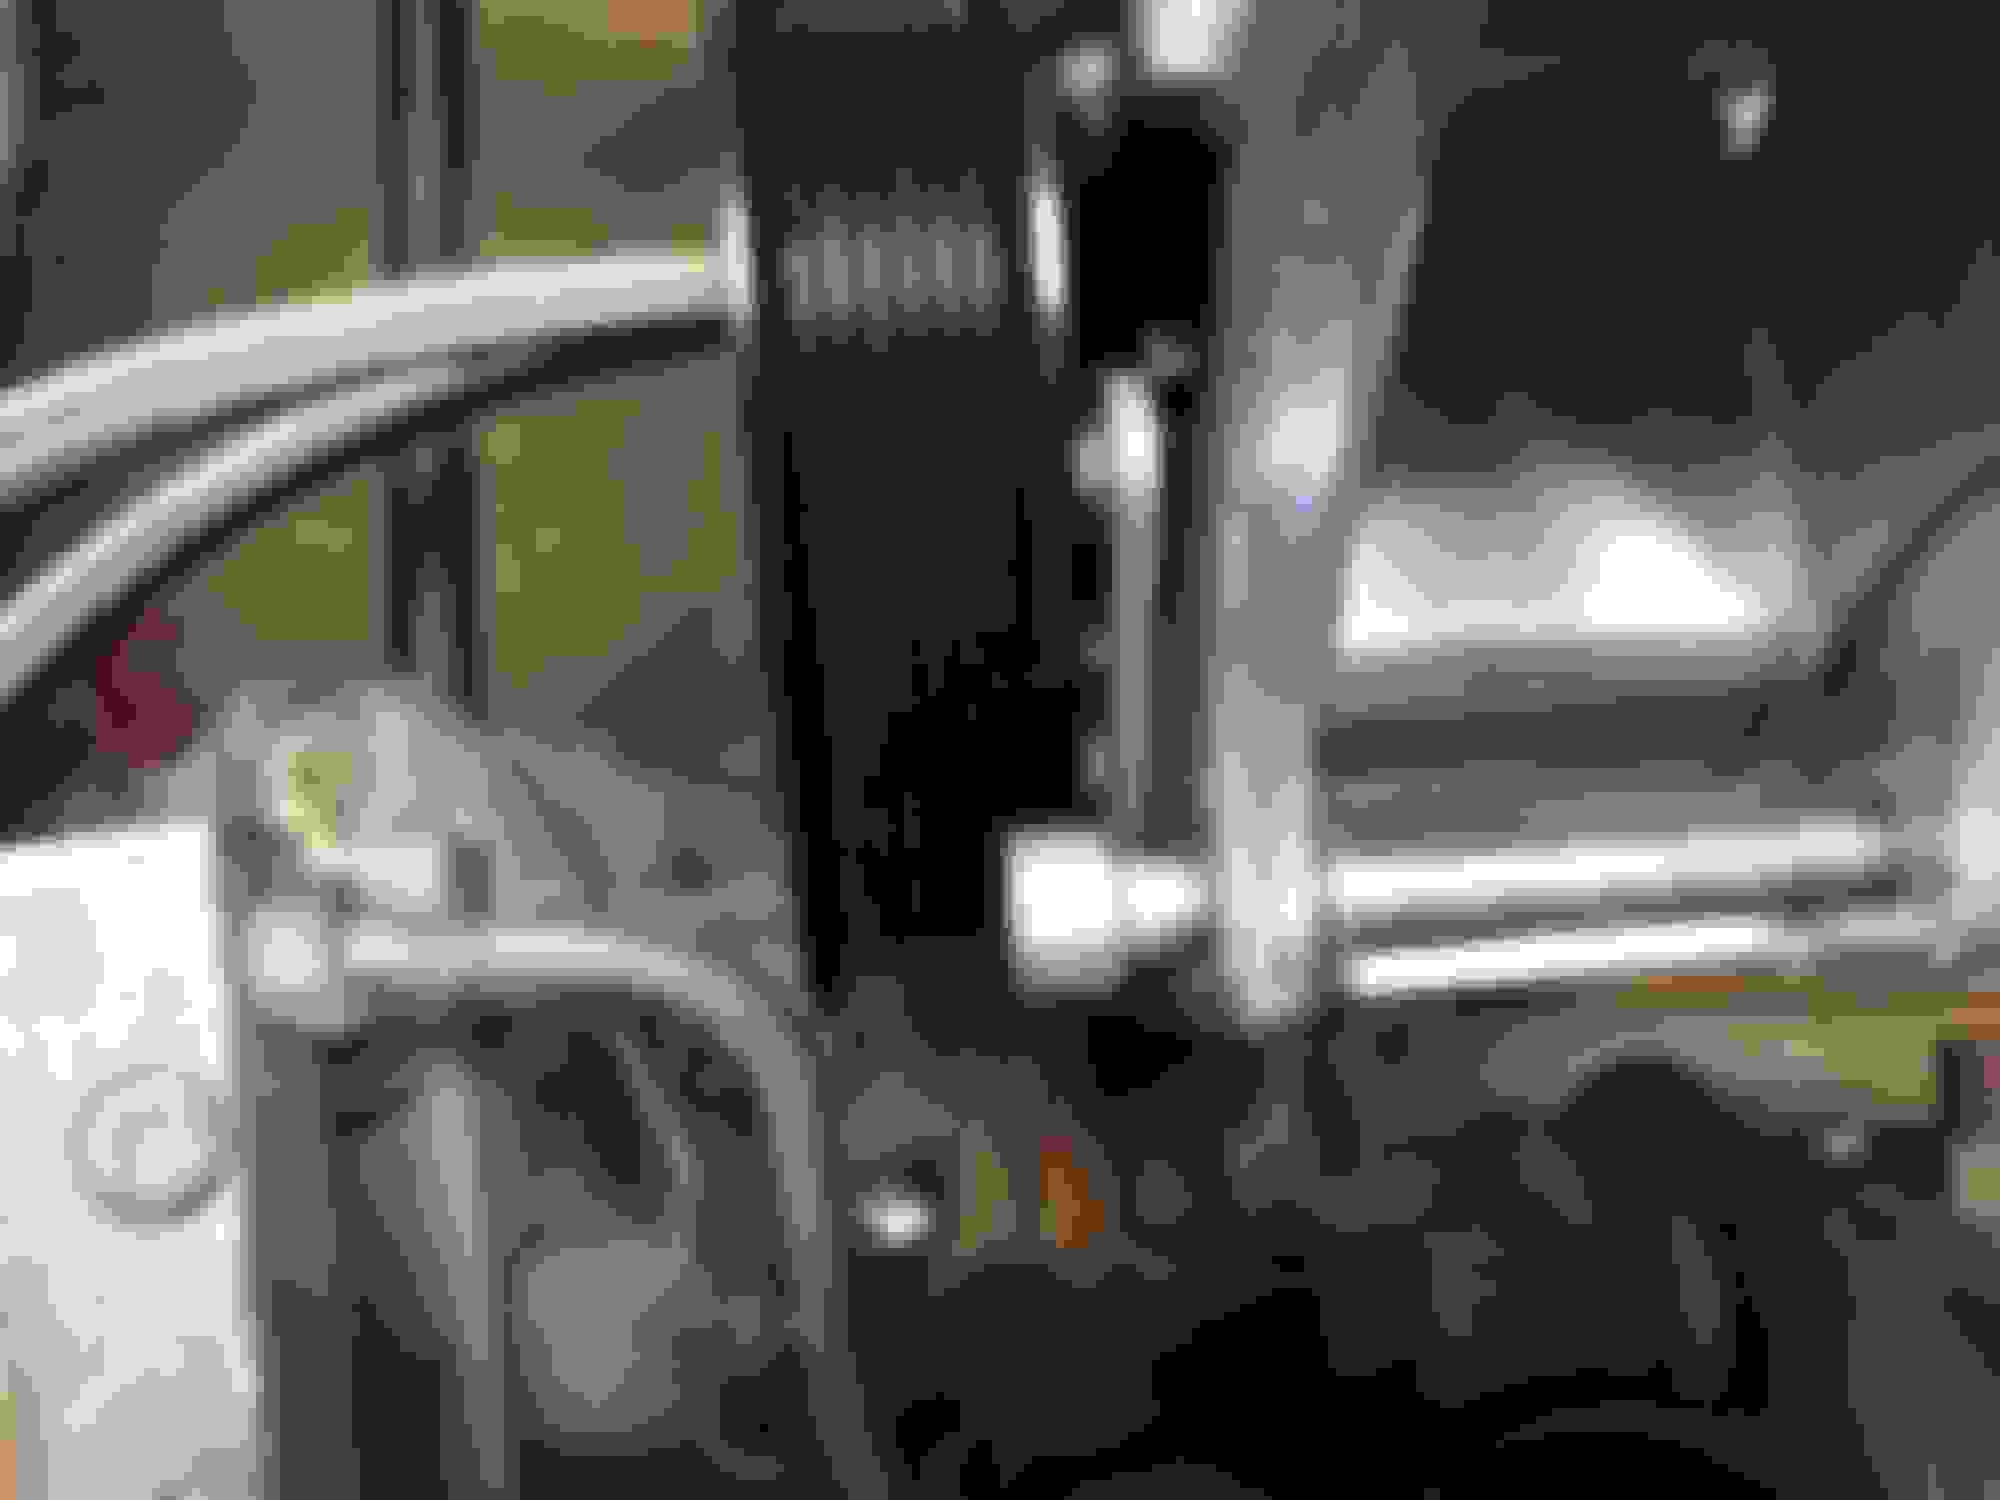
Since I still wanted to keep my in dash temp gauge, I had to find a location for the sensor. I couldn't use the spots on the cyld heads as the one of the left is used by the PCM and the one of the right is used by the aftermarket temp gauge. I figured I'd take a chance and do something unordinary and mont the sensor on the water pump. I positioned it just about 1/2 inch away from where the belt should be.
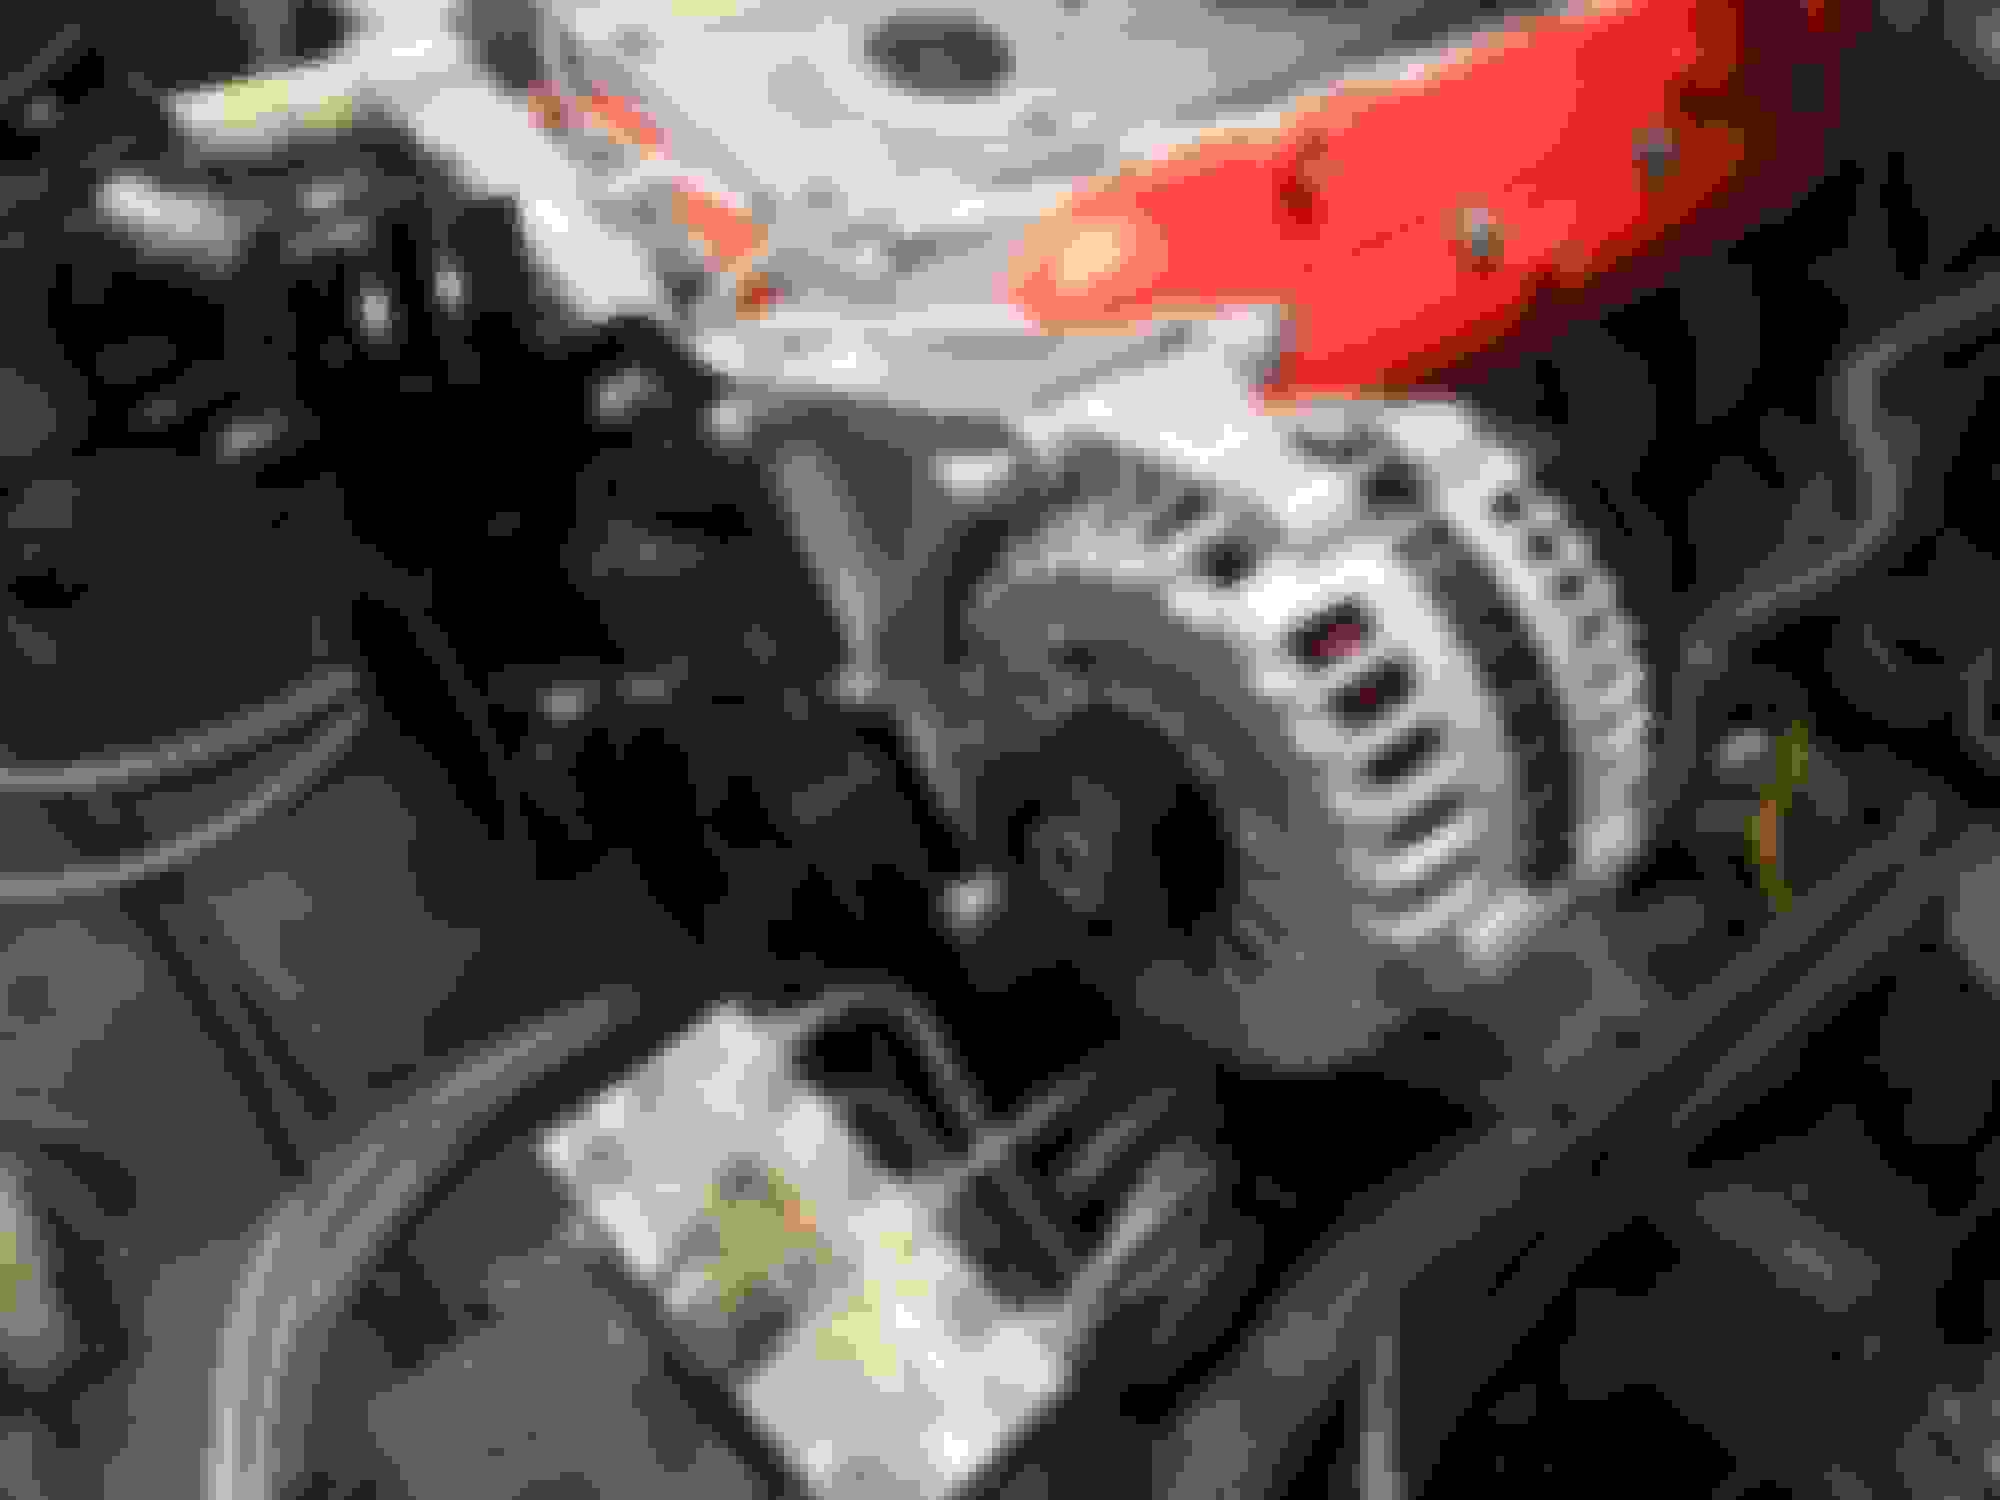
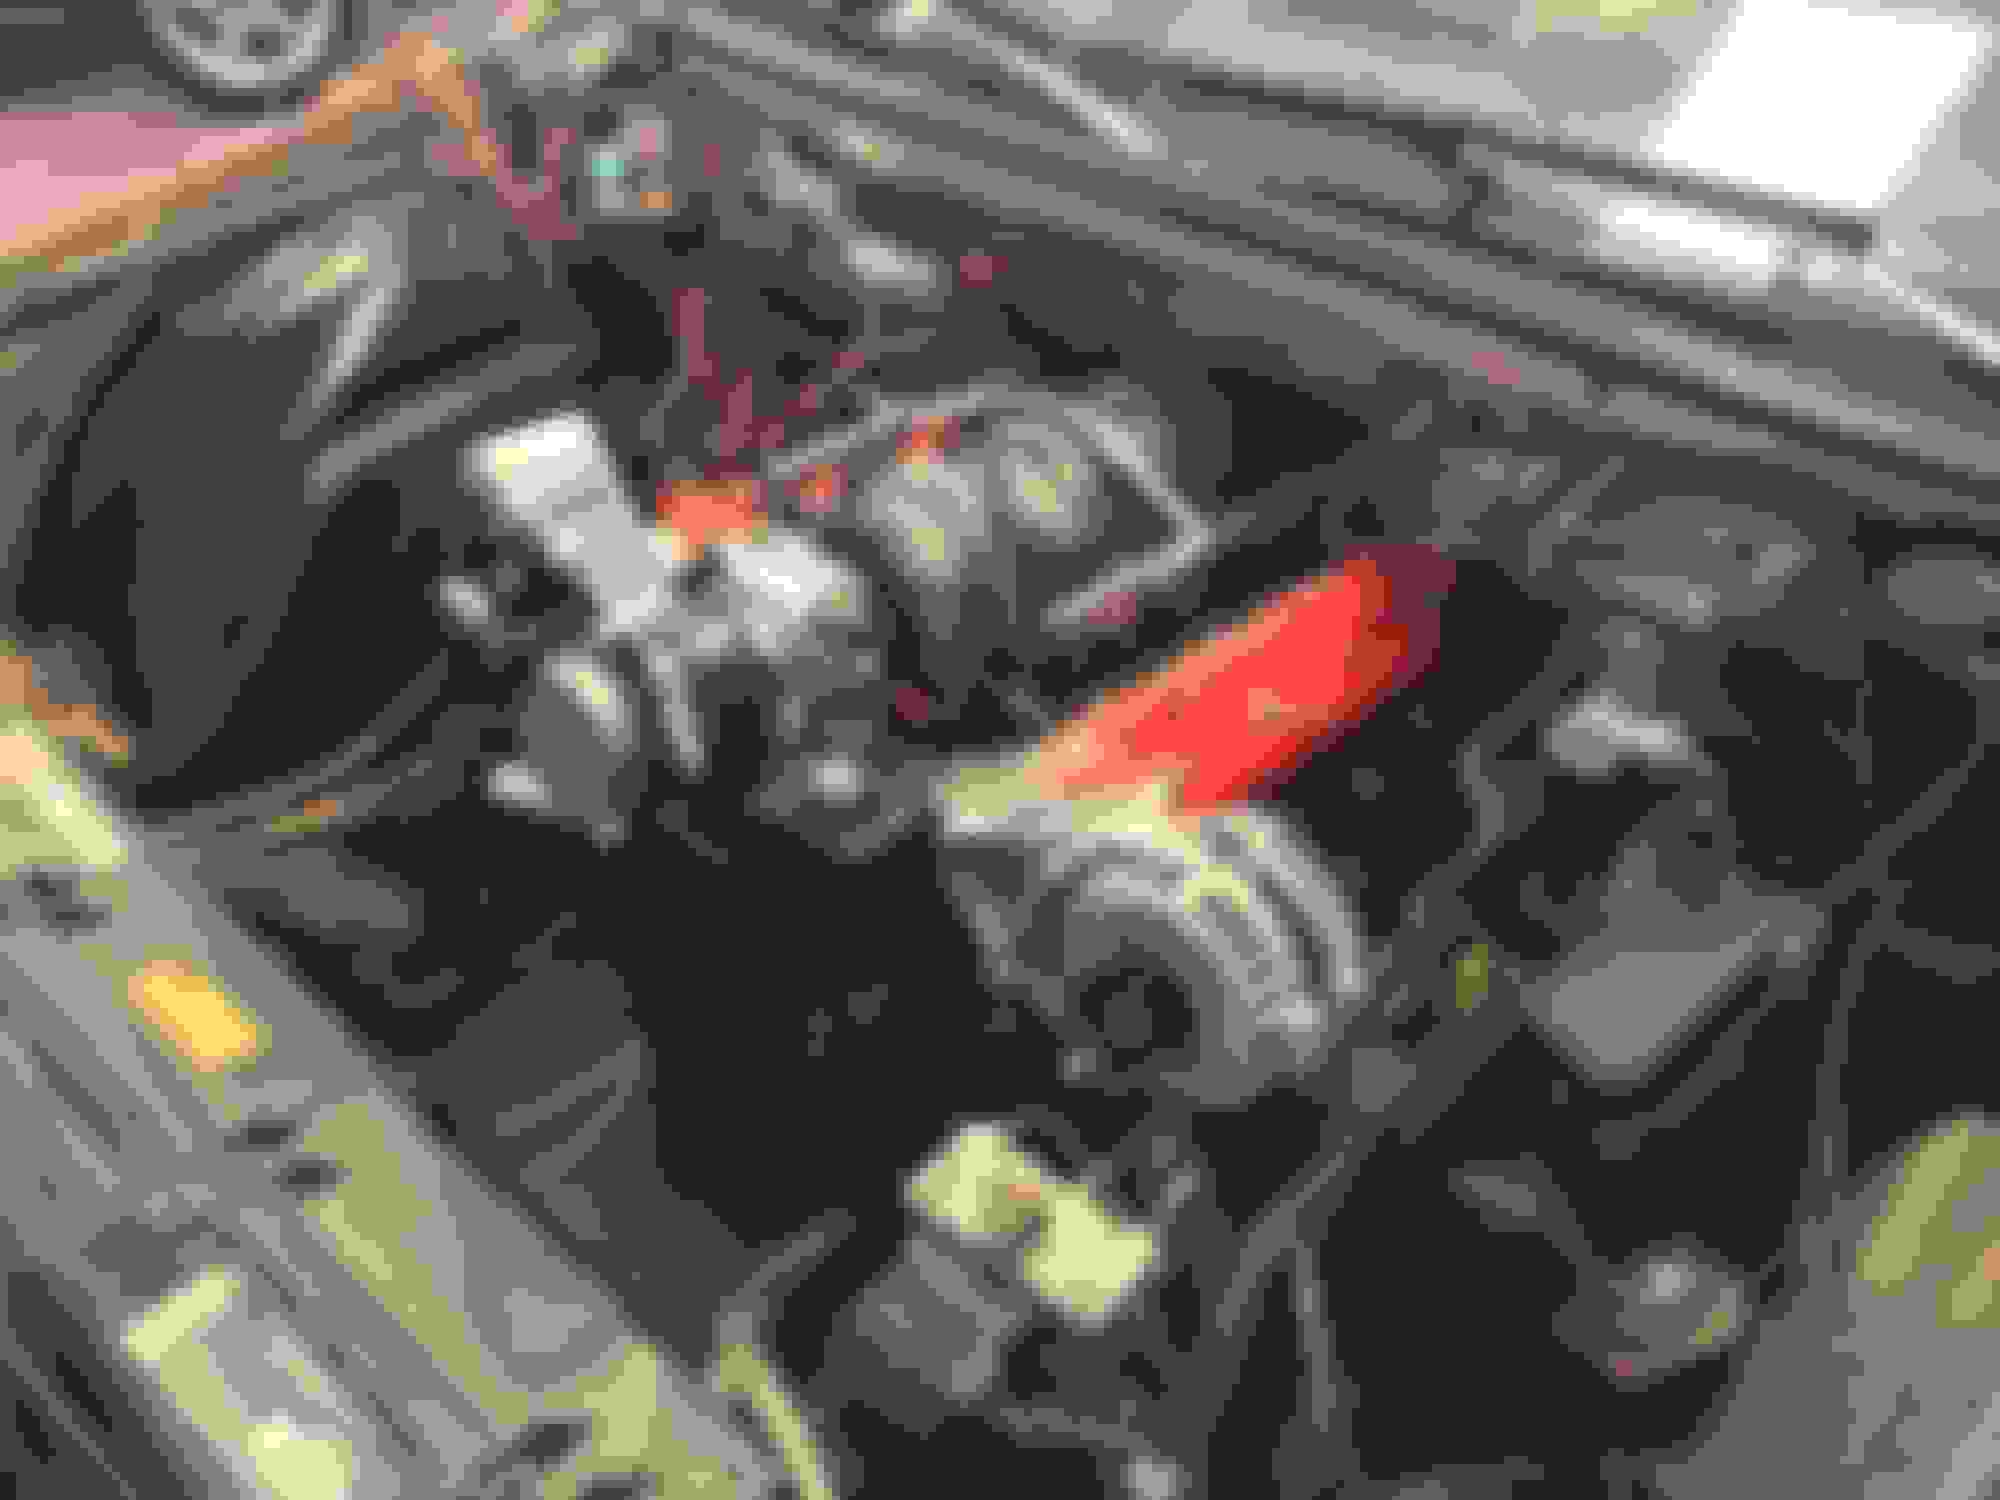
Once that was done, It gave me the opportunity to mount my accessories up and see how well they will fit. Power Steering pump is Oh-So-Close to the ABS module but it clears! I will eventually move the module about a half inch away, that is also to make room for the AN p/s hoses that will be leading to the gear box.
Rest of the accessory & brackets look and fit good. I don't have an A/C Compressor at the moment but I doubt I'll see any issues with that.
Well my finances are all dried up until next payday. Until then, I playfully added the intake just to get some glory shots.
Finances are tight right now, doing the wiring which just costs loads of time. Prolly won't be till next week when I make some major purchases to continue pluming the fuel/power steering/coolant systems
I cut a Craftsman 19mm wrench in half in order to get to the #6 24V injector in my 99 Dodge, I sold the Dodge but the 19mm is still in the box 17 years later, welded back together and fully functional.
Of course, everything is eBay stuff but pretty good so far!
Got the Fuel lines plumbed and installed.
About 2 years ago I upgraded the fuel pump from Racetronix pn RXP255 in a kit, in anticipation of this swap.
Using corvette fuel filter/regulator, mounted on the same location as the old filter setup.
Next I got a new set of downpipes for the Hooker Manifolds, Not the best of welds when dealing with flux-core MIG, might change the welder back to argon gas when I get to welding up the entire exhaust system. These downpipes are 60 degree rather than 45, I did buy 45 degree pipes before hand but the angle was just wrong, will use them when it comes to building the rest of the exhaust at a later time.
Good thing is the engine is almost ready to fire up for the first time in the car! That will have to wait till Saturday!
Since I got the engine running temporarily, I need to work on the engine coolant hoses and get the serpentine belt routed so the water pump can work so I can let he engine come up to temperature and let it properly break in.
I had to score a A/C compressor for this bracket kit from Holley, the beauty of this kit is that 91-93 caprice's use this style of compressor so it was a good score from the junkyard, I'm NOT going to actually use the a/c compressor, its more for mock up and to be able to route the belt.
While most of it is straight forward in getting the heater hoses connected the hard part was locating upper and lower hoses, obviously there isn't a hose that 'Direct fits' a LS to a b-body chevy. The upper hose was somewhat of an easy find. The lower I laugh at because I had to cut and sleeve 2 times to make it reach the thermostat. I will eventually replace the hoses with some of those stainless steel bendable hoses for a more professional/streamlined look in the future, but for now this will do just fine
As you can see, the A/C compressor just barley clears the factory coolant reservoir, I would've been a big setback if it had no clearance, Clarence.
Made a good call on where to mount the factory temp gauge.
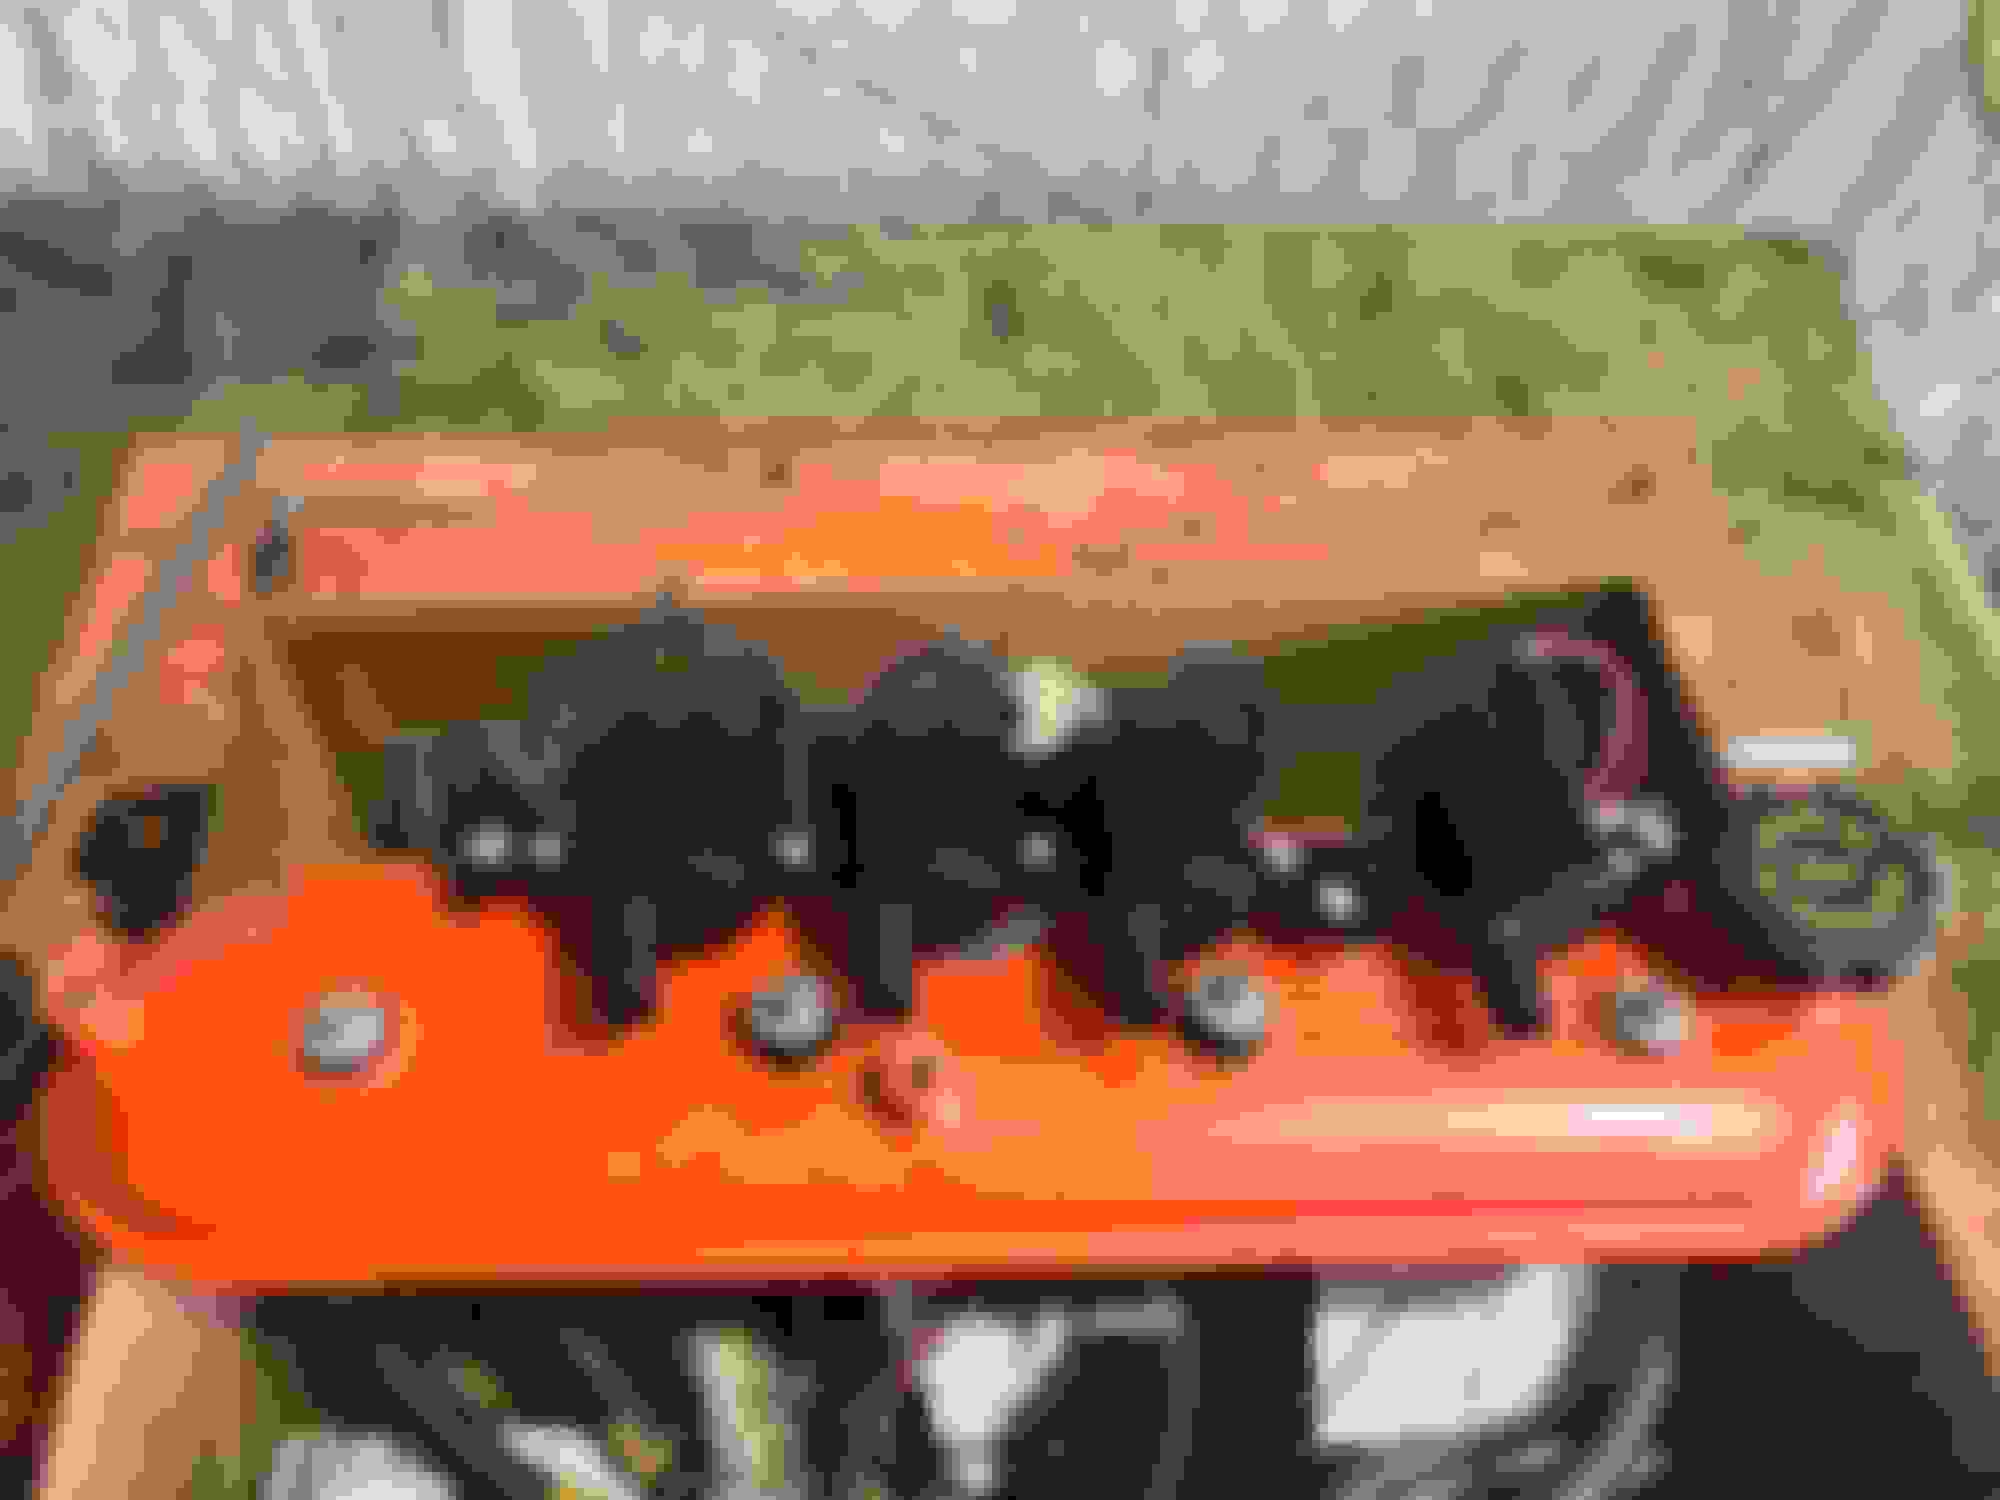
Last order of business was to find a way to mount the ignition coils on the passenger side, if its one issue anyone will run into on these b-bodies is that no matter what you will run into interference with the heater outlets against the firewall. Since I wanted to use my heater I had bunch up the last three coils forward, I didn't really hack much up. I had already modded the original coil bracket to remove all the unnecessary metal. when I bunched them up I didn't have to make anything major. The only thing I had to do is point the last coil a little cocked so it wouldn't put much strain on the ignition wire.
Next on the list is get the throttle cable bracket done, route up the a/c hoses, wire up up a few more things, get an air cleaner & exhaust. There will prolly be little more things but just small details. I do plan on removing the wire harness entirely to get it covered in some kind of split loom, thinking about trying that braided style of split loom.
Thanks! I know it�s been a while since my last update but so much has happened that it�ll be a long post to explain everything that had been done, short story is the wagon is running and driving, using now as my daily driver. If y�all have any specific questions about the build feel free to ask.
Originally Posted by chevydarrell
Awesome Project. I want to do this with my 95 caprice wagon.
AnimeFunTV,
How is your wagon doing? Have you blown away any Mustangs yet? :0)
I miss reading your posts! Do you think a mildly hopped up 5.3 would push a wagon around pretty good?
See Ya.
AnimeFunTV,
How is your wagon doing? Have you blown away any Mustangs yet? :0)
I miss reading your posts! Do you think a mildly hopped up 5.3 would push a wagon around pretty good?
See Ya.
There is still plenty of changes that need to be done (needs a truck intake upgrade, rocker arms, driveshaft, & more stronger diff cover then a full dyne tune), but for the most part it's running and driving everyday.
Just came back from a trip to Galveston, TX this weekend and everything performed as it should.
If anything, If I had a chance would look into getting a camshaft with little more low end torque. Its a pretty heavy wagon and having a high rpm cam on it now you can feel the power coming at around 35k rpm but for daily driving it seems a bit sluggish since i'm normally around 15-21k on the high way or street driving.
Either the stock LS3 mentioned above, or Cam Motion has some cams that would still have strong low end and idle smoothly, or relatively so. Look at the LS3 Stage I or II, Torque Titan V2, or Titan I LS3. Intake durations in the high teens, exhaust in the mid to high twenties, lifts from .553 to .595, LSA's from 114 to 116deg.

 04-19-2017, 12:52 AM