


Project Budget 10 Second Camaro Thread
Yours is looking good...looking forward to the results!
__________________
95 Pontiac Formula- Stock engine with ATI Procharger, Moser 12 bolt w/4:30 gears, Rossler trans, Neil Chance 4000 stall, M/T ET streets, 10.914@ 121.90mph, 1.452 60ft. GMHTP November 2010 Feature Car. Check it out at:
https://www.motortrend.com/features/...ebird-formula/
http://www.youtube.com/watch?v=abZ1z...ature=youtu.be
Thread Starter
TECH Fanatic
iTrader: (12)
Joined: Aug 2007
Posts: 1,818
Likes: 1
From: Cornfields near Pontiac, IL
Thanks, I was trying to get a "baseline" time on the car before I started to do major work to the engine/trans/rear this past weekend before the opti went out. Maybe next couple weeks I will get a chance to get some times as is.
Thread Starter
TECH Fanatic
iTrader: (12)
Joined: Aug 2007
Posts: 1,818
Likes: 1
From: Cornfields near Pontiac, IL
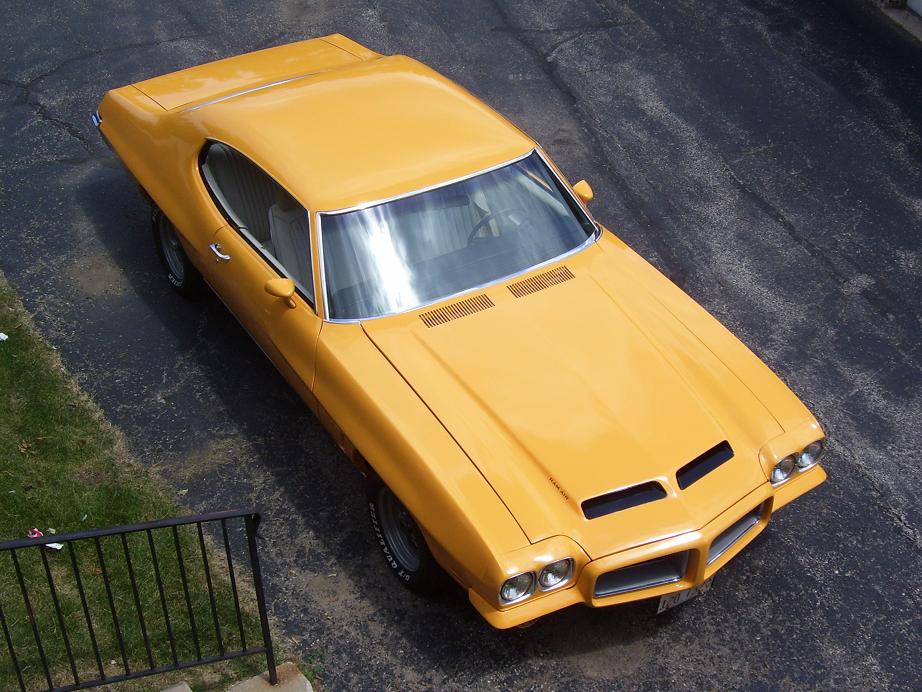
Took a little break from the Camaro for a little bit. After friends bugging me to get the GTO running again, I spent the past couple nights putting the engine back together. Got it all cleaned up. Just need to get the Judge decals, fix the spoiler (one of the column support cracked in half), weatherstrip kit, and redo the interior and I think I would be happy with it. Drove it around town today and got tons of waves and thumbs up.
My buddy offered me a set of 17 inch Torque Thrusts 2s with the center painted charcoal. What do you guys think?


My buddy offered me a set of 17 inch Torque Thrusts 2s with the center painted charcoal. What do you guys think?
Last edited by Black94Z28; Jul 3, 2009 at 05:26 PM.
Thread Starter
TECH Fanatic
iTrader: (12)
Joined: Aug 2007
Posts: 1,818
Likes: 1
From: Cornfields near Pontiac, IL
Think Im going to take a gamble and use my buddys ac delco opti he ran for 2 years with not too many miles on it. Ran out of money so going to try this and im just out my time if it doesnt work. Fortunatly with my engine bay gutted, it doesnt take too long to get the opti out. Hope to have it running this next week. Also want to put the new MSD plug wires/coil and B&M ProStick in too.
LS1 Tech Stories
The Best V8 Stories One Small Block at Time

6 Common C5 Corvette Failures and What's Involved In Repairing Them
Pouria Savadkouei
Retro Modern Bandit Pontiac Trans AM Comes With Burt Reynolds' Autograph
Verdad Gallardo
Top 10 Greatest Cadillac V Series Performance Models Ever, Ranked
Pouria Savadkouei
Top 10 Most Powerful Chevy Trucks Ever Made!

Hennessey's New Supercharged Silverado ZR2 Has 700 HP
Verdad Gallardo
Coachbuilt N2A Anteros Is an LS2-Powered C6 Corvette In Italian Clothes
Verdad Gallardo
Awesome K5 Blazer Restomod Comes With C7 Corvette Power
Verdad Gallardo
10 Camaros You Should Never Buy

10 LS Engine Myths That Refuse to Die
Verdad Gallardo
Thread Starter
TECH Fanatic
iTrader: (12)
Joined: Aug 2007
Posts: 1,818
Likes: 1
From: Cornfields near Pontiac, IL
I am doing things in reverse order, so starting with the chassis, then rear end, trans, and then the engine. Im probably going to go with a 396 LT1, but if the right deal on a LS engine came along, i'd jump on it, same goes with a SBC gen 1 engine. I plan on spraying into the 9s, would like to hit 10s on engine.
Thats the way to doit man. Build up everything else then get a bad *** power plant. Nothing like having 500rwhp and only running high 12s like so many people do. Delco opti's are pretty good arnt they?? Doesnt delco make the OEM units??
Thread Starter
TECH Fanatic
iTrader: (12)
Joined: Aug 2007
Posts: 1,818
Likes: 1
From: Cornfields near Pontiac, IL
Did a little simple modification today. Bought the over the valve cover wire brackets made by Made 4 You. I am really happy with this mod, cleaned up the engine bay and plus routed the wires away from the headers.
Also did new plug wires because before the OTVC wire mod, I burnt a plug wire on the header. Went with MSD 8.5 plug wires with boot protectors incase of header to plug contact.
Simple mod for under $100...Highly recommended

Also did new plug wires because before the OTVC wire mod, I burnt a plug wire on the header. Went with MSD 8.5 plug wires with boot protectors incase of header to plug contact.
Simple mod for under $100...Highly recommended

I am doing things in reverse order, so starting with the chassis, then rear end, trans, and then the engine. Im probably going to go with a 396 LT1, but if the right deal on a LS engine came along, i'd jump on it, same goes with a SBC gen 1 engine. I plan on spraying into the 9s, would like to hit 10s on engine.
I have a lot of extra parts laying around so I am probably going to build a temporary engine for it that should cost right around $1000. At 2800-2900 lbs it should be pretty fun and it will actually run.

Thread Starter
TECH Fanatic
iTrader: (12)
Joined: Aug 2007
Posts: 1,818
Likes: 1
From: Cornfields near Pontiac, IL
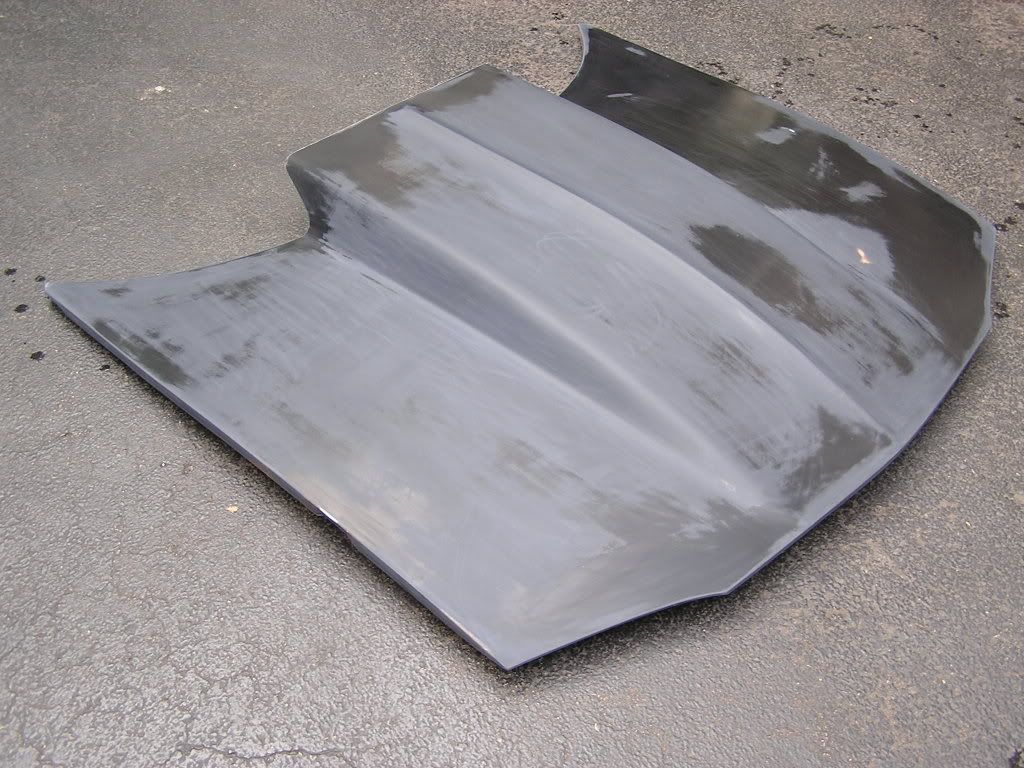
About a month ago, my friend and I attempted to paint the new cowl induction hood. Took several pictures along the way...
Took the hood off the Camaro after test fitting it. I had to trim the front edges of the hood to give it a more factory look to the hood. I did have to trim the underside of the hood to clear my LS1 airbox, but other than that, nothing more than just basic block sanding.
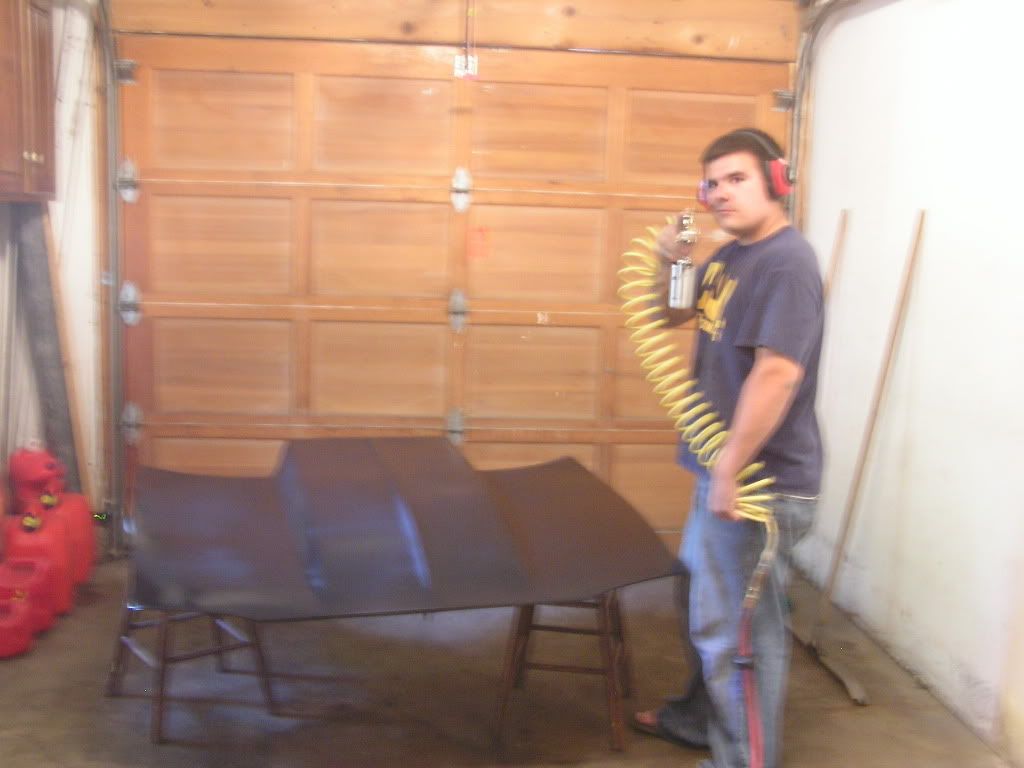
My friend Frank getting ready to spray the basecoat...
The hood is painted (although tons of orange peel, more on that in a bit)
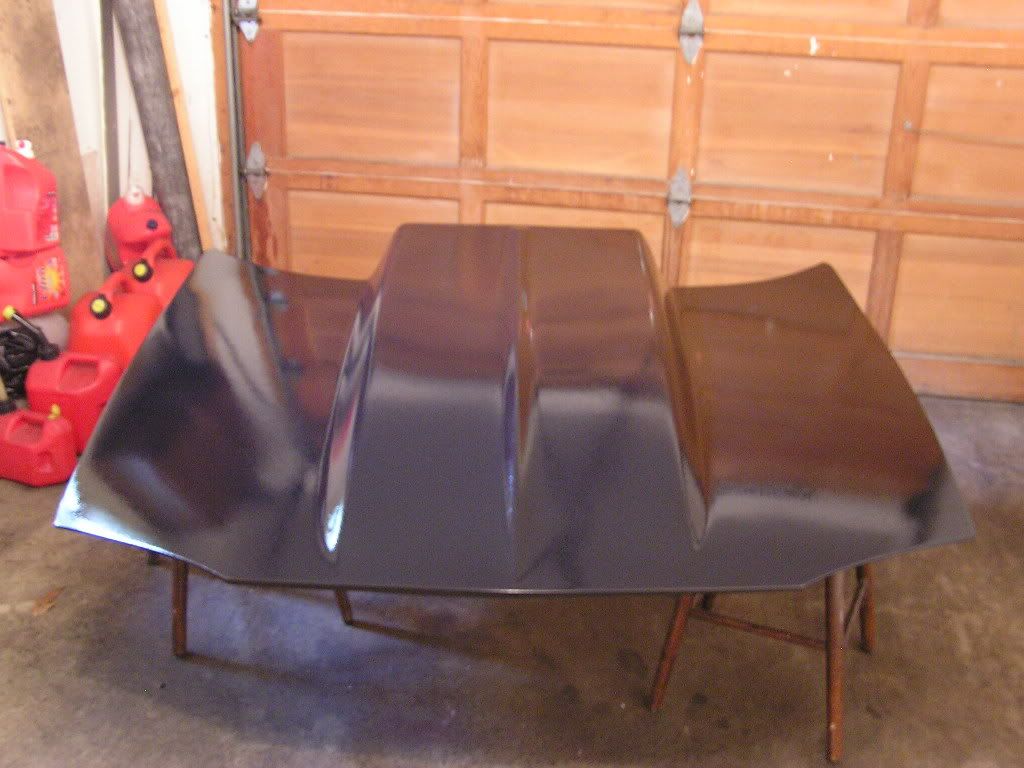

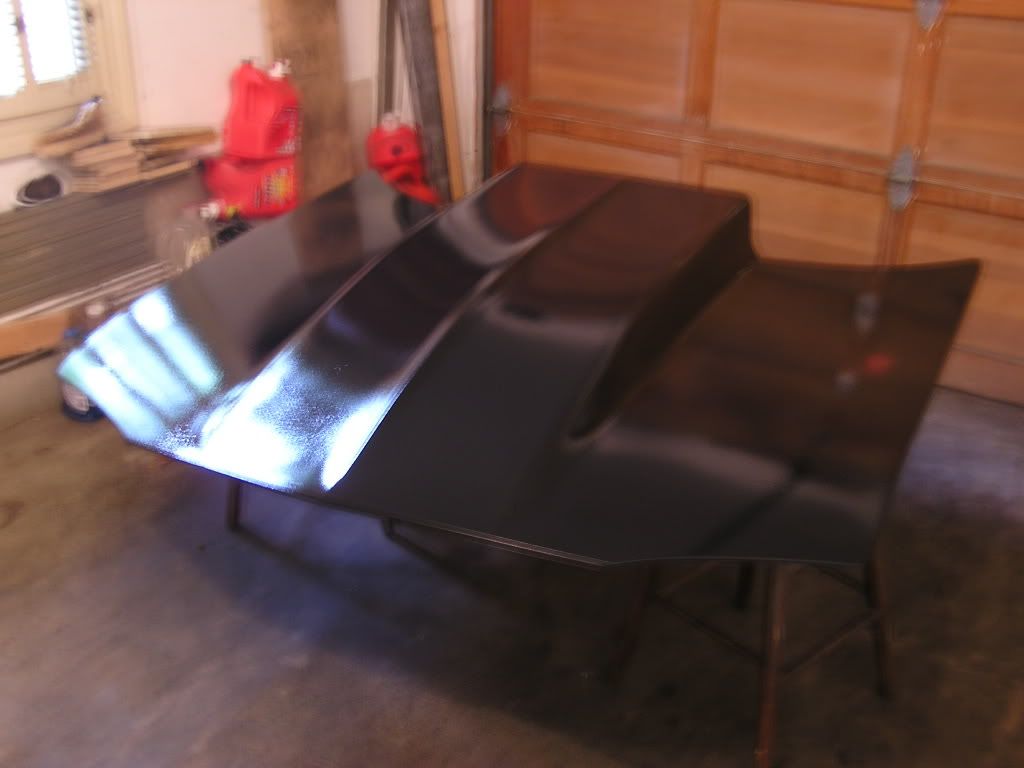
Ended up being really humid that day and the paint had major orange peel on it basically looking like a matte finish. So we just stopped at the basecoat, I let it cure in the sun outside for about a month so the paint would harden so I could sand it.
Basically neither one of us has any idea on colorsanding new paint, so if we missed something or Im doing something wrong...PLEASE LMK!!
Started sanding the hood with 800 grit to get the major orange peel out. This was the most time consuming. But was able to get a relatively smooth surface to continue wetsanding. Next I moved up to 1000 grit, that basically took any remaining orange peel "pits" out of the paint...

Next I hit the hood with 1500 which when talking to a friend told me I should stop at this point and spray the clear, but it has a very dull finish and alot of sanding swirls. I dont know if I can clean all this up with some compound and a buffer or if I should move up to 2000 grit. Basically on hold right now till I figure this one out. Here is a picture of the hood after wetsanding with 1500 grit...

Took the hood off the Camaro after test fitting it. I had to trim the front edges of the hood to give it a more factory look to the hood. I did have to trim the underside of the hood to clear my LS1 airbox, but other than that, nothing more than just basic block sanding.
My friend Frank getting ready to spray the basecoat...
The hood is painted (although tons of orange peel, more on that in a bit)
Ended up being really humid that day and the paint had major orange peel on it basically looking like a matte finish. So we just stopped at the basecoat, I let it cure in the sun outside for about a month so the paint would harden so I could sand it.
Basically neither one of us has any idea on colorsanding new paint, so if we missed something or Im doing something wrong...PLEASE LMK!!
Started sanding the hood with 800 grit to get the major orange peel out. This was the most time consuming. But was able to get a relatively smooth surface to continue wetsanding. Next I moved up to 1000 grit, that basically took any remaining orange peel "pits" out of the paint...
Next I hit the hood with 1500 which when talking to a friend told me I should stop at this point and spray the clear, but it has a very dull finish and alot of sanding swirls. I dont know if I can clean all this up with some compound and a buffer or if I should move up to 2000 grit. Basically on hold right now till I figure this one out. Here is a picture of the hood after wetsanding with 1500 grit...
Last edited by Black94Z28; Jul 26, 2009 at 12:48 AM.
Thread Starter
TECH Fanatic
iTrader: (12)
Joined: Aug 2007
Posts: 1,818
Likes: 1
From: Cornfields near Pontiac, IL


great thread, I appreciate you going through details like the wiper arm removal and air bags. Im gonna be walking this road in the next couple weeks. Keep up the good work!