


Project Budget 10 Second Camaro Thread
Thread Starter
TECH Fanatic
iTrader: (12)
Joined: Aug 2007
Posts: 1,818
Likes: 1
From: Cornfields near Pontiac, IL
Thread Starter
TECH Fanatic
iTrader: (12)
Joined: Aug 2007
Posts: 1,818
Likes: 1
From: Cornfields near Pontiac, IL
B&M Shifter Install
I got around to start the shifter install the other day. Pulled the console out, unhooked the wiring to the factory shifter. Then I disconnected the cables to the factory shifter. (Also pulled the E-brake out since it will not work with the 15 inch Prostars) Then I unbolted the factory shifter and removed it. Next, I loosely bolted the B&M shifter down using one of the factory bolt holes...
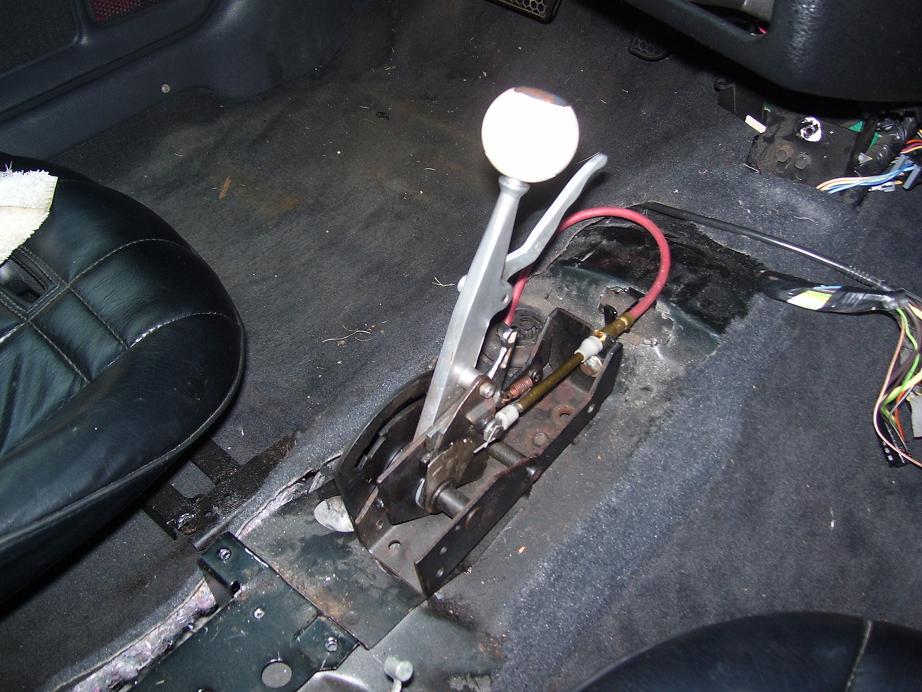
After I got the shifter close to where I wanted it, I test fit the console over the shifter to see how much I need to trim. Looks like just a little on the front of the console where the handle for R is. Otherwise looks like it should clear pretty easily...

Tomorrow, I want to get underneath the car and hook up the cable to the transmission before I start bolting the shifter and console all the way down. Should look good in the car and be safer to manually shift the trans at the track.
I got around to start the shifter install the other day. Pulled the console out, unhooked the wiring to the factory shifter. Then I disconnected the cables to the factory shifter. (Also pulled the E-brake out since it will not work with the 15 inch Prostars) Then I unbolted the factory shifter and removed it. Next, I loosely bolted the B&M shifter down using one of the factory bolt holes...
After I got the shifter close to where I wanted it, I test fit the console over the shifter to see how much I need to trim. Looks like just a little on the front of the console where the handle for R is. Otherwise looks like it should clear pretty easily...
Tomorrow, I want to get underneath the car and hook up the cable to the transmission before I start bolting the shifter and console all the way down. Should look good in the car and be safer to manually shift the trans at the track.
it's me again... when you yanked the steering wheel, were you able to completely pull out all the wiring for the airbag/radio control through the steering column, or did you have to just cut them? Also, did you do any kind of write up on removing the bumper supports, I'm just looking for a rough guide on what to remove, and what to leave when I get into it. Thanks!
When I removed the factory airbag spinning thing inside of the steering column I cut the connector. I am sure there is a way to remove it with the connector attached. I wasn't ready to take the steering column apart after I spent two and a half hours trying to figure out how the high beam swich went back in after it fell out.
So after taking the steering wheel off you were able to yank out that spinning thing from the steering column? I'm not terribly worried about leaving the connector on either, I just want to be able to take all that stuff out.
It may be a little while before I get to it... depending on when I find a good steering wheel and all. I'll let you know when I have it out. If you want to send a pm to me that may work as a reminder.
LS1 Tech Stories
The Best V8 Stories One Small Block at Time

6 Common C5 Corvette Failures and What's Involved In Repairing Them
Pouria Savadkouei
Retro Modern Bandit Pontiac Trans AM Comes With Burt Reynolds' Autograph
Verdad Gallardo
Top 10 Greatest Cadillac V Series Performance Models Ever, Ranked
Pouria Savadkouei
Top 10 Most Powerful Chevy Trucks Ever Made!

Hennessey's New Supercharged Silverado ZR2 Has 700 HP
Verdad Gallardo
Coachbuilt N2A Anteros Is an LS2-Powered C6 Corvette In Italian Clothes
Verdad Gallardo
Awesome K5 Blazer Restomod Comes With C7 Corvette Power
Verdad Gallardo
10 Camaros You Should Never Buy

10 LS Engine Myths That Refuse to Die
Verdad Gallardo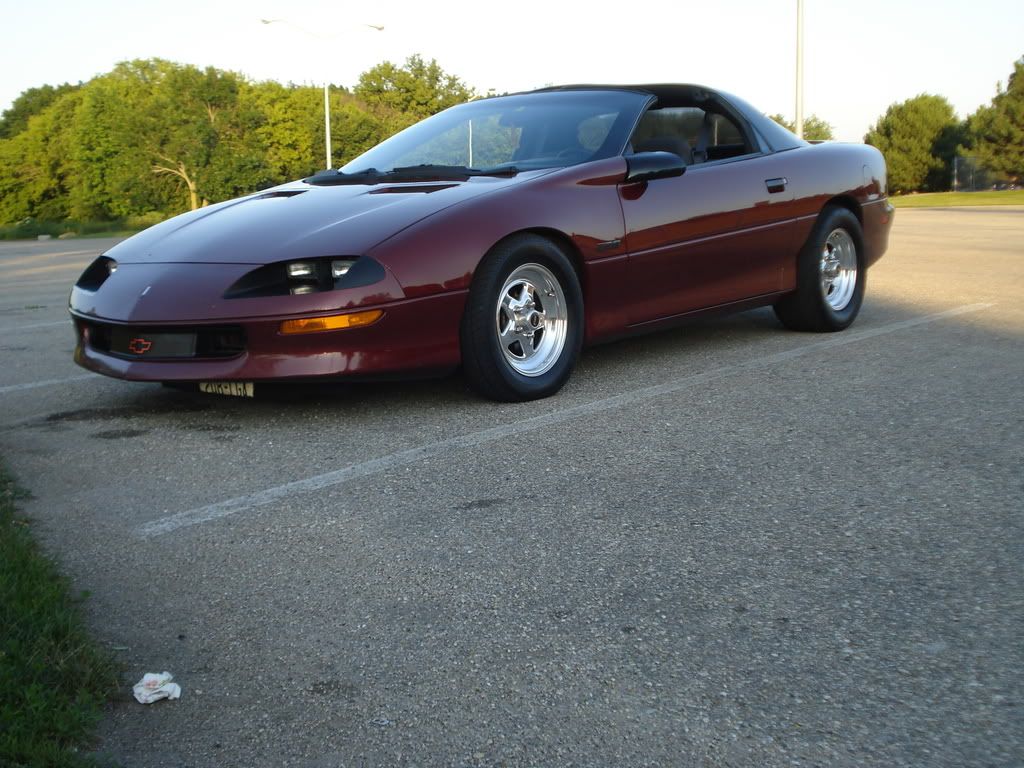
Thread Starter
TECH Fanatic
iTrader: (12)
Joined: Aug 2007
Posts: 1,818
Likes: 1
From: Cornfields near Pontiac, IL
Nice looking car above ^
I just pulled the airbag wires out of my steering column. I "may" have the clock spring. Do you have a picture of one? I can go check my take off parts bin.
As far as the bumper supports, the front was one of the first things I did to the car, so I dont have any pictures. I took the plastic crate looking thing off the back support, but still need to remove the brace. I will take some pictures when I do get around to it. I tried the other night, seems to be a star like end to it that keeps spinning when I try to turn the bolt on the other end. Not sure how to grip it. Once i figure that out I will post some pics
BTW...Looking for the flat dash panel or would consider an LS1 dash if anyone has one and the radio surround trim piece

But upon further investigation I don't think mine is bad, since when I pulled it off I found this....


And this piece shoved behind the steering lock plate...

The previous owner pulled the wheel to get to the key cylinder because they lost the keys and I wouldn't take it without hearing it run. They ended up having to get a key from the dealer anyway, but at least he tore all of this up in the process. This guy was really cut-rate and I have been pretty busy just fixing the things he half-assed. It's getting MUCH better, just wish I was able to put my attention to productive things instead of back-tracking.
If you do have the piece and the wires are intact I would love to have it, if not I have a lot of wiring repair to do, or do away with the airbag and steering wheel controls and put the horn somewhere else.
Last edited by slow96z; Oct 5, 2009 at 09:19 AM.
sorry, no pictures, I too didn't feel like taking the dash apart. I did take the clock spring out anyway (cut it), but hope I don't need it to keep the horn... it seemed to all turn as one unit when i turned the steering wheel, but I'm unsure of how it works w/o another clock spring further in the column for the horn itself. If anyone has any insight on this that would be great, otherwise I'll just have to wait, and find out myself
The horn wires are connected together and have a plastic "sleeve" style connector that gets pushed into the hole to the left of the center bolt seen in my pics above and then twisted to seat the connector. Mine's broken but if you look at it you'll understand. The clockspring only supports functions like the air-bag and steering wheel controls.
Thread Starter
TECH Fanatic
iTrader: (12)
Joined: Aug 2007
Posts: 1,818
Likes: 1
From: Cornfields near Pontiac, IL
Im still looking for the piece, I remember taking it out, and I dont think I threw it away. Ill PM you if I find it.
Thread Starter
TECH Fanatic
iTrader: (12)
Joined: Aug 2007
Posts: 1,818
Likes: 1
From: Cornfields near Pontiac, IL
The car was actually ready for the junkyard when i bought it. Had to replace the drivers door, reskin the passenger door (the outer skin had seperated from the frame) repair the front bumper (was cracked in half literally) repaint the rear bumper due to peeling paint, replace the cracked spoiler (upgraded to an SS one though) before I started to drive it. Im trying to do this all on a budget, but its going to be tough once I start wanting to go faster and faster.

hey this is trevyn i got the trans from you.. looks great you have any times yet.. whats your weight down to now.. i got mine to 3300 with me in it.. im 225.. i got about another 150-200 to take out..
Thread Starter
TECH Fanatic
iTrader: (12)
Joined: Aug 2007
Posts: 1,818
Likes: 1
From: Cornfields near Pontiac, IL
Had the day off work yesterday so I decided to go to a local Pick And Pull Junkyard. Someone had taken a Z28 LS1 Camaro in for the Cash for Clunkers and the junkyard was parting it out. The engine was toast since it was ran without oil, but managed to take the complete dash and dash panel and pillers all for $100. Not any performance gain but would make the interior look a little nicer. I will have to figure out how to rewire the dash cluster though. (Any ideas anyone??) I also need whatever fills those four slots on the dash. I believe its a panel that says "CAMARO" PM me if anyone has an extra...

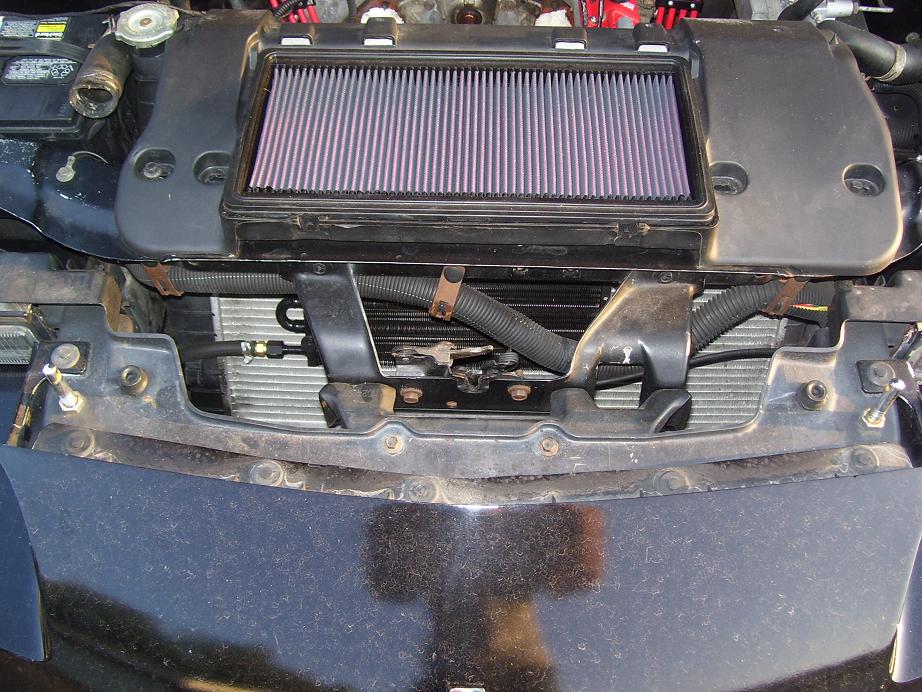
Also pulled the intake manifold off the car to paint it and polish up the fuel rails. Think the red will look good with the black block and engine bay and compliment the red MSD wires.
Here is the LT1 minus intake and valve covers...
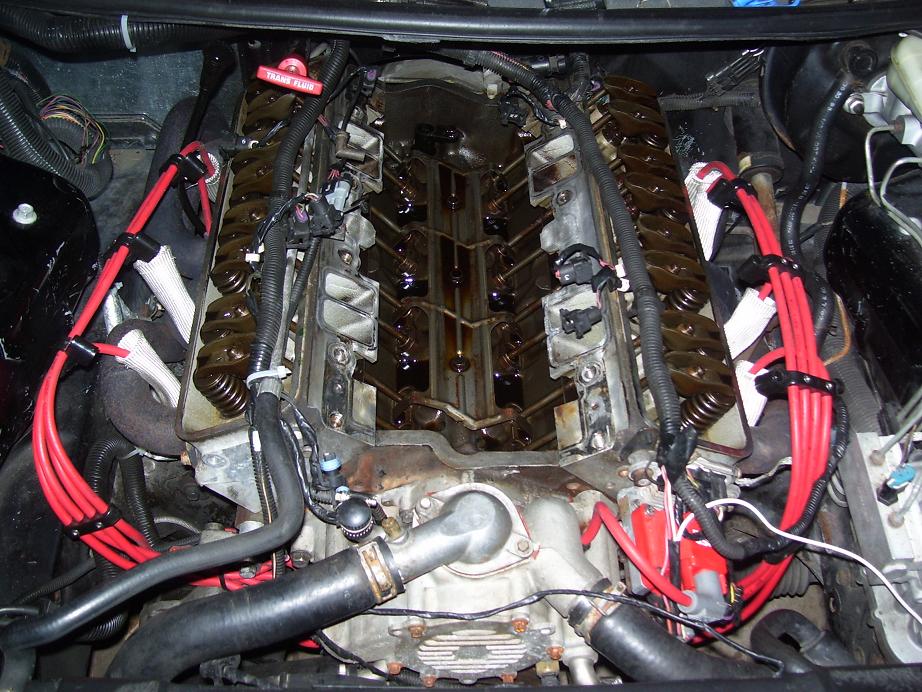
Here is the intake after I painted it, still need to sand and polish the fuel rails though...

I polished the fuel rails, just have to hit them with some Mothers Metal Polish and reinstall them. BTW, if you want to do this, wetsand the rails starting with 800, 1000, 1200, and 1500 grit sandpaper and then finish with some polish.

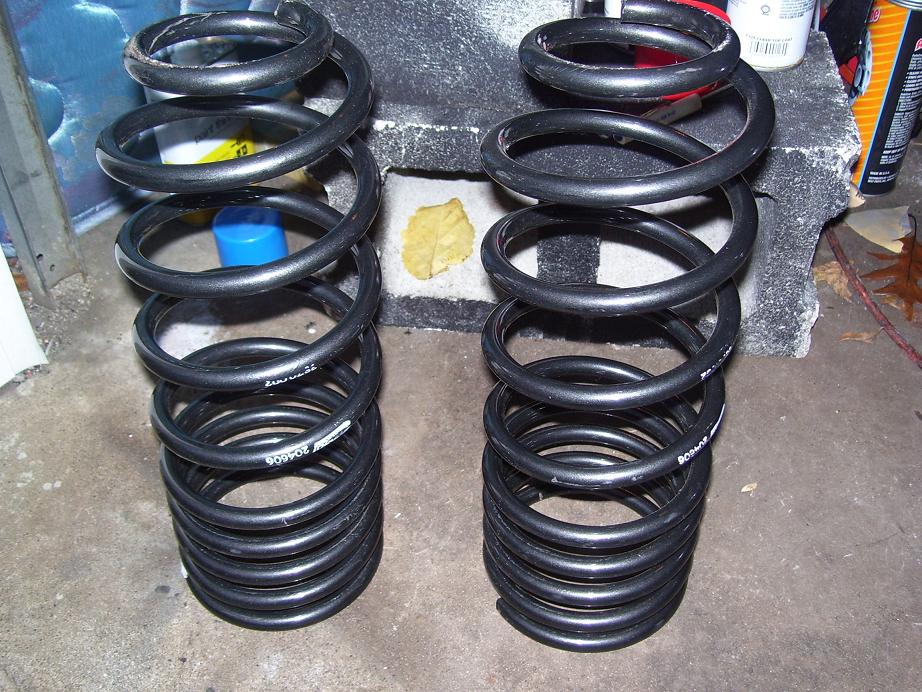
Also had one of my friends give me some leftover parts from his car. They are Eibach lowering springs for the rear. Should be good for an inch to and inch and a half. I want to lower the front about 2 inches to make up for the front being raised up from weight reduction. If anyone has front springs, PM me...
Also pulled the intake manifold off the car to paint it and polish up the fuel rails. Think the red will look good with the black block and engine bay and compliment the red MSD wires.
Here is the LT1 minus intake and valve covers...
Here is the intake after I painted it, still need to sand and polish the fuel rails though...
I polished the fuel rails, just have to hit them with some Mothers Metal Polish and reinstall them. BTW, if you want to do this, wetsand the rails starting with 800, 1000, 1200, and 1500 grit sandpaper and then finish with some polish.
Also had one of my friends give me some leftover parts from his car. They are Eibach lowering springs for the rear. Should be good for an inch to and inch and a half. I want to lower the front about 2 inches to make up for the front being raised up from weight reduction. If anyone has front springs, PM me...