When you click on links to various merchants on this site and make a purchase, this can result in this site earning a commission. Affiliate programs and affiliations include, but are not limited to, the eBay Partner Network.
Good suggestion.... the current pulley gives me a good belt length that lines up well with a Gates part number, and I like trying to keep the OD as big as possible to keep the bearing speed down. I'll trim the lip and take it from there, but I did consider just going with a smaller-OD pulley. I looked into it and I have 4-5 different possible lengths shorter than the current setup (103.625" long), with each belt being in increments of 0.25"-0.5" shorter... so if I end up going with a smaller pulley it shouldn't be an issue finding a belt to fit!
Another update that has been ongoing on the side for a little while, is an update to the trans shifter. The T56 Magnum I got came with a McLeod short shifter, which has tighter operation than the stock T56 shifter, but also shorter shift throws.
I measured the shifter **** throw of my 8" Hurst stick on both transmissions, and the throw dropped from ~3.5" from neutral to gear to ~2.25" on the new McLeod lever. I've wanted to update the look of the shifter to something a bit more purposeful, and came across the Billet Specialities shift lever for $49 so I thought why not. I like the no-frills look of a rally/sequential shift ****, but don't like how they're usually white. Then I remembered, the shift **** in my Dodge Ram has a similar shape, doesn't get hot in the summer, and most importantly.. is black!
The square-shape of the lever end was a bit too big to fit under the bottom of the shift ****, so I ground down the corners of the lever. Also made a height spacer so that visually the **** sits "right" on the lever...
**** is threaded, so I can do a jam nut operation to really tighten it on there...
Didn't have 3/8"-UNC all thread around, so made myself a stud to hold it all together...
Here's the assembly...
Showing the clearance or lack thereof when trying to tuck a round hole on a square peg...
Assembled!....
Here is a rough comparison of the old lever and stock T56 shifter compared to the new lever setup and McLeod shifter...
The McLeod shifter came with a gigantic rear-offset arm on it. Instead of machining an entire new arm, I just cut up the McLeod one and welded it back together in the orientation I wanted...
Tight! A little camber to the mounting face just to get the shift **** a bit closer to the steering wheel...
They're stock rockers but brand new. I've read so many of the Comp Cams trunnion threads which are frightening, I know that the latest version of the Straub trunnions is the hot tiucket, but I feel those are still too new to have a solid range of feedback since they were released sometime mid or late-2017. The BTR trunnions may or may not be rebranded older Straub rockers, I'm not sure on that... BTR claims something like 50,000 sold and zero failures, however I bet a high percentage of the Comp Cams guys thought their trunnions hadn't failed until they pulled valvecovers and the bushings were literally disintegrating themselves and there was bronze powder everywhere in the oil pan. Plus with my experiences on bushings thru work... I feel more comfortable with new bearings in there.
Anyone with any valuable bushing trunnion information is welcome to chime in, however I haven't seen enough positive evidence in my research to point to bushing trunnions as the absolute way to go, versus an engineered GM stock setup....
What Comp Cams trunnion threads are you referring to? I went with Harland Sharp trunnion upgrade, because I like how they provided oil feeds to the bearings. No problems so far, but we'll see. I have heard of enough stock rocker failures that I would definitely upgrade. Here is my thread on that topic: https://ls1tech.com/forums/generatio...eview-how.html
Dude, just get the Harland Sharp roller trunnion upgrade like me because (1) Rollers are more betterer than bronze due to no friction/sliding/wear surfaces. You could run them completely dry and they would probably still run wear free (2) HS provides oil feeds so splash oil can help cool and lubricate the bearing to keep them happy, making them more betterest than some other rollerized trunnion upgrades and (3) I'm a god damn genius (have been, always will be) and since I made that decision some 6 years ago the world completely stopped coming up with better options... there's really no need to look into this further. Plus I have a few thousand miles on my swap without failure, indicating with absolute certainty they will last a lifetime regardless of differences between our two uses. Forget what you read elsewhere written by other people - that's all overblown hype. What I'm telling you, you can count on. I know things. I have a degree. I type words. I post pictures. Nobody else could possibly know rocker trunnion upgrades like I do. Get what I got and move on with your life because those stock trunnions probably already broke holes in the side of your engine block and you don't even know it yet. Remember that one guy in the Civic that schooled you on a 60ft launch? That was because of your stock rocker trunnions. You remember that time you couldn't find your 10mm socket? Again, rocker trunnions! I bet the people putting bronze trunnions on their cars are still wondering why their stance is all wrong and they aren't getting the MPG they were expecting. Bronze is for statues. Get a real man's trunnion upgrade.
There's SO MUCH sarcasm in there, but I'm hoping you genuinely are liking/recommending the "contained" needle bearings over the bushings. Just everything I've seen across multiple industries has left a bad taste in my mouth about bushings and their required oiling, maintenance, and uber-tight fit/tolerances....
Yes I genuinely think aftermarket roller bearing trunnions are a better option than stock or bronze for this application. Also I genuinely endorse the Harland Sharp design which I chose for the reasons mentioned above and in the thread I linked to. However I am not up-to-date on the latest offerings. You may want to do your own due diligence.
If this were a racecar where you were tearing down and inspecting/replacing things between races I might consider a bronze bushed setup, but my personal engineering opinion is that you should always have some kind of a dedicated oil feed if you are going to use a plain bushing, including/especially for rocker arms.
I totally agree on all your above points about bushings. I'll do some more research this week, but from your install post (which was super-duper-effing-awesomely helpful) it looks like the Harland Sharp ones are a good top-option so far.
Meh...I like stock rocker arms, and I bet I have more degrees than you guys...LOL
Then again, I tend to run girly girl cams. The GTO has a LS7 cam and the Cougar has the ASA cam.
A few posts above mention is made of Comp Cams' trunnion BUSHING failures?? The only Comp trunnion-related failure that have gotten much note around here have been with their NEEDLE-BEARING trunnion kits. The needles ate into the trunnion material, due to bad metallurgy, beside the constant wear on ONLY the bottom needle bearings. I didn't think Comp even did a bushing-type trunnion kit.
Interesting.. a lot of threads out there that exclude pics of the specific use of "needle" but just refer to the setups as "bearing" even if bushings are being talked about. It appears that all the Comp Cams issues are indeed needle bearing.
Here's an interesting post from CorvetteForum:
Quote:Originally Posted by CorvetteCoopThere is some great info in this thread. Unfortunately the failure mode found by the OP is not new and has occurred on several cars over the years. I have done some reading up on the various trunion "upgrade" options out there and here is what I found:
Comp Cams - $129
There are thousands of people using these with no issues. With that said, there have been many reported cases of galling of the trunion shaft. Unfortunately this doesn’t become evident until the bearing is removed from the trunion for inspection. I did not find any cases where this galling led to a catastrophic failure of the component. In several cases the bearing would spin freely but once disassembled the shaft was damage similar to the ones pictured in the OP. There have also been reported failures of snap rings breaking, which may or may not be the result of installation error.
Brian Tooley Racing - $115
From Brian Tooley’s post on tech almost a year ago regarding the difference between their product and Comp Cams:“We use the same trunnions and bearings as Comp does, we use USA made bolts and larger snap rings that should never break and provide slightly better pricing.”
Harland Sharp - $273
While similar in basic design there are some key differences that justify the price difference. First, Harland Sharp cross drills their trunions to provide access for splash oil to get to the bearings. Second, the Harland Sharp trunions include hardened washers between the c-clips and the rocker. Lastly, the materials used are more suitable for this application.
I found this info from two posts on tech that has some very good info on the differences between Harland Sharp and the rest:“The difference between the Sharp kit & most of if not all the less expensive kits is that they use full heat treated 52100 steel for the shafts & the others use a case hardened steel like 8620. The case hardened shafts are only a surface heat treat meaning the outside of the shaft is hard, prob .02-.030 deep but the inside is still soft. The case hardened shaft is a poor choice for something that has a hard bearing with & the load from the valve train on it.
There are plenty of unhappy people on here that have had the Comp kits fail, the early Harland Sharp kits also failed but I believe they had surface heat treated shafts also.”
“You are relying on a thin layer of hardened steel supported by a soft inside & 8620 that is typically used is not a good choice, the 52100 that Harland Sharp uses is a full heat treated steel used in some bearing applications.
And for everyone's information I am a tool & die maker @ the former GM owned former New Departure/AC Delco Chassis/Delphi bearing plant which made/makes bearings on all your vehicles so I know a little about bearings.”As was mentioned in the above statement, Harland Sharp had similar failures in their early design. They changed the material and design to correct the galling being found on these “upgrades” and as I understand have not seen reports of the same failure mode.
CHE - $420
CHE offers a unique solution as they do not rely on a bearing but rather utilize a bushing. This is regarded by many as to be the ultimate solution to the problem. I have not found or heard of any reported failures with the CHE product. Of course that comes at a price.
Got some more work done last night. Was trying power steering line options, ended up getting a Cherokee power steering high pressure line as it tightly hugs the P/S pump, to see how closely it could work...
The downwards angle of the hardline behind the reservoir aims the flex hose directly at the UCA cross-shaft....
So I twisted the hardline behind the reservoir to be horizontal, to try and direct the flex line above the UCA...
I wanted the flex line to float above the UCA, with a mounting point above the UCA to prevent the line from touching anything under suspension articulation and engine vibration...
But unfortunately the overall length of the line was just a tad too short to crimp/flare/weld any fitting onto the box-side of the high pressure line, with minimal modifications...
So I went to the trusty local industrial hydraulics shop and got some 3/8" hydraulic lines made up with 3/8" 37* JIC crimped fittings on either end. Long-elbow 90* fitting on the box end, to raise the hose up from the frame/UCA...
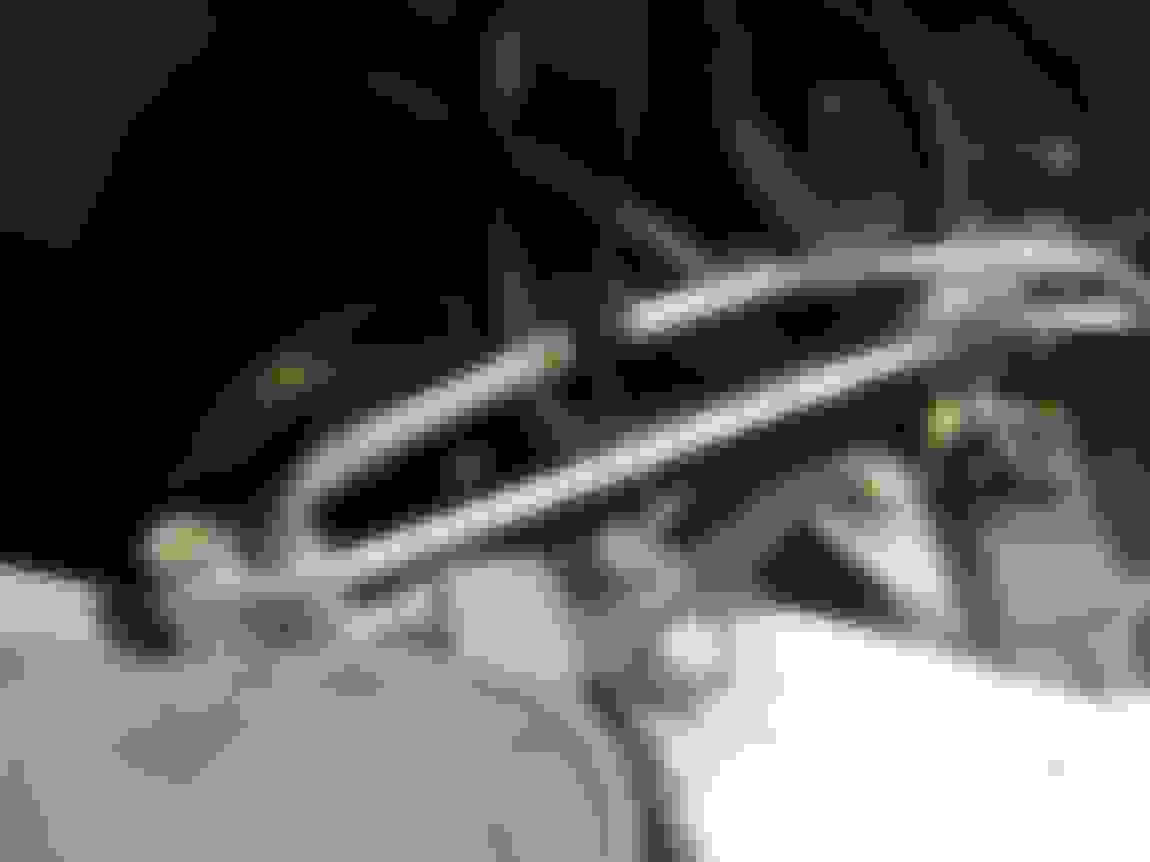
The pics from this top angle are deceiving, but there is a load of clearance to the UCA...
I welded a 3/8" JIC male bung to the Cherokee hard line, so I could use a straight crimp fitting on the pump-side of the line, to avoid clocking issues when having the two ends crimped onto the pressure line at the hydraulics shop...
The return line fishes thru the pump bracketry I made, is ziptied in place for security and isn't close to rubbing anything...
I also wrapped up the pre-turbo exhaust temp sensor, hardmounted to the head so that it wsan't just dangling and vibrating from the copper pigtail...
Next up was fashioning some type of 4-corner coolant steam vent setup. I've been trying to find the 4-corner LS6 part but they're pretty rare to find, and could never end up finding the actual part number for it. A common solution is an aftermarket setup that is a bunch of braided -3AN or -4AN line with hose ends and billet head-mount blocks.. but this would've been way too bulky to fit the low-clearance under the LS3 intake.
I needed the LS3 two-port front steam vent anyways in order to fit the LS3 intake and throttlebody, so I wondered what would happen if I just moved the truck/LQ4 two-port steam vent to the back, and made some stainless 1/4" line to have a low-profile solution for venting the back of the heads under the manifold...
Just to help with vibration, I figured it'd be best to not crimp or braze or weld the tubes together but to just simply flare the custom tube and connect with some 1/4" rubber hose...
The flare is simply just the first bit of 37* flaring, with the sharp edges filed smooth so they don't slice/gouge the inside of the hose upon installation...
1/4" tube just tucks in the corner to the side of the valley cover, and clears the LS3 intake manifold bottom...
I haven't quite decided how to merge the two lines together yet.. I might just have them both individually merge with the upper rad hose junction block I already had from the previous setup...
Search for "Straub trunnion bushing" or similar. They are the ones getting major play here. One difference from the CHE kit is that the Straub bushing is pressed into the rocker arm, whereas the CHE is full-floating. I see an advantage to the CHE version for that reason, though the CHE is pricier. The price quoted above by you is for them to install. It is cheaper if you do it.
The flare is simply just the first bit of 37* flaring, with the sharp edges filed smooth so they slice the inside of the hose upon installation...
Next time instead of the 37 deg flare, consider using the first step of your inverted flare tool (Eastwood). That will create a beaded-like end that's perfect for putting hose onto. I have done what you did also and it works but it's a lot harder to get the hose on than it needs to be. For joining the lines, you could get a compression tee or better yet a JIC tee and bring them together near the manifold just to avoid having a bunch of extra lines going to the radiator. JIC tees are available in zinc/silver finish which wouldn't look bad.
Nice to see the details falling together one by one. I wish I had the time to work on mine the way you are. Baseball season with my son put the brakes on (or rather prevented me from putting the brakes on) my car projects.
Haha, I actually used just a little bit of Op #2 on the Eastwood tool... first time I used it wasn't how it was intended. I'll give the Op #1 a try and see how the bead ends up.. it actually wasn't bad at all putting the hose on the mini-flare as-is. I might try to JIC-tee them together, but it's pretty tight to the side/under the throttlebody, not yet sure how I'll work that...
Maybe cut the front cross tube where the rear tube is currently running underneath. Place tee there to reconnect cross tube and bring the rear feed into it?
If not, panic and send me all the parts. I'll figure something out

 05-14-2018, 12:13 PM


 There is some great info in this thread. Unfortunately the failure mode found by the OP is not new and has occurred on several cars over the years. I have done some reading up on the various trunion "upgrade" options out there and here is what I found: