When you click on links to various merchants on this site and make a purchase, this can result in this site earning a commission. Affiliate programs and affiliations include, but are not limited to, the eBay Partner Network.
I have an 03 Vette. I know by tapping into wire 1 and wire 3 allows you to override the CD player for you AUX input. On the older HU wires 4&5 allowed you to tap into the FM signal instead. Does anyone know which 2 wires feed from the FM board instead of the CD?
I think a buddy on Z boards has accidentally found the solution to having to have a CD spooled up, to get the MAIN logic board to look for the AUX input signal...
His cassette carrier was stuck engaged, and I think that the CD 'carrier' grounding switch is probably integrated into the cassette carrier grounding switch circuit. He 'fixed' that, before telling me what he had.
Anyone else here found that solution yet?
Waiting for feedback from him how here........................
Not sure your system configuration, if you have a tape deck and remote changer it's possible to tap that harness without opening the stereo. It should be possible to modify the stereo to tap the radio inside the the built in CD/tape, but that would take a lot more work to find the signal source on the board, and would likely vary between board revisions, etc. It's a lot easier to track down audio for build in CD/tape player since since audio must pass through a known harness
No remote CD changer there JN; just the stock HU (with your mod (plus front panel mount added in ) ).
Originally Posted by Jason Novak
Not sure your system configuration, if you have a tape deck and remote changer it's possible to tap that harness without opening the stereo. It should be possible to modify the stereo to tap the radio inside the the built in CD/tape, but that would take a lot more work to find the signal source on the board, and would likely vary between board revisions, etc. It's a lot easier to track down audio for build in CD/tape player since since audio must pass through a known harness
I have a simpler to install, and more efficient solution. No need for the CD to be always spinning, and less wiring/soldering. Should work with all similar models, one way or another: if the pinout is different, just hook up the 3 audio signal wires, then try the #7 for switch -if it doesn't work, reconnect it and try each other wire individually, will do no harm.
Ok so I did this mod today and it's not working. The tape deck doesn't work and as soon as I put a tape in it just spits the tape back out. Is there another way? I thought I tapped off the correct wires did I do something wrong? And even when I put the CD player back on it doesn't play the iPod only the cd. Did I do something wrong?
The stock deck in my99 burb
And the switch I'm using
Help me please. The dash is still torn apart
Last edited by WhiteBird00; 10-20-2014 at 02:58 PM.
Reason: Merge consecutive posts
In following this thread it appears that the radio can not be newer than a '98 based on thread dating. The factory radio in my '02 Z28 monsoon is not the same - but tried this anyway - it does not work. I'm assuming that per other comments on controlling the radio with the remote jack, that '00 - '02 won't work with these directions. The wiring header is wired backwards from this one and there is a 3 conductor shielded cable (red, white and black plus shield) in place of the 4 white wires shown. I say certainly the 1st and 3rd wire don't work on the newer radios. If I could GUESS, I'd say the audio wires are the red and white wires as that is the industry standard now, but who knows what GM was thinking - they didn't even have enough foresight to do this themselves.
In following this thread it appears that the radio can not be newer than a '98 based on thread dating. The factory radio in my '02 Z28 monsoon is not the same - but tried this anyway - it does not work. I'm assuming that per other comments on controlling the radio with the remote jack, that '00 - '02 won't work with these directions. The wiring header is wired backwards from this one and there is a 3 conductor shielded cable (red, white and black plus shield) in place of the 4 white wires shown. I say certainly the 1st and 3rd wire don't work on the newer radios. If I could GUESS, I'd say the audio wires are the red and white wires as that is the industry standard now, but who knows what GM was thinking - they didn't even have enough foresight to do this themselves.
Did it in my 2001 Trans Am, my friend's 2002 Trans Am, and my old 1999 Z28. Works perfectly.
I bought everything and attempted to do this today, but I could not figure out how to get my head unit apart! I was able to get the things that look like cooling fans off of one side, but this only allowed me too see what I needed to get to, as the wires were too far away to be able to mess with them . I have a 1999 firebird formula with the monsoon system, no tape deck, and no cd changer. My radio looks exactly like SickTa's in the above post (post #606). I thought about trying to take just the face plate off, but couldn't figure out a way to do that either. If anyone could explain how to take my head unit apart (pictures would be great too), I would be EXTREMELY grateful.
Last edited by 1995_maro_z; 04-20-2015 at 11:41 PM.
I bought everything and attempted to do this today, but I could not figure out how to get my head unit apart! I was able to get the things that look like cooling fans off of one side, but this only allowed me too see what I needed to get to, as the wires were too far away to be able to mess with them . I have a 1999 firebird formula with the monsoon system, no tape deck, and no cd changer. My radio looks exactly like SickTa's in the above post (post #606). I thought about trying to take just the face plate off, but couldn't figure out a way to do that either. If anyone could explain how to take my head unit apart (pictures would be great too), I would be EXTREMELY grateful.
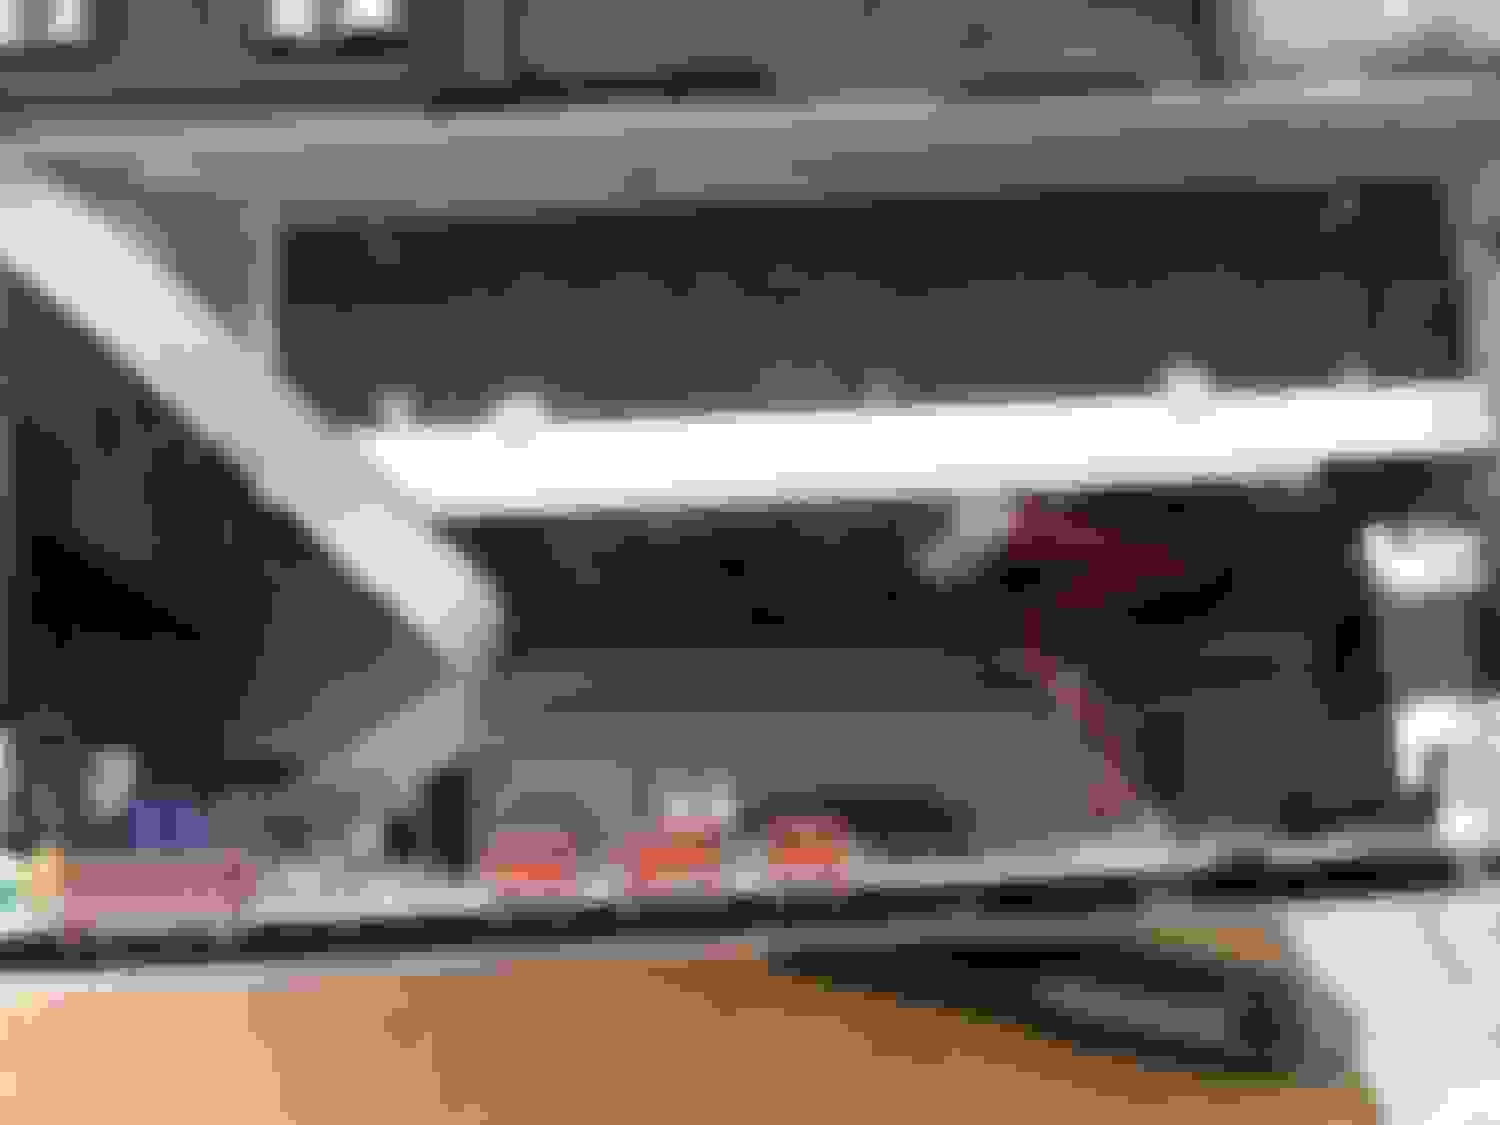
I can say for sure on your model, but you're taking off the plate from the bottom of the stereo, like two screws on the back, one by the antenna, one by the main harness, and then one that goes down into the heat sink. You do have to pry it a little bit because it's also held in place with some tabs.
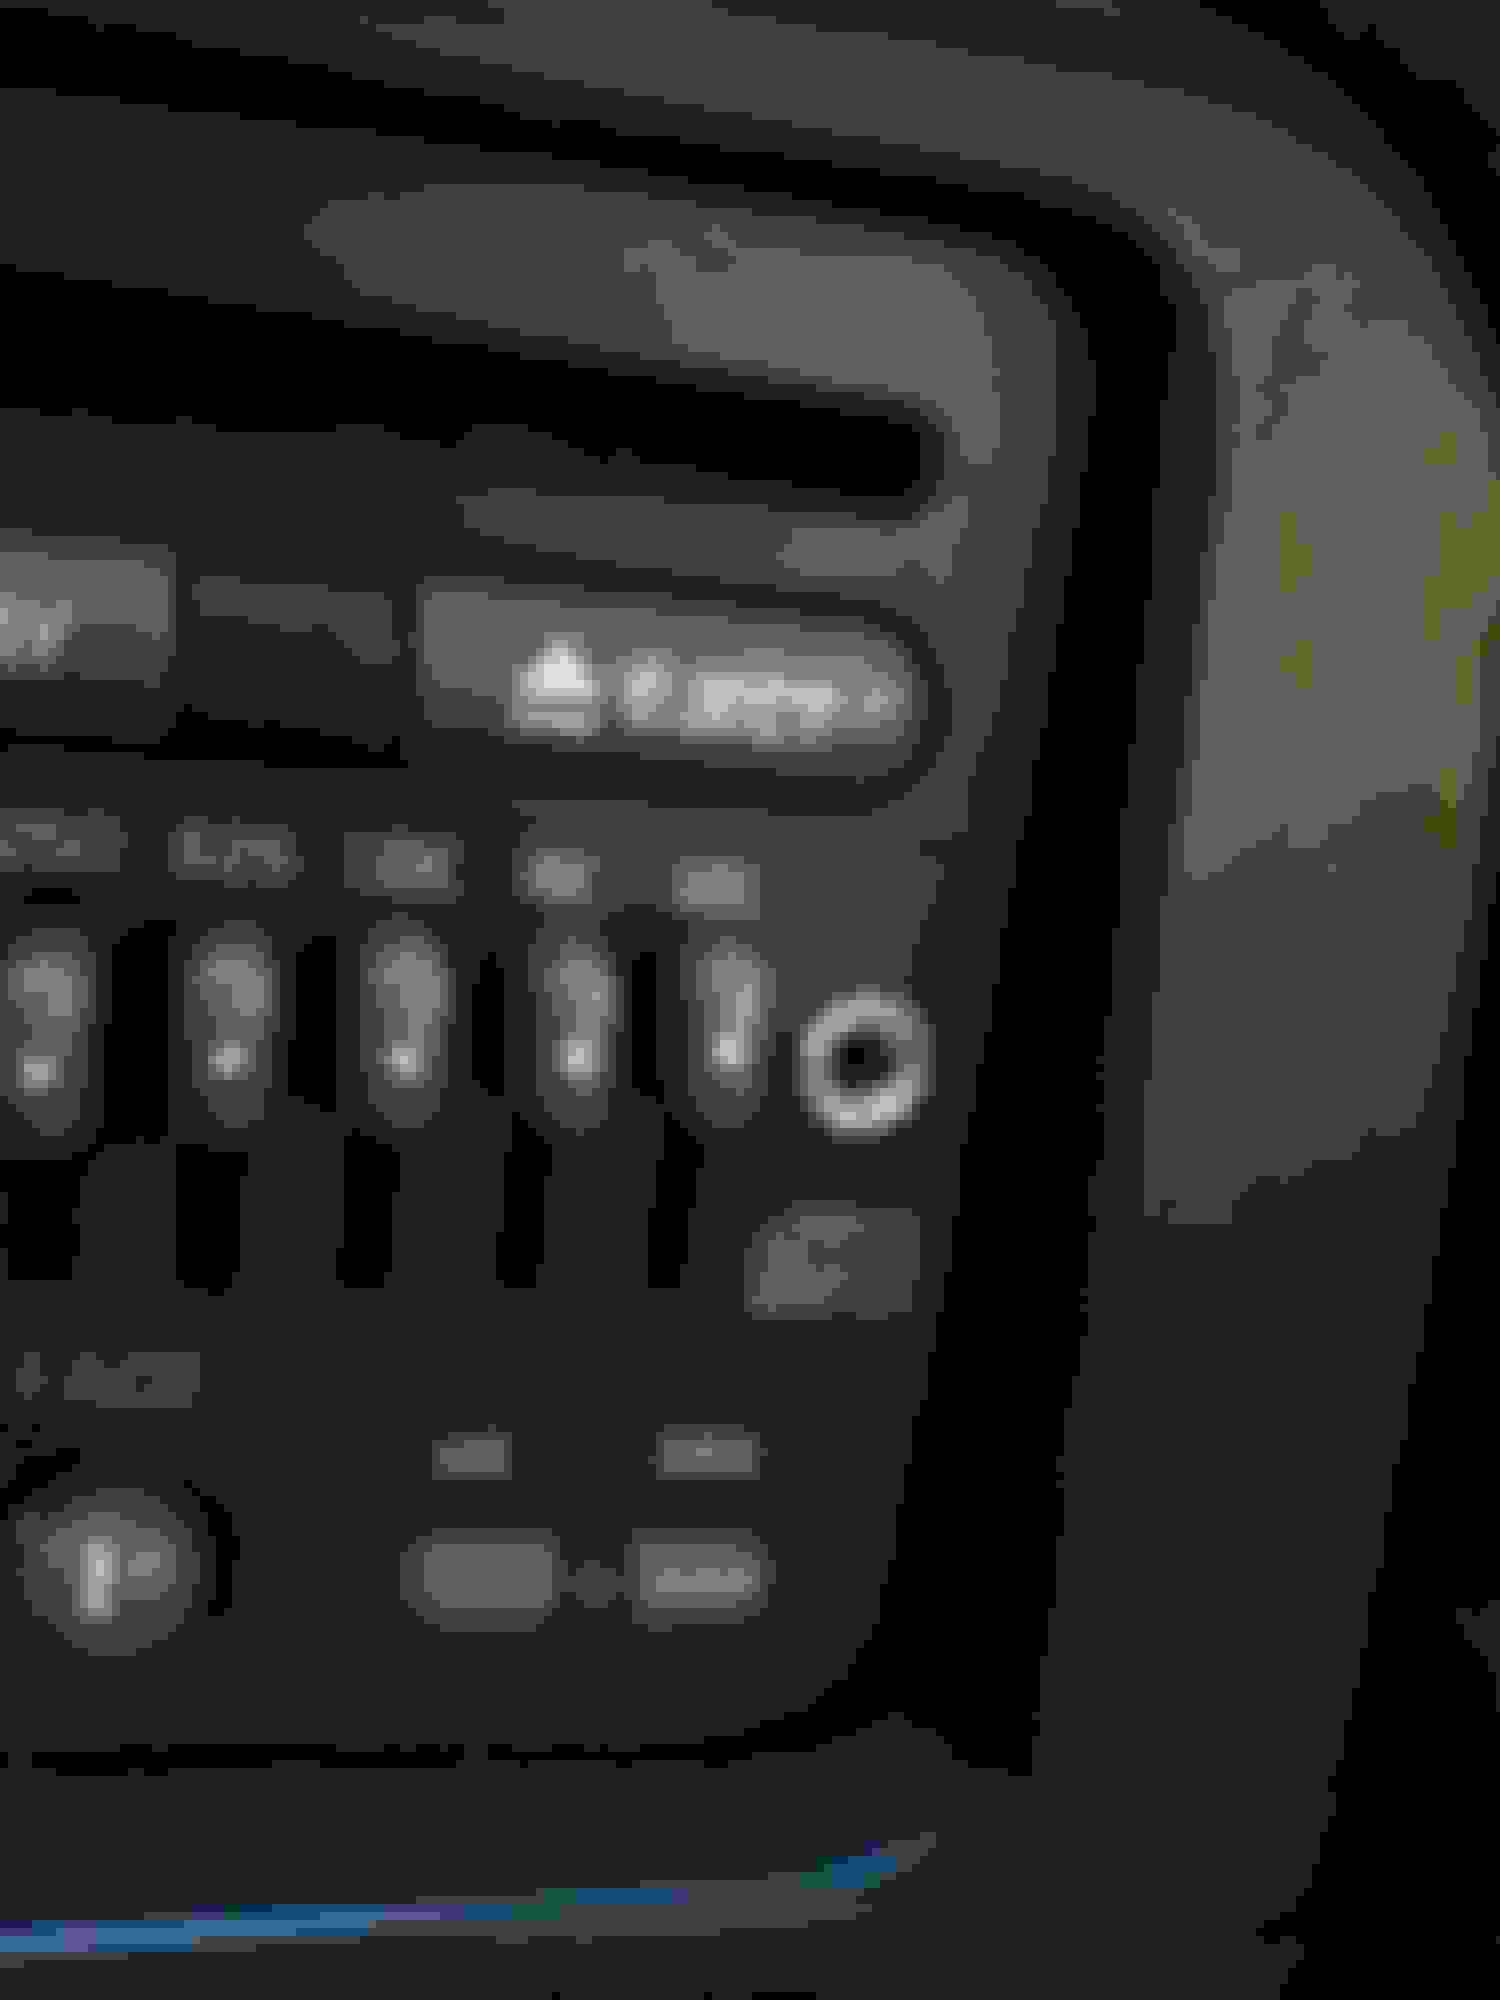
To get the front panel off you need to pull off the tuner **** and take off the nut. There is also a nut on the volume, but it's part of the faceplate so if I recall it doesn't need to come off. It's a lot easier to work taking the bottom plate off though. Someone else may have more details on your exact model
I can say for sure on your model, but you're taking off the plate from the bottom of the stereo, like two screws on the back, one by the antenna, one by the main harness, and then one that goes down into the heat sink. You do have to pry it a little bit because it's also held in place with some tabs.
To get the front panel off you need to pull off the tuner **** and take off the nut. There is also a nut on the volume, but it's part of the faceplate so if I recall it doesn't need to come off. It's a lot easier to work taking the bottom plate off though. Someone else may have more details on your exact model
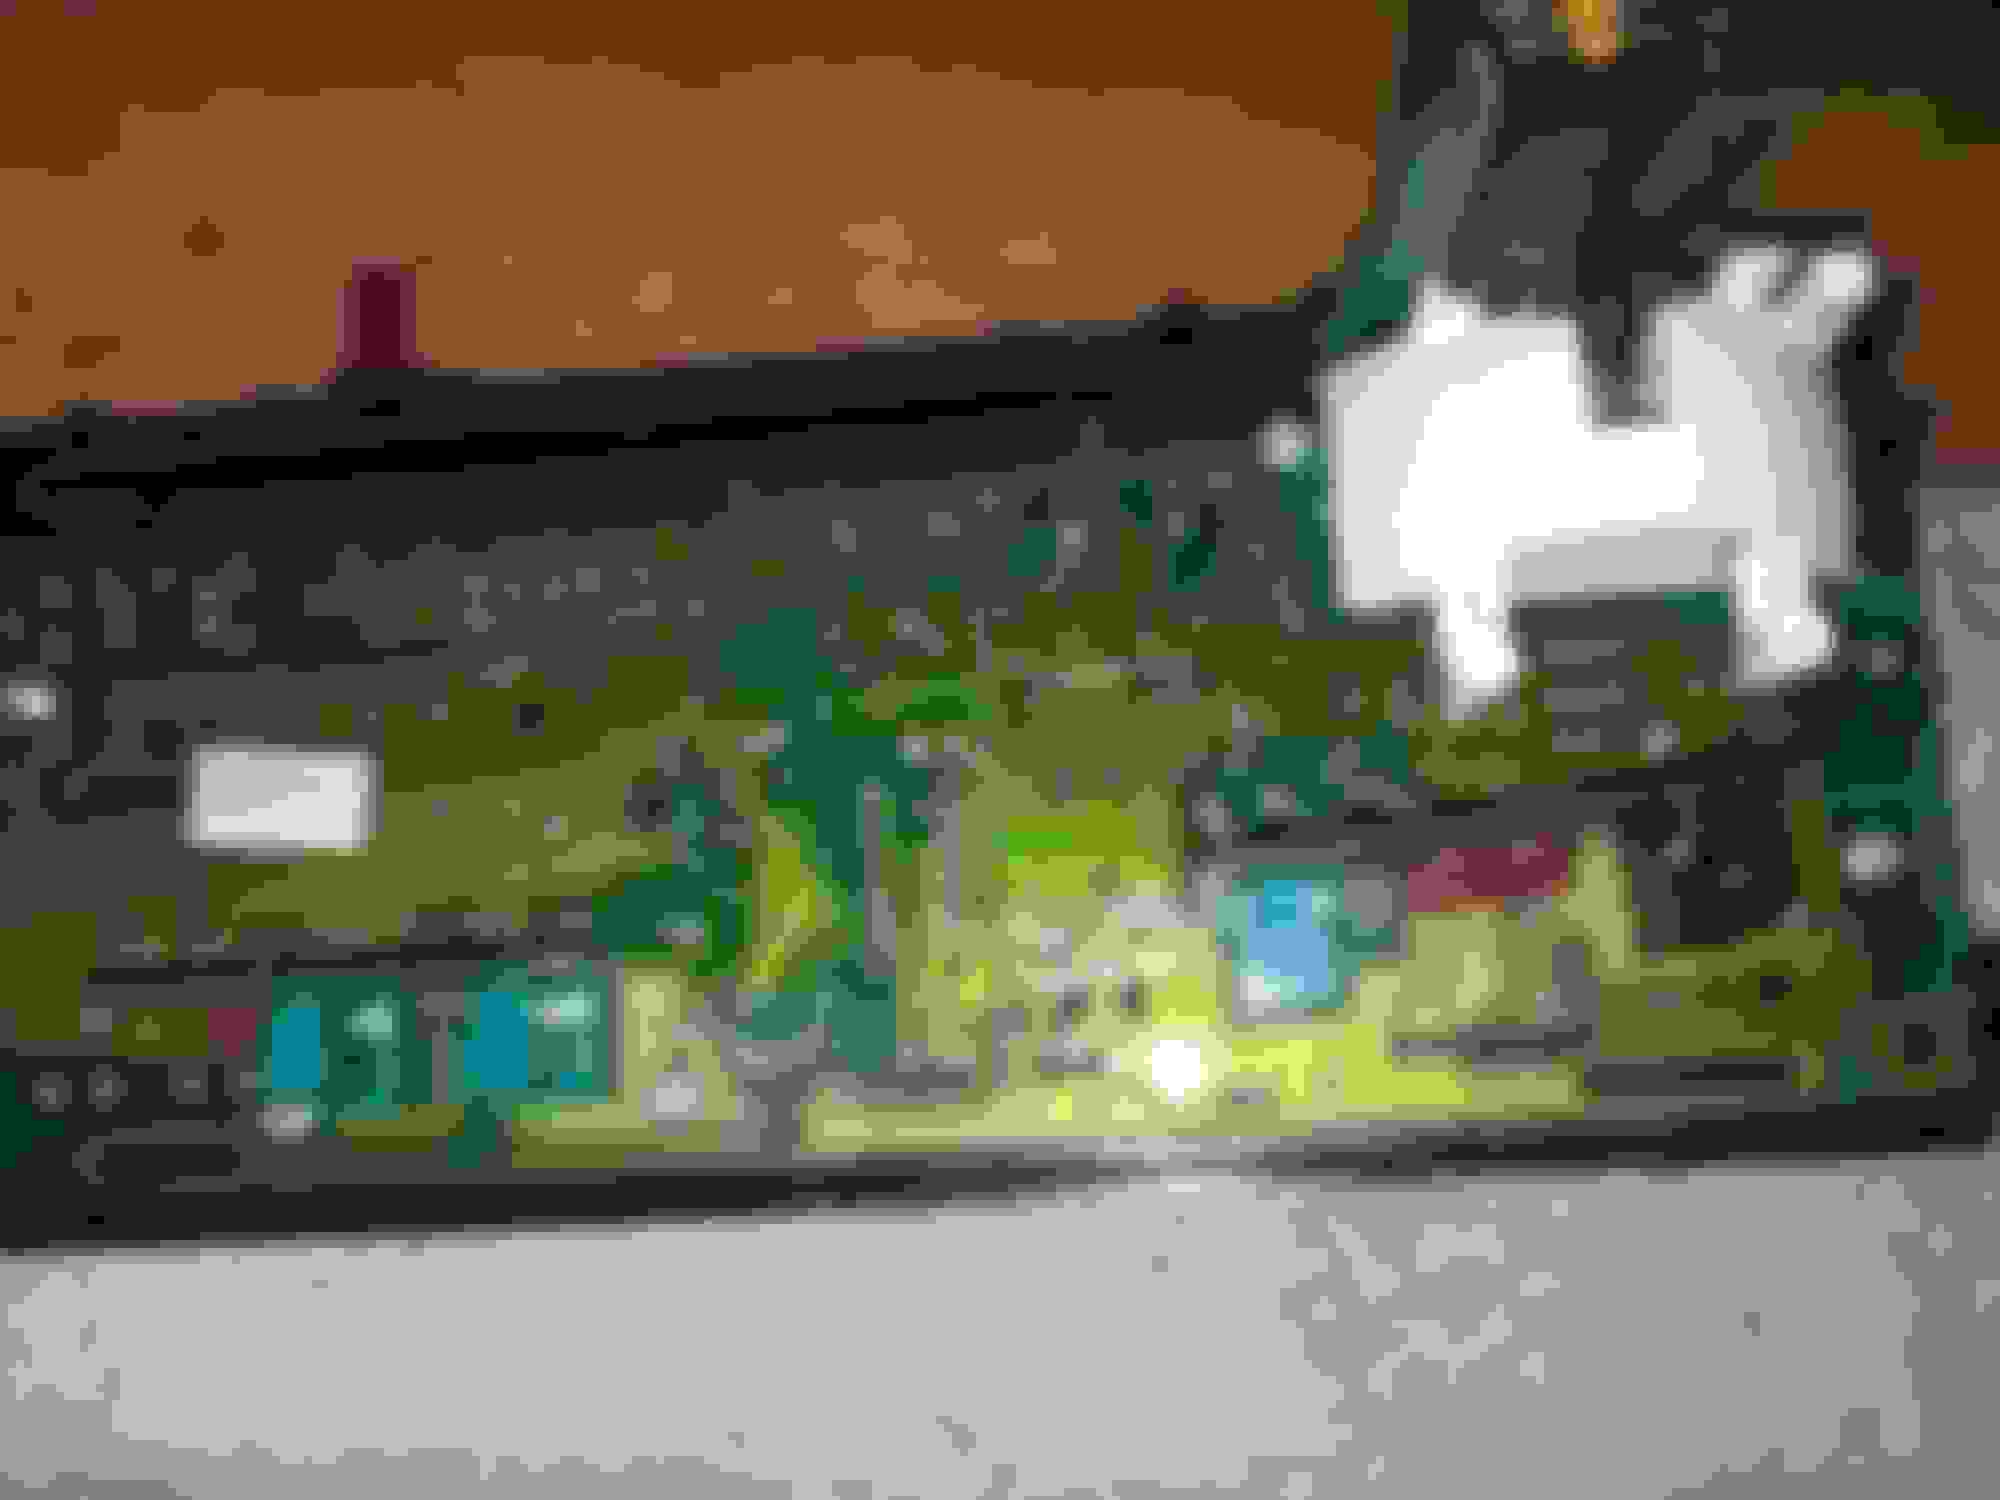
I was able to get the bottom plate off, but that only gave me access to the bottom of the circuit board. It seemed as if the rest of the outside casing was one piece (except the face).
The splicing should all be done on the bottom, you should see the connectors there. You can take off the top, but that really just exposes the top of the CD/tape unit. If you plan to install the jack in the faceplate you'll need to take it off, that's the nut under the volume, and some plastic clips on the edges holding it to the chassis
The splicing should all be done on the bottom, you should see the connectors there. You can take off the top, but that really just exposes the top of the CD/tape unit. If you plan to install the jack in the faceplate you'll need to take it off, that's the nut under the volume, and some plastic clips on the edges holding it to the chassis
I meant that when I took the bottom plate off and saw the circuit board that there were no wires to splice into. All of the wires and stuff were on the other side of the circuit board. I can't figure out how to get to the other side of the cicuit board so that i can splice into the wires. Once I took the heat thing off, that opened up one side, but the wires for the CD stuff were on the other side or the radio.


 04-29-2016, 05:39 PM


 . I have a 1999 firebird formula with the monsoon system, no tape deck, and no cd changer. My radio looks exactly like SickTa's in the above post (post #606). I thought about trying to take just the face plate off, but couldn't figure out a way to do that either. If anyone could explain how to take my head unit apart (pictures would be great too), I would be EXTREMELY grateful.