Dakota Digital: LS Swap Gauges & Wiring Made Easy!
Nervous about installing LS swap gauges and wiring? Here’s how Dakota Digital made the process easy, even for a first-time swapper! (LS3 Roadmaster Wagon Project | Part 8)
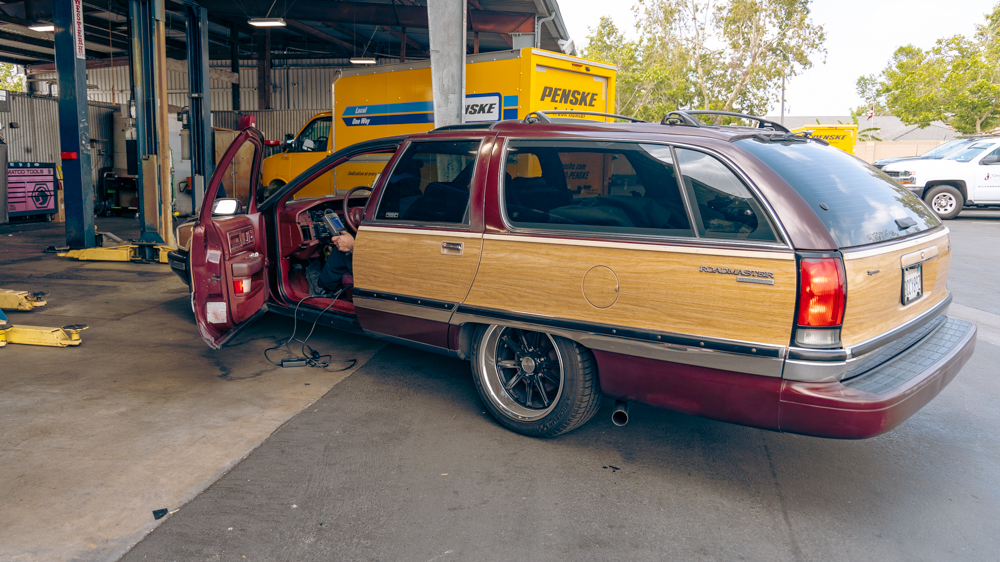
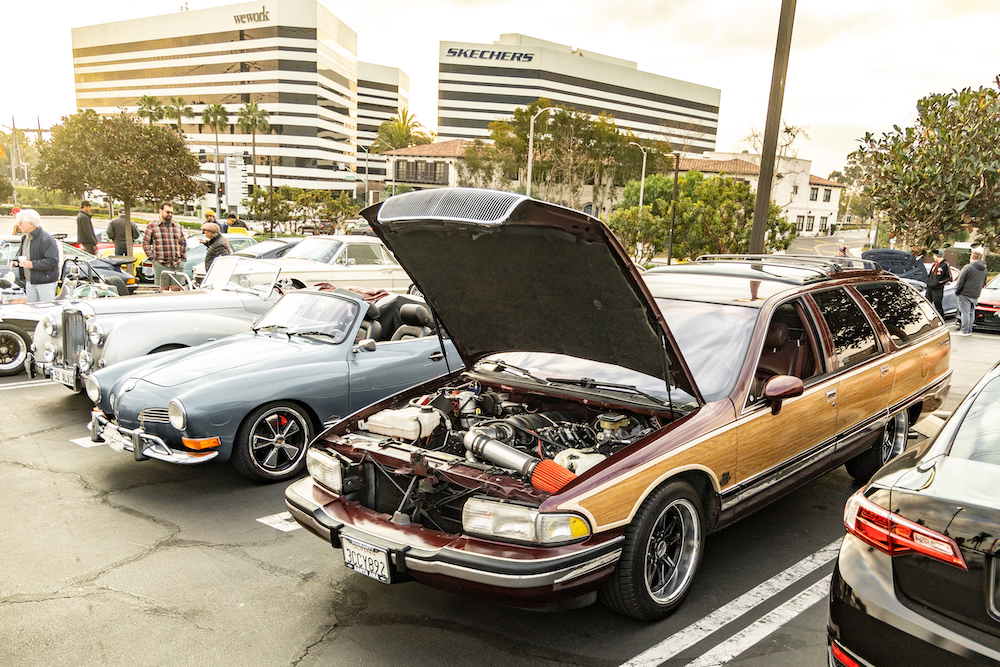
Everyone loves to talk about the first start on a project car. But what very few people mention is how the first start is more akin to a new beginning than a finish line. With that in mind, now that our LS3 E-ROD engine with Holley accessories is in our project wagon. And now that we have an INSANE Magnaflow exhaust sounding so, so good. It’s time to tackle a bunch of little projects. In this episode, we head over to Guaranty Chevrolet, the largest Chevy Performance dealer in California. Install some sweet Dakota Digital LS swap gauges. And treat our wagon to some Chemical Guys detailing love!
Click HERE for comments and questions about the LS3 Roadmaster Wagon Project!
Visiting Guaranty Chevrolet
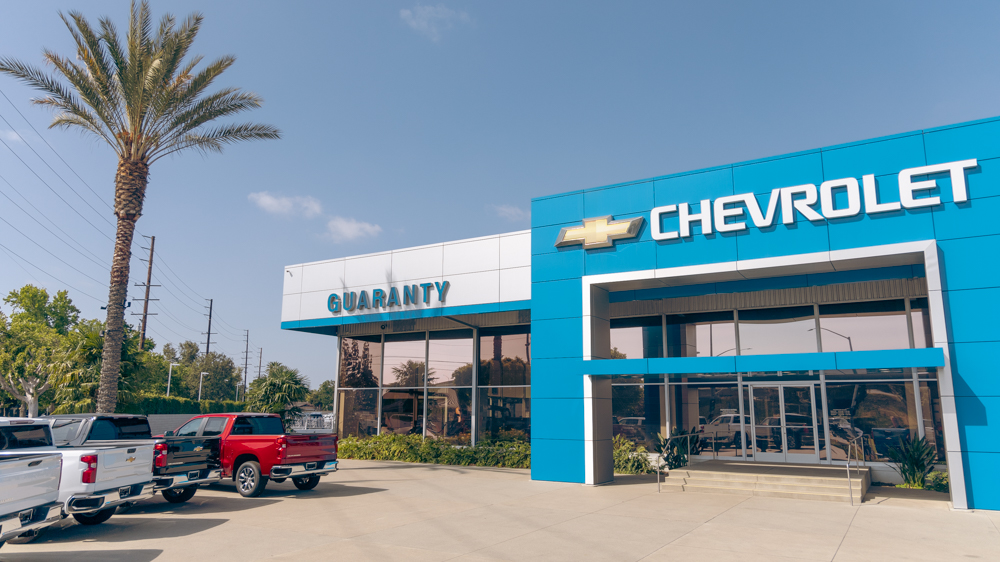
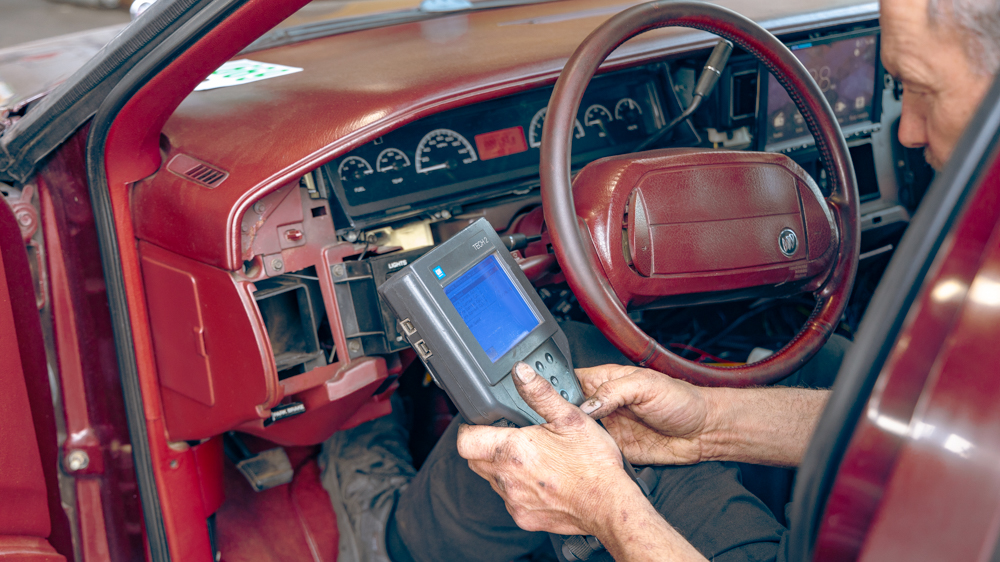
If you’ve just got your LS3 E-ROD crate motor running and you see your Check Engine (or Malfunction Illuminator Light) on, don’t worry. Included along with the instructions is a coupon to take your project to a Chevrolet Dealership to have a free Crank Position Sensor learn procedure performed by a Chevy Tech. For ours, we went to Guaranty Chevrolet.
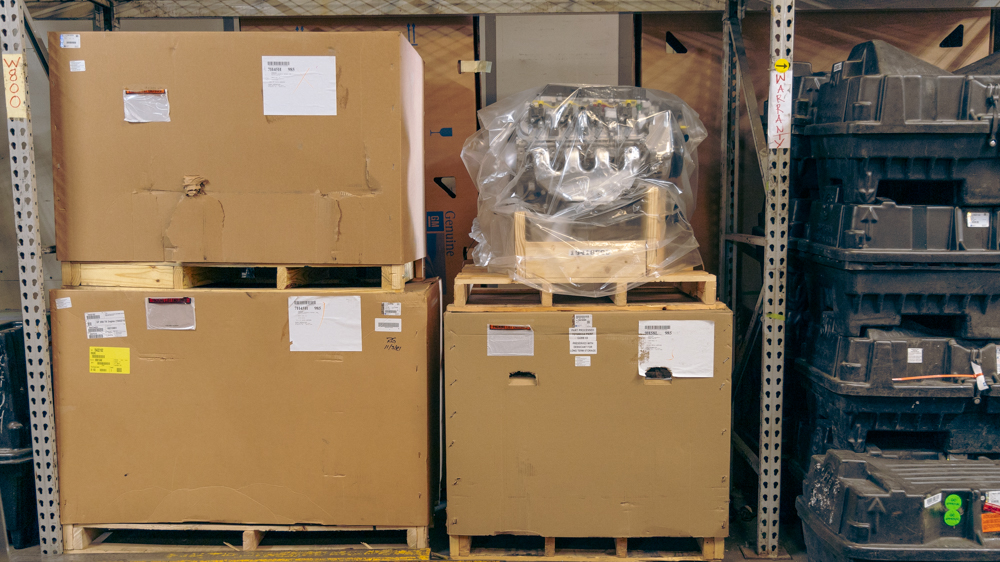
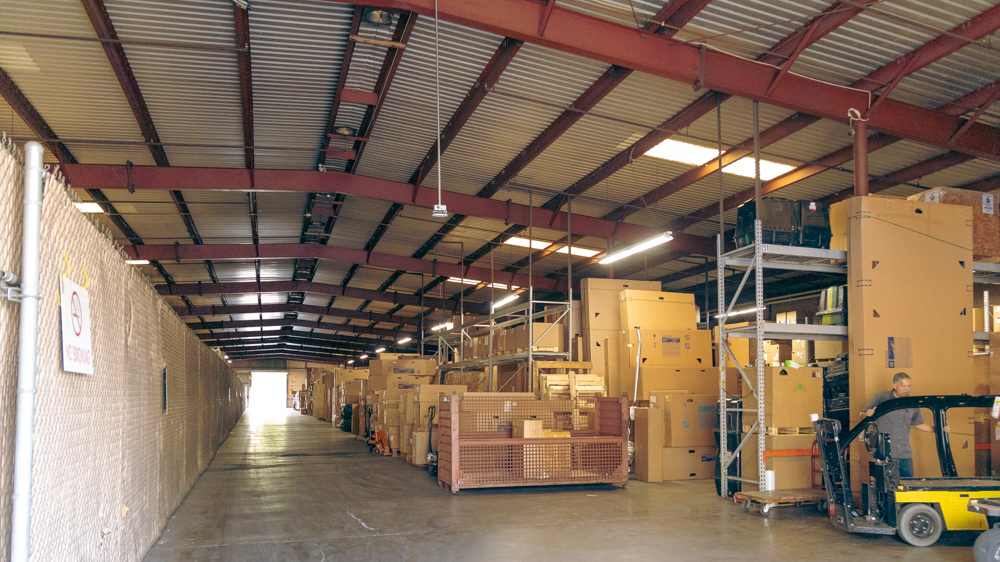
The process is actually very simple and only takes a few minutes. But while we were waiting, Jim Smith gave us a tour of the parts warehouse. Guaranty is the largest Chevy Performance dealership in California. And, wow, it really shows. Even during these times of supply chain shortages, dozens of performance motors and transmissions are waiting to go into regional project vehicles. (Guaranty is the go-to supplier in Southern California for custom builders, hot rodders, and media outlets like MotorTrend.)
Dakota Digital LS Swap Gauges (Universal OR Direct Fit)
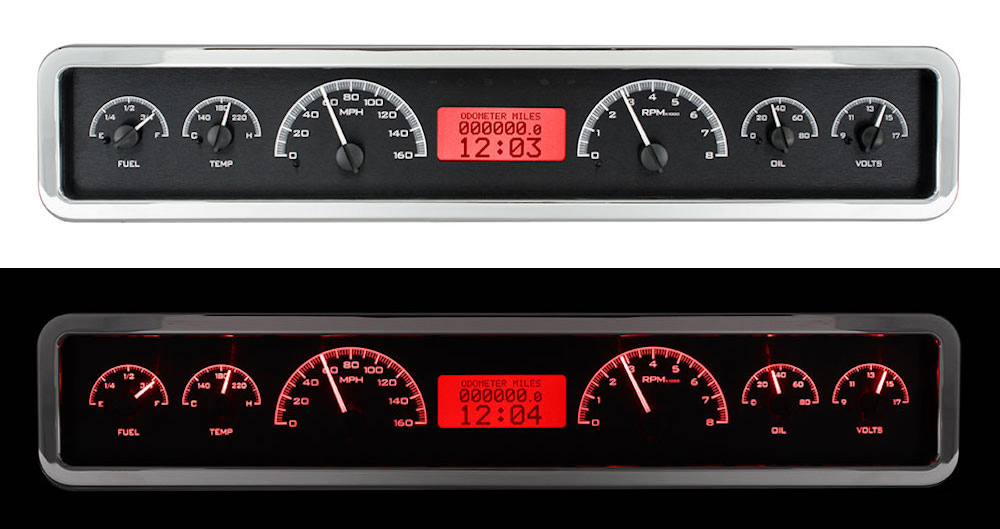
Now that you’ve got your project running again, you need some sweet LS swap gauges. The VHX-1023 is one of Dakota Digital’s universal gauge clusters and measures 3.75″ by 19.5″. Fortunately for this project, that’s just about the perfect size for the 1991-1993 Buick Roadmaster gauge clusters. We were actually able to fit the VHX-1023 into the OEM cluster housing and bolt it back into position.
However, since starting our project and installing the VHX-1023, Dakota Digital introduced a direct bolt-in gauge cluster that fits 91-93 Roadmasters, 91-92 Custom Cruiers, and 91-93 Caprices with the digital cluster. The part number is VFD3-91C-CAP-D. They also offer clusters for 94-96 Impalas, Caprices, and Roadmasters, but as B Body fans already know, the later model years are a completely different shape.
Dakota Digital LS swap gauges not only include a cluster, but also numerous sensors and a wiring module, which acts as a conduit between the vehicle and its new, pretty gauges. For cluster lighting, like blinkers and emergency brake indicators, one must tap into (or wire fresh) the project vehicle’s various lighting systems.
Dakota Digital Controllers & Modules
For vehicle performance information, like speed, tach, oil pressure, and coolant temp, one can either wire in the included sensors or integrate a BIM-01-02 OBD-II interface module. With a BIM, simply plug in the adapter to your OBD-II port, and you’re good to go.
We also used a Dakota Digital BAC-2800BT Fan Controller in the system at the recommendation of our local A/C guy (Earl at Budget Air in Lawndale, California). Basically, the Connect & Cruise system is set up to run one fan when the coolant temp reaches 207 degrees Fahrenheit. And the BAC-2800BT, at Earl’s suggestion, now triggers the fans when the A/C compressor turns on.
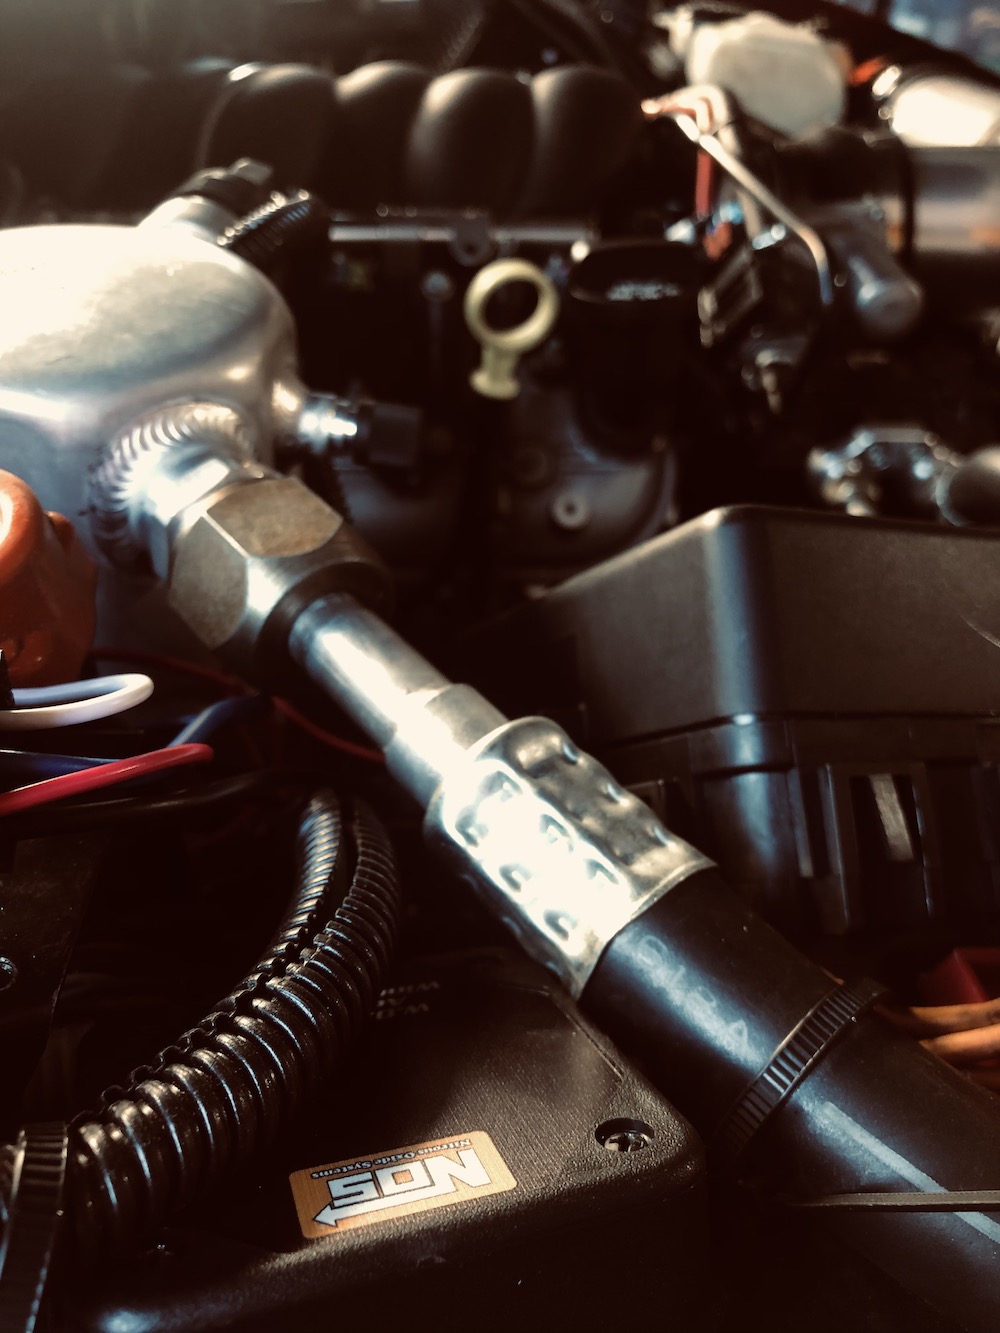
Lastly, we also closed our firewall holes with Earl’s Performance Seals It Grommets. And then we added a NOS RPM Activated Window Switch (along with another Dakota Digital relay). Sadly, it’s not for anything fun. Instead, it protects the Sanden SD7 compressor in the Holley Mid-Mount Accessory Drive system. Most passenger car computers prevent a/c compressors from overclocking during high-rpm, wide-open throttle driving. The Connect & Cruise system lacks this feature. So the NOS Window Switch turns off the compressor when the engine reaches 4,000 RPM (or more).
Chemical Guys Detailing Products
Now that the Roadmaster resembles itself again on the inside, we gave it a quick detail with a few of our favorite Chemical Guys detailing products. After a thorough cleaning, we used the one-two punch of Black Light Hybrid Glaze and Butter Wet Wax. If you look close enough, the wagon’s three-decade-old paint needs some restoration (or a very cool wrap!) to fix up the plastics and some fading clear coat. But with these fine sealants, it shines up pretty nicely, I’d say.
Next Up…
We’re going to discuss how much it REALLY costs to do an LS swap in California with all new parts!
LS3 Roadmaster Wagon Project EPISODES
Part 1
Parts & Project GoalsPart 2
Michelin Tires, American Racing Wheels, Eaton TrueTrac, & Sway BarsPart 3
Wilwood D52 Disc BrakesPart 4
Coilovers & Control ArmsPart 5
Goodbye TBI, Hellow Earl’s Vaporguard Fuel SystemRacingJunk.com Bonus
Everything You Need to START a Chevy Performance Connect & Cruise System
(LS and LT Engines)Part 6
Installing an LS3 E-ROD & Holley Accessories in a Roadmaster Wagon!!!Part 7
This Magnaflow xMod Exhaust Made My LS3-Swapped Wagon Sound INSANE!Part 8
Dakota Digital: LS Swap Gauges & Wiring Made Easy! (Plus Guaranty Chevy & Chemical Guys!)Part 9
LS Swaps Are a LOT More Expensive Than You Think!!!Part 10
10 Tips for Surviving Your First LS SwapBonus
Every Part You NEED For Your First LS SwapClick HERE to join the LS3 Roadmaster Wagon Project BUILD THREAD!
PARTNERS
- Guaranty Chevrolet: https://www.occhevy.com/
- Holley: https://www.holley.com/
- Magnaflow: https://www.magnaflow.com/
- Chemical Guys: https://www.chemicalguys.com/
- Dakota Digital: https://www.dakotadigital.com/
- Michelin: https://www.michelin.com/
- Wilwood Brakes: https://www.wilwood.com/
- Eaton: https://www.eaton.com/
- Sony: https://electronics.sony.com/
DISCOUNTS PROVIDED
- Summit Racing: https://www.summitracing.com/
- Muscle Rods aka BRP HotRods: http://www.brphotrods.com/
- Sikky Manufacturing: https://www.sikky.com/
- American Racing Wheels: https://www.americanracing.com/
EDITOR’S NOTE/RETRACTION: An earlier version of this article included a description of how to pass smog with an E-ROD project in California. That information was based on instructions given to us by multiple sources. However, after reaching out for a quote about the process from the Bureau of Automotive Repair, we’re going to update that content at a later date in future articles and a new video.