Conversions & Swaps LSX Engines in Non-LSX Vehicles
Sponsored by:
Sponsored by:

My 1963 Ford Econoline 4.8/6L80E build

Thread Tools
 
Search this Thread
 
Old 03-05-2020, 07:00 PM
  #321  
Launching!
Thread Starter
 
trozfan's Avatar
 
Join Date: Feb 2011
Location: Raleigh NC
Posts: 246
Received 107 Likes on 45 Posts

Default

Originally Posted by DW SD
super amazing work. How will you seal the panels's gaps? Are they removable for a reason?

Doug
I will get some thin stick on weatherstripping after everything is painted. They fit really good already so not too worried about leaks. This will all be covered with carpet/interior panels so none of this nonsense will be seen. The panels in front of the doghouse are removable to be able to service/remove the radiator (also small removable panel to simply fill the radiator). The doghouse top will come off for oil changes/etc. and the entire doghouse will come off for larger engine service.
Old 03-08-2020, 03:14 PM
  #322  
Launching!
Thread Starter
 
trozfan's Avatar
 
Join Date: Feb 2011
Location: Raleigh NC
Posts: 246
Received 107 Likes on 45 Posts

Default

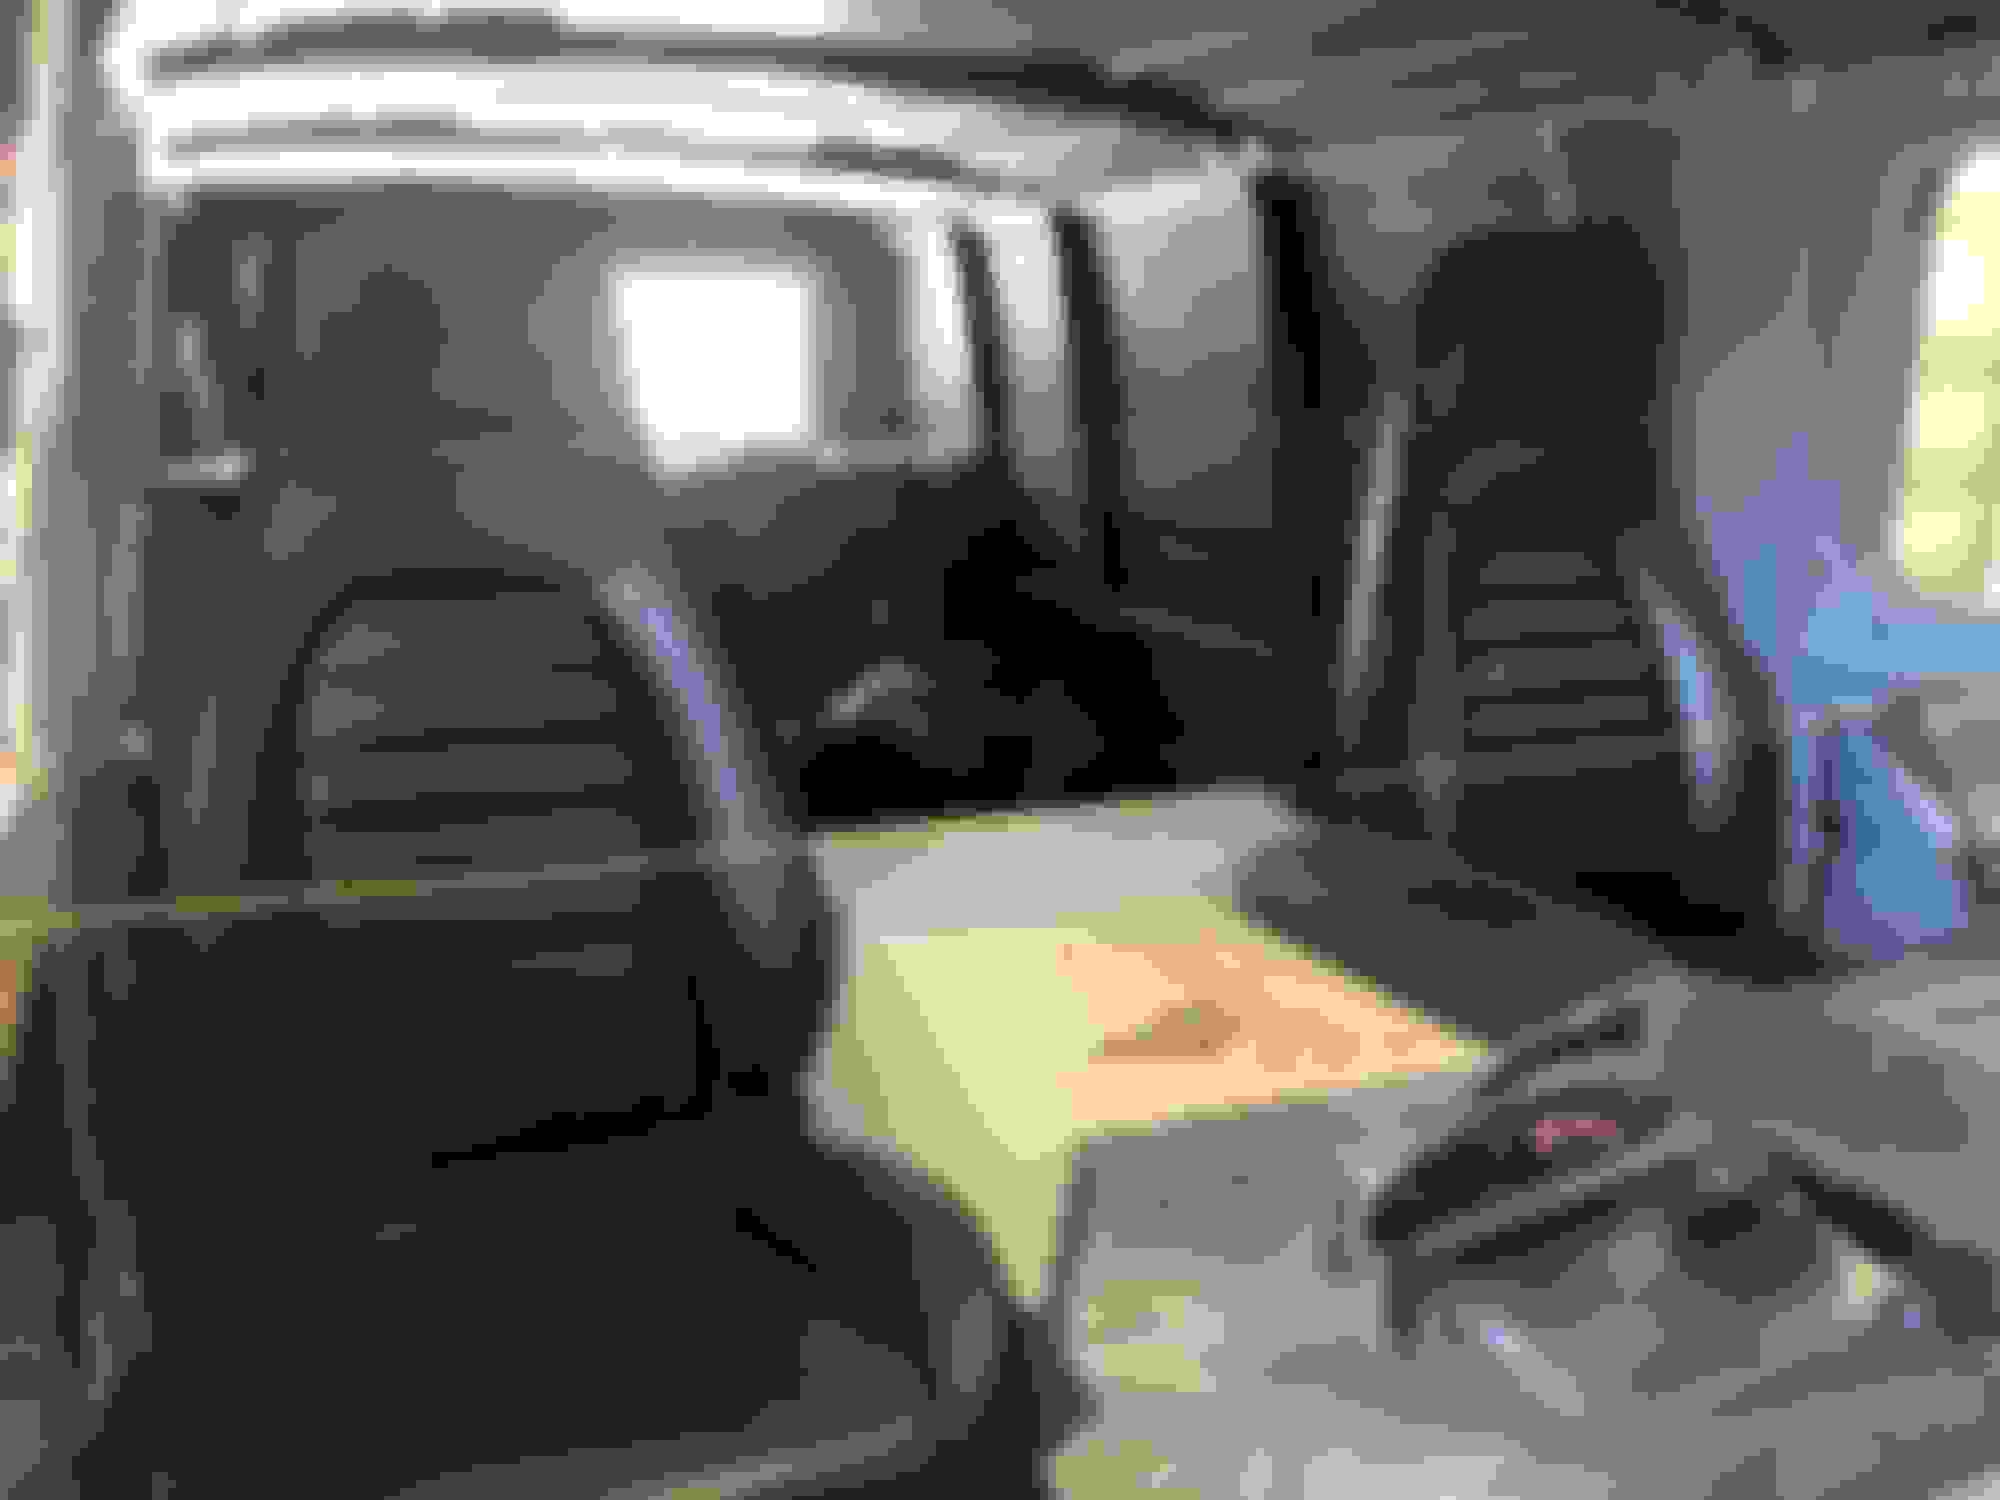
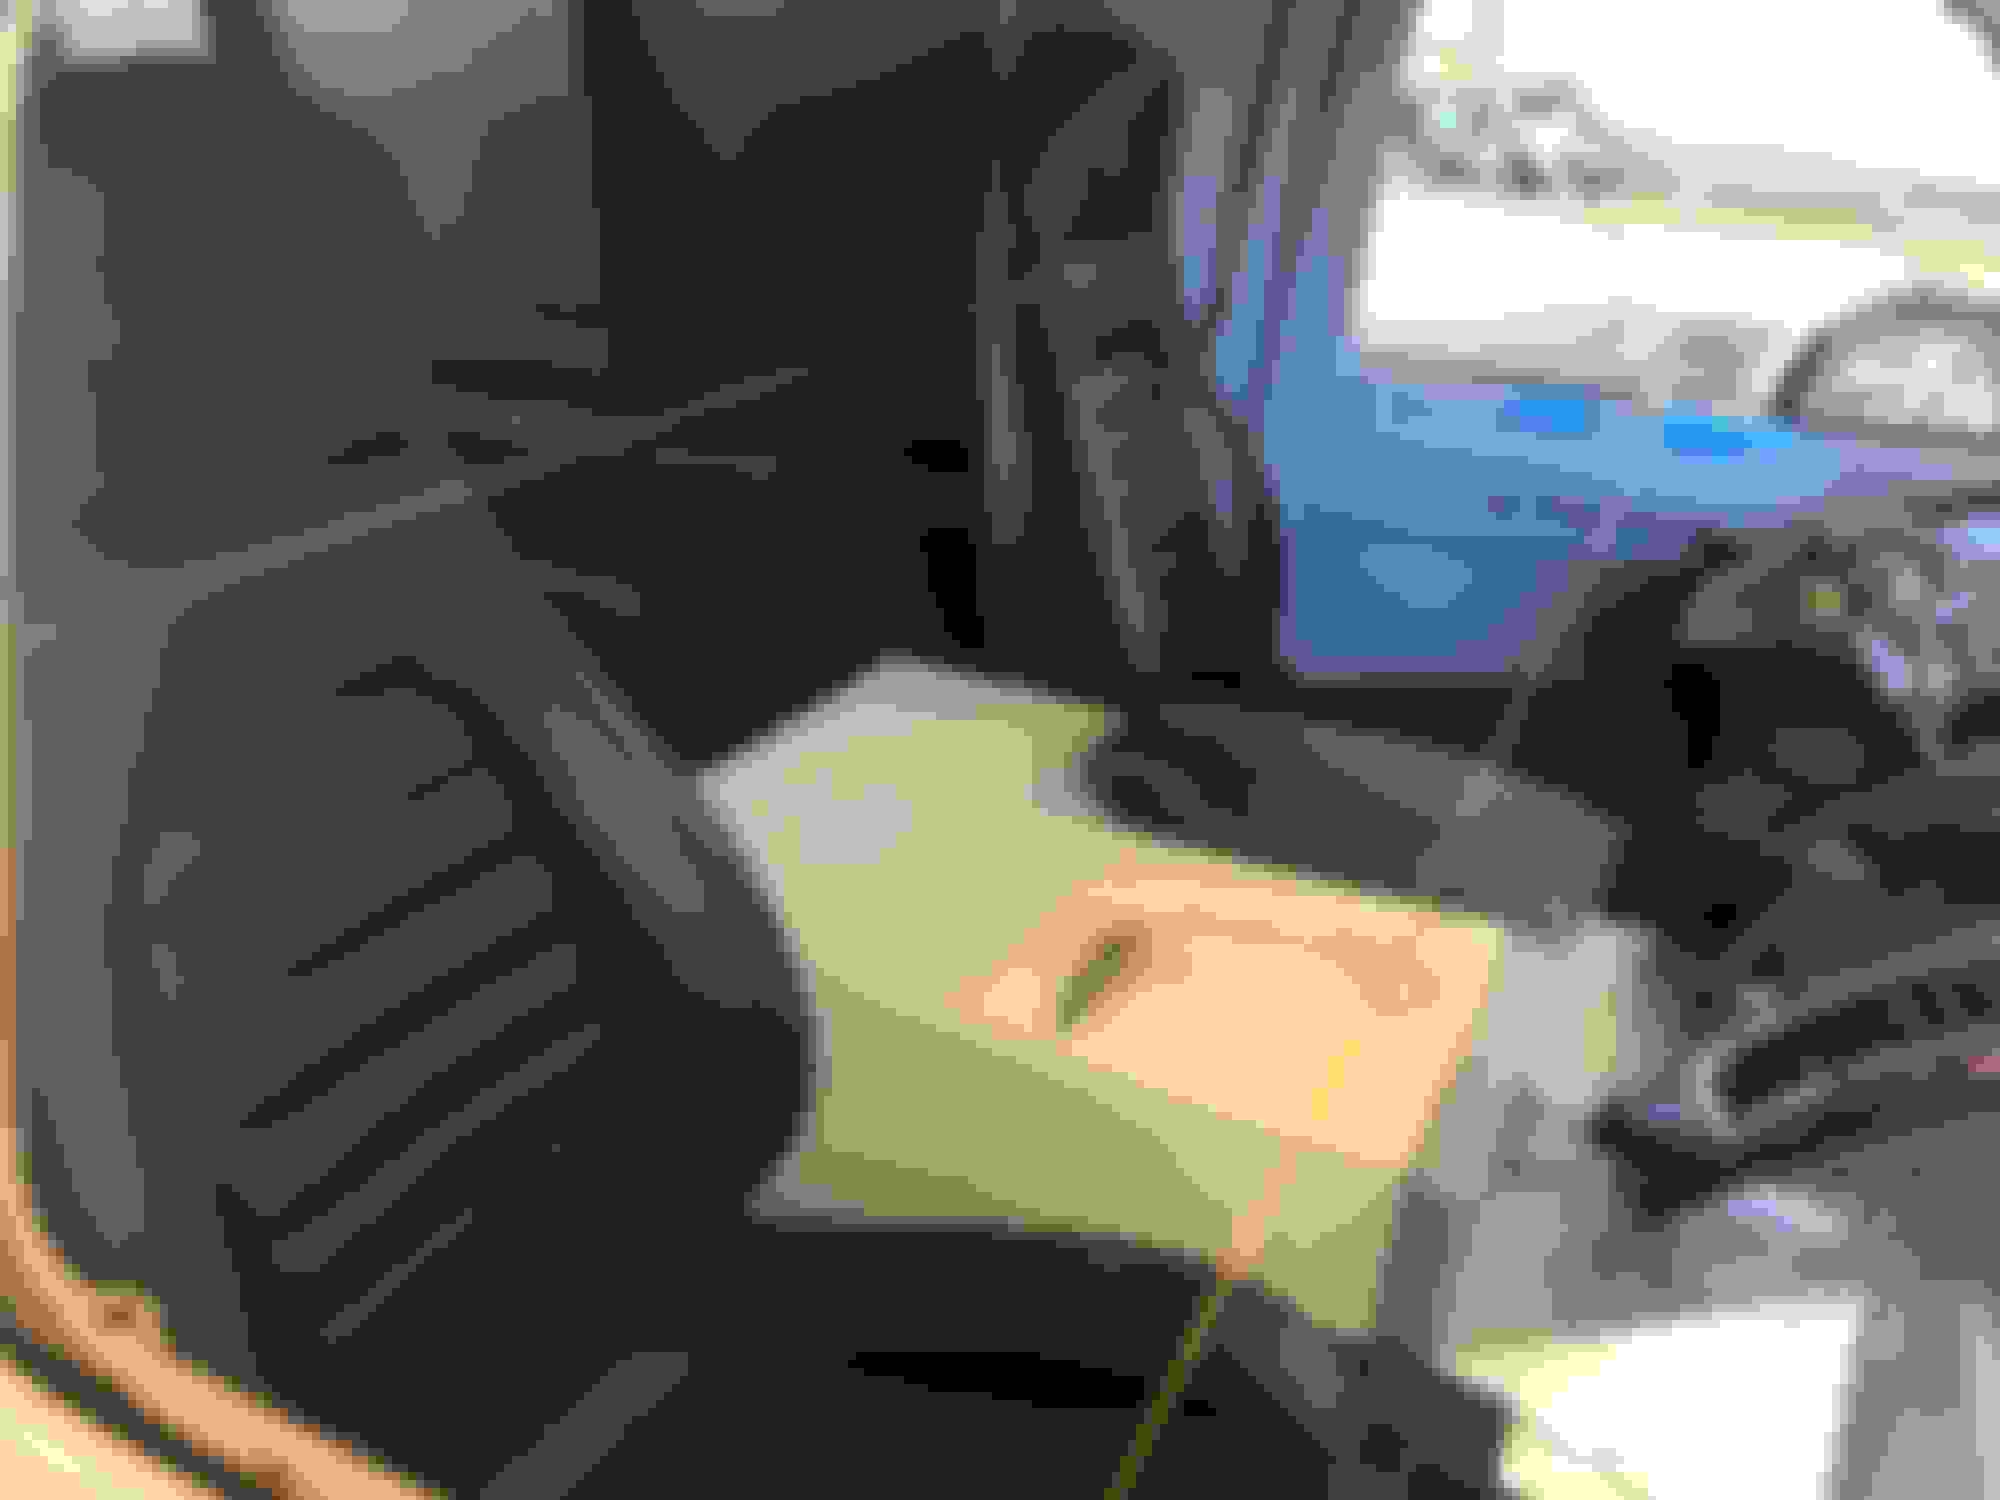
Got the ignition switch mounted and a few minor floor finish items done. Started working on the passenger seat mounts. It’s comical how much of a pain it is to mock up a seat in midair while trying to match it to the other seat height and keep it square, level, and plumb with the car. String lines and a plumb bob help since I don’t have a lot of good spots to measure off of.


The following 2 users liked this post by trozfan:
JoshHefnerX (03-08-2020), transam5.7lt1 (03-12-2020)
Old 03-11-2020, 11:24 AM
  #323  
TECH Senior Member
 
Jimbo1367's Avatar
 
Join Date: Jul 2009
Posts: 7,864
Received 590 Likes on 468 Posts

Default

Pretty sick.
Old 03-12-2020, 08:13 AM
  #324  
TECH Fanatic
 
LSswap's Avatar
 
Join Date: Nov 2014
Posts: 1,149
Received 506 Likes on 330 Posts
Default

I hate when my coffee gets cold in my car. I see a great opportunity for make a combo cupholder/coffee warmer.

Seriously, really enjoy the progress.
Old 03-15-2020, 03:40 PM
  #325  
Launching!
Thread Starter
 
trozfan's Avatar
 
Join Date: Feb 2011
Location: Raleigh NC
Posts: 246
Received 107 Likes on 45 Posts

Default

Finished mounting the passenger seat and also made the seat belt mounts for the drivers side. This is a 3-point belt out of the rear of an F150 crew cab and has the adjustable shoulder height.


The following users liked this post:
kpeters59 (03-17-2020)
Old 03-23-2020, 05:38 PM
  #326  
Launching!
Thread Starter
 
trozfan's Avatar
 
Join Date: Feb 2011
Location: Raleigh NC
Posts: 246
Received 107 Likes on 45 Posts

Default

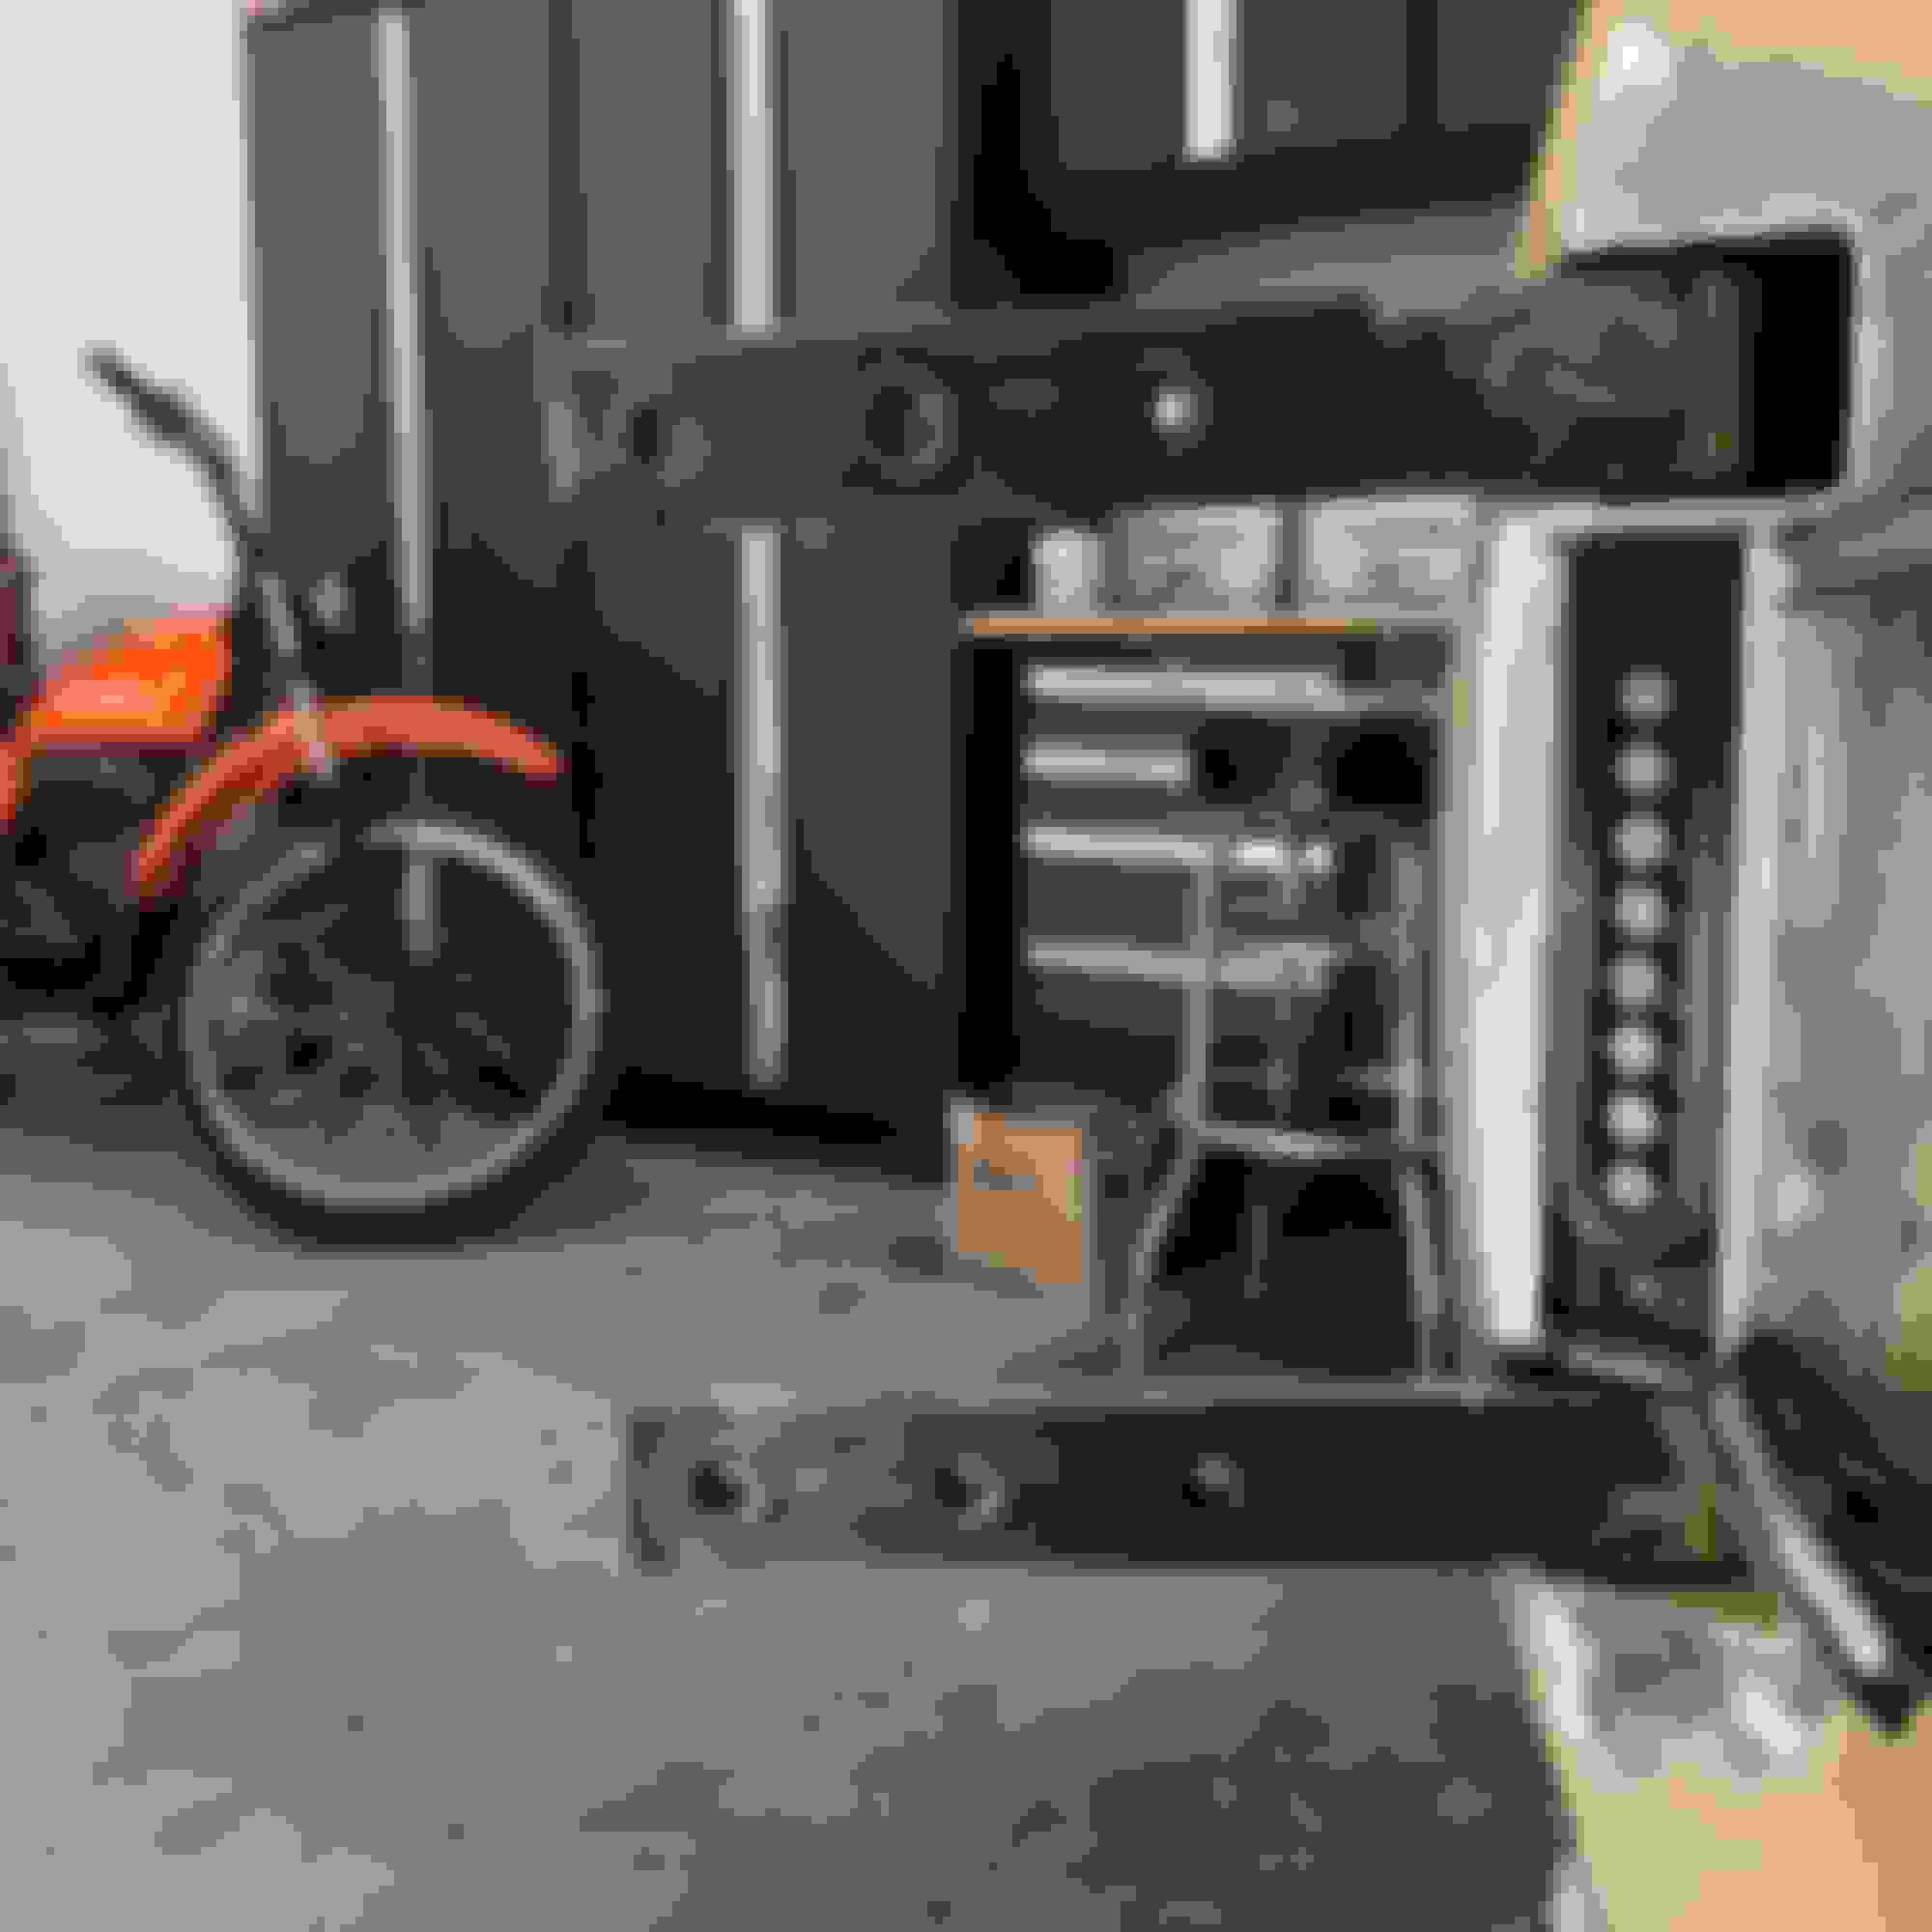
Seats and seat belts are finished. Finally tackling the rear end. Installed new leaf springs and reinstalled the rear end. I had to set the rear pinion angle and weld the new leaf spring saddles from when I flipped the rear axle. I am also laying out the upper and lower rear shock mounts. Once I line those up and tack weld them, I will remove the rear end to finish the welding and clean/paint everything.


Old 03-23-2020, 07:50 PM
  #327  
Launching!
Thread Starter
 
trozfan's Avatar
 
Join Date: Feb 2011
Location: Raleigh NC
Posts: 246
Received 107 Likes on 45 Posts

Default

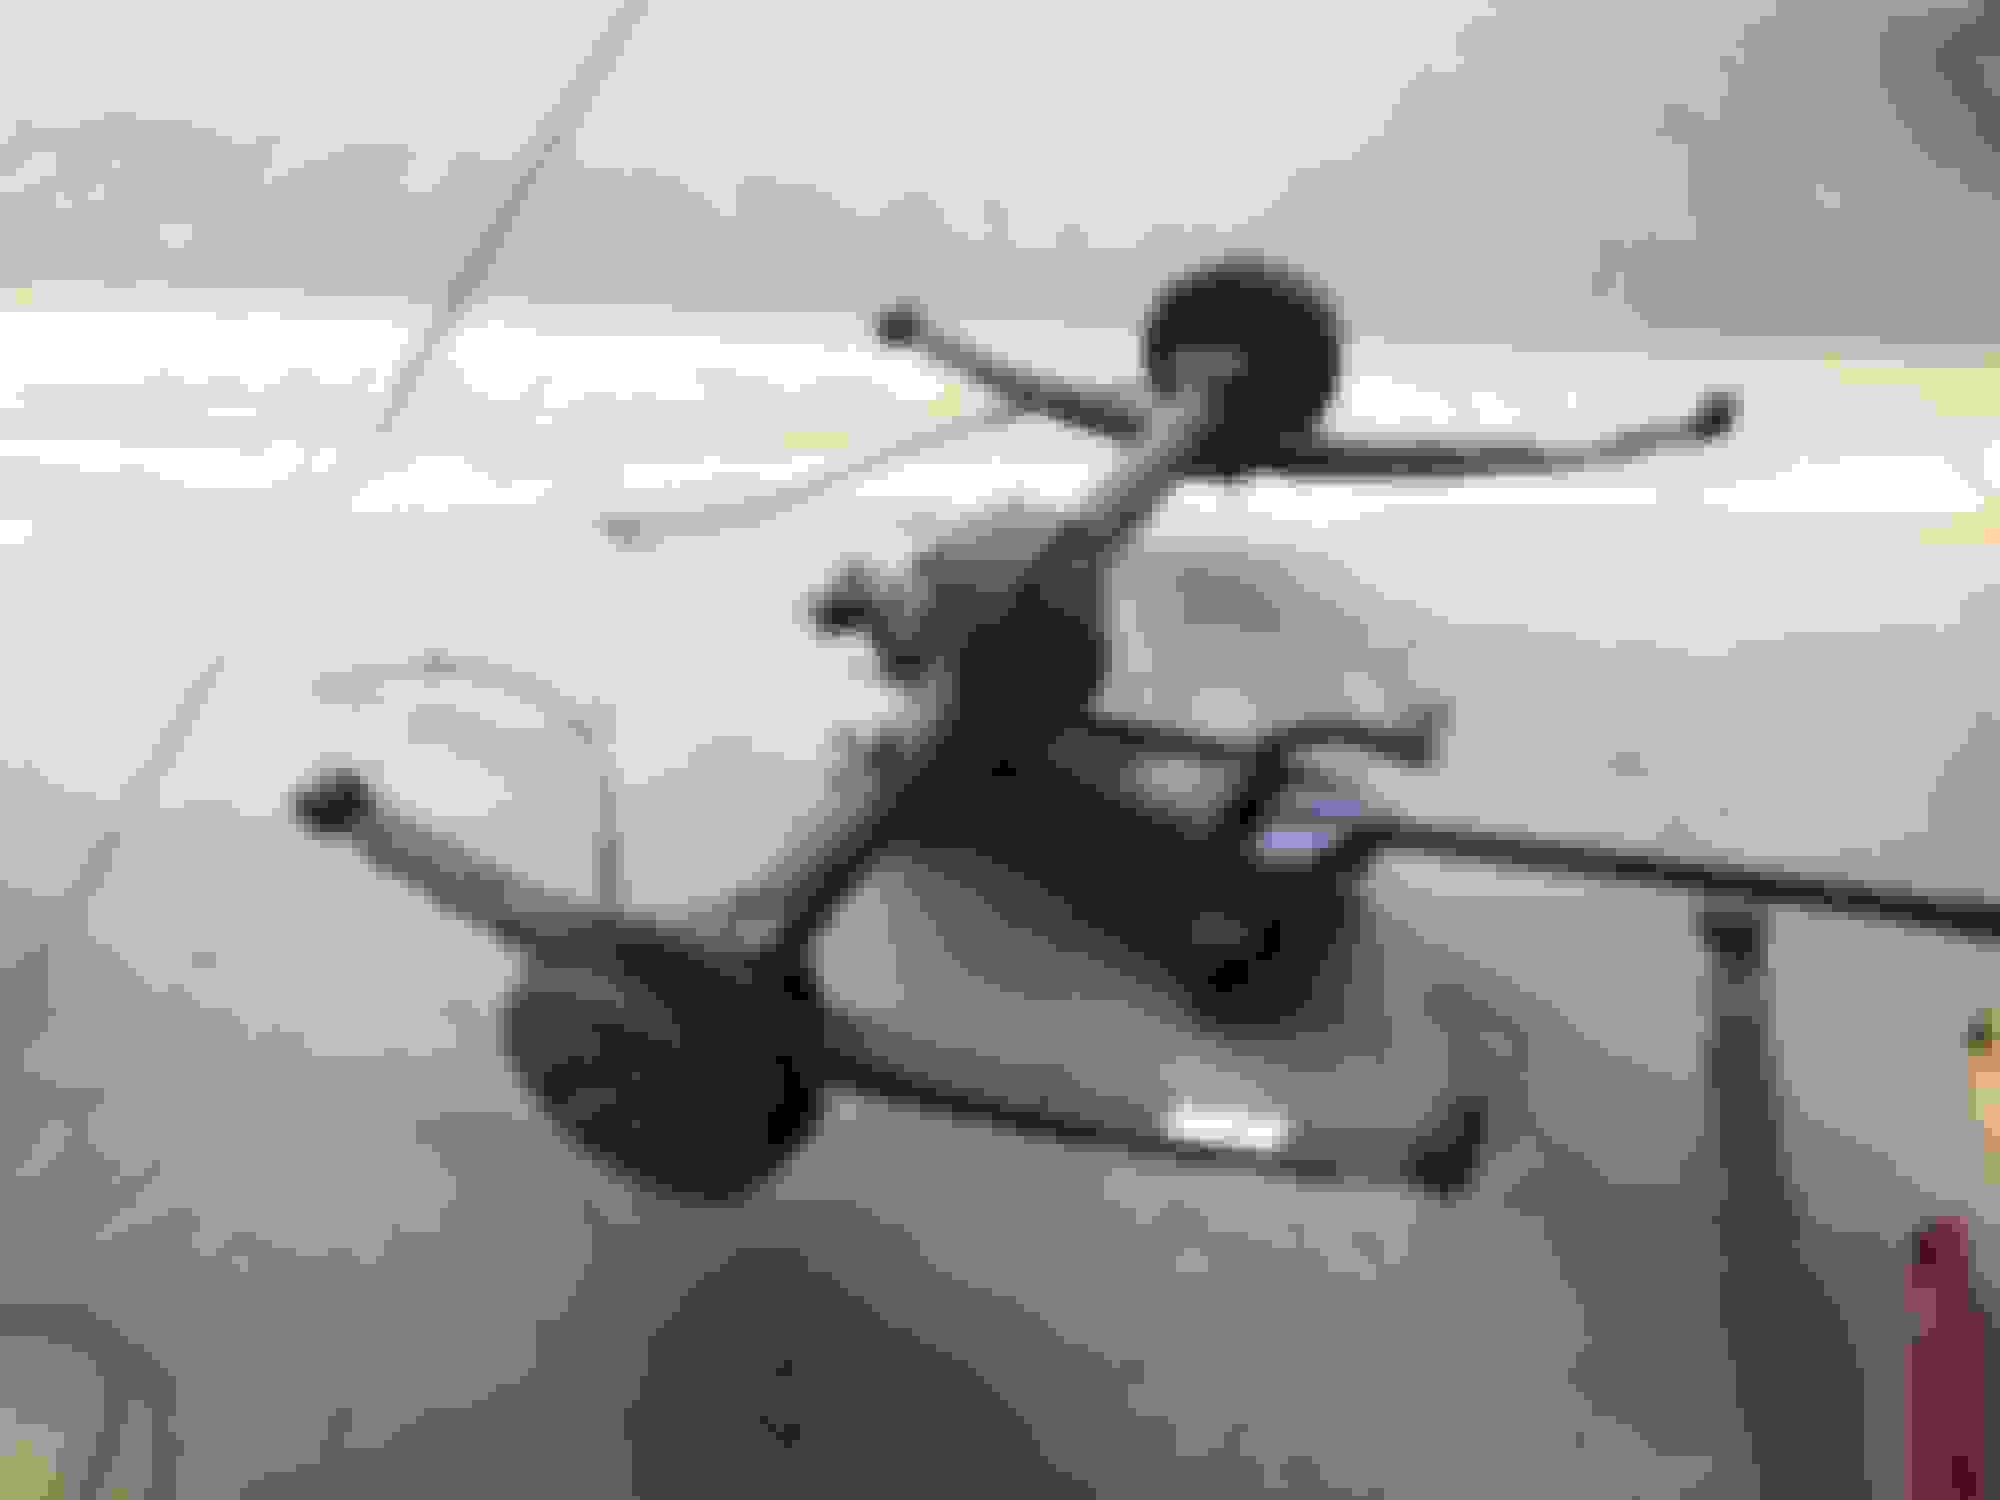
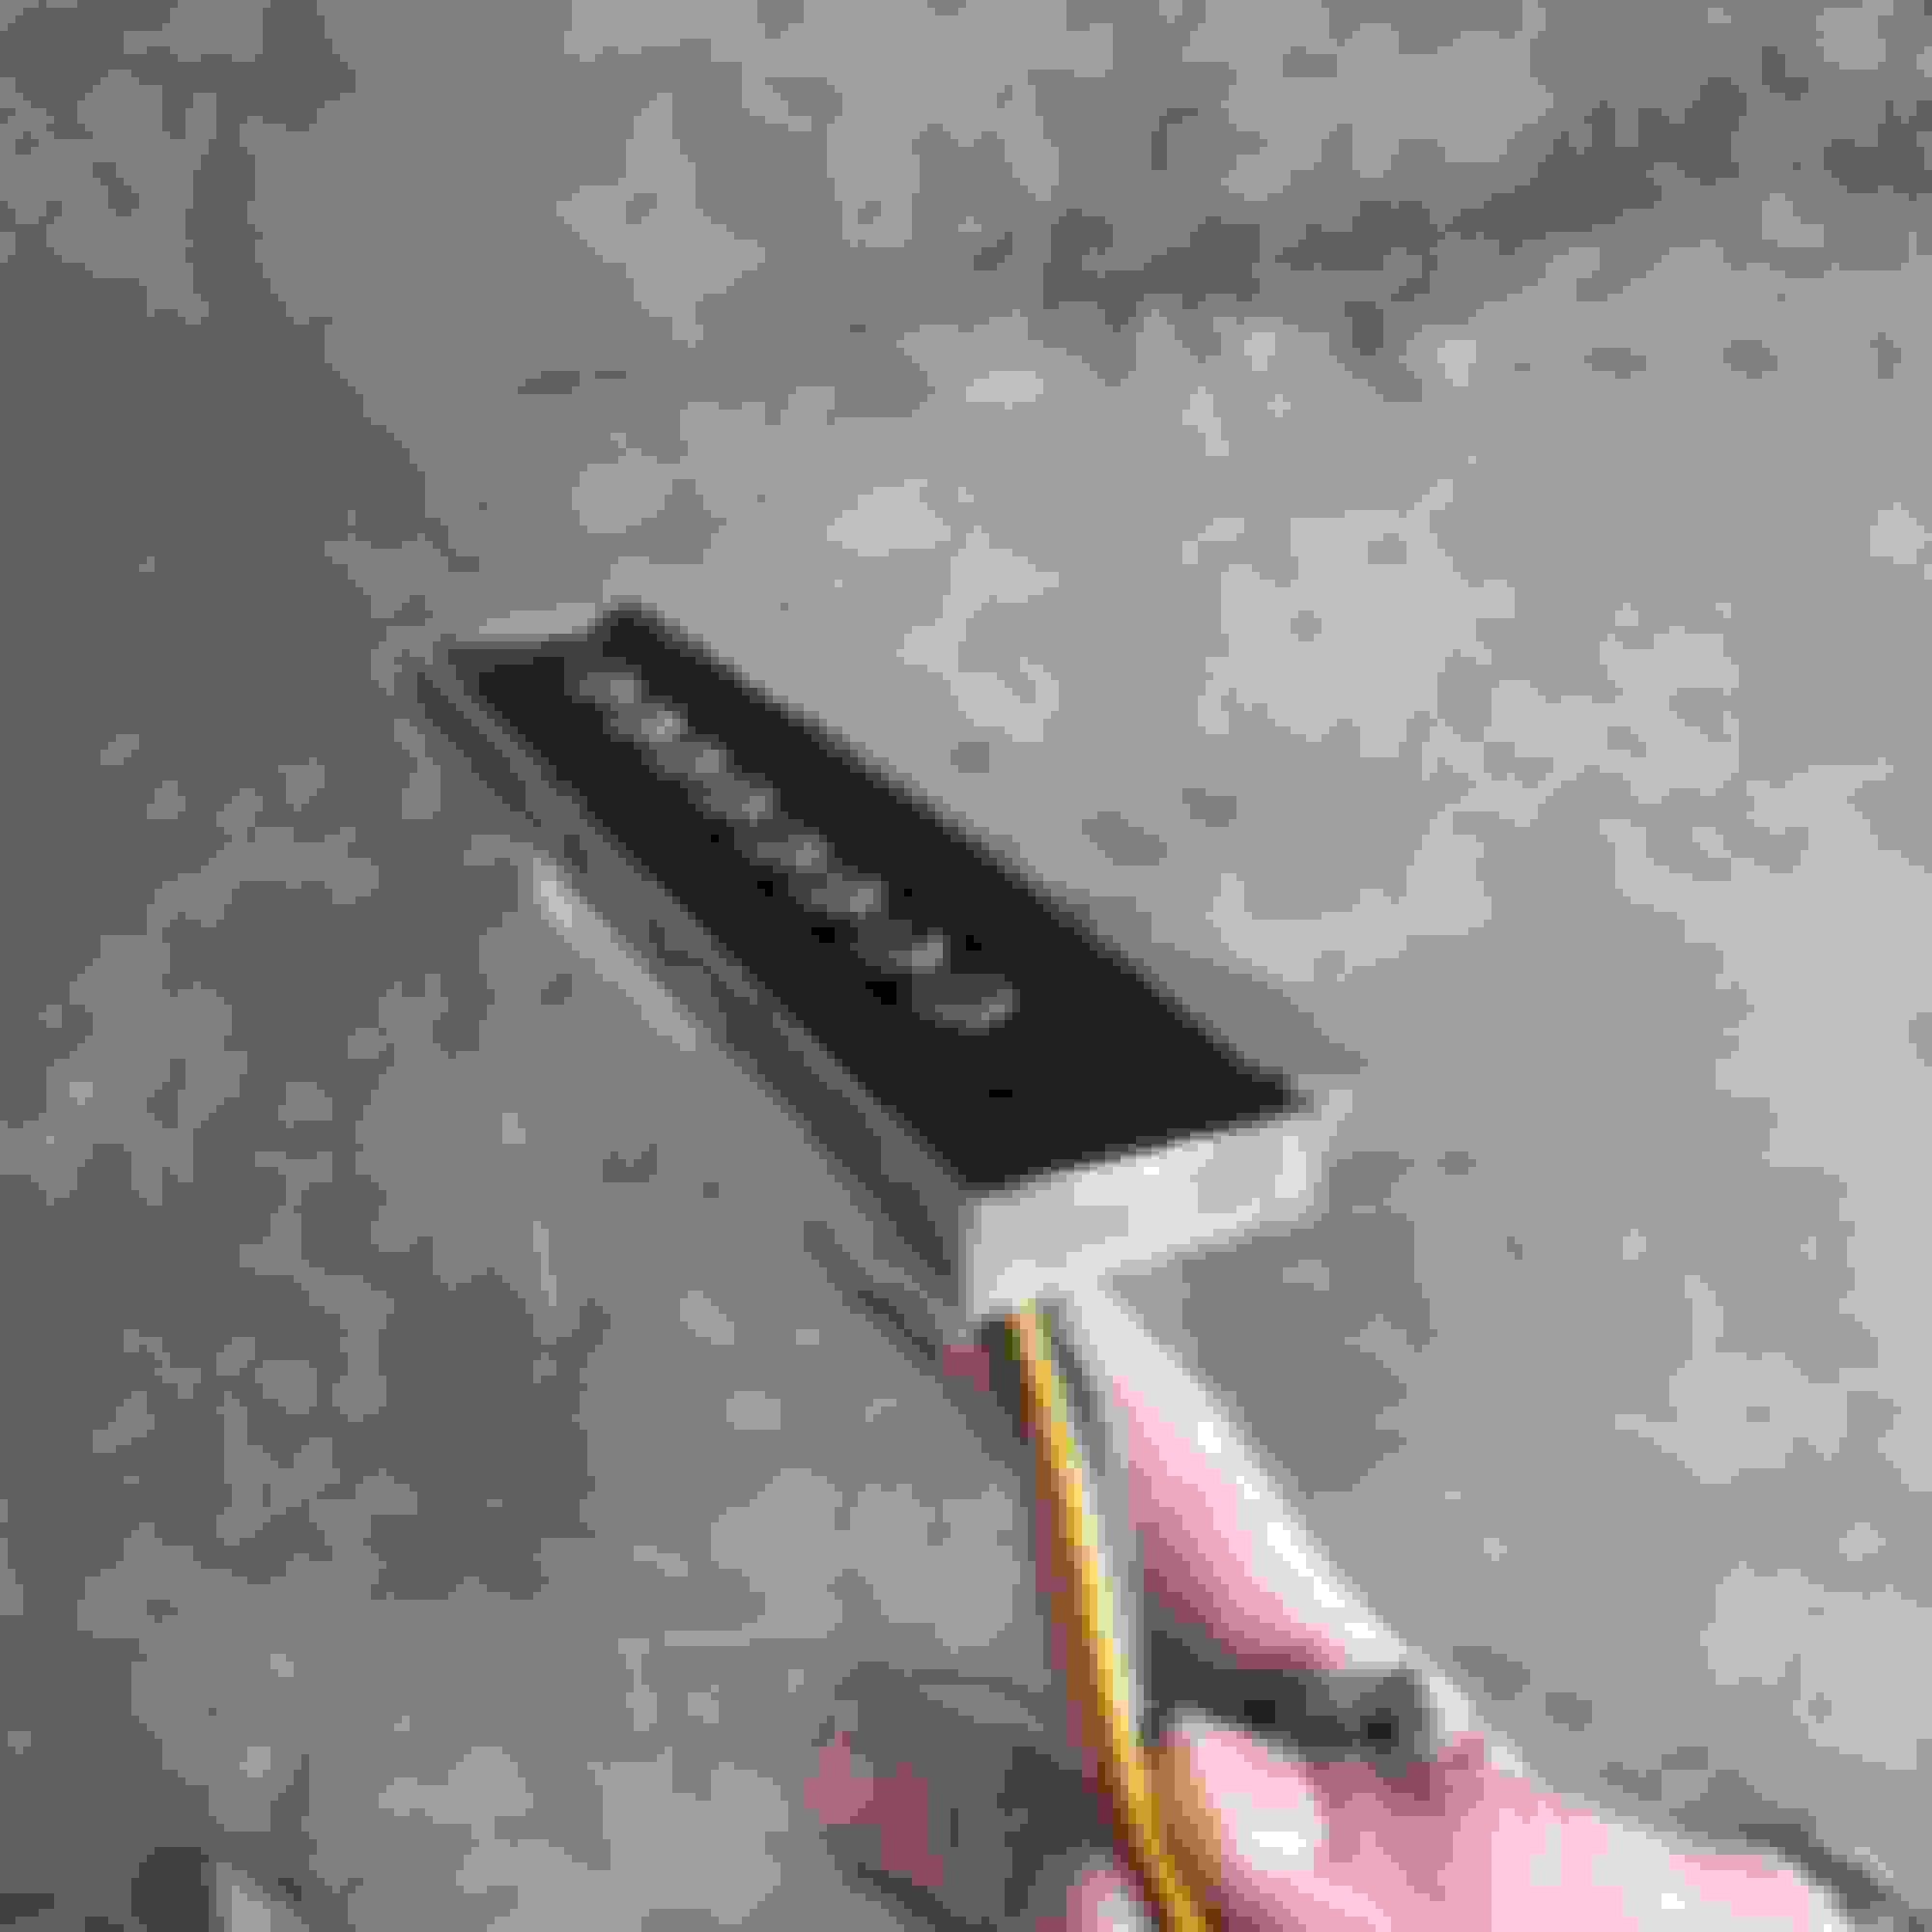
I also hit the local LKQ and found a factory shift cable from an early 2000’s Silverado. It is almost 12 feet long. It worked perfect and snaps right on to the shifter and trans. I cut the under dash bracket out of the Silverado and welded it to my dash.


The following users liked this post:
kpeters59 (03-25-2020)
Old 03-26-2020, 07:39 PM
  #328  
Launching!
Thread Starter
 
trozfan's Avatar
 
Join Date: Feb 2011
Location: Raleigh NC
Posts: 246
Received 107 Likes on 45 Posts

Default

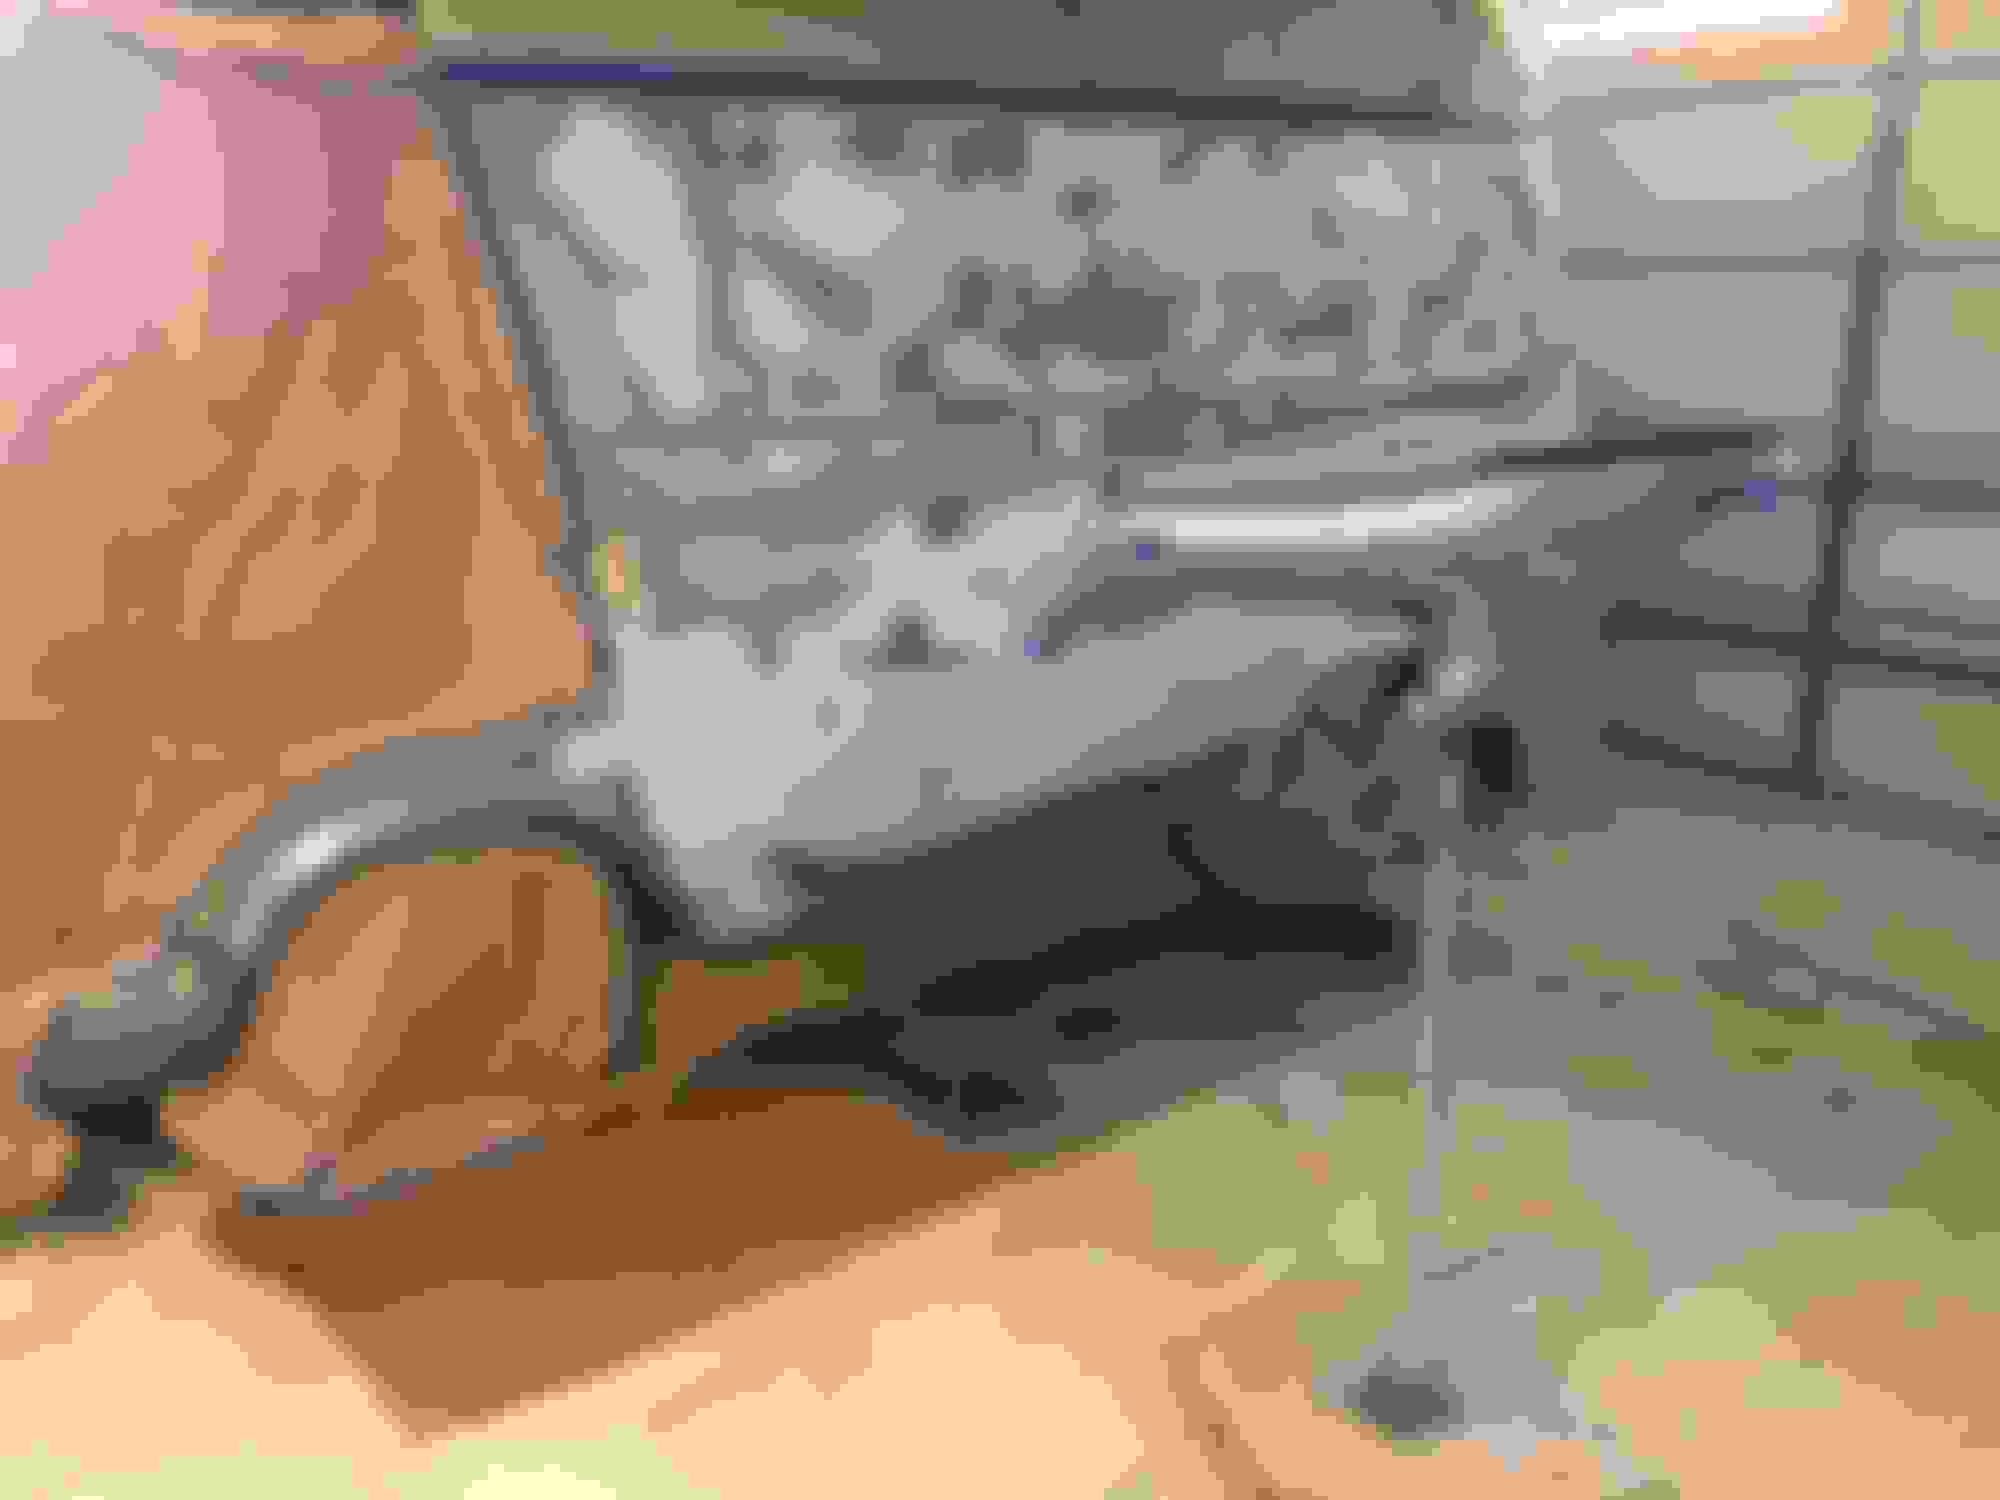
Disassembled everything up front so I could get some primer on all the bare metal. I figure I may as well shoot some paint on it so I don’t have to take it apart again. I will seam seal tomorrow then paint on Saturday.


The following 2 users liked this post by trozfan:
kpeters59 (03-29-2020), truckdoug (03-26-2020)
Old 03-28-2020, 10:37 PM
  #329  
Launching!
Thread Starter
 
trozfan's Avatar
 
Join Date: Feb 2011
Location: Raleigh NC
Posts: 246
Received 107 Likes on 45 Posts

Default


The following users liked this post:
JoshHefnerX (03-30-2020)
Old 04-07-2020, 08:56 PM
  #330  
Launching!
Thread Starter
 
trozfan's Avatar
 
Join Date: Feb 2011
Location: Raleigh NC
Posts: 246
Received 107 Likes on 45 Posts

Default

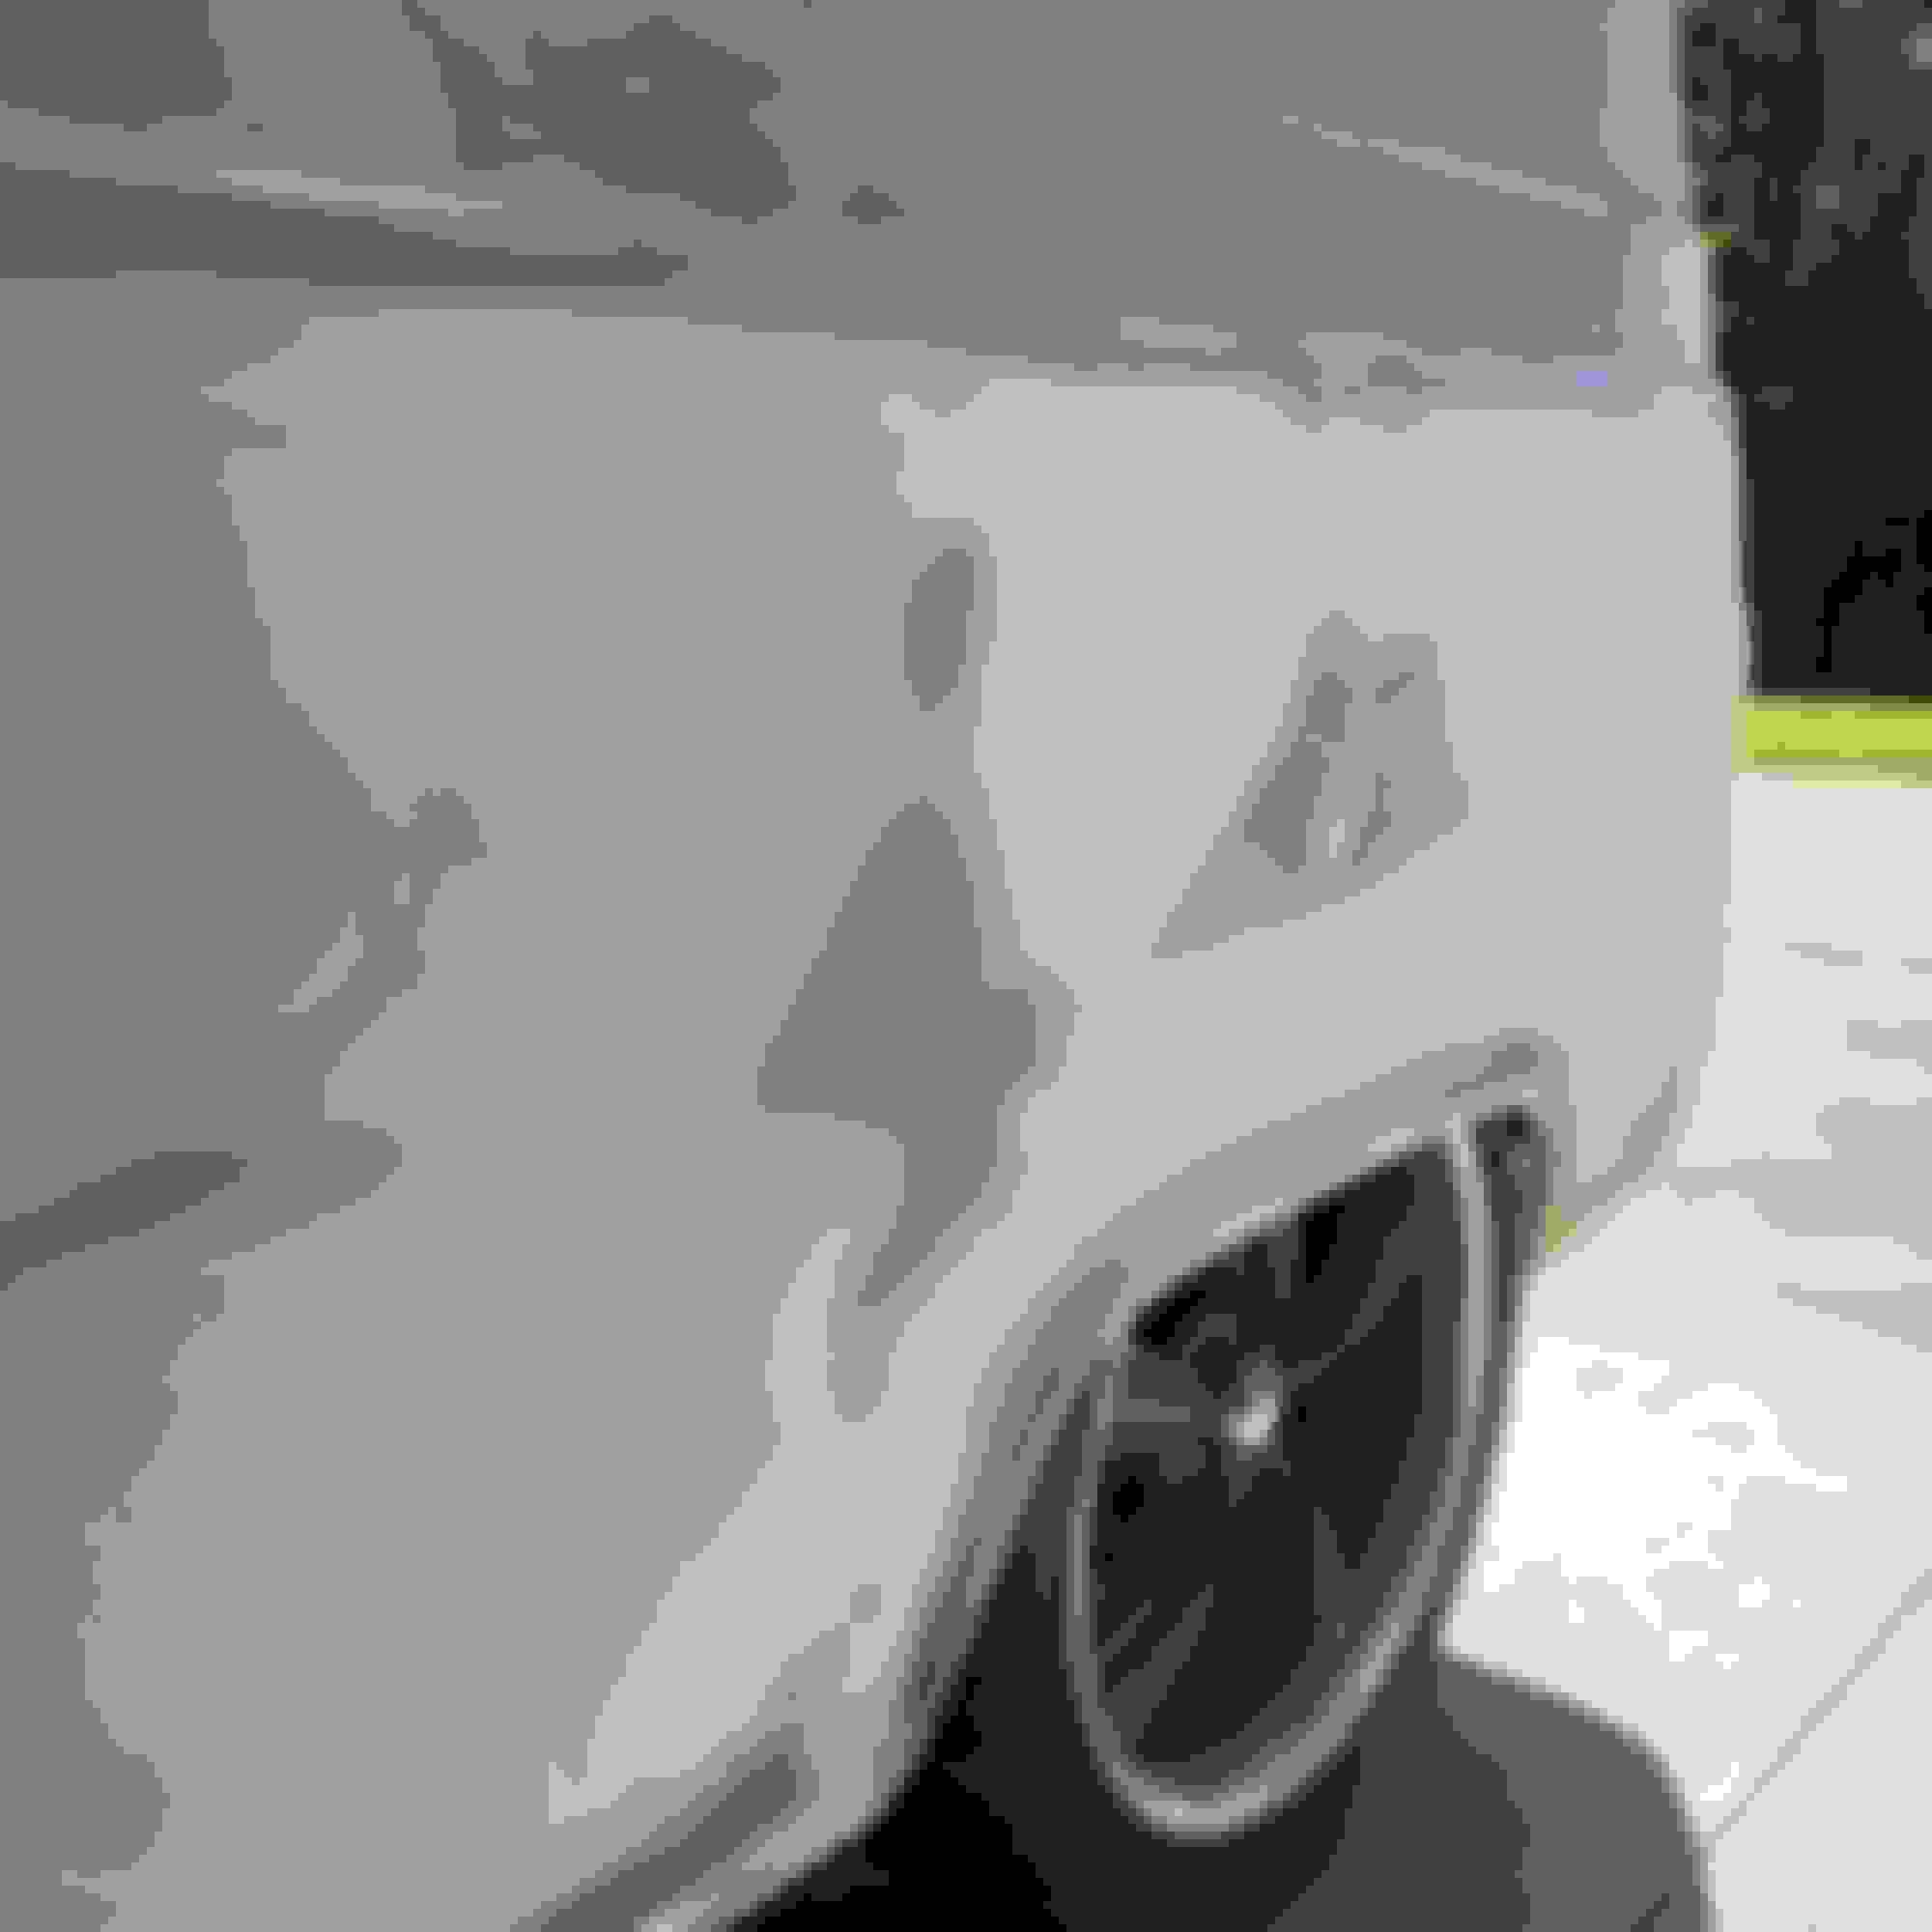
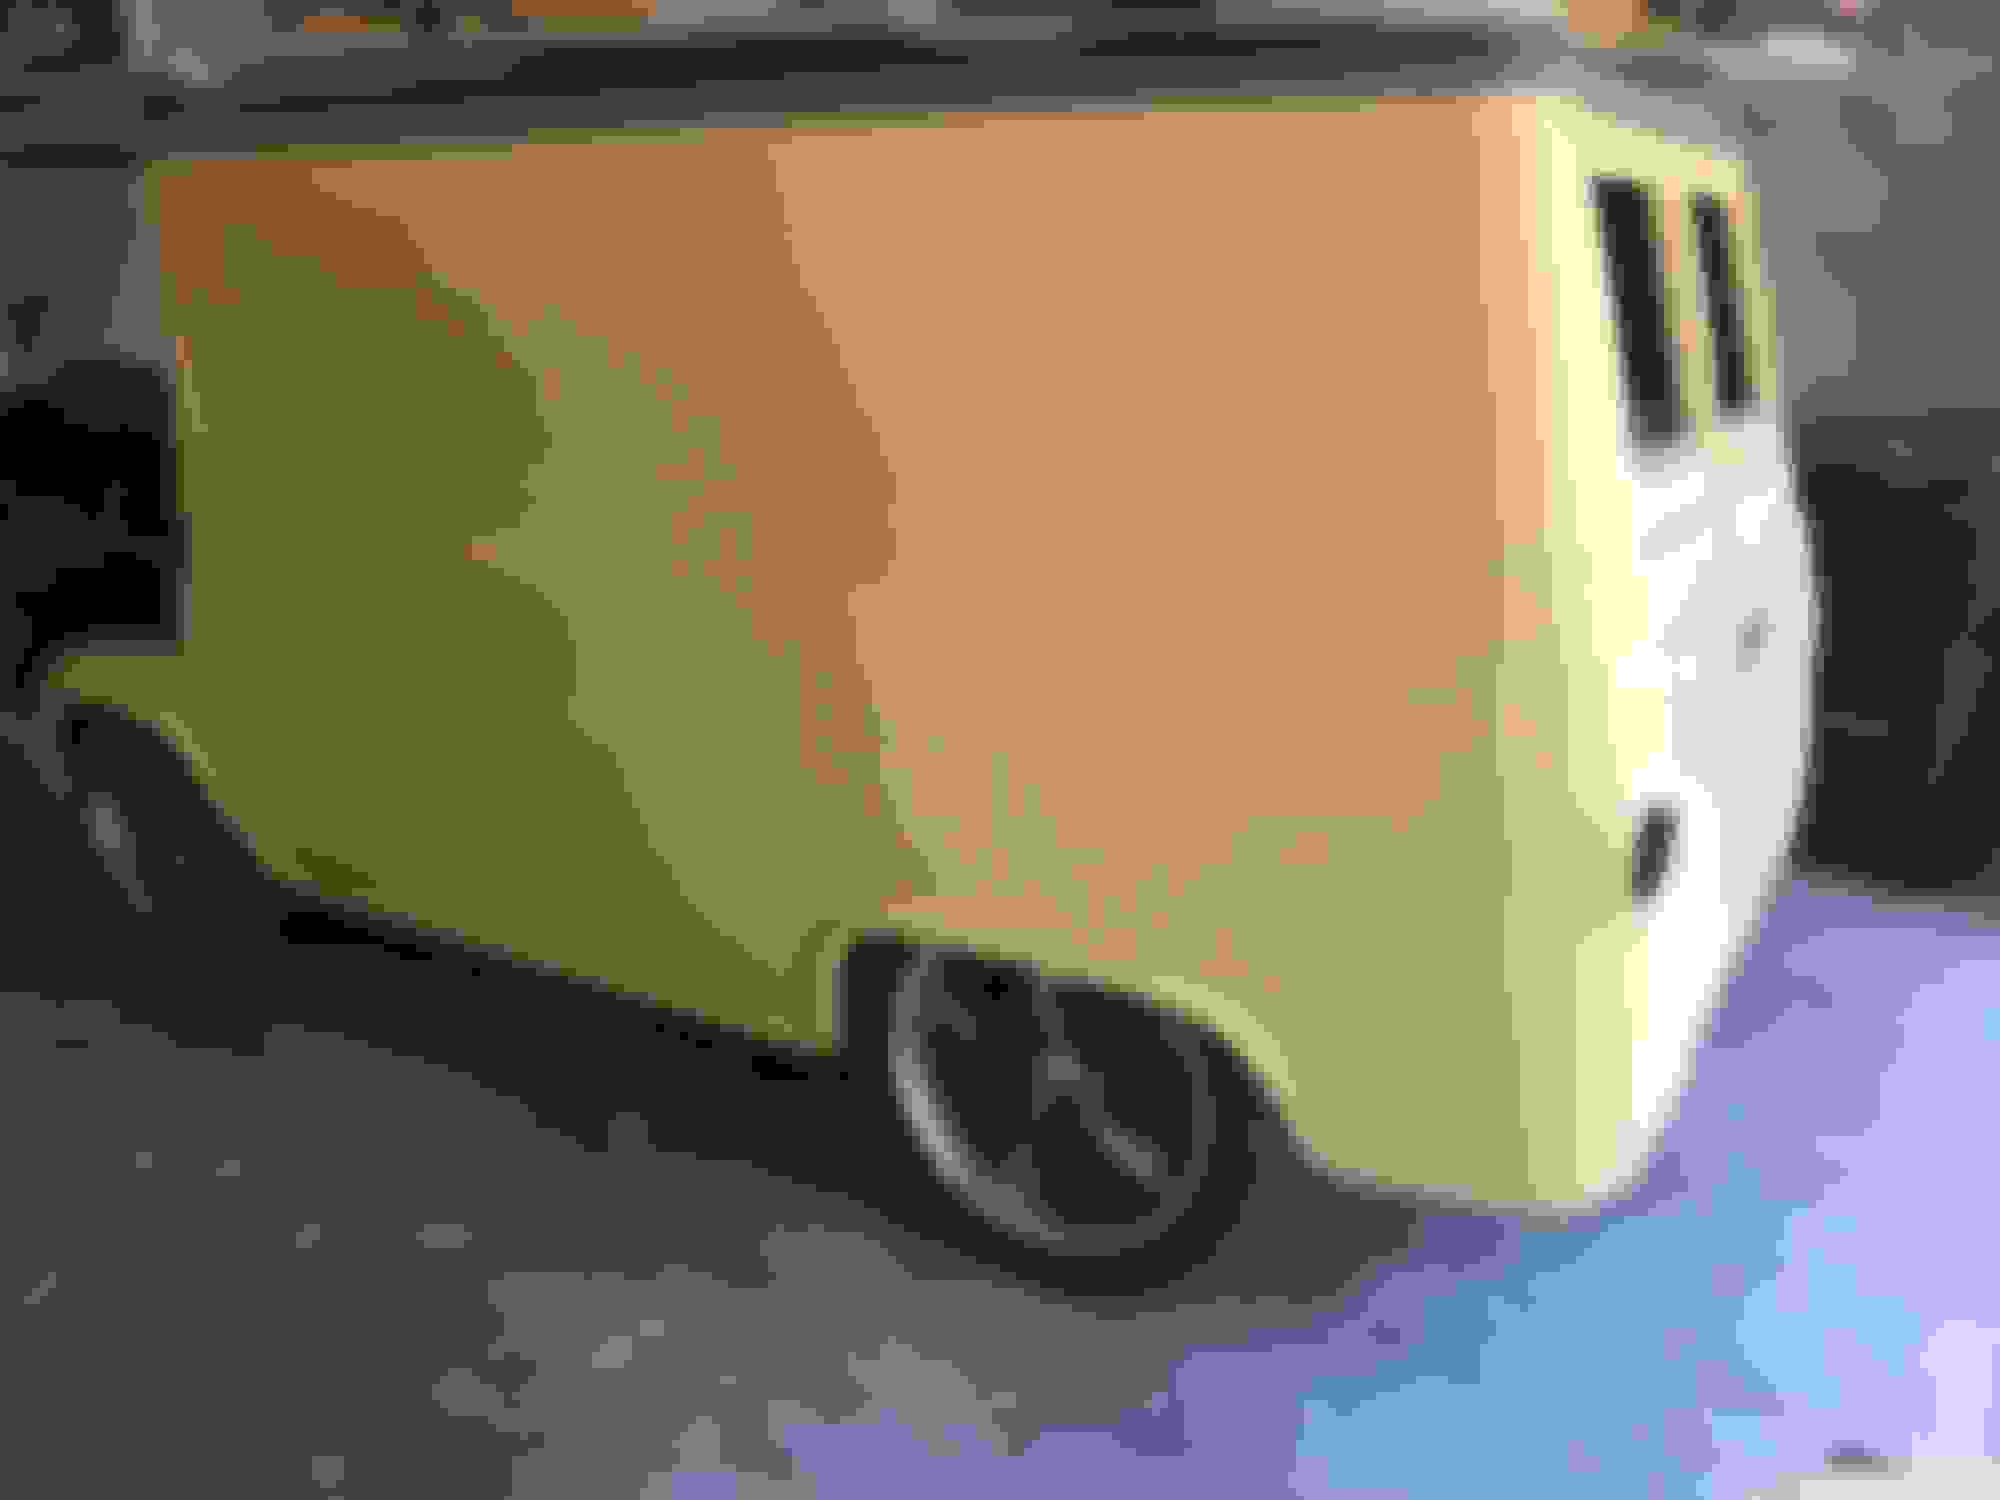
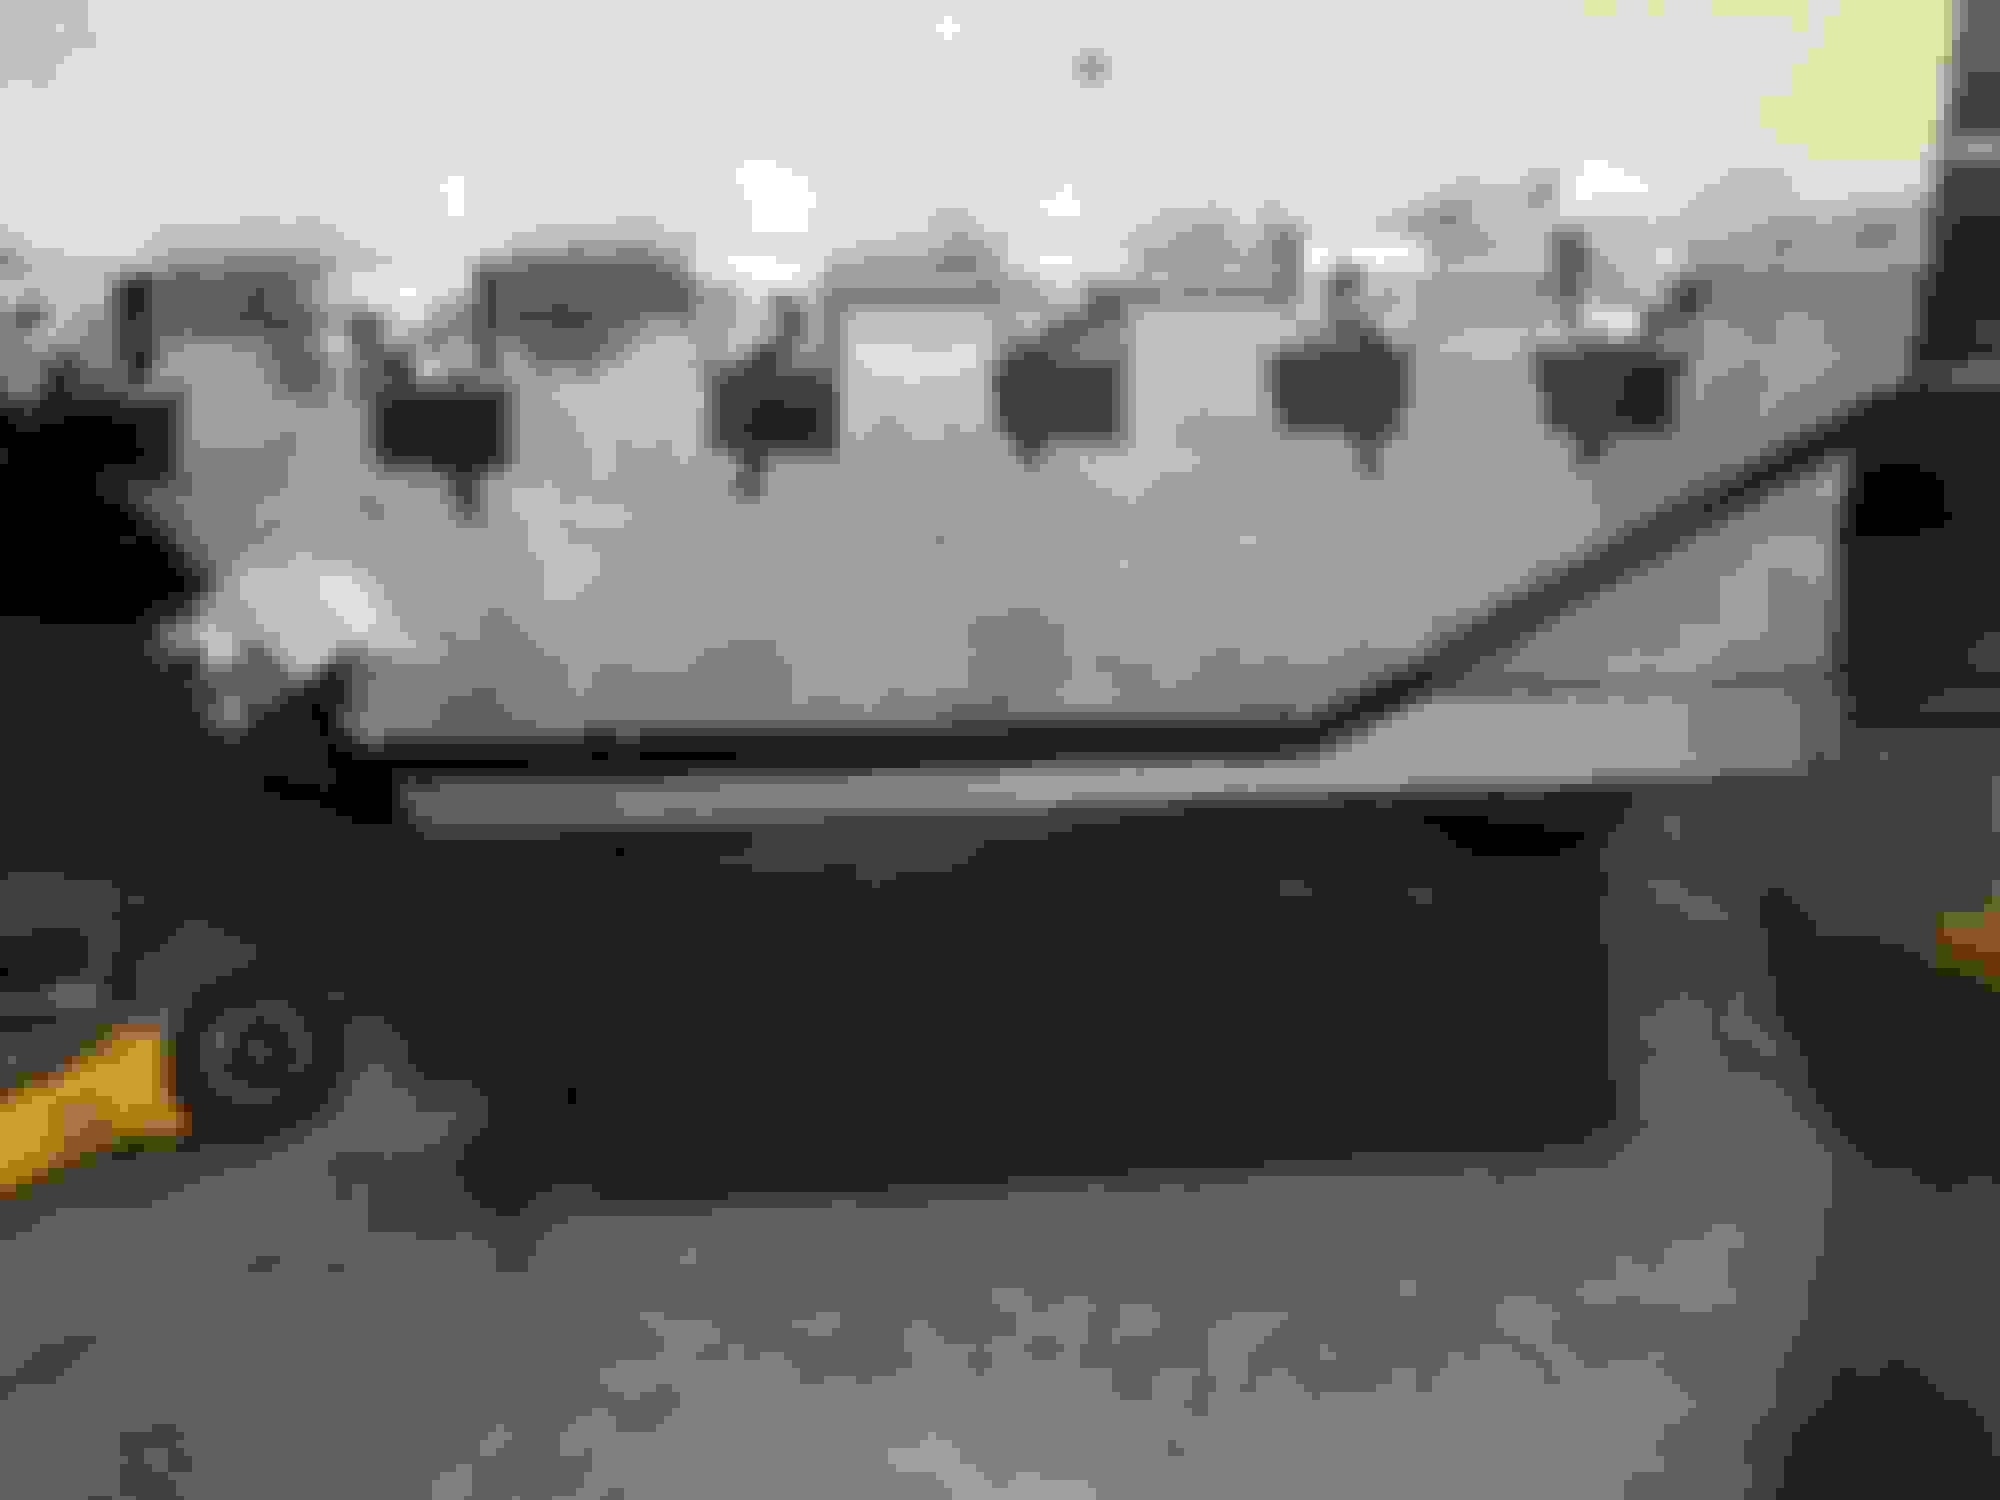
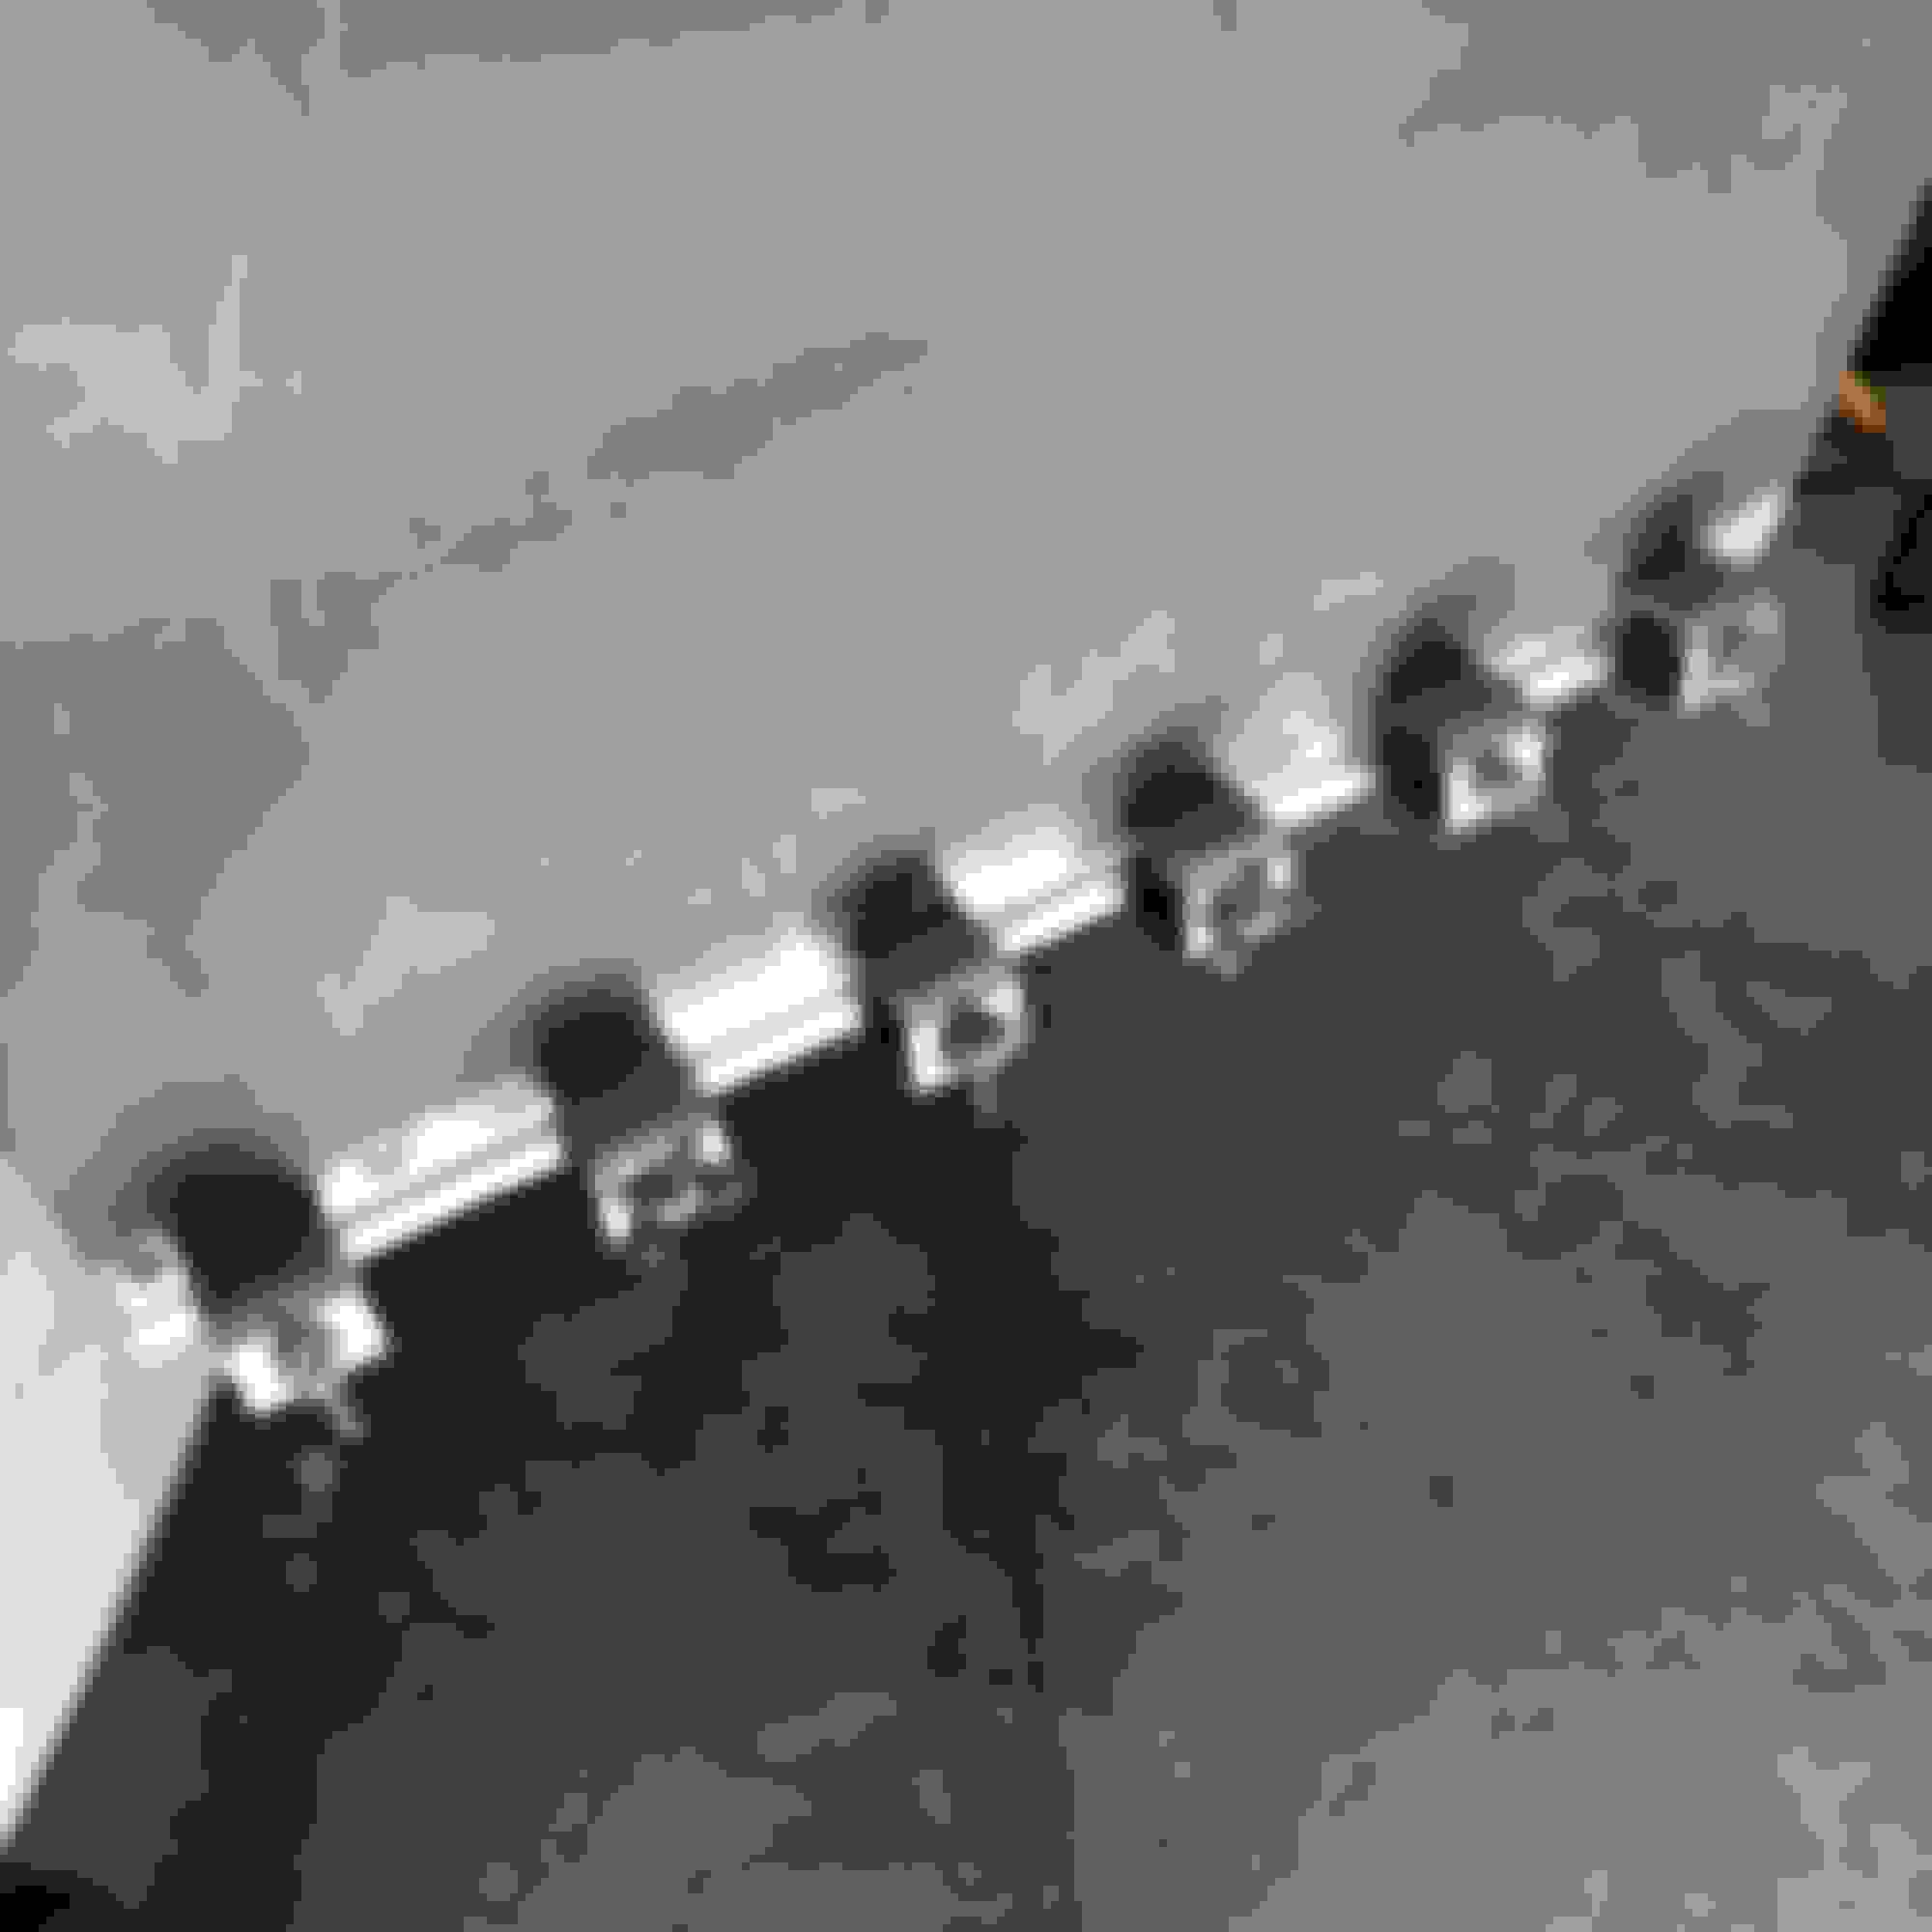
Still have some work to do with the rear end, but in the meantime I started working on the bodywork on the drivers side. I had this thing sand blasted 9 years ago and I put down some epoxy primer at the time. Although it’s only spent one day outside of the garage in 9 years, it did rain that night and numerous surface rust areas popped up. I decided to strip it back down to bare metal and start over. I need to clean up the welds on the body seams and then I can start the bodywork and re-prime. I also have one last rust patch to do down low behind the front wheel.


The following 2 users liked this post by trozfan:
gdf_77 (04-08-2020), JoshHefnerX (04-08-2020)
Old 04-09-2020, 04:21 AM
  #331  
Teching In
 
gdf_77's Avatar
 
Join Date: Nov 2018
Posts: 6
Received 0 Likes on 0 Posts
Default

Looking great. Def going to be a head turner and def is motivation.
Old 04-19-2020, 04:03 PM
  #332  
Launching!
Thread Starter
 
trozfan's Avatar
 
Join Date: Feb 2011
Location: Raleigh NC
Posts: 246
Received 107 Likes on 45 Posts

Default

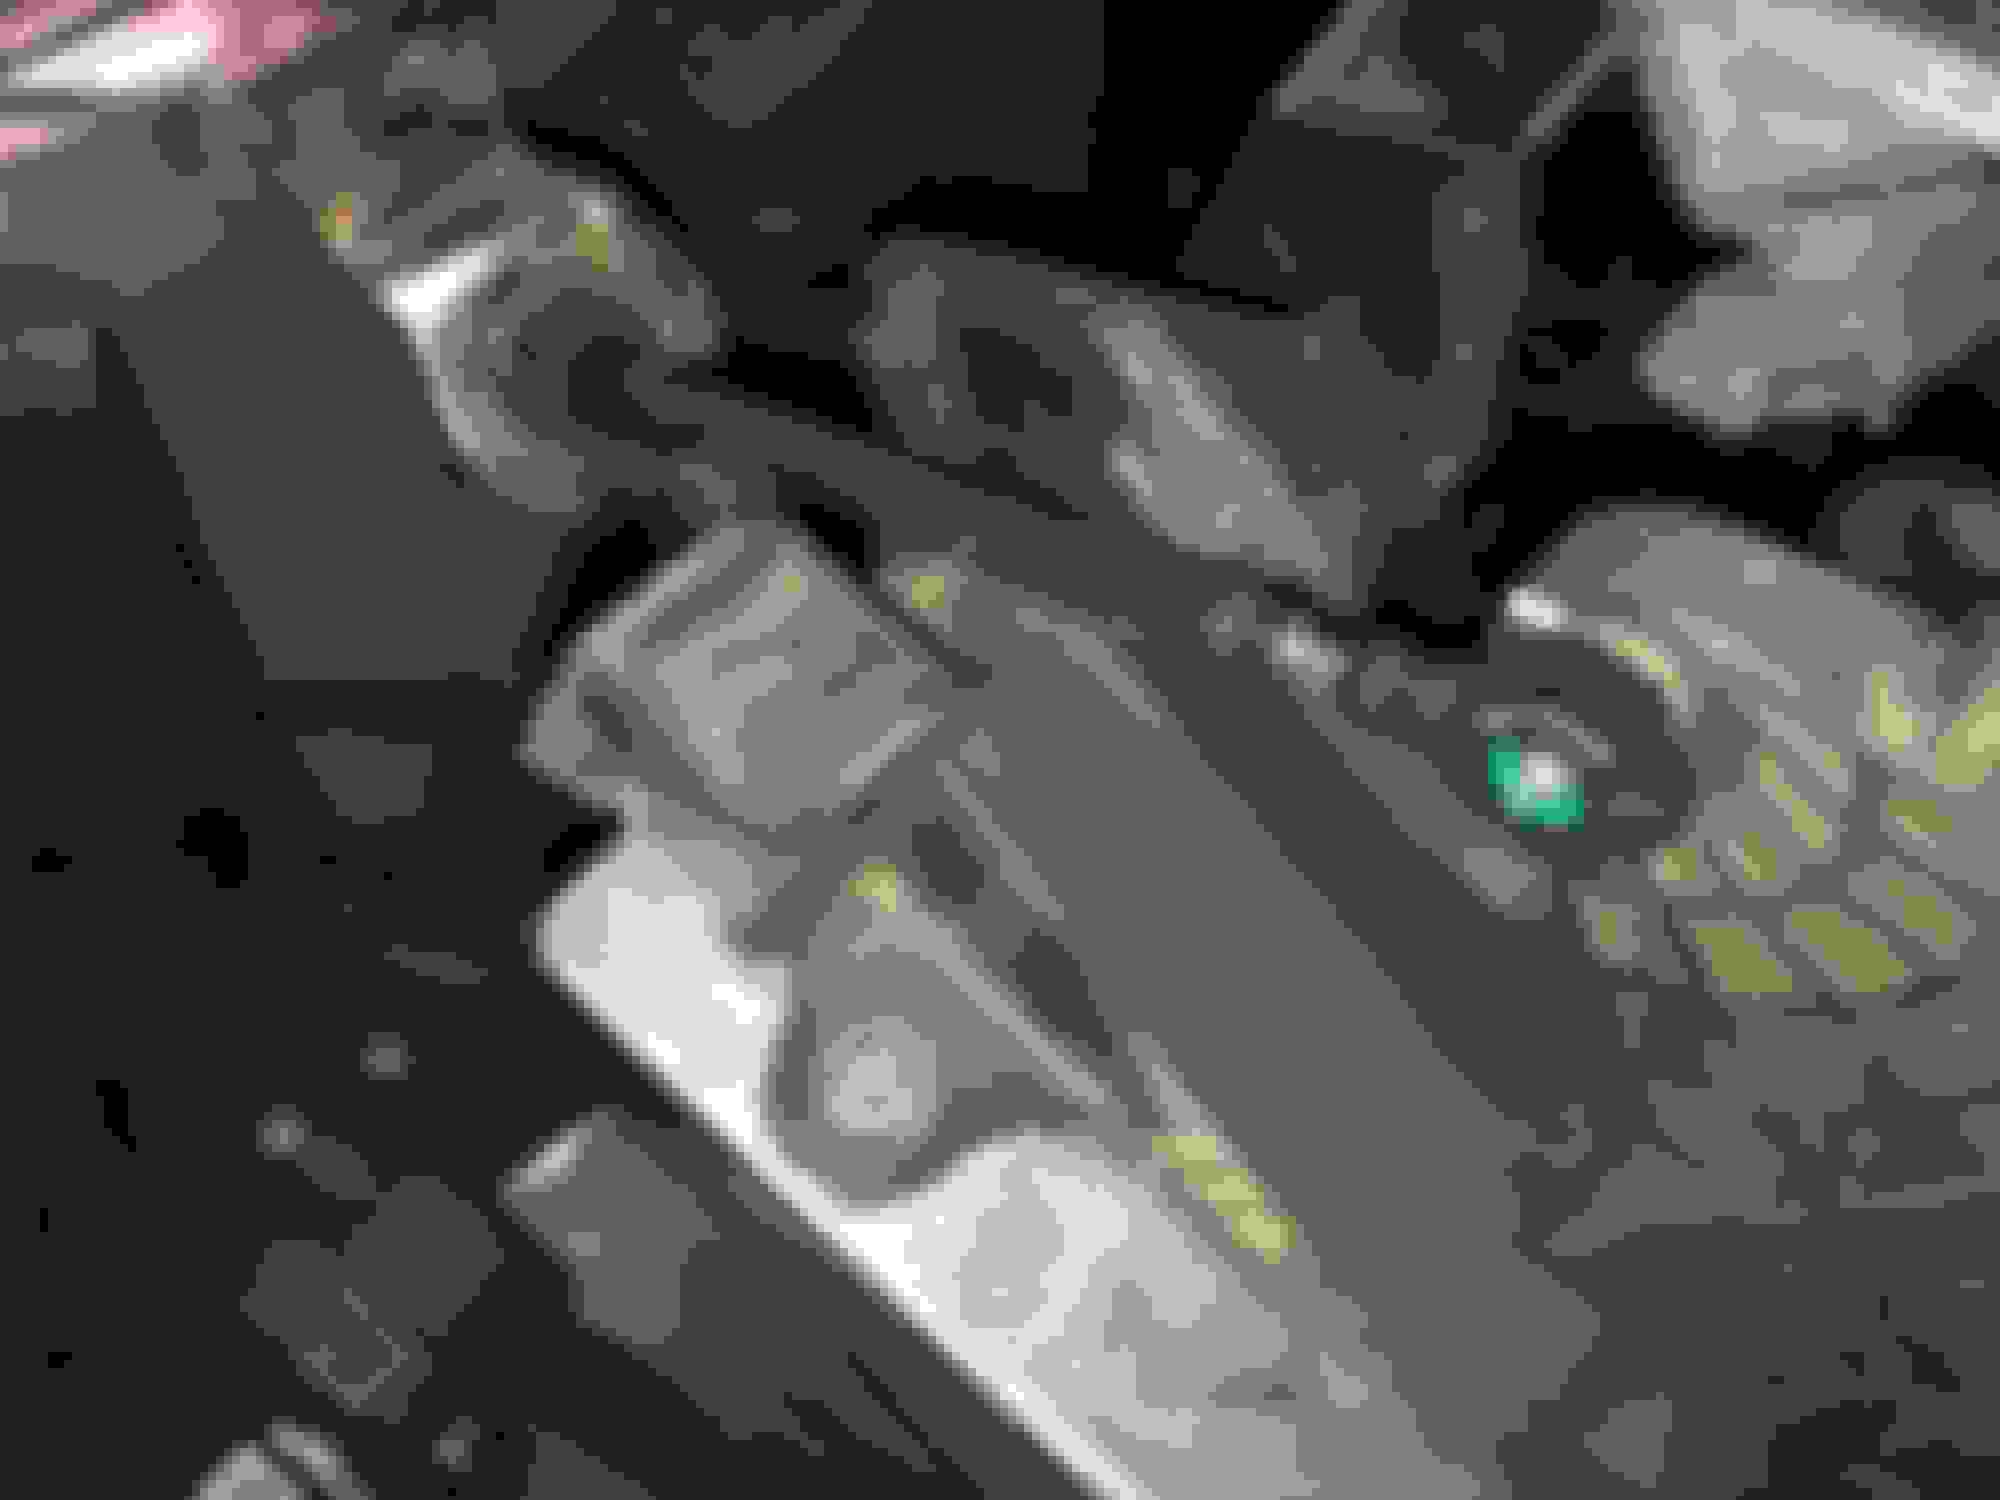
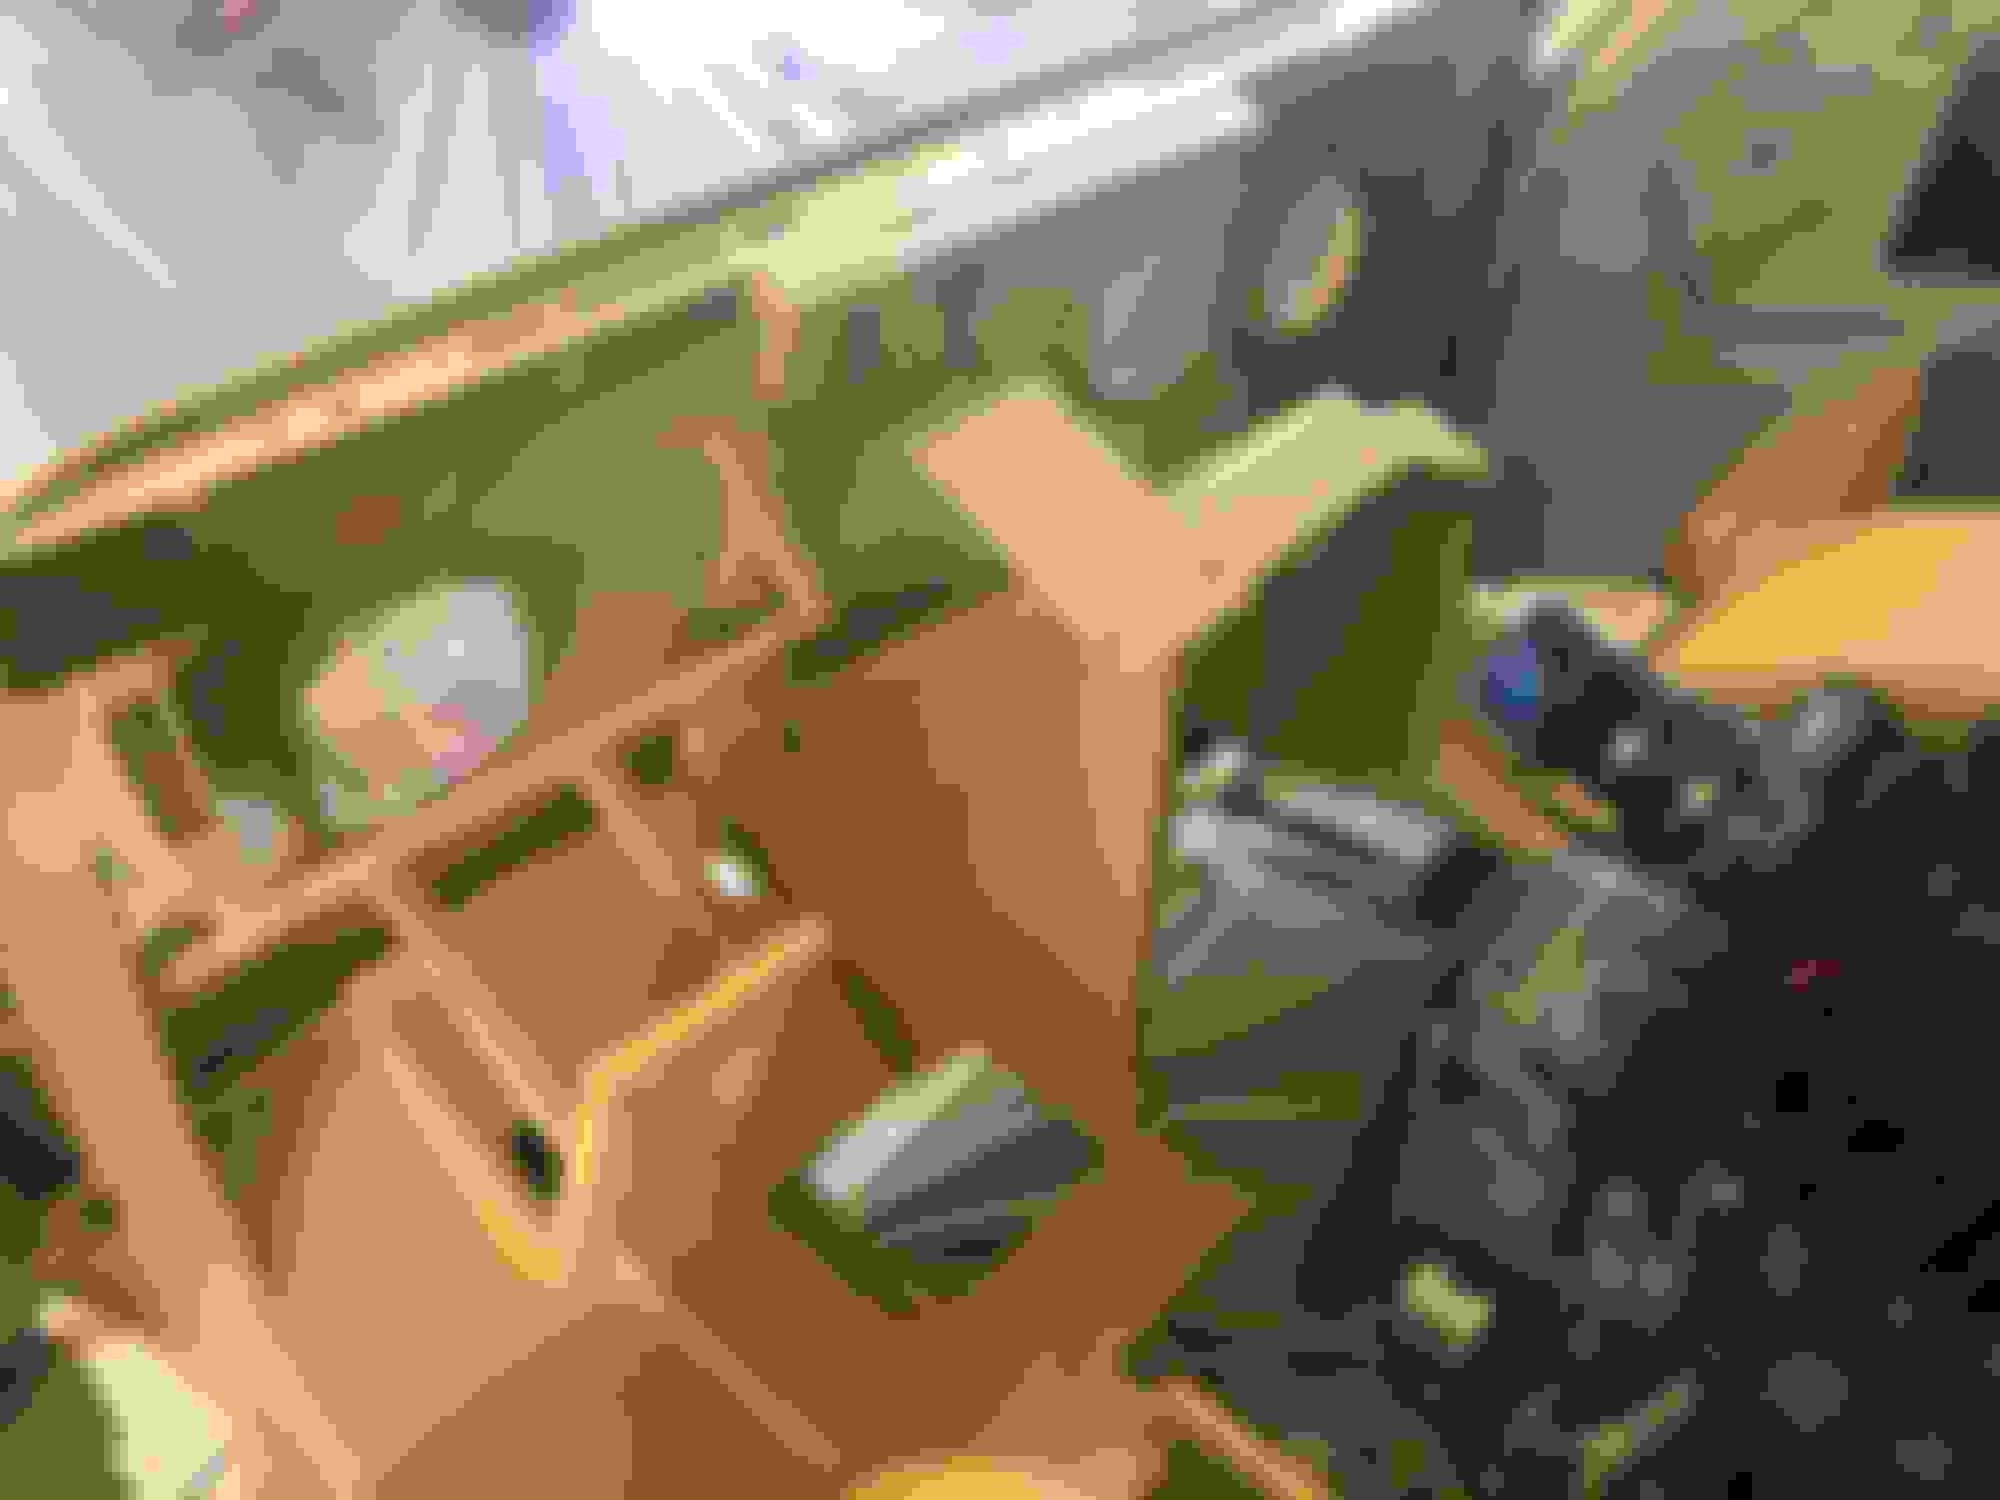
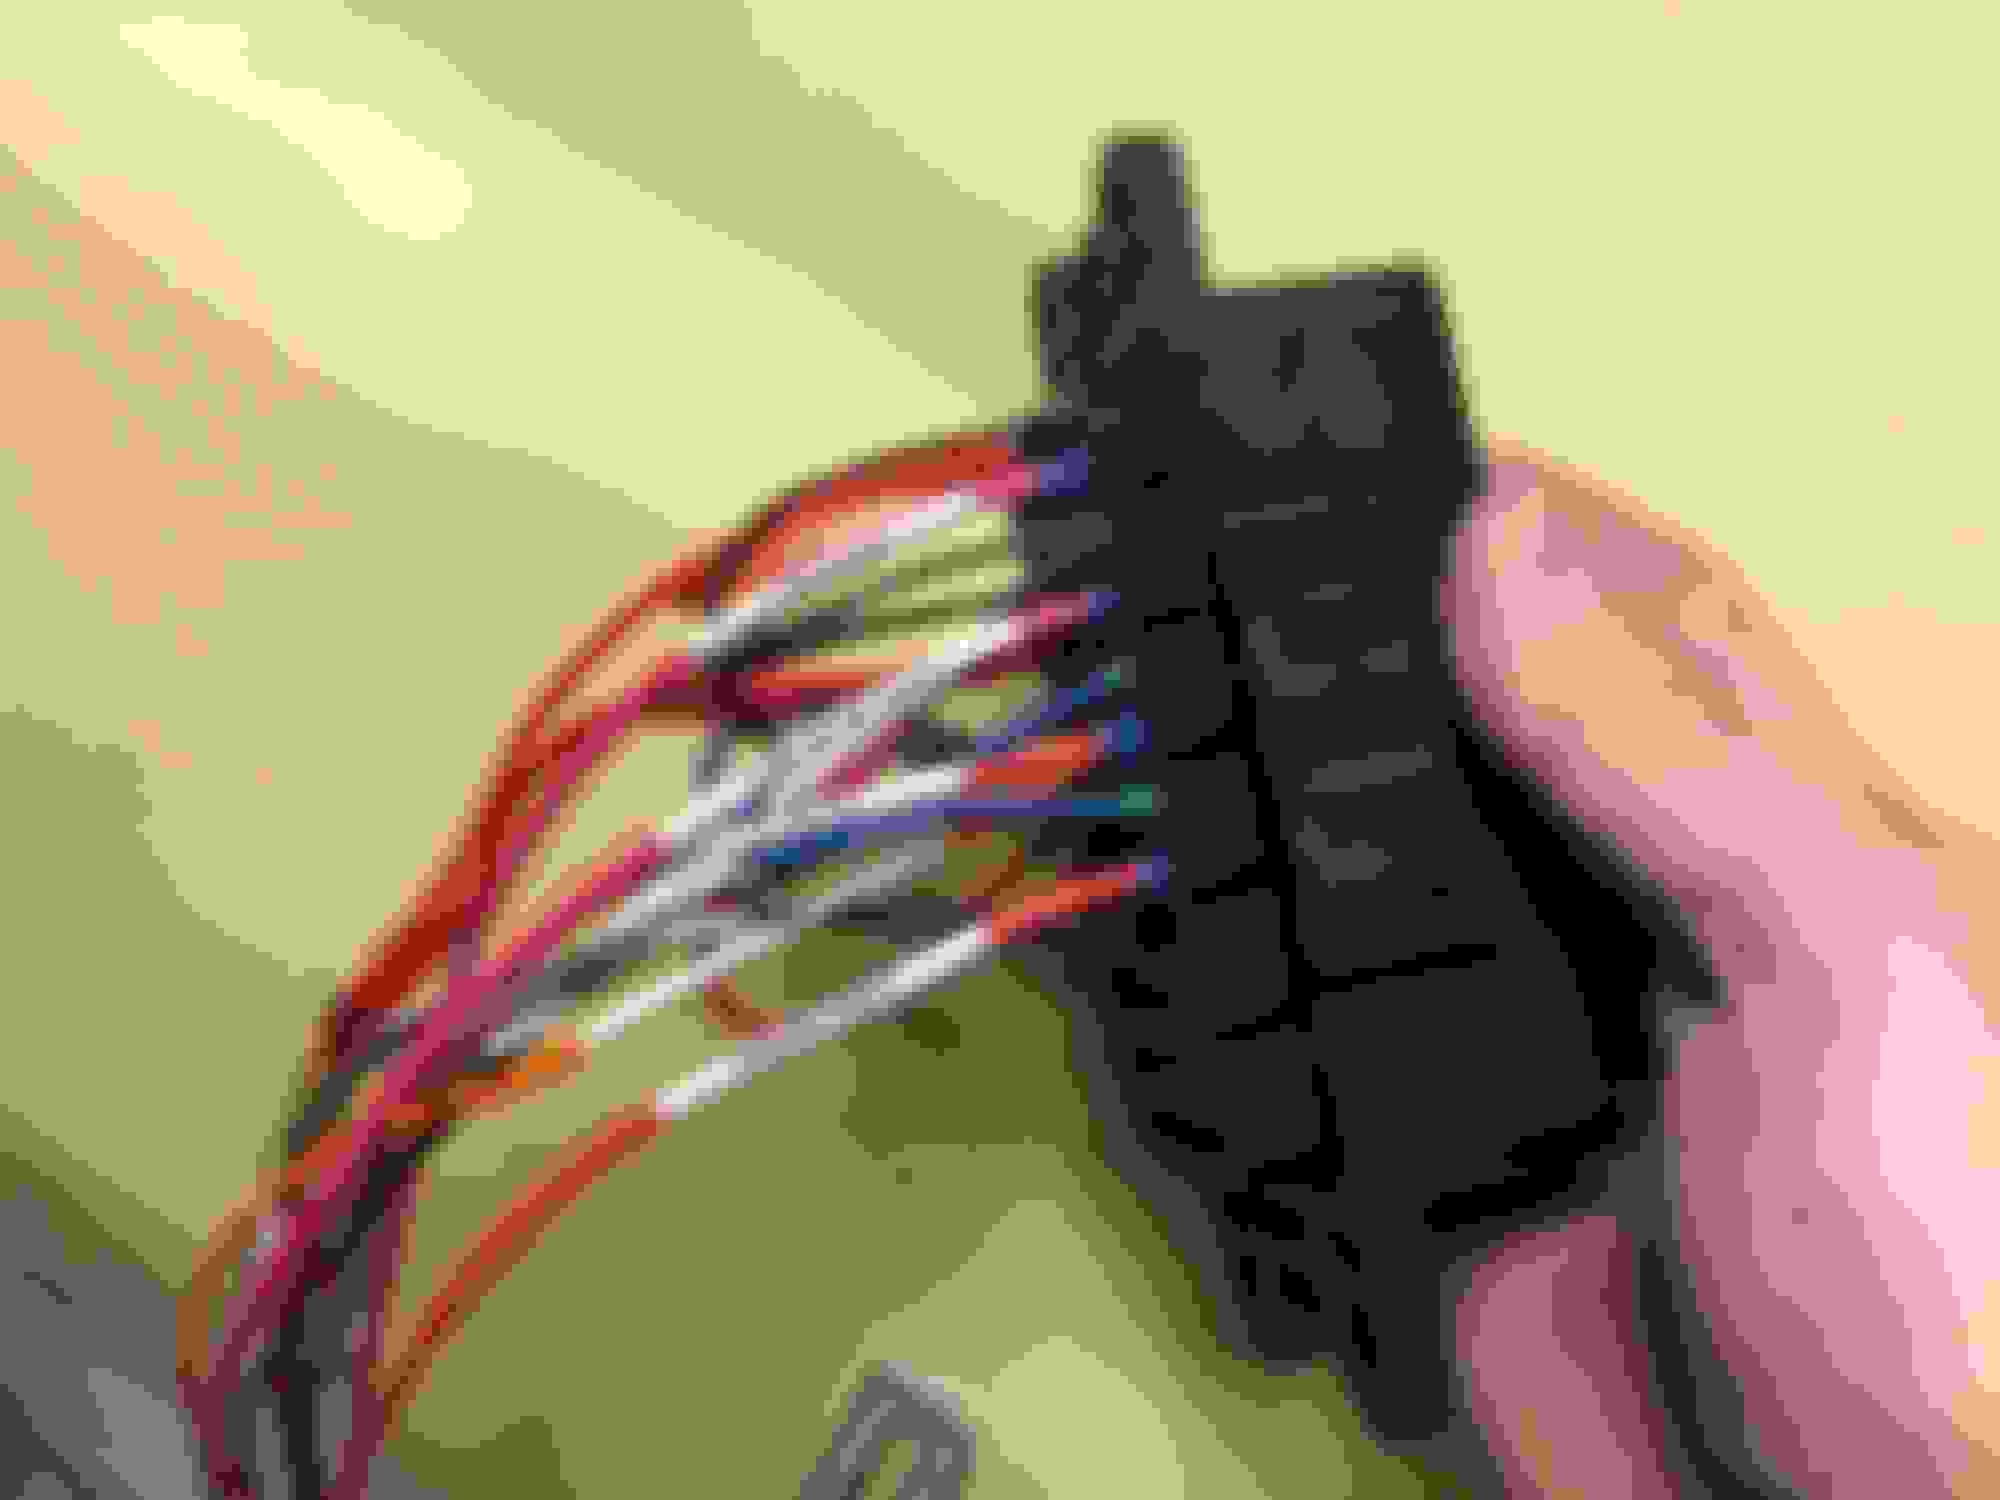
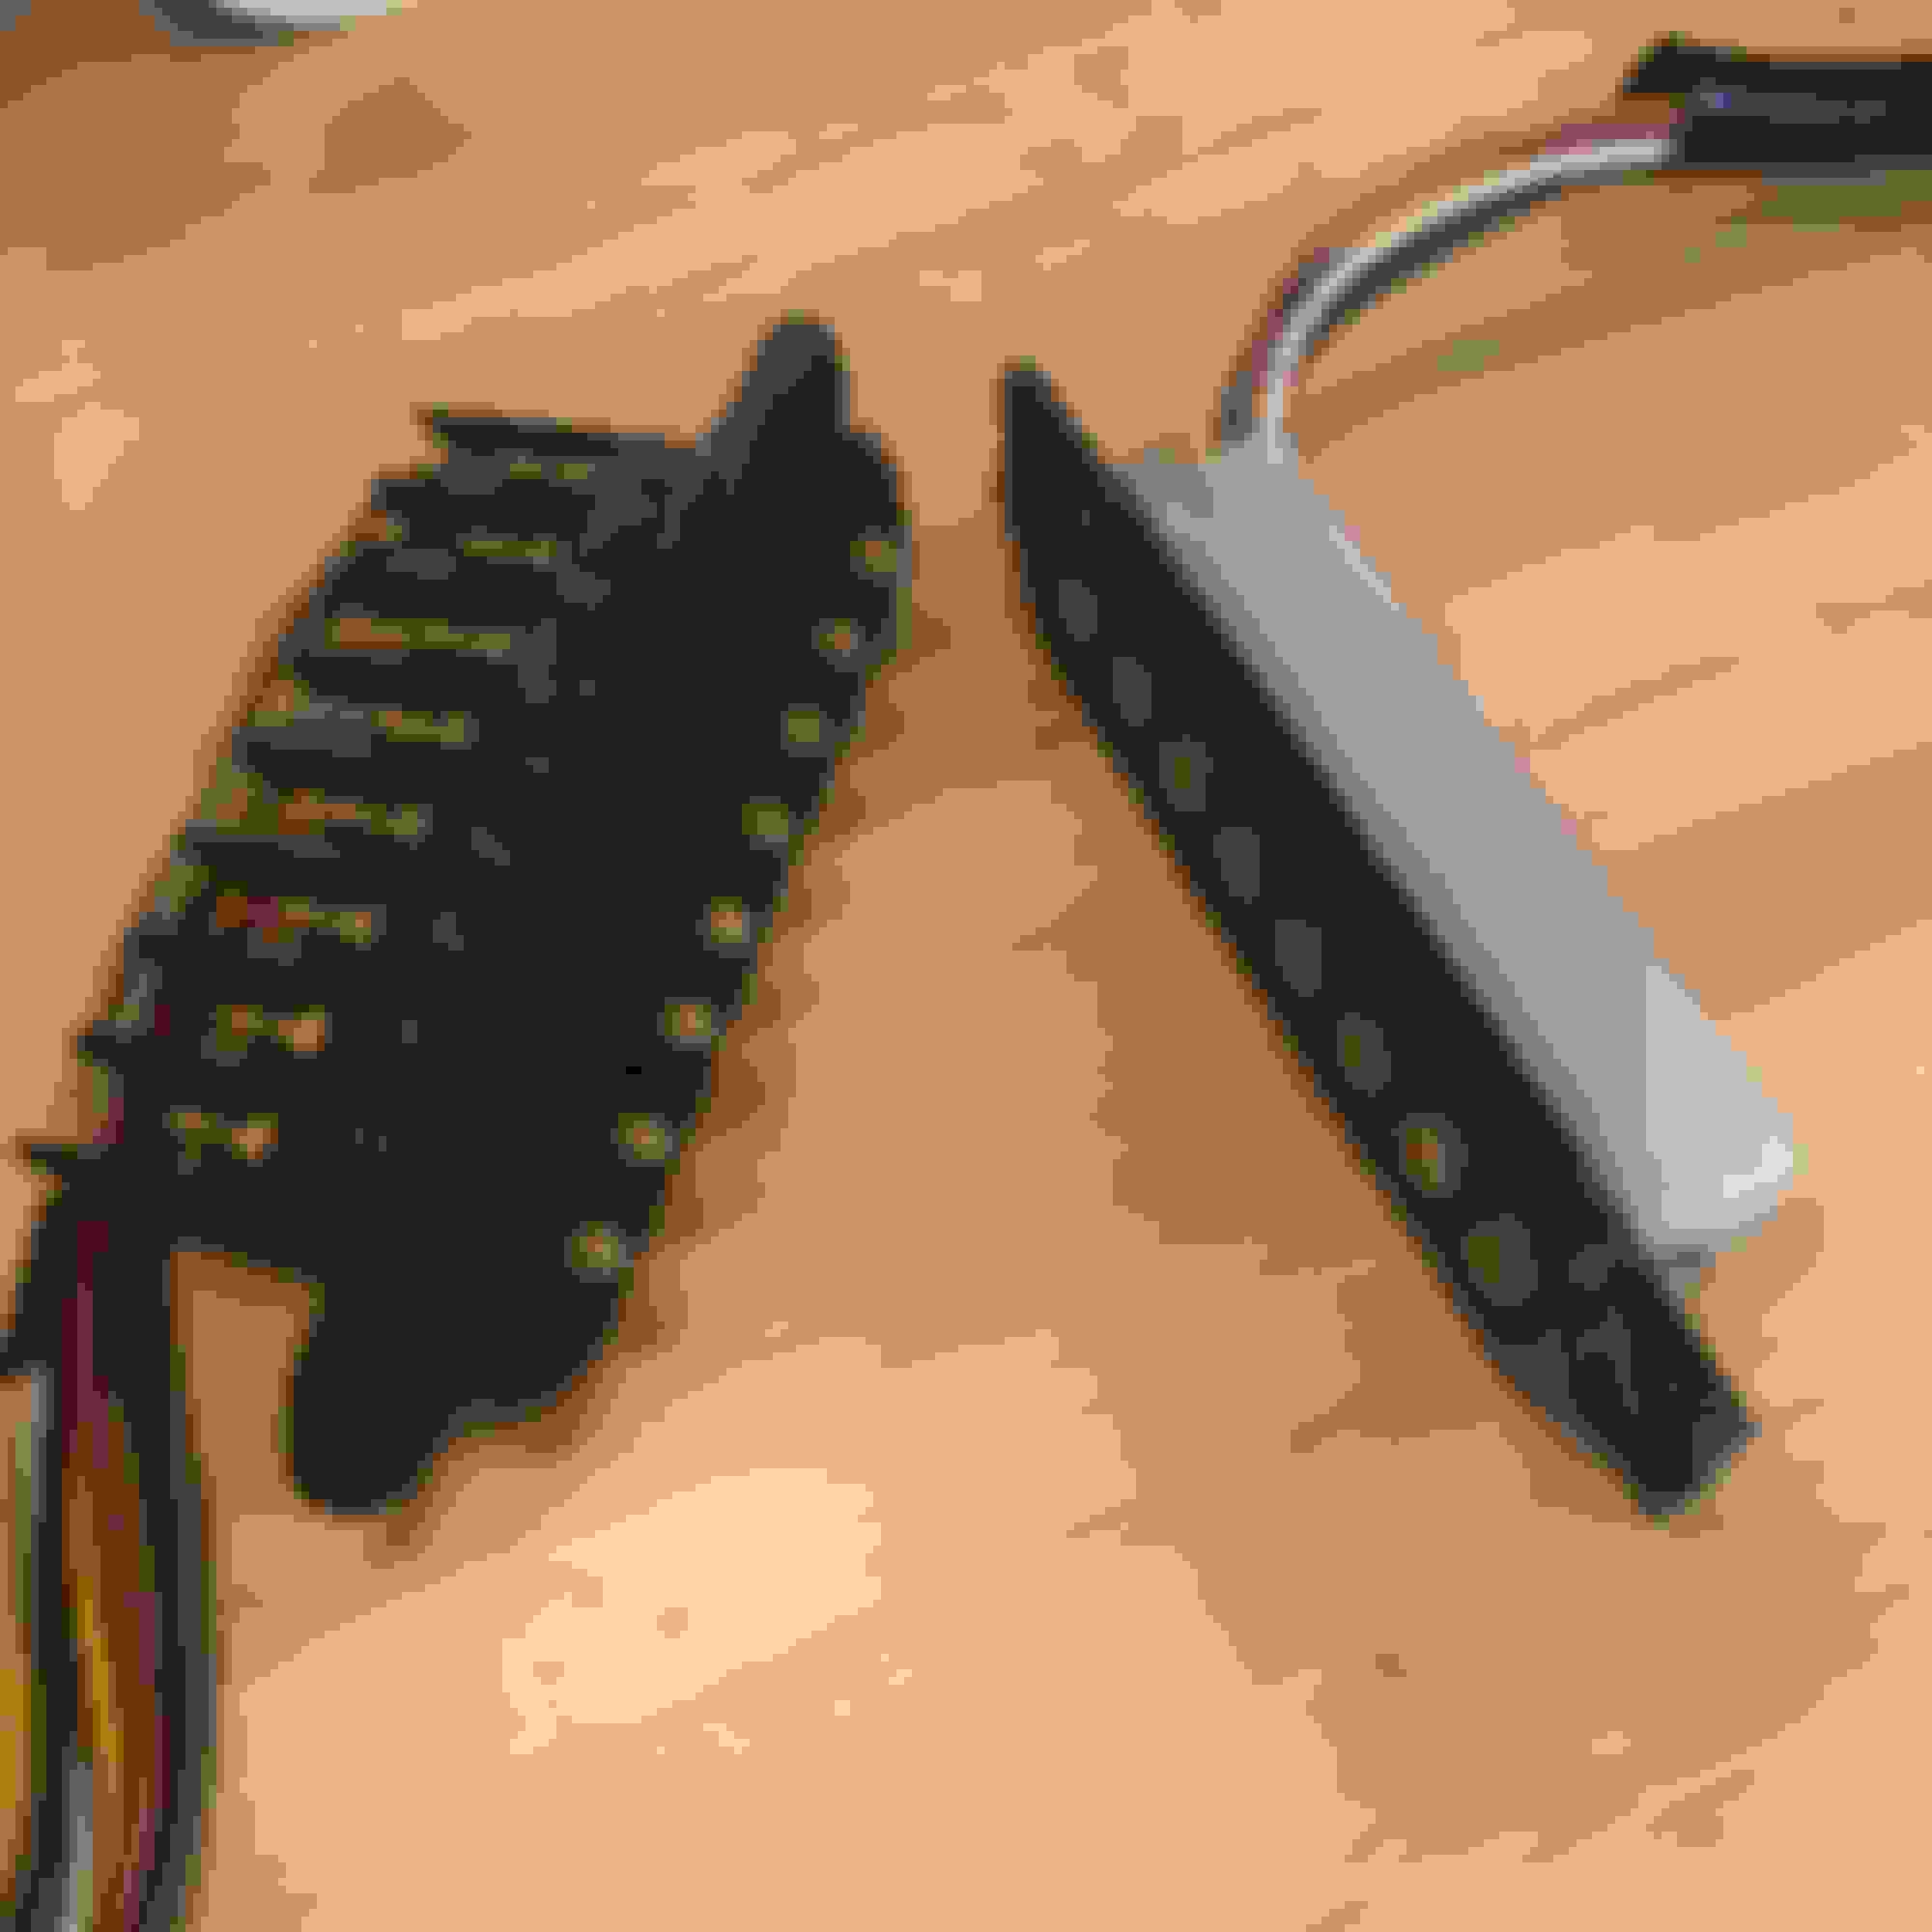
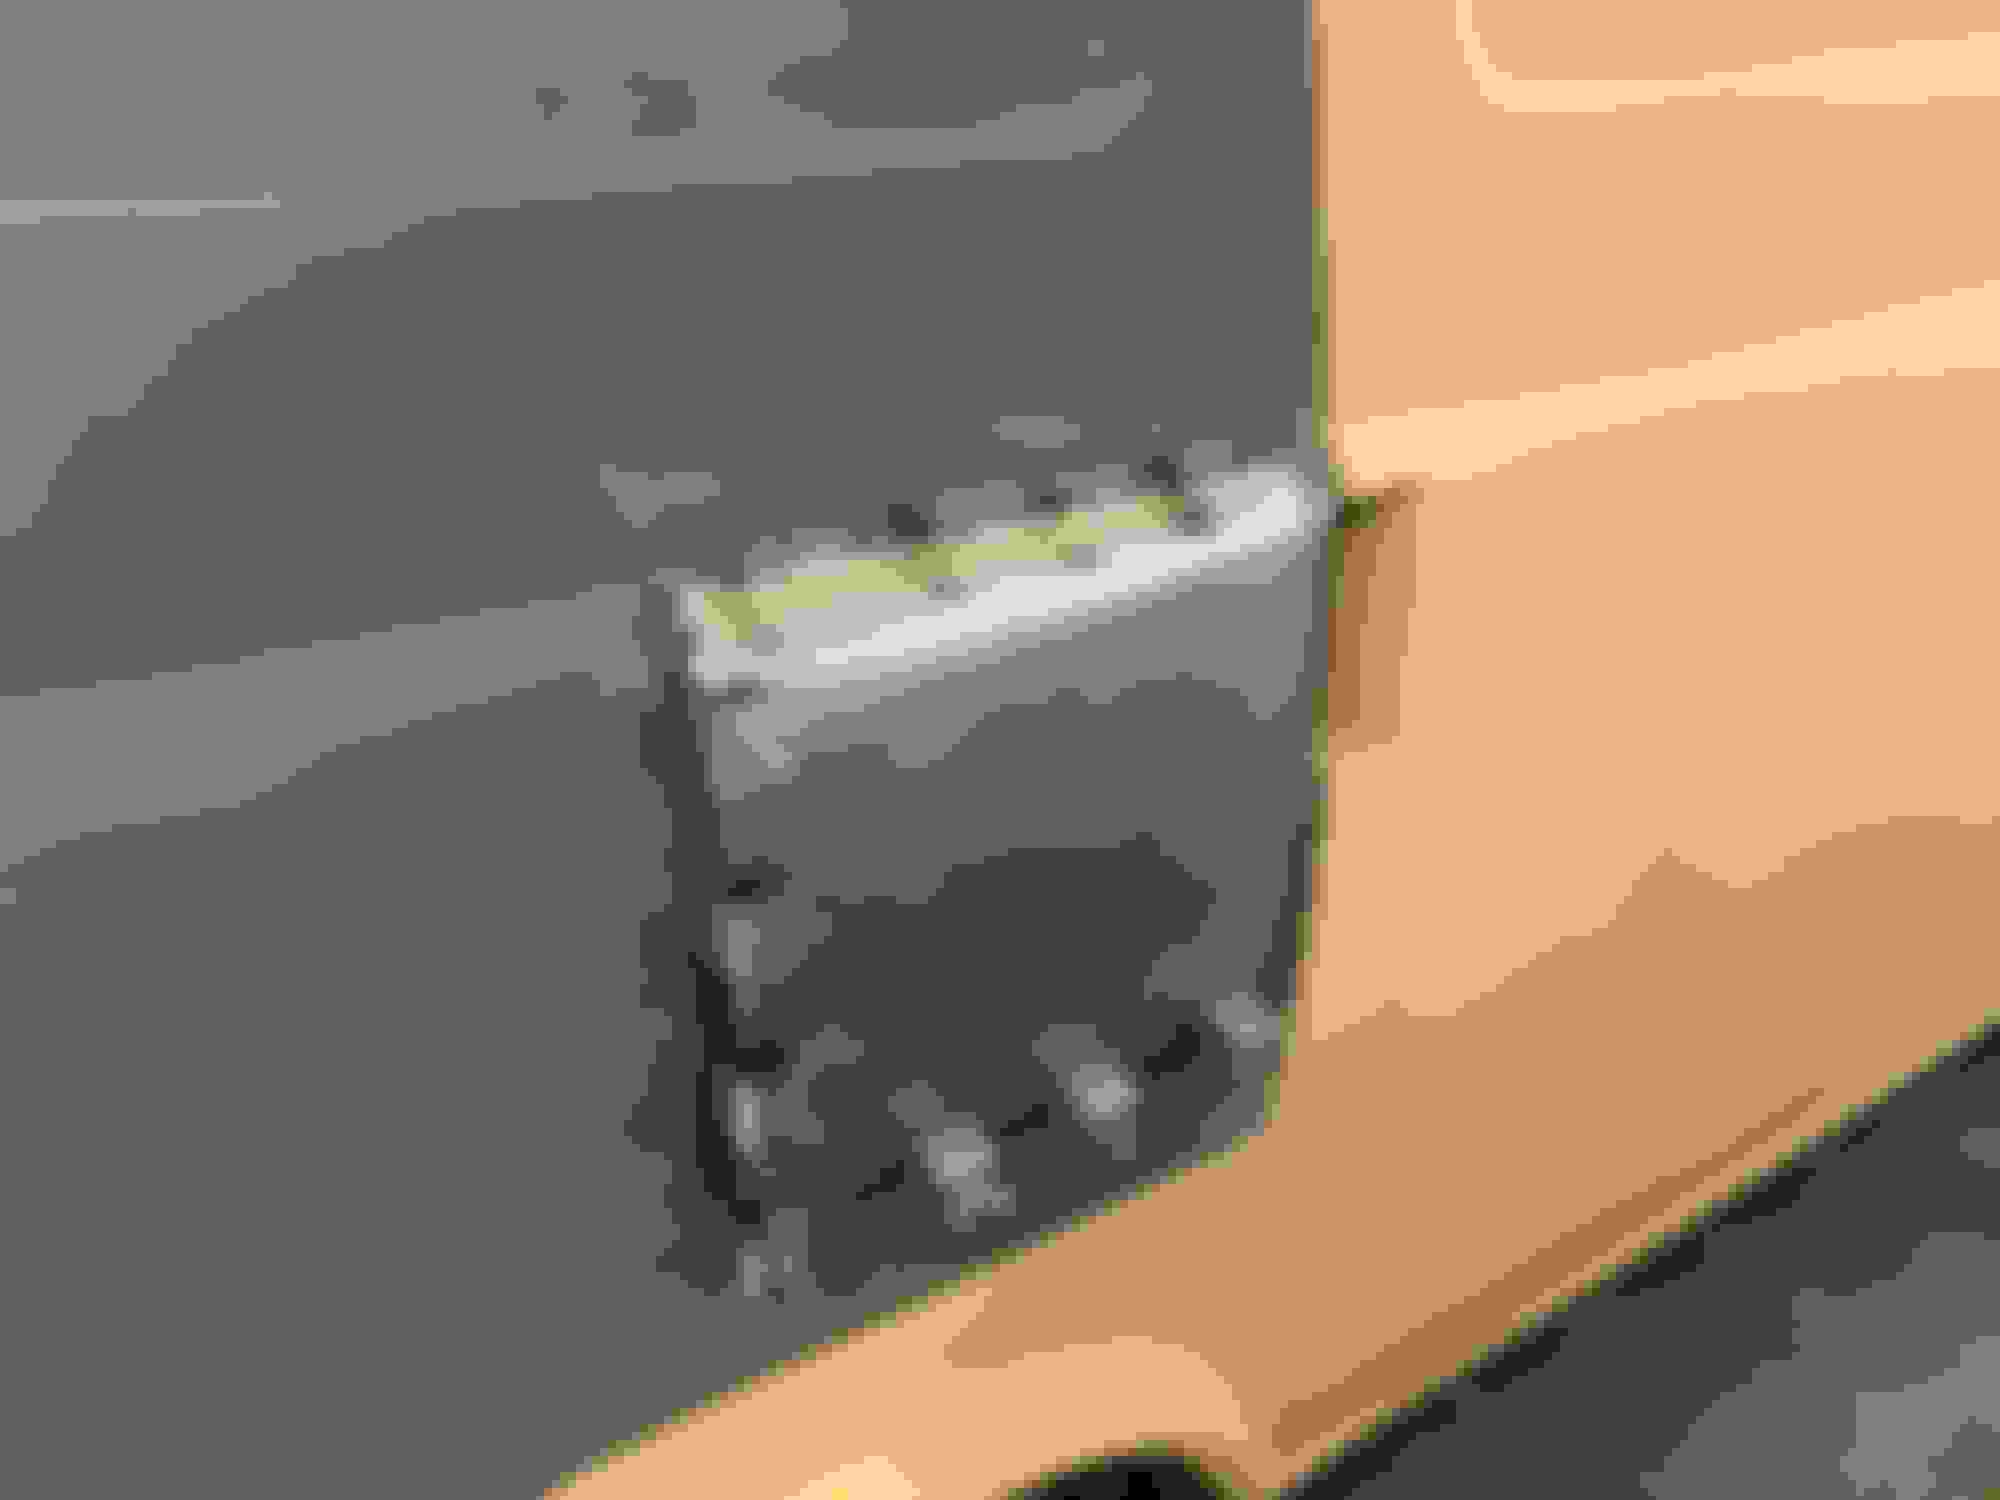
Still hitting it hard on the van. Been doing some wiring; bodywork on the drivers side; fabbed up a little pocket for the drivers door contacts and welded that in.


The following 2 users liked this post by trozfan:
DEEDDUDE (05-04-2020), gdf_77 (04-20-2020)
Old 04-19-2020, 04:18 PM
  #333  
TECH Senior Member
iTrader: (7)
 
Project GatTagO's Avatar
 
Join Date: Mar 2003
Location: The City of Fountains
Posts: 10,161
Received 1,438 Likes on 908 Posts

Default

Love the printed heat shrink and the Bussmann panel!

Andrew
Old 05-03-2020, 12:42 PM
  #334  
Launching!
Thread Starter
 
trozfan's Avatar
 
Join Date: Feb 2011
Location: Raleigh NC
Posts: 246
Received 107 Likes on 45 Posts

Default

Finished the bodywork on the drivers side and sprayed some primer. Also primed one of my Honda CT70 dirt bikes that I am restoring.


Last edited by trozfan; 05-03-2020 at 06:24 PM.
The following 2 users liked this post by trozfan:
DEEDDUDE (05-04-2020), Project GatTagO (01-16-2021)
Old 05-03-2020, 03:43 PM
  #335  
Launching!
 
JoshHefnerX's Avatar
 
Join Date: Oct 2018
Location: Glendale, AZ
Posts: 282
Received 58 Likes on 48 Posts
Default

What is that, a motorcycle frame?
Old 05-03-2020, 03:45 PM
  #336  
TECH Senior Member
 
G Atsma's Avatar
 
Join Date: Jun 2016
Location: Central Cal.
Posts: 21,107
Received 3,104 Likes on 2,419 Posts
Default

Originally Posted by JoshHefnerX
What is that, a motorcycle frame?
Looks like early Honda 70 or 90
Old 05-03-2020, 06:23 PM
  #337  
Launching!
Thread Starter
 
trozfan's Avatar
 
Join Date: Feb 2011
Location: Raleigh NC
Posts: 246
Received 107 Likes on 45 Posts

Default

Originally Posted by JoshHefnerX
What is that, a motorcycle frame?
One of my Honda CT70 dirt bikes that I am restoring
Old 05-07-2020, 09:11 AM
  #338  
TECH Senior Member
 
Jimbo1367's Avatar
 
Join Date: Jul 2009
Posts: 7,864
Received 590 Likes on 468 Posts

Default

Originally Posted by trozfan
One of my Honda CT70 dirt bikes that I am restoring
when? Not at the same time, right?
LOL. that wouldn’t fly a y house LOL
Old 05-07-2020, 08:49 PM
  #339  
Launching!
Thread Starter
 
trozfan's Avatar
 
Join Date: Feb 2011
Location: Raleigh NC
Posts: 246
Received 107 Likes on 45 Posts

Default

Originally Posted by Jimbo1367
when? Not at the same time, right?
LOL. that wouldn’t fly a y house LOL
And I still haven’t finished my ‘72 Corvette restoration. Always juggling many things at once.
Old 01-16-2021, 04:55 PM
  #340  
Launching!
Thread Starter
 
trozfan's Avatar
 
Join Date: Feb 2011
Location: Raleigh NC
Posts: 246
Received 107 Likes on 45 Posts

Default

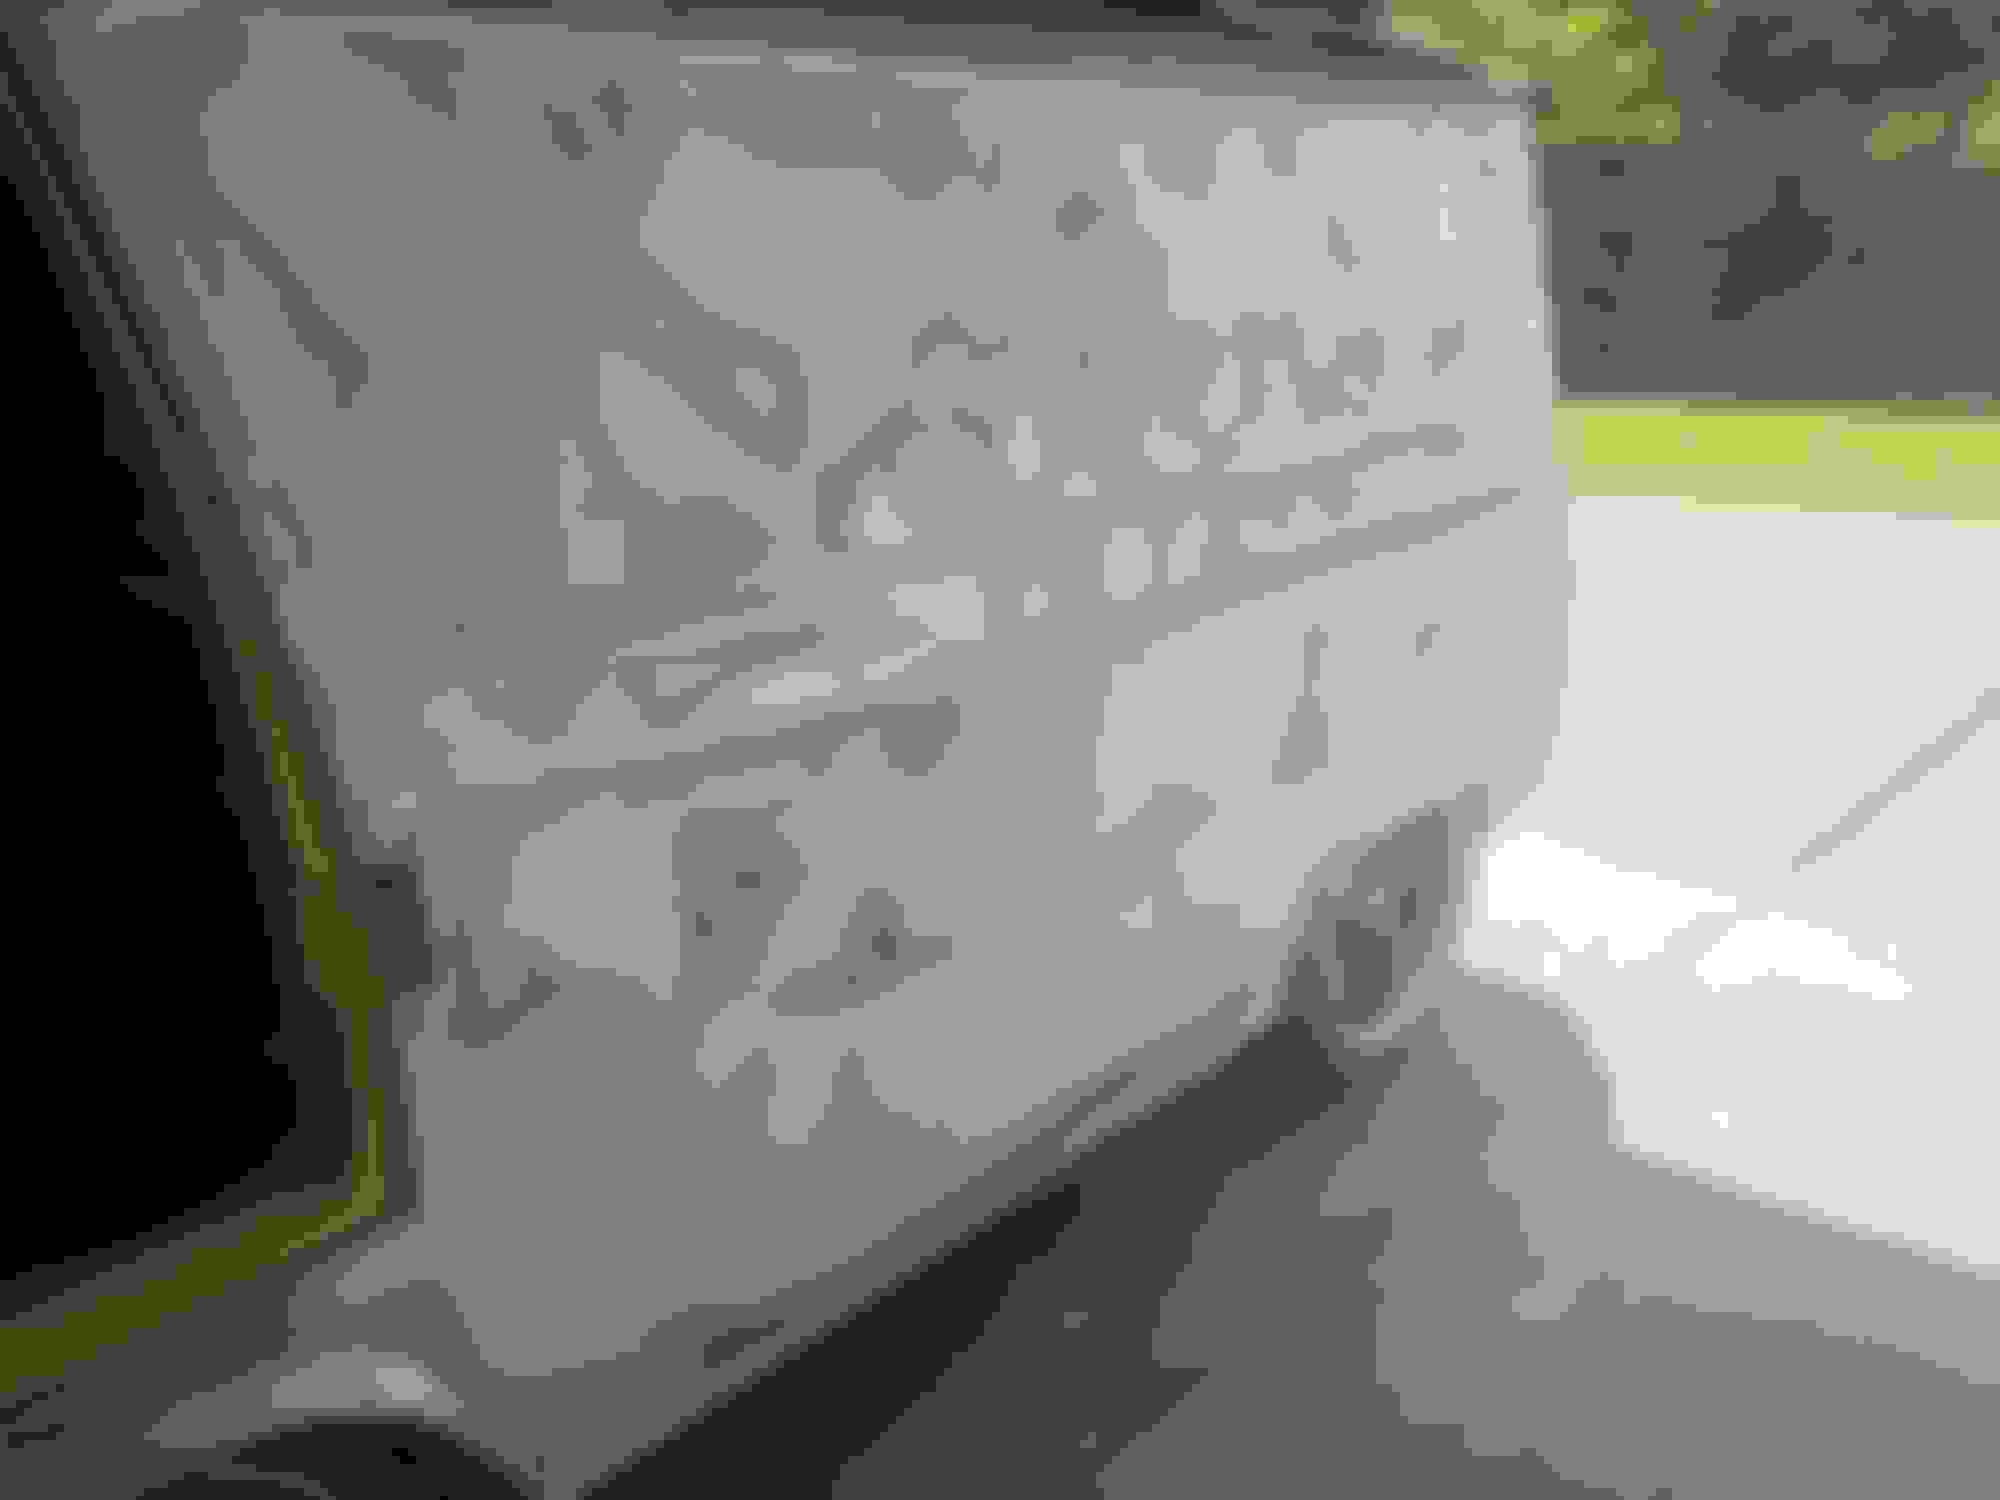
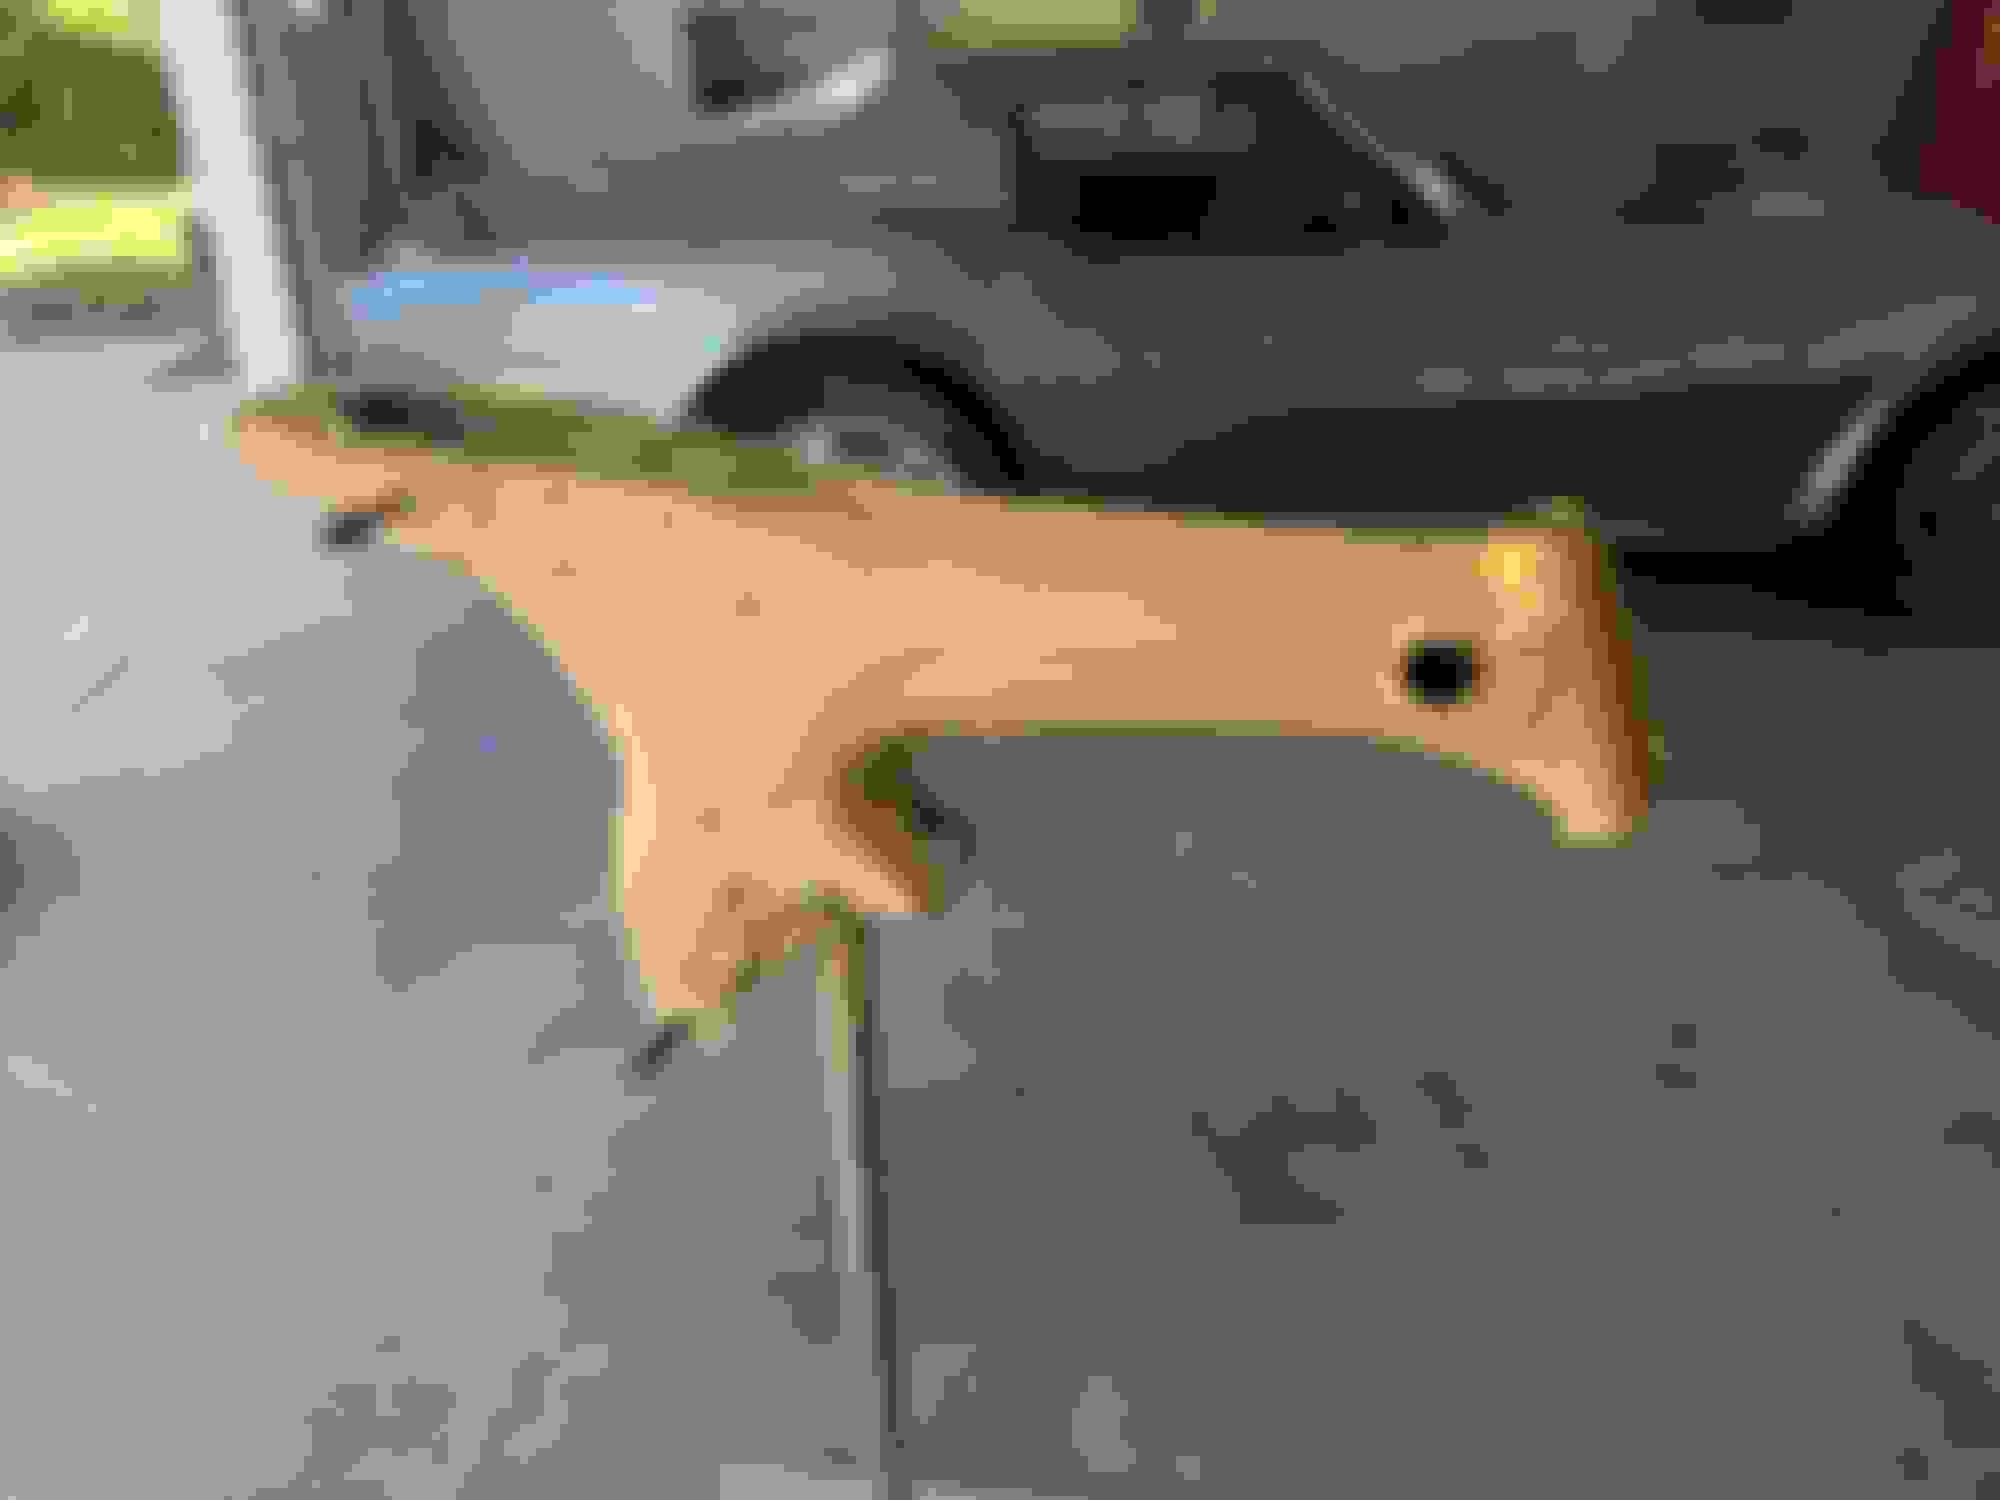
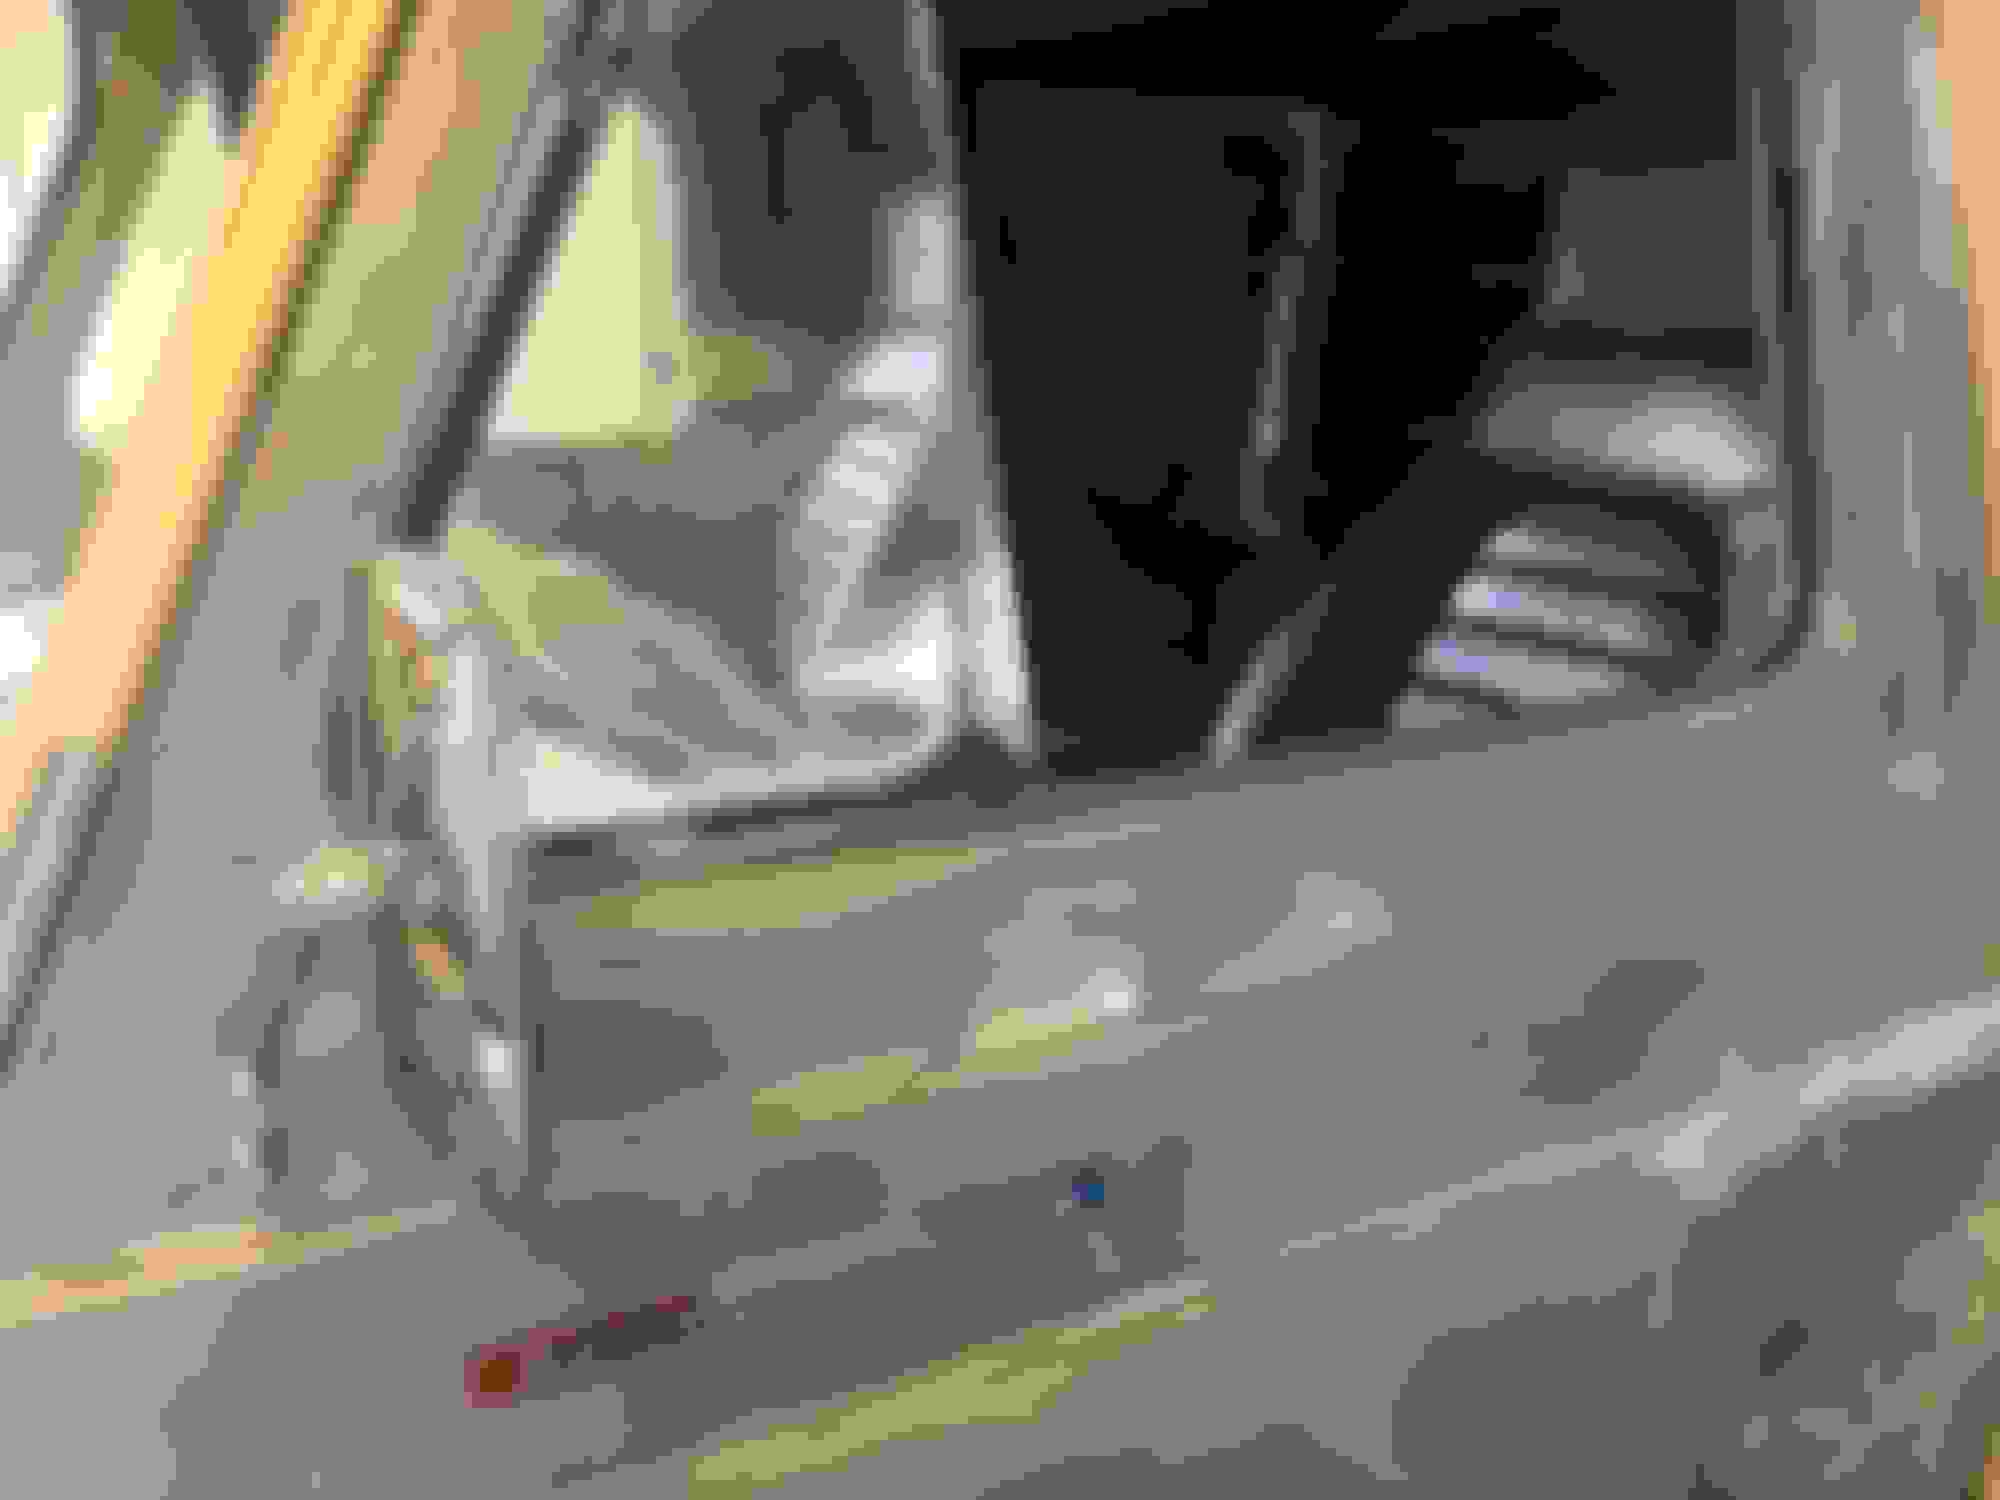
Working on the drivers door. Finishing off the bottom of the door since I shortened it about 4”. Redoing the shaved door handle since I warped the heck out of the door the first time. Also working on the door gaps, added a bit of welding to most of the door edge to tighten the gaps. I picked out VW bus mirrors and a sweet 1965 Corvette ‘Fuel Injection’ emblem.


Quick Reply: My 1963 Ford Econoline 4.8/6L80E build


All times are GMT -5. The time now is 09:47 PM.