Installing an LS3 E-ROD & Holley Accessories in a Roadmaster Wagon!!!
Installing an LS3 E-ROD Connect & Cruise with Holley Mid-Mount Accessories almost tripled this wagon’s horsepower! (LS3 Roadmaster Wagon Project | Part 6)
The LS3 Roadmaster Wagon Project has come a long way so far. New sway bars, wheels, and tires. New brakes. And then a whole new suspension. And now, after removing an old 5.7L TBI motor and installing an Earl’s Performance fuel system, we’re going to bring it back to life! In this episode, we teamed with Guaranty Chevrolet to install a 50-state legal LS3 E-ROD Connect & Cruise system with a whole bunch of Holley Premium Mid-Mount and LS swap accessories.
We even have a BUILD THREAD right here for comments and questions!
This video is the longest of the series, so buckle up for the adventure. (And a few mistakes.) Here’s a rundown, in writing:
The Old Wiring Harness
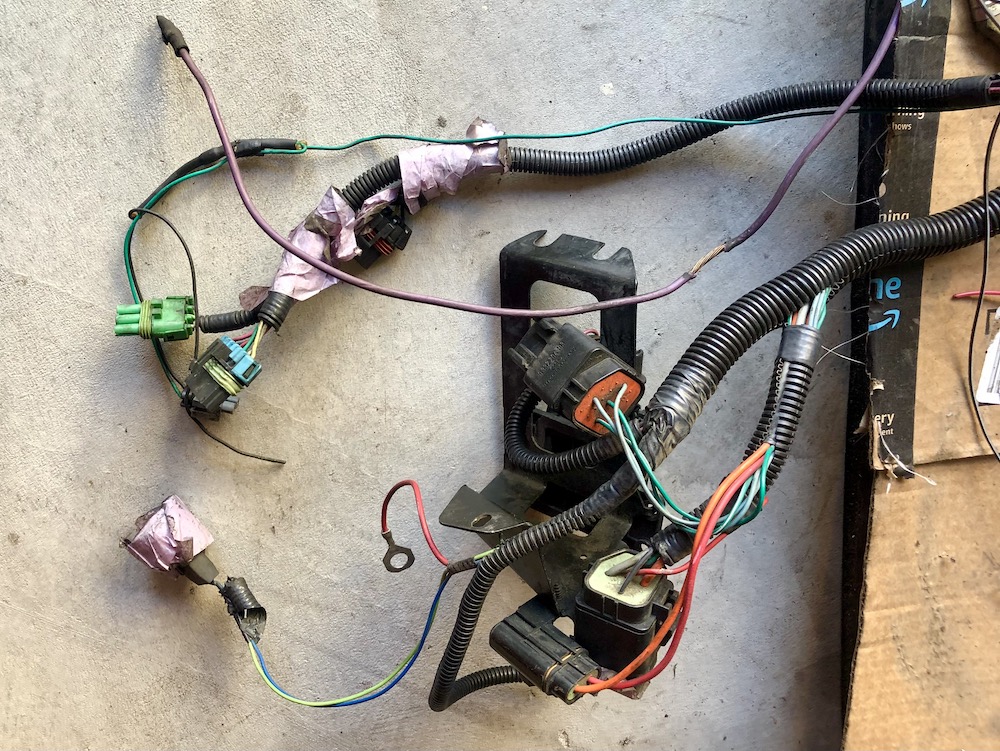
When it comes to LS swaps, lots of folks just figure out which wires need to stay and cut the rest. We decided to aim for something a little cleaner and ended up spending a day prying and cutting the harness apart where it passes through the firewall on the passenger side of the engine bay. (It’s a pain.)
Here’s what we needed to save from a 1991-1993 B-Body on the PASSENGER SIDE when doing an LS swap (94-96 harnesses are different):
- Purple starter solenoid wire (it’s the ground)
- Green A/C-on wire that connects to the low-side pressure switch (** more on this below)
- Large gray fuel pump wire
- Wiper motor wires & grounds
- Black vacuum hose for the HVAC system
- All of the wires going into the cabin (connected to the battery via a red junction block)
The driver’s side of the harness is mostly retained. That portion includes the headlights, exterior temp sensors, and other components are on the driver’s side. (Most of these, save for the cruise control, remain.)
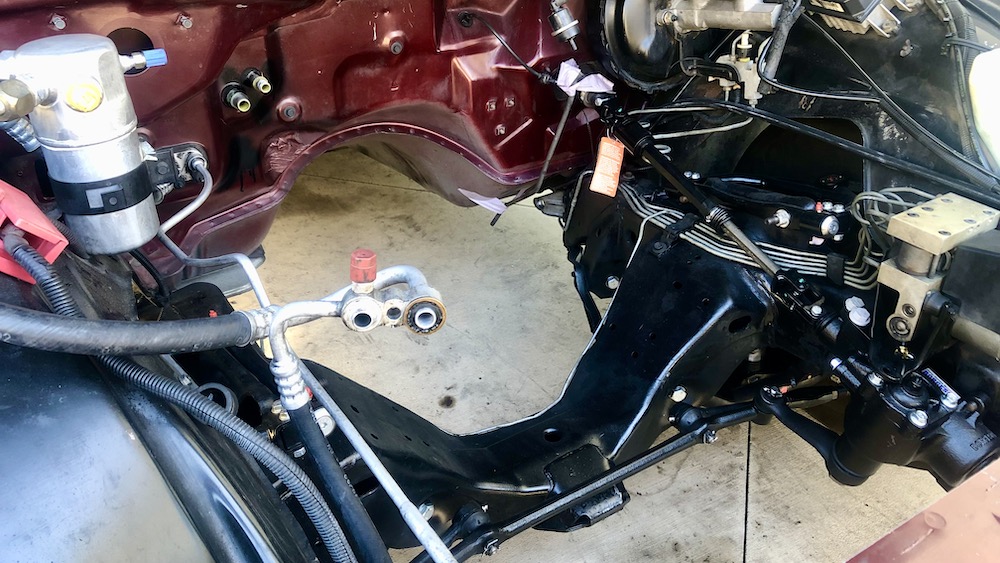
We initially wanted to mount the new engine and transmission computers inside the passenger footwell where the original 1992 computer was tucked away. But the harness was too thick to make everything fit, so we mounted them on the driver’s side inner fender where the 1992 cruise control module had been placed. We also mounted the new fuse box where the original 1992 junction box was located.
Accelerator Pedal & Mounting
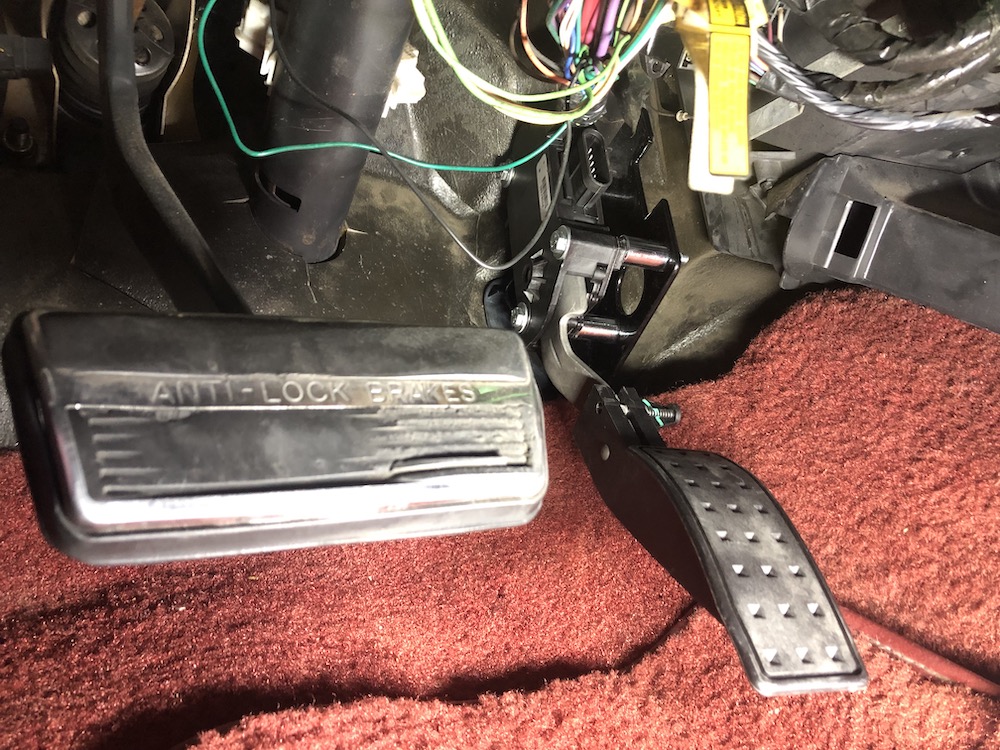
The LS3 E-ROD motor is drive-by-wire and includes a “CTS-V style” accelerator pedal. To run the wiring off the included engine harness, I enlarged the firewall hole through which the 1992 throttle cable passed. The MIL (check engine light) wire, OBD-II port, and key-on power on are the same harness branch as the pedal.
To mount the pedal, no one makes a 1991-1996 GM B-body pedal adapter, so we purchased one for 1973-1987 Chevy Square bodies from eBay. The bolt pattern is the same, although the spacing isn’t perfect, so we added spacers.
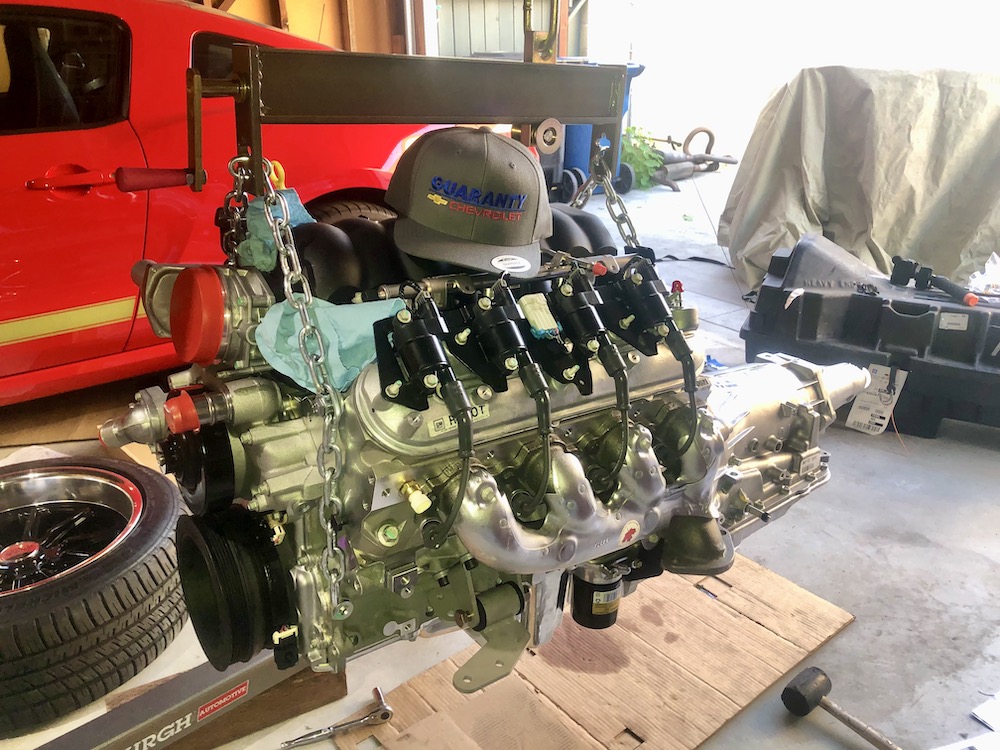
Preparing the LS3 E-ROD — Holley Oil Pan, Headers, & the 4L65E Transmission
As with anything, make sure to follow the included preparation, installation, and assembly instructions included with any parts. Instructions for Chevy Performance crate motors, transmission, and accessories are included but can be downloaded in .pdf form as well. The same is true for all Holley parts, of course.
To make any LS3 E-ROD crate engine fit a B-Body, you need motor mounts from a company like BRP Hot Rods, as well as different oil pain. Holley supplied the 302-2 oil pan, which includes a new pickup tube and gasket, as well as the 302-11 baffle kit to make sure oil doesn’t slosh around during fun-having. Swapping in the Holley oil pain is pretty simple, but you do need to keep in mind the following:
- You need an F-Body oil deflection tray (aka windage tray) that you then clearance to fit the Holley pickup tube
- The Holley pan uses one more bolt than the LS3 crate motor pan
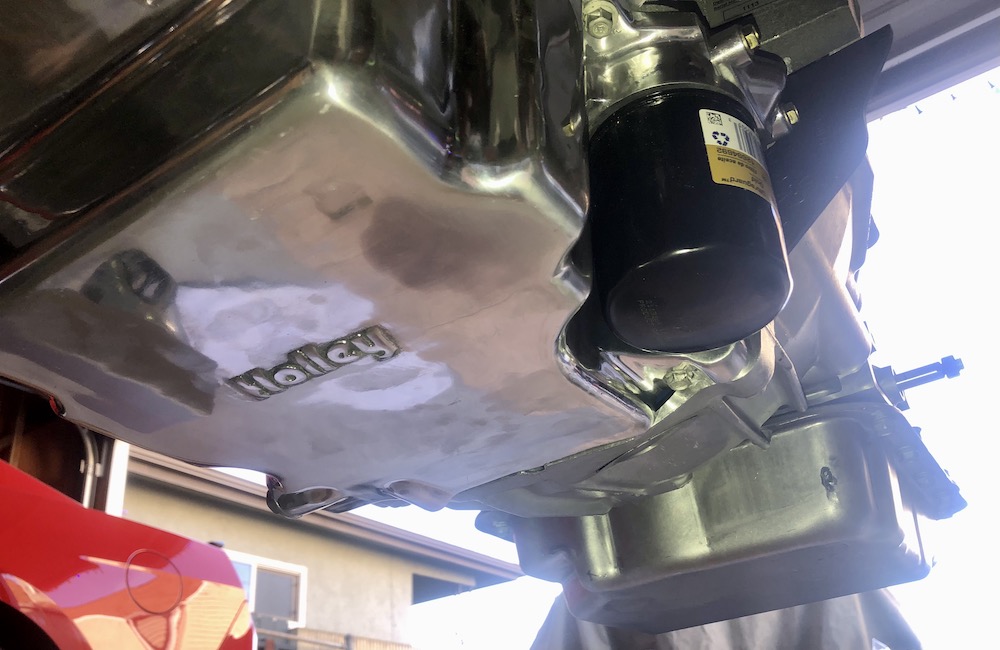
After swapping on the pan — torquing all the tube, windage tray, and pan bolts to spec — we installed the headers, the Holley LS swap oil dipstick & tube, and connected the 4L65E transmission. That installation is pretty simple too — install the flexplate, fill the torque converter with fluid and sink it into position (there are TWO clicks), bolt the bell housing to the back of the engine, and then connect the flex plate to the torque converter.
Again, READ THE INSTRUCTIONS and notate all specific torque settings!
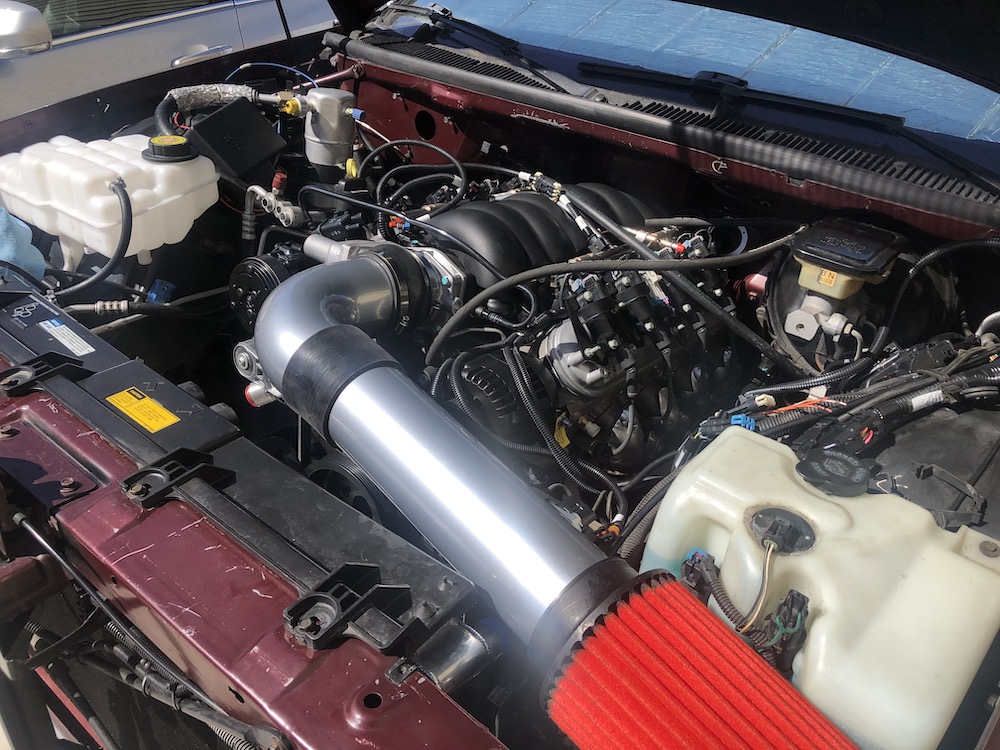
Holley Mid Mount Accessories
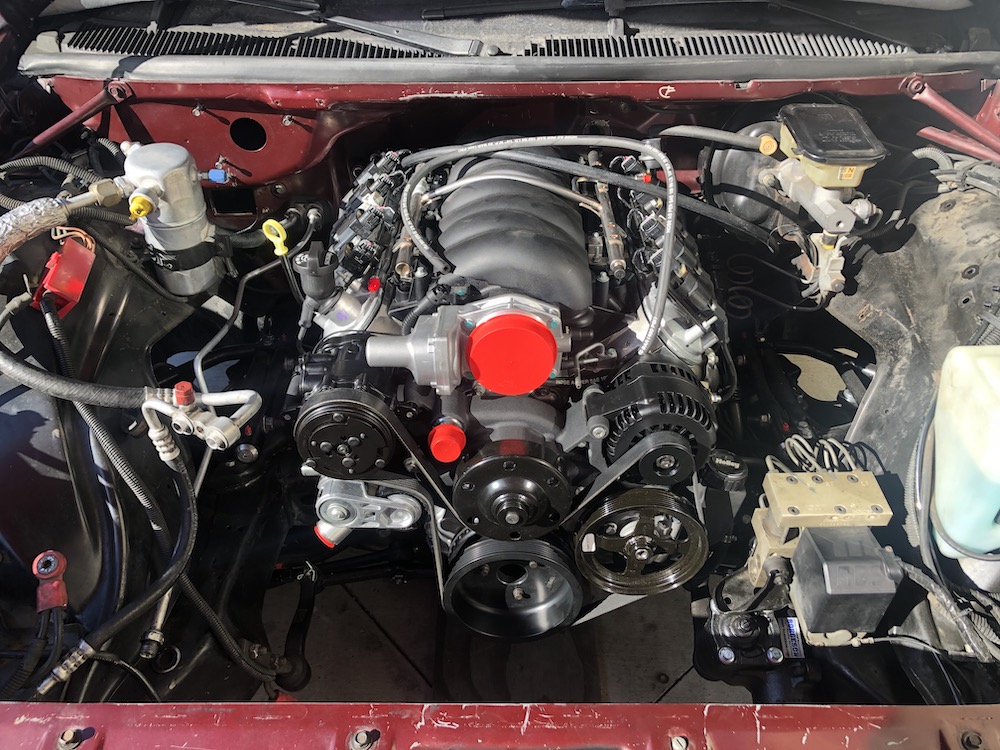
There are many accessory drive options and mounting styles. And, thanks to the large engine bay, GM B-Bodies are relatively flexible with placement. The biggest obstacle, as we saw when researching, is the ABS module that sits above the power steering box. So to make sure everything fit, Holley supplied a Premium Mid Mount Accessory drive kit. The cool thing about this design is that the whole system is that it looks like a larger version of a GM water pump. Instead, the whole system is itself a series of brackets (that use common Holley accessories) and the water pump is replaceable and cartridge-style. The premium system also includes an SFI-certified damper to optimize performance and guarantee perfect belt routing and alignment.
Installing the new damper is a CHORE because of the torque requirements needed. (You’ll need to rent, borrow, or buy a very heavy-duty torque wrench.) But the rest of the system is pretty straightforward. Install the water pump cartridge. Remove the OEM GM water pump. Install the Holley system. Then add the various accessories in the proper order.
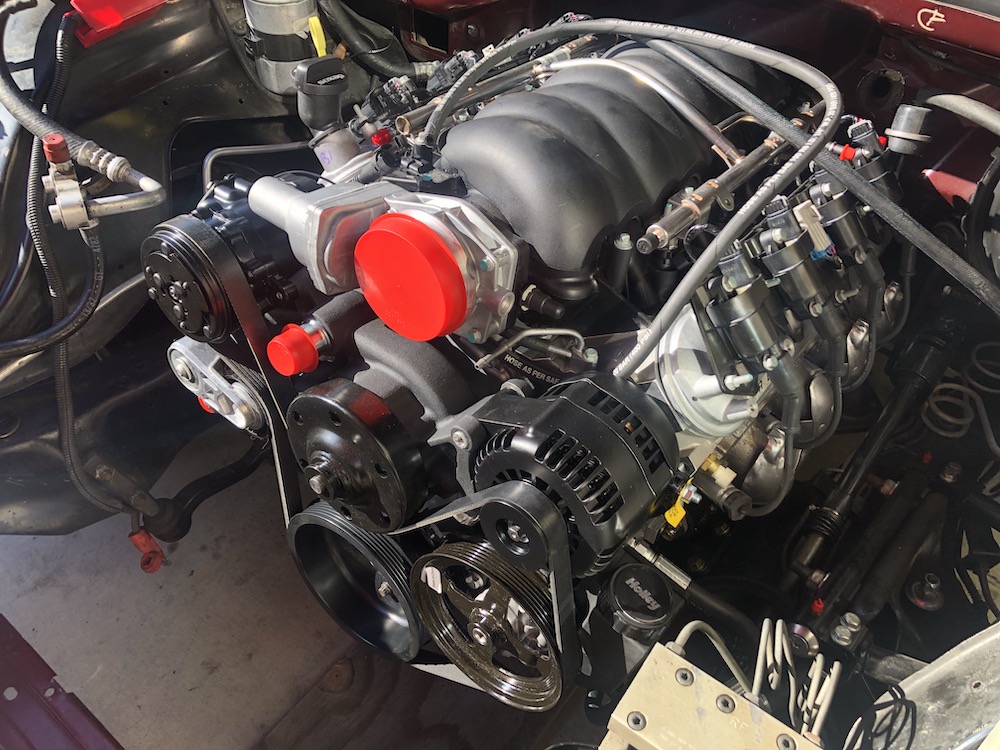
Overall, the mid-mount system looks great on the LS3 E-ROD, and is really compact, but I did notice two things I’d like to see improved —
- The supplied thermostat was actually too small and leaked (the one included with the crate motor fixed this)
- The A/C compressor bolts on from the back where there isn’t much room for service
Otherwise, it’s a pretty fantastic system so far in terms of the parts themselves and build quality. Holley has a terrific video about installing the mid-mount accessories on YouTube which I’m going to embed right here. It, along with the instructions with torque specs, etc, is what I followed to install this whole kit.
Mistakes Were Made
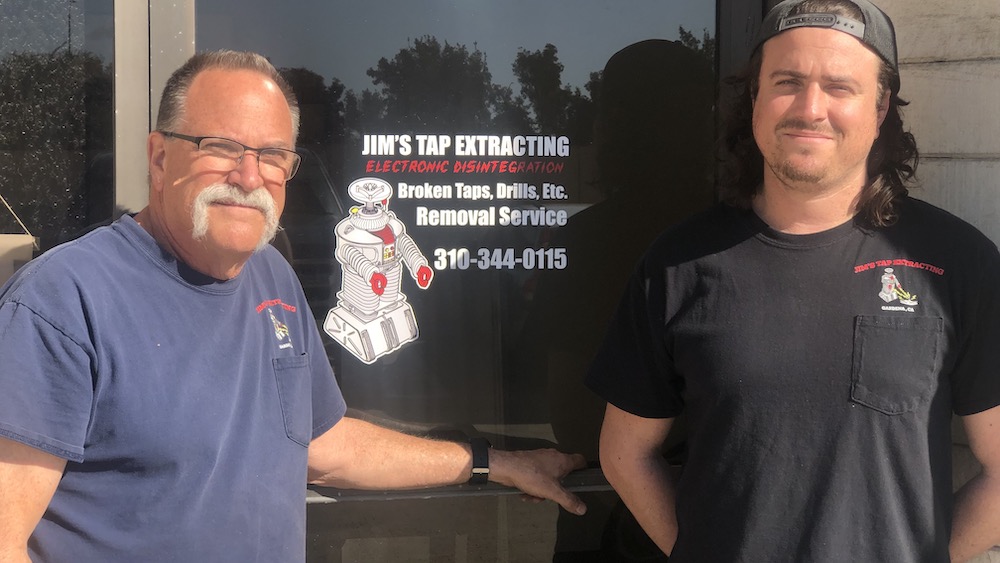
As with any swap — especially a first attempt — we made a few mistakes. First, while attempting to shim the engine to make room for the exhaust, something that should have been saved for the exhaust shop, we started to cross-thread one of the engine mount bolts. (Aluminum is SOFT.) Fortunately, we stopped immediately and called an expert — Jim’s Tap Extracting in Gardena, California. Jim and his son are the guys Boeing and SpaceX call when they have cross-threaded bolts or damaged threads that need fixing.
Jim not only fixed our mistake, but refused payment. And he really saved my butt.
Other issues mostly surrounded leaks. Add a new fluid; find another leak. (Some our fault, some not.) These included the aforementioned thermostat leak, a fuel leak at the fuel filter as well as a leaking driveshaft yoke. We also couldn’t get the Borgenson hose kit fittings to seat properly and went back to the OEM GM thread specs. And we ended up needing to get a heat shield for my starter because the positive terminal on the starter wanted to arc off of the transmission cooler line heat shields.
LS3 E-ROD Connect & Cruise Systems WANT to Run (First Start)
With the leaks stopped, drive shaft connected, wiring run, and fluids in place, it was time for the first start. (Terrifying!) GM recommends a specific procedure to build oil pressure before the first start. And then more for the break-in itself. But, essentially, once everything is installed, this is what you need to get the system going:
- Fuel pressure
- Positive power
- Grounds
- Connected computers/sensors
- ***FLUIDS***
- Key on
It’s shockingly simple when you break it down. These systems WANT to run.
In our case, after building oil pressure, the first few attempts failed. Thankfully, after re-checking all the grounds, fixing a small fuel leak, and priming the fuel system manually, the next turn of the key brought this swap to life.
In the Next Episode…
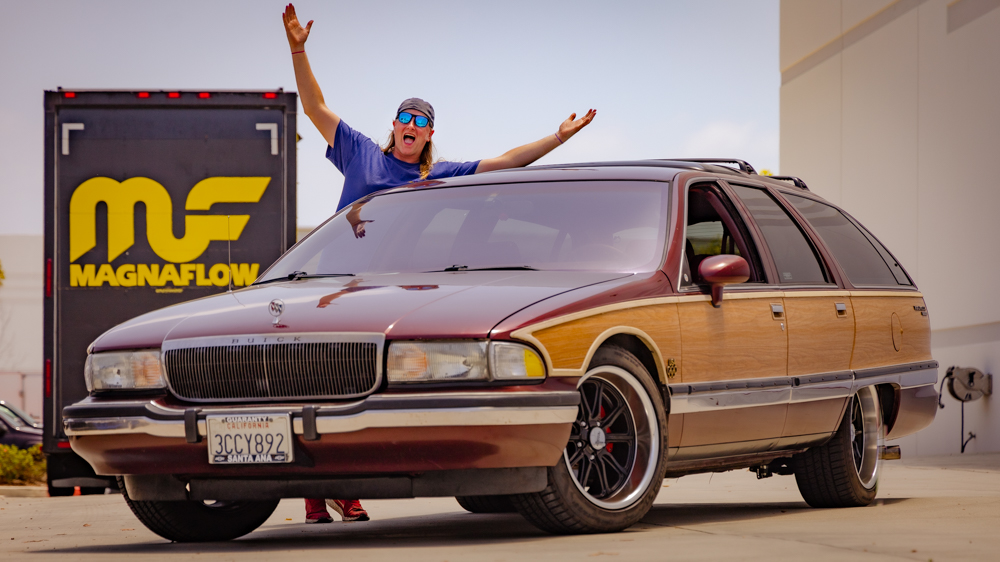
We’re heading down to Magnaflow HQ in Oceanside California to install a custom xMOd exhaust.
LS3 Roadmaster Wagon Project EPISODES
Part 1
Parts & Project GoalsPart 2
Michelin Tires, American Racing Wheels, Eaton TrueTrac, & Sway BarsPart 3
Wilwood D52 Disc BrakesPart 4
Coilovers & Control ArmsPart 5
Goodbye TBI, Hellow Earl’s Vaporguard Fuel SystemRacingJunk.com Bonus
Everything You Need to START a Chevy Performance Connect & Cruise System
(LS and LT Engines)Part 6
Installing an LS3 E-ROD & Holley Accessories in a Roadmaster Wagon!!!Part 7
This Magnaflow xMod Exhaust Made My LS3-Swapped Wagon Sound INSANE!Part 8
Dakota Digital: LS Swap Gauges & Wiring Made Easy! (Plus Guaranty Chevy & Chemical Guys!)Part 9
LS Swaps Are a LOT More Expensive Than You Think!!!Part 10
10 Tips for Surviving Your First LS SwapBonus
Every Part You NEED For Your First LS SwapClick HERE to join the LS3 Roadmaster Wagon Project BUILD THREAD!
PARTNERS
- Guaranty Chevrolet: https://www.occhevy.com/
- Holley: https://www.holley.com/
- Magnaflow: https://www.magnaflow.com/
- Chemical Guys: https://www.chemicalguys.com/
- Dakota Digital: https://www.dakotadigital.com/
- Michelin: https://www.michelin.com/
- Wilwood Brakes: https://www.wilwood.com/
- Eaton: https://www.eaton.com/
- Sony: https://electronics.sony.com/
DISCOUNTS PROVIDED
- Summit Racing: https://www.summitracing.com/
- Muscle Rods aka BRP HotRods: http://www.brphotrods.com/
- Sikky Manufacturing: https://www.sikky.com/
- American Racing Wheels: https://www.americanracing.com/